Making a Dust Brush
by Curtis Turner
Round Rock, TX
Note: click on any picture to see a larger version.
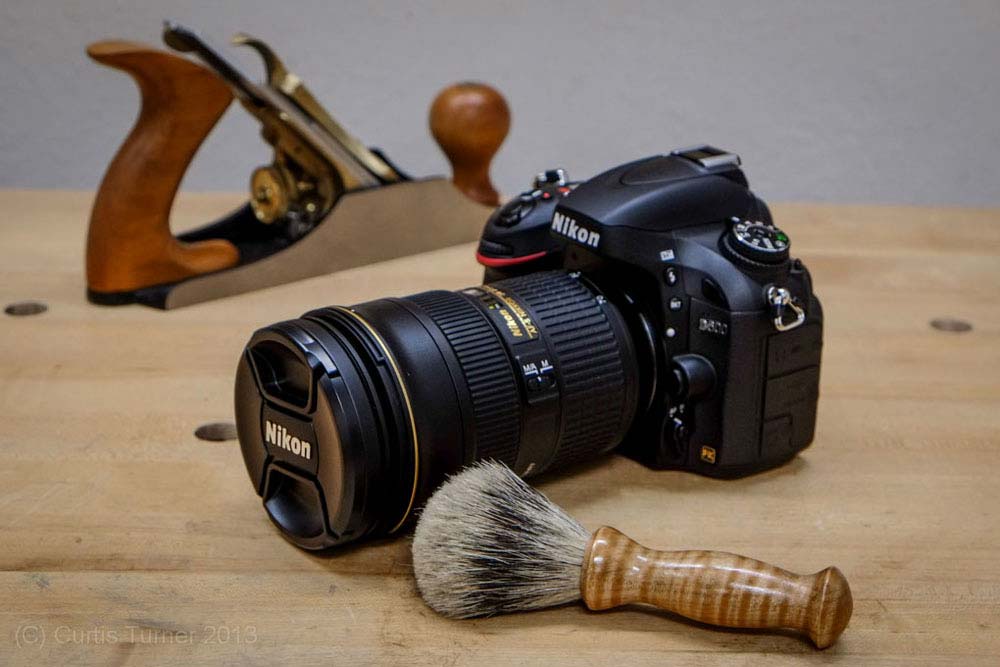
After I complete the photography for each article, I carefully clean my camera equipment. I do my best to minimize the "exposure" of my camera to the dusty shop environment. I set up my camera and tripod in a separate area in the shop, only bringing it near the lathe to photograph a sequence. Then, I return the camera setup to a safer and less dusty space in the shop. However, electronic equipment attracts dust like a magnet. I use a rocket blaster (a manual blower) to blow dust of my camera. It removes most dust; however, dust often remains in small crevices. I needed some type of brush to remove the remaining dust.
I recently came across a shaving cream brush plug in a local woodworking store. Then it hit me-- I could make a dust brush for my camera. I have always wanted to make a shaving brush, but since I don't use a straight razor, that idea sat on the back burner. This was my opportunity to try this project.
Design
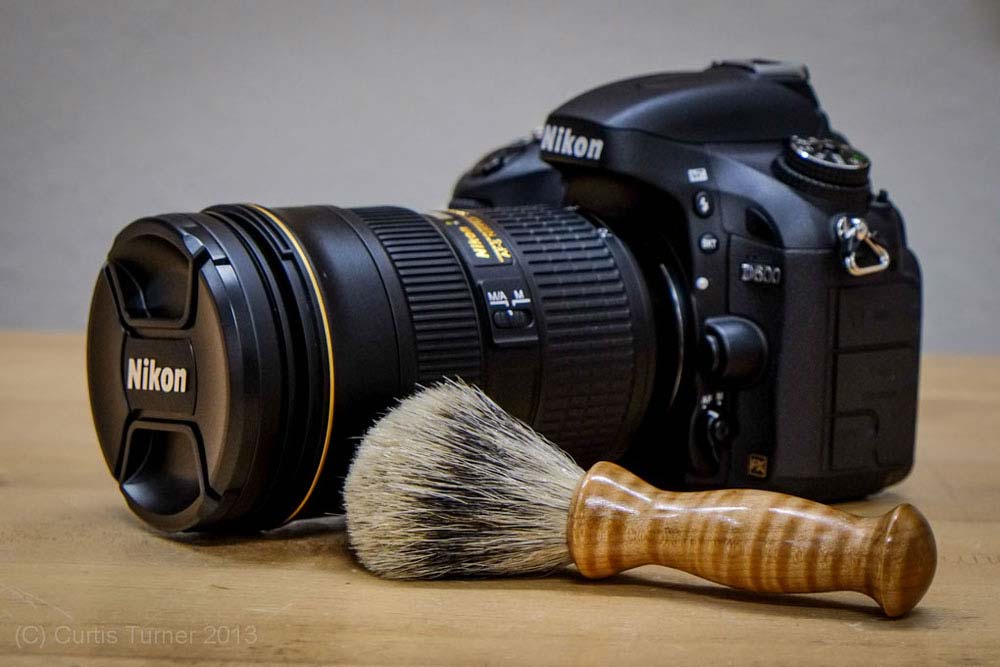
Since I was not planning to use this brush for shaving, I could modify the typical shape of a shaving brush handle. I did not want the short, fat handle that is typical of shaving brushes. Nor did I think I needed a flat bottom on the handle end. However, I did not want a handle that was too long. I plan to pack the brush in my camera bag, where space is at a premium. So, I decided on the shape you see in the photo.
Getting started
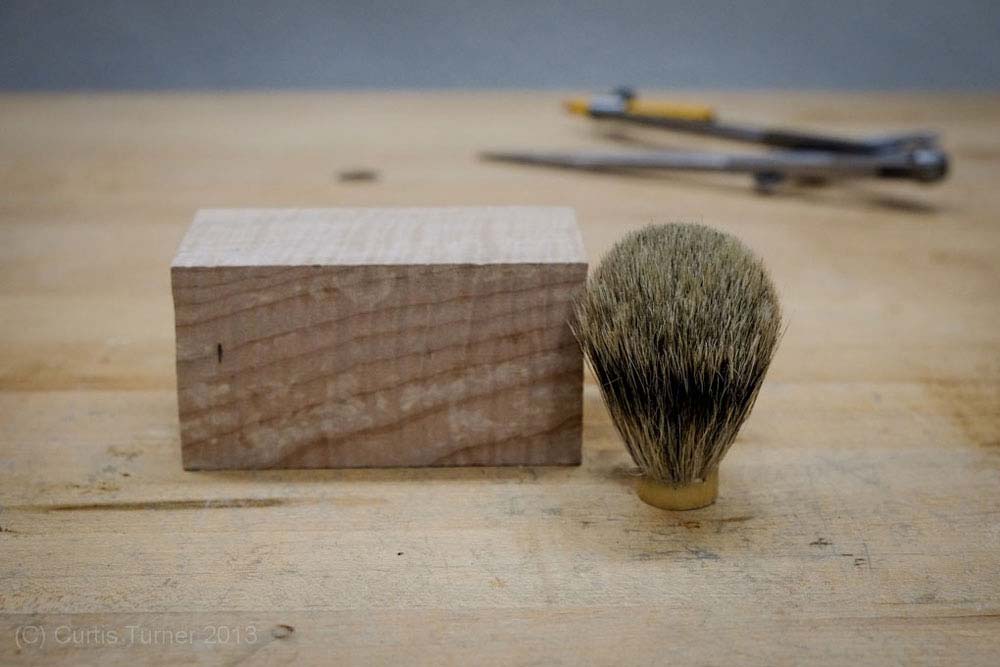
The badger hair shaving brush I acquired has a plug diameter of 27/32" (21mm). I selected a piece of figured maple about 2x2x4-1/2". This brush will not be used for shaving, so I was not concerned about water damage while selecting the material. However, if I were to make one of these for shaving, I would consider hard, dense woods that would be less affected by water. Mesquite would be a top choice, as would maple. I should point out that large acrylic blanks, typically found with pen turning supplies, would also make a good choice.
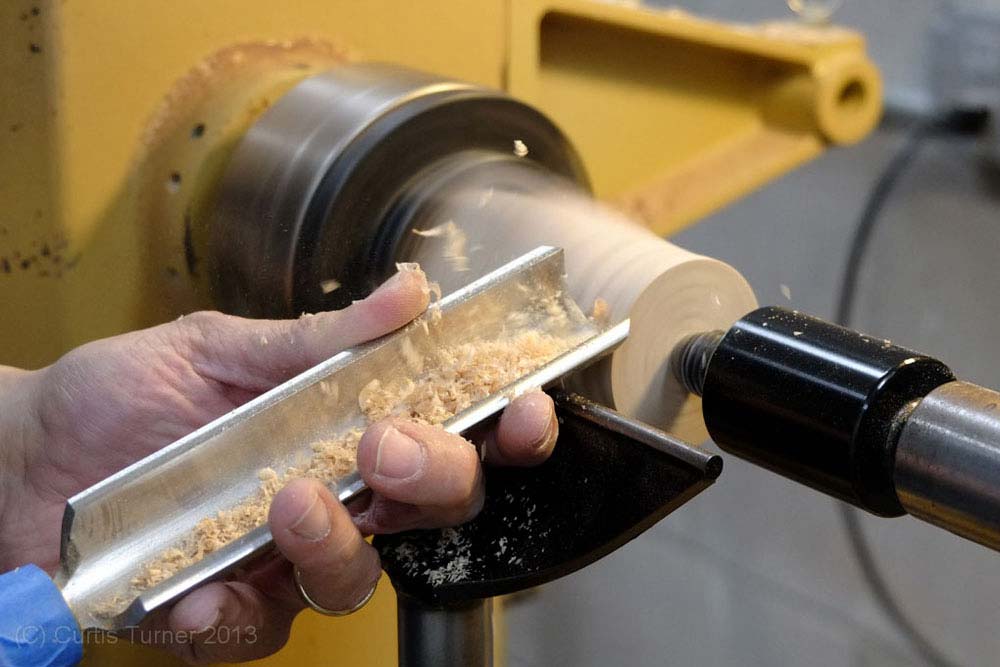
I mounted the blank in a chuck, with the tailstock supported at the end. I then turned the blank round. I used my new
Crown 1-1/4" roughing gouge
. I really enjoy using a large spindle roughing gouge. The large gouge, while not the answer for everything, adds mass and stability during the roughing process. I turned a tenon on the tailstock end and reverse mounted the blank in the chuck and trued up the blank.
Drilling the Hole
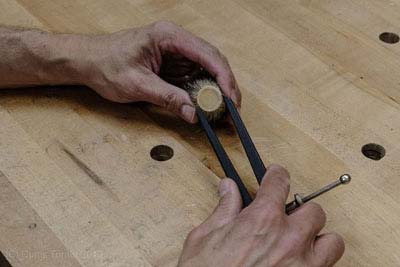
Next, I used dividers to determine the exact diameter of the plug. I then used the dividers to mark the diameter on the end of the blank. This is done by carefully scraping a line in the end grain with the left leg of the divider, without touching the right leg. The right leg is visually lined up with the score mark made by the left leg. If they do not line up, slightly adjust the left leg and try again. You should avoid letting the right leg touch the spinning blank because the wood will catch the point and cause it to violently rotate counter-clockwise, possibly causing an injury.
|

|
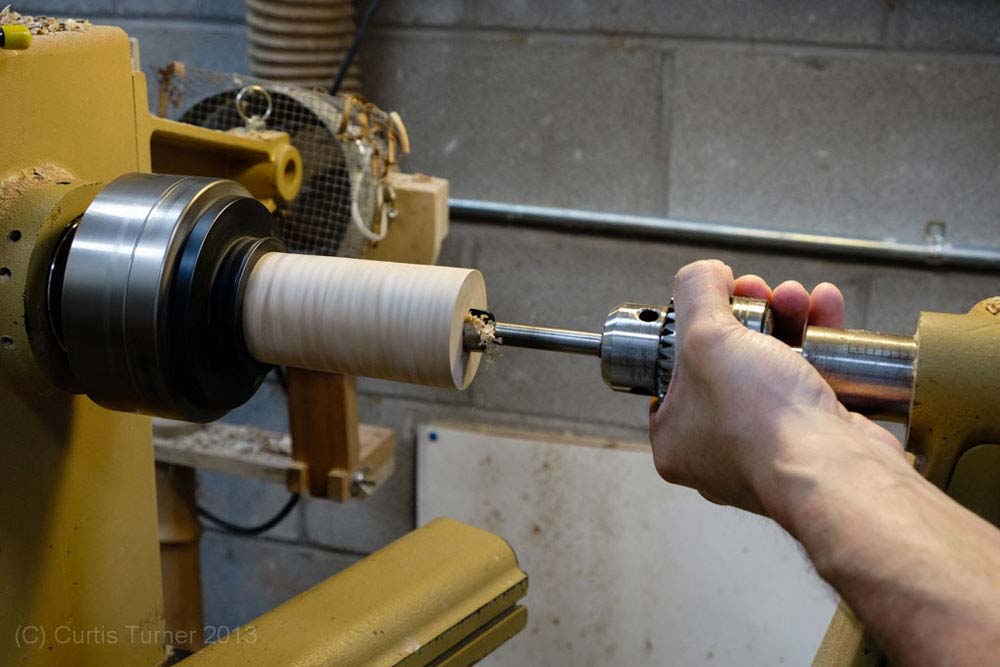
Then I removed the live center from the tailstock and replaced it with a
drill chuck
. I used a drill bit which was just a little undersized. I then drilled into the end grain, to a depth that allowed the plug to sit just below the surface of the wood. I used a scraper to expand the diameter of the hole to allow the plug to fit. Testing for a dry fit is important now, before gluing into place at a later step in the process.
Shaping the Handle
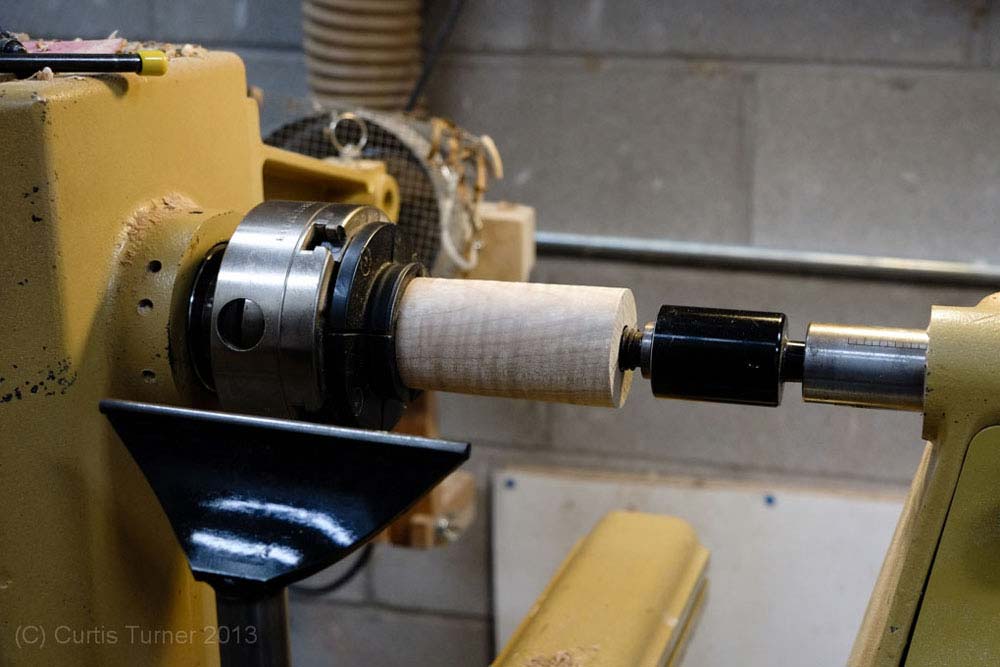
I moved the tailstock into the hole to provide extra support while I shaped the handle. I opted for a simple slender shape.
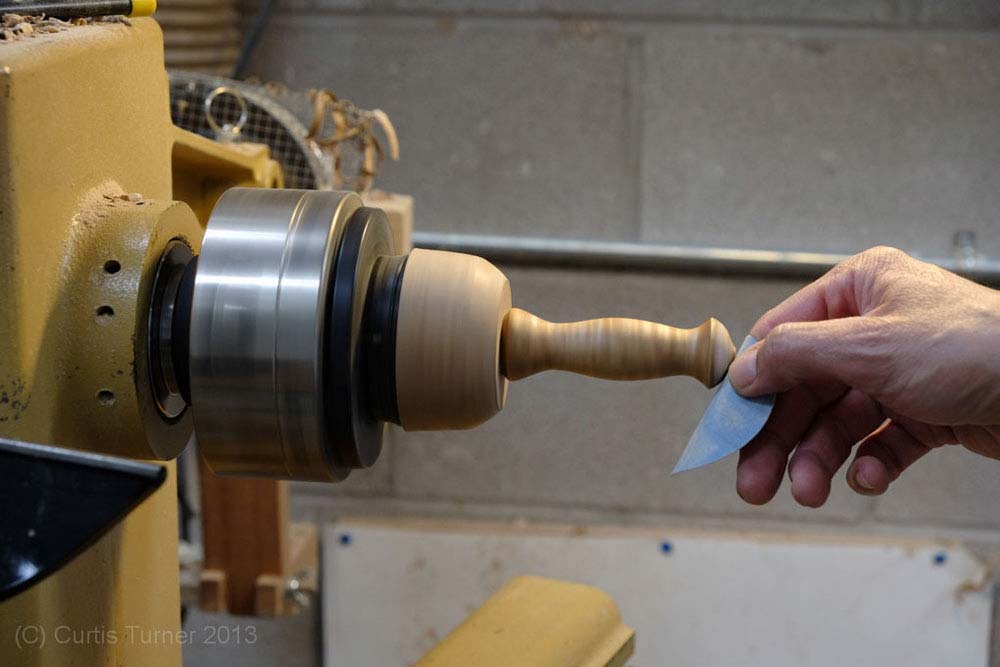
I applied TruOil finish while the handle was still securely attached. I then parted off the handle leaving a small nub from the tenon, which will get sanded away.
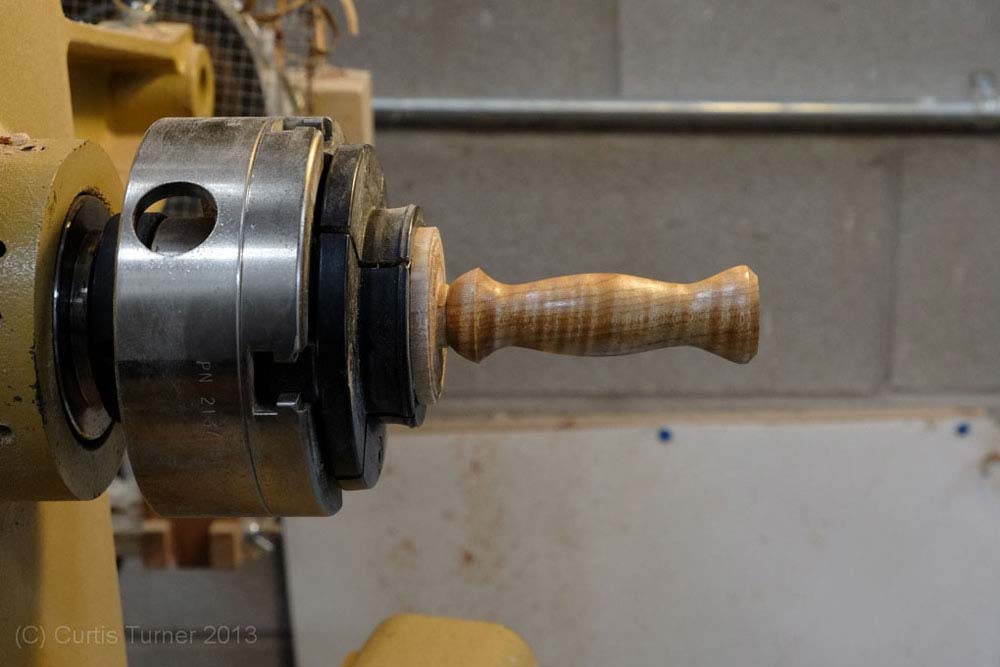
Reverse Mount, Again
I then turned a tenon that just barely allowed the handle to slide into place. This reverse mounting allowed me to sand away the last bit of the tenon and apply more finish to the remainder of the handle.
Completing the Project
I reapplied the finish and allowed the handle to dry overnight, and then sprayed on several coats of gloss lacquer. Once the lacquer was dry, I applied a small amount of epoxy into the hole, and pushed the brush into place. A perfect fit!
I think it turned out quite nice, and it works perfectly. The difficult decision now is whether I should leave the brush in the shop on display or put it in my camera bag to use? Maybe I should just make another one...
Curtis is a former President of
Central Texas Woodturners, a member of the
American Association of Woodturners, and a member of
Fine Woodworkers of Austin. Curtis teaches and demonstrates nationally for Lie-Nielsen Toolworks. He also teaches for TechShop. He owns a studio where he teaches and works. Curtis lives in Central Texas with his wife and four young children. Take a look at his website at
www.curtisturnerstudio.com or visit his
Instagram: tx_planes.