Turning a Peppermill
by Curtis Turner
Round Rock, TX
Note: Click on any picture to see a larger version.
The focus of this article is on the process and techniques for turning a pepper mill. The specific
diameters and lengths are not important here, as each peppermill kit will likely have slightly different requirements.
Therefore, I will not include every specification.
This particular kit was for an 8" mill with a steel shaft. I selected a mesquite blank about 9"x 2-1/4", an
inch longer than the kit size. You have many choices in terms of wood. The only types I would tend to
avoid would be anything with rot, spalting or possible allergenic risks. I am sure many of you have used
rotted, spalted cocobolo without any ill effects. However, these are my personal choices backed up by
solid "opinion".
I used the plans to lay out the major transitions onto the blank (above photo). This lay out process is an
instrumental step in understanding how the kit will be assembled. It also gives you the opportunity to
see how the grain will flow through the finished piece. There is no point in rushing through the
instructions. Mills are rather precise and a meticulous process will ensure success.
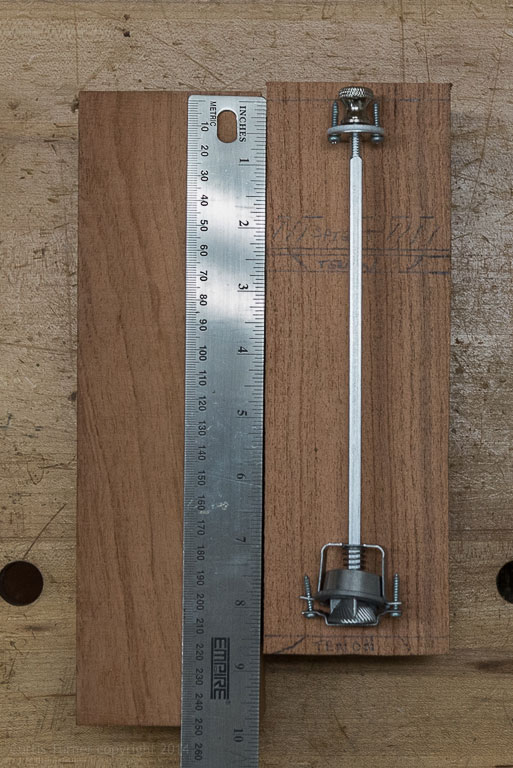
Then I created a story stick/pole (above). This was the reference tool I used to re-draw my
transitions as I turned the blank to shape. This makes re-drawing the layout a breeze and avoids the
hassle of re-measuring.
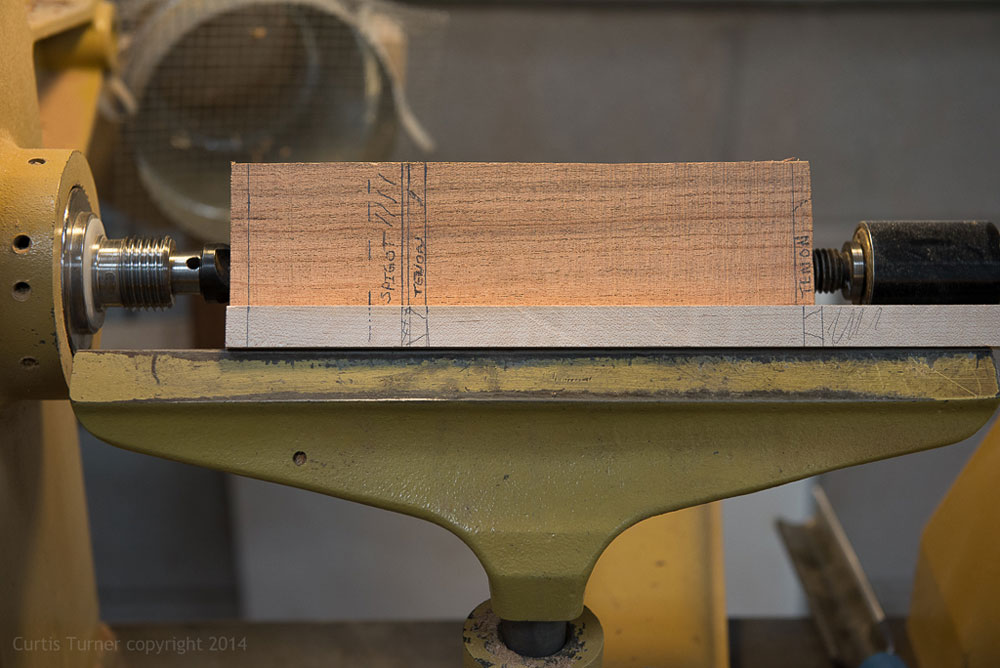
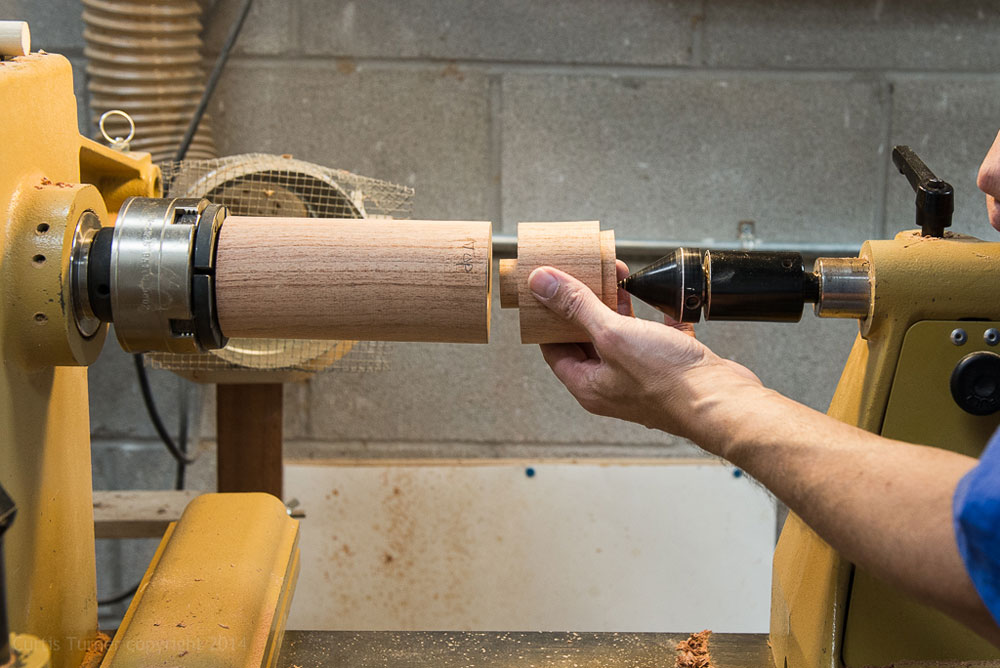
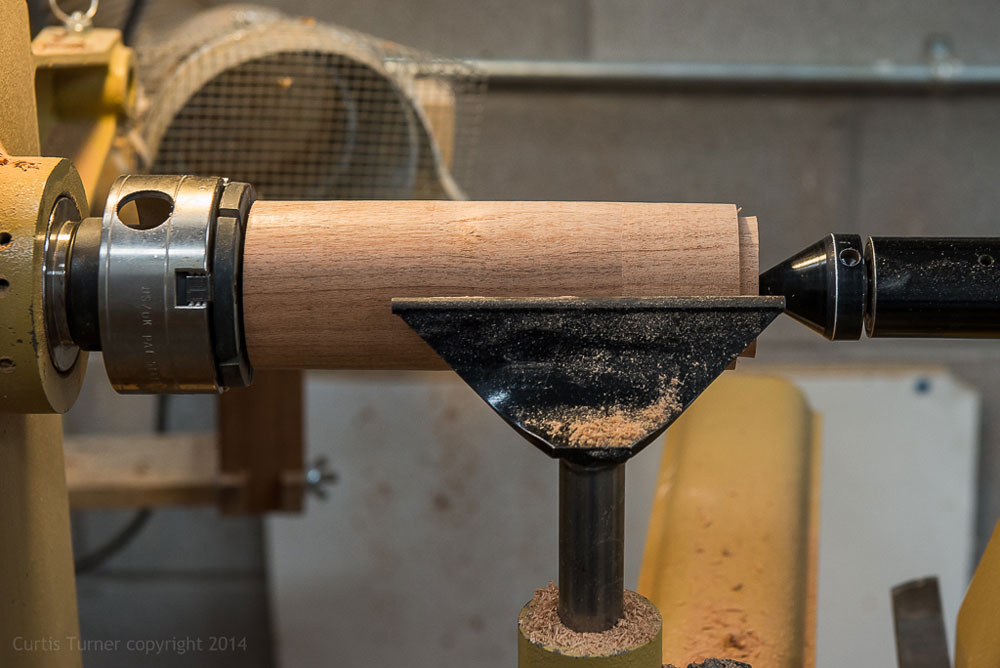
I then turned the blank to round and drew my lines again. Then I used a parting tool to mark off the cap
from the body of the mill. (above). I also turned tenons on the body blank and cap before I
separated both pieces. It is wise to mark the two pieces in a way that helps to keep the grain running in
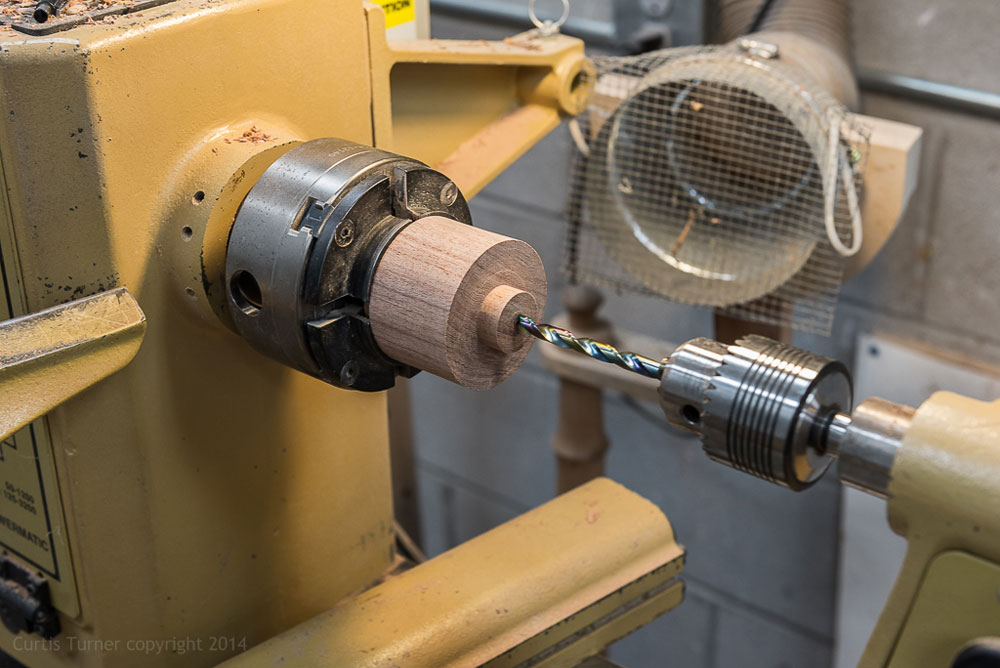
the correct orientation. Then I drilled a hole through the cap/knob (below). I did not turn the
knob round at this stage.
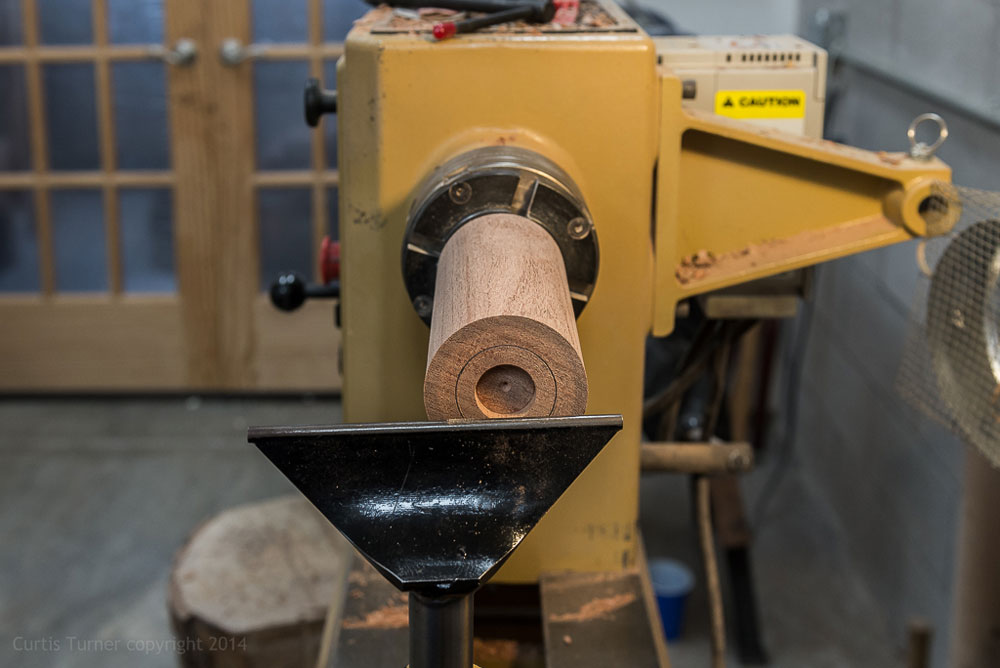
Next, I mounted the body and drilled a hole half way through the center. I then reversed mounted the
blank to work on the bottom of the mill.
I do not have a forstner bit in the size stipulated by the plans. So, I used the closest sized bit to drill into
the end grain to the specified depth. I then used a divider to scribe the exact diameter required by the
plans.
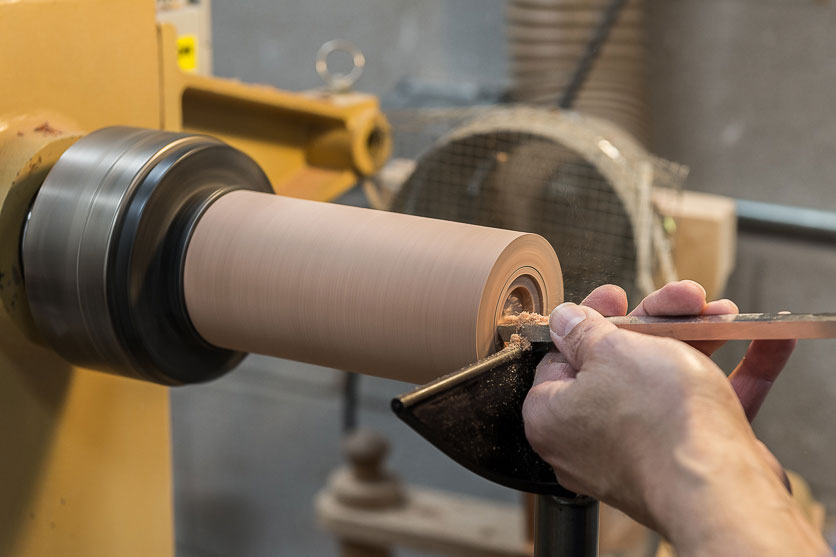
Finally, I used a scraper to widen to the correct diameter. It would
certainly be faster to use the correct size drill bit.
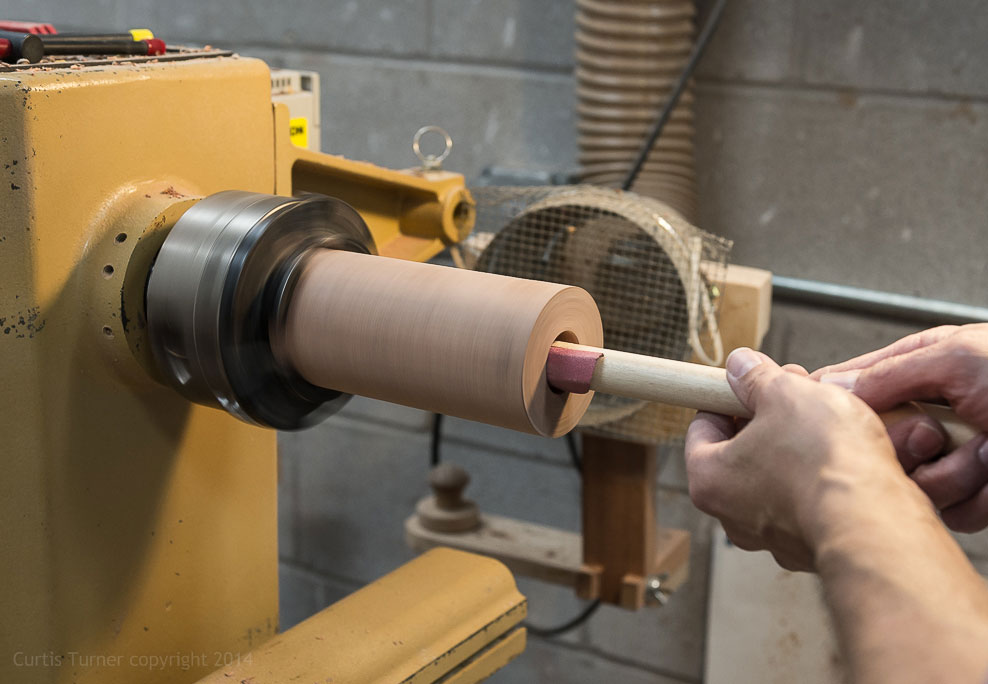
I then drilled through the blank connecting with the hole drilled through the other end. A little sanding
blended any slight misalignment. I accomplished this by using a small dowel, with a slot cut in the end
to hold sand paper to sand the interior. This tool gave me the reach I needed to sand deep into the
blank.
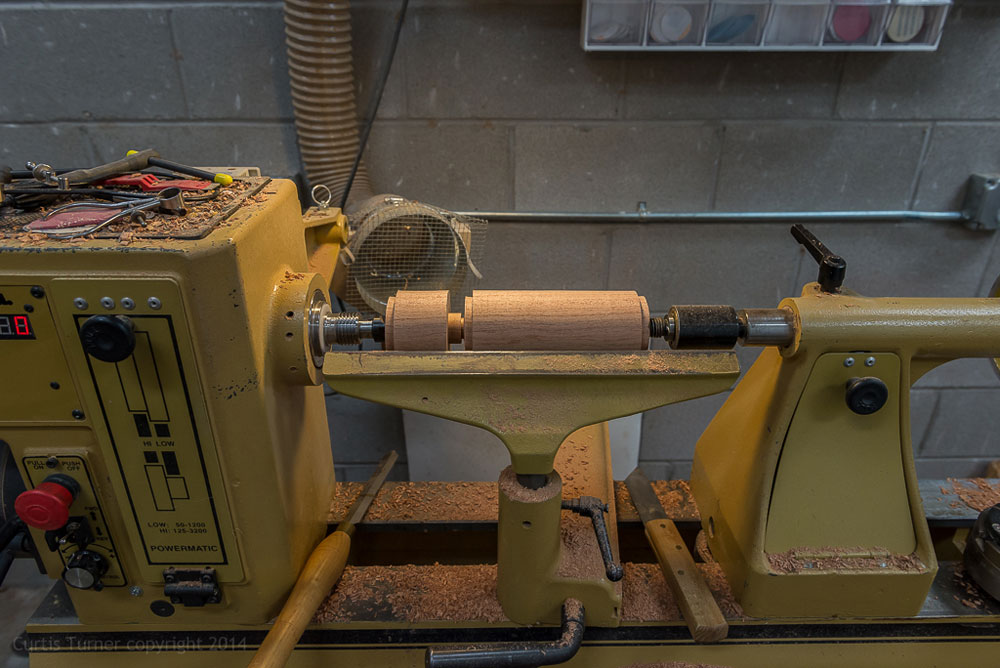
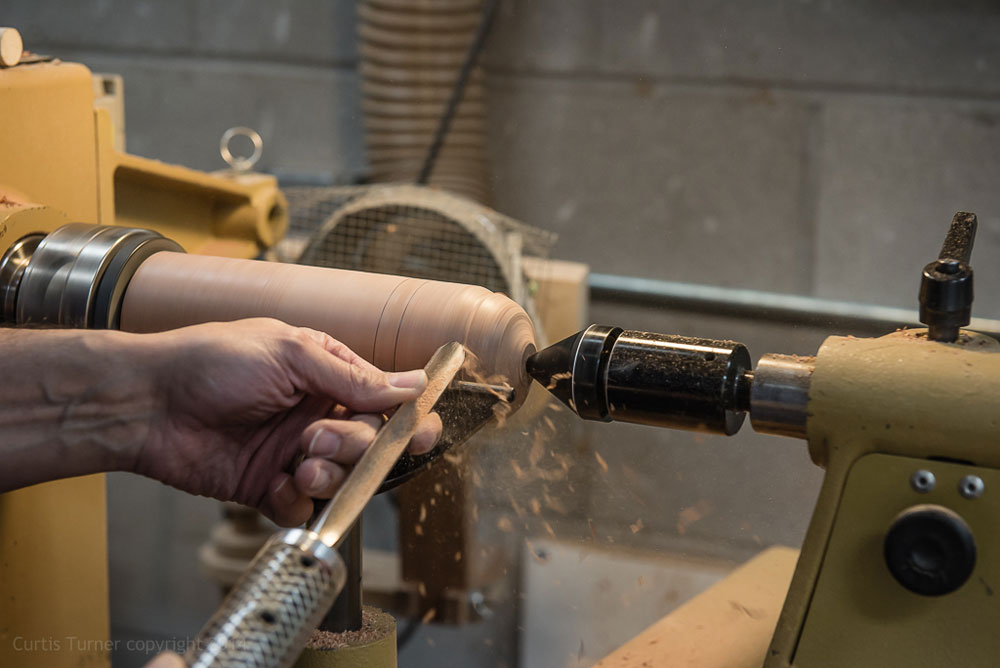
I once again reverse mounted the body using #1 jaws in expansion mode. Then I placed the top into the
mortise and supported the assembly with a cone center mounted on the live center.
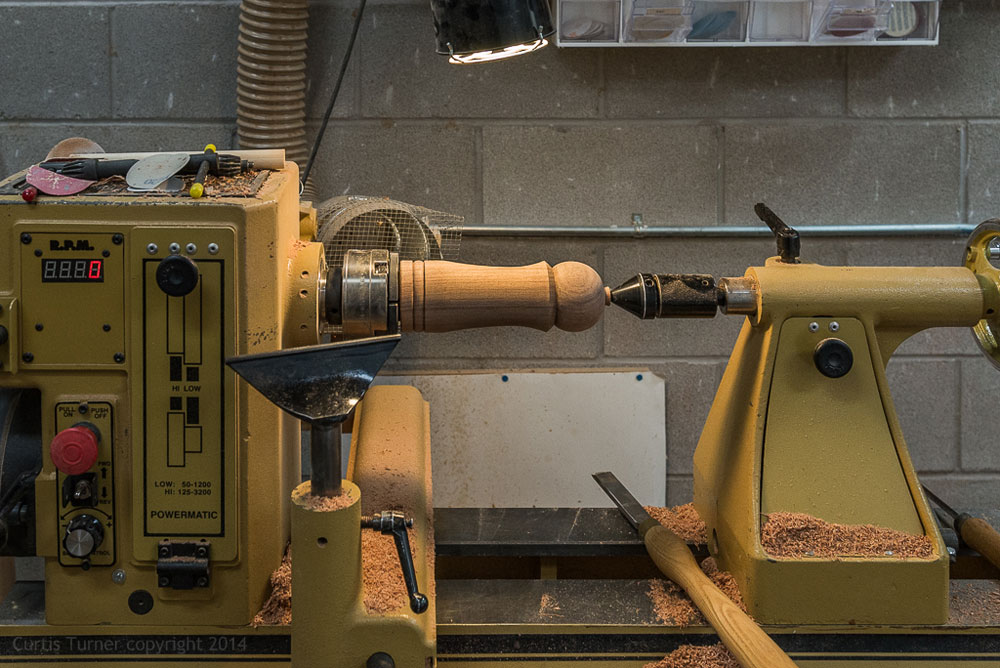
Finally, I began to shape the exterior. I used a range of tools including a spindle roughing gouge,
spindle gouges in several sizes, and a skew to achieve the final shape.
I turned a small bead near the base of the mill. I also made an effort to make the cap and body meet in
the deep vee. This helps to hide any slight off center alignment between the two pieces. This can be
caused by the play in the relationship between the hole drilled in the cap and the shaft. Also, some
variance will be introduced where the tenon on the base of the cap intersects with the mill body.
I used 120 to 400 grit sandpaper sanding with the grain while the lathe was off.
Finishing
I applied
Mahoney Walnut Oil Finish
to the exterior of the mill. I opted to spray shellac into the interior of the
body to sever as a sealer.
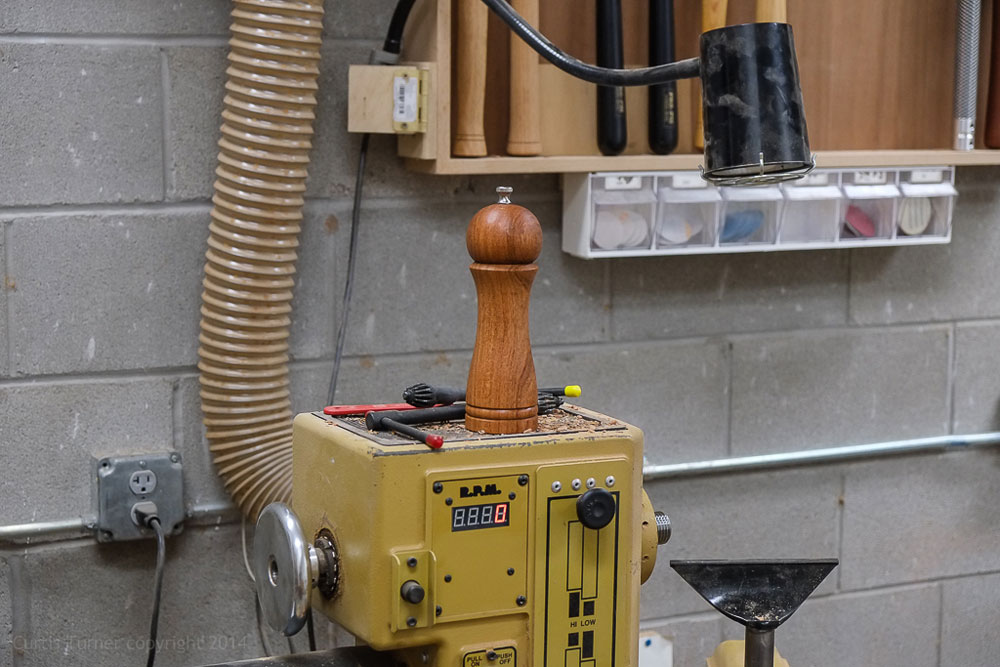
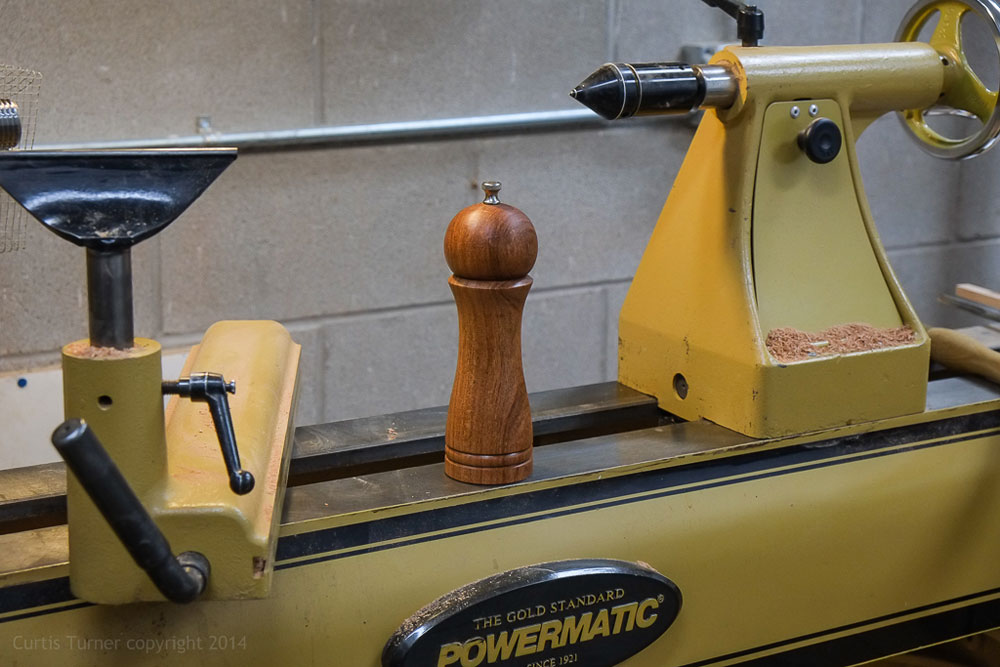
I really like how the oil blended with the mesquite to give the mill a soft warm appearance. I let this dry for several days before I assembled the parts according to the instructions.
I enjoyed turning this pepper mill and I am proud of the results. Frankly, I avoided turning mills for a
very long time. All because I did not want to buy special sized drill bits. I know, ridiculous. However, I
realized most mills have enough flexibility to allow one to work around specific sized bits. I really regret
delaying this project. So, go make a few mills even if it means you must buy a few extra drill bits!
CLICK HERE
to purchase our Deluxe Pepper Mill Kit and also see
additional step-by-step instructions on how to turn your own pepper mill
Curtis is a former President of
Central Texas Woodturners, a member of the
American Association of Woodturners, and a member of
Fine Woodworkers of Austin. Curtis teaches and demonstrates nationally for Lie-Nielsen Toolworks. He also teaches for TechShop. He owns a studio where he teaches and works. Curtis lives in Central Texas with his wife and four young children. Take a look at his website at
www.curtisturnerstudio.com or visit his
Instagram: tx_planes.