Turning with Temple: Porch Column Repairs
by Temple Blackwood
Castine, ME
Note: click on any picture to see a larger version.
This month's column might be better titled "Odd Diversions from a Working Turning Shop", although that too would be misleading. All too often the projects that find their way to my shop include the "usual" requests for 400 turned historic renovation 6" X 6" X 30" balustrades for a new private home's exterior, a major 2' X 6' finial for the roof of a carriage house in Williamsburg, all the way to 139 3" X 1/2" tuning-pulls (graduated by 2mm each on the squared end) for a 300 year old European calliope being rebuilt in a warehouse in Baltimore harbor.
On second thought, perhaps the better title would be "Twists and Turns." Whatever the title, I owe special thanks to Highland Woodworking's leadership and to our favorite editor Molly for their collective encouragement and editorial enhancement of the diverse articles from me and the many other talented contributors who are invited to submit to
The Highland Woodturner
and
Wood News Online.
This month gathers two porch column projects that came to my shop last spring and late summer. The first one came my way from a contractor who asked, "Would you be able to turn me some new porch columns? I have to replace a pair of 9' columns that were damaged last winter." I said I would be interested in working with him and invited him to bring the damaged ones to the shop for me to take measurements. When he arrived with them in his truck, we unloaded. After a brief inspection I said that while I would be happy to replace the columns for him, he might rather consider letting me repair them at about a quarter of the cost. Between you and me, the work and pay would be pretty much the same for me, but the client would save considerably on expensive new materials that were not necessary.

|
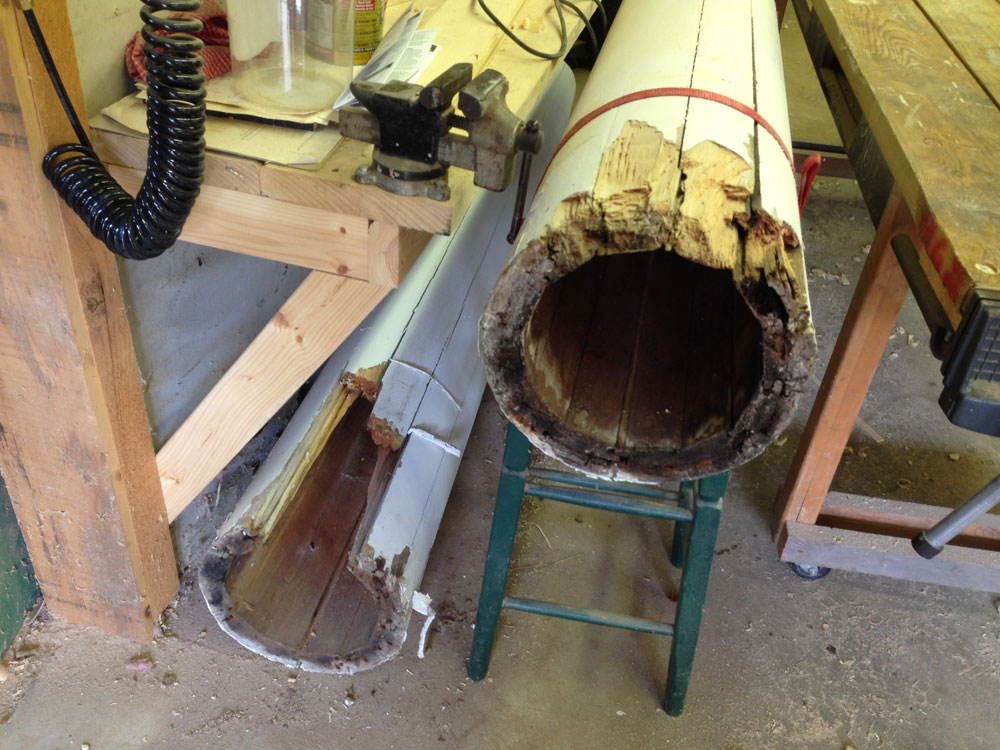
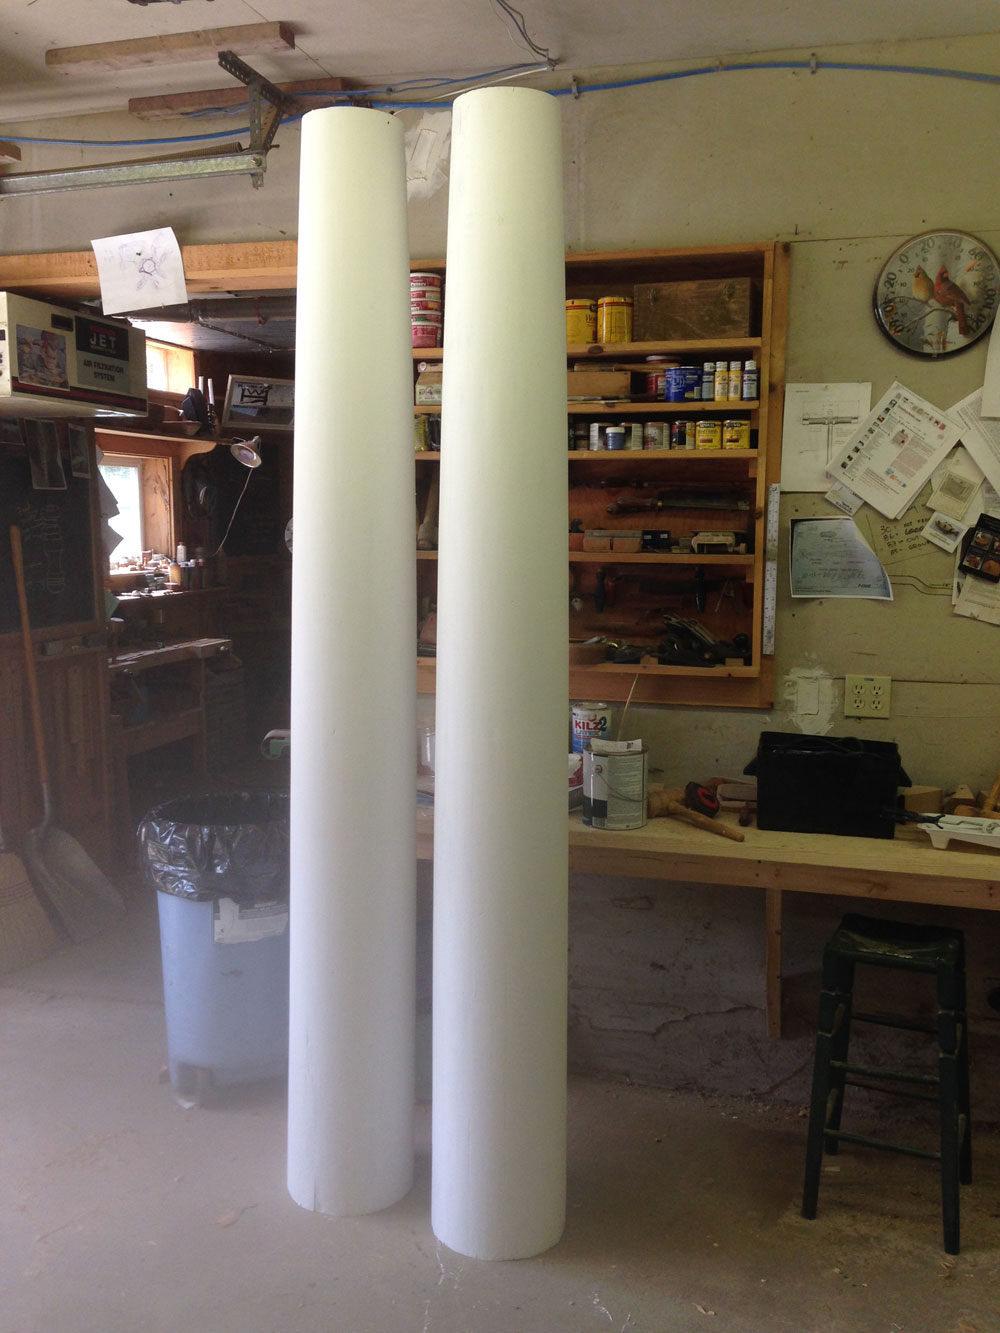
As you can see from the photo, both of these columns endured considerable damage last winter. The owner apparently claimed it was damage by the snow. I would think a more accurate instrument of damage would be an overly aggressive snowplow, possibly the protruding receiver hitch on the back of a plow truck, or even a run-amuck tractor loader. Regardless of the cause, the columns were both pushed off their bases and badly fractured and splintered. They were also otherwise sound and whole except for the obvious damage and general trauma to the spline joints throughout. They appeared quite salvageable being well-made originally with cedar splined staves and they had been properly protected from the evils of water damage.
|
After consulting with the owner, the contractor gave me an enthusiastic go-ahead with the repair at the lower cost rather than endure the considerable expense of a complete replacement. I ordered a small selection of western red cedar (my preferred stock for outdoor columns) from my local supplier.
I used a liberal quantity of PC Woody, a two-part mix wood epoxy similar to
Abatron LiquidWood WoodEpox Wood Restoration Kit
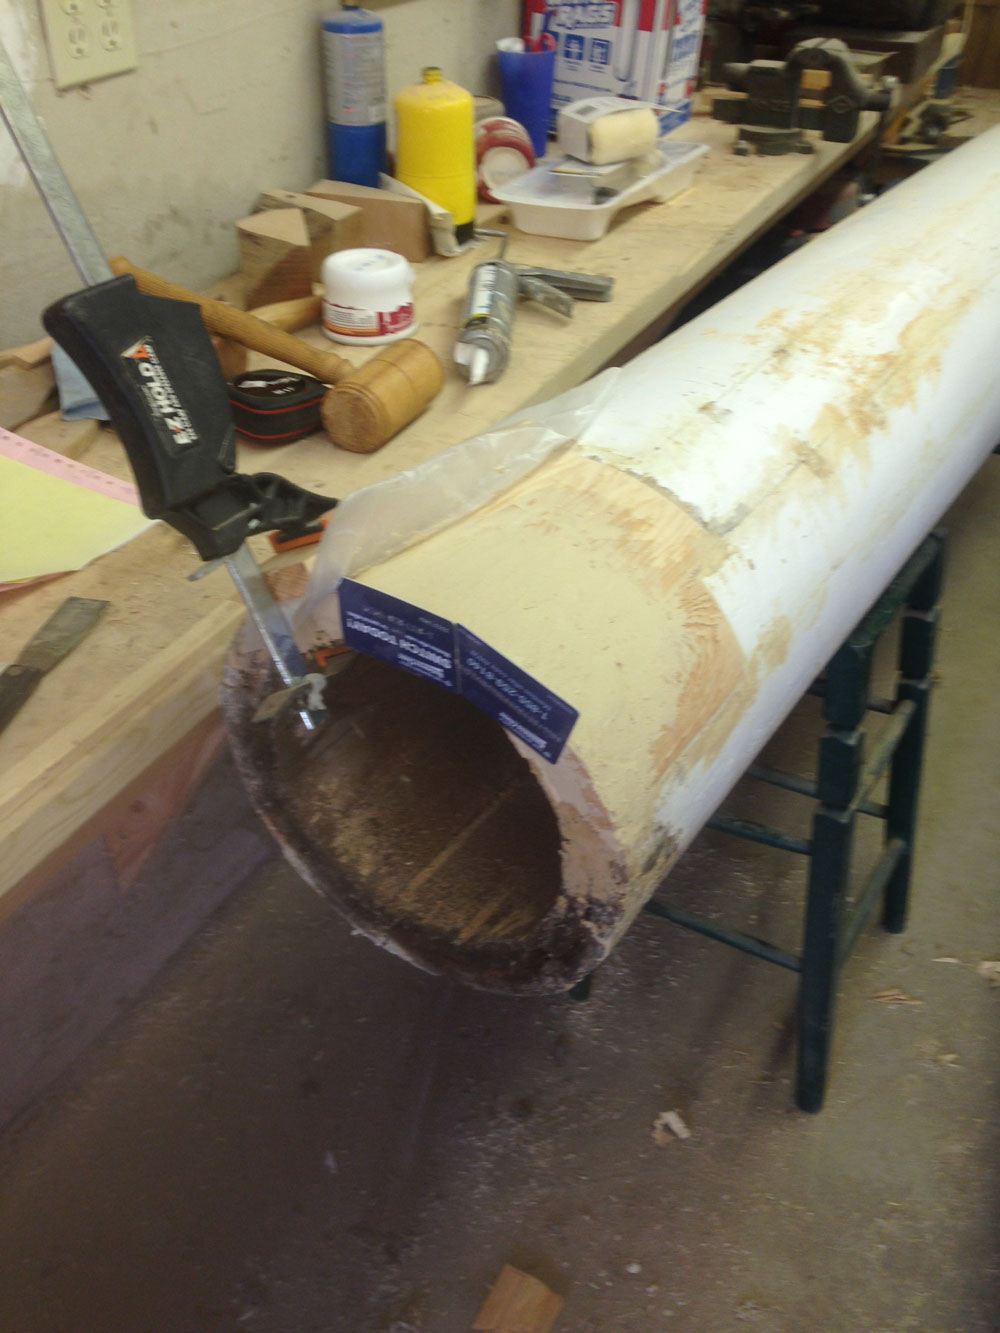
that bonds wood parts and fills gaps in wood in amazing ways, offers exceptional waterproof protection, and works well with splicing in natural wood. Next, I cut the additional pieces of cedar and added a spline before assembling the basic repair on each. I also used
Titebond III
to close the open seams and then I clamped the columns with ratchet tie-down straps – ever handy and considerably manageable with clamping round pieces.
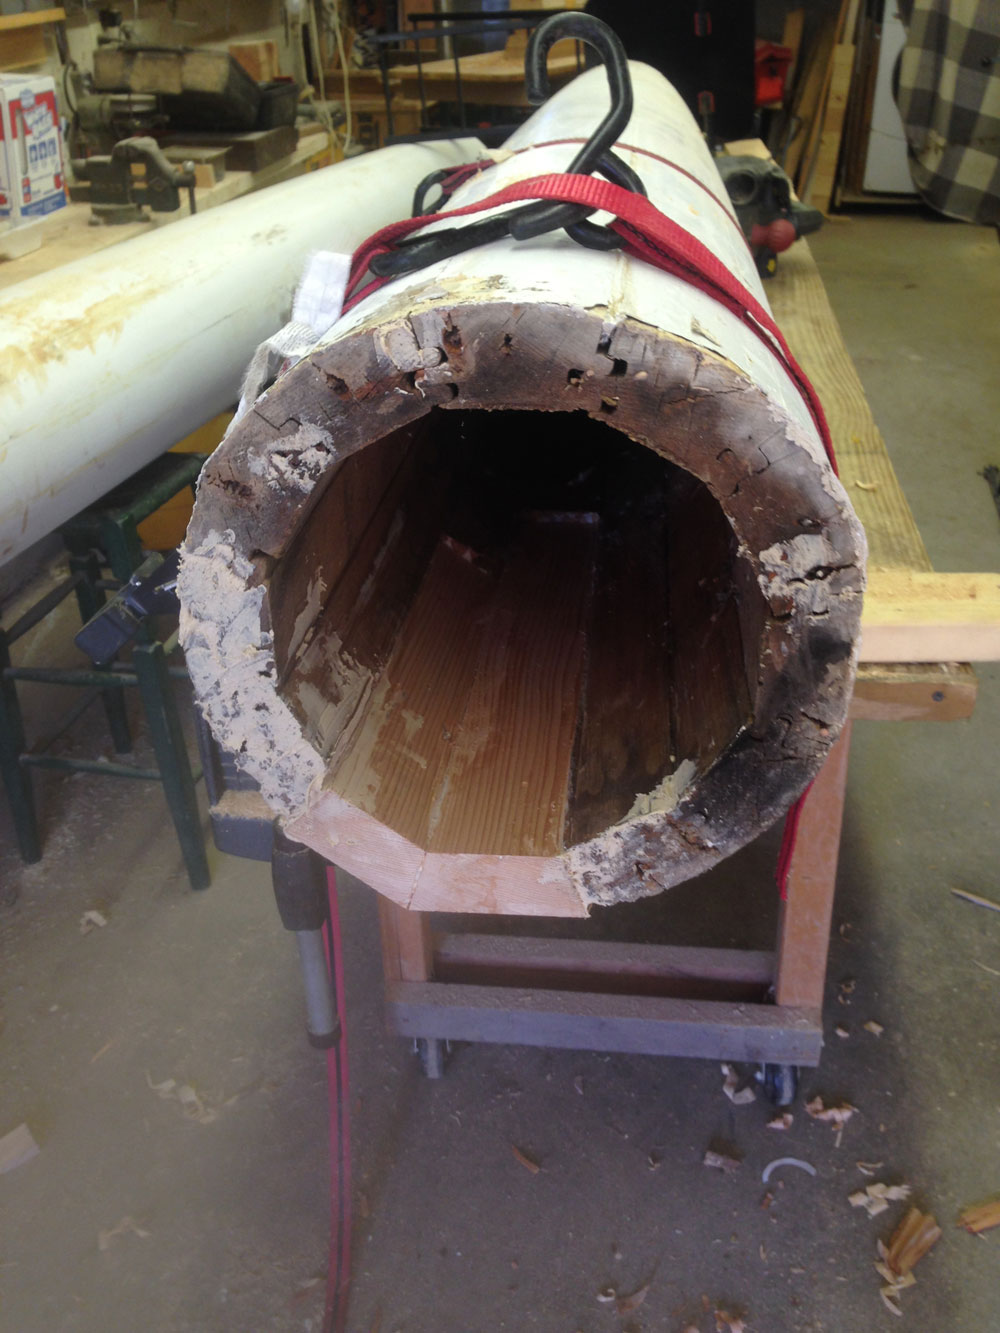
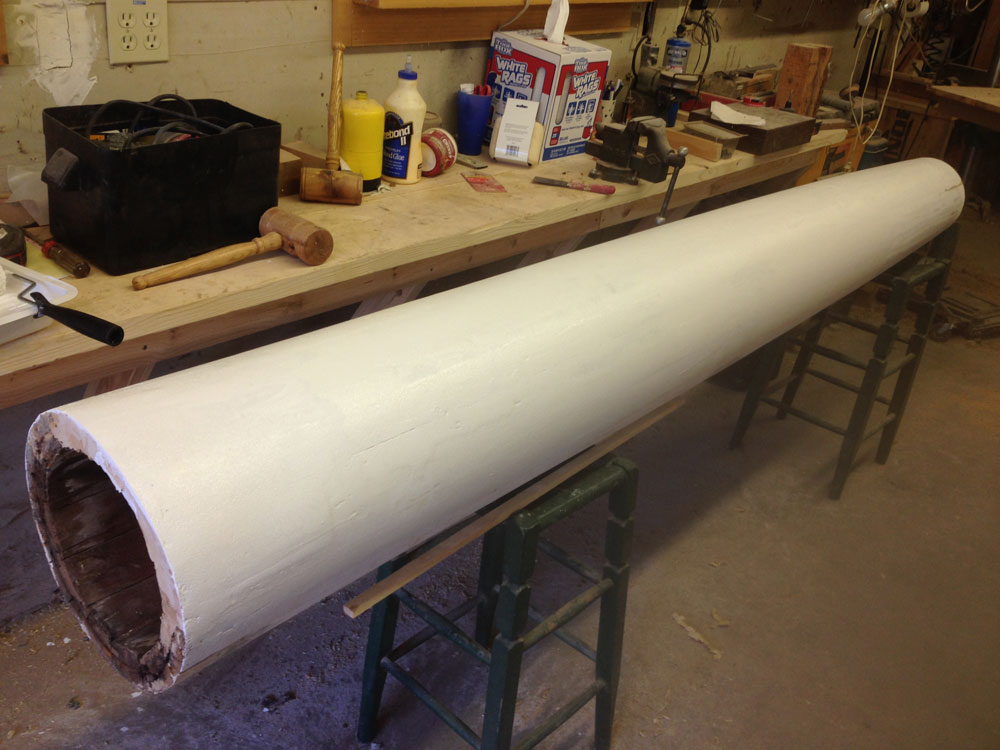
As you might observe in the picture below, the important detail is to have the wood epoxy and wood completely fill the damaged section with no voids inside that may later encourage deterioration.
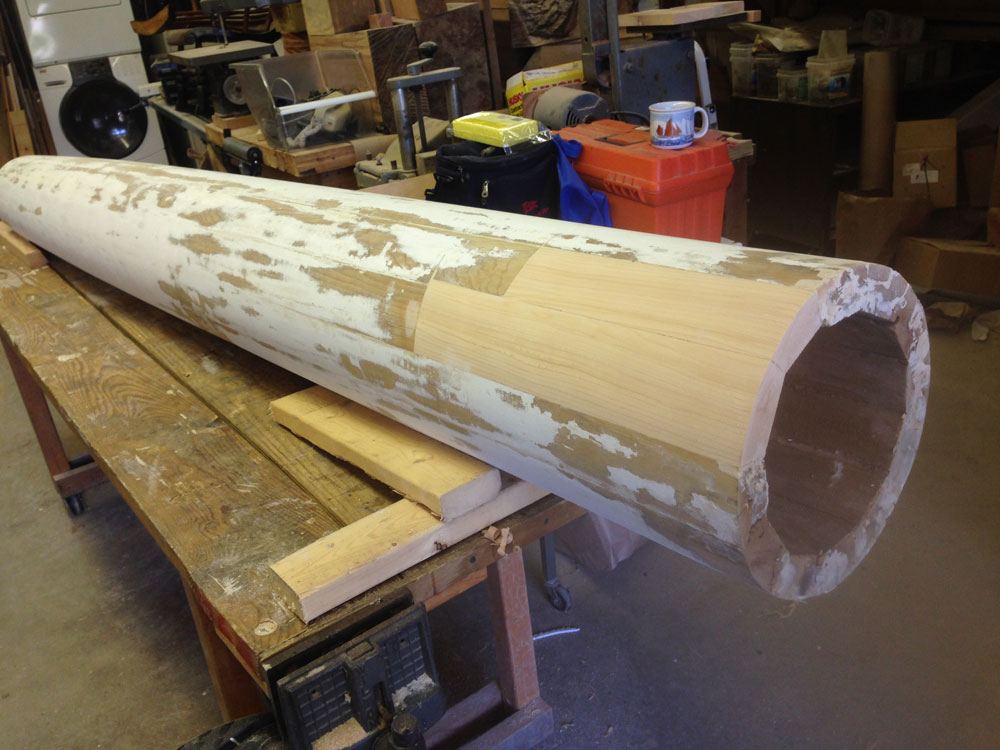
Using a combination of hand and power planes and sanders, I rounded and blended the repaired parts to reproduce the column profile.
After squaring off the ragged end (bottom of the column), I thoroughly sanded and prepared the entire column for a new primer.
Using a full-body primer, "Kilz," I was able to completely obscure the repair and leave each column ready for installation and a final coat of paint on-site.
The repaired columns were ready to be picked up and transported to the job site by the contractor who informed me later that everyone was happy with the work and the result.
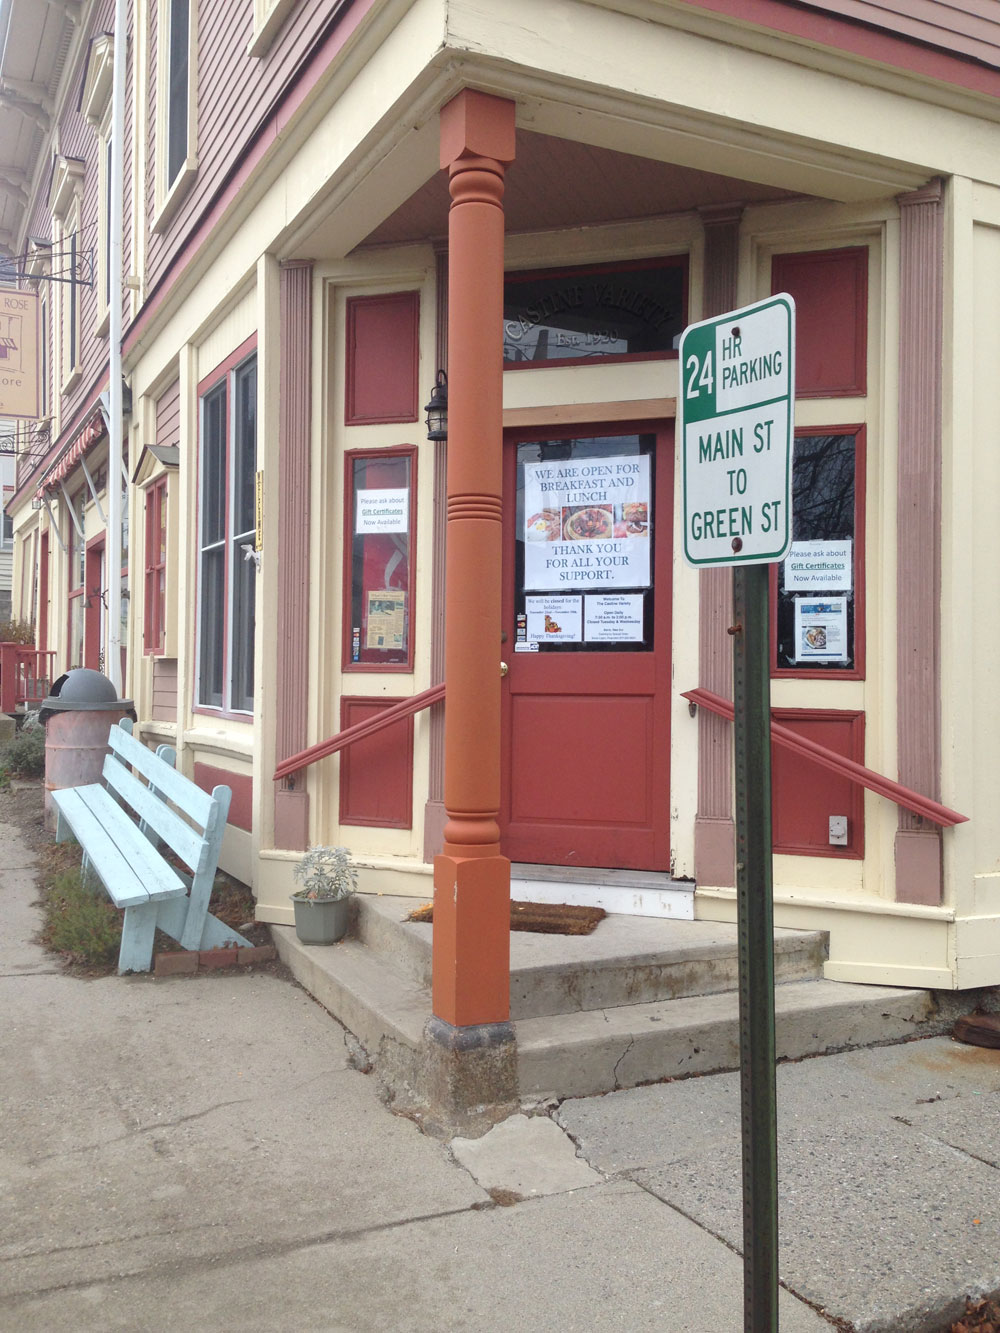
Similar to the first project, the second repair project started with the building owner catching me in town this past fall and asking me if I would be willing to turn him a new support column for his commercial building, "The Corner Store." He explained that his 11' corner post had rotted at the base, and he wanted to replace it as part of his general exterior building repair for the business that rented from him. Once again, I said I would be more than willing, but would also be happy to quote him a potentially lower price for repairing it. I confess, I knew the post and suspected I was on firm footing.
When he delivered the post with his contractor, it took two of us to carry it inside my shop. We carefully examined the damage together, and I suggested that if I cut the post above the rotten section at the bead, I could do the following to fix it:
-
Glue up a new laminated post base of western red cedar
-
Turn the rounded sections and detail to match
-
Use a substantial oak pin and reassemble the parts in such a way that the contractor could trim the top to the correct size
-
Prime it with West System for additional weather protection
-
Paint it to match
He agreed to the fixes and I was left with the damaged post.
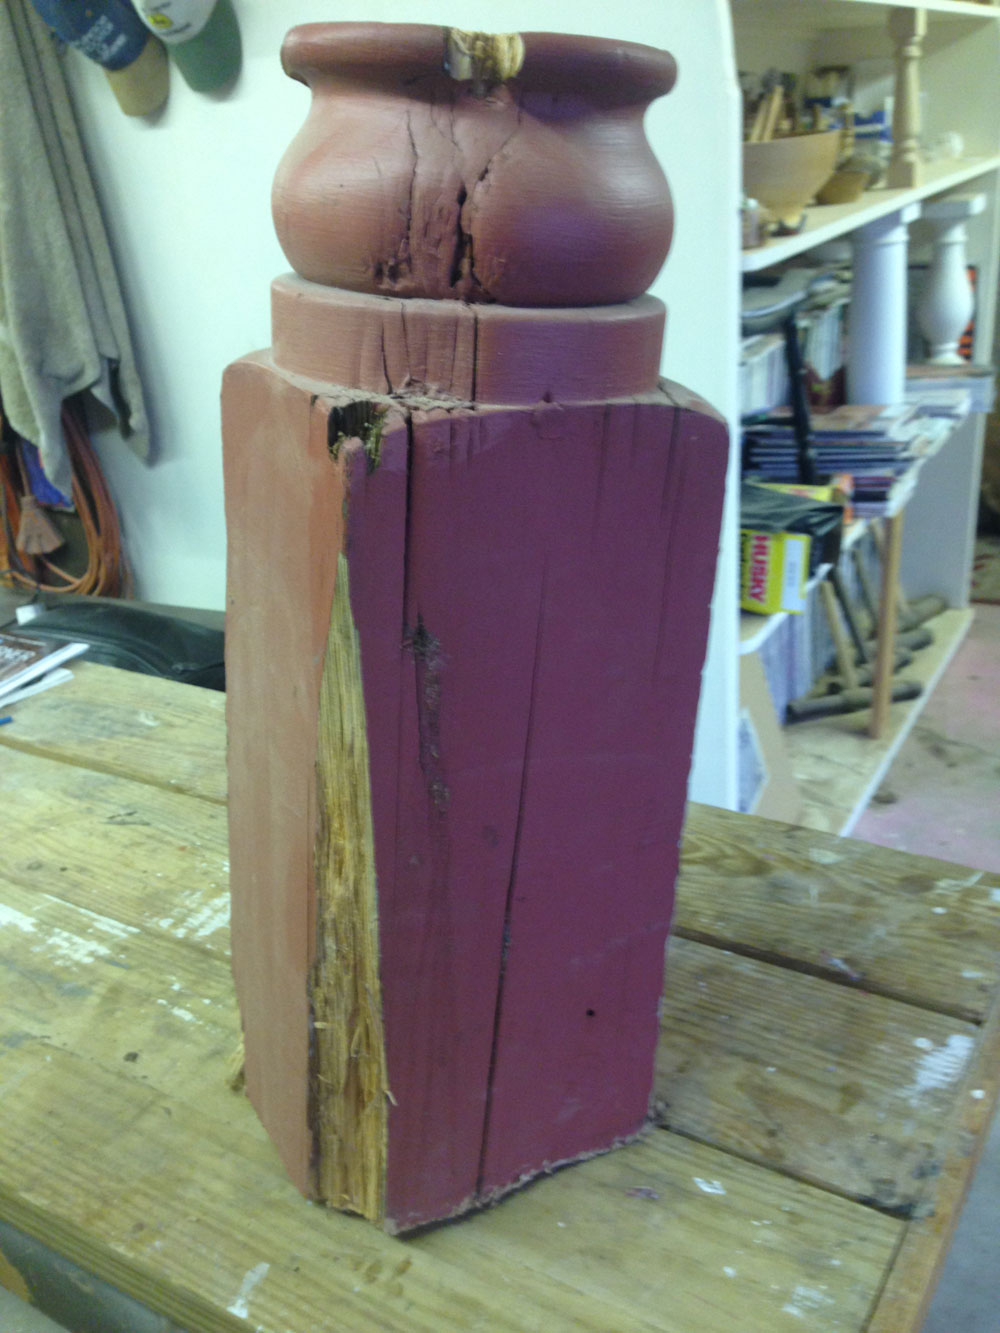
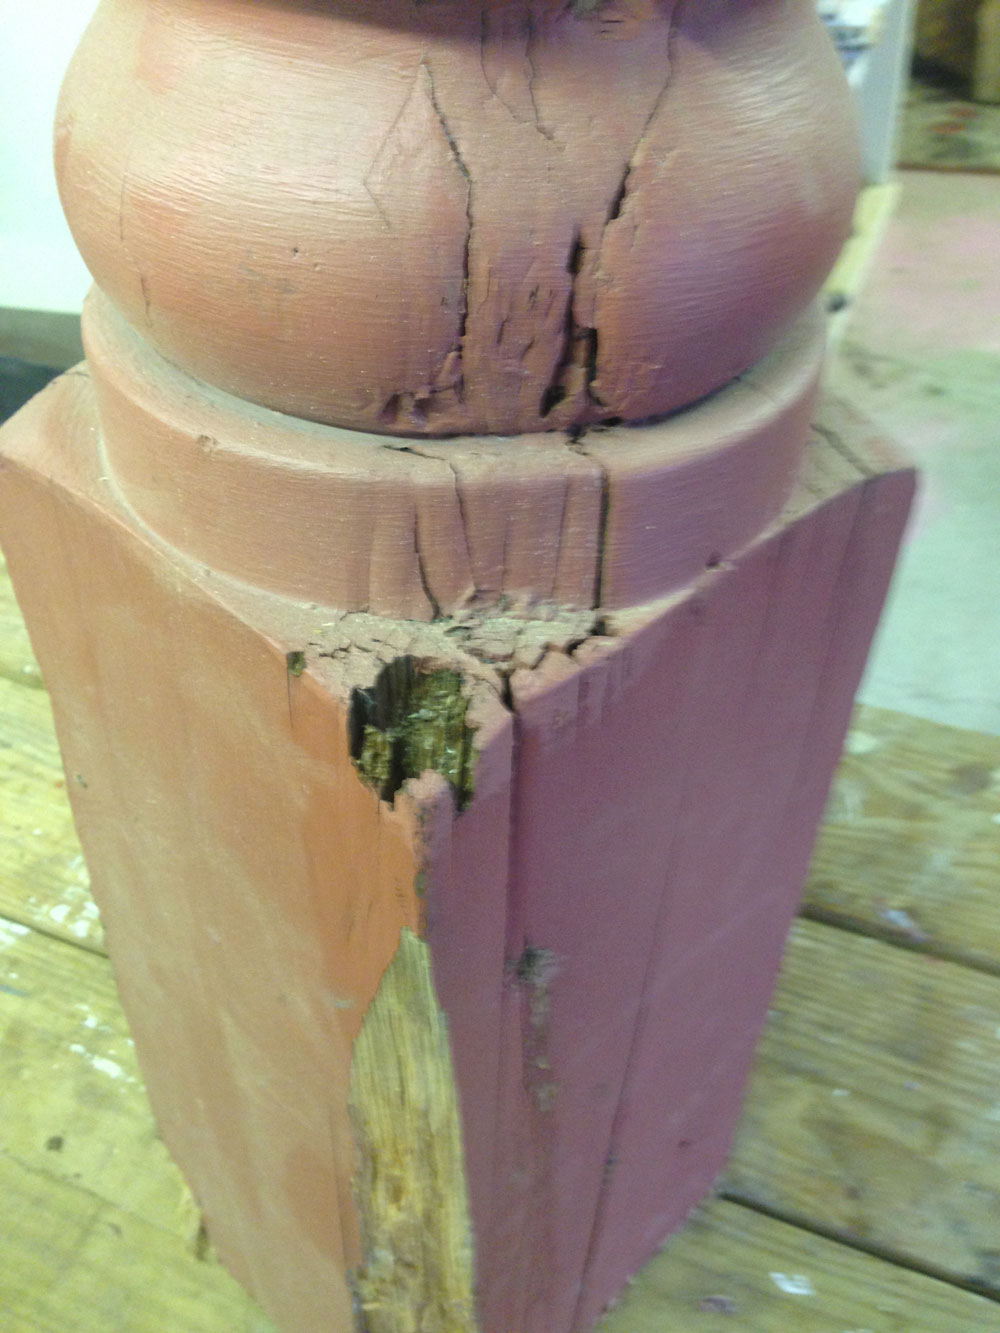
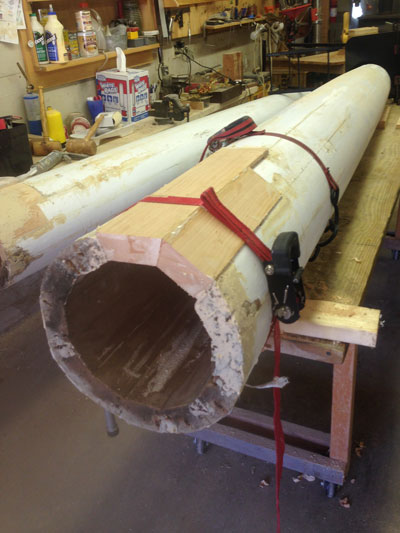
The original 8" X 8" post was made of laminated pine boards that over time had rotted at the base (as is so commonly the case.) Probably due to the glue and length, it weighed nearly 200 lbs. Observe the damaged sections of rot that were rapidly growing up and through the post.
Once cut off at the top of the bead, the rotten section was easy to manage and limited the quantity of new (expensive) wood that I would need.
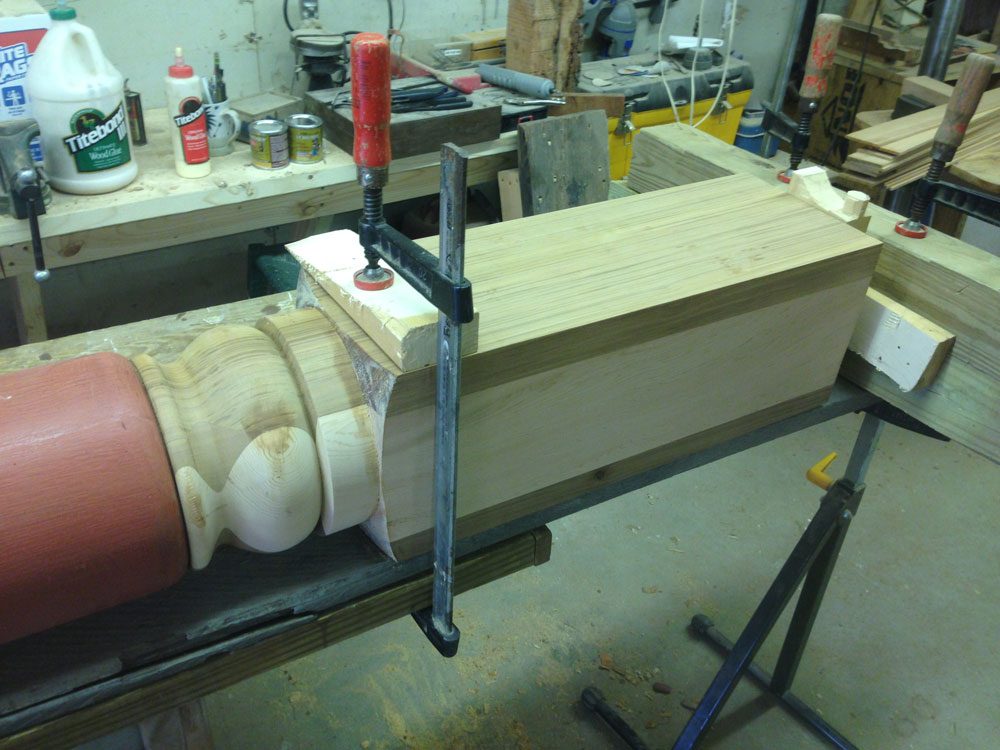
After laminating the western red cedar 5/4 boards using the trusty Titebond III glue and turning the shoulder, beads, and cove on the lathe, it seemed natural to set up a 12' long board to orient the new section square and true it with the original section so the two square pommels would line up.
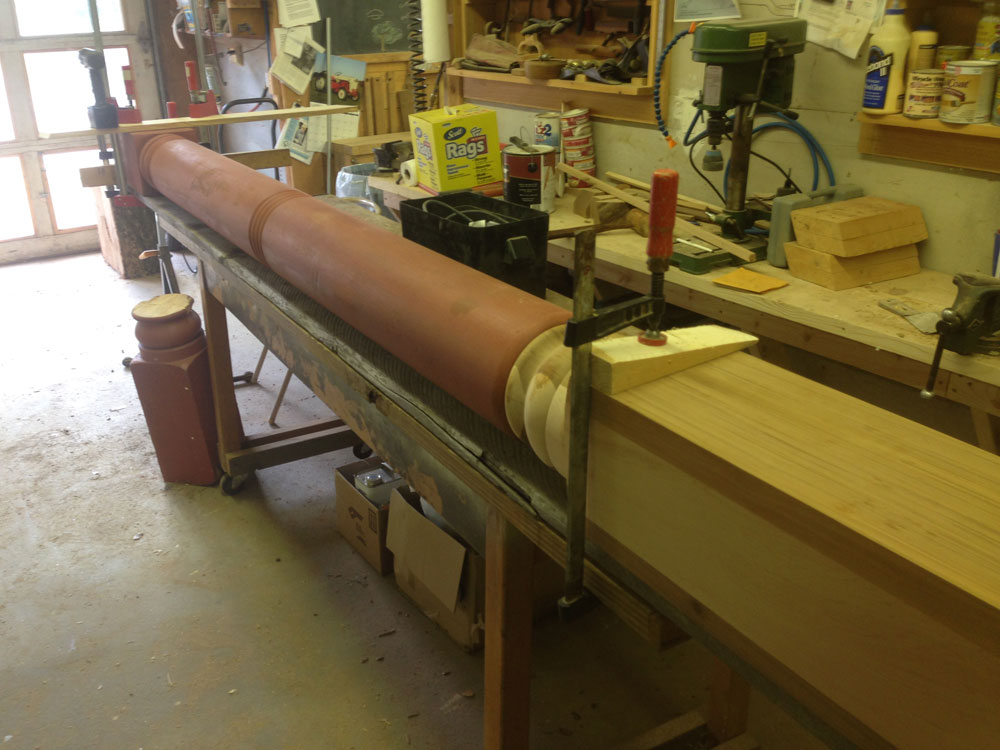
After drilling a 1-1/4" hole in the center of each section 6" into each part of the post, I turned a 1-1/8" oak pin 11" long and used a generous helping of the PC Woody wood epoxy to connect the two sections. By using a smaller pin, plus the pudding-textured epoxy, I was able to more easily insert the pin in each part of the post and move it to a straight and true position oriented properly to its mate. Using straps and clamps, I allowed the buried epoxy to dry for two days to be sure it cured.
Once the epoxy dried, the sanding was complete, the new section was primed, and the painting began.
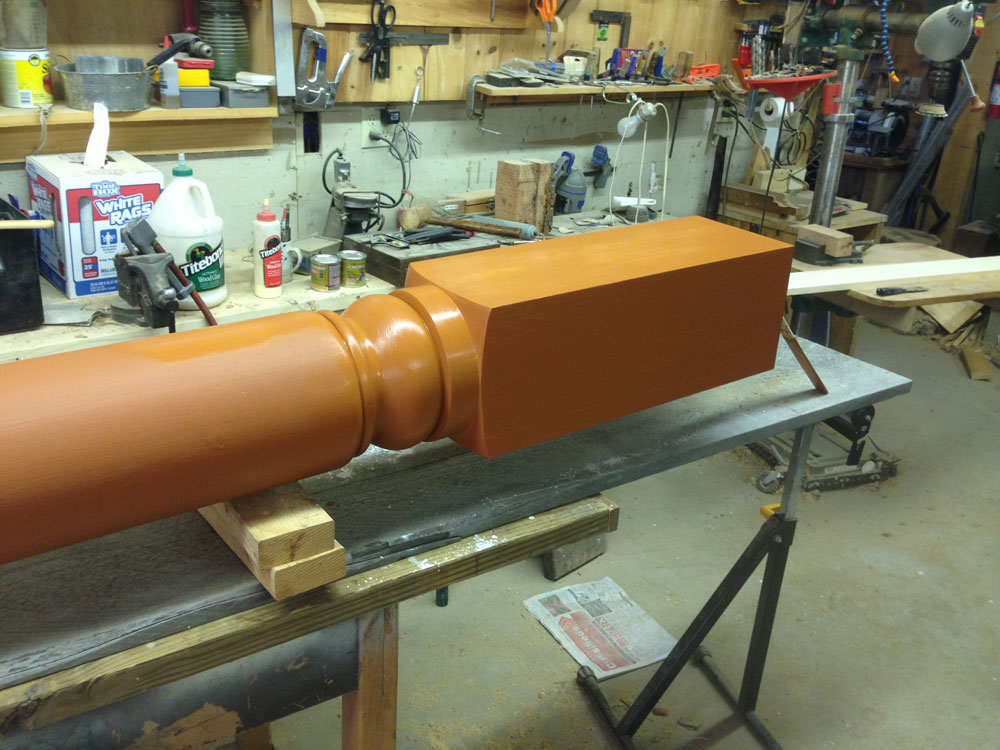
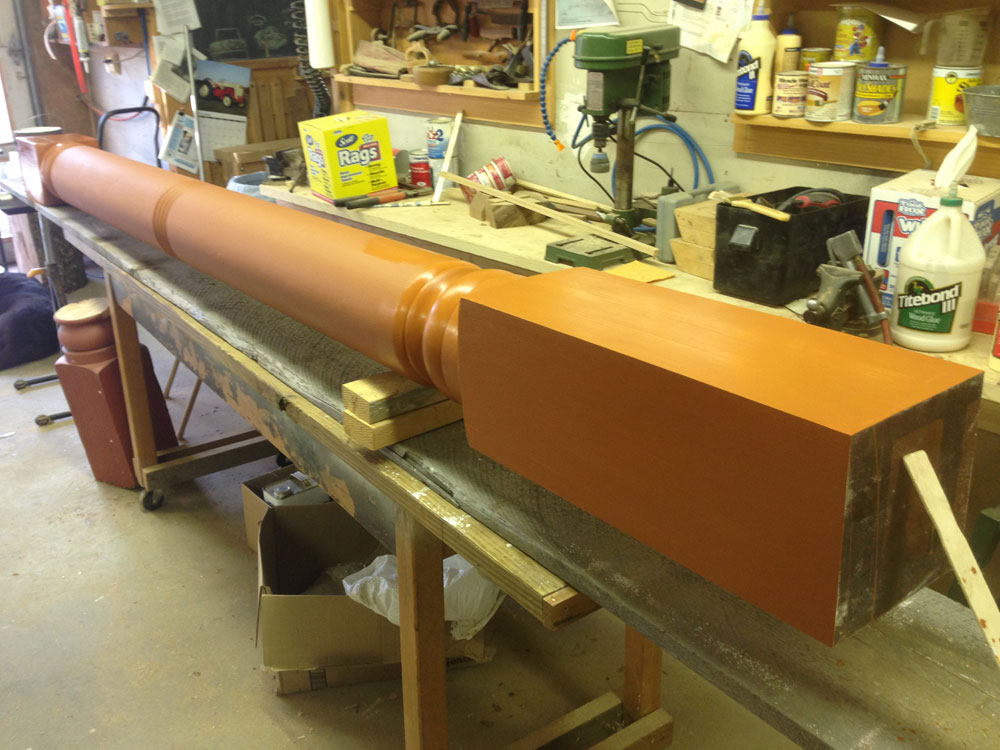
With the first coat complete and the entire post sanded, the second coat of paint finished the job and the post was ready to be picked up. While I am not a particular fan of the color, the owner supplied the paint of his choice, and I was not asked to sign this as a work of art.
Later, after the contractor picked it up to transport and install it, I stopped by the store to inspect it in place. Happily standing, it looked as if it had always been there just as I'd hoped. With the new base of western red cedar also coated on the bottom and sides with West System, I suspect it will be there long after the owner and I have launched.
My satisfaction with both of these repairs came from salvaging the good wood and saving the owners money that would have been spent mainly on new materials had I made a complete replacement. The challenge of making these reapirs involved little turning, none in the first case and minimally in the second case, but innately lay in ending up with a successful repair that while appearing "as good as new" was in fact better than the original when it was new. The secondary benefit comes from working with other professionals to make their work successful, timely, and satisfying.
Located in Castine, Highlands Woodturning gallery and shop offers woodturning classes and shop time,
a gallery of woodturned art, custom woodturning for repairs, renovations, and architectural installations.
Primary woodturner Temple Blackwood also demonstrates woodturning at Castine's Wilson Museum
Wednesday and Sunday afternoons in July and August as part of the museum's "Living History" program.
You can email Temple at
temple@highlandswoodturning.com
Take a look at Temple's Website at
http://www.highlandswoodturning.com/.