|
Click on any image to see a larger version.
Recently, the need arose for a curved sanding block. I considered using a dowel and wrapping it with sandpaper. In my experience, that method works but soon the sandpaper begins to wrinkle up and slip, resulting in frustration and wasted sandpaper. It occurred to me that perhaps using a technique known as split turning to make a custom sanding block might be the best option.
My primary goal with this article is to inspire you to try split turning in some form, not necessarily making a sanding block.
What is Split Turning?
This type of turning is most commonly associated with furniture from the 16th and 17th centuries. Often the designs called for small wood columns to frame a grandfather clock or trim out the interior of a roll top desk. The columns were typically installed flat against a frame or edges of a cubby on a desk. At first glance, this looks like quite a puzzle as to how the maker was able to produce perfect half round columns. The secret to split turning is simply gluing a piece of heavy paper between two blocks of wood prior to turning.
The Process
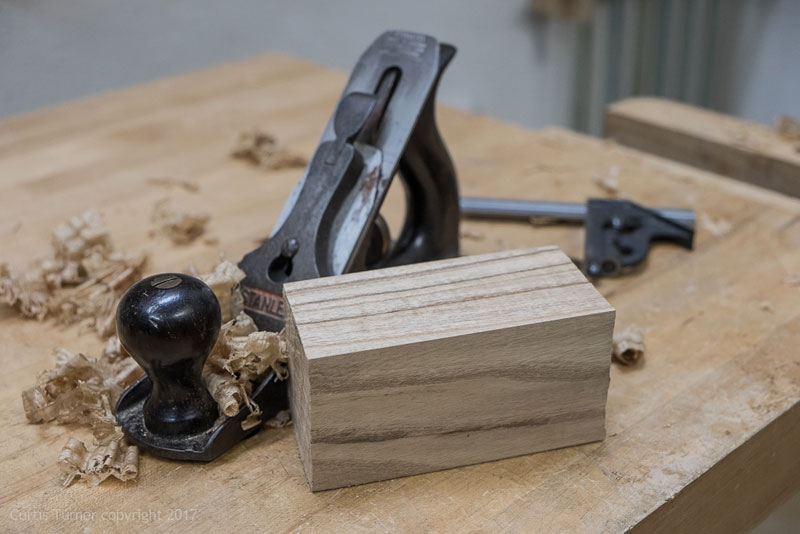
I first began by squaring the stock with a No. 3 Stanley Smoothing Plane.
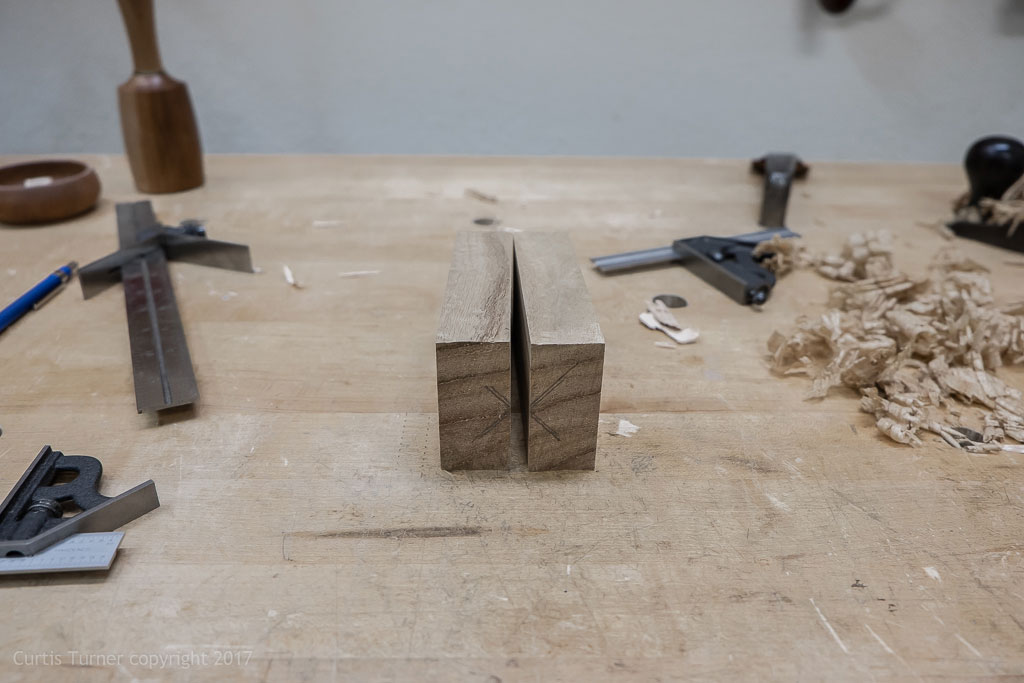
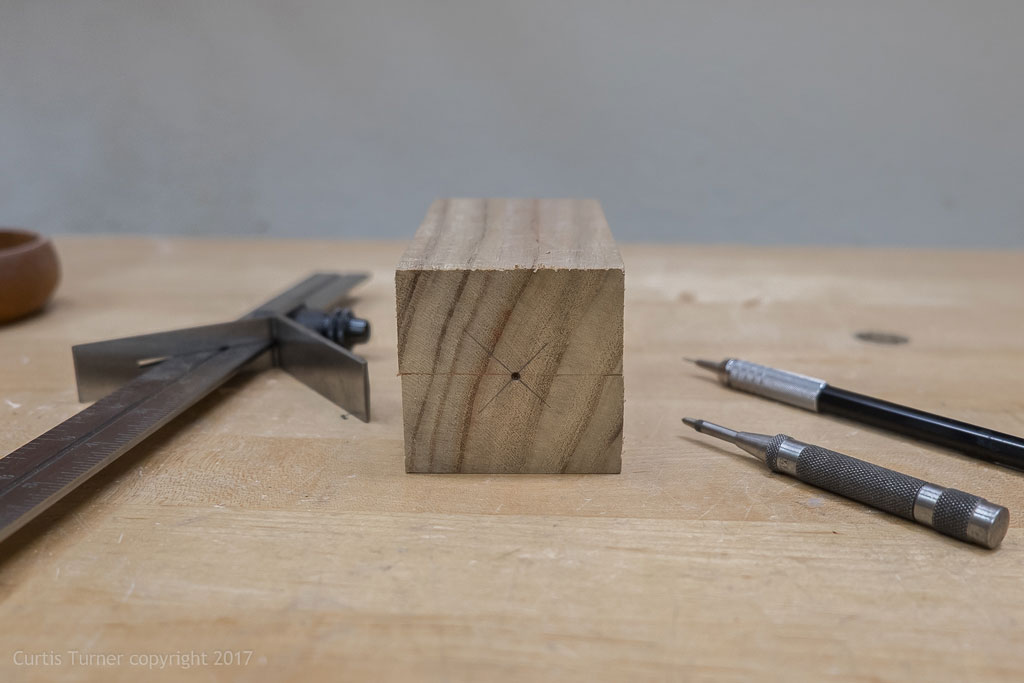
I planed one side flat then used the tablesaw to true up the remaining sides. Then I marked the center on each end of the blank. A line was drawn to connect the center points. I then cut the blank in half on the tablesaw.
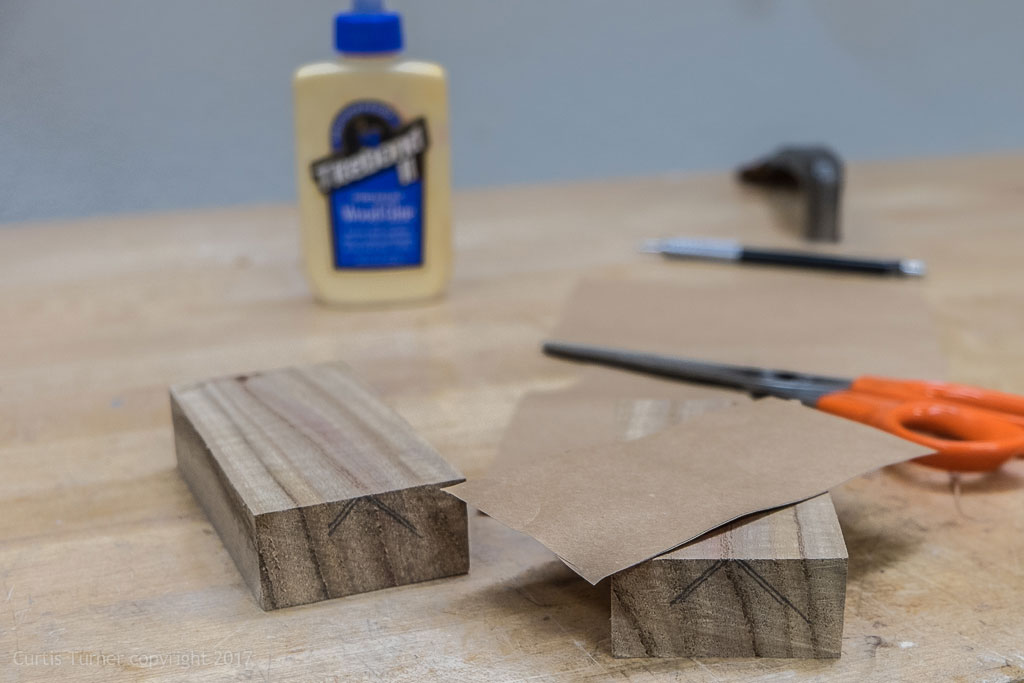
I used a small piece of brown paper cut from a grocery bag to glue the two halves together.
I let that dry overnight. I then re-marked for center and punched a center point with an
Automatic Center Punch.
I recommend using fresh
Titebond Glue
and evenly spreading the glue over both halves of the blank. There must be enough glue in the joint to saturate the paper to make a good bond. The paper provides enough holding power to allow the piece to be turned, yet weak enough to permit a clean slit along the glue line.
Drilling
My plan was to fold the ends of the sandpaper over one half of the block and fasten the other half to hold the sandpaper in place.
I wanted to have the option of adding a screw to hold the parts in place while sanding. I drilled a pilot hole through the side of the blank while it was still flat. This is a safe and accurate method to drilling a hole on a blank that will be turned later. I countersunk the hole once it was turned round and off of the lathe.
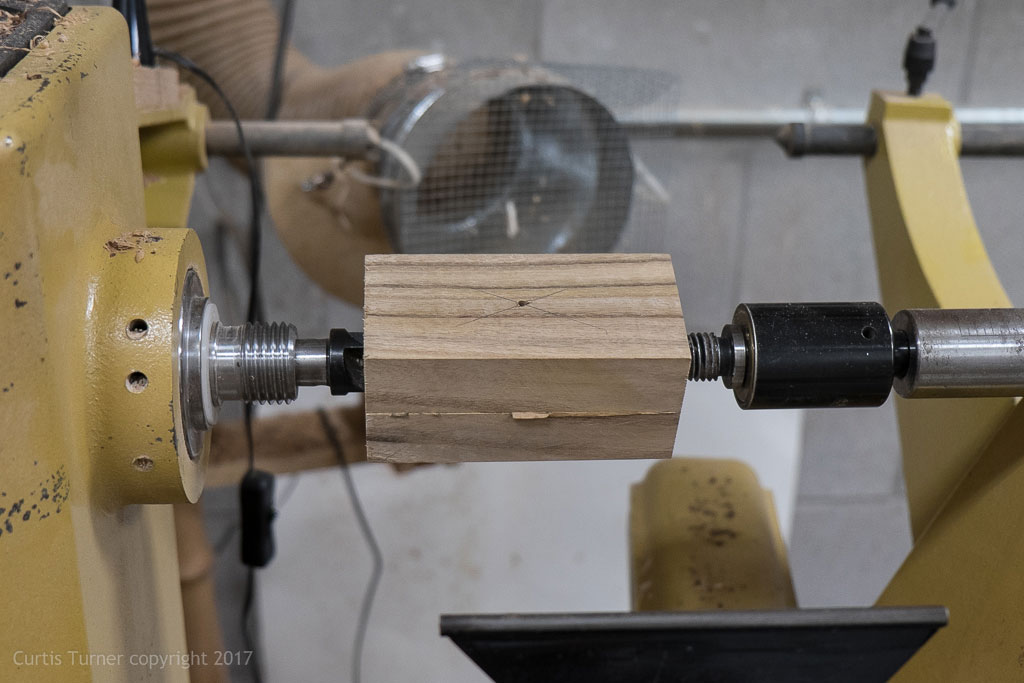
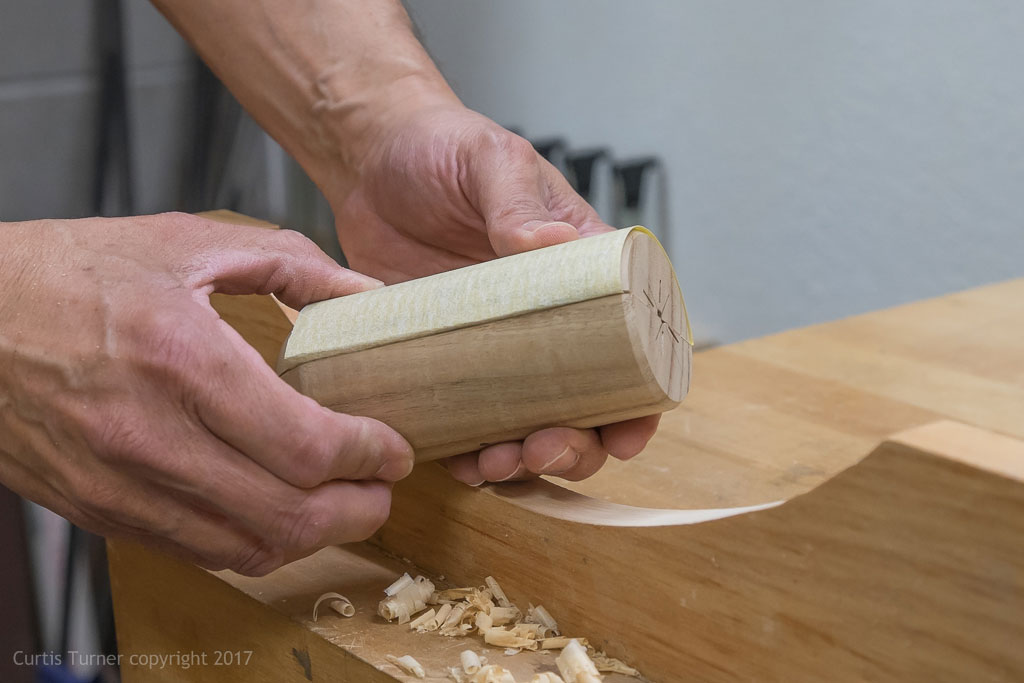
Mounting
Next, I mounted and turned the blank on the lathe.
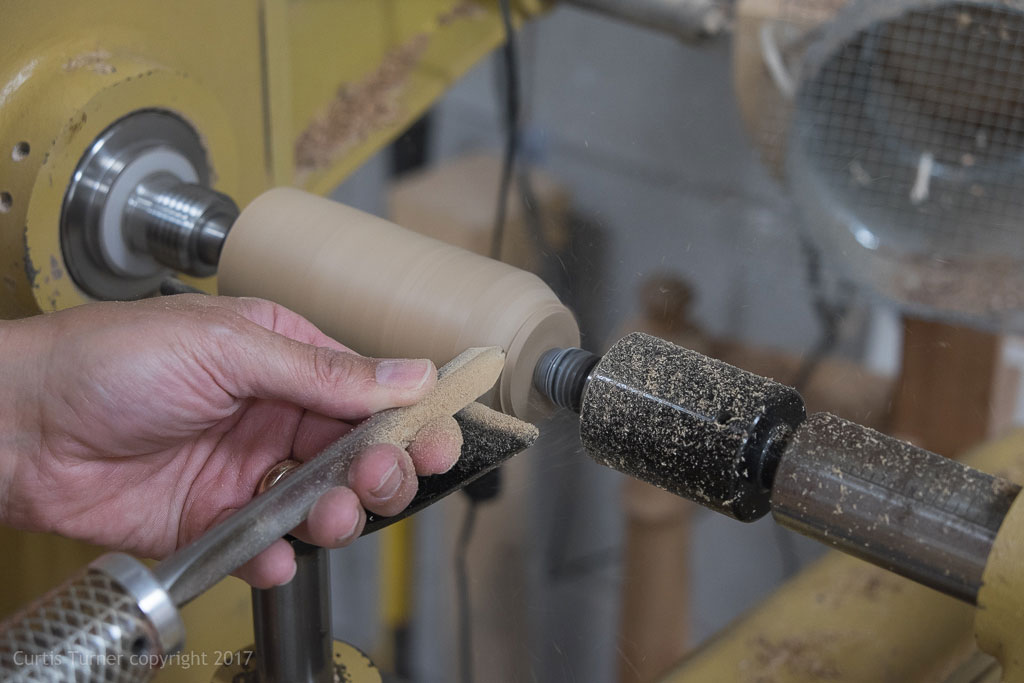
Of course, caution should be exercised while turning because the structural integrity of the blank has been modified. I rounded over one end to give myself a narrow curve to use for sanding in tighter areas.
The other end was only chamfered. I did not bother to sand this project.
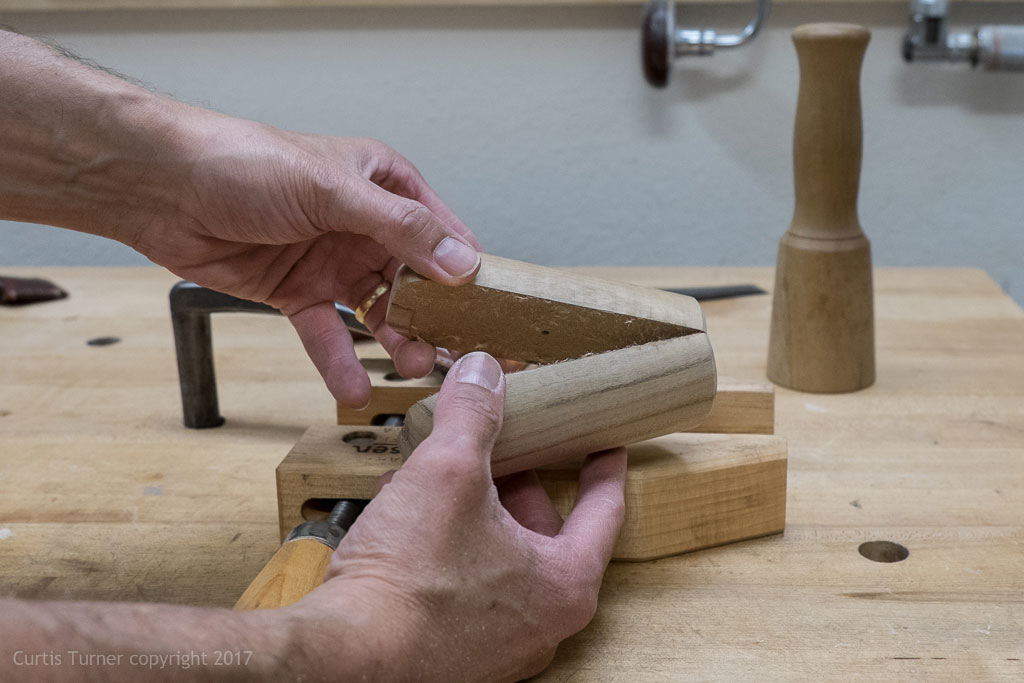
Splitting
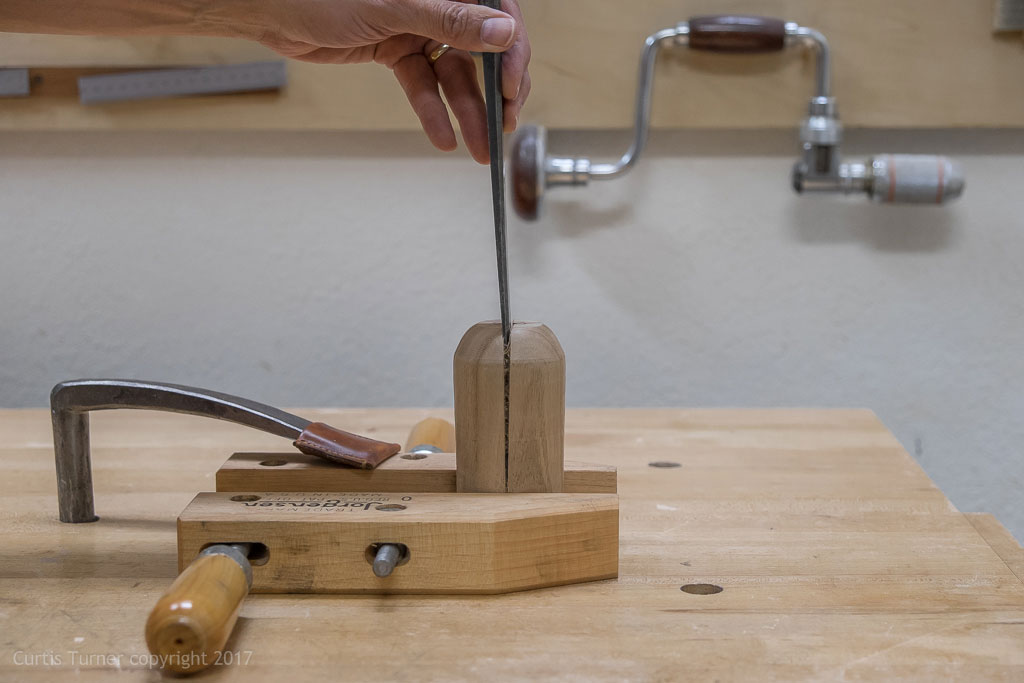
Once removed from the lathe, I held the piece with a
Wood Handscrew Clamp. I applied just enough clamping pressure to hold the piece upright and prevent it from skittering across my bench during the splitting process. I placed a long, thin paring chisel along the glue line.
This split rather easily with a few light taps with a mallet.
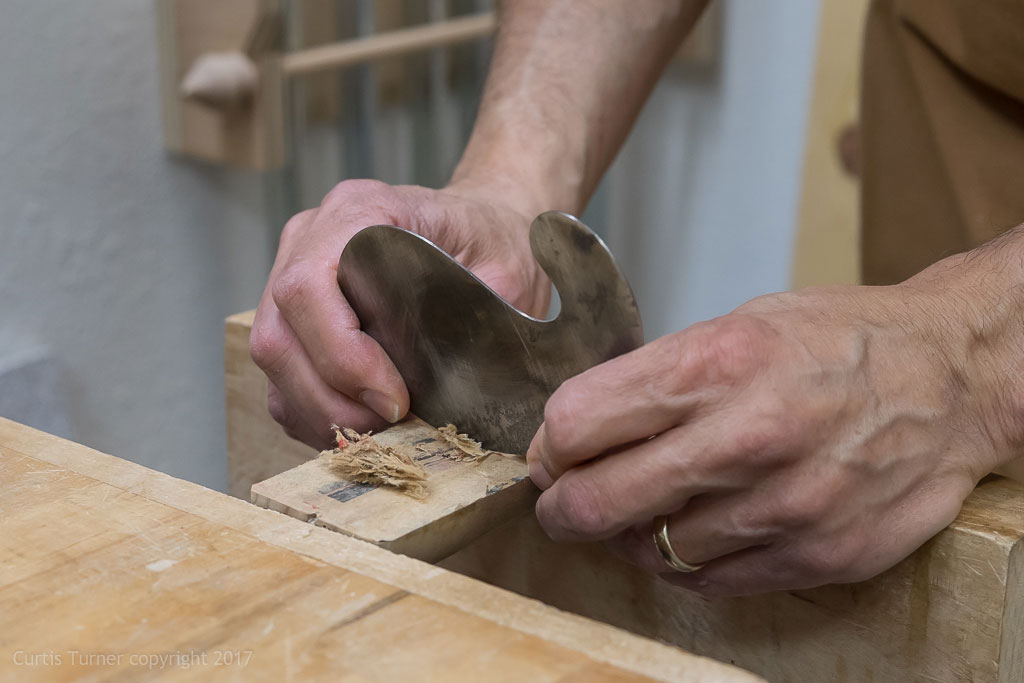
Improving the Grip
I wanted to ensure the block held the sandpaper firmly at the edges. I decided to use a
Goose Neck Scraper
to create a shallow hollow down the center of the block.
This hollow will allow more pressure to be exerted at the perimeter when the blocks are squeezed together, thus holding the sandpaper securely.
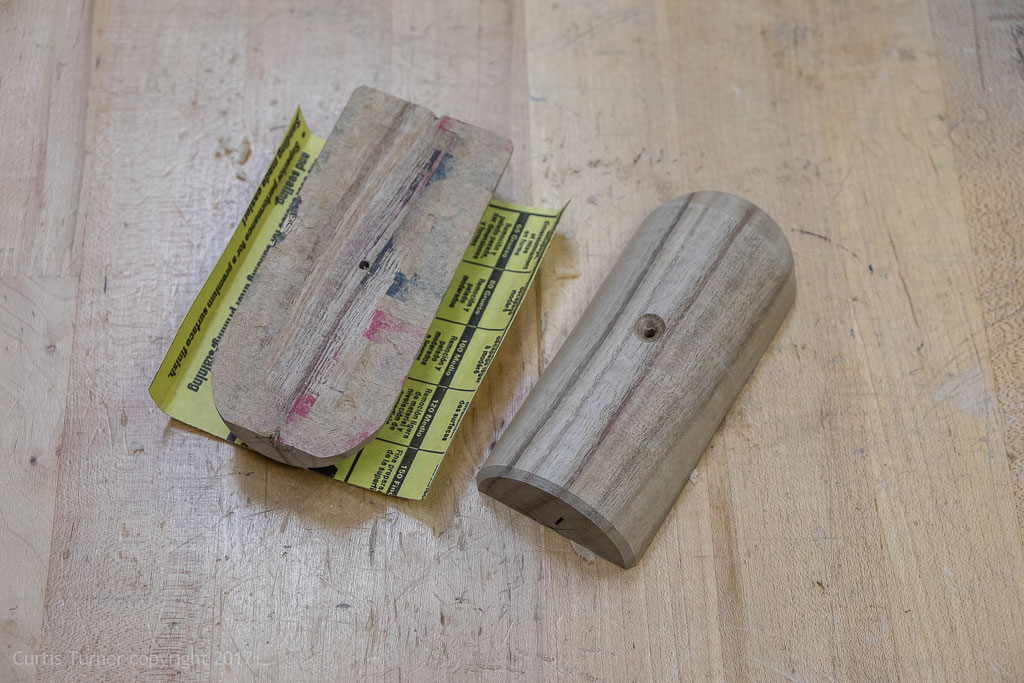
Performance
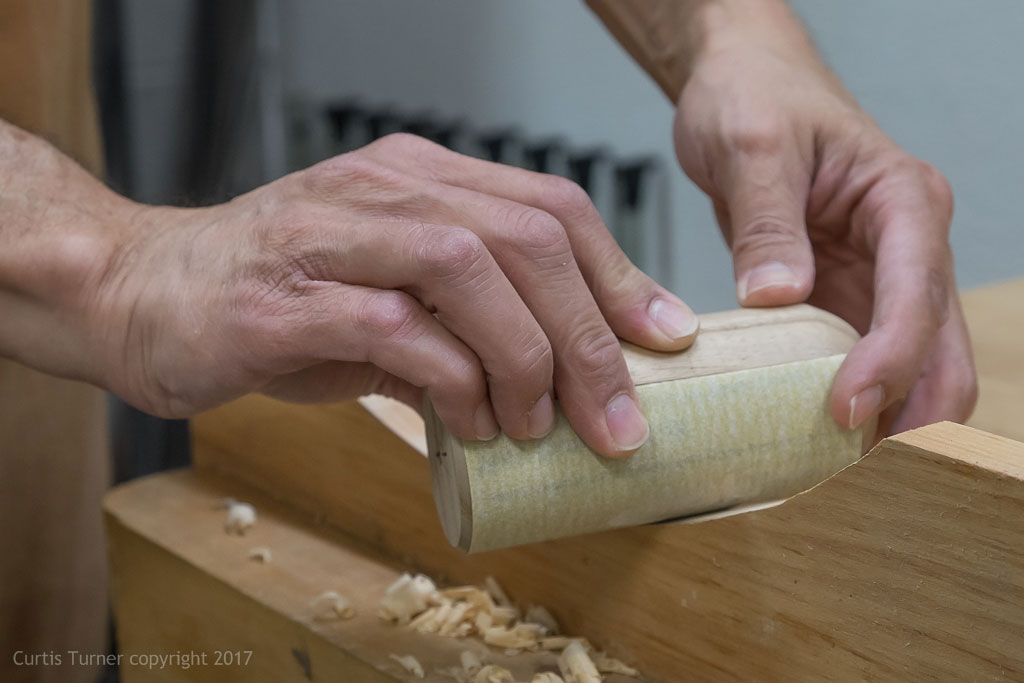
I am pleased with the results. I found that a screw was not really necessary to firmly hold the sandpaper.
Simply installing the sandpaper and handholding the parts together was sufficient to hold the sandpaper in place.
A sanding block can be customized to fit a range of needs. For example, soft foam backing material could be attached to the block to better follow contours. This would be a good project to experiment with, if you have not tried spilt turning.
Good luck and be safe.
Curtis is a former President of
Central Texas Woodturners, a member of the
American Association of Woodturners, and a member of
Fine Woodworkers of Austin. Curtis teaches and demonstrates nationally for Lie-Nielsen Toolworks. He also teaches for TechShop. He owns a studio where he teaches and works. Curtis lives in Central Texas with his wife and four young children. Take a look at his website at
www.curtisturnerstudio.com.
Return to
The Highland Woodturner
front page
|