|
|
|
|
Project: Turning a Spalted Maple Bowl
By Rick Morris
Duluth, GA
|
|
|

|
|
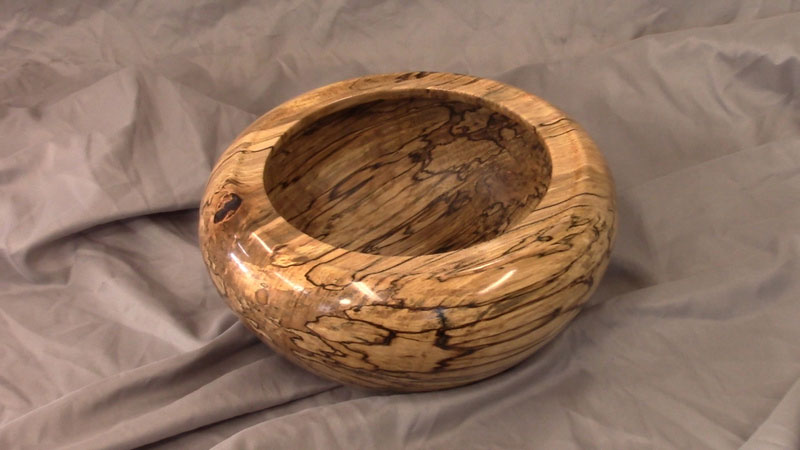
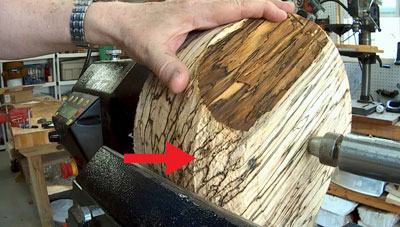
Figure 1 - A spalted maple bowl
|
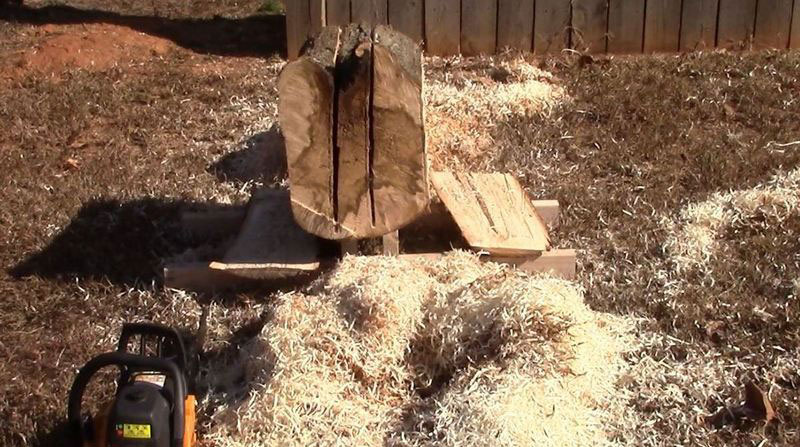
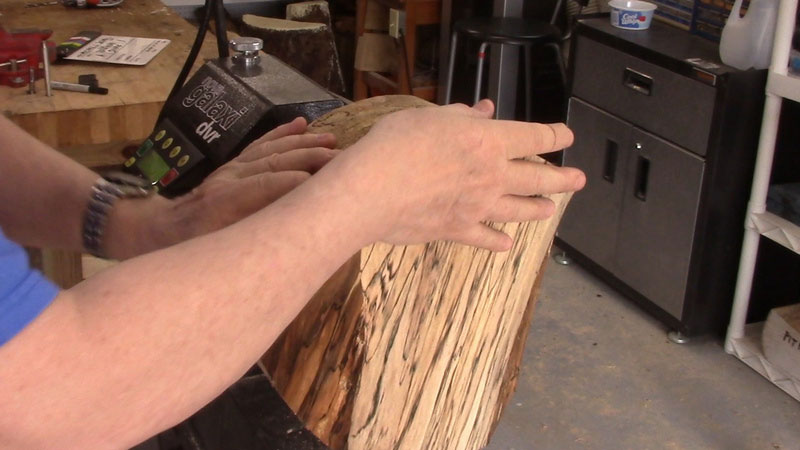
I recently was given several maple logs that had been sitting in a friend's yard for some time – I'm not sure how long, it was at least 6 months, probably a good bit more, considering the degree of spalting. My first step in turning one of those logs into a bowl was to get out my chainsaw and cut the log into two slabs.

|
|
Figure 2 - Cutting my log into two slabs
|
I make two cuts down the center of the log, one on each side of the pith. After that, I cut off the outsides of the log. This left me with two large slabs of maple, roughly square in shape.
|
|
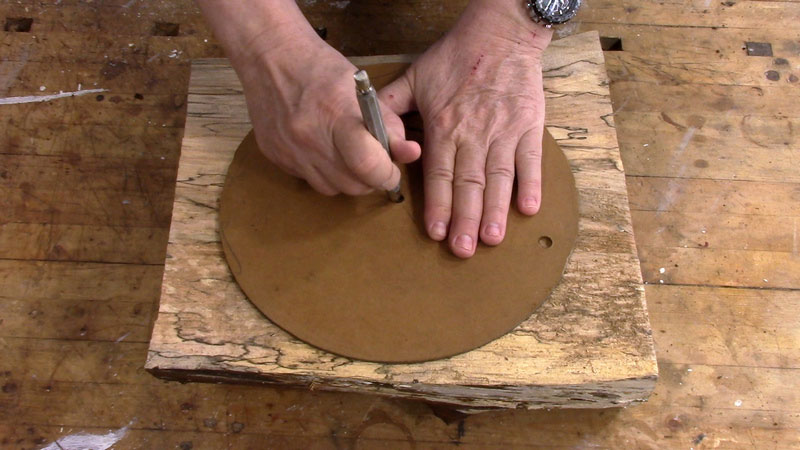
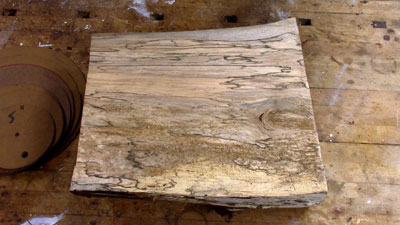
Figure 3 - A bowl blank from a spalted maple log
|
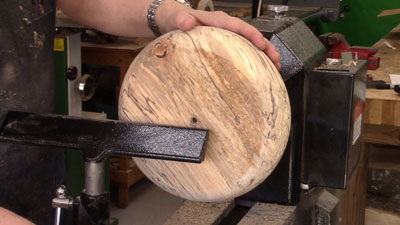
It doesn't look much like a bowl yet. I'm going to have to coerce it, I'm afraid. I have circle templates cut from hardboard – the circular cutouts are faster and easier to use than a compass. So I draw a circle on the blank and mark the center while I'm at it.

|
|
Figure 4 - Drawing the largest circle I can get on the blank
|
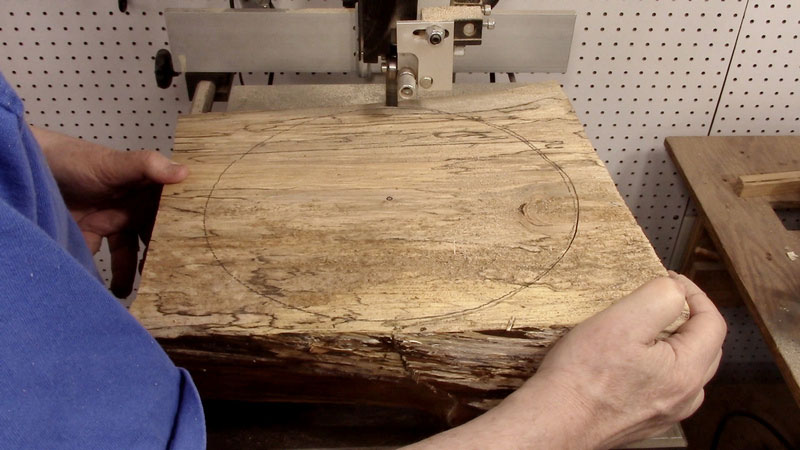
The next step is to cut the slab into a circular bowl blank. This is on the bandsaw, of course.

|
|
Figure 5 - Bandsawing the blank into a circle
|
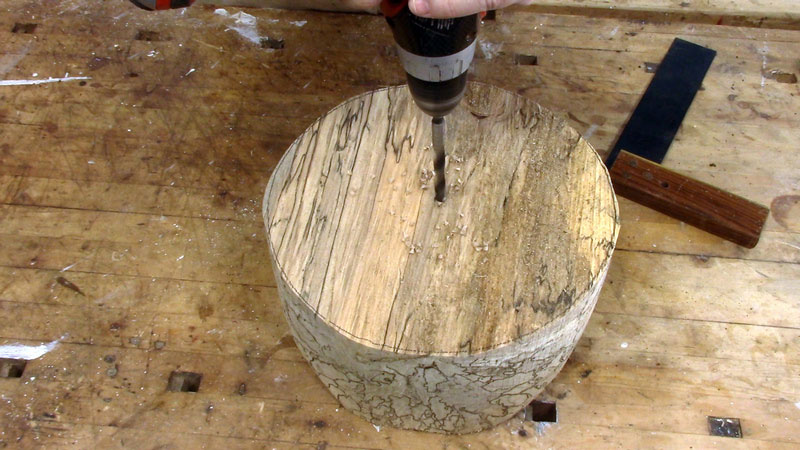
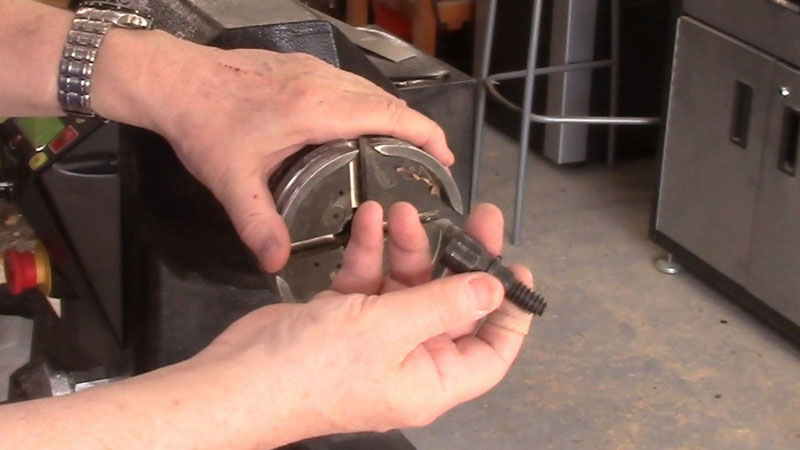
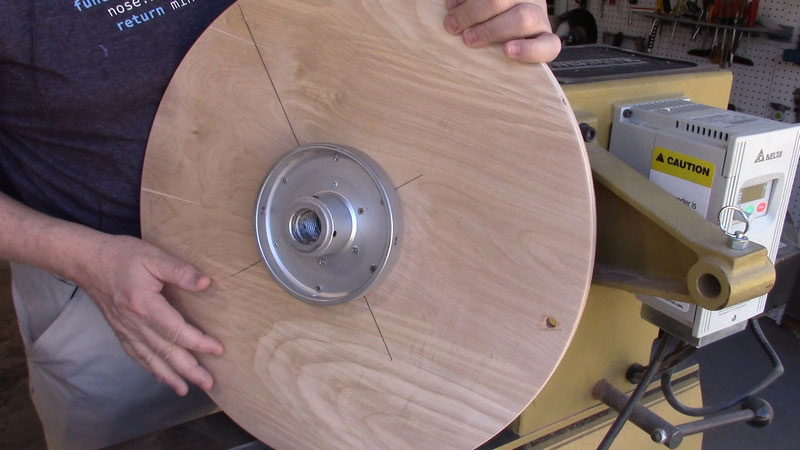
Then it's back to the workbench to drill a hole in the center of the blank. I'm going to mount the blank on a
woodworm screw
(held in my chuck), so I need a 3/8" hole.

|
|
Figure 6 - Drilling a hole for the screw chuck
|
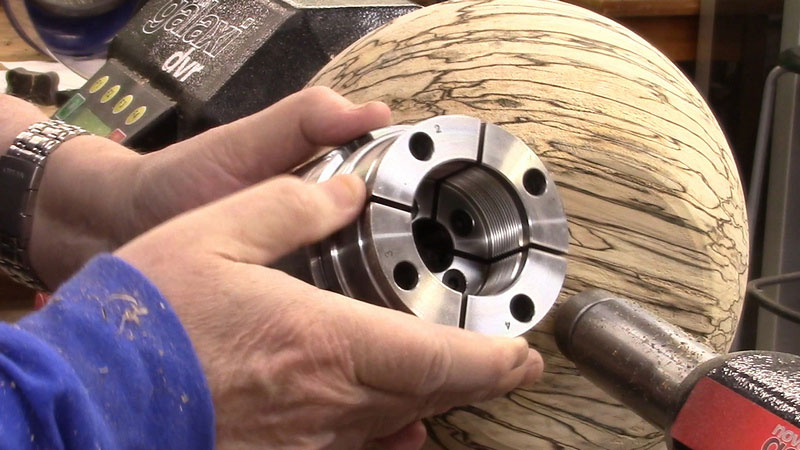
With the spindle of the headstock locked, I screw the bowl blank onto the screw in the chuck, until the blank is tight up against the jaws of the chuck.

|
|
Figure 8 - Screwing the blank onto the chuck
|
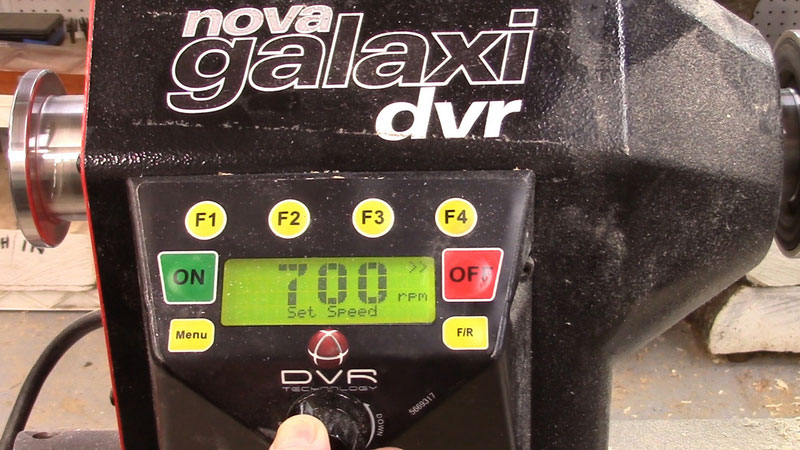
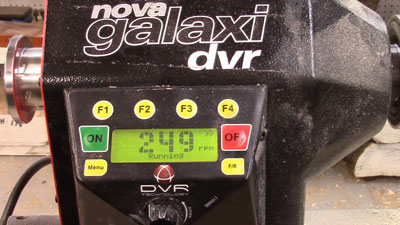
The blank is pretty much guaranteed to be out of balance. The two outside areas of the blank (that is, where the tree trunk curved) are uneven, and my bandsaw cuts are also not perfectly round. So I start the lathe off at a very slow speed.
|
|
Figure 9 - Starting at about 250 rpm
|
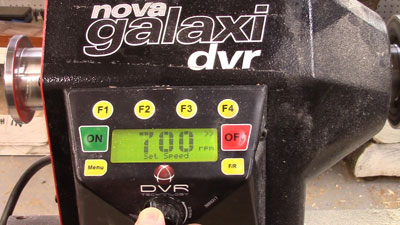
I gradually increase the speed until the lathe starts vibrating. Then I back the speed down until it stops vibrating. For this bowl blank, I find that the maximum speed I can start turning at is around 700 rpm.
|
|
Figure 10 - The fastest speed I can start at
|
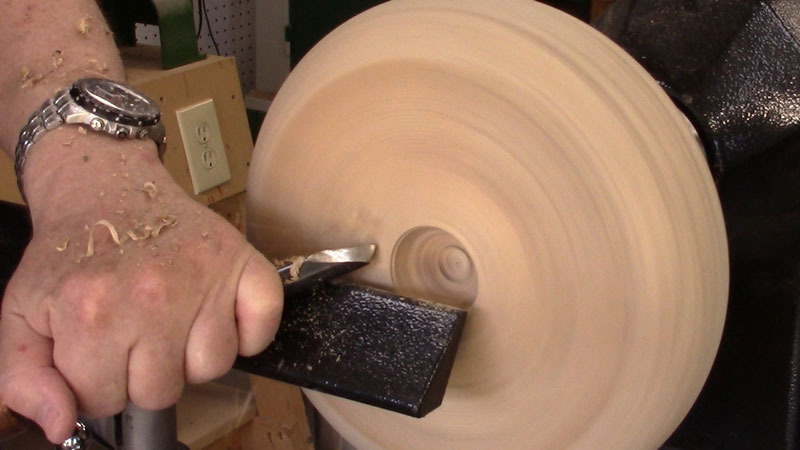
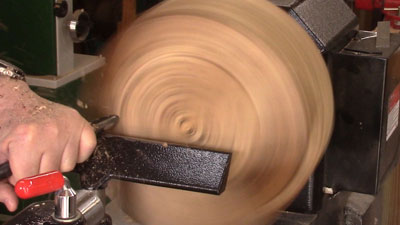
I start with a
5/8" Bowl Gouge, and my first cuts are to flatten the bottom of the blank.
|
|
Figure 11 - Leveling off the bottom
|
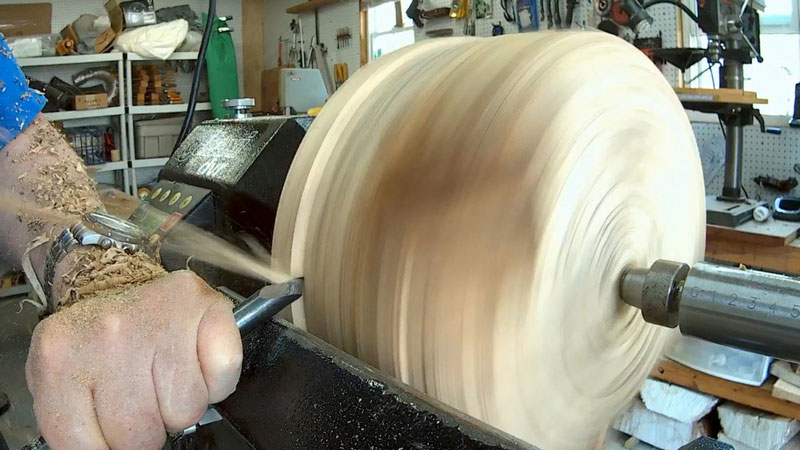
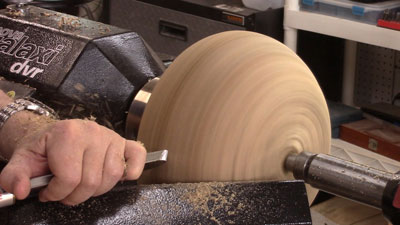
I then proceed to work on the outside of the blank. Both of these cuts are to get the blank into a slightly better balance, so I can increase the speed of the lathe.

|
|
Figure 12 - Turning the outside of the blank to get it even
|
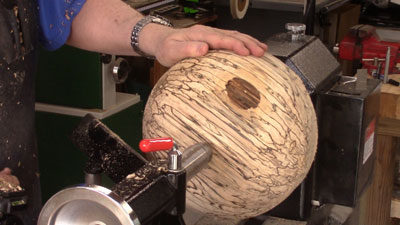
It's not quite in balance yet, but it's better. Take a close look at the lower right of the blank – there's a lot of grain-tearing going on. This spalted wood is very soft, close to being rotten! That grain tearing is going to cause me extra work during the turning.
|
|
Figure 13 - End-grain tearout
|
I increase the lathe speed just a little, and continue to cut the outside of the blank.

|
|
Figure 14 - Still getting the blank even
|
I'm almost at a non-bumpy circular bowl blank – just a little left of the bark areas of the log.
|
|
Figure 15 - Most of the bark areas have been cut away
|
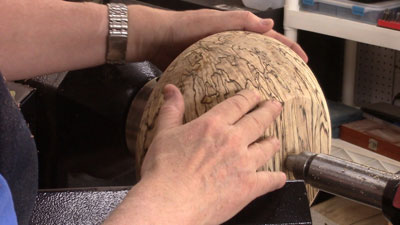
After more cutting and shaping, I've got the shape of the bowl's exterior defined.
|
|
Figure 16 - The final shape of the bowl is established
|
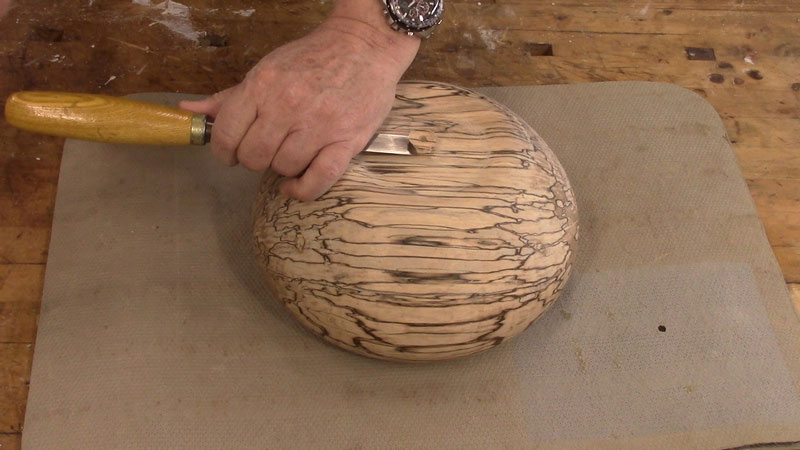
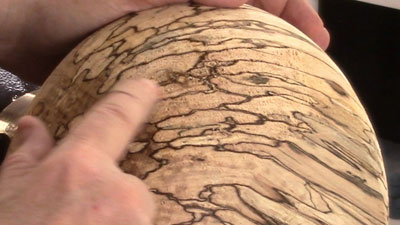
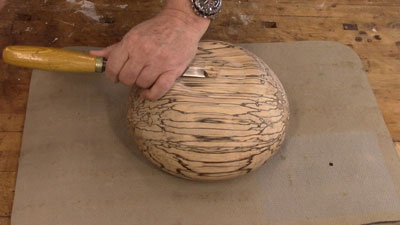
Did I mention the grain tearout?
|
|
Figure 17 - The grain tearout is mainly across the end grain
|
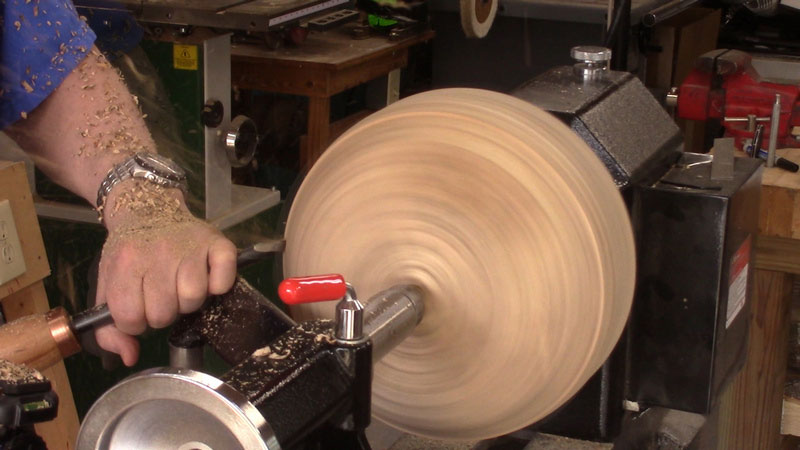
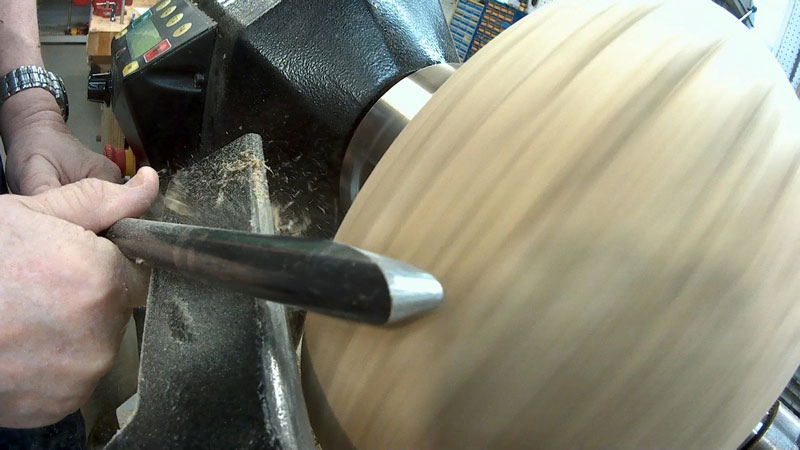
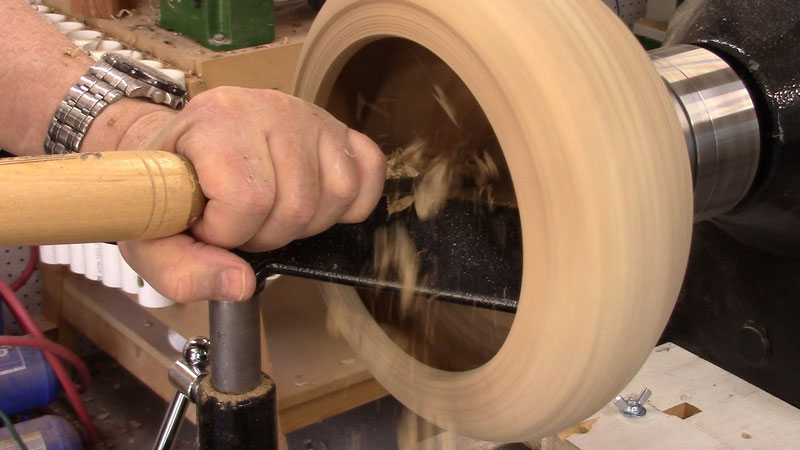
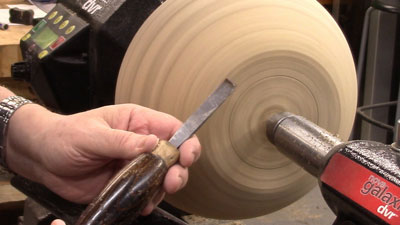
I remove the tearout by shear-scraping with a large scraper.
|
|
Figure 18 - Shear-scraping the bowl's exterior
|
Shear-scraping doesn't remove much wood, so it takes a good bit of shear-scraping to cut away the torn grain.

|
|
Figure 19 - More shear-scraping
|
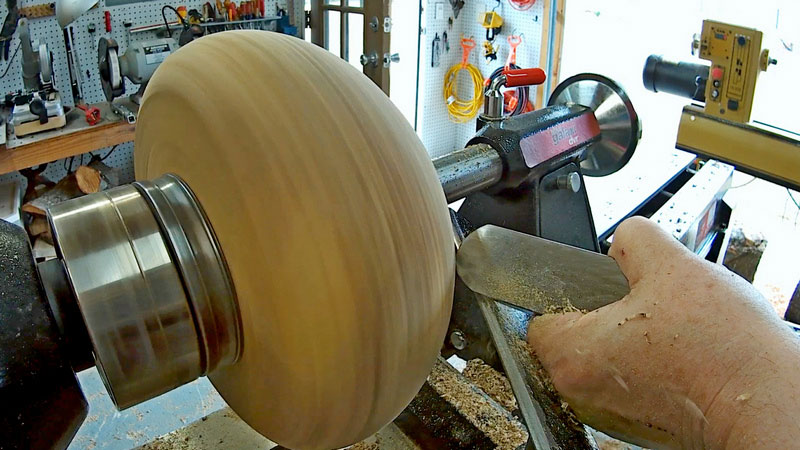
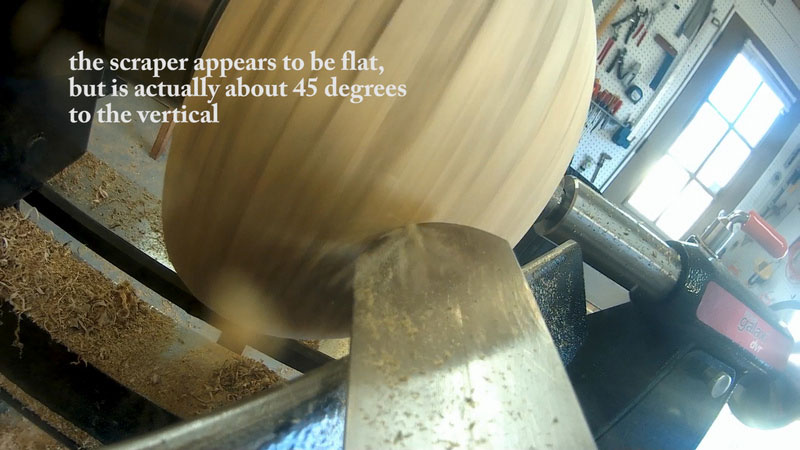
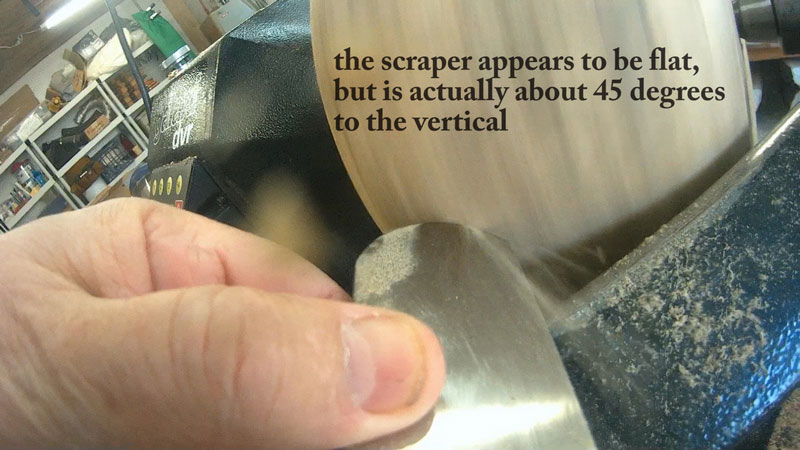
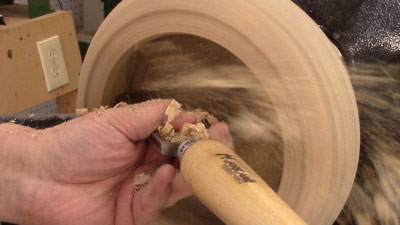
Ever wonder what shear-scraping looks like from the point of view of the scraper? Of course not, nobody in their right mind would wonder that. So here's a couple of pictures anyway.

|
|
Figure 20 - Up close and personal with shear scraping
|

|
|
Figure 21 - More shear-scraping
|
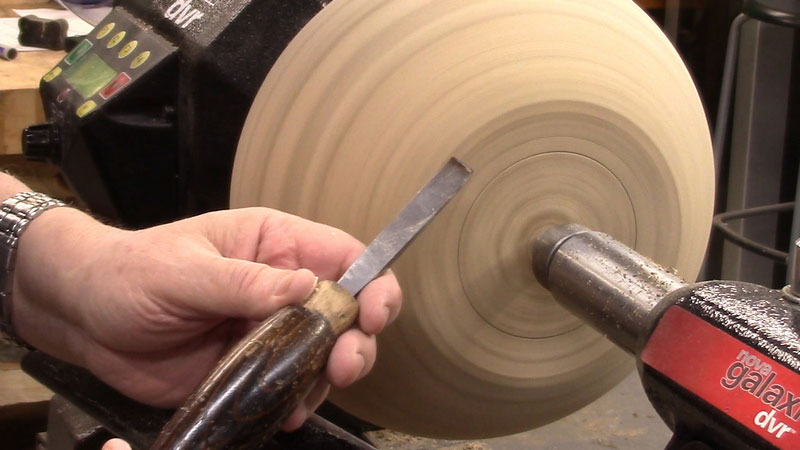
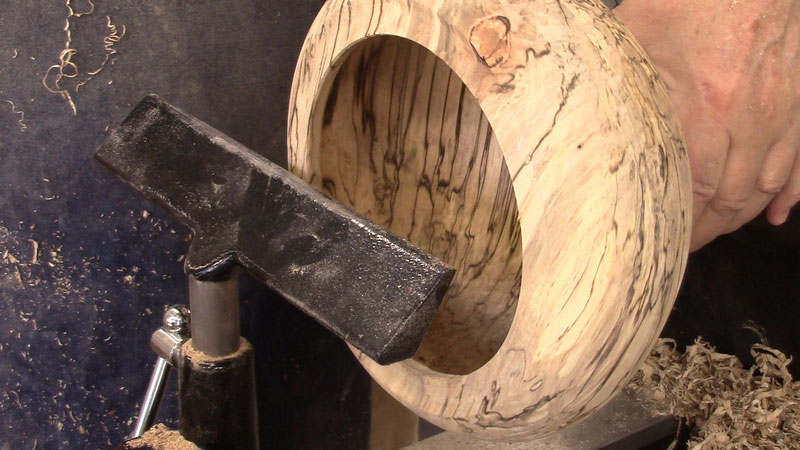
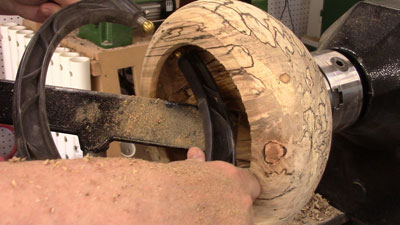
I also frequently shear-scrape with a
bowl gouge. It extends the time between tool sharpenings. (Note that for shear-scraping with a gouge, the wings of the gouge have to be ground back.) I have yet to decide whether a gouge or a scraper is better for shear-scraping.

|
Figure 22 - For a change of pace, I also shear-scrape
with a
bowl gouge
|
I mark the bottom of the bowl with straight calipers set to the diameter of the chuck jaws. To cut the recess for the jaws, I use a
1/2" Scraper
(originally a 1/2" skew), ground straight across (a side note – I bought this tool about 30 years ago from Highland Woodworking).
|
|
Figure 23 - A small scraper for cutting the recess for the chuck jaws
|

|
|
Figure 24 - Cutting a recess for mounting on the chuck
|
With the recess cut into the bottom of the bowl, I reverse the blank and mount it on the chuck. Now the opening of the bowl is facing out (and showing the screw-mount hole).
For this bowl, I'm using a
Record SC-4 Chuck
(one of the best chucks I've ever bought, I think) and 75mm (about 3 inches) jaws.
|
|
Figure 26 - The blank has been mounted on the chuck
|
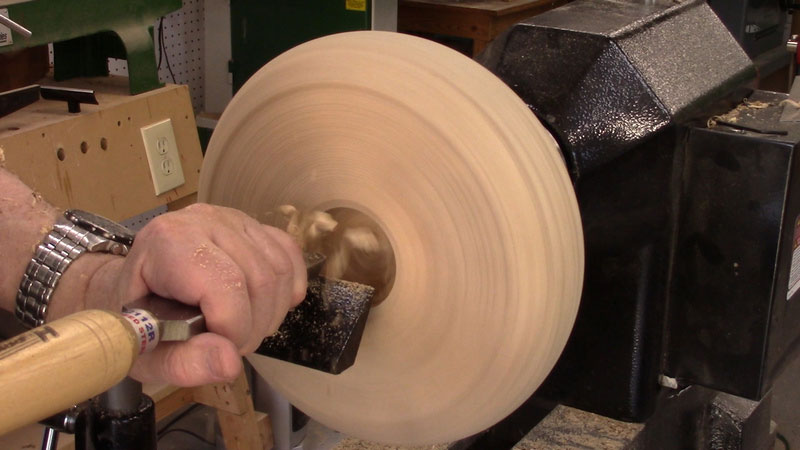
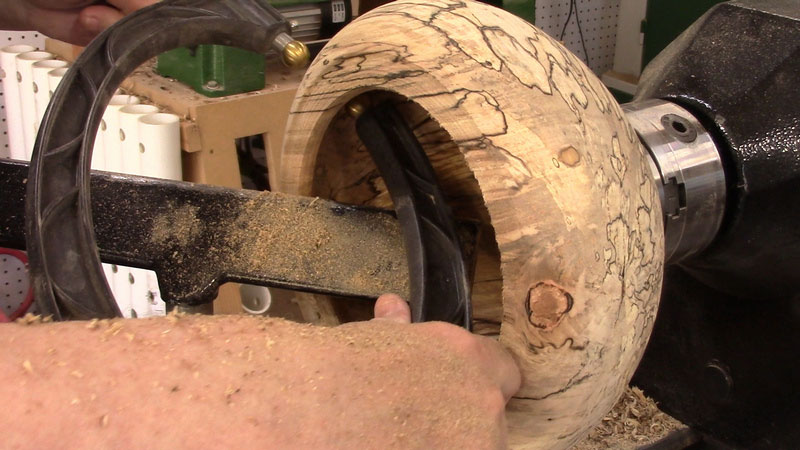
Now the hollowing begins. I align the bevel of the gouge at 90 degrees to the flat of the bowl and start to cut. With the bevel perpendicular to the surface like this, it won't skate away, like it would if the gouge were held at a more comfortable angle.
|
|
Figure 27 - First cut into the top of the bowl
|
I also quickly even up the top surface (which I should have done first, but it doesn't actually matter much). This step doesn't have to be done, but I find it makes it slightly easier for the subsequent hollowing.

|
|
Figure 28 - Flattening the top surface
|
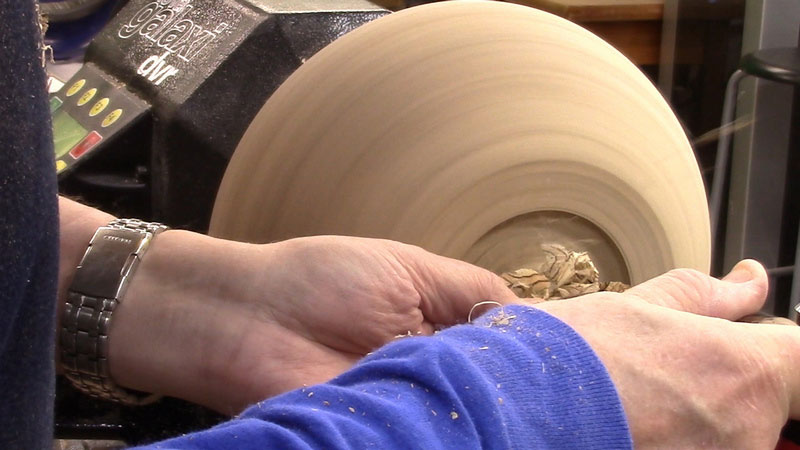
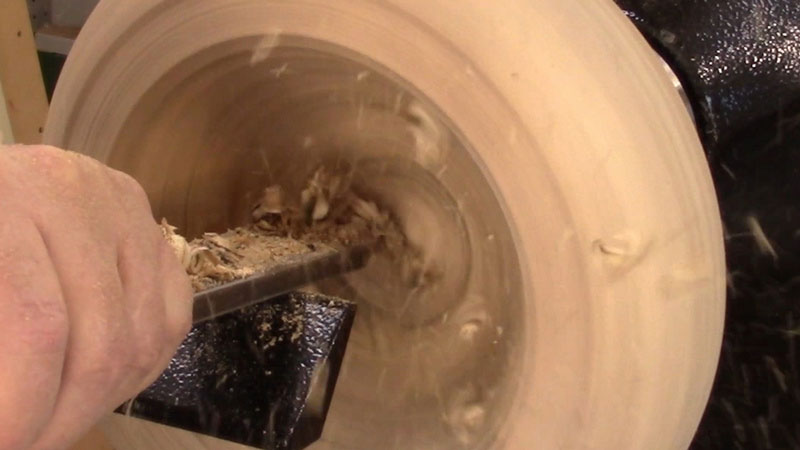
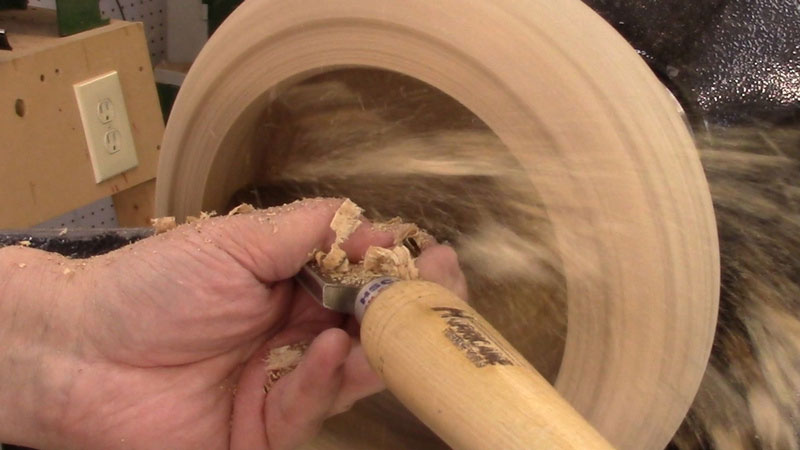
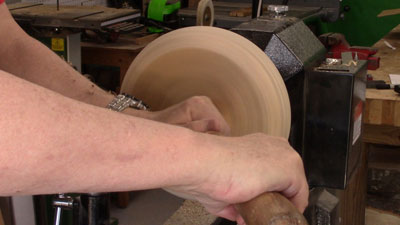
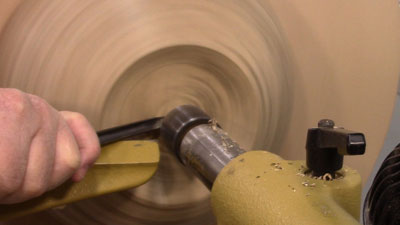
As I mentioned earlier, this wood is really soft. I decide to proceed with hollowing with a large scraper, instead of the gouge. It will go faster.

|
|
Figure 29 - I switched to a scraper for the hollowing
|

|
|
Figure 30 - Getting close to the right depth
|
The scraper makes quick work of stock removal on this soft wood, but it does have the disadvantage of tearout on the end-grain side walls. I'll have to address that later by shear-scraping the interior side walls.
|
|
Figure 31 - Scraping on the interior side wall
|
I have to stop occasionally and check the side wall thickness. I'm aiming for around 1/4". I'm using a Thickness Gauge, which works very well on bowls.
|
|
Figure 32 - Using a Tompkins Thickness Gauge on the side wall
|
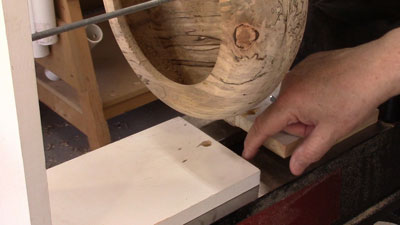
To check the thickness of the bowl bottom, I use a homemade gauge, simply a couple of boards and a threaded rod. (For an explanation of the gauge and how to build it, see the
Wyoming Woodturner YouTube channel). The gap I'm pointing to in the photo below is the thickness of the bottom.
|
|
Figure 33 - Check the bottom thickness
|
Now I take the bottom down to about 1/4" thickness with my scraper.

|
|
Figure 34 - Establishing the final thickness of the bottom
|
With the interior turned to the desired thickness (I chickened out and left it at about 3/8" thickness – no sense in tempting fate, especially on this soft wood), I proceed to turn a slight cove along the upper rim of the bowl.

|
|
Figure 35 - Cutting a cove in the rim of the bowl
|
The interior and exterior of the bowl are complete (Note – I'm omitting any pictures of the boredom of sanding with grits 150\240\320\400\600\800\1000).

|
|
Figure 36 - Almost done with the turning
|
I still have to turn the foot of the bowl. For this, I'm using a 19" faceplate I made by attaching a 3/4" plywood disc to a 6" steel faceplate.

|
|
Figure 37 - A whompin' big faceplate
|
I put the bowl's top against the Faceplate and bring up the tailstock to hold it in place.

|
|
Figure 38 - Holding the bowl in place for turning the foot
|
For this piece, I'm using a 3/8" Spindle Gouge for most of the turning, with an occasional use of a 1" Scraper for shear-scraping. I leave a small stub of wood right in the center where the live center contacts the wood…attempting to cut if off while the lathe is running does not work well at all!
|
|
Figure 39 - Using a 3/8" Spindle Gouge to finish the foot
|
Now it's off to the workbench. That stub I left on the bottom is removed by using a chisel.
|
|
Figure 40 - Chiseling off the stub left on the bottom
|
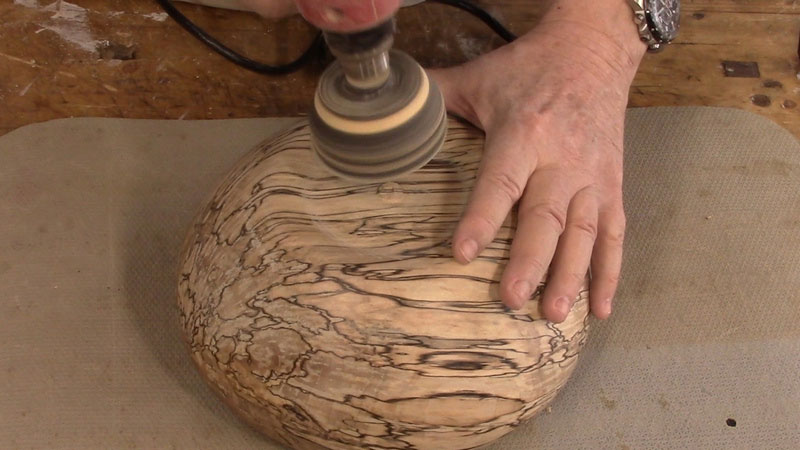
The final work to be done on the foot is to power-sand the chisel marks and the still slightly raised area after the chiseling. I also sand the entire foot area with the power-sander and a 150 grit pad, and then by hand up to 1000 grit.
|
|
Figure 41 - Power-sanding the center of the bowl's foot
|
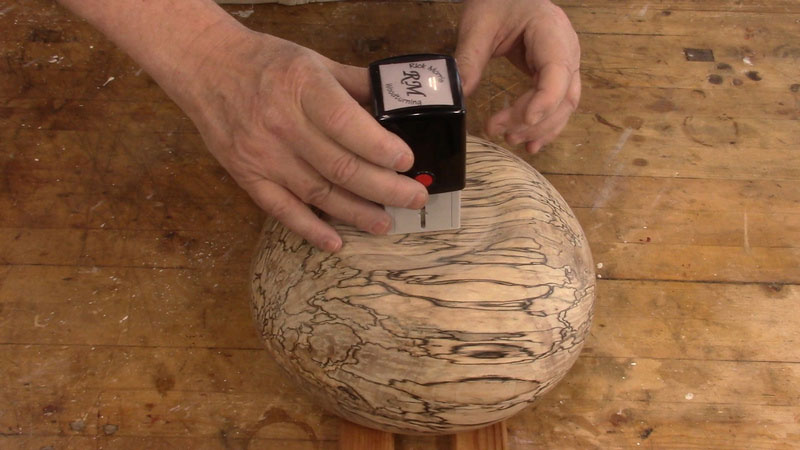
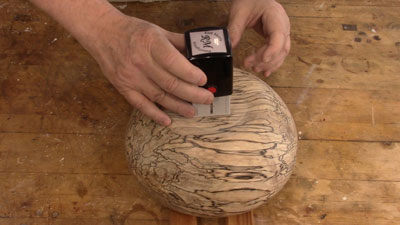
I stamp my mark on the foot.
|
|
Figure 42 - Marking my territory
|
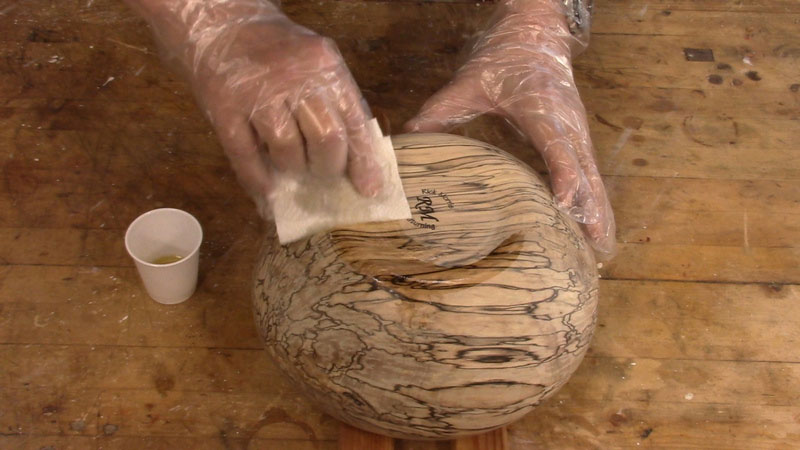
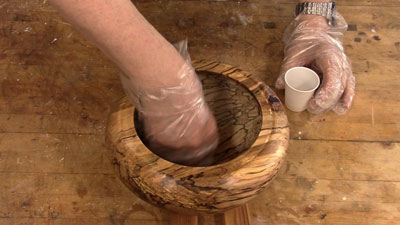
And now I apply the first of five coats of wiping varnish (also known as regular-varnish-diluted-1-to-1-with-mineral-spirits).

|
|
Figure 43 - Applying wiping varnish…
|
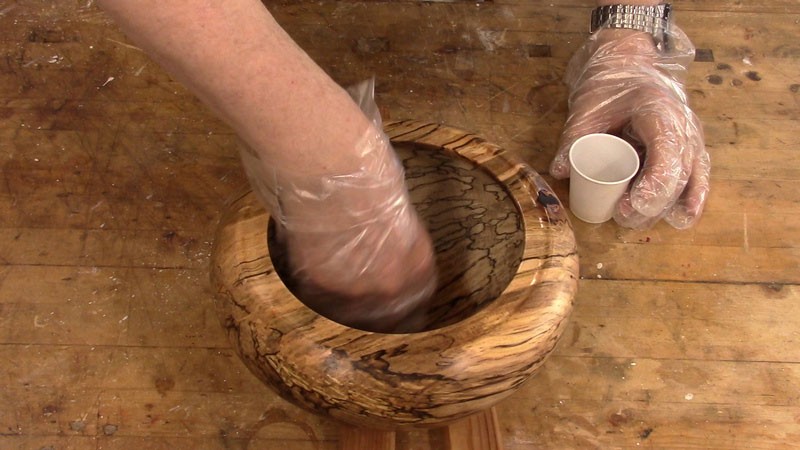
|
|
Figure 44 - ...to the foot, exterior, and interior
|
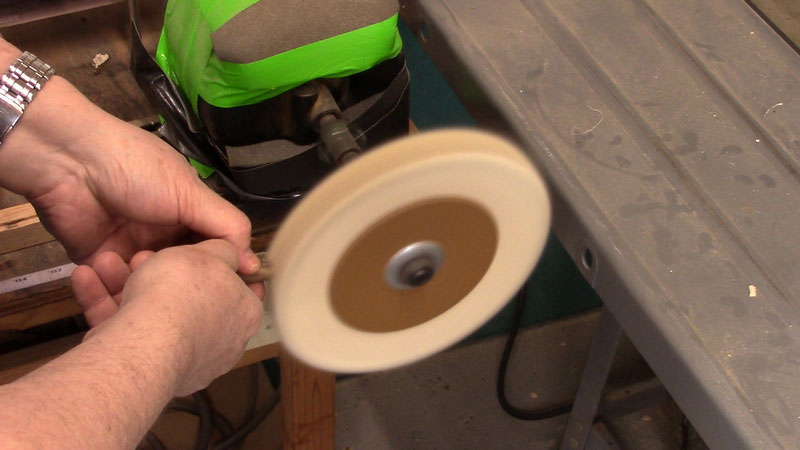
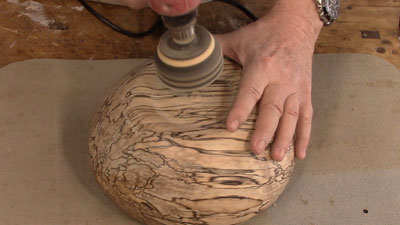
After letting the last coat of finish dry and then waiting one more day for good measure, it's time to buff the bowl with
Carnauba Wax. The first thing I do is apply some wax to the spinning buffing wheel.
I then buff the exterior surface of the bowl. On this bowl, I do not buff the interior – on more open bowls I do buff the inside, but on this one, I don't think it's necessary, and due to the bowl's size, it's difficult to get into with this buffing wheel.

|
|
Figure 46 - Buffing the bowl's exterior
|
And I'm done!
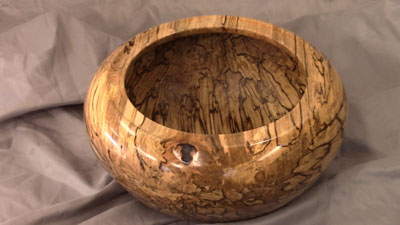
|
|
Figure 47 - The finished bowl
|
For a soft, very close to rotten chunk of wood, this bowl turned out very well. It's going back to the person who gave me the wood (in the hopes of more such gifts in the future).
If you have any questions you can email Rick at
rickandcathymorris@gmail.com.
Return to
The Highland Woodturner
front page
|
|
|
|
|