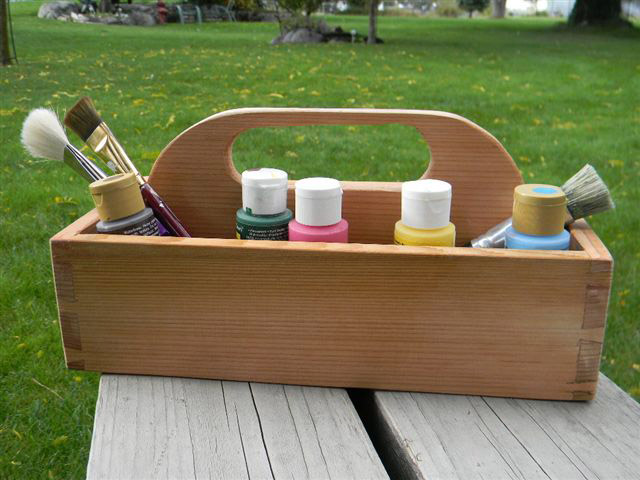
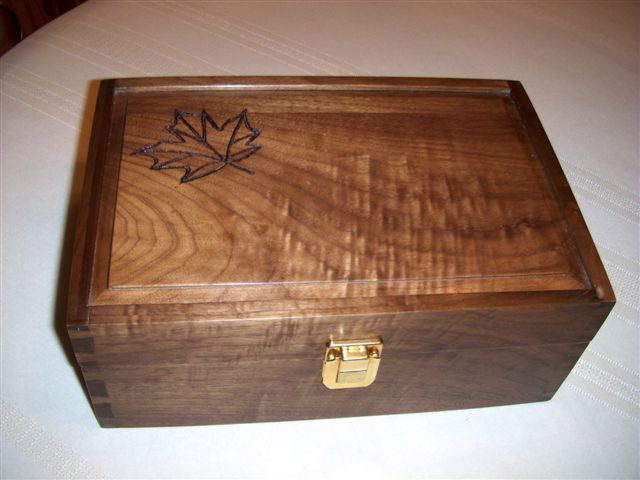
Dovetail Boxes – A Tale of Two Boxes
How To Make Dovetail Boxes
by Rod Scott
Hayden, ID
I have seen other articles on how to make dovetail boxes and would like to show my method of making them quickly and easily.
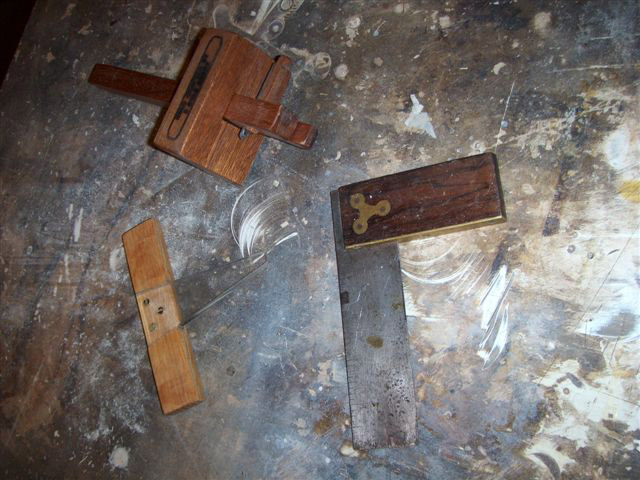
First, a discussion of tools needed. I use a marking gauge, a dovetail gauge, and a small square to do the layout. The marking gauge and dovetail gauge I use are handmade, but there are many good commercial ones available.

You could substitute a scale and a bevel gauge for the marking and dovetail gauges, but having dedicated tools is better especially if you take the time to make them yourself. Although my dovetail method avoids chopping either pins or sockets, a sharp chisel is a requirement. I use a 1/4-inch bench chisel for getting into small spaces and a 1/2-inch for tuning sawed faces. You will need a backsaw or dovetail saw to saw both the pins and socket sides. Finally, you will need a router to hog waste. I will discuss types of router bits later. I use a coping saw to complete the pin and socket spaces. A table saw, miter saw, and planer make sizing stock easier.
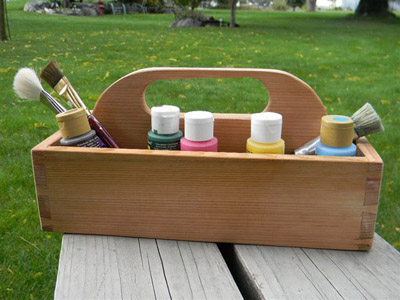
I will show my basic method for building these boxes either with a top or open. If the box is utilitarian, you could use plywood, poplar, or cedar and then finish with oil or paint. If the box is more decorative I usually use red oak as there always seems to be some good left-over stock from my other projects. Other good choices include white oak, walnut, cherry, vertical grain Douglas fir and hickory. Knotty or figured woods can make a statement but can also overpower a piece. I often use 1/4-inch plywood for bottoms but will show how to use solid wood for tops and bottoms.
Start by sizing your stock. Thickness is strictly a preference, however smaller boxes look better with thinner stock. I have made boxes with sides as thin as 1/4-inch and furniture cases with thickness as great as 7/8-inch. Whether solid wood or plywood, cut the bottom and/or top about 1/2-inch larger than needed in both directions and set aside. Pre-sand the side pieces now, concentrating mostly on the interior face. Sometimes I finish the interior surfaces of the pieces at this point as it is easier than trying to get into corners later. If you have a definite outside depth, rip your stock to that size plus enough to clean up saw marks. If you have a set inside depth add 3/8-inch for the bottom and 3/8-inch plus a saw kerf for the top.
I cut the grooves for the top and bottom at this time. However, if you want the ends of the grooves to not show, cut stopped grooves after lengths are cut. For the grooves I use a zero clearance insert and set the table saw to 3/8-inch from the fence to the back side of the blade and the depth to half the stock thickness. Be careful setting the depth as the blade will almost always saw higher than expected.
Mark the stock and run that marked edge against the fence. For the closed box, adjust the fence to widen the groove to approximately 1/4-inch (several passes may be required). Remember that if you use plywood it will almost never be a full 1/4-inch thick. The sides and ends can now be cut to length. If inside dimensions are used, make all pieces that dimension plus twice the thickness. For outside box measurements cut pieces to the exact length. As you cut, mark the pieces so mating ends remain together during the marking process.
Now we are ready to cut dovetails. Set the marking gauge to the stock thickness.
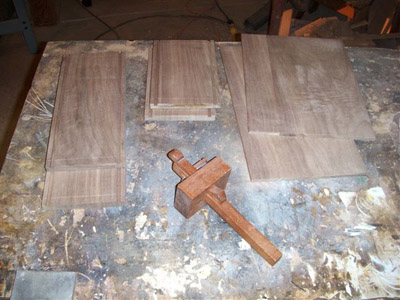
Mark both ends of both faces of all side and end pieces. You won't need all these marks but it is faster to just mark all than try to decide which will require a mark. Next, decide if you want the pins to face the side or end. This is strictly an aesthetic decision but can make a visual difference. If you want the pins ends showing on the side, place the front and back inside faces together with their bottom edges mated and clamp in a vise with one end up.
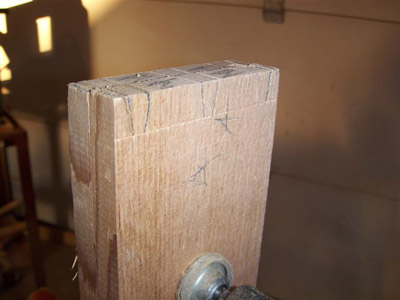
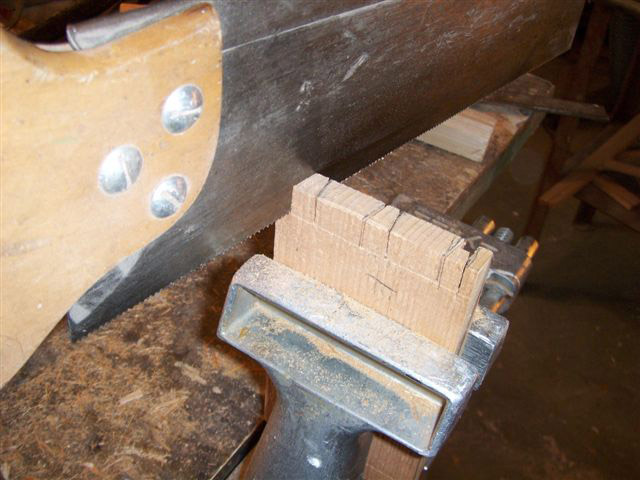
Using the dovetail gauge, mark the pins on one face and extend with a square across the end and down the other face.

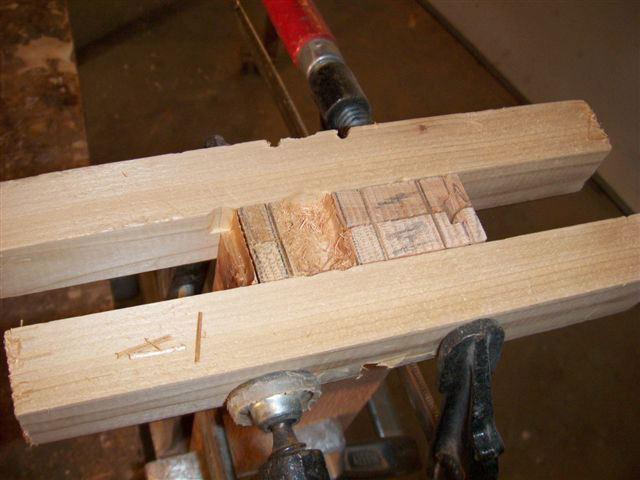
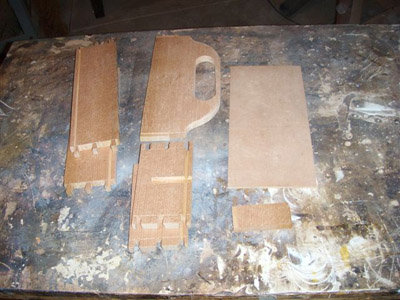
Put a straight cut bit in your router and set the depth using one of the side pieces. Use the widest bit that will fit through the bottom of the pin. I have used bits as small as 1/8-inch on very delicate projects. Clamp scraps of a soft wood to both sides of the pair of pieces and hog out the material between pins.

Don't get too close to the pins as the excess will be cleaned up later. Marking the end grain of the waste is helpful to keep from removing the wrong material. Remove the clamps and clean up next to the pins with a chisel or coping saw.

Flip the pieces and repeat on the opposite end.
Mate the sides with the appropriate end and mark the sockets using the pins as a pattern. Then extend the lines down to the thickness mark on both sides. I cut all the socket pieces separately in case there is any variation in the pin spacing. Place both sides face to face with the bottoms together and clamp in a vise. Clamp the soft wood scraps on and hog out the pin spaces. Remove the clamps and clean up the openings as before. Mate the pieces again and try the fit. If the pins are too tight either widen the spacing or narrow the pins until the joints slide together.
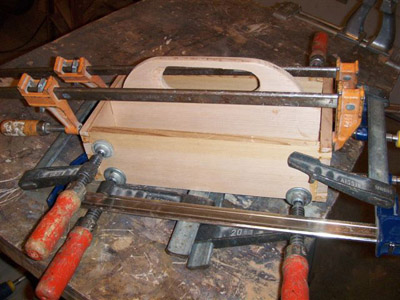
Dry fit three of the sides and measure for the bottom and top. Cut both bottom and top slightly smaller than needed as they will slip in and not be glued. If a solid bottom is used rabbet the edges to fit the grooves if the stock is more than 1/4-inch thick. The top can be raised or rabbeted until it slips into its groove. When all pieces fit correctly, take the box apart and apply glue to the mating parts of the pins and sockets. Do not glue tops or bottoms. Try to apply glue so any squeeze-out is on the outside where it more easily cleaned up. When the box has dried, add some scrap in the groove holes. When the glue is completely set the top can be separated from the bottom at the table saw. Finish sand the outside and add your choice of finish.
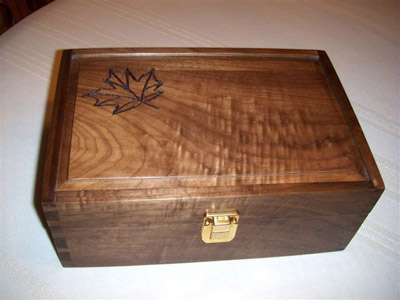
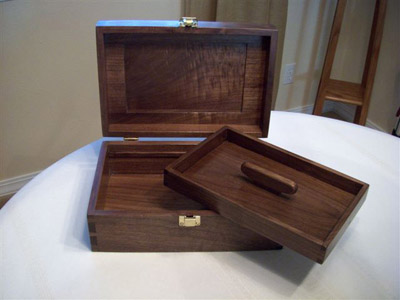
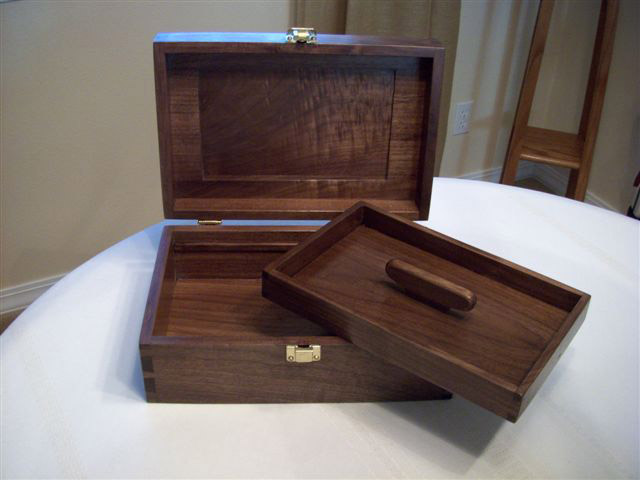
(The tray in the Walnut Box is another dovetailed box.)
I have used this technique for making drawer boxes, furniture carcasses with stile and rail fronts, baby cradles, and presentation boxes. Dovetails don't need to be intimidating.
Learn More About Cutting Dovetails:
Beginner's Handcut Dovetail
Lee Laird's Method for Cutting Dovetails
You can email Rod at
dyle.scott@yahoo.com
.
Return to
Wood News
front page