by Steven D. Johnson
Racine, Wisconsin
(Page 2 of 3)
Previous Page
1
2
3
Next Page
Building The New 5S Compliant Clamp Rack
Click on any picture to see a larger version.
5S compliant storage should be specific to its purpose, should allow ready access to the items stored, items should be visible, the storage should prohibit accumulations of unrelated items, should be "space-smart," easy to keep clean, and adaptable as needs change. This new clamp rack is all of that, and more. It is inexpensive and relatively easy to build.
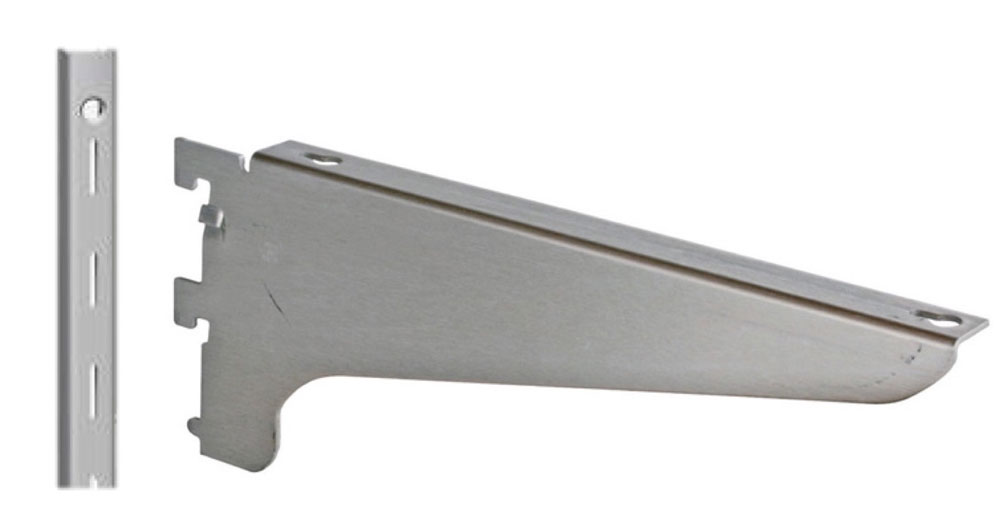
The design inspiration for the 5S Compliant Clamp Rack was the lowly and ubiquitous metal shelf bracket and slotted shelf standard. The design utilizes wood Clamp Brackets and wood Clamp Bracket Standards, the vertical support pieces.
The design is built of scrap 3/4" plywood. The only thing I had to purchase for this project was some 3/4" dowel stock. I used Forstner bits for all the drilling and used my band saw to shape the Brackets. You could probably use a jig saw.
|
|
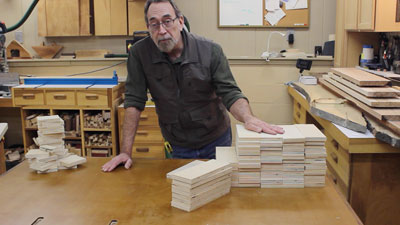
Figure 4 - Lots of Clamp Bracket blanks... don't throw
away those cut-offs either, they make great
backer boards for drilling

|
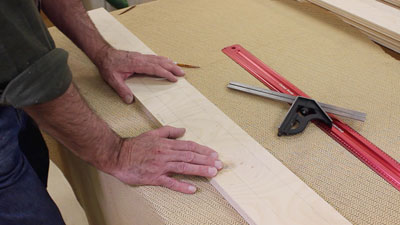
The Clamp Rack is designed to be wall-hung. I made mine to fit on French cleats, but the Clamp Bracket Standards could be attached to the wall in a variety of ways. Likewise, the Clamp Brackets can be made to fit pipe clamps and aluminum bar clamps like I did, or you can make them to fit any other style of clamp by modifying the notch sizes and shapes. My vertical wall Standards are 44" long, but you could make them longer or shorter… whatever best fits your needs.
While fairly simple in concept, the Clamp Brackets can be challenging because the position of the two notches that engage the dowels in the Standards is critical. Consistency in alignment of the notches that hold the clamps is also important so that multiple Clamp Brackets line up and clamps are held level and securely.
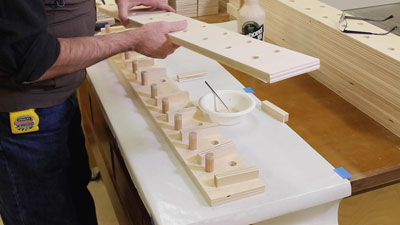
Start fabricating the Clamp Brackets by cutting 3/4" plywood pieces 3-3/4" wide by 10-3/8" long. Make as many as you want, but make plenty. You will need a few test pieces, some will likely have plywood voids or other defects that cause rejection, and setting up to make more later will be a pain. This is a great way to use up a lot of those 3/4" plywood bits and pieces you have been saving.
My final configuration will likely have 4 vertical support Standards, 20 or so Clamp Brackets for conventional iron pipe clamps, and 20 or so Brackets configured for my new rectangular-bodied aluminum clamps [link]. But there is an unused spot on the wall that could hold two more vertical standards and as many as 14 more Clamp Brackets, so I will make at least 50. I cut over 60 blanks, just to be sure.
|
|
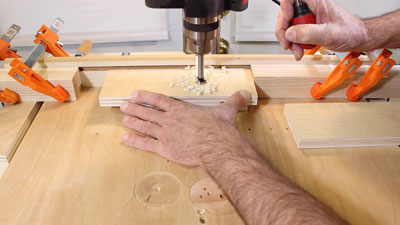
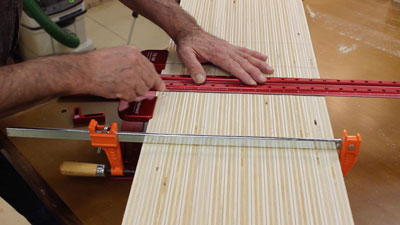
Figure 5 - Two stop blocks make fairly quick work out of
drilling the Clamp Bracket mounting holes
|
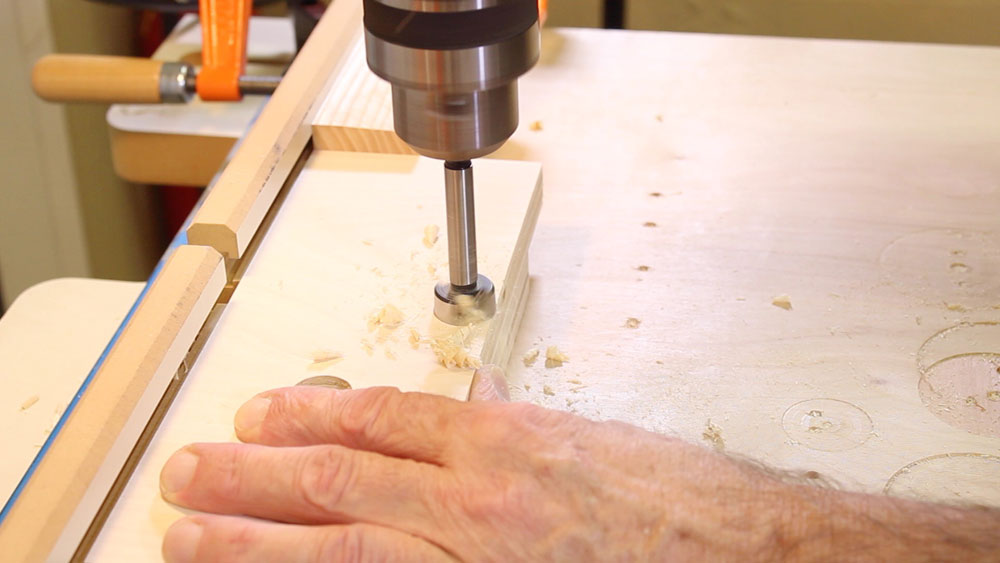
The next step is to drill two 13/16" holes precisely located as follows: 1-7/8" from the top edge of the support arm and 1-13/32" and 3-21/32" from one end. The end you measure from will now be the "wall side" or Standard end of the bracket. Set up two stop blocks and the fence on your drill press table, triple check the dimensions, and start drilling. Be sure to use scraps on the under side so that the exit side of the hole is clean and splinter-free.

|
|
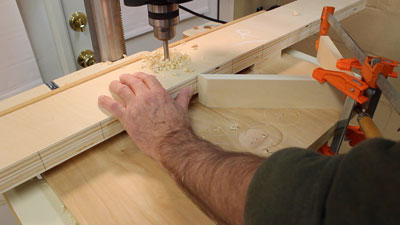
Figure 6 - Be sure to use sharp Forstner Bits...
these holes are not fully inside the board
|
Now flip the work pieces around, readjust the fence, and set up stop blocks and spacers to drill the three holes for the aluminum bar clamps in the Clamp Bracket pieces. These are 7/8" holes spaced down 7/16" from the top edge of the Bracket, and measuring from the same end as before (the "wall side" or Standard end), spaced at 5-5/16", 7-9/16", and 9-3/16. For the pipe clamp Brackets, drill holes with a 1-3/16" Forstner bit on a line down 7/16" from the top and at 6-17/32" and 8-3/4" from the Standard end.
After all the holes are drilled in the Clamp Bracket pieces set them aside and start on the Standards. Rip 3/4" plywood to 4-7/8" wide and cut the pieces to the length you need for the vertical supports, or Standards. I made mine 44" long. Use double stick tape to join the vertical Standards into pairs. The next few steps will be done as pairs to assure all the holes are perfectly aligned.
|
|
Figure 7 - Marking out hole locations on a pair
of the Standards
|
Use one pair of vertical Standards to mark out a drilling guide. From one long edge, strike a parallel line that runs 1-1/2" from the edge. Label that edge "wall." From the "wall" edge, measure over 3-3/4" and draw another parallel line the length of the board. Determine the optimum vertical space between dowels (see video for how I did this) and mark these increments on the line closest to the "wall" edge of the upright standard. Then make matching marks on the other line, but all these marks are offset one direction by 1/8". When hanging on the wall, the front holes in the standards will be 1/8" higher than the wall-side holes. Based on the direction you offset all these holes, mark the correct end of the Standard "top."
Now gang all the pairs together, clamp them in alignment with your drilling guide on top and transfer the wall-side hole locations to the edges of all the boards. Do this step carefully using a saddle square and a t-square. Then it's back to the drill press!
|
|
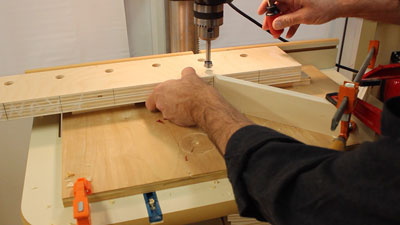
Figure 8 - Transferring hole-drilling marks to the
edges of the Standards
|
Drill the wall side holes first using a 3/4" Forstner bit. Set the fence to establish the distance from the wall-side of the standard and set up a pointer that when aligned with the mark on the edge of the boards positions the drill bit correctly. Use the pointer and start drilling. Once all the wall-side holes are drilled, reposition the pointer to accommodate the 1/8" offset, reposition the fence, and drill all the outboard holes. Make sure to keep the pairs of Standards together and pay close attention to which is "top" and which is the "bottom."
|
|
Figure 9 - Note the "pointer" aligned with the edge marks
drawn on the Standards
|
After all those holes are drilled, gang the pairs of Standards together again, clamp them, and somewhere close to the top make a cut-out that matches your French cleat system. If you choose some other way to mount your clamp rack standards to the wall, you are on your own on this step!
|
|
Figure 10 - The pointer is repositioned here to give a
1/8" offset to the second series of holes
|
Cut 3/4" hardwood dowel stock to length. I made mine 2-3/8" long. This length, when glued between the two Standard pieces and flush with both sides, will leave a little over 7/8" of space for the clamp brackets to slip in easily. If your plywood is a full 3/4" thick you may want to make the dowels a smidge longer. You will need enough dowels cut to fit in each wall-side hole in each vertical Standard assembly.
Safety note… when cutting the dowels either use the technique I demonstrate in the video or build a "V"-shaped jig that will hold the dowel stock securely at the miter saw or in your cross cut sled on the table saw.
Take one of the vertical standard pairs and pry the boards apart, removing the double stick tape. Place a dowel in each wall-side hole, then place the mating piece on those dowels and measure the distance between the two standards when the dowels are flush with both sides of the standards. Cut spacer blocks that width. My spacers were just a tad over 7/8" wide. Make sure the spacers you cut are long enough to span the width of the vertical standard. You should use as many spacers as there are dowels in the Standard. The idea is to assure that the two side pieces that will form the completed Standard are perfectly parallel when glued up.
|
|
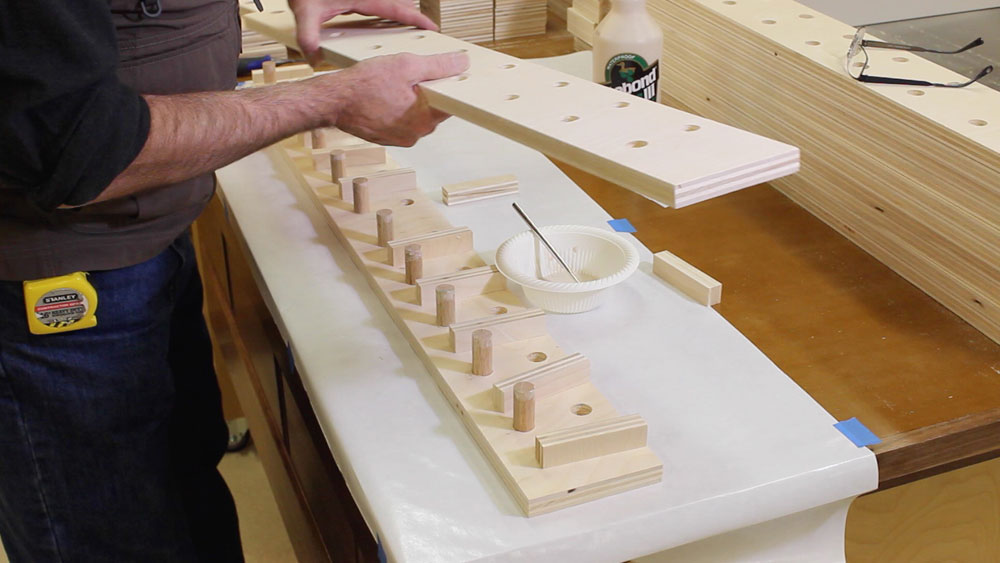
Figure 11 - Note the spacer pieces loosely placed between
the dowel locations
|
Glue-up is easy. Glue the wall-side dowels into the holes in one vertical Standard piece. Then position the spacer blocks between the dowels, apply glue to the holes in the other vertical Standard piece and press the assembly together. The spacers spanning the width of the standards will keep the pieces parallel until everything dries. You shouldn't even need to use clamps.
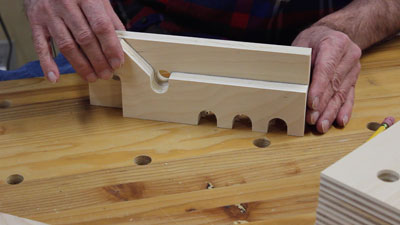
While the vertical Standard assemblies are drying is a good time to finish shaping the Clamp Brackets. Pick out two of the drilled blanks and use the drawing to mark the cut lines as indicated. Cut one perfect "go-by" or template for the bar clamp Clamp Bracket and one for the pipe clamp Bracket. Use these templates to trace the cut lines onto the other bracket pieces.
|
|
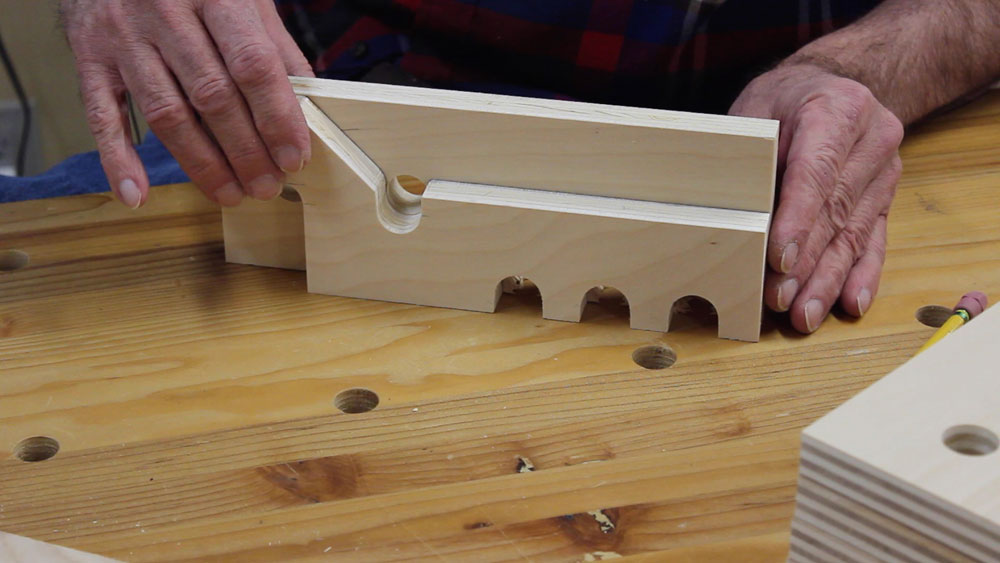
Figure 12 - Make a perfect template then trace out the cut
lines on the rest of the pieces
|
If your initial layout was carefully done and the holes were drilled accurately, you should be able to use the fence on the band saw to make the two lengthwise cuts and a stop block and the miter gauge to make one cut across the Brackets. Cutting the "corners" off of the circles and turning them into elongated notches and the 45-degree cut can be done freehand. I spent an enjoyable and mindless half hour at the oscillating drum sander lightly rounding the sharp corners on the clamp brackets and smoothing some of the sawn edges. It is not a necessary step but nice to do.
The last step is to cut dowels to slip into the front-side holes. Make these longer so you can grab them to pull them out when you want to reposition the clamp brackets. I made mine 3-1/2" long.

|
|
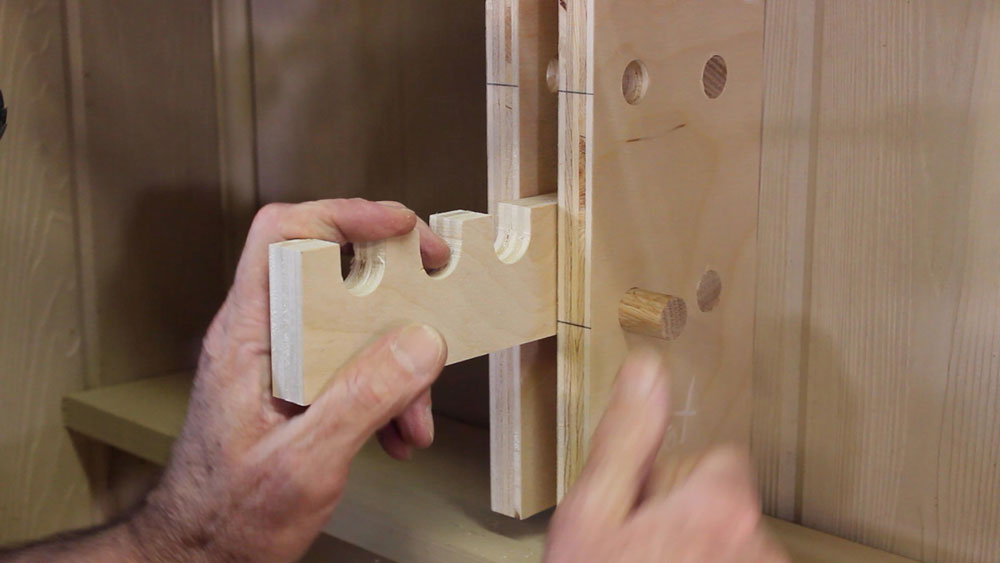
Figure 13 - Install by slipping the rear notch under the fixed
dowel and then inserting a dowel under the front notch
in the Clamp Bracket
|
By now the vertical Standards should be dry and the new 5S Compliant Clamp Rack is ready to use. I did not apply a finish to the clamp rack, but you could. Danish Oil or shellac would be nice. I was in too much of a hurry to get my clamps organized and stored.

|
|
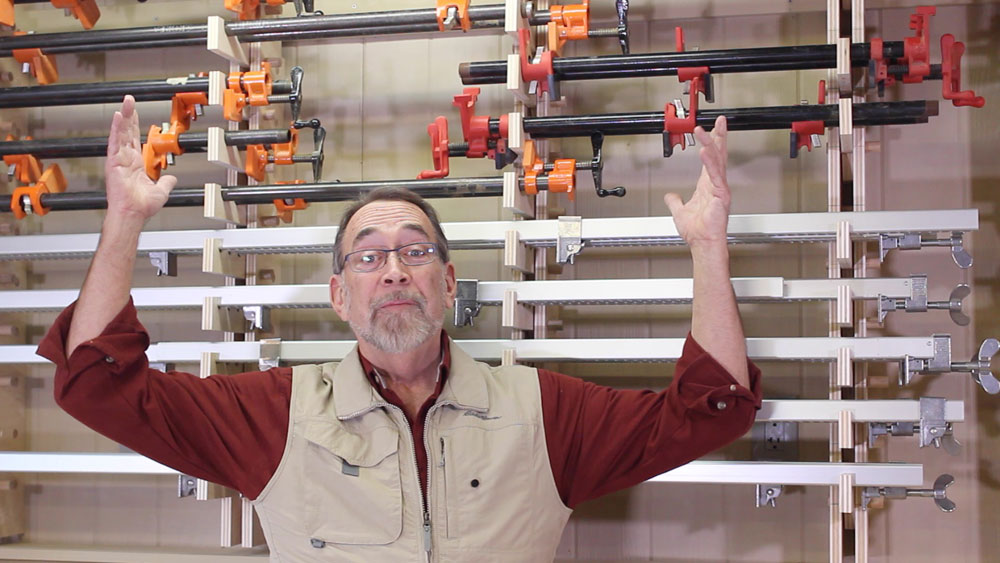
Figure 14 - Touchdown??? Well I scored big by now having
two-and-a-half times as many clamps in the same space!
|
In addition to the
two videos
and this article, there are two drawings you can download by clicking
HERE
. Remember, customize this design to fit your clamp collection, your wall space, and your storage needs. And if you build this project, please be sure to send us a picture!
A lot of folks have been asking, and next month we will get started on the design/build of a Wall Hung Cabinet for the woodworking shop that is 5S compliant, adaptable, strong, and good-looking to boot.
(Page 2 of 3)
Previous Page
1
2
3
Next Page
Return to
Wood News
front page