MicroDial Tapering Jig by Micro Jig - Tool Review
by Jeffrey Fleisher
New Market, VA
Click on any picture to see a larger version.
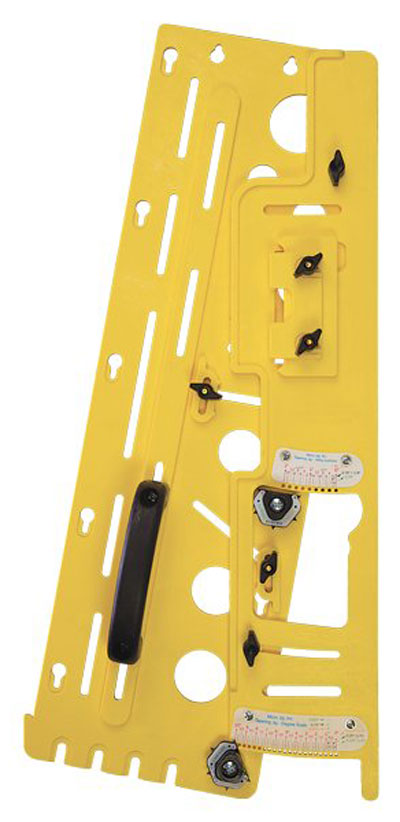
Knobs, knobs everywhere...where do I start? That was my first reaction when I saw the MicroDial Tapering Jig by Micro Jig. However, once you understand how the jig works using it
becomes very straight forward. In fact, only one knob loosens and tightens the angle controlling arm.
All the other knobs are used for part storage, attaching Grr-Ripper push blocks, or setting stops so
angles are repeatable. Let's take a closer look.
|
The tapering jig is designed to be used primarily on the table saw but it can be used with your
router if you have a wide table and fence. The jig can be used to make one, two, four and eight sided
tapers and the jig can be set up to make them repeatably with high accuracy. Depending on how you
like to work, the jig can be set up using one of three methods. First, if you know the angle of the taper
you would like, you can dial that in using one of two color-coded scales on the jig. If you know how
much taper you want, per foot, you can use the second scale to dial this in as well. The amount of taper
per foot can be calculated by measuring the rise and run of your taper. Finally, you can set up the jig
by simply laying out the taper on the face and end of your board and adjusting the jig to these lines. I'll
go into these methods in more detail when I show the jig in use in my shop. The tapering jig provides
a method to remember these angle settings using a patented 'Memorylock' system.
In addition to tapering, the jig can be used as a jointer to straighten an edge of a board. If you
have a board without a straight edge, it can be very dangerous to rip the board on a tablesaw. With the
MicroDial jig, the jig becomes the straight edge that runs against the saw's rip fence thus allowing you
to rip a straight edge on the board safely. There are limits to the length of the board that this
arrangement will work with but it is a very clever use of the jig.
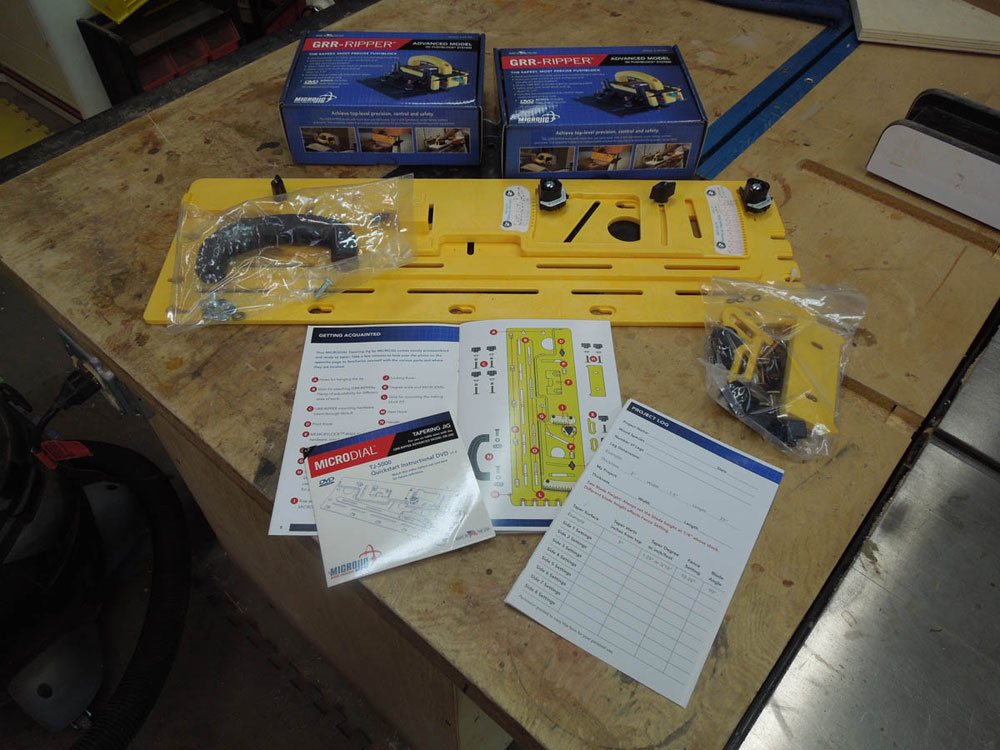
Before I describe using the jig in the shop, I'd like to make a couple of comments about the
construction of the tapering jig. Like other MicroJig products, the jig is extremely well made of rugged
plastic and it appears it is built to last. It comes with an excellent user guide that goes through a step
by step assembly process and multiple descriptions, with excellent pictures, of how to use the jig in
practice. Also included in the package is a 22 minute DVD that also walks you through the
assembly process and then shows various tapers being cut for a sample table. The DVD even shows
the jig in use on a router table for cutting flutes on a table leg. Finally, the folks at MicroJig even
include a sample 'Project Log' that can be used to record the various taper angles, fence settings and
blade angles for each piece in your project.
As I mentioned earlier, the tapering jig can be set up using any one of three methods. Let's take
a look at each one now.
Degree Scale and Microdial
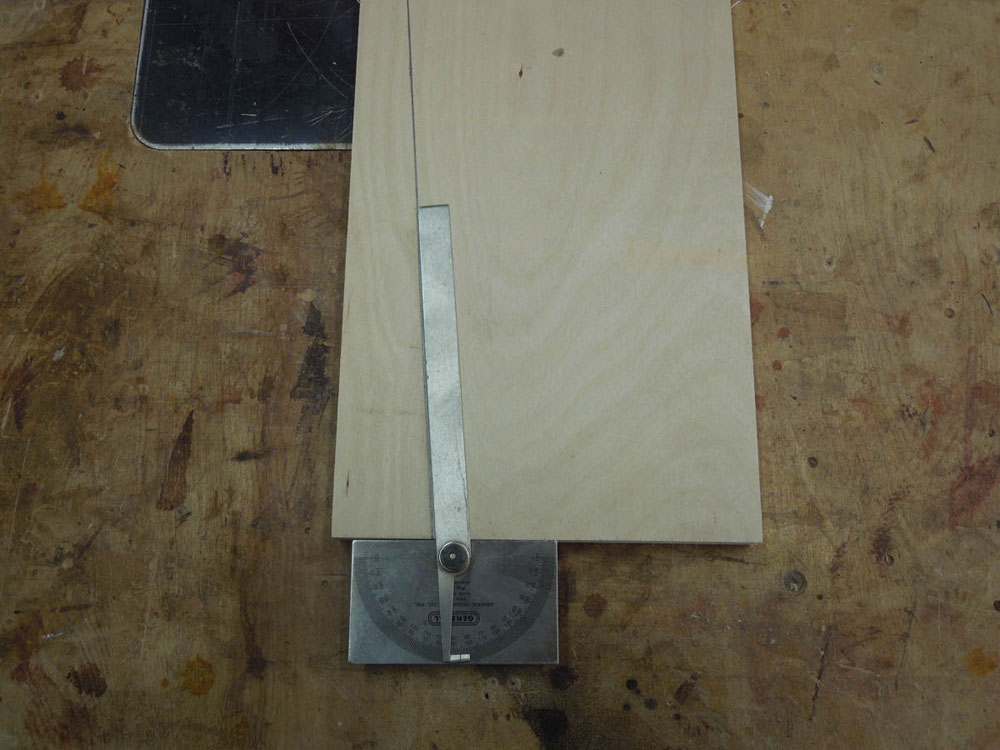
The tapering jig can be set to any angle between 0 degrees to 10 degrees. Just measure the
angle that you want to taper and then use this measurement when setting up the jig.
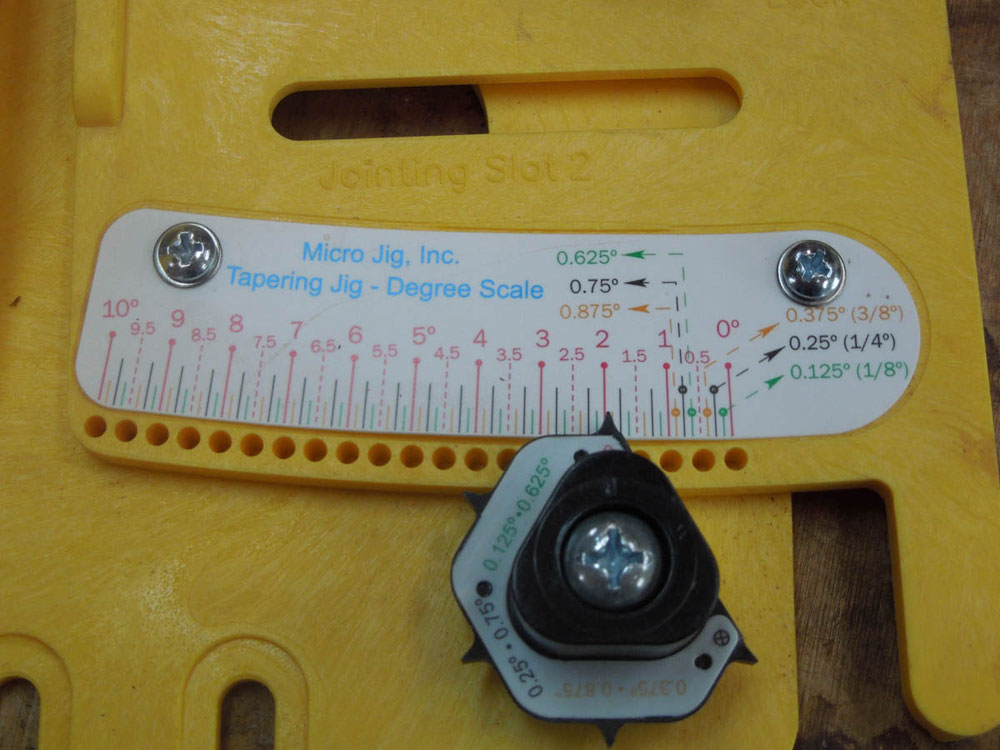
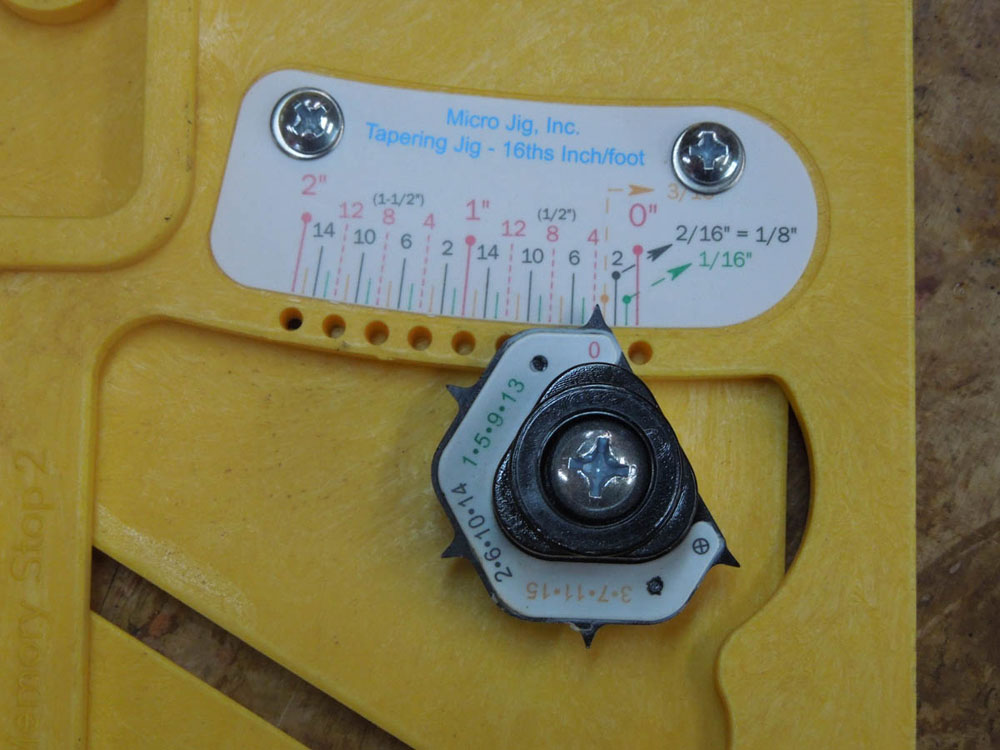
The color-coded degree scale lets you precisely set angles in 1/8 (0.125) degree increments. The
matching color-coded adjustment knob lifts up and rotates and then a pin will engage one of the holes
in the scale providing a precise alignment.
If you want to set an angle between one of the 1/8 degree settings, the adjustment knob has
a 'no-pin' setting so that the jig can pivot freely and can be set to any arbitrary degree between 0 and 10
degrees.
Rise and Run Scale and Microdial
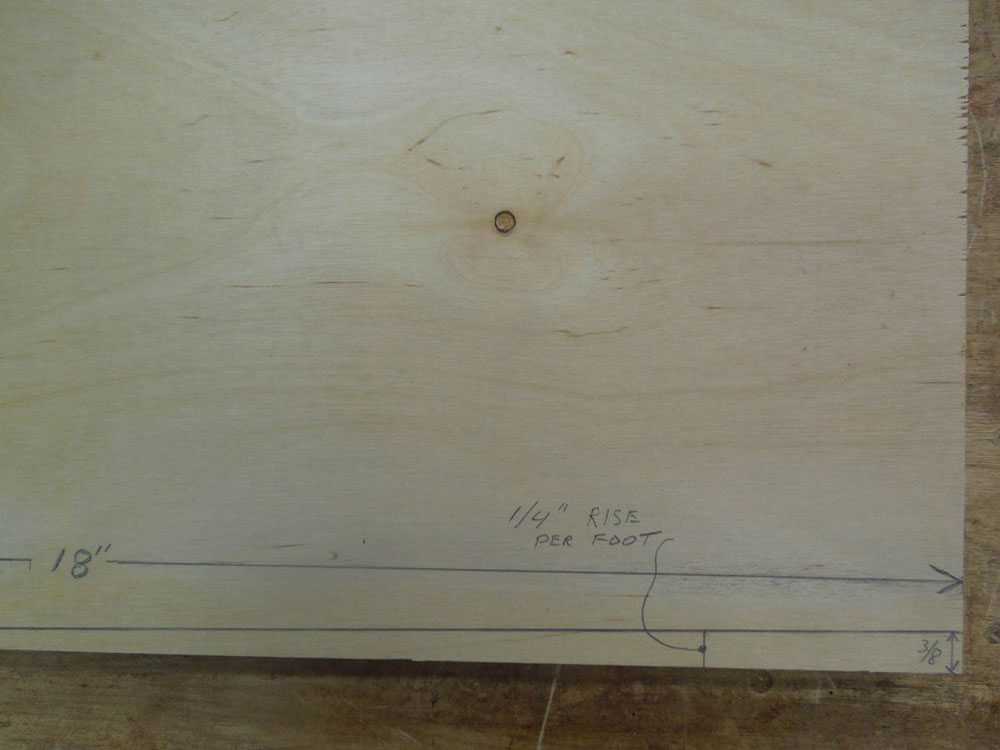
A taper can also be specified by the amount of rise over a certain distance. This describes the
amount of taper over a specified length. This 'Rise per Foot' can be calculated by using the formula:
(Rise x 12) / Run = Rise per foot
As an example, A leg that tapers 3/8" in 18" has a taper of 1/4" per foot, as shown here:
(3/8 x 12) / 18 = 1⁄4
The second color-coded scale on the tapering jig allows you to set up tapers ranging from 0" to
2" per foot.
The scale is marked off in 1/16" divisions so you can set the tapering jig in 16ths inch/foot
increments. Once again, you can also set an arbitrary value if you want to set a value between the 1/
16" increments.
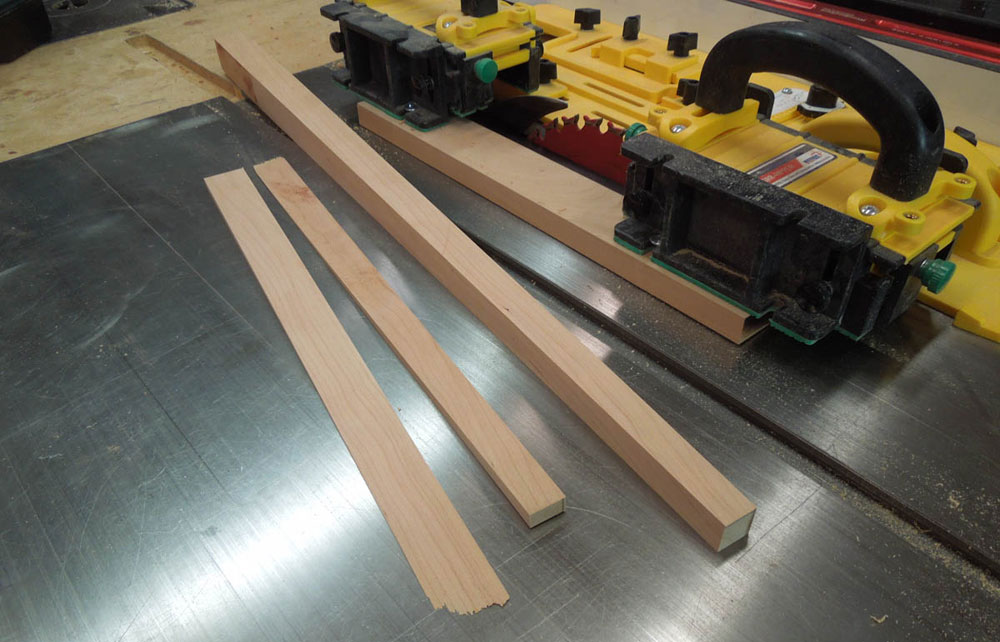
Working to a Line
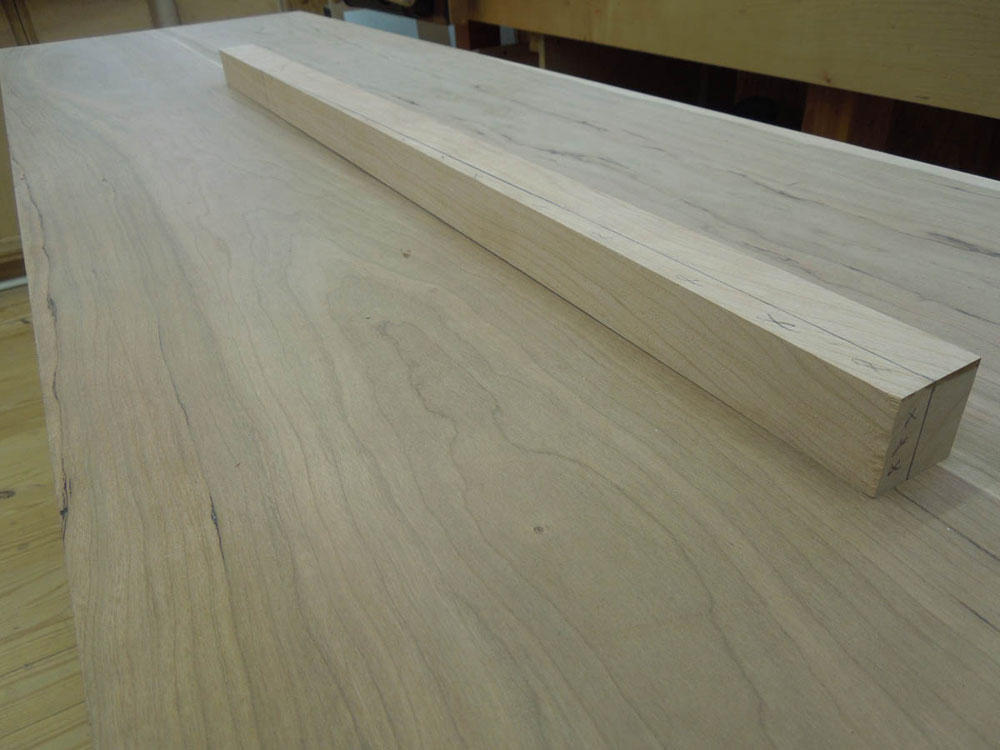
The third method, and the one I use most often, is to set the jig up based upon a starting position
for the taper and an ending position based upon how much taper I want to end up with. For example, I
teach a class on building a Shaker Table and the legs have tapers on two adjacent surfaces. The legs
are 28 inches long and the taper starts 6 inches down from the top of the leg. The legs are 1 1/4"
square and I want the base of the leg to be 3/4" square so I make a mark 1/2" in from the side of the
leg. This is how much I need to cut off.
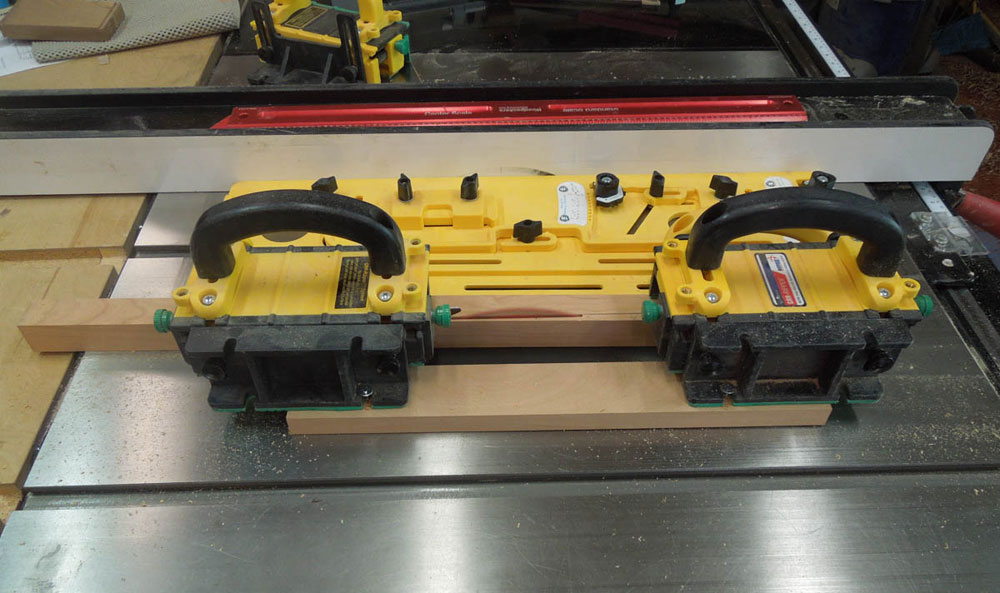
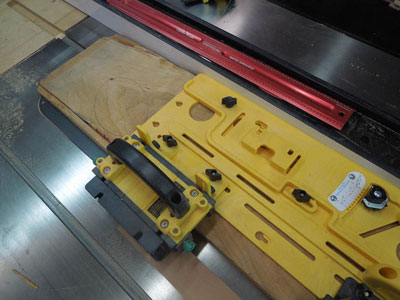
I can use the miter slot as a straight edge and align the two marks on the miter slot. Now I can
bring the jig and rip fence up to the leg and lock the jigs angle setting in place.
I'm now ready to cut my tapers! I like this approach because there is no measuring or
calculations involved – a good thing – and no thinking involved when you walk up to the table saw to
make your cuts – an even better thing!
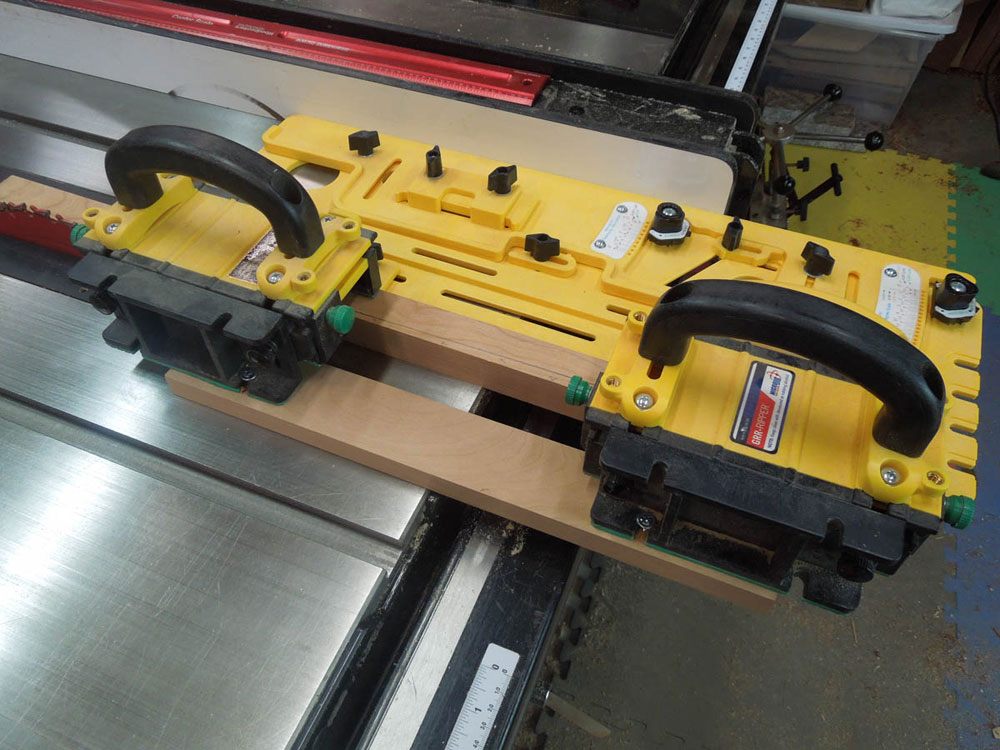
It is highly recommended that you use MicroJig's GRR-Ripper 3D pushblocks in conjunction
with the tapering jig to hold the wood securely and ensure a safe cut. Depending on the length of the
board, you can attach up to two GRR-Ripper pushblocks to the tapering jig.
Jointing
I will quickly mention again that the tapering jig can be used as essentially a large pushblock to
straighten the edge of a crooked board on the tablesaw. The top plate of the jig can be positioned so
that the jig can accommodate wider boards and the straight edge of the jig can run along the rip fence
providing a safe edge to run along the fence.
|
Although the jig looks a little overbearing at first, it is very easy to set up and use in practice.
The three different setup methods accommodate your way of working with very repeatable results. If
there is any negative to the jig it is the potential overall price. At $130 the price for the jig itself is not
unreasonable but if you are not already a Micro Jig GRR-Rip Block user, then adding two pushblocks
can make the overall price a little hefty. However, as I've discussed in a previous tool review, I recommend you use the Micro Jig GRR-Rip Blocks in your daily use on the tablesaw. I recommend
you take a look at that review. If you already use the GRR-Rip Blocks then the tapering jig
adds another excellent tool into this system.
CLICK HERE to find out more about the MicroDial Tapering Jig by Micro Jig
Jeffrey Fleisher has been a woodworker for approximately 20 years and a professional woodworker for the past 6 years. He is the president of his local woodturning club, the Woodturners of the Virginias and past president of the Northern Virginia Carvers. You can see some of the furniture he has made at www.jeffswooddesigns.com. He can be reached by email at furnmkr@gmail.com.
Return to
Wood News
front page