Hock Kitchen Knife Kits - Tool Review
by Jeffrey Fleisher
New Market, VA
Click on any picture to see a larger version.
The tool review this month is a little different than in previous months. Instead of discussing a tool that you can use in your shop to build something unique, I am going to discuss building a tool that you can use in your kitchen. Since I love to cook, I had the opportunity and pleasure to make a chef's knife for my kitchen using the Hock Kitchen Knife Kit.
During the 2014 Woodworking in America (WIA) conference, my company, Shenandoah Tool Works (see last month's Wood News article on Artisan Woodworking companies), had a booth across the aisle from Ron Hock Tools. Ron Hock is very well known for his outstanding plane blades, as well as his book on sharpening, The Perfect Edge. We got to talking about the other products in his booth and my eye caught his Kitchen Knife Kits for making a 5" Chefs Knife and a 3-1/2" Paring Knife. Since Highland Woodworking carries the knife kits, along with many other Hock Tool products, we thought it would be a good change of pace, and fun for me, to describe the knife kits and walk through making the knife.
I was very surprised how easy it is to make a custom handle for the knife and I must say upfront...these knives are 'scary' sharp!
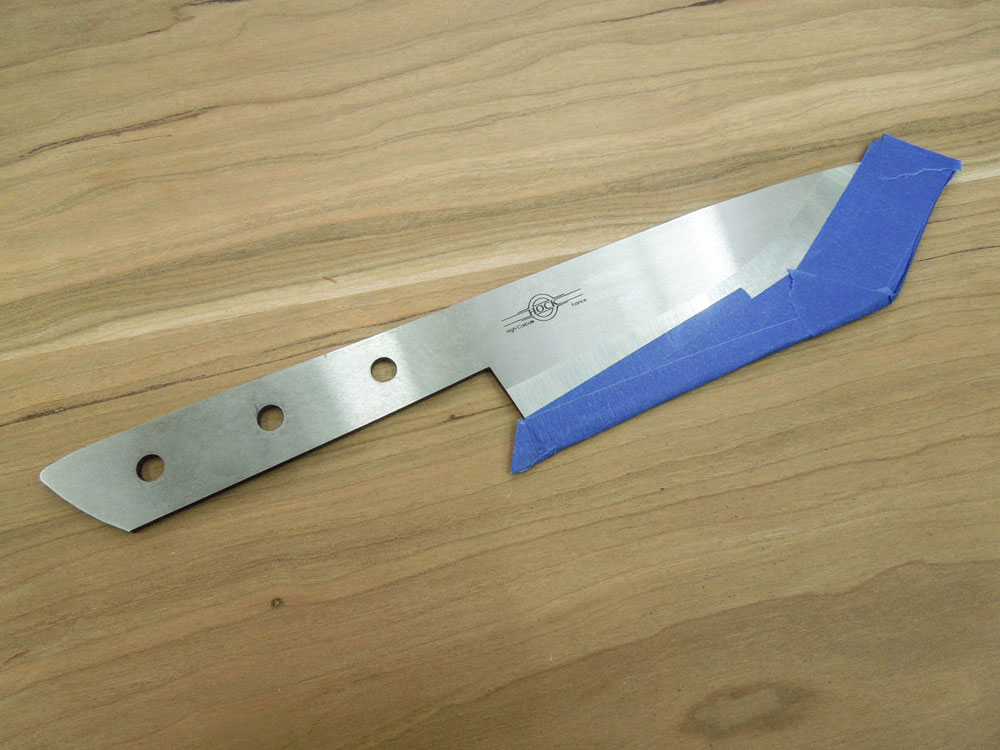
The knife blank is high carbon O1 tool steel which is the same tool steel that Ron uses for his plane blades. They are hardened to the same hardness as the plane blades so they will take a very sharp edge and maintain that edge. While other cutlery is typically stainless steel they simply do not take as sharp an edge, so cutting with a carbon tool edge blade in the kitchen is a pleasure. Ron provides directions on maintaining a sharp edge and caring for the blade's surface so your knife will last a lifetime.
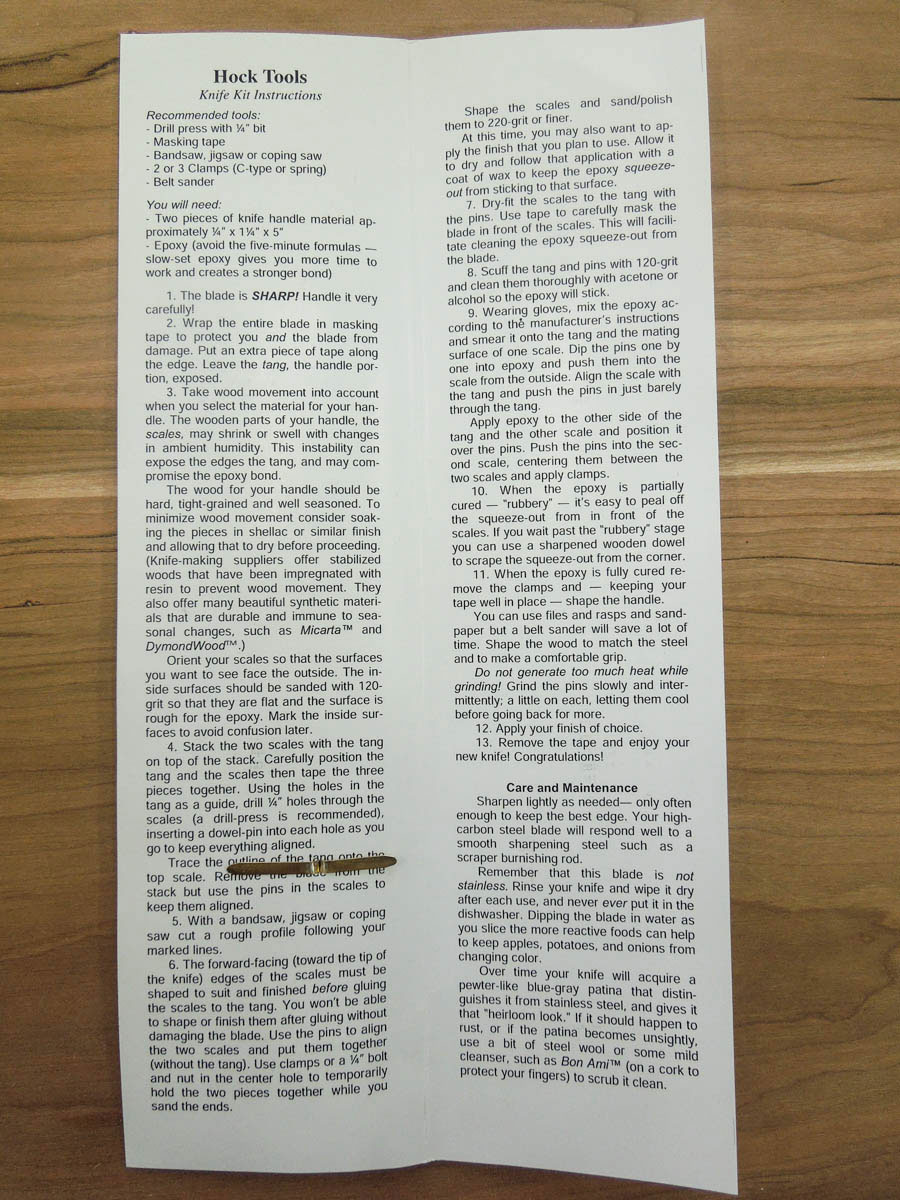
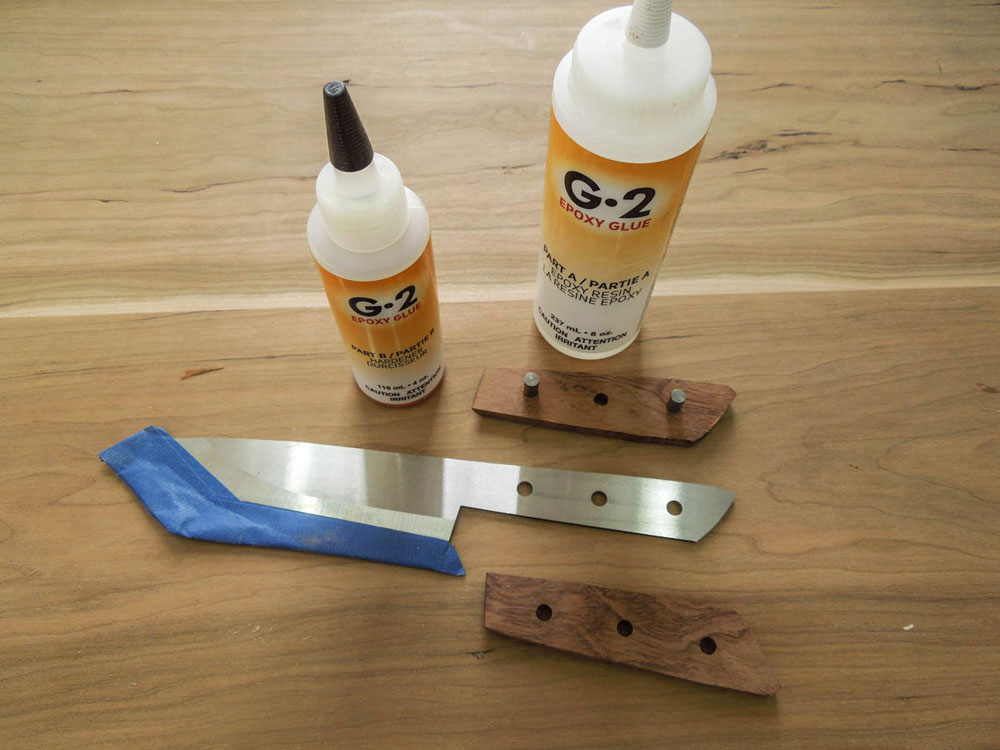
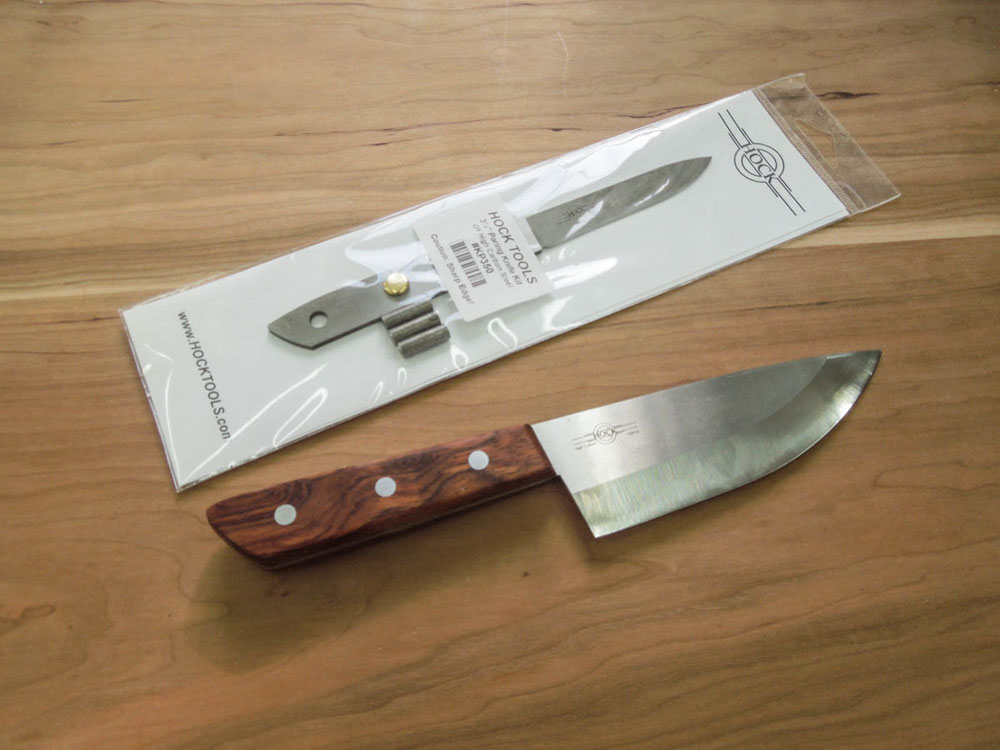
The kit comes with a pre-sharpened knife blank, metal dowel pins, and directions. The directions cover recommended tools, supplies you will need to provide (mainly wood for the handles and epoxy), step-by-step directions to cut and fabricate the wooden handles and how to fit them to the knife blank, and finally, care and maintenance guidance.
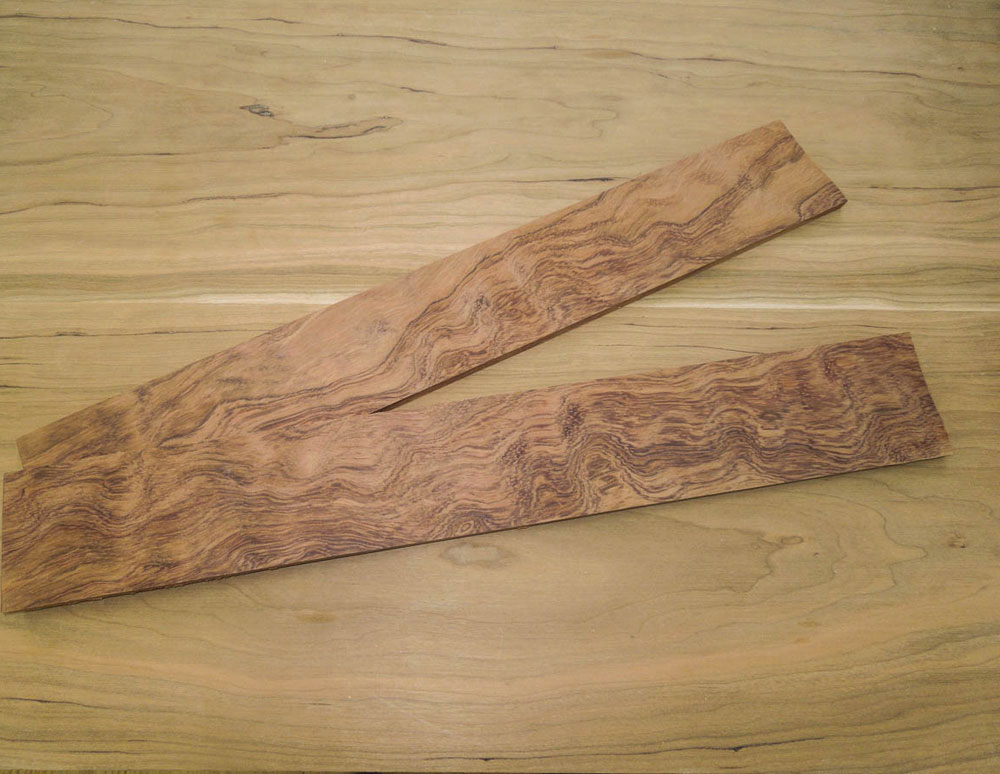
The first step in making the knife is selecting the wood that you will use for the handles. I had some bubinga laying around so I decided to use that for my handles. You don't need much, just two pieces that are 1/4" x 1-1/4" x 5". I took a piece and resawed it so the grain would match on both sides of the handle.
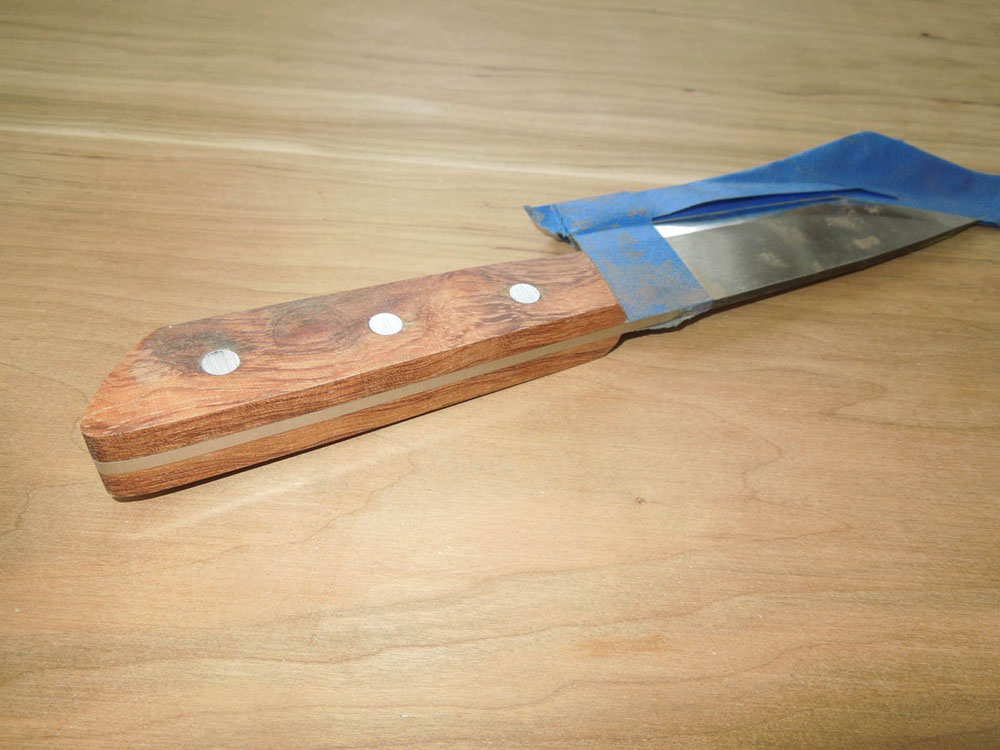
The next step is critical. TAPE the blade so you don't cut yourself. As I said before, the blank comes pre-sharpened and it is VERY sharp.
I put a few extra layers of tape along the edge so that it wouldn't slice through while holding the blade. Once you've done this it is time to start laying out the profile of the tang onto the wood and prepare it for shaping.
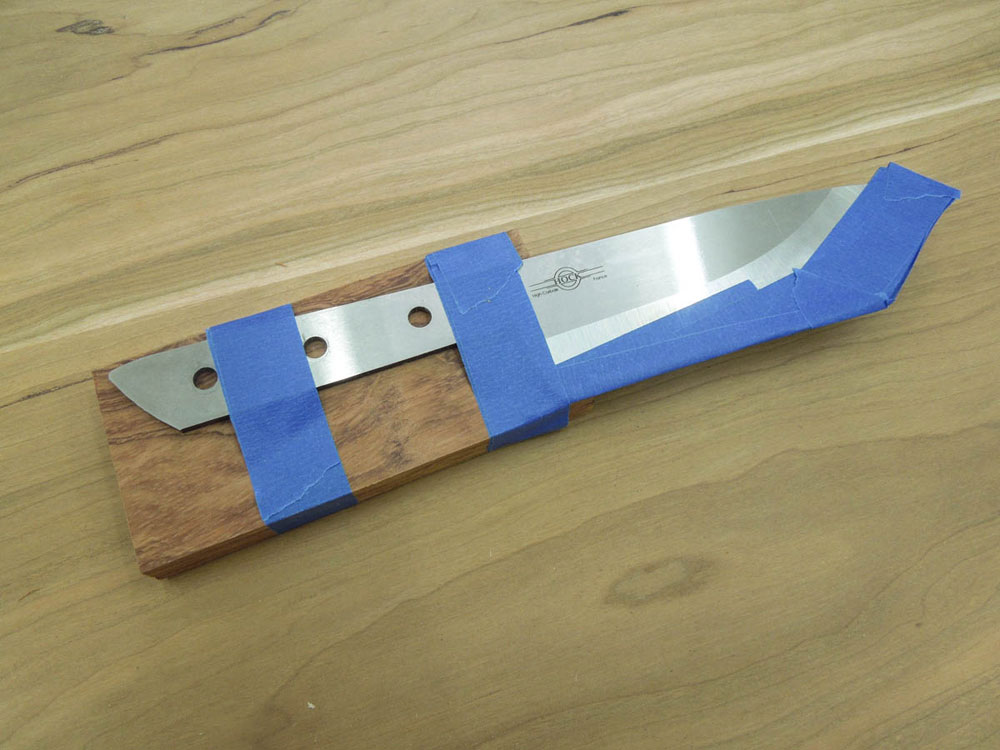
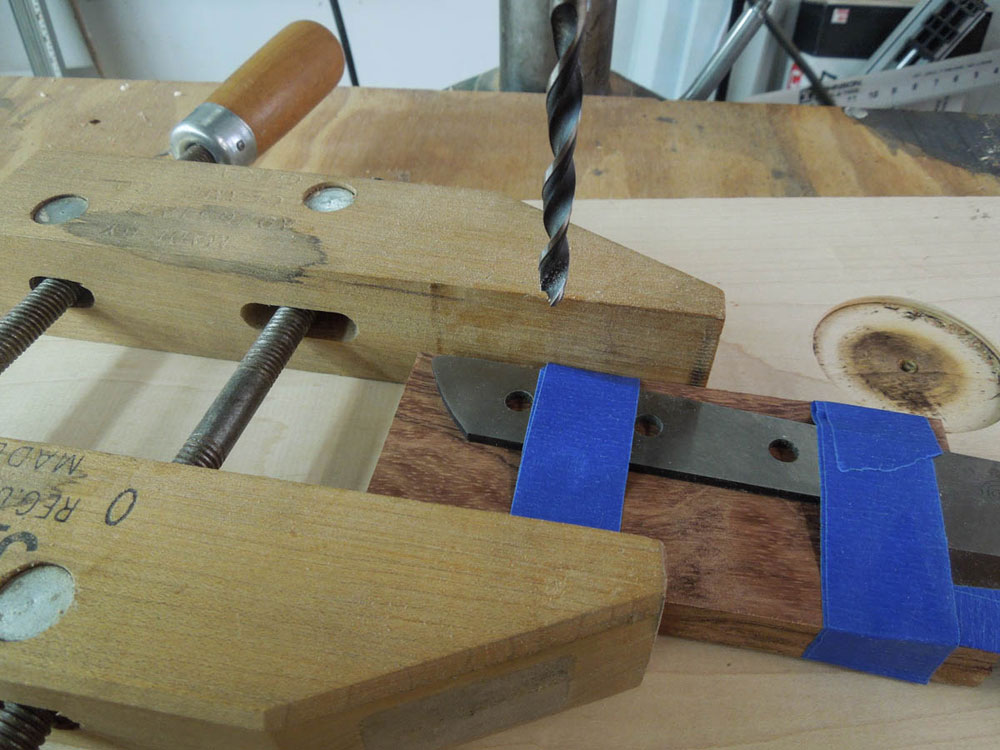
As you can see in the picture, I offset the tang on the wood surface because I wanted to take advantage of the grain pattern in the bubinga. You stack both halves of the wood and tape the tang onto the wood so everything is locked into place. Now you can drill holes for the metal dowel pins.
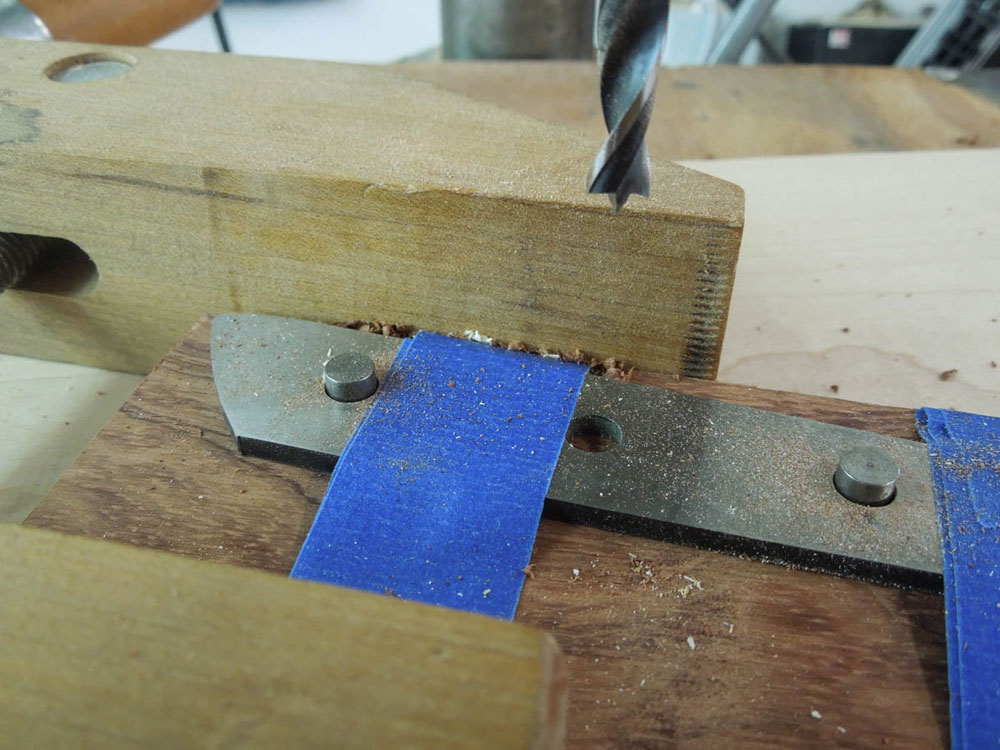
I clamped everything into the jaws of a wooden clamp so that it would lay flat on my drill press table, but also be supported by the clamp from a safety perspective. I could just picture myself holding onto the metal blade while drilling the holes and accidentally have the drill bit catch...don't forget to be safe!
Next, you drill each hole and place a metal dowel pin after each hole is drilled.
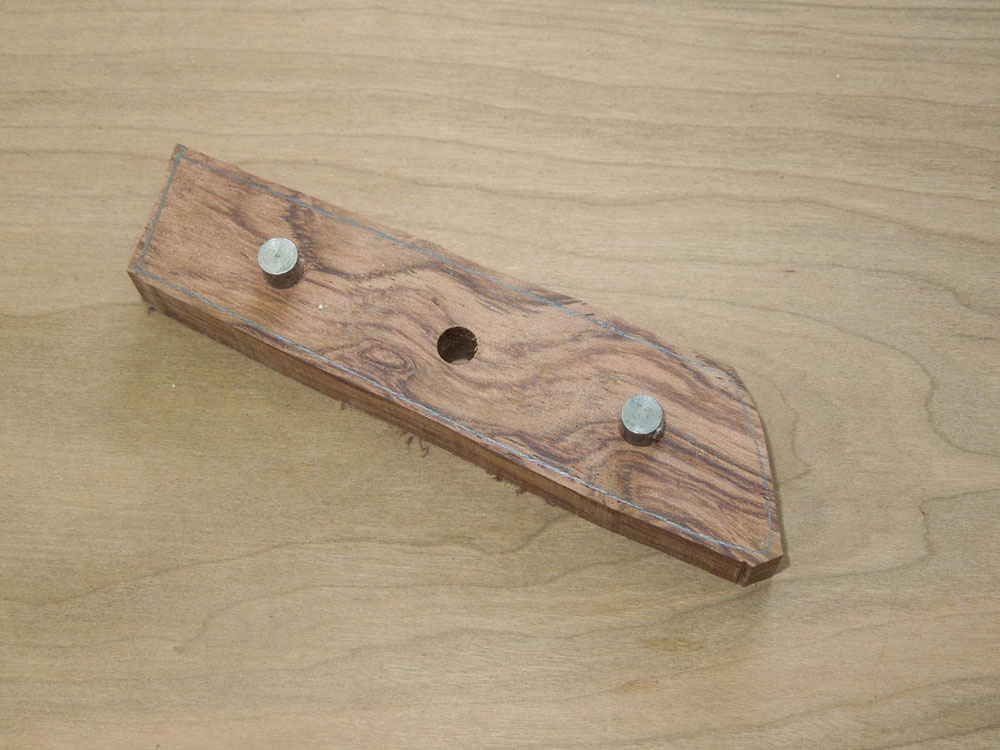
After drilling the holes you can trace the outline of the tang onto the wood, remove the knife blank, replace the metal dowel pins, and then rough cut the wood to shape using a bandsaw.
Before gluing everything together, there is a critical step to perform. You must shape the front-end edge of the wood and sand it prior to gluing. You cannot do this after the wood is glued to the knife blank without ruining the surface of the metal blade.
Ron recommends using slow-set epoxy rather than the 5-minute version, because it gives you more time to work and get everything together. He also says it creates a stronger bond. We use G-2 slow-set epoxy on our Shenandoah mallets and awls, so I had some available. Highland Woodworking carries G-2 Epoxy and it has a very long open time.
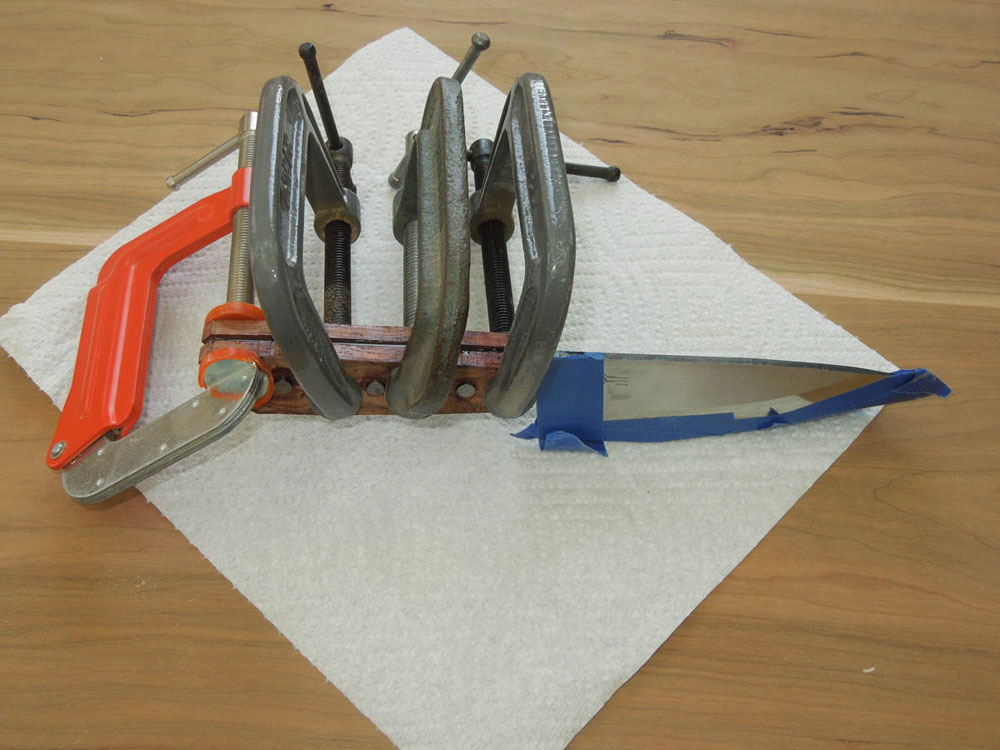
Just put the glue on and clamp everything together!
G-2 epoxy has a curing time of 24 hours so I let everything sit overnight
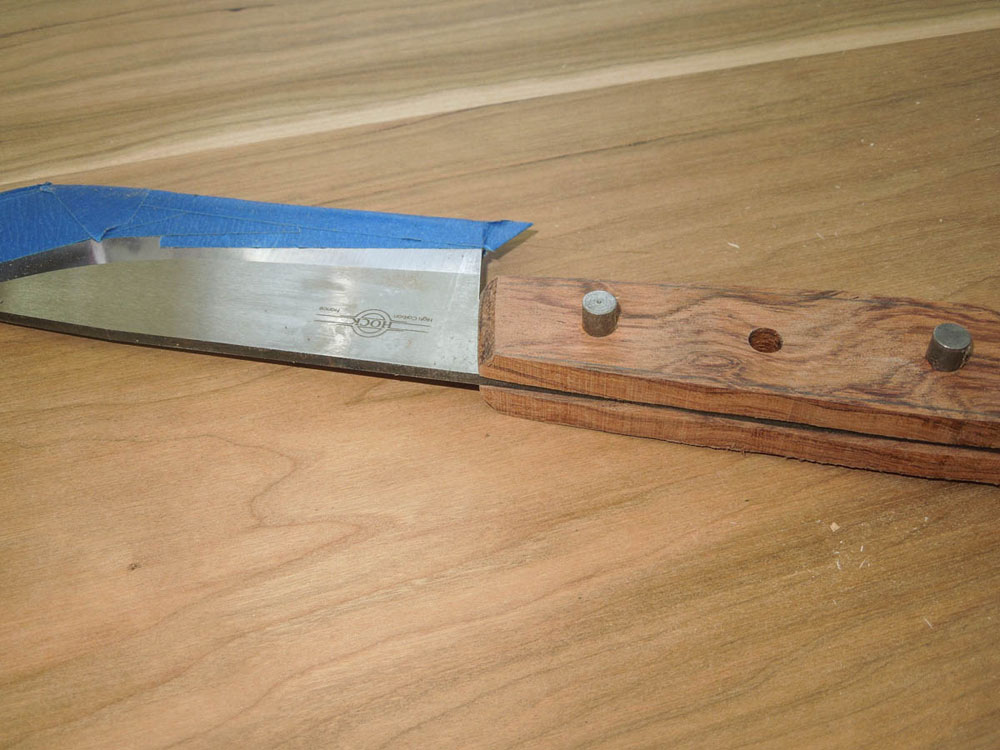
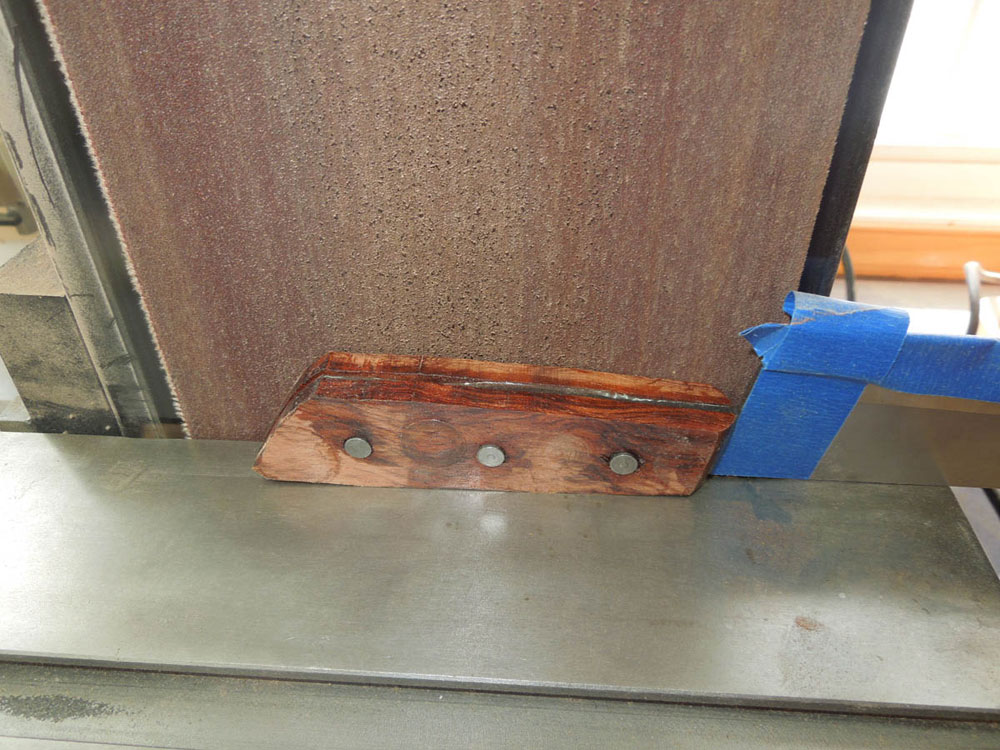
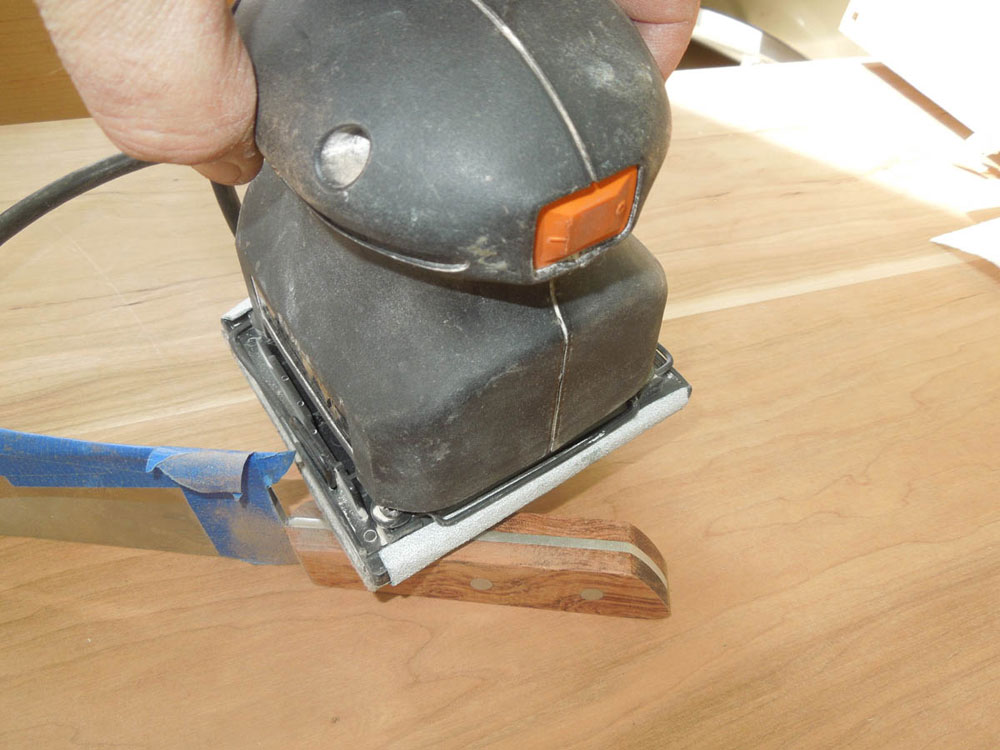
Now onto the fun part, shaping and finishing the handle. I used a belt sander to sand the metal dowel pins flush with the side of the handle, but you could use a hand-held sander as well.
Once the sides are flush, sand the edges flush with the metal edge of the tang. I used both the belt sander and a hand sander to do this. As you can see, it is important to shape the leading edge of the handle before gluing because you cannot get to this area after the handle is glued together.
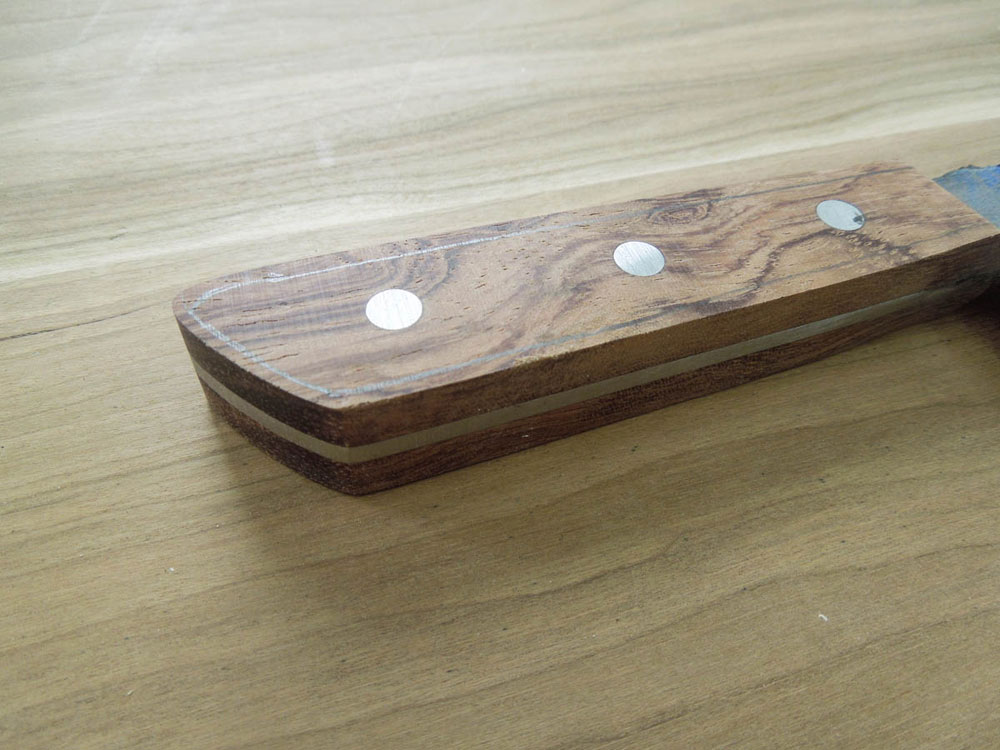
Once all the flat surfaces are sanded smooth you can shape the edges to have a comfortable fit in your hand.
I just drew a line on both sides around the edge of the handle and about an 1/8" in from the edge. I would use this line as a guide to create a round-over and soften the sharp edge.
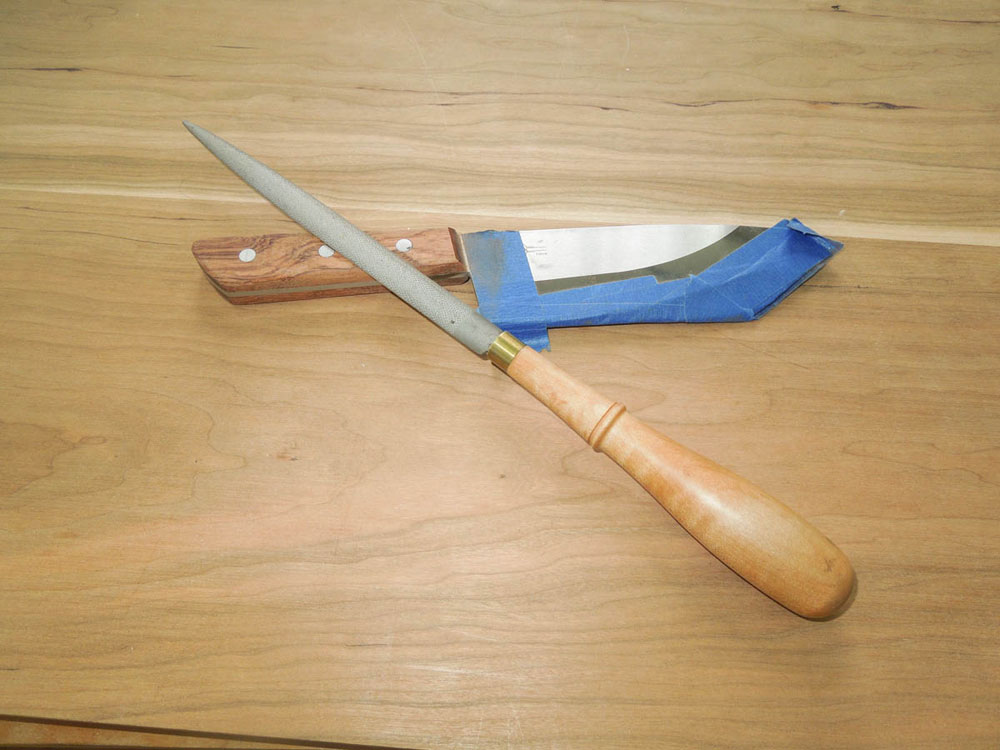
Shaping the edge was the perfect job for an Auriou Modeller's Rasp. The rasp I used is 7 inches long and 13 grain. You simply work along the edge, going with the grain so it doesn't chip out and create a nice smooth round-over.
The final step is to simply hand sand everything smooth and apply a finish. My finish of choice is General Finishes Seal-a-Cell and Arm-R-Seal. Both are oil/urethane blends but the Seal-a-Cell has more oil than urethane and penetrates the wood and 'pops' the grain. The Arm-R-Seal has more urethane than oil and builds a surface protection. It is a very durable finish.
After everything was cured I put a little Renaissance Wax on for further protection, since the handle will be getting wet.
As I mentioned at the beginning, there is also a 3-1/2" Paring Knife Kit. The knife handle is made in exactly the same way. I've saved enough bubinga so that I can make a matching set! Ron recently announced that he is making two similar knives available with 8" blades. The two knives I've mentioned in this article are currently available from Highland Woodworking.
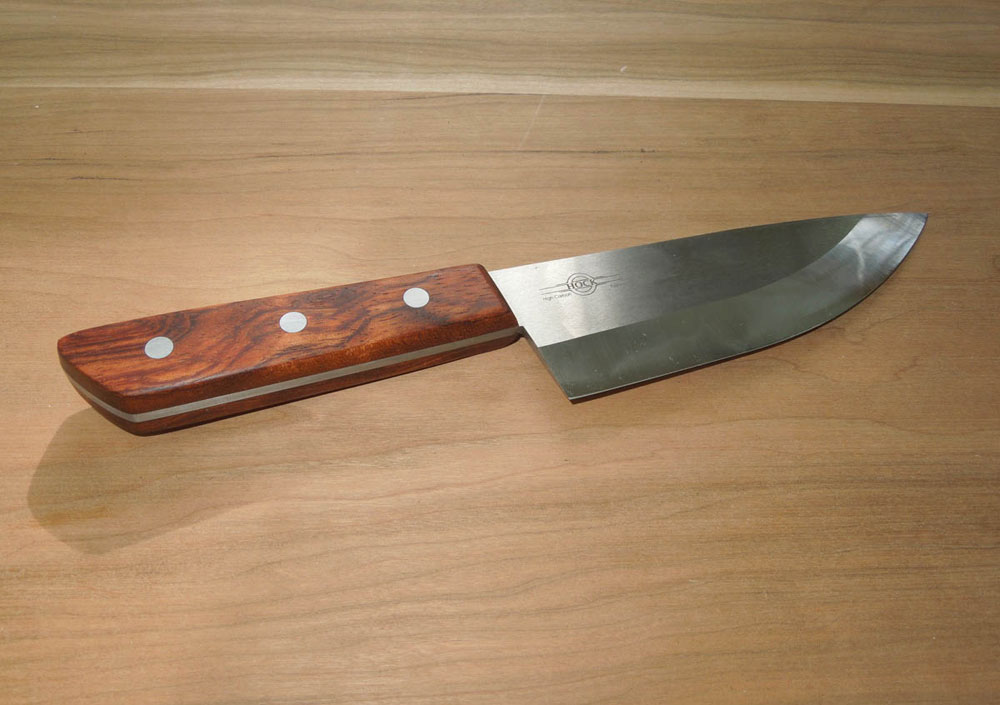
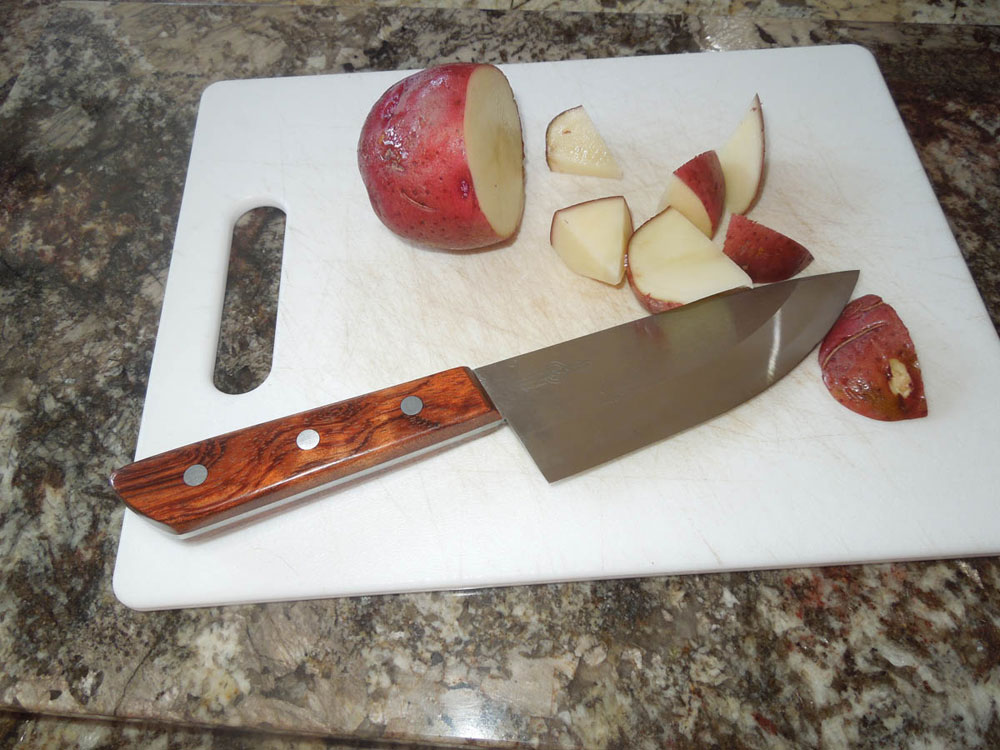
Now it is time to go off to the kitchen and see how the knife performs!
My first reaction was "Wow!" This knife is scary sharp but I wouldn't expect anything less from a Ron Hock blade. Construction was very straightforward and the step-by-step directions were excellent. This is a very fun project and only takes a few hours of your time. The longest part is waiting for the epoxy to dry!
This knife will make a wonderful addition to your kitchen and I can't wait to work on the Paring Knife.
CLICK HERE to find out more about the Hock Kitchen Knife Kits by Ron Hock
Jeffrey Fleisher has been a woodworker for approximately 20 years and a professional woodworker for the past 6 years. He is the president of his local woodturning club, the Woodturners of the Virginias and past president of the Northern Virginia Carvers. You can see some of the furniture he has made at www.jeffswooddesigns.com. He can be reached by email at furnmkr@gmail.com.
Return to
Wood News
front page