Benchcrafted Moxon Vise Hardware - Tool Review
by Jeffrey Fleisher
New Market, VA
Click on any picture to see a larger version.
If you make a lot of dovetails or do edge work on wide panels than the Benchcrafted Moxon Vise is for you. This vise is extremely fast and easy to use, and provides a significant amount of clamping power.
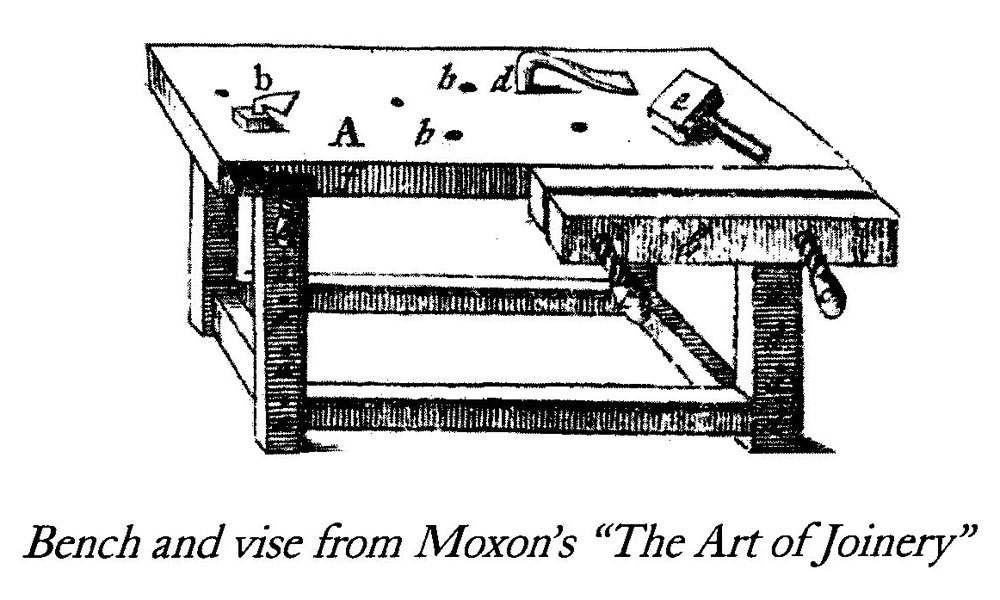
In the December 2010 issue of Popular Woodworking Magazine, Chris Schwarz had an article describing a vise he built based upon Joseph Moxon's double-screw vise described in his 17th Century book, The Art of Joinery. The design of the double-screw vise allows the work-piece to fit between the
screws and be secured uniformly across the whole surface of the board. The jaws are also designed to
rack slightly so irregular shaped objects can be secured in the vise as well. As you will see, the
Benchcrafted vise isn't an exact copy of the Moxon vise, but the term "Moxon vise" has been widely
adopted to describe this type of vise.
The Benchcrafted Moxon Vise uses the same precision rolled acme screws as their Tail Vise and Glide Leg Vise. The handles are cast iron, fit nicely in your hand, and are easy to grip and spin.
However, they've changed things around a little bit in that instead of the handwheel turning the screws
and having to work under the weight of the movable jaw, they've fixed the screws to the vise itself
(they don't move) and tapped the handwheels, allowing them to move in and out on the rigid screws.
The cast iron wheels provide a lot of mass so they spin freely on the polished acme threads, and quickly
pull the movable jaw tight against the work-piece.
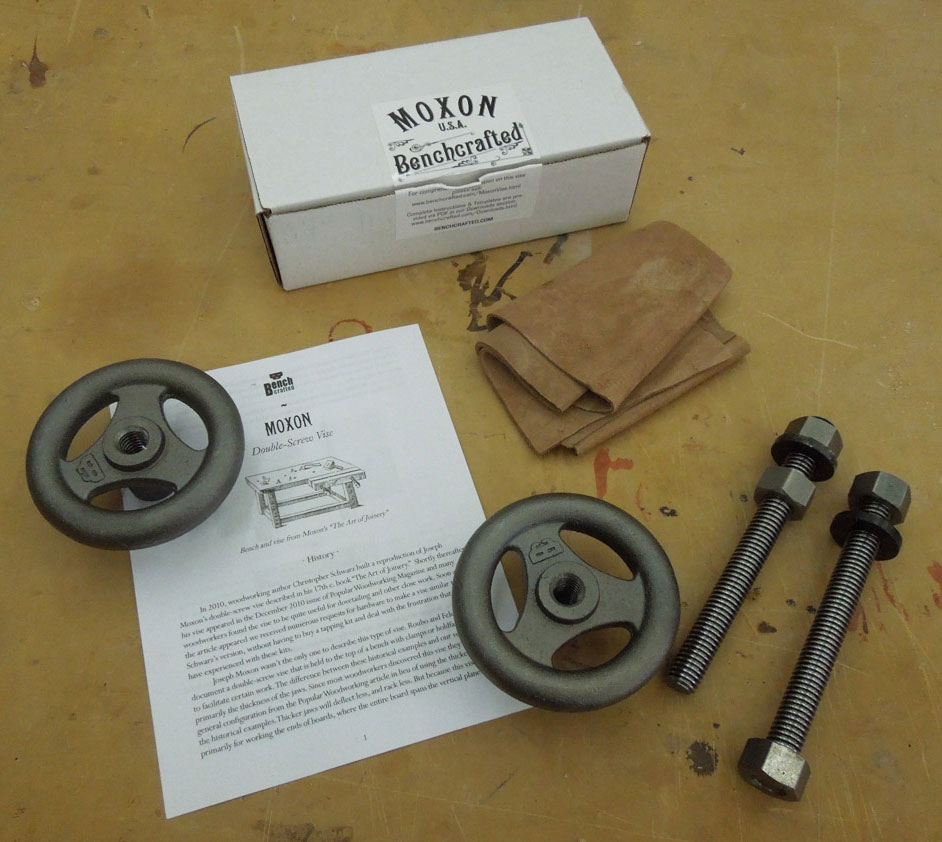
The Moxon vise kit comes with all of the hardware needed to construct the vise:
The kit comes with 2 handwheels, 2 acme screws, 4 mounting nuts, 2 washers, and a piece of leather to mount to the inside of the movable jaw. You can download instructions from Highland Woodworking's website.
You have a variety of ways to create a twin-screw vise for your shop. You can create a vise
on either the front or end of your workbench, build a separate 'joinery' bench dedicated to cutting
joinery such as dovetails, or create it as a portable vise that you can clamp to the top of your existing bench. For
this article I put together the portable vise as described in the downloadable instructions. The whole
process took about 2 hours and is very straight forward. No sophisticated tools are needed, just square
up some boards, drill a couple of holes, clean up a mortise to recess the mounting nuts on the inside of
the jaws, and put it all together. If you follow the downloadable instructions, you end up with a vise
that you can mount to the top of your existing bench with a clamping area that is about 24" wide
between screws.
To give you an idea of just how easy it is to build one of these vises, I thought I would step
through the process with a few pictures and a little narration:
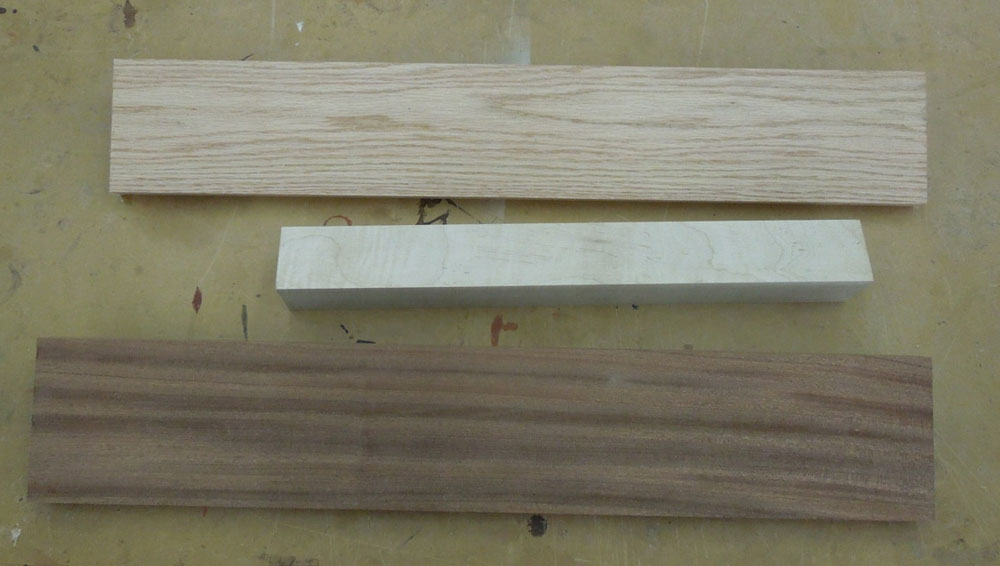
I started out with three boards that I
milled up per the instructions.
I used a nice piece of oak as the fixed rear jaw, a fancy piece of ribbon sapele for the movable
front jaw, and a piece of poplar for the rear support. The instructions provide layout dimensions for the
holes in both of the jaws. Rather than mark each board individually I did the layout on the front jaw
and then made a sandwich of the front, rear and a sacrificial backer board using double sided tape.
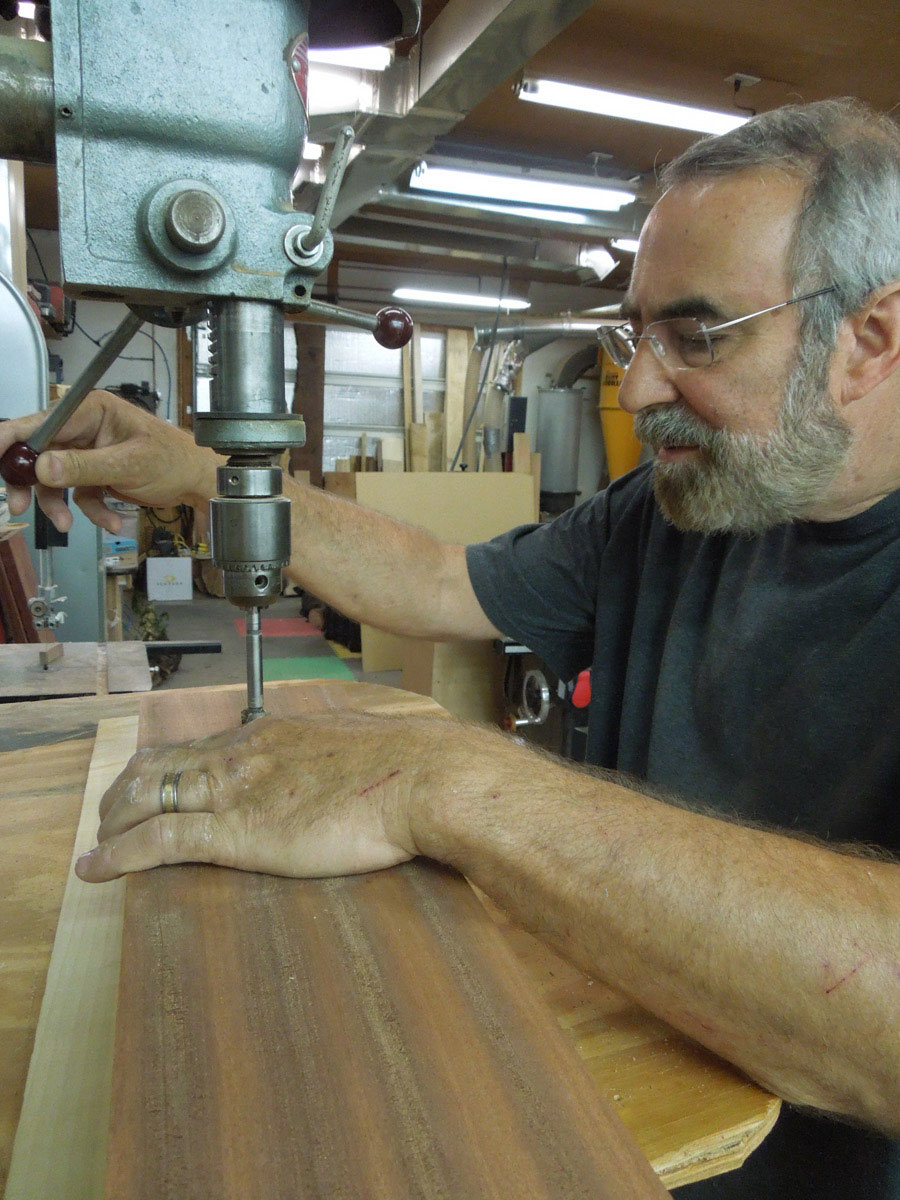
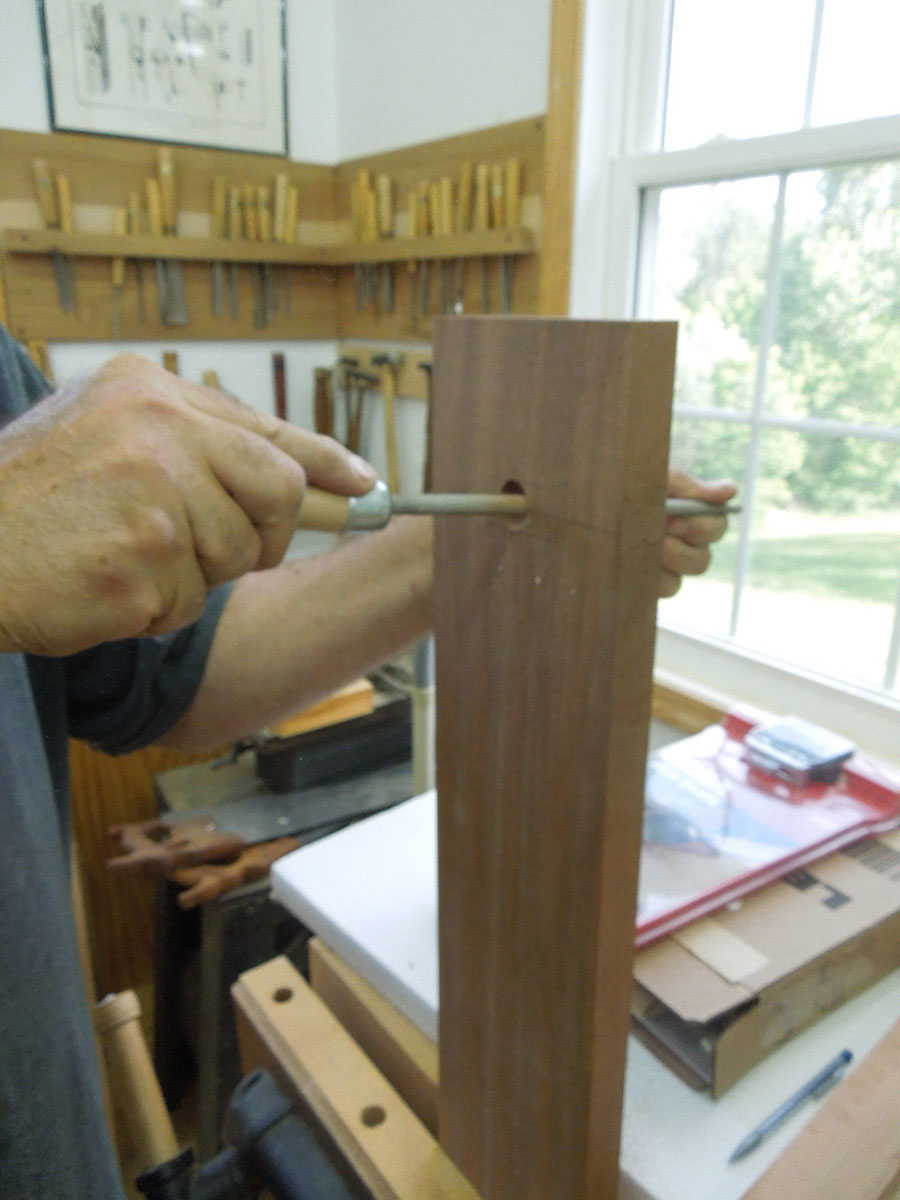
Use a drill press or brace and auger to drill the necessary holes. The sacrificial backer board
prevents splitting out the wood on the back of the fixed jaw.
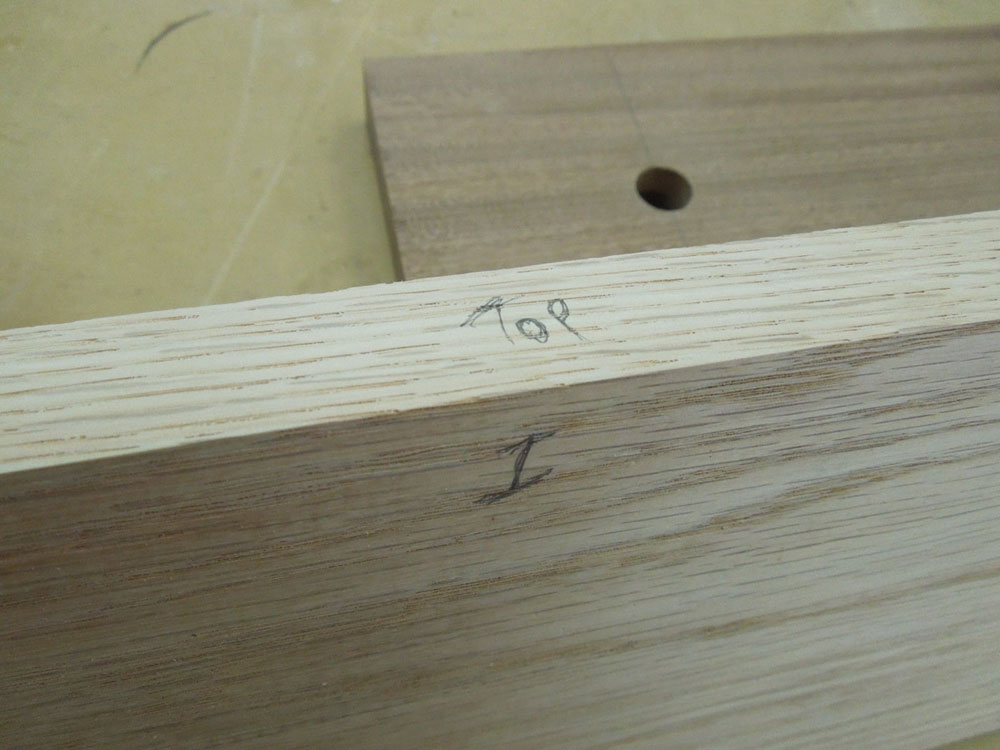
After the holes are drilled, label the top and inside of the rear fixed jaw so that you do not get
confused about where to cut the mortise for the mounting nut. The mortise goes on the inside of the
fixed jaw.
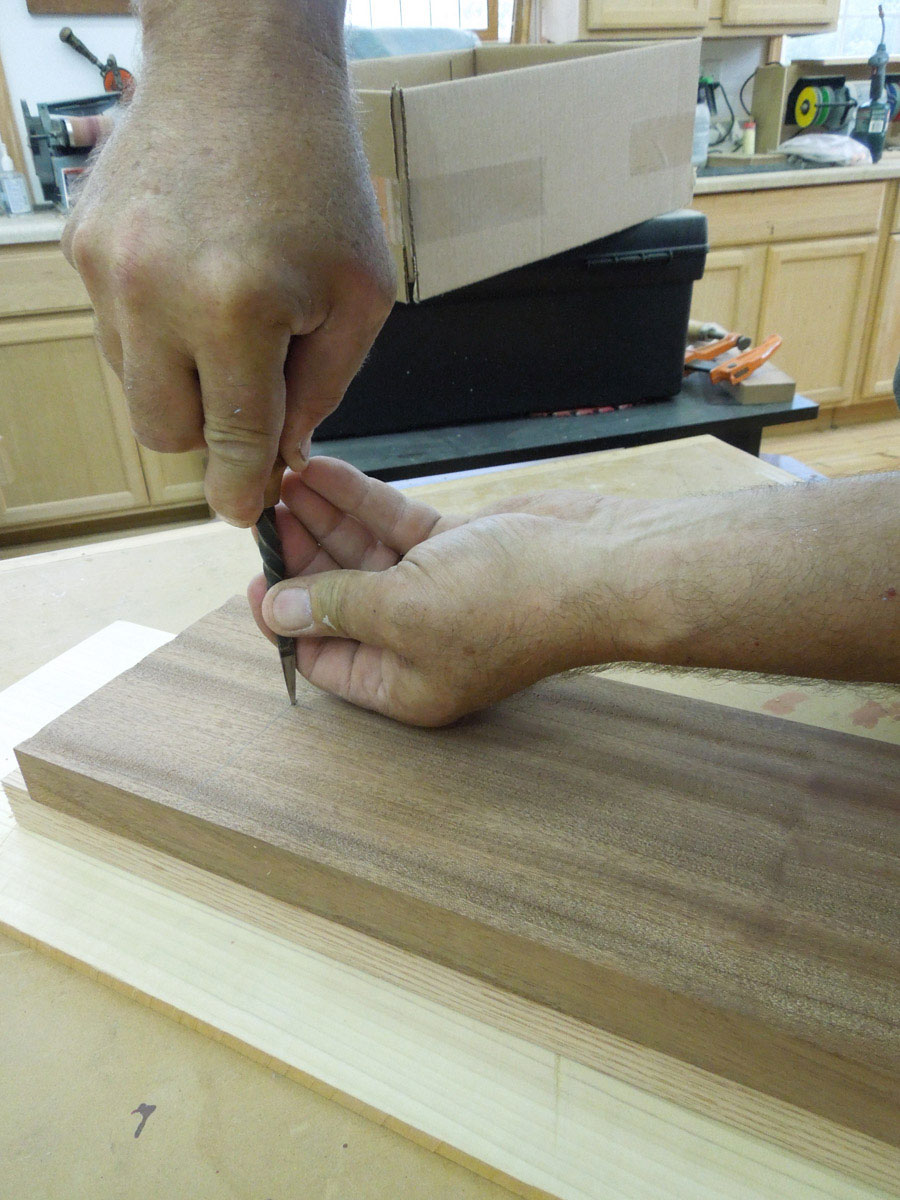
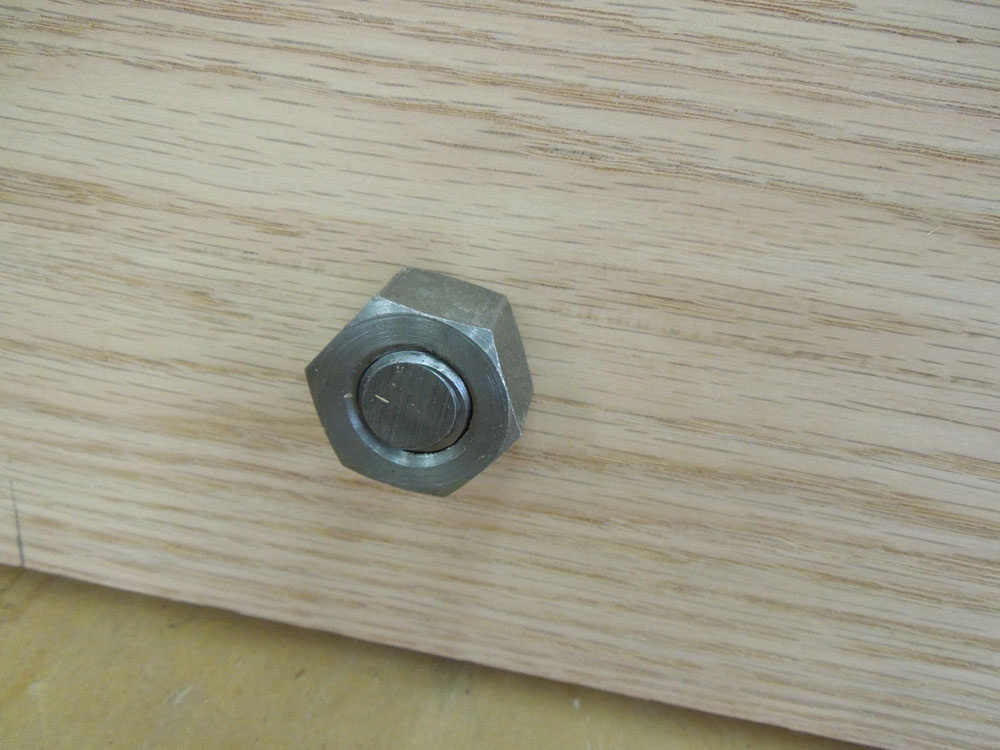
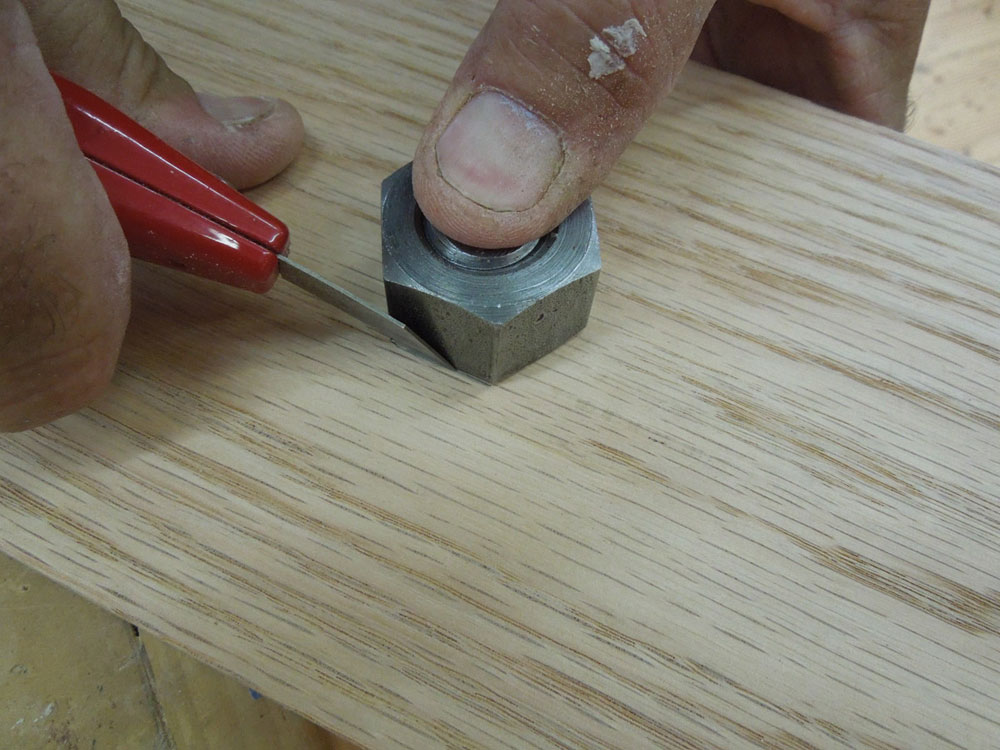
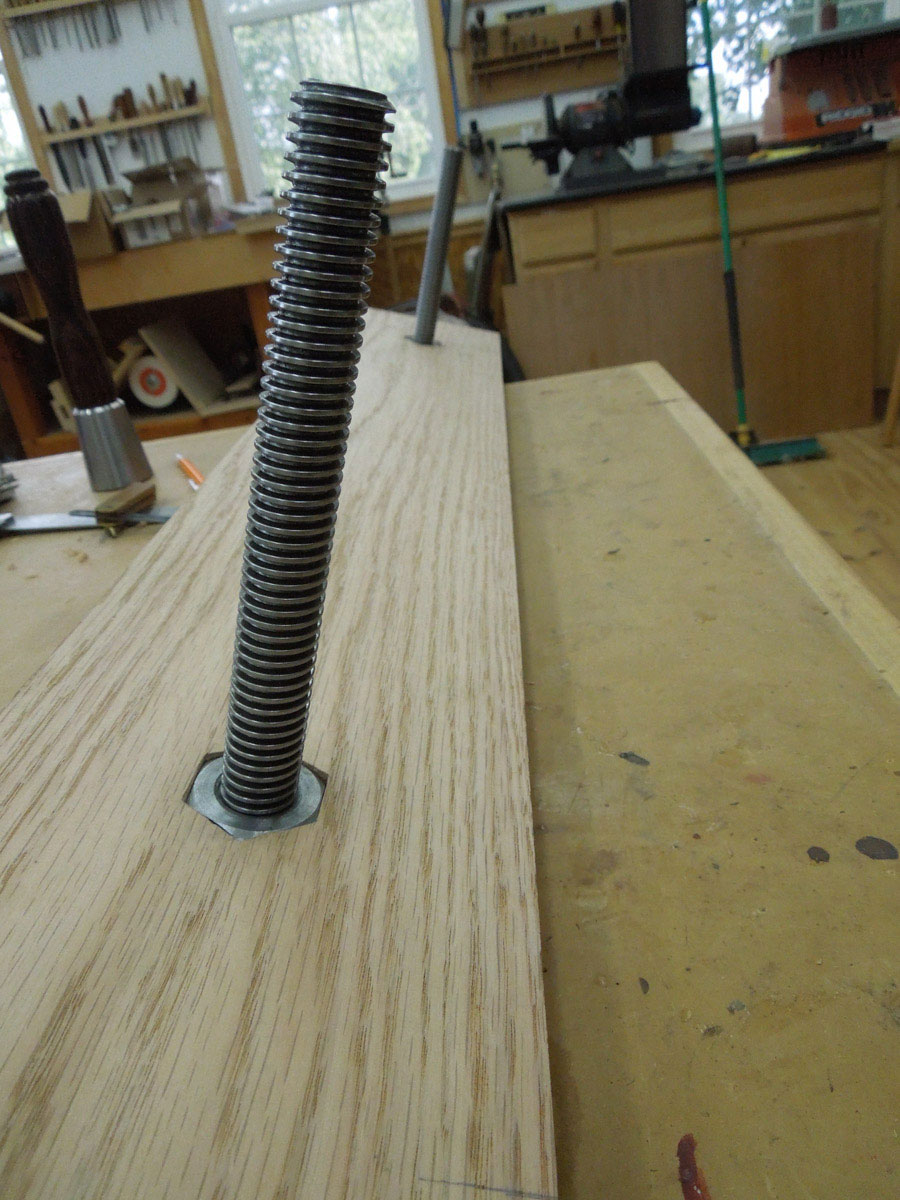
Insert a screw into the hole with a nut mounted on the end so that you can then scribe around
the nut using a marking knife.
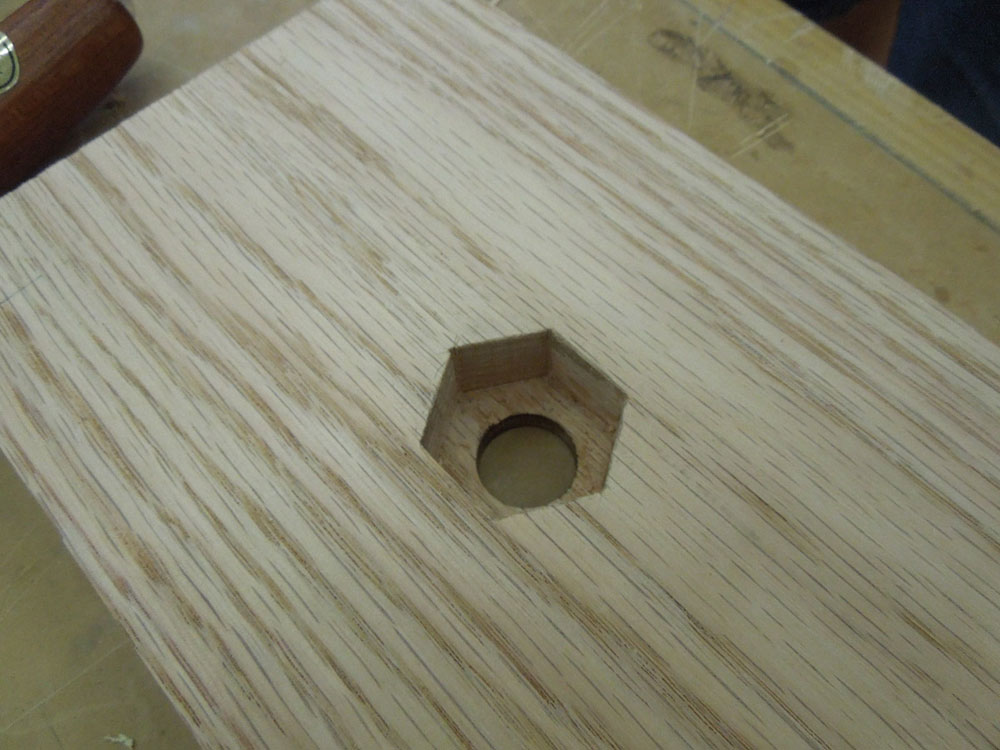
Once you have the outline you can clean up the mortise with a chisel. Go slow and you will get
a nice fit of the nut in the mortise. This locks the nut in place and prevents it from turning when
mounting the other nut on the back. Be sure the top surface of the nut is below the surface of the wood
for a nice clean fit.
The final step in constructing the jaws is to elongate the holes in the front movable jaw so that it
will rack front to back a little. This allows you to clamp an irregular shaped object in the jaws and also
let's you keep one side of the vise set to the thickness of your work-piece and then tighten and loosen
the other side to insert or remove your work-piece.
I used a rat-tail file to slightly lengthen the holes keeping them inline with the length of the
board. Do not make them bigger in the cross-grain direction or else your front jaw will slip down.
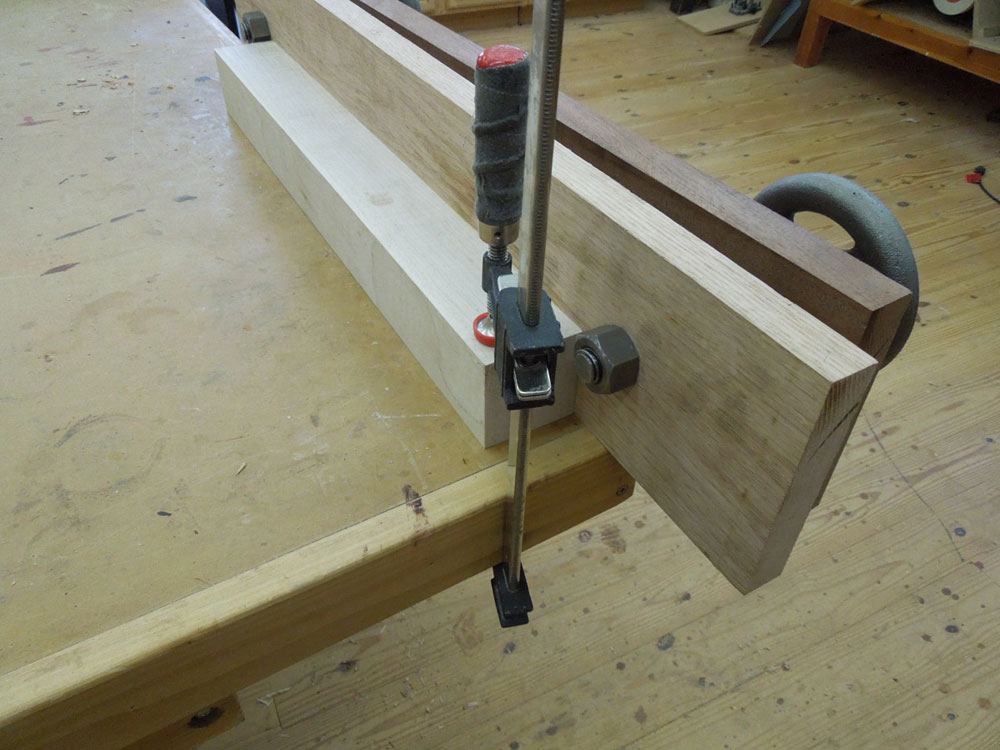
Finally you can attach the rear support which is used to clamp the vise to your work bench.
Your vise in now done and ready to use!! As you can see, it is very straightforward to construct
this bench top version of the Moxon Vise.
How do you use it?
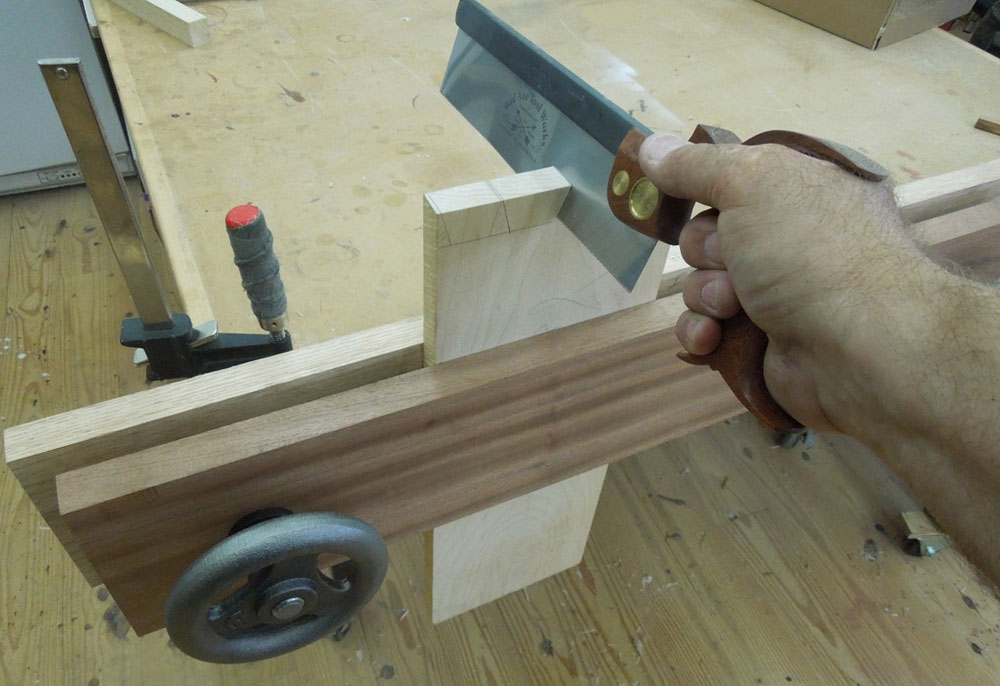
Simply clamp your board between the screws:
Here is an example of the vise holding a board for cutting dovetails. The vise supports the
whole surface of the board unlike other bench vises where you need to clamp the board along one side
of the vise because all the screws and guide rails are in the center of the vise.
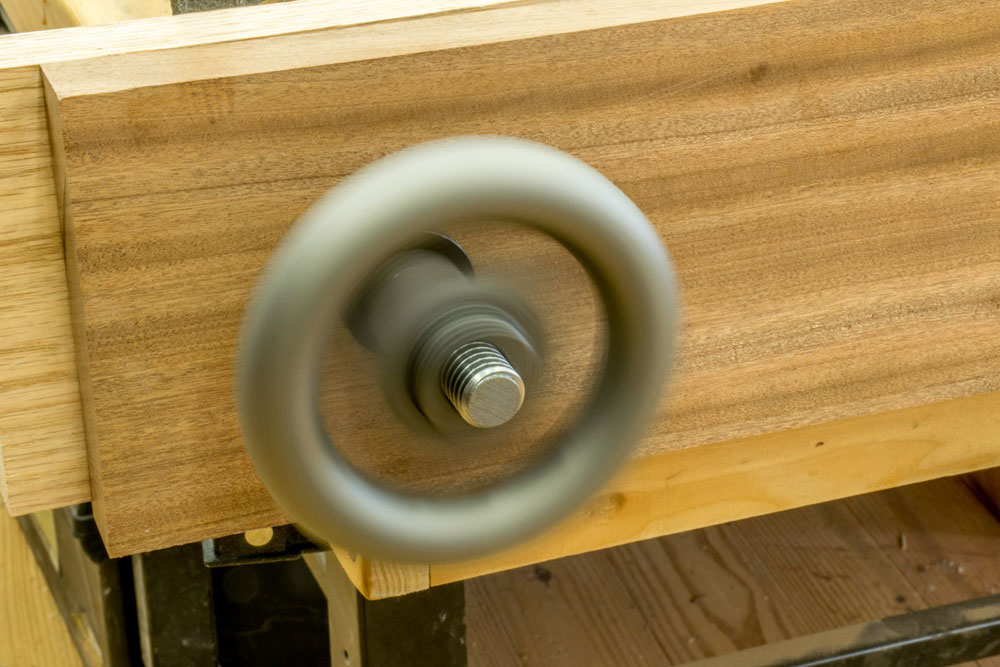
What is the best part about using the vise?
The speed at which you can spin the wheels to
tighten up the vise. Here you can see just how fast you can spin the wheels:
The cast iron wheels provide a lot of momentum for a quick, tight clamp!
The Moxon Vise kit by Benchcrafted is a high quality set of hardware that gives you the
flexibility of building a twin-screw vise in a variety of configurations. The parts are precision
machined and should provide you a lifetime of service. I highly recommend a set (or two) of Moxon
Vises for your shop.
CLICK HERE to find out more about
Benchcrafted Moxon Vise Hardware
Jeffrey Fleisher has been a woodworker for approximately 20 years and a professional woodworker for the past 6 years. He is the president of his local woodturning club, the Woodturners of the Virginias and past president of the Northern Virginia Carvers. You can see some of the furniture he has made at www.jeffswooddesigns.com. He can be reached by email at furnmkr@gmail.com.
Return to
Wood News
front page