(Click on any picture to see a larger version)
The David Barron Magnetic Dovetail Saw Guide
will improve your hand cut dovetails by helping you
create dead-on square saw cuts. You can hand cut both your tails and pins and end up with a perfectly
fit set of dovetails.
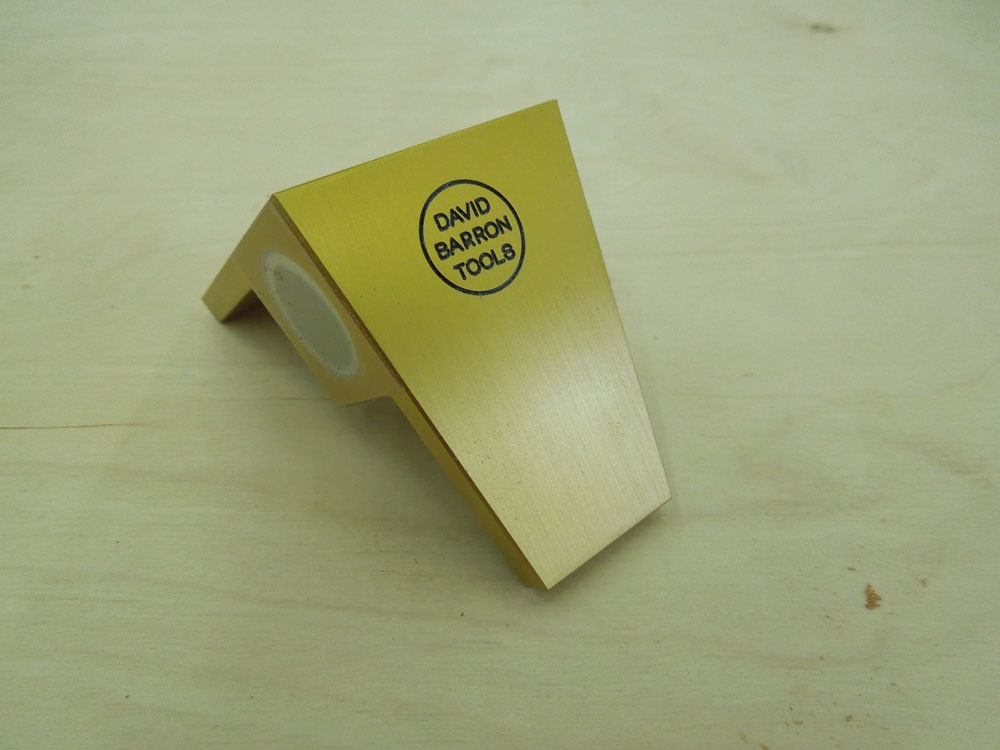
The metal guide uses rare earth magnets to hold your saw tight against the guide and at the desired angle while you hand cut the dovetail. The magnets are covered with a low friction material that is recessed into the side of the jig so the saw sits flush to the side and is allowed to move freely back and forth with little or no drag. There are also two strips of abrasive on the underside of the guide to prevent it from slipping while on the wood.
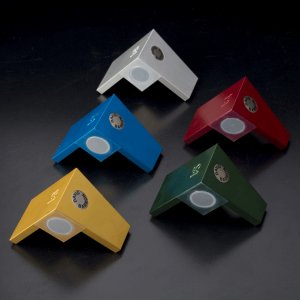
There are five dovetail saw guide models in the most popular used angles. They are 1:4, 1:5, 1:6, 1:7 and 1:8. Why so many? Some woodworkers say that the steeper angles are better for softwoods and the shallow angles for hardwoods but I base my decision on what looks best. I have never noticed a difference in the various woods that I have used and think the 1:4 or 1:6 look very nice.... but it is a personal preference.

|
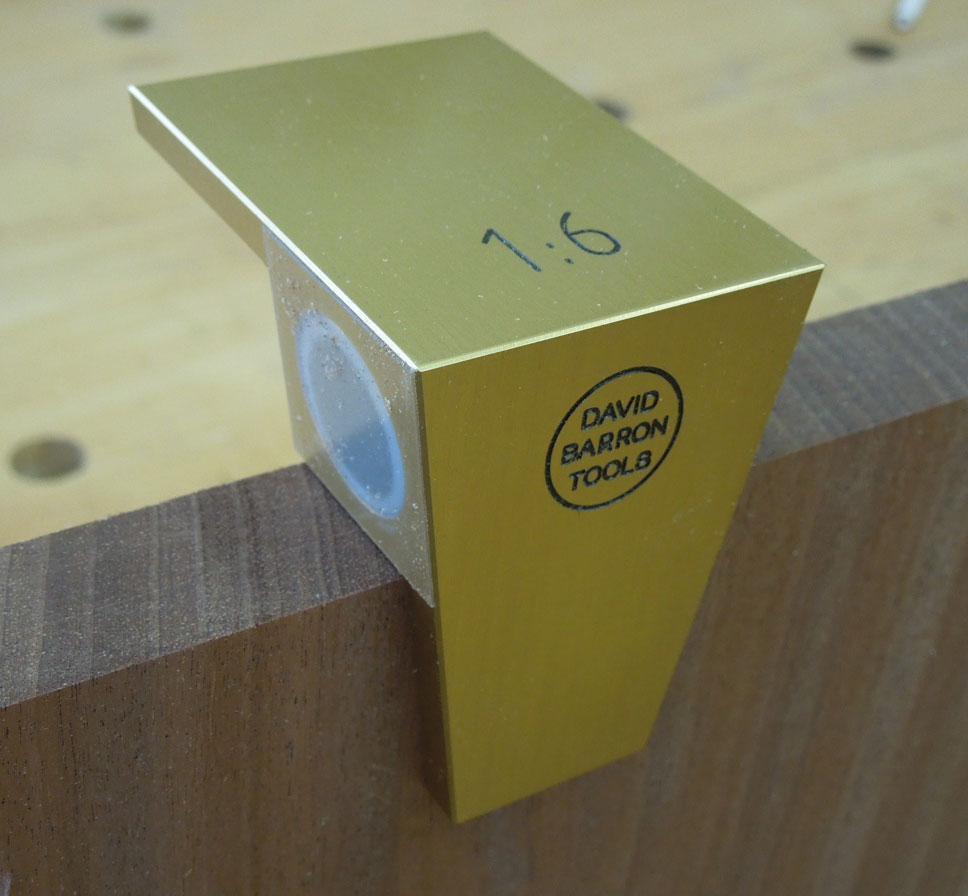
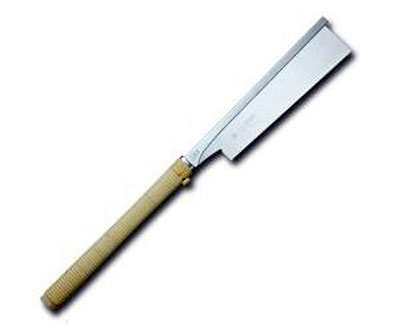
To make room for the rare earth magnet the body of the guide sits 1-1/8" above the surface of the wood. The downside of this is that it reduces the saw's overall cutting depth. David Barron recommends using a
Gyokucho 372 Japanese Dovetail Saw
because it has a large depth of blade under the spine of the saw.
|
|
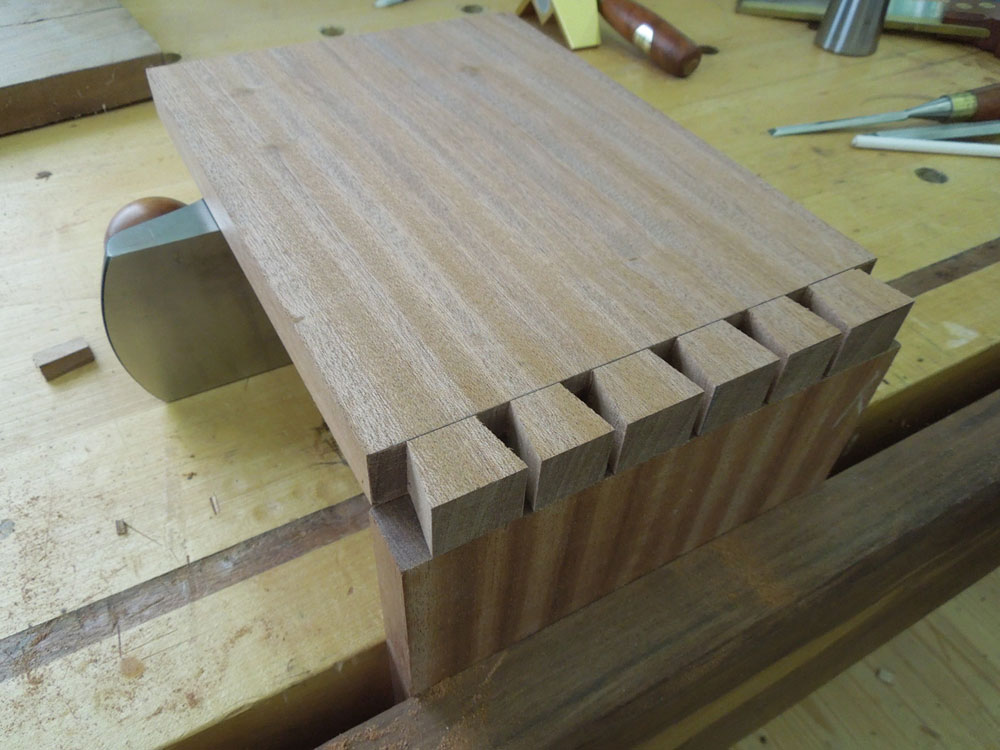
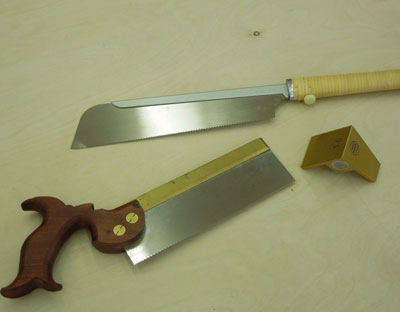
As you can see in the 2nd picture above, my Japanese saw (not the Gyokucho) has a rather narrow blade and only cuts about a quarter inch into the wood. The guide can be used with a western saw as well and one of my western dovetail saws has a large enough blade to give me about a 1-inch depth of cut. Make sure you have a dovetail saw that will allow you to cut at least a 3/4 inch deep dovetail.
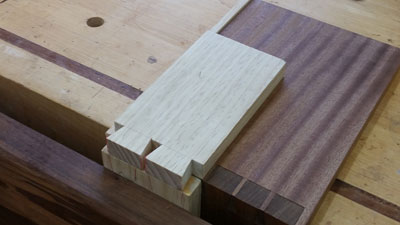
How does the guide work in practice? Let's walk through a small project so you can see how it works and I can explain some of the benefits of this guide. David Barron is an excellent furniture maker in the United Kingdom as well as a toolmaker. One of the items he recommends you make is a dovetail alignment jig, which he uses to transfer locations of dovetails from the tail board to the pin board.
.
|
The jig has two boards dovetailed together at right angles with a frame along one edge that is proud of the surface. The jig is clamped into a vise with the pin board pressed to the front and snug to the frame. The tail board is laid on top against the frame and overlapping the pin board. This arrangement provides for a perfect alignment of the tail and pin boards and you can easily mark the locations of the dovetails onto the pin board. Let's make one of these jigs using the magnetic guide to cut the dovetails.
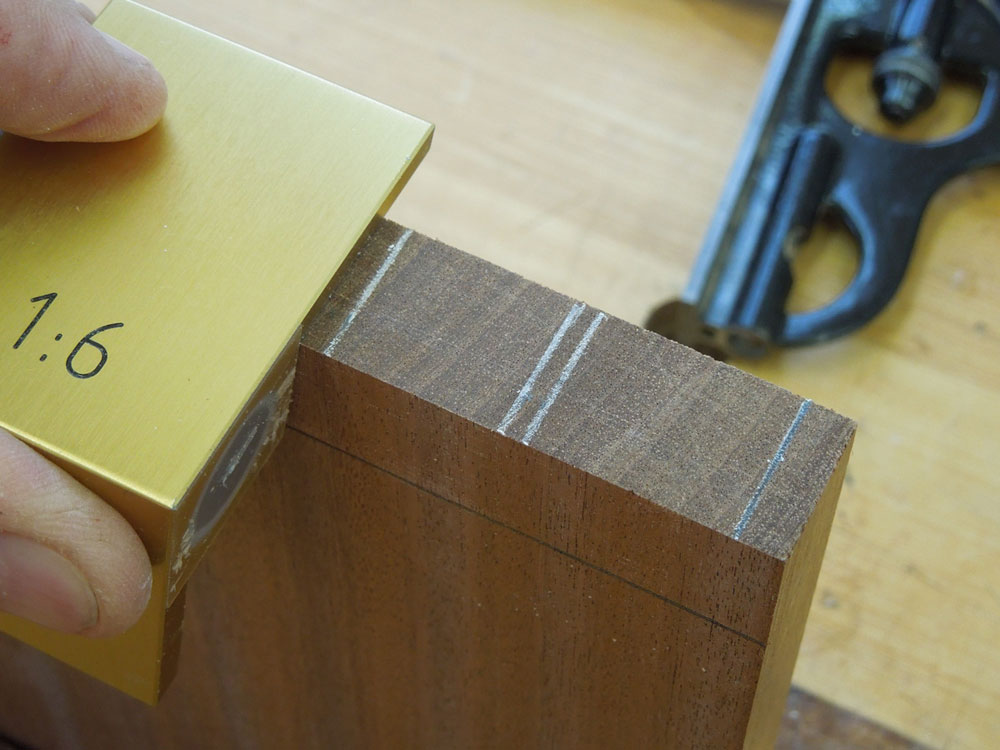
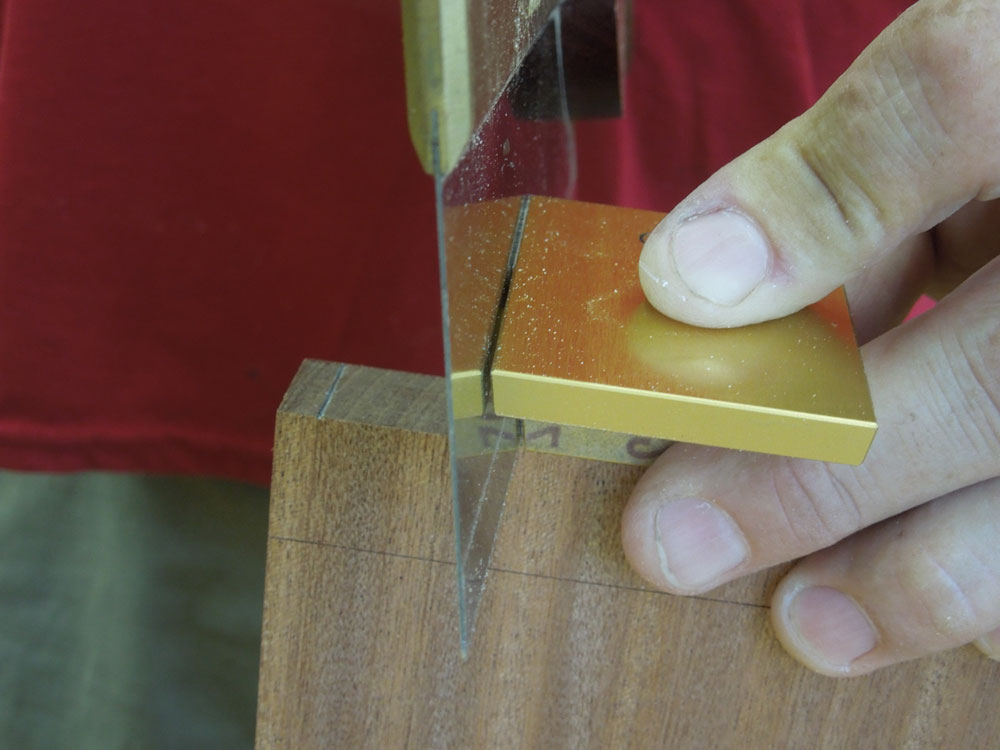
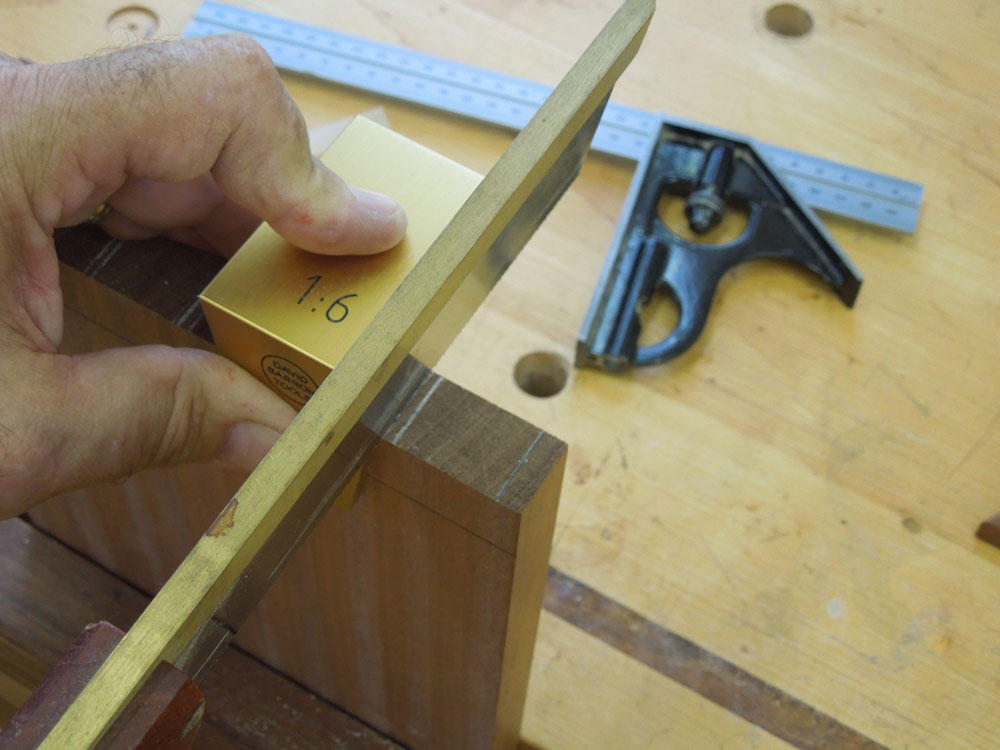
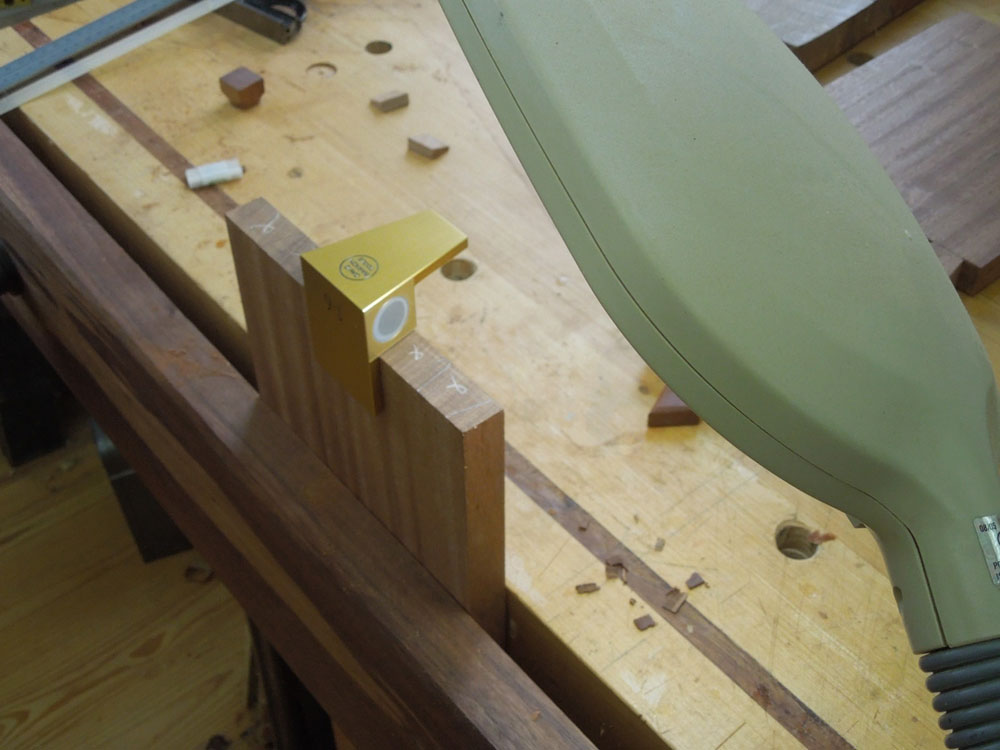
The first step is to layout the dovetails on the tail board. You will mark the locations on the end grain like normal and then you can use the straight edge of the guide to draw straight lines across the edge of the board, as shown in the following picture.
Since the guide will control the cut of your saw, you do not need to drop vertical lines down onto the surface of your board. You just need to scribe your baseline as you normally would.
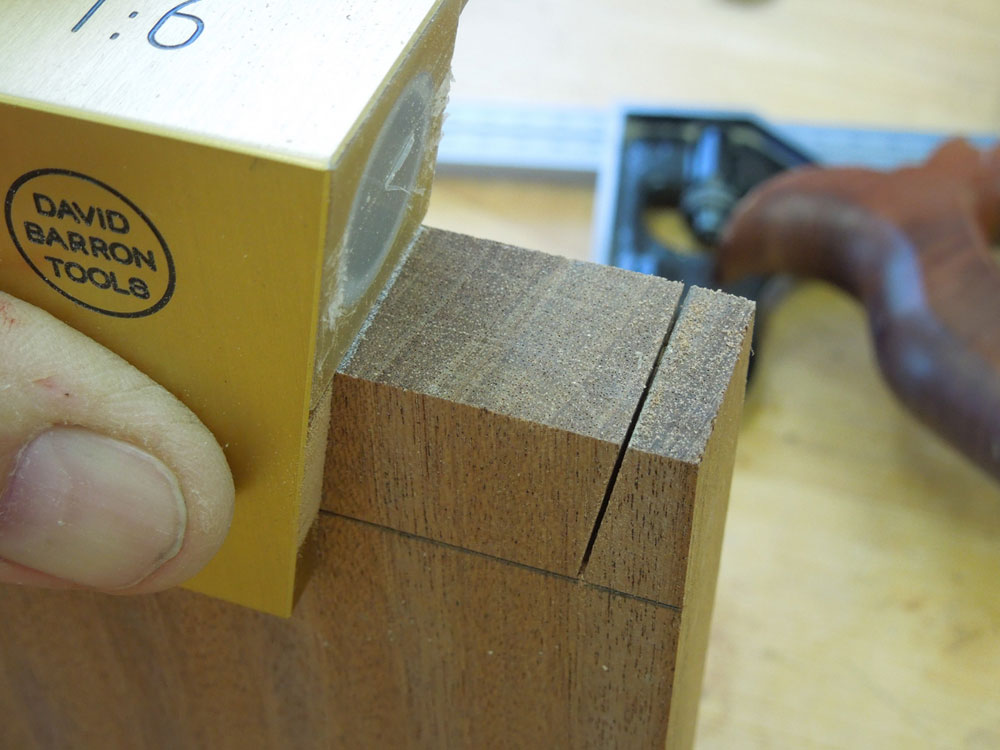
Now it's time to use the guide to cut your tails. You align the edge of the guide to your line and place your saw against the guide. It will snap into place because of the magnets. Start your cut with a soft touch and cut down to your baseline. Now, one of the drawbacks of this setup is that your body is in an awkward position to see your line and to see the baseline on the opposite side of your board. You are cutting on 'pure faith' that the saw is cutting straight and where you want it. Looking over and around the guide is not the best body position and sawing motion but the guide does help to produce a clean and square cut.
The other thing to be careful of is how you hold the guide to the board. You want to wrap your fingers around the guide and keep it tight to the board. However, when you do this, be sure to keep your fingers away from the edge where the saw is going to cut.
You will only make this mistake once! Once you understand how to hold the guide, it is easy to do and the abrasive strips on the underside will prevent it from slipping.
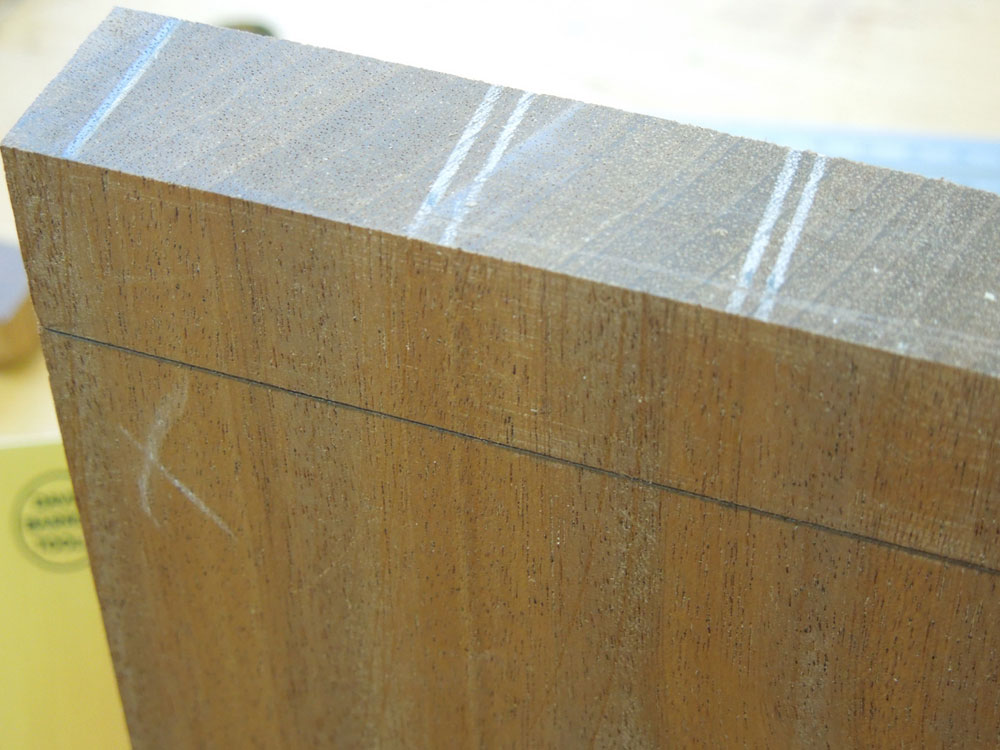
The other issue that I mentioned earlier is the depth of cut given the height of the guide and the size of your saw blade under the spine. In the following picture you can see I've got about a quarter inch left when I get to the baseline on this 3/4 inch board.
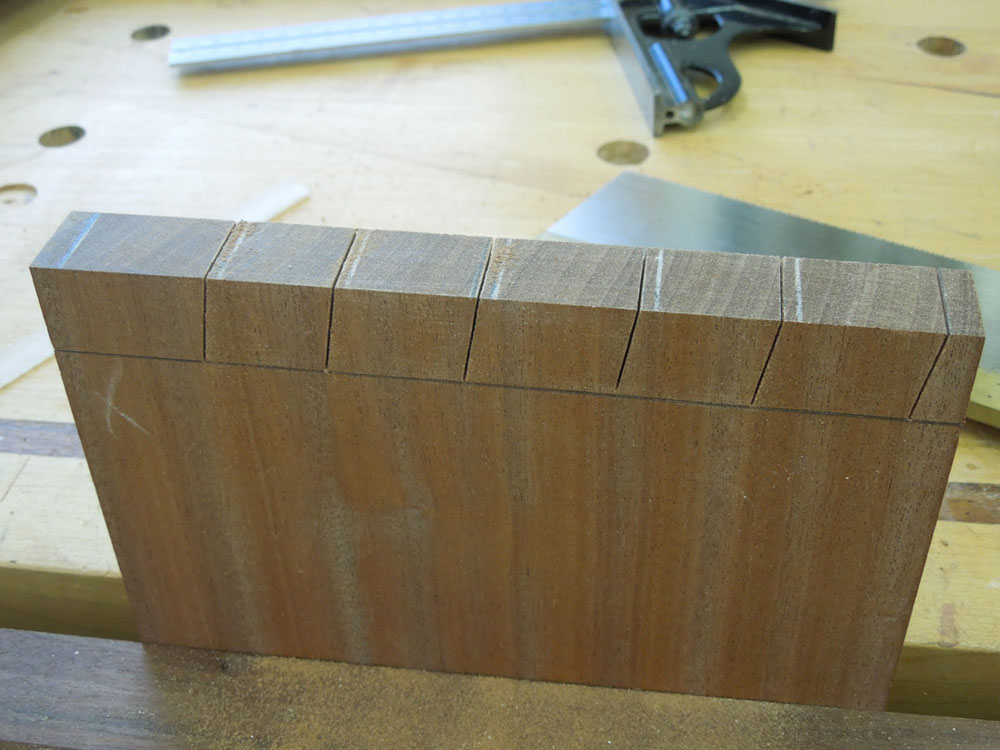
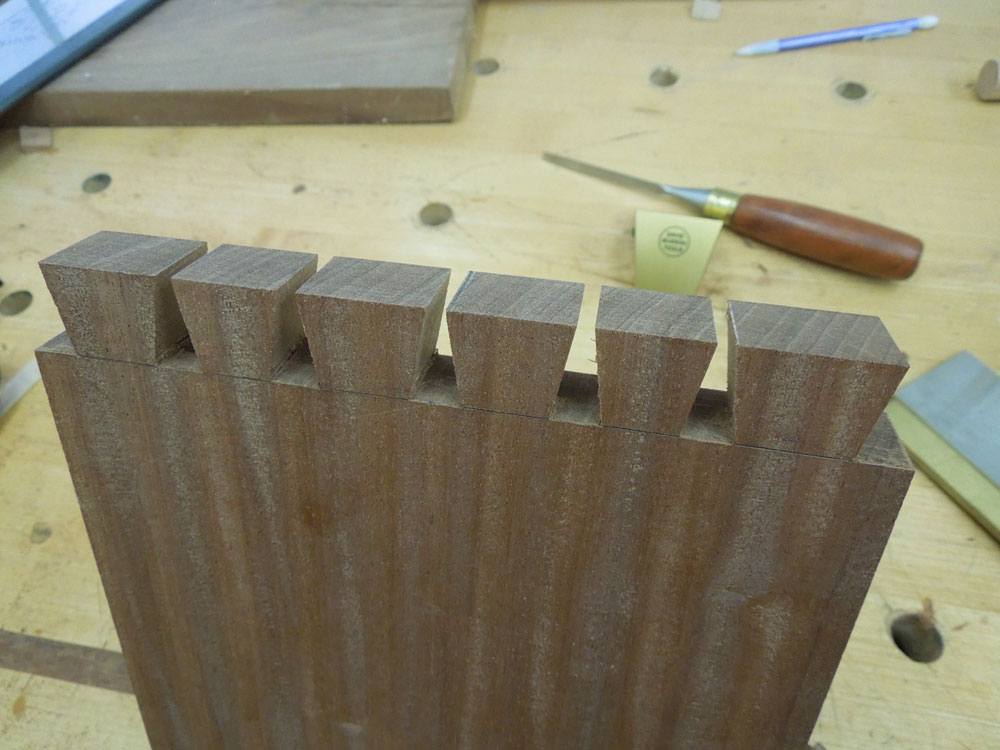
When you are done sawing, you will have a very nice set of cuts that are square to the edge of your board and nicely angled down to the baseline. The guide ensures that the cuts are square which means when you transfer the locations to the pin board, you will reduce the potential for gaps in the finished dovetails.
Now you clean out the areas between the tails just like you normally would. This leaves you with a tailboard with the locations of the dovetails ready to be transferred to your pin board.
Until your alignment board is complete you can transfer the locations like you have in the past. I use a hand plane to balance the tailboard and a marking knife to mark out the pins.
Now you are on to cutting the pins. Once again, you only need to mark the baseline and do not need any vertical lines. I added an extra light so that I could align the guide to the line better. The guide cast's a shadow onto the line so the extra light helped. You also need to decide where to put the guide in relationship to the line. Do you put the guide adjacent to the line or do you split the line? I was pleased that you have a lot of control with the guide as to how you saw to the line. The guide helps you saw a nice vertical cut, which will reduce the chance of creating a wedge shape and potentially splitting the tailboard when you fit everything together. Once again, the sawing motion is awkward but you end up with a nice looking cut.
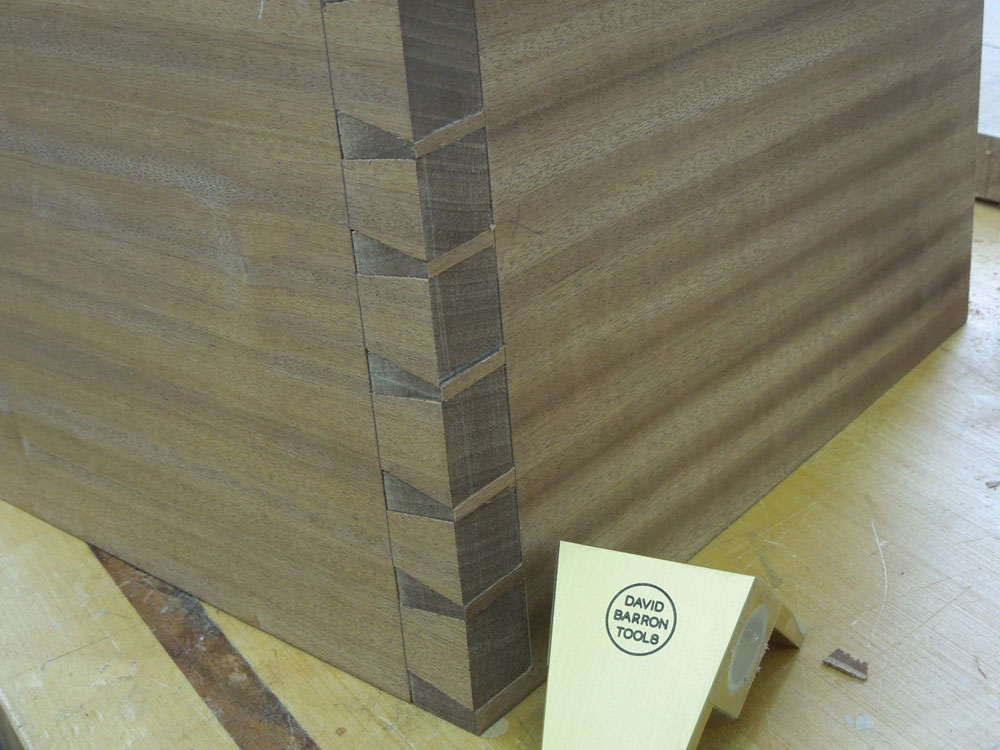
Once all the saw cuts are made, you clean everything up with your chisel and fit both boards together.
Once I glue these boards together and add the frame I'll have a nice alignment board for laying out future dovetails!
I was very pleased how the guide helped to make perfect saw cuts for these dovetails. I've mentioned that the saw cutting motion is a little awkward and once you start the cut you cannot see its progress but if you trust the guide, you will end up with a very nice looking saw cut that is square to the front of the board and at the proper angle to the baseline. If you have been nervous about doing hand cut dovetails on a project I recommend you get one (or more) of these guides and give it a try. I think you will be pleasantly surprised with the results.
Jeffrey Fleisher has been a woodworker for approximately 20 years and a professional woodworker for the past 6 years. He is the president of his local woodturning club, the Woodturners of the Virginias and past president of the Northern Virginia Carvers. You can see some of the furniture he has made at
www.jeffswooddesigns.com
. He can be reached by email at
furnmkr@gmail.com
.
Return to
Wood News
front page
|