|
|
|
|
Project Idea: Irish George II Carved Tea Table in 1:12 Scale
By Linda Master
Dexter City, OH
|
|
|
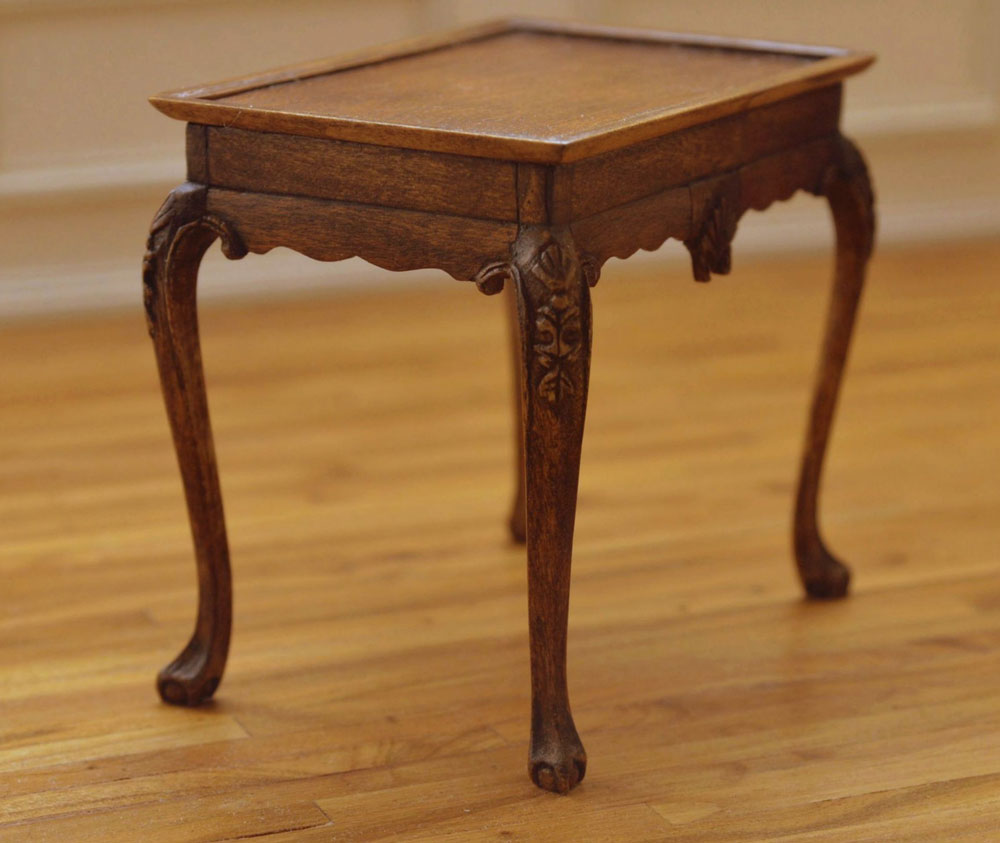
The following paragraph is from the description of the original table: "Rectangular dished tray top above a plain frieze and convex ruffled apron, each long side centering a well carved escallop shell, raised on four escallop and leaf headed cabriole legs ending in claw and compressed ball feet,the top verso attached with multiple glue blocks, characteristic of Irish tea tables."
While I have never made a full sized table, I believe the procedure is pretty much the same, only 12 times smaller! In this project, one inch equals 1 foot. I made this table using cherry wood.
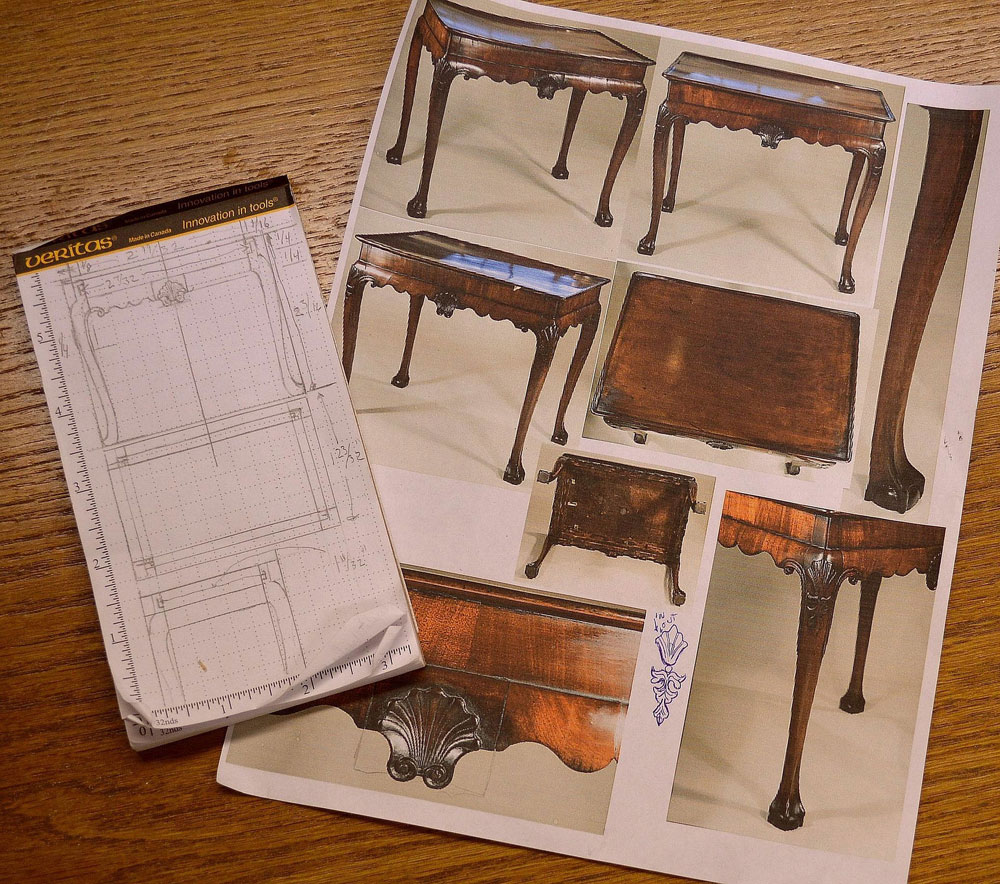
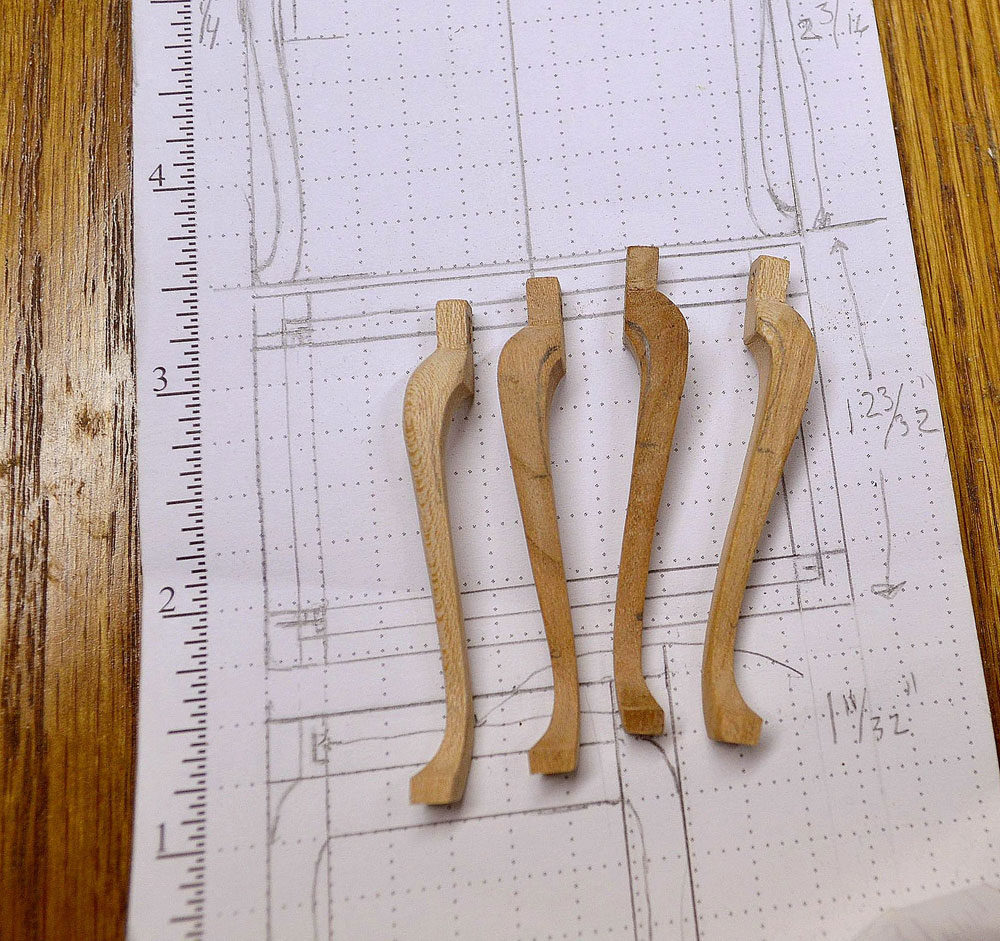
The first step was to do the research into tea tables and find one I wanted to make. I found this George II table and it was exactly what I was looking for. With the beautiful carved legs, the ball and claw feet, I thought this would be exciting. I also needed to find the exact dimensions of this table, in order to scale it down. After printing out all the photos of the different angles and close-ups of the details, I drew up my plans. There is all sorts of math you can do to scale things down to 1:12 but I have a 1:12 scale ruler and worked up the plans using it.
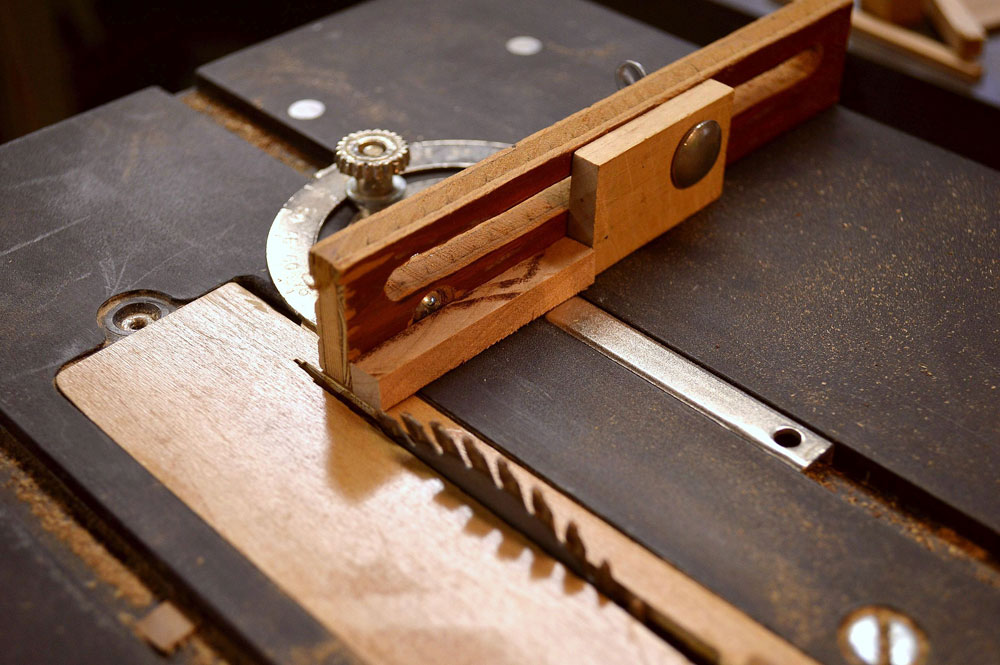
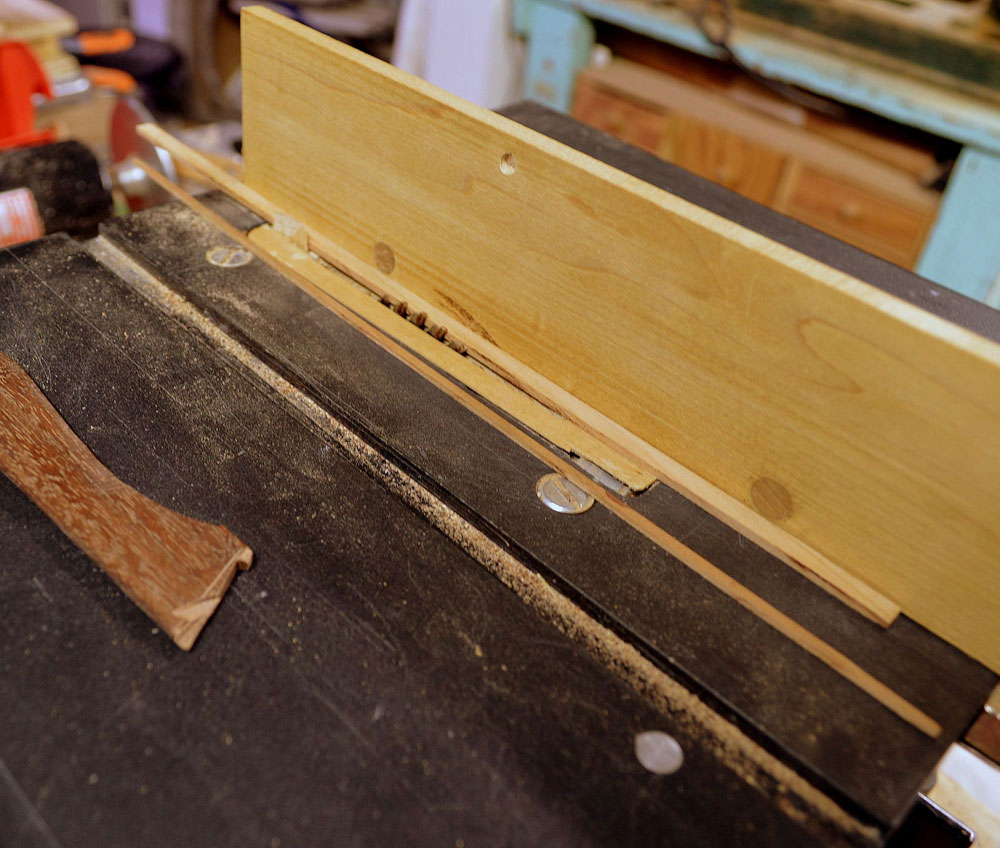
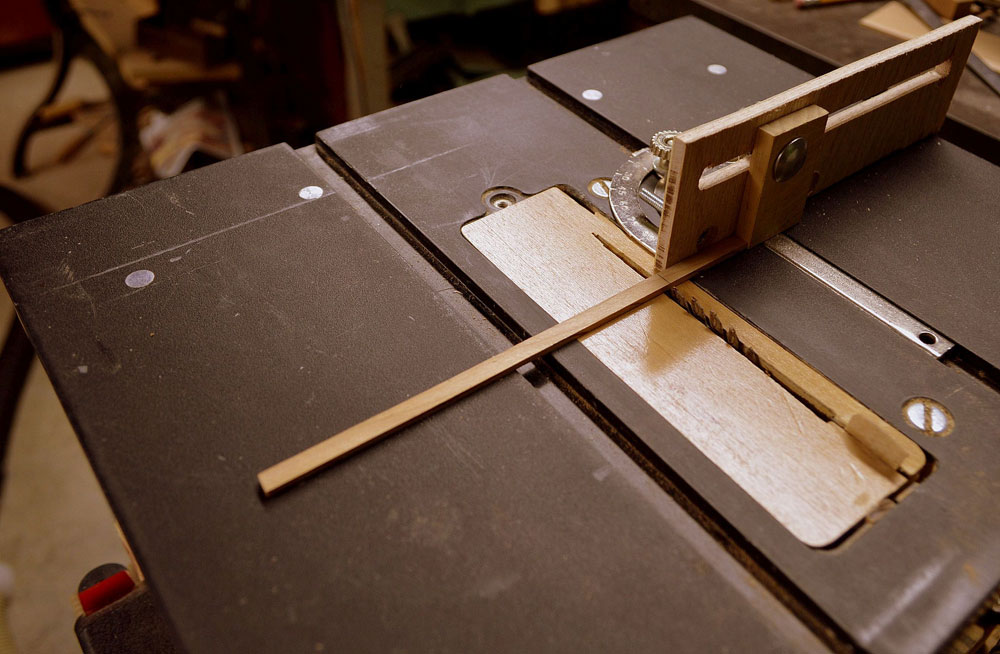
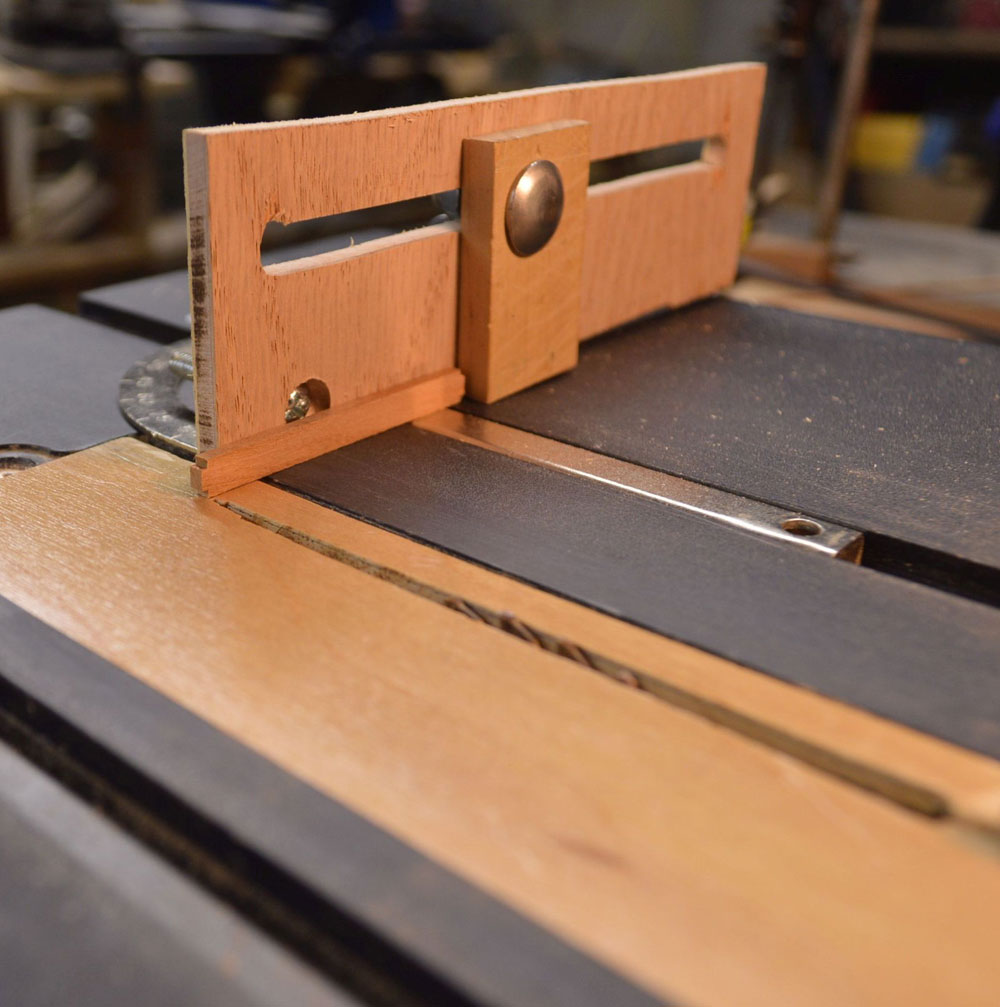
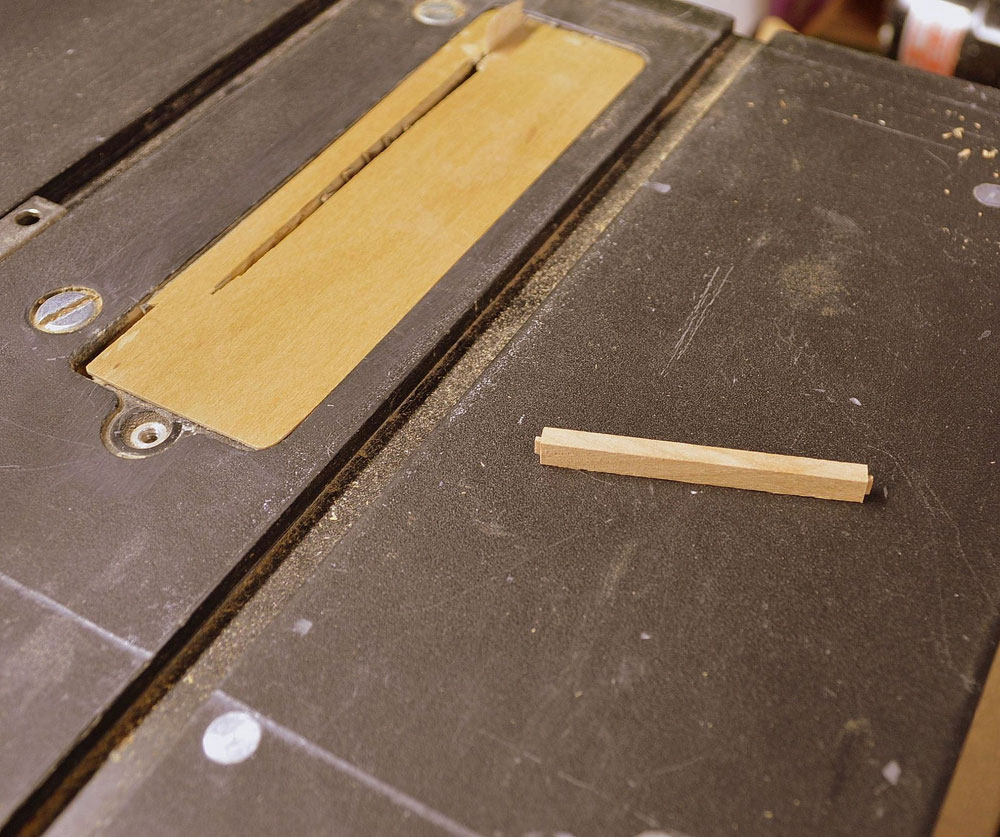
After the plans were drawn, I selected the wood. I chose cherry. I made a strip of wood to the leg thickness, square. This photo shows the cutting of four equal lengths using a stop block on the miter gauge of my 4" table saw.
I used thin wood to make a template of my cabriole leg profile. Then I traced around it on two sides, so the profiles were back to back.
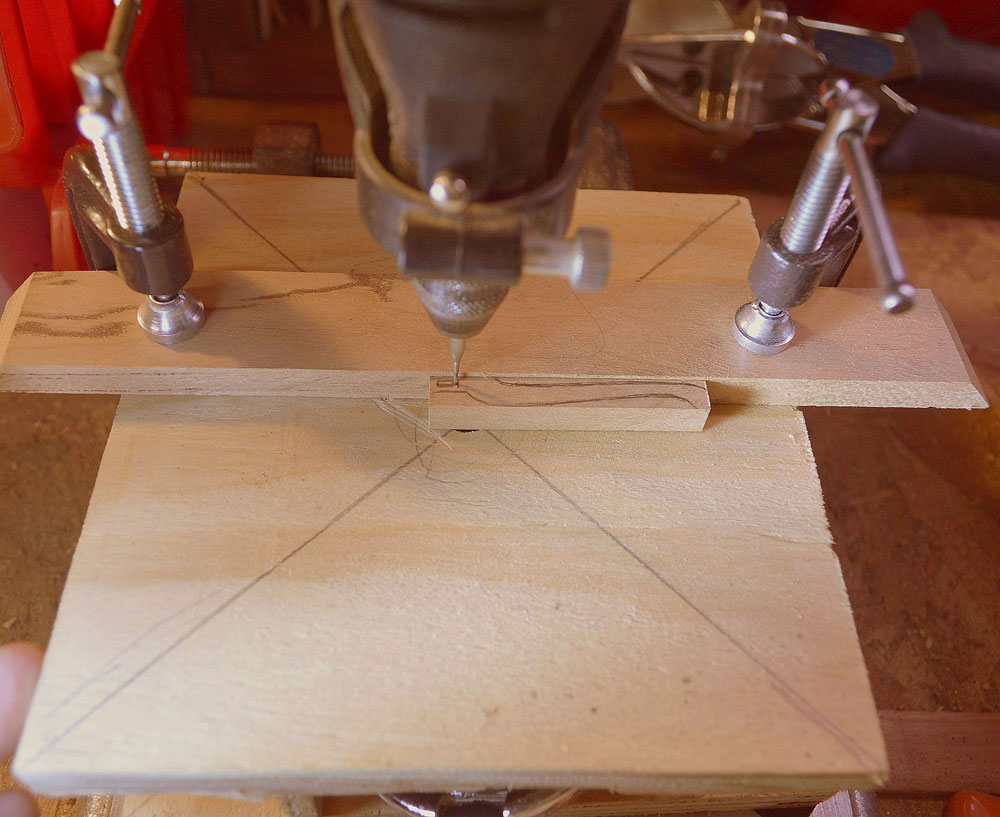
It is very important to cut the mortises before cutting the legs out! The wood needs to be square and flat to ride against the fence and table. Here I used a rotary tool mounted in a drill press attachment. Set a depth stop to the desired depth, drill out the mortise, then flip it over and do the other side.
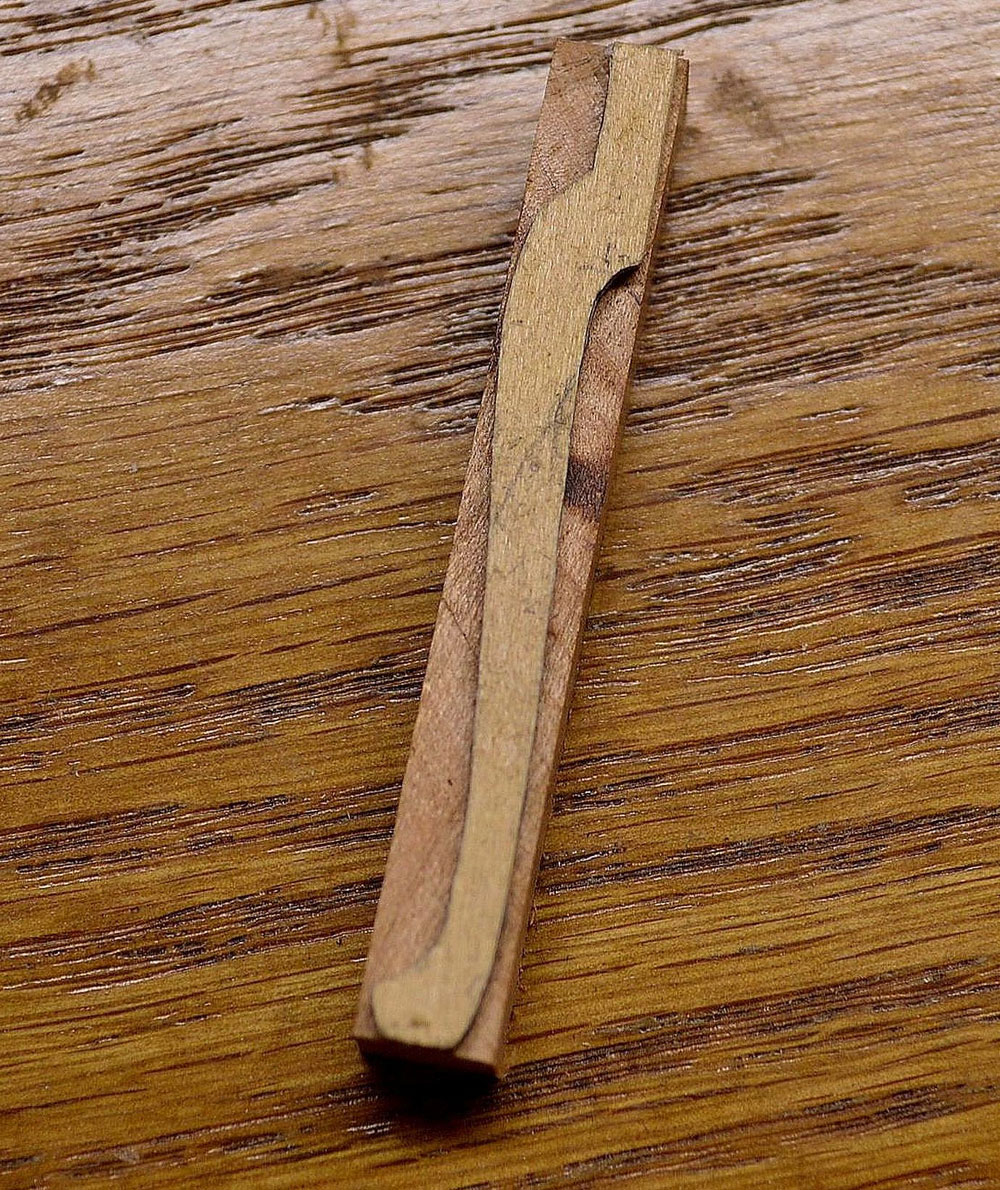
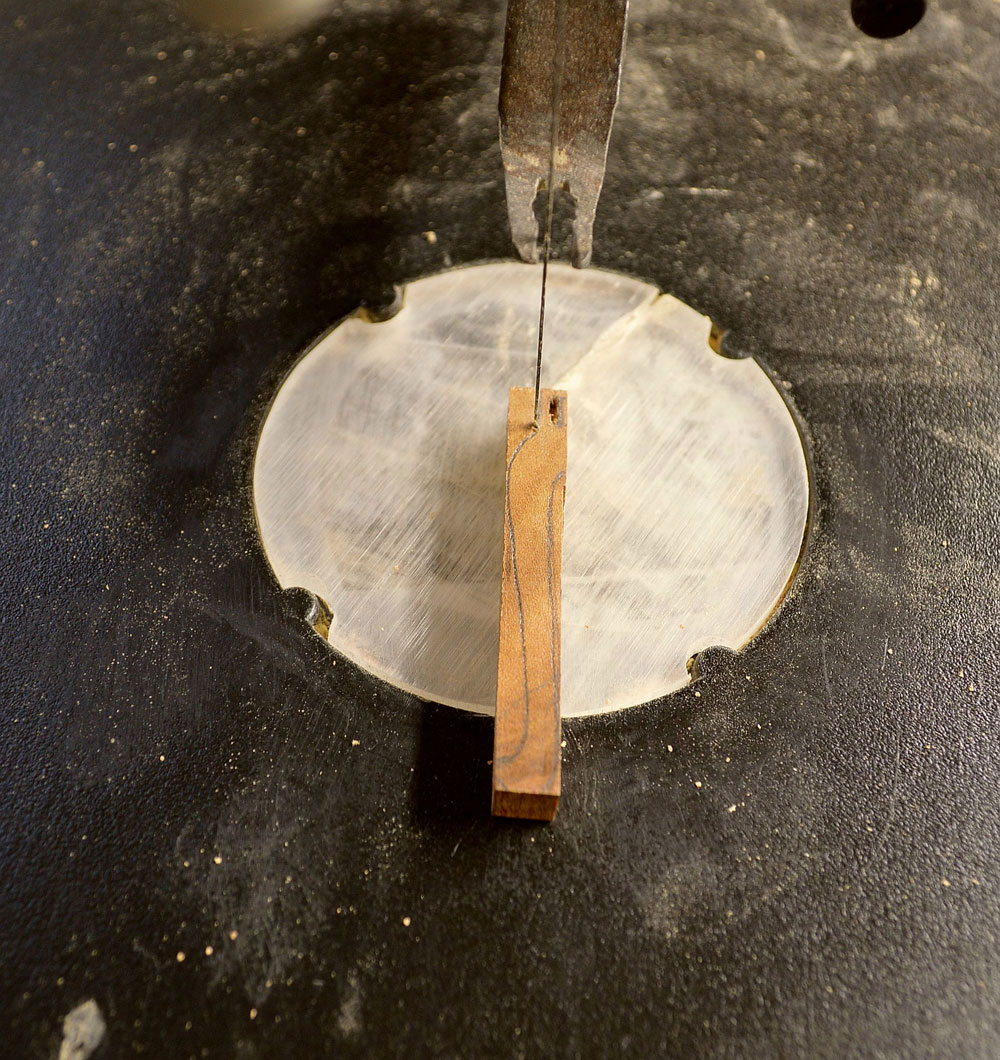
With the mortises done, it is time to go over to the scroll saw to cut out the cabriole legs. This is done using scotch tape. You cut a profile, tape it back on to keep the leg square, cut the other profile and when the cutting is complete, all the scrap unwraps and inside is your leg.
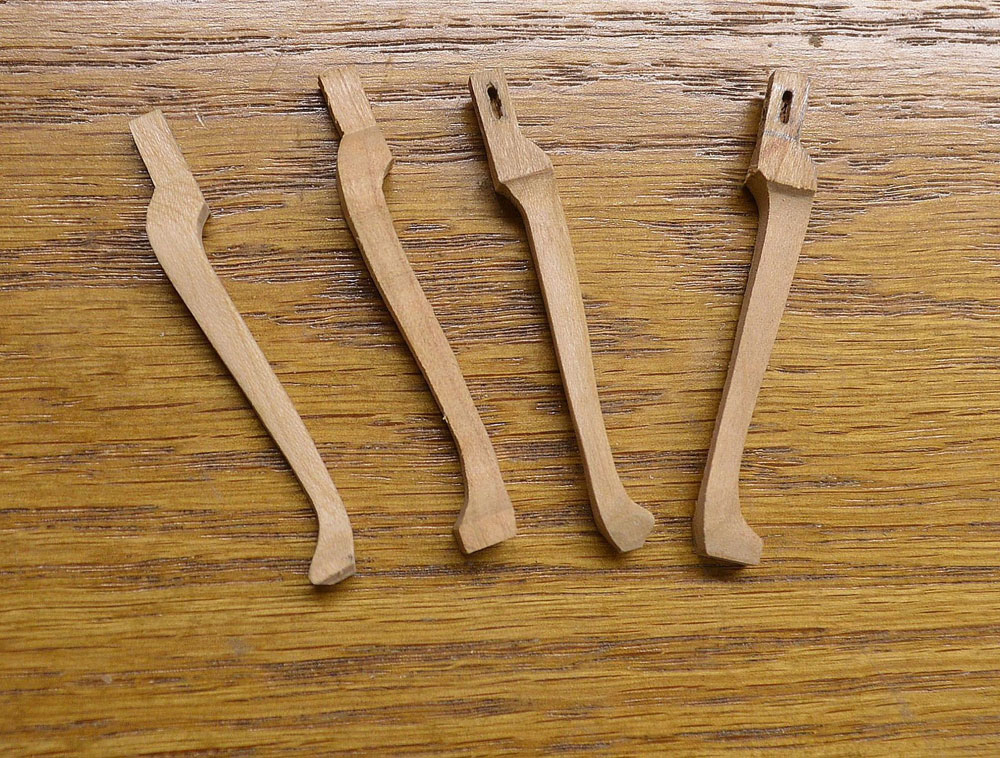
Above you can see the four legs cut and mortised.
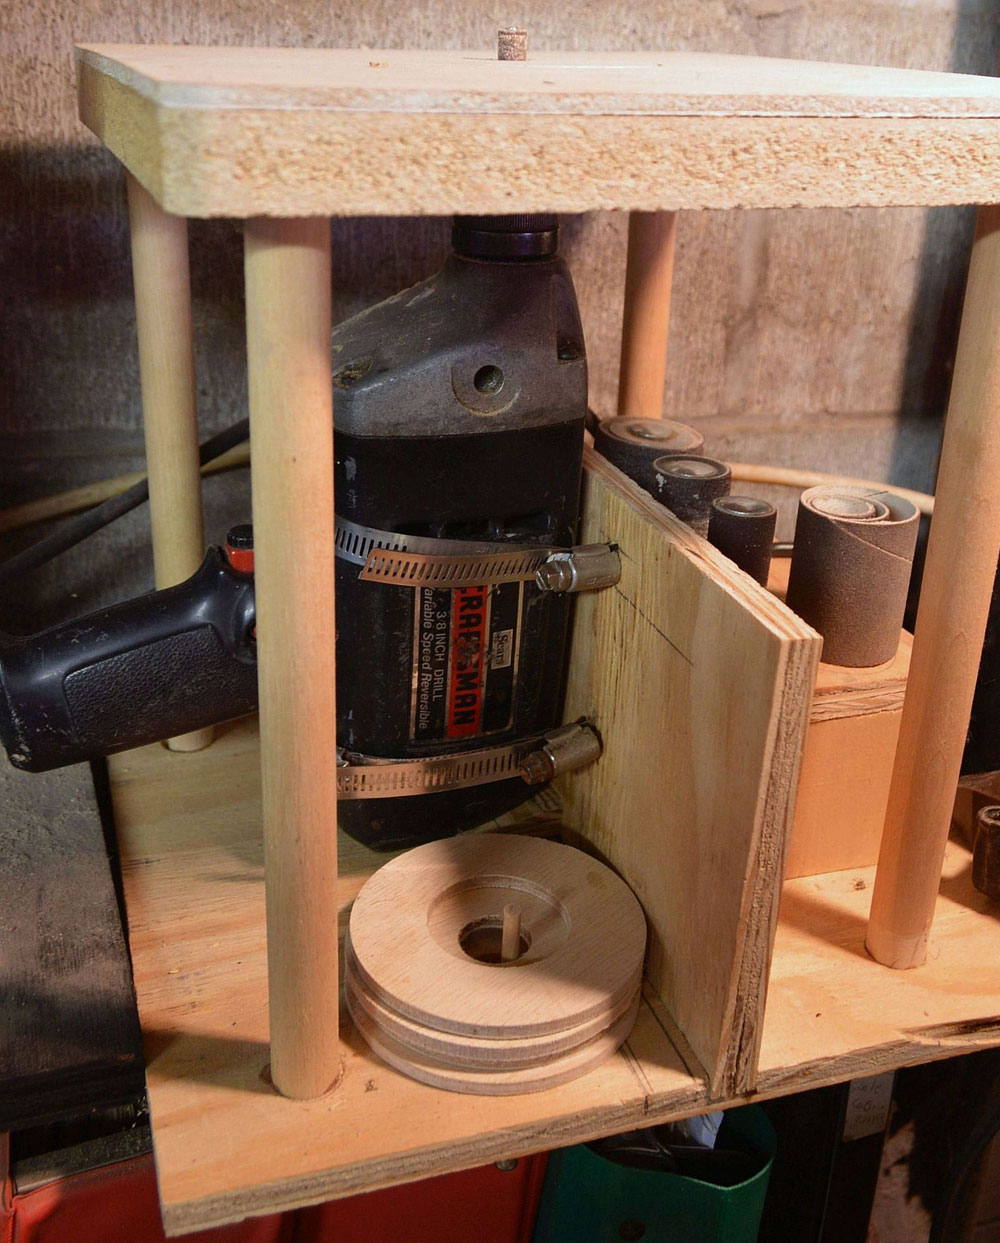
Next I used my shop made spindle sander to sand the legs to get them ready for carving. I made a spindle sander from an old drill. It is variable speed and has a button to keep it running.
The legs are cut, sanded and ready to be carved. Now the fun begins.
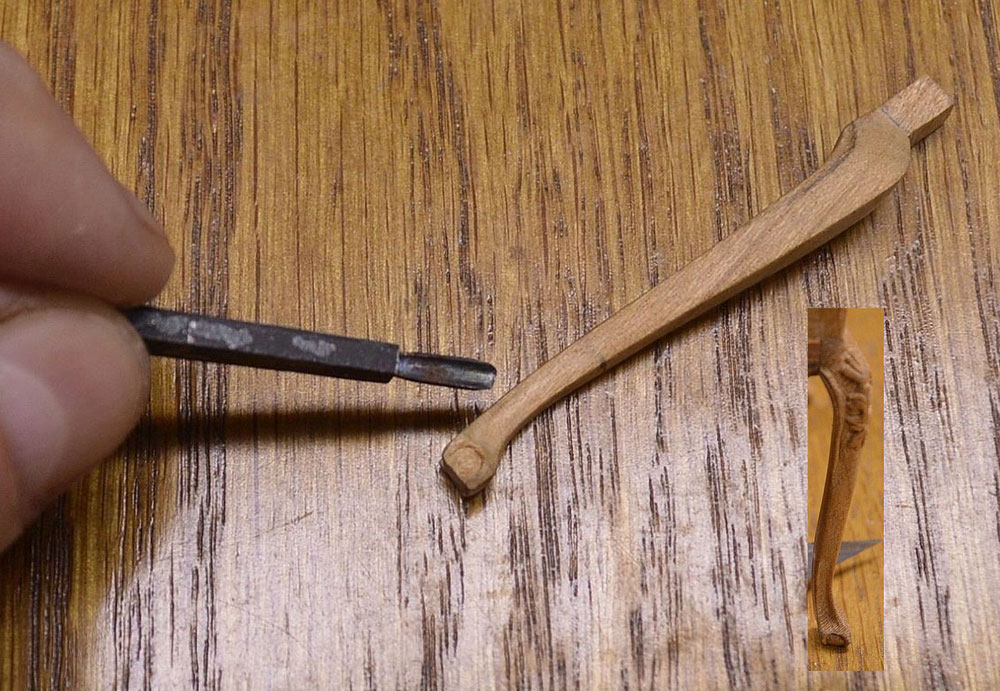
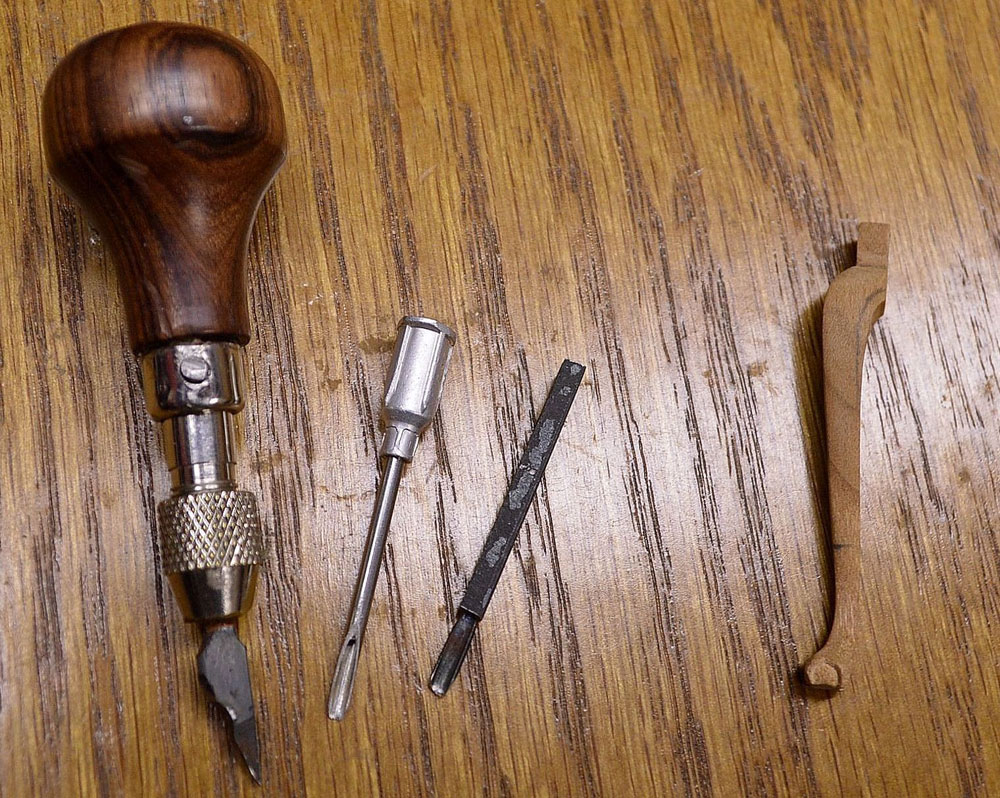
I began carving the legs using a tool I made from an old square nail. Above are some of the tools I've made. I turned a handle from Mopane and inserted a small chuck, then made some chisels. I even used a hypodermic needle to make a U-gouge!
Next I needed to rip the sides to width, again using my 4" table saw.
And crosscut the sides using the stop block.
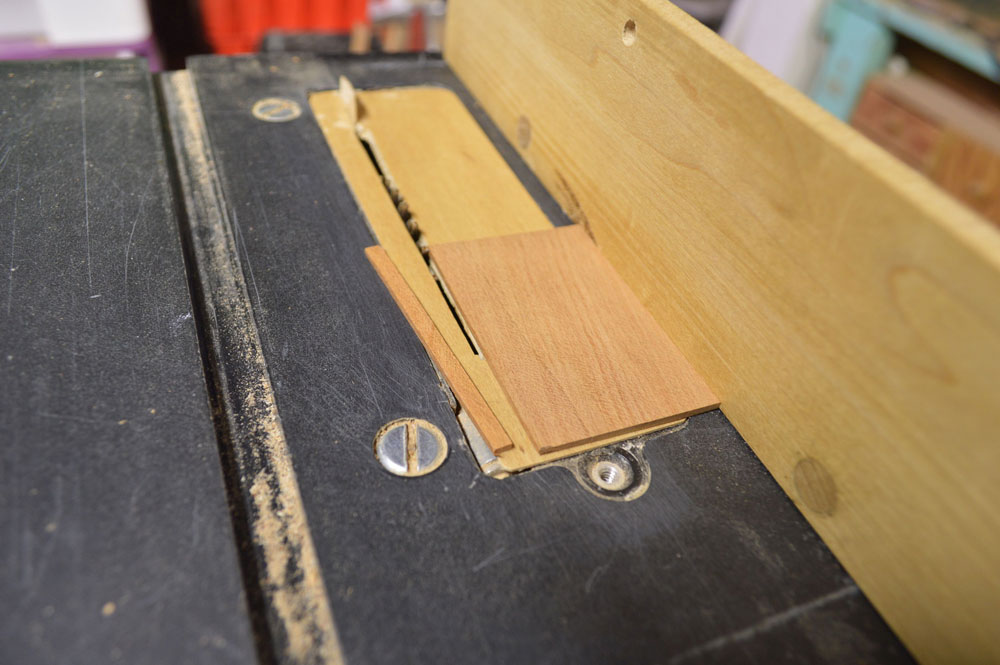
Now it's time to cut the tenons on the side pieces. I set the stop block to the depth of the mortises, raised the blade a tiny bit to remove enough wood to match the length of the mortises and made the four passes over the blade.
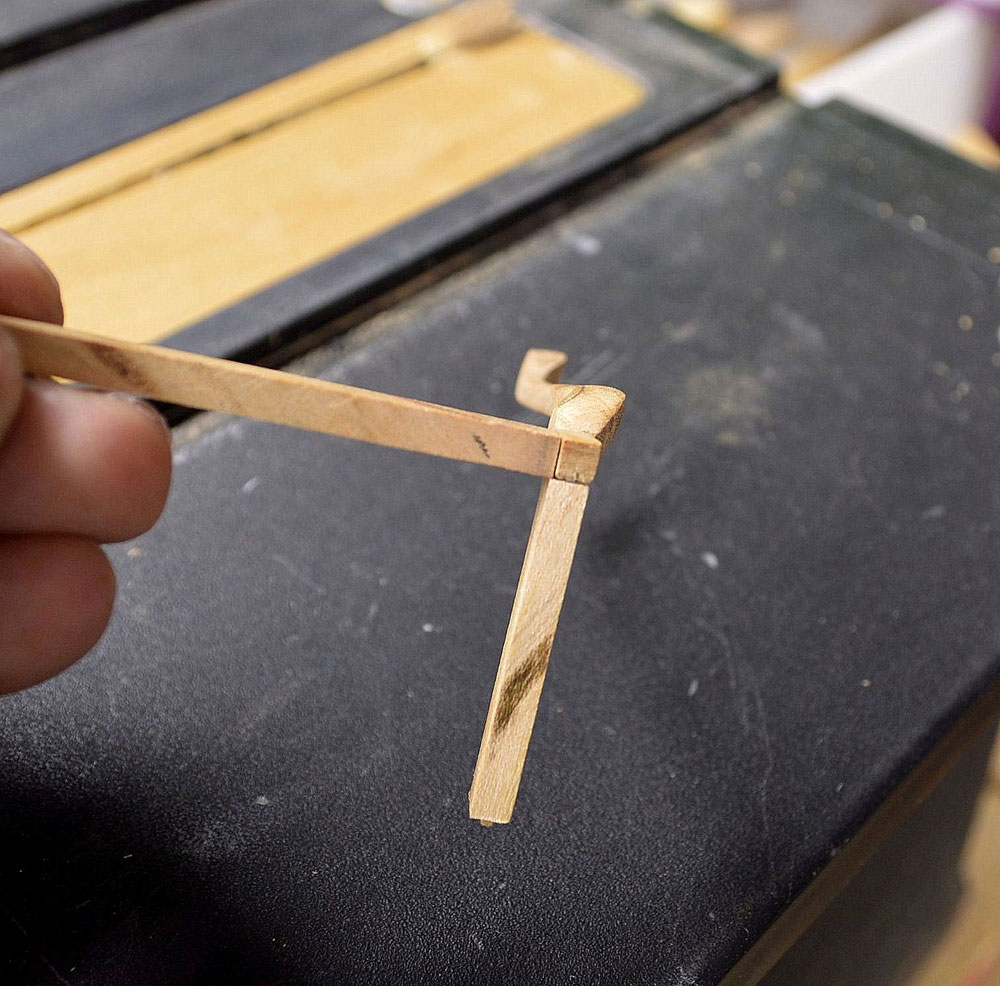
The photo above shows two tenoned sides inserted into a mortised leg.
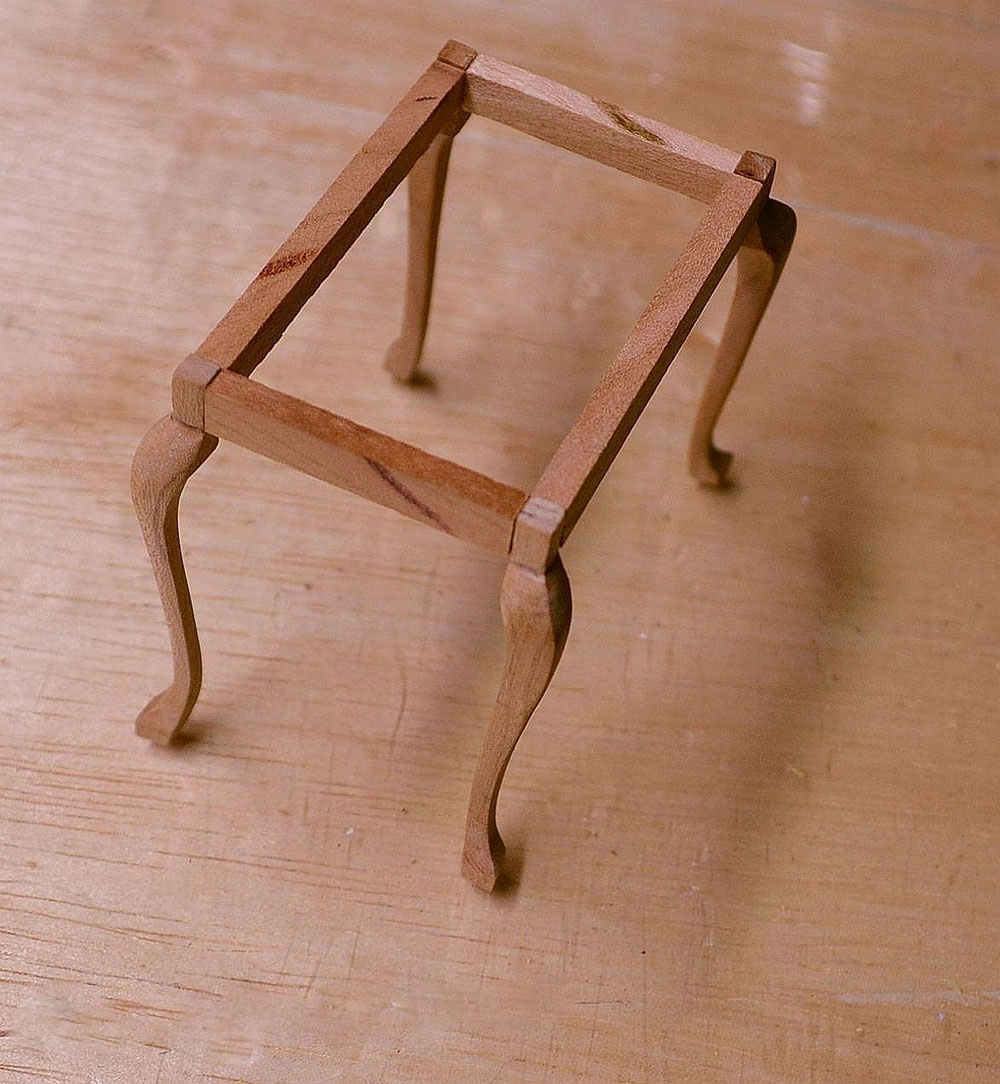
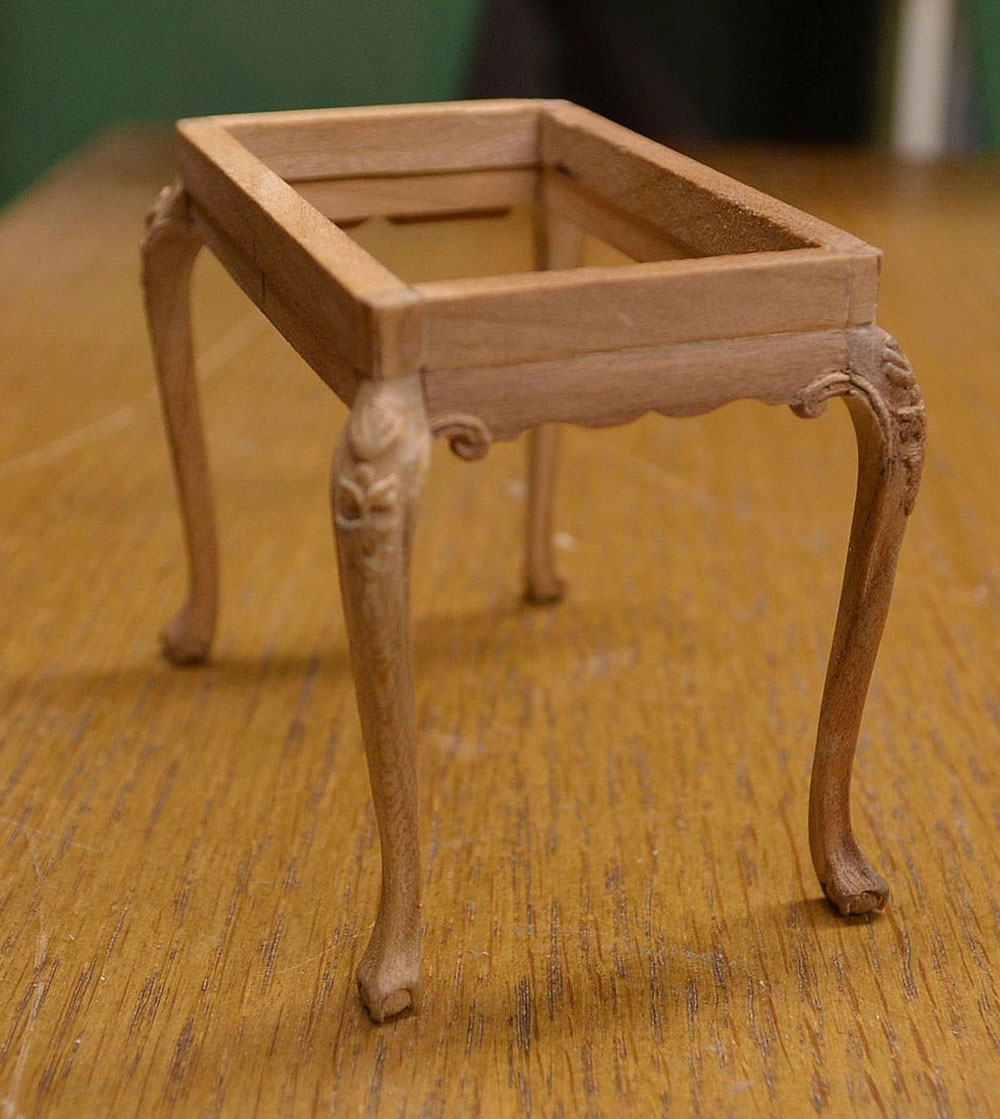
And here is the table dry fit to make sure everything is acceptable.
Next I moved on to the apron. I ripped a strip to width on the little table saw, and crosscut to length using the stop block.
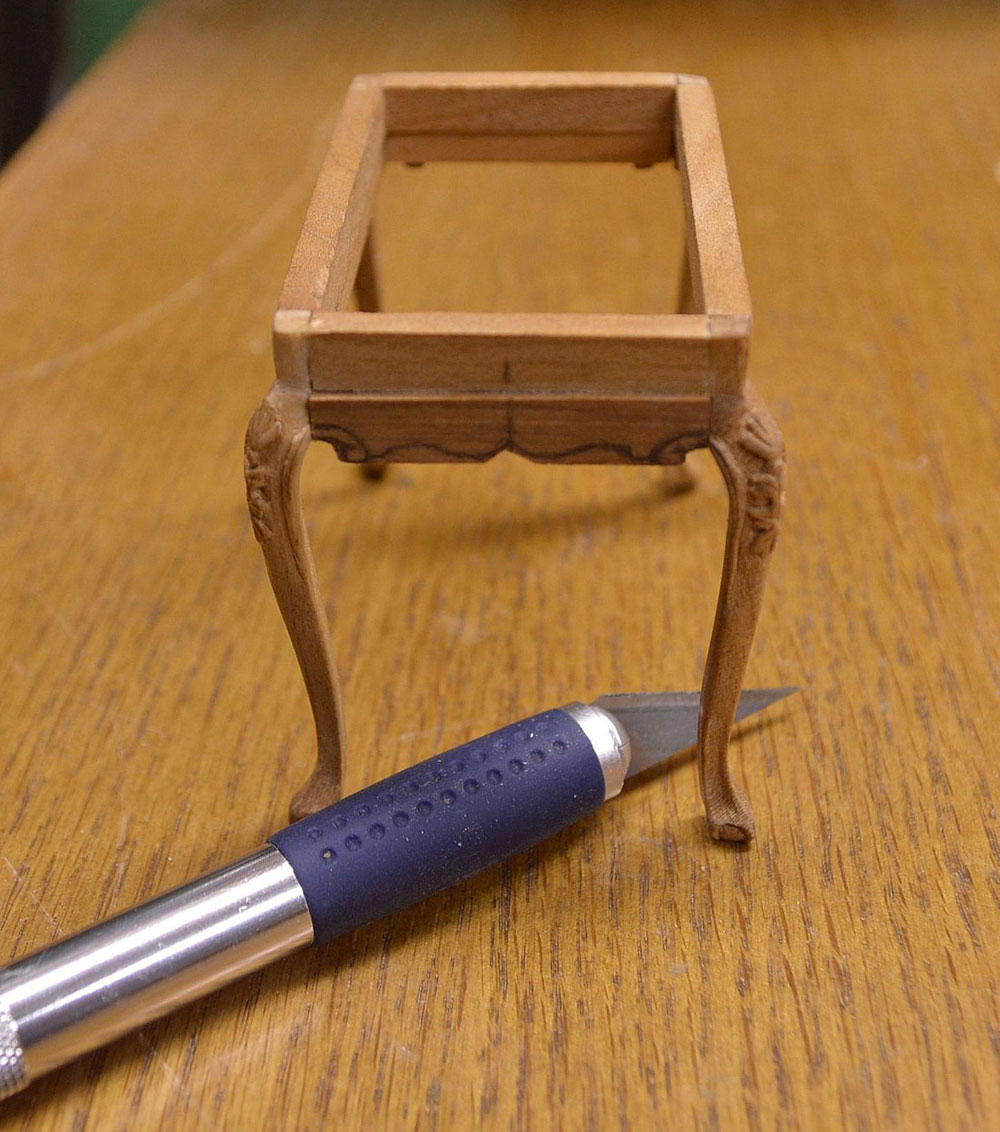
With the aprons cut and glued in place, it is time to carve them. I used a craft knife with a #11 blade for the shape.
Above is one of the sides completed.
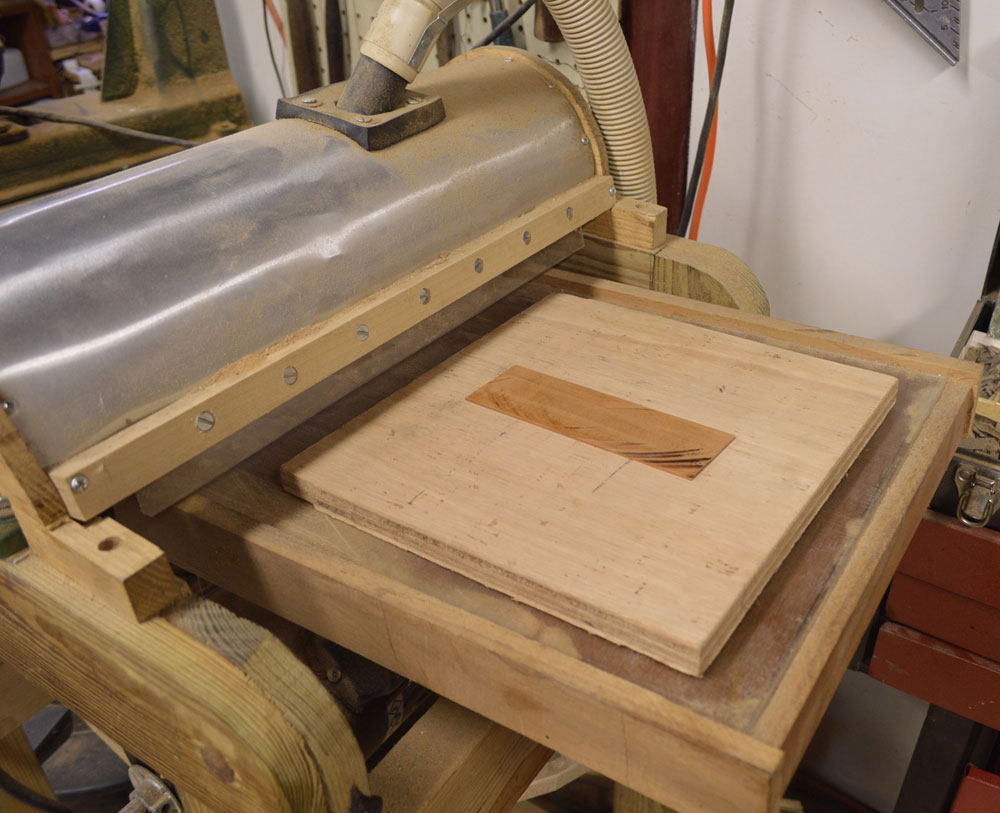
The next step is to make the table top. I took my piece of cherry and used my shopmade thickness sander. I sanded the top to the desired thickness and removed some mill marks.
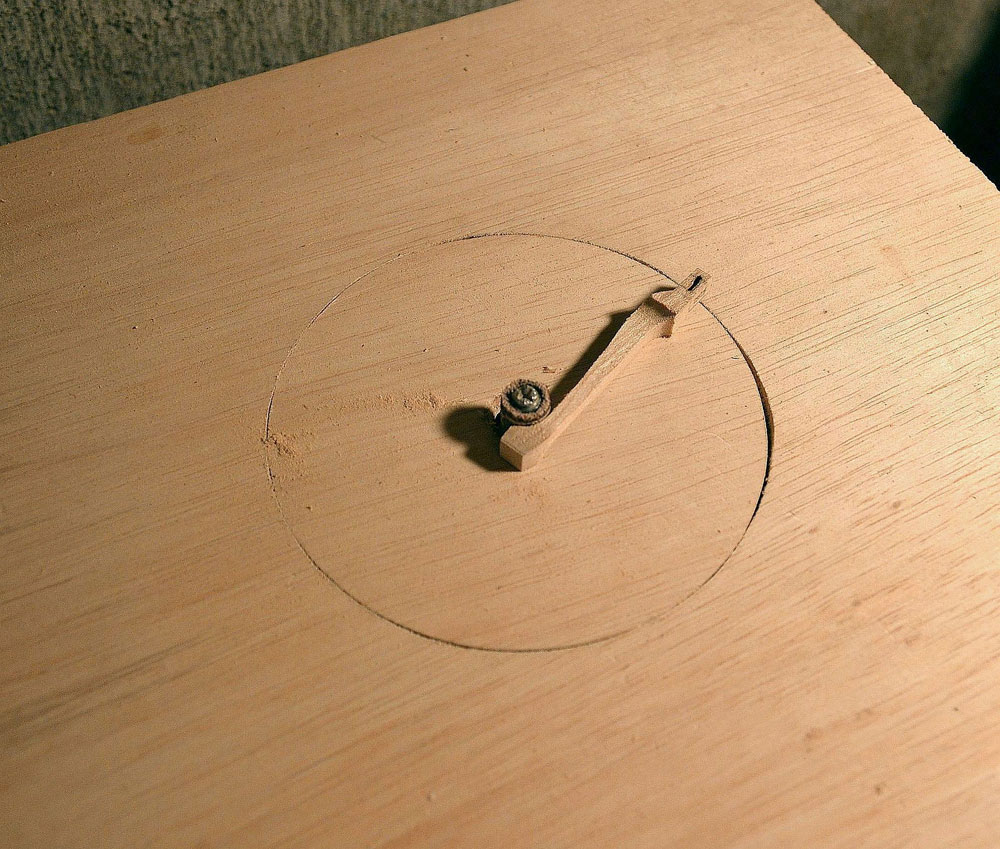
I have another rotary tool set up in another drill press attachment for overarm pin routing. (I love being able to have dedicated tools! I am too lazy to keep changing tool set ups). I took a piece of scrap wood and inserted a small piece of brass rod as the pin for the stock to ride against. I will be making the strip molding for the edges of the table top. I mounted a round diamond burr in the tool and am seen here pushing a piece of cherry wood against the pin to rout the profile. The hard part is after the proflie is routed, I have to cut the rabbet in the under side. I did this on a router table with a very small straight bit just barely above the table surface. Next I ripped the strip from the wood, then cut to length with the stop block, as before.
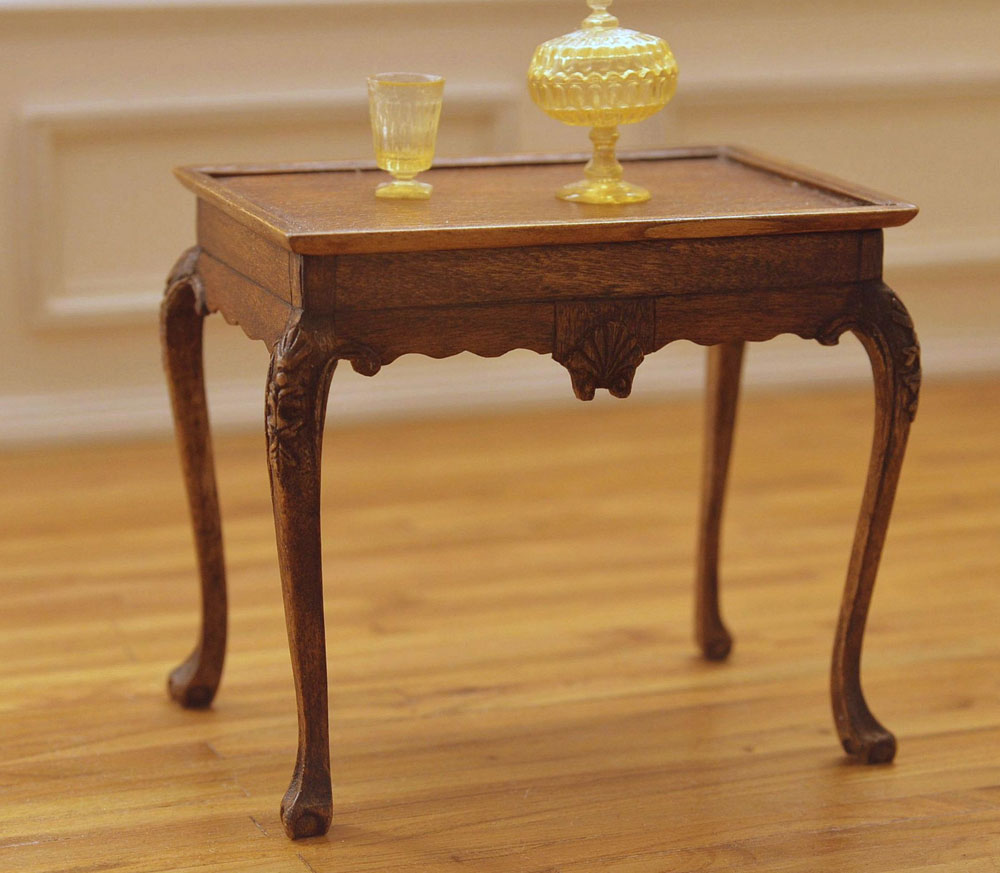
To finish this table, I chose a dark powder stain mixed with denatured alcohol. It dries instantly. Then a few coats of amber shellac sanded with 0000 steel wool between coats and this table is finished.
You can email Linda at
miraclechicken@msn.com
. You can also visit her website at
http://www.miraclechickenminiatures.com
Return to the
Wood News Online
front page
|
|
|
|
|