|
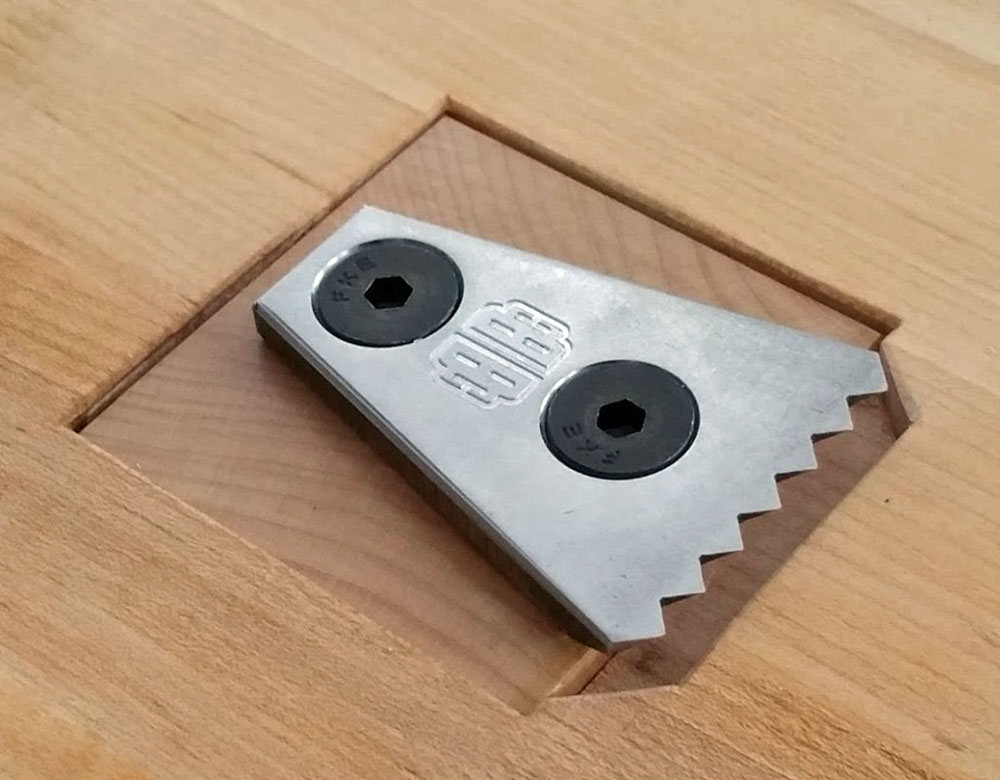
The Benchcrafted Planing Stop provides an elegant solution for holding a board securely on your benchtop while planing. The sharpened teeth prevent slipping and since storage is in the benchtop but below surface level it's always available for use. This Planing Stop is easily installed and will be a nice addition to your arsenal of wood holding fixtures.
The Planing Stop addresses the issue of how do you hold your work in place while planing a board on the surface of your workbench. The stop, used together with a doe's foot, holds a board firmly in place. I'll demonstrate the stop and doe's foot later but this combination was used long before tail vises were invented. The doe's foot is not needed when planing in-line with the length of the board but adding the doe's foot allows for planing diagonally across the surface of the board.
You may ask, "Do I need the Planing Stop if I have a tail vise?" I would say yes...mainly due to efficiency. For example, if you have a stack of boards that all need to be planed, like drawer sides, then you can quickly switch among the boards with the Planing Stop and never have to loosen and tighten a tail vise for every board. You can quickly move a board side-to-side or flip it over and keep on planing. A simple tap on the end of the board seats it snugly into the toothed stop. Any marks on the end of the board are simply removed when the board is cut to final dimensions or cleaned up when completing your joinery. Will the Planing Stop eliminate the need for a tail vise? No. If you need to work on a board from all angles, like in carving, then you can't beat a tail vise to hold your work firmly in place.
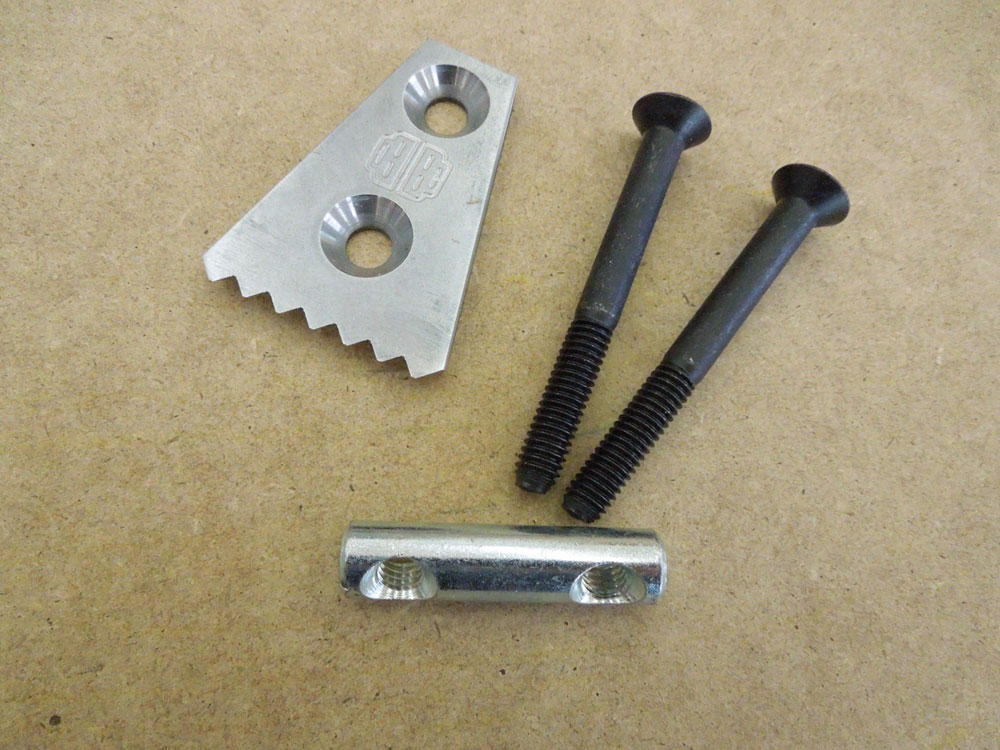
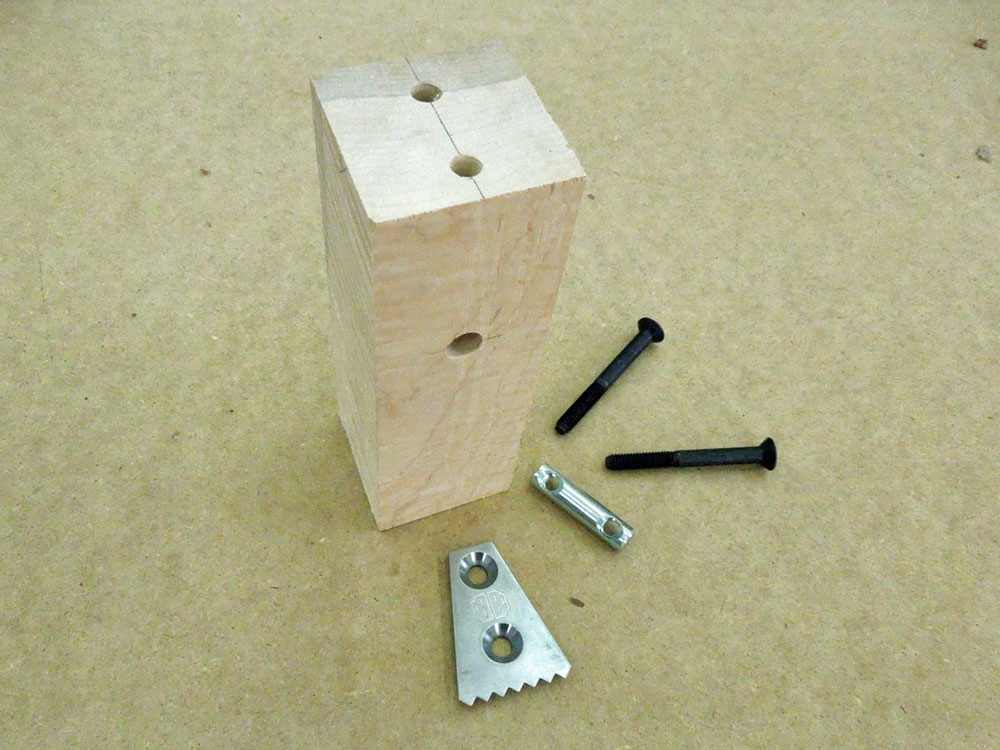
Pictured above are the components of the Planing Stop. The Planing Stop is made from 'mild steel' (Benchcrafted term) with teeth that are sharpened with abrasive paper, enough to grip into the end-grain of a board. The Planing Stop mounts to the wooden block using two machine screws and a double-tapped barrel nut. Using two screws and the barrel nut helps to resist any rotational movement and they can be easily re-tightened if it gets loose during normal usage or because of seasonal movement of the block of wood.
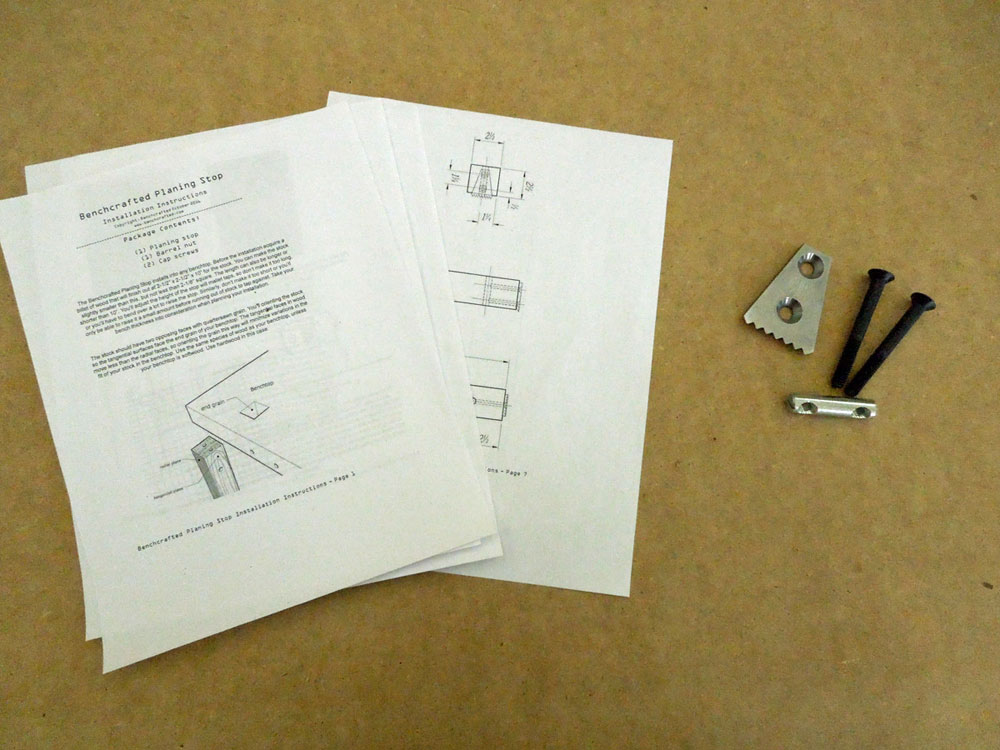
Benchcrafted provides instructions, which can be downloaded here. The instructions are excellent! They provide step-by-step installation details, very detailed graphics and close-up photographs of each step in the process. When installed correctly, the Planing Stop can be raised and lowered with just a few soft mallet taps and the stop can be set below the surface of the benchtop when not in use.
I will walk through the installation of the Planing Stop into my bench to show you how straightforward it is. As a side note, you will notice that about two-thirds of the way through the process my benchtop suddenly looks a lot cleaner. After looking at some of the pictures I was taking for this review I became embarrassed about the poor quality of my benchtop and took my Smoothing Plane to it!
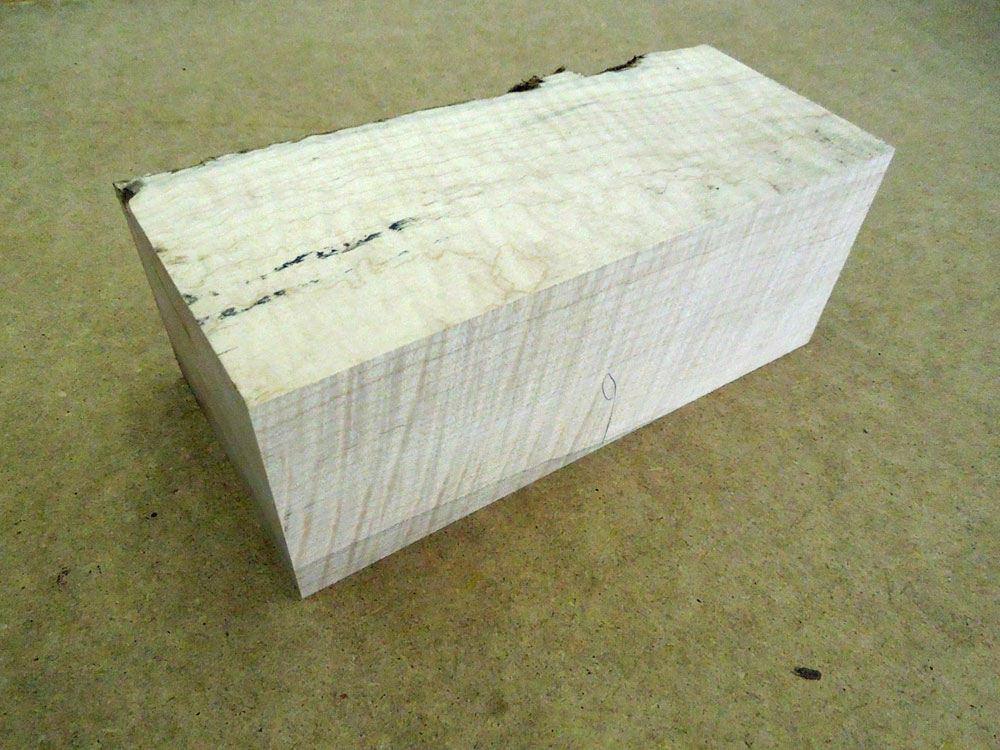
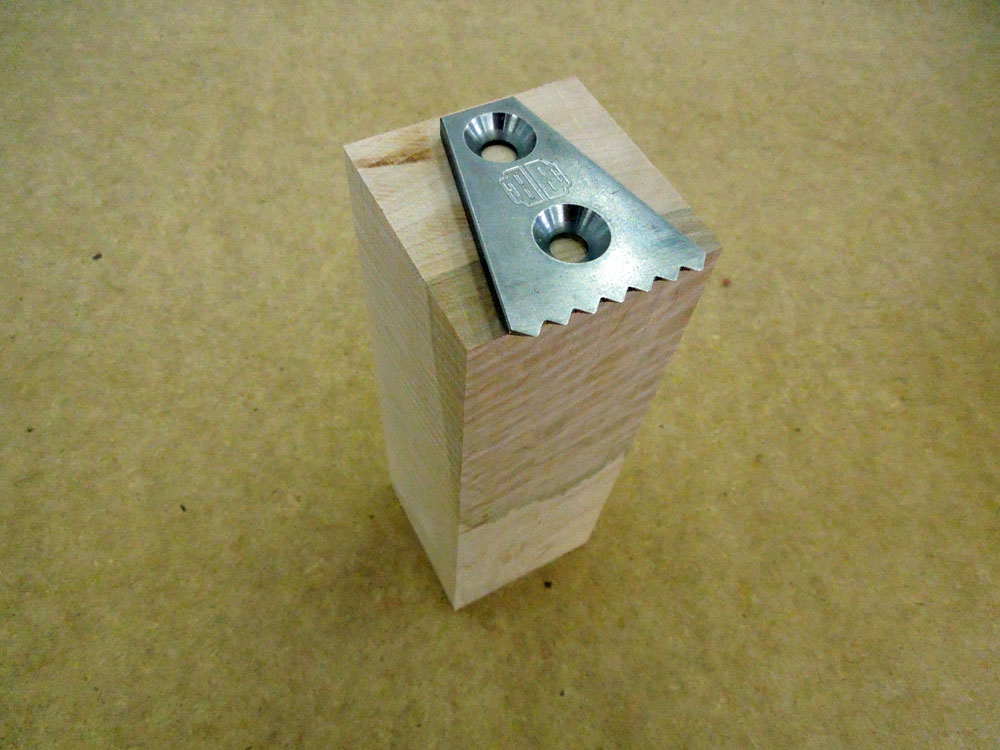
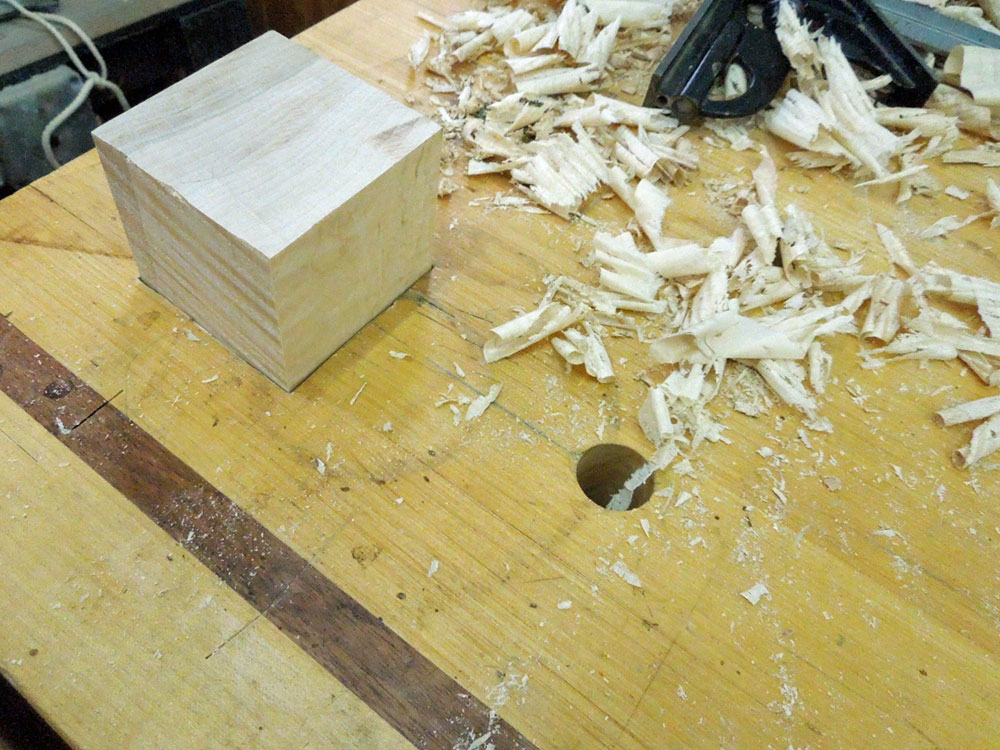
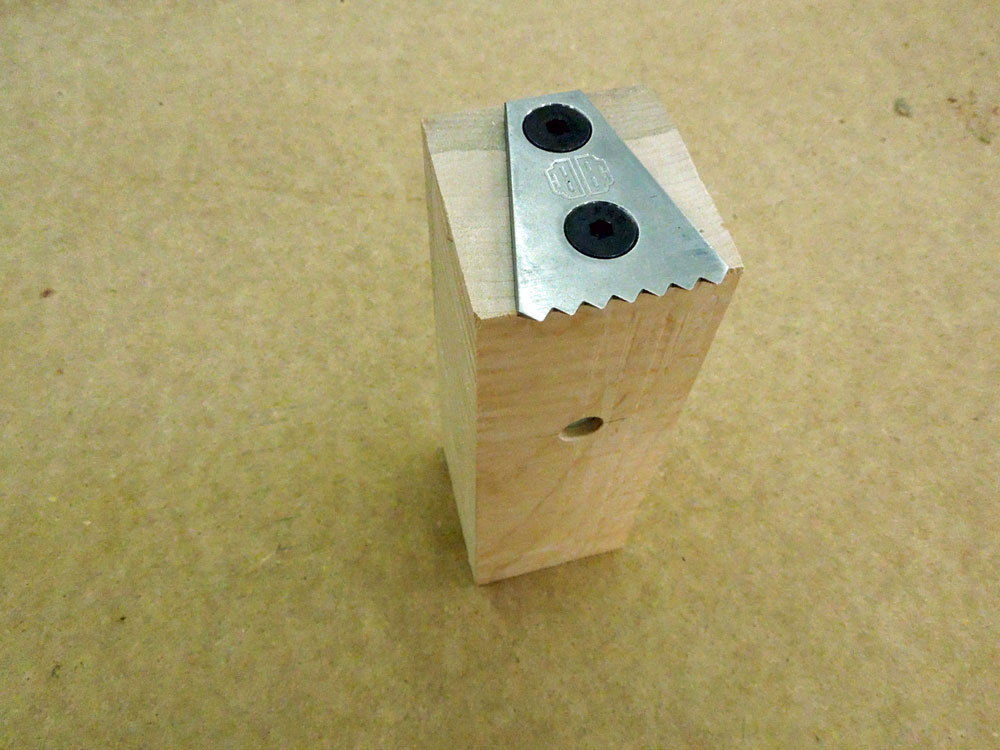
The Planing Stop is mounted onto a 2-1/2" square block approximately 10" long, depending on your benchtop thickness. The instructions discuss grain direction but basically you need a quarter-sawn block of wood as shown here. I used a nice piece of quarter-sawn tiger maple.
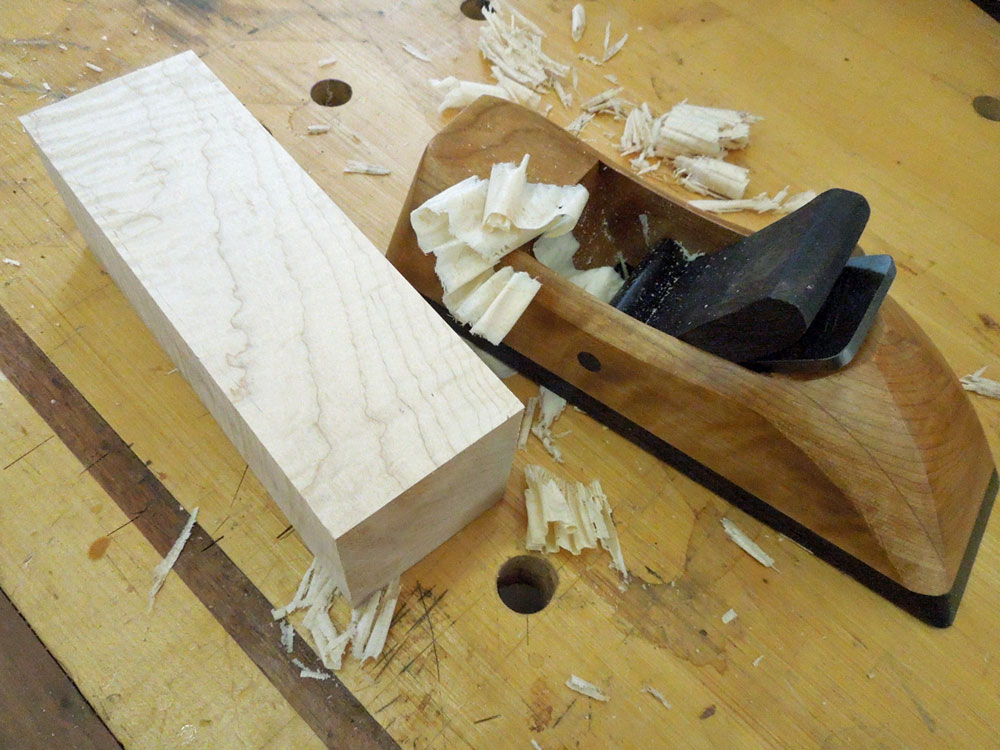
After trimming it to rough dimensions on the tablesaw I squared it up using a hand plane.
The stop will eventually be mounted to the top of the block as shown.
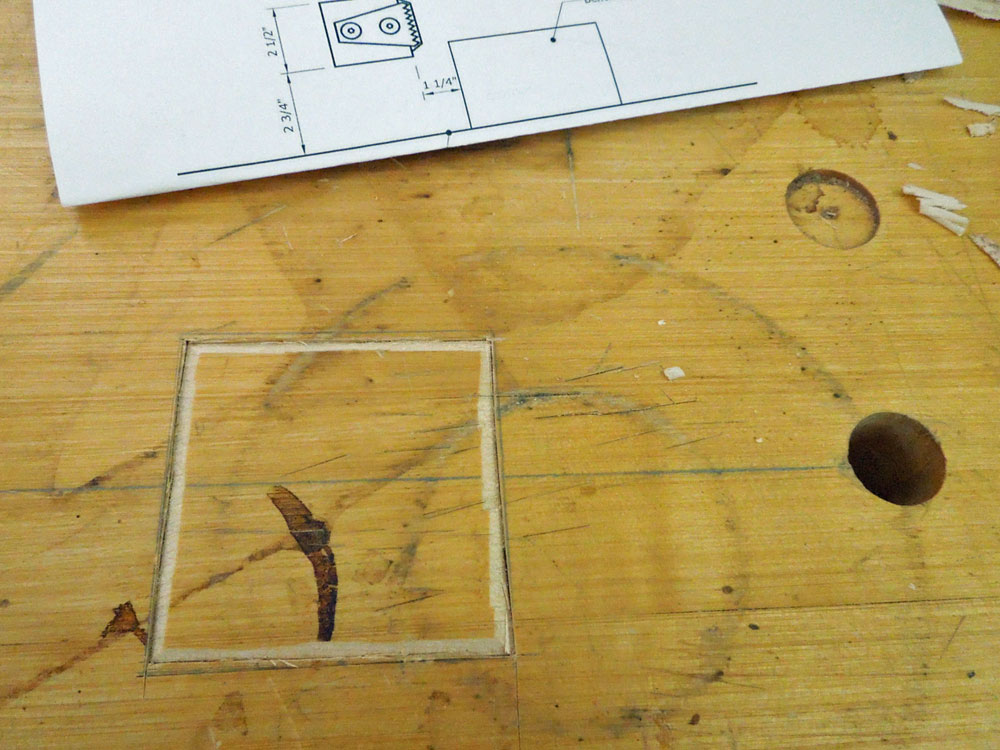
The instructions have very detailed graphics with dimensions to help you locate where to place the stop on your benchtop. I adjusted it slightly so that I could place it in-line with my existing dog holes in case I wanted to use a Veritas Wonder Pup with the Planing Stop. I then outlined the block onto the benchtop, scored the outline with a marking knife and used a chisel to create a 'first-degree' cut around the interior of the outline. I did this so I would have a nice clean cut on the surface of the benchtop.
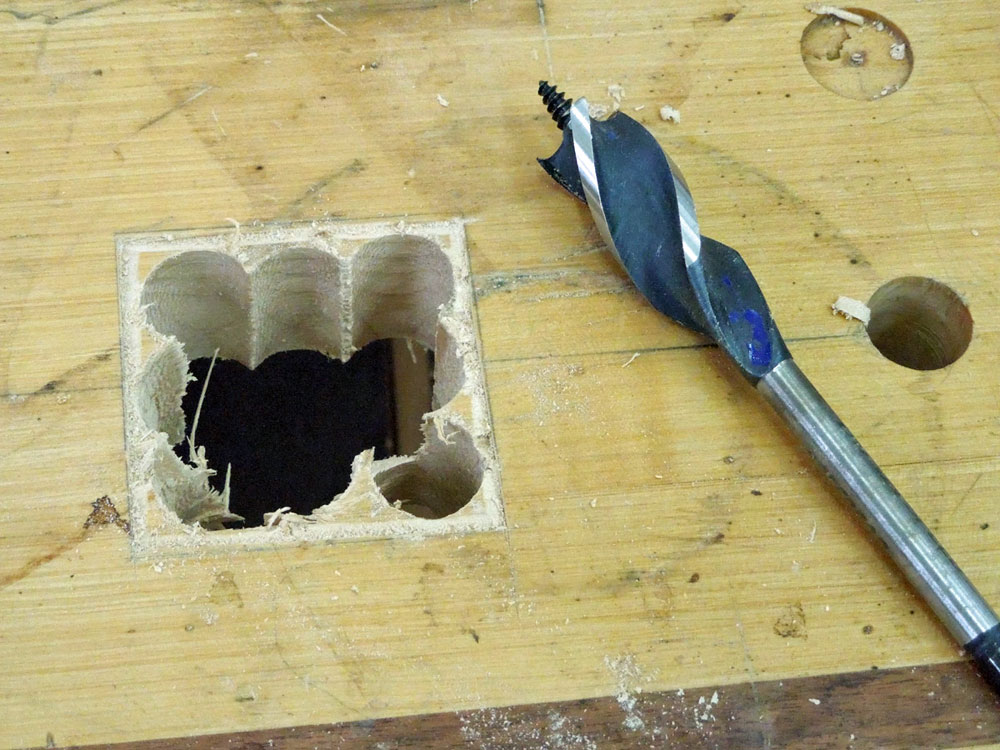
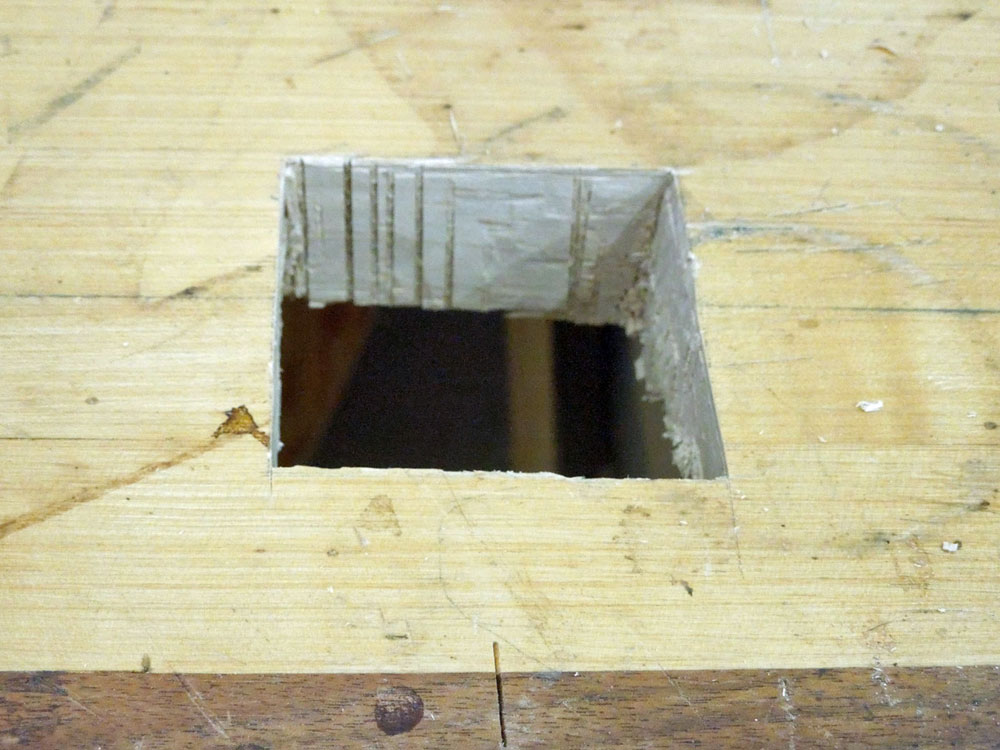
Next I drilled out the interior waste with a 3/4" drill bit and cleaned up the interior with a chisel. The opening is made slightly smaller than the actual block dimensions so that you can plane the block and sneak up on a final, snug fit.
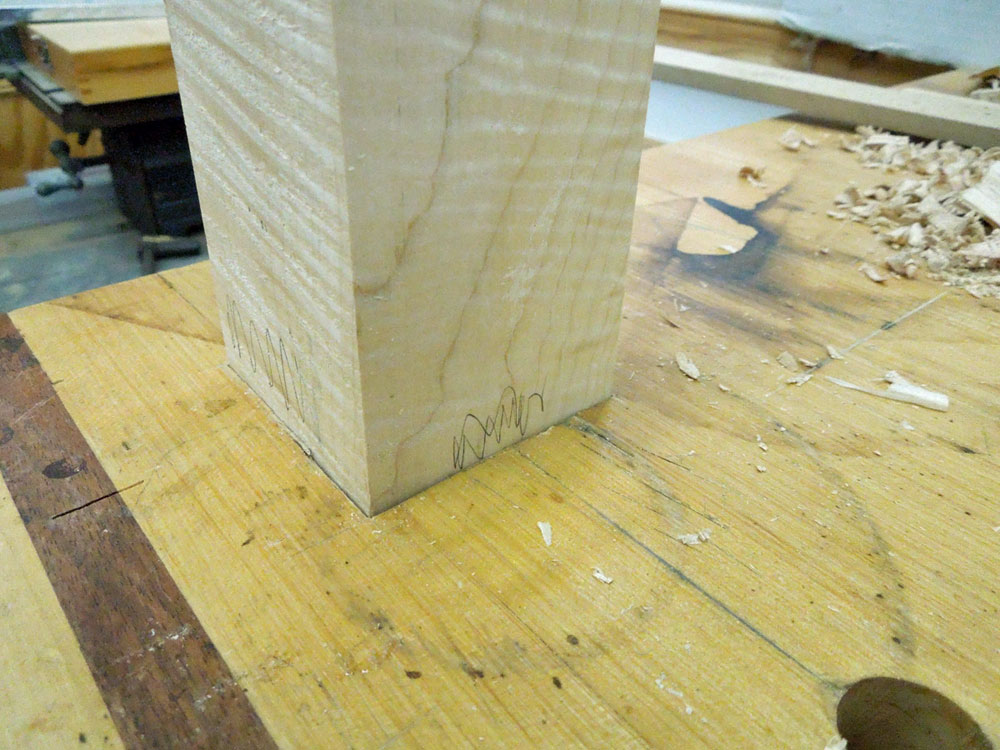
Once the sides of the opening are clean and square it is time to fit the block. As I fit the block into the mortise I would mark where I thought it was tight and planed those areas. I did this continuously as I worked the block into the mortise.
Eventually, the block will fit snug enough that light taps with a mallet will raise and lower it into the mortise. I was careful not to take too much wood off the block so it wouldn't be too loose in the mortise.
Installation of the Planing Stop onto the block is straightforward using the dimensions provided in the instructions. You will drill three holes, two for the machine screws and one for the barrel nut.
Finally, you just screw everything together!
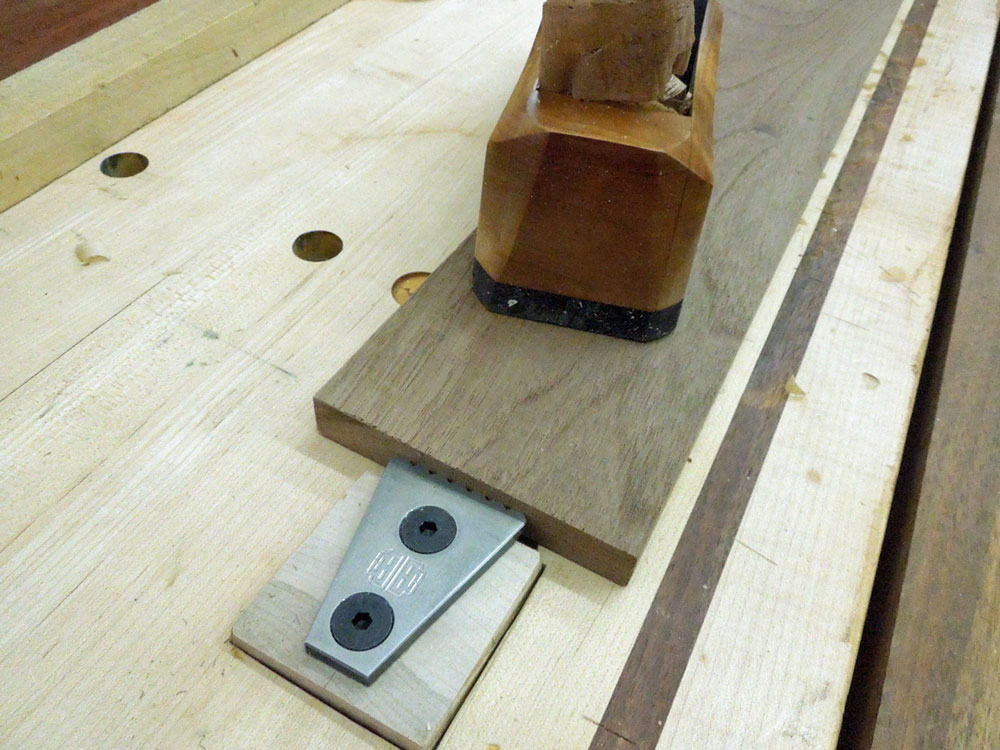
In practice, the Planing Stop is very versatile and easy to use. You can press it down close to the surface for thin boards. Just place the edge of the board against the stop and give it a couple of light taps to set the teeth and it provides a secure hold for planing the length of the board. (Author's Note: see the nice clean workbench!)
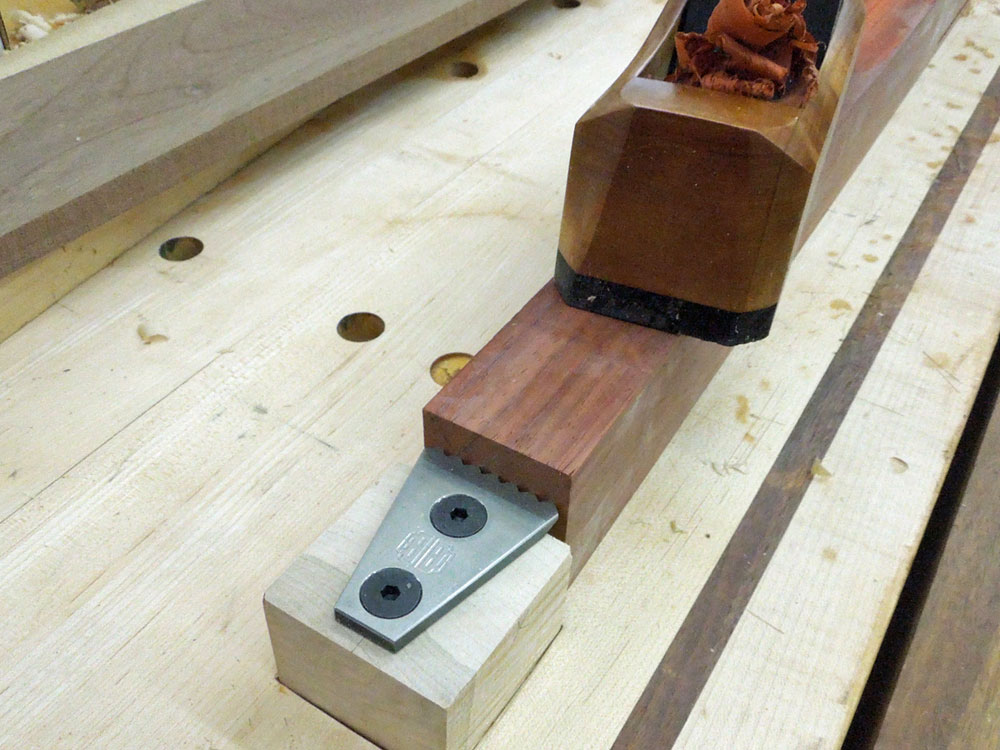
The stop can be raised if you have a thicker board to plane. That is what gives the Planing Stop its flexibility.
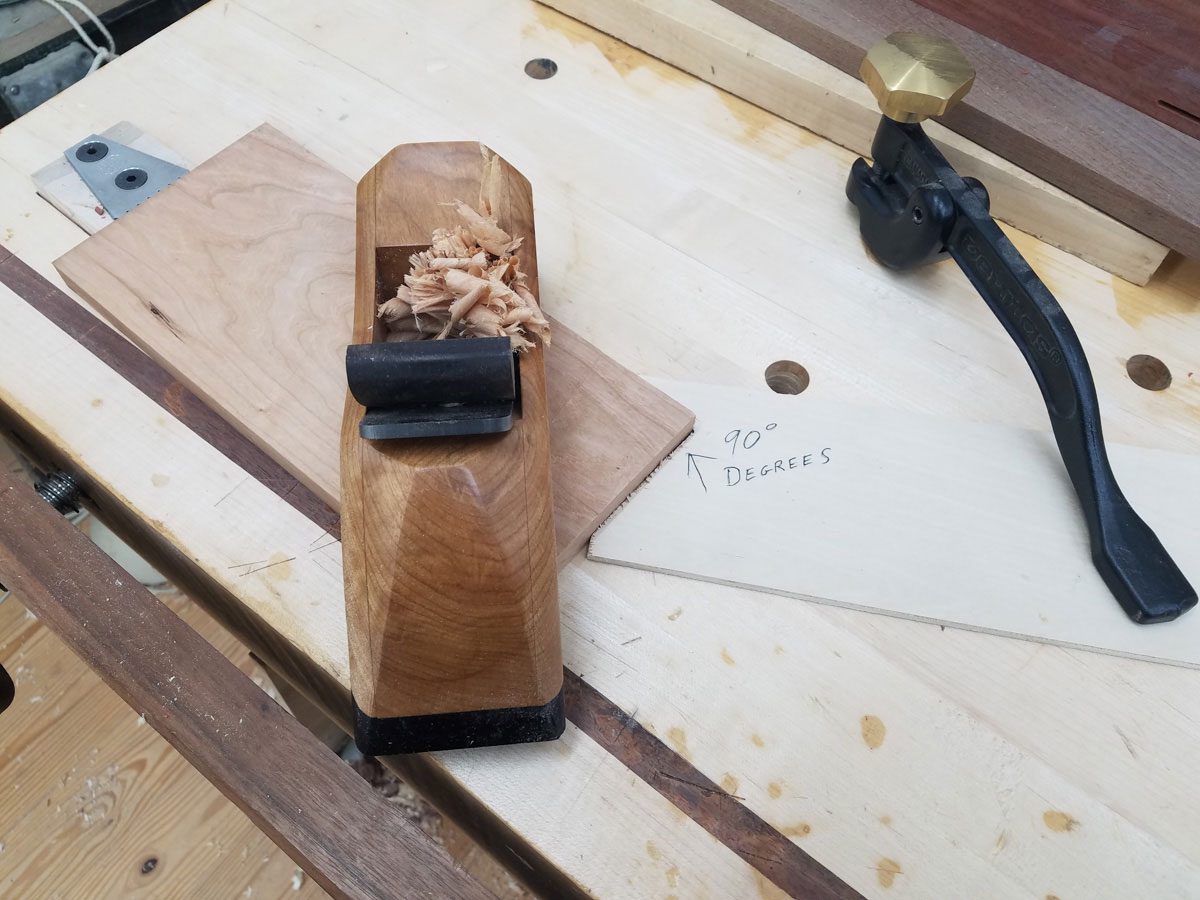
What happens if you want to plane diagonally across the surface of the board? If you try to do this using just the stop, the board will rotate away from the stop. That is where a simple fixture called a doe's foot comes into play. Using this simple fixture with a hold-down will keep the board you are planing stable and prevent it from rotating. What is a doe's foot? It is simply a thin board with a 90-degree notch cut into one end. It is placed against the trailing end of the board to be planed and held in place with a hold-down. Here is a typical setup:
I have to say I am very pleased with my new setup for planing boards on my bench. The sharpened teeth on the planing stop firmly grip the end of the board so it doesn't slip as I'm planing and I can quickly and easily move the board into different positions. As with
other Benchcrafted products, the Planing Stop is well-made and I expect it will last for a lifetime of use.
I wish everyone a very healthy and happy holiday season! Now....back to planing my benchtop to finish cleaning it up!
Find out more and purchase a
Benchcrafted Planing Stop
Jeffrey Fleisher has been a woodworker for approximately 20 years and a professional woodworker for the past 6 years. He is the president of his local woodturning club, the Woodturners of the Virginias and past president of the Northern Virginia Carvers. You can see some of the furniture he has made at www.jeffswooddesigns.com. He can be reached by email at furnmkr@gmail.com
Return to the
Wood News Online
front page
|