|
|
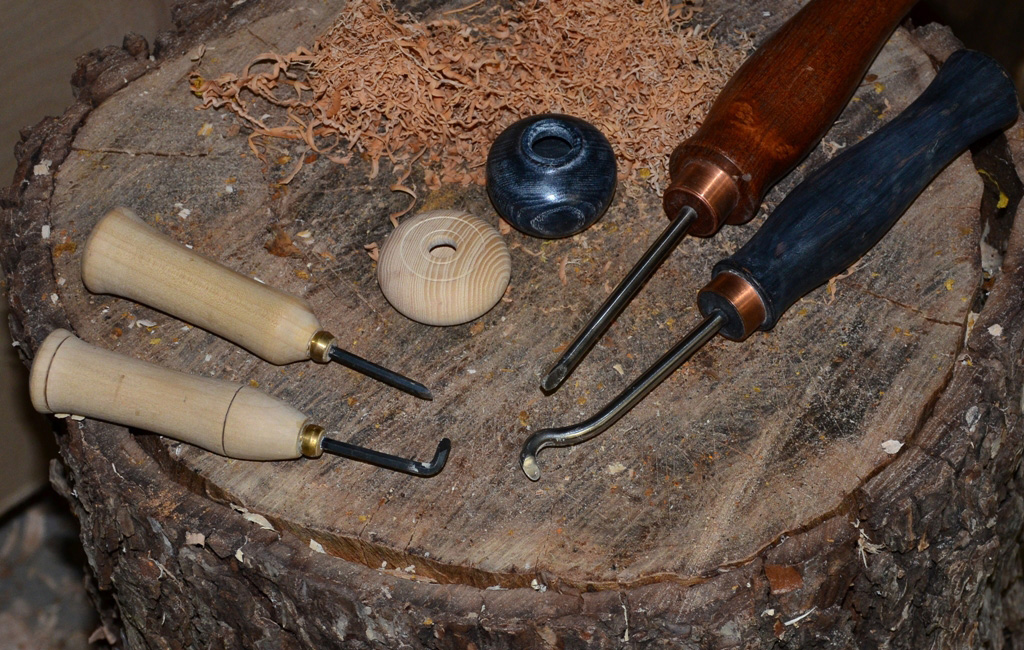
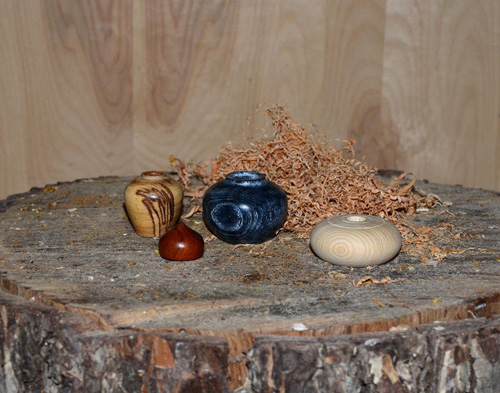
L to R: Pecan vase, Mesquite KISS, Painted Ash vase, Ash hollow form
|
Turning Minis
by Curtis Turner
Round Rock, TX
Note: click on any picture to see a larger version.
This month, we focus on turning miniature vases. These are fun and simple projects that can be
completed in one afternoon or evening. They also make excellent gifts. Hint: Mother's Day is just
around the corner. Miniature vases make perfect projects for all those small bits of special wood
you have been hoarding. If you have never hollow turned a piece, this is a good project to get your
feet wet. The hollowing process is sometimes called blind turning, because the interior portion of the
project is turned without seeing the point of contact where the tool meets the wood.
Minis, as they are often called, allow you be very creative, albeit on a small scale. This is
your chance to try a new shape. If you strike out, well, you haven't wasted much time or wood. I
often experiment with surface embellishments on these pieces, just to add a bit of character.
Sometimes, the wood itself has enough character on its own.
Our sample project is a small end-grain vase. This will be hollowed out using several small
scale hollowing tools. Your project could be any size.
Let's begin
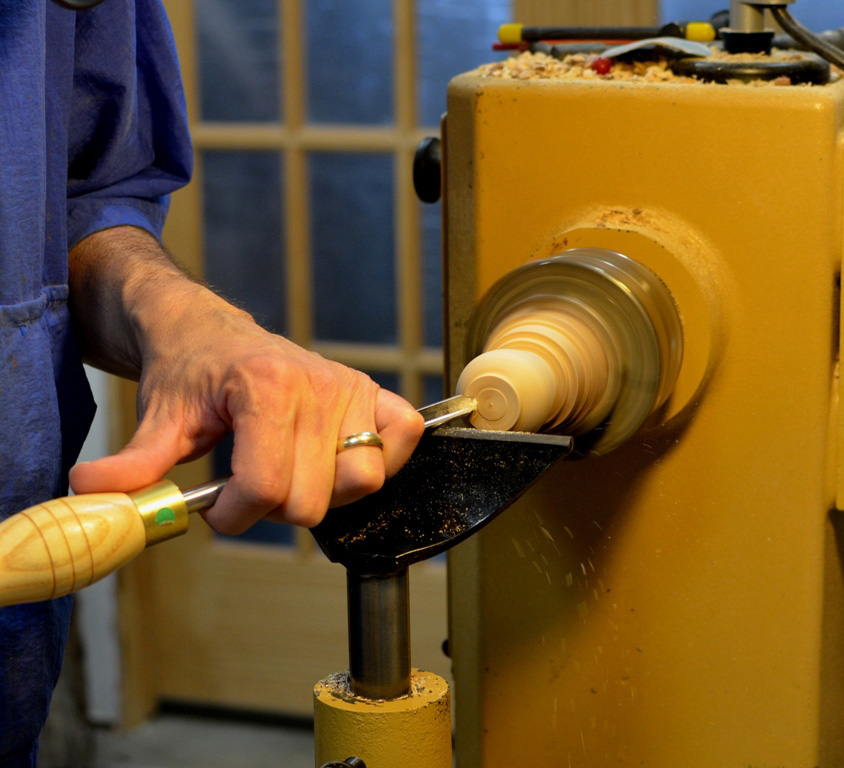
I start with a small walnut blank in the spindle orientation. I will typically use a blank
between 2" square to about 3" square, by about 3" to 5" long. I prefer to mount the blank directly
in a four jaw chuck. This saves me the time of turning a tenon and then re-mounting in a chuck. I
bring up the tail stock to provide support while I turn the blank down to round. The initial
shaping is done with the spindle roughing gouge, followed by a spindle gouge and/or the skew
depending on the shape.
I do not turn the base down to final size at this point. I want as much wood at the base as
possible while I perform the hollowing procedure. This extra material serves as support and reduces
vibration during the hollowing. The only exception to this would be if you wanted to turn a mini
goblet. You should turn the cup portion (outside and interior) prior to turning the stem of the
goblet.
It is important that you take the time to critique your exterior work before you move onto
hollowing. Even though this is a small project, form is king. If the form is clunky and
unattractive, you will not have much to show for your efforts. A graceful form will have an
irresistible cuteness.
Next step
I remove the tail stock once I am satisfied with the exterior shape. I then true up the end
grain with either the skew or a spindle gouge. At this point, you have several
options for hollowing out the vase.
The easiest hollowing method is to use a drill bit to drill a hole down the center. It is simple
to set the desired depth by marking the drill bit with a sharpie or tape. I use a drill chuck
mounted in the tail stock when I perform this operation. I have made very small vases (1 1/2" tall)
and didn't hollow out beyond drilling a single hole.
These bud vases are excellent gift items. Of course, they don't hold water but are perfect
for a tiny sprig of greenery. You could select a live sprig from your yard, or find a suitable dried
or artificial flower sprig in a craft or hobby store.
The tools
The range of small scale hollowing tools is a bit limited when compared to the larger scale
hollowing tools. So, I use several shop-made tools and a few store-bought tools to which I have
added custom handles. Other options include
Easy Wood
Tools mini hollowing tools. While I have not personally tried these hollowing tools, I have used
and own other tools made by Easy Wood Tools. I have found them to be excellent performers.
Shop made tools
I used these shop-made tools on these vases for this article. Two are simply allen wrenches
ground to a flat edge (see photo). The blade is glued and mounted into a shop-made handle. One
word of advice, if you make this type of tool, opt for a bit larger handle. I have found that the
first handles I made are too small. A larger handle will provide more control and vibration
absorption. There is significant amount of torque when you hollow the inside of your piece. The
second set of mini tools in the picture were purchased without handles. You will notice those
handles are significantly larger. One is mesquite and the other...well, I don't recall. You can see
I couldn't help experimenting with a bit of black paint and scuff sanding for a unique look. I
think it gives the tool a cool look, plus provides for a better grip.
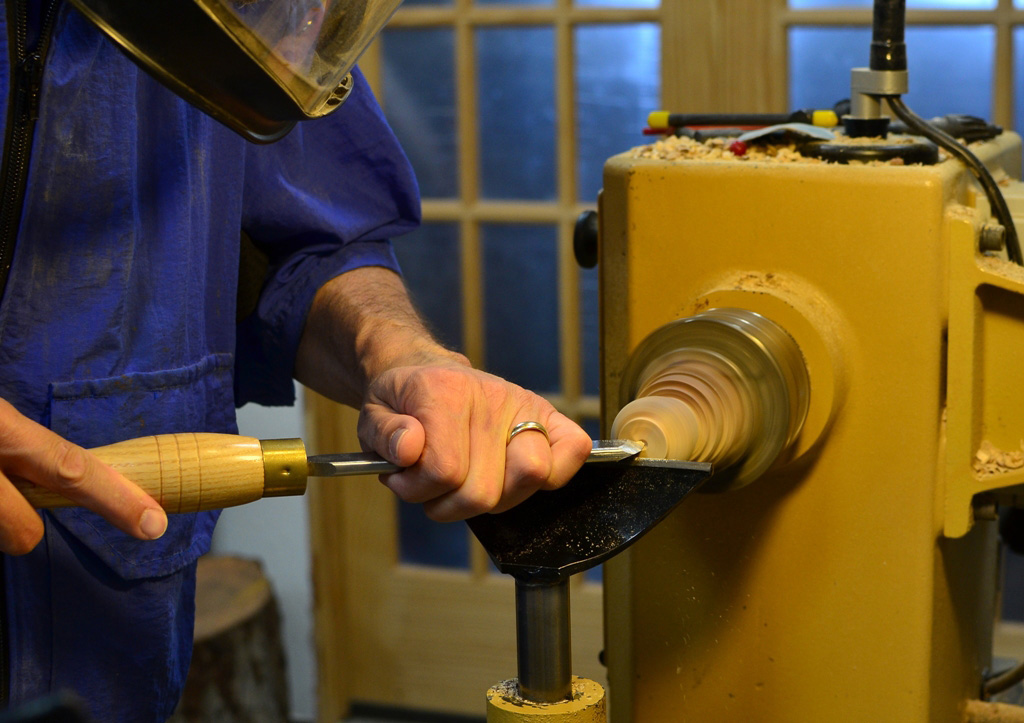
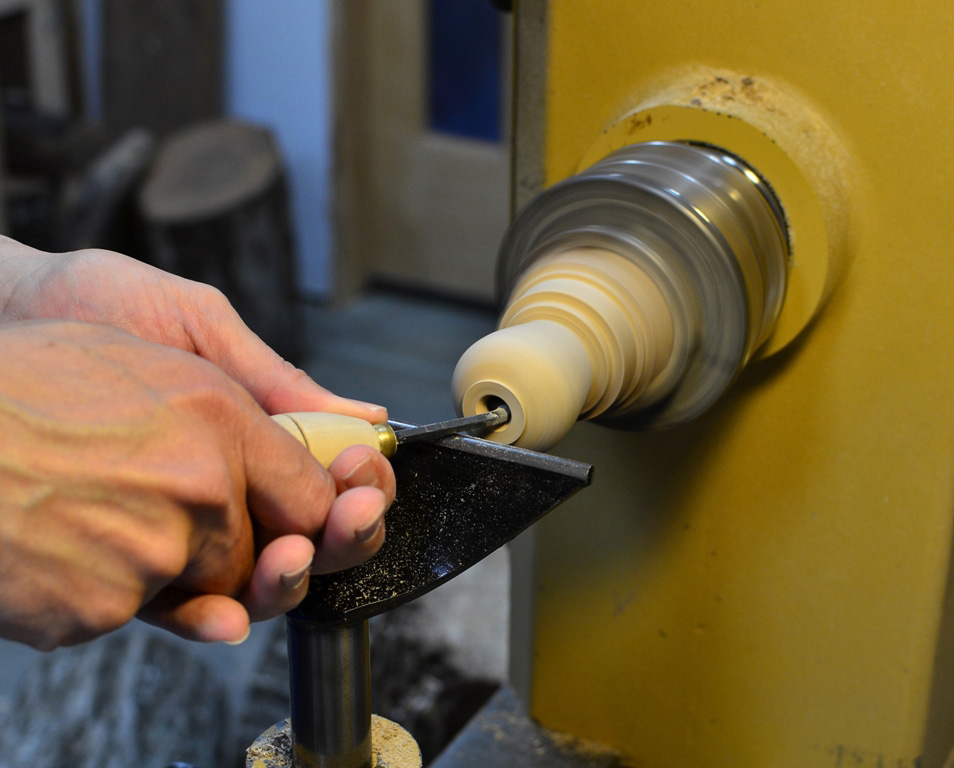
Starting the hollowing
It is best to start with a center point; I prefer to create this point (divot) with the skew.
This is accomplished by lying the skew on its side and lightly advancing the long
point into the center of the end grain. I make this point only about 1/16" deep. This point will
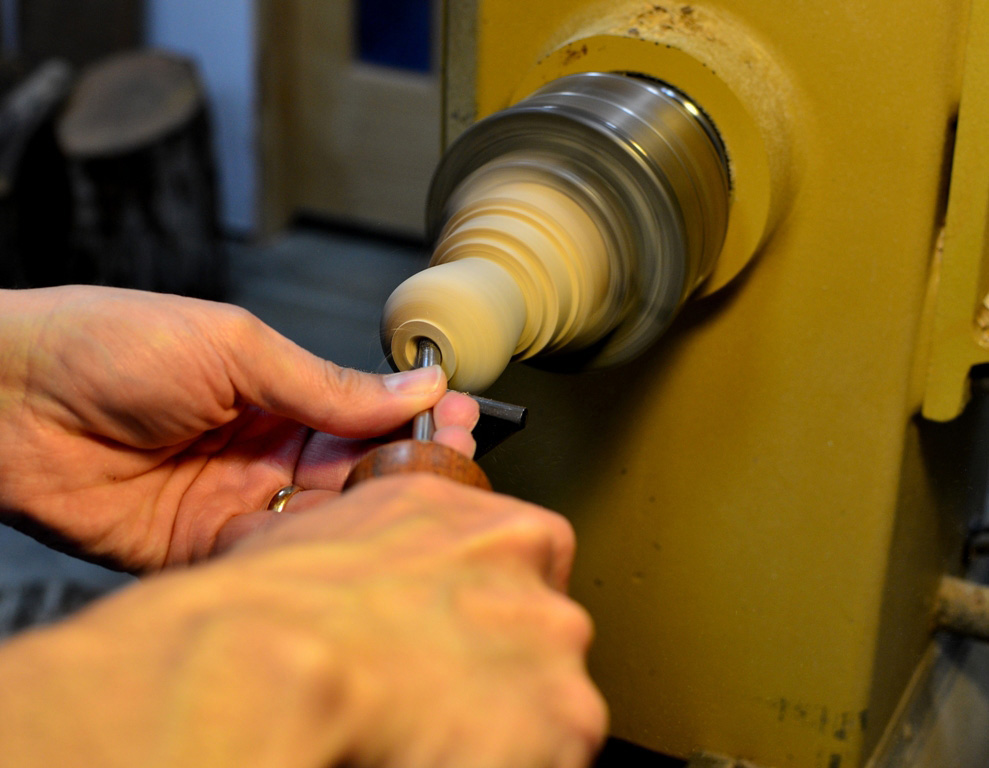
give your hollowing tool a good starting point. I use a straight hollowing tool to work down the
center of the piece. I remove the tool frequently to clear out the chips. I do not
try to work to the final bottom of the piece. Again, I want to have as much support as possible as
I move to hollowing the outer portion of the vase. I work the straight tool along the inside of the
vase. I widen the interior as far as possible before switching to a hook tool. The hook tool
allows me to reach into the shoulder area of the vase.
With both straight and curved tools, you want the tool rest positioned so you can present the
cutting tip a slight downward angle and cut on center. The hollowing will be a bit slow and
tedious for the first few times. Once you get some experience with hollowing tools and turning
blind, the process goes much faster. You'll get it with just a bit of practice.
I use a small LED flashlight to check the interior as I progress. I also use a 2' section of
flexible plastic tubing to blow out the wood chips. Think of the tube as a giant crazy straw. Once
I have hollowed the shoulder of the vase I then hollow out to the final depth of the vase.
Back to the exterior
Once I have completed the interior, I use my depth marking gauge (see
Highland Woodturner no. 9
December 2011) to transfer the depth to the exterior. I then make the final adjustments to the
exterior base. Finally, I part off the piece with a thin parting tool.
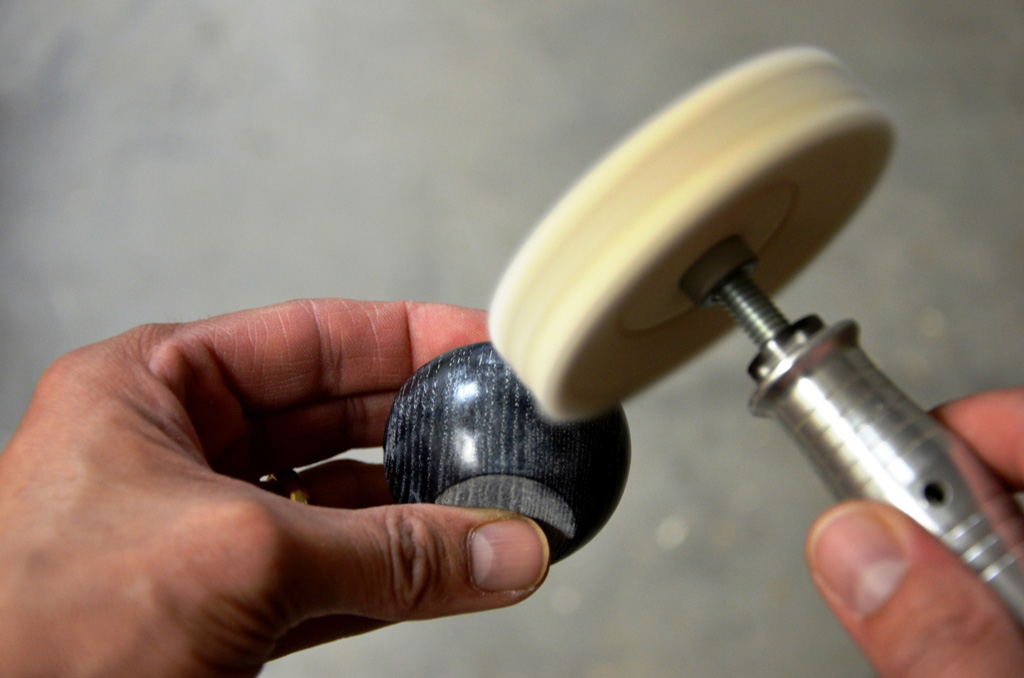
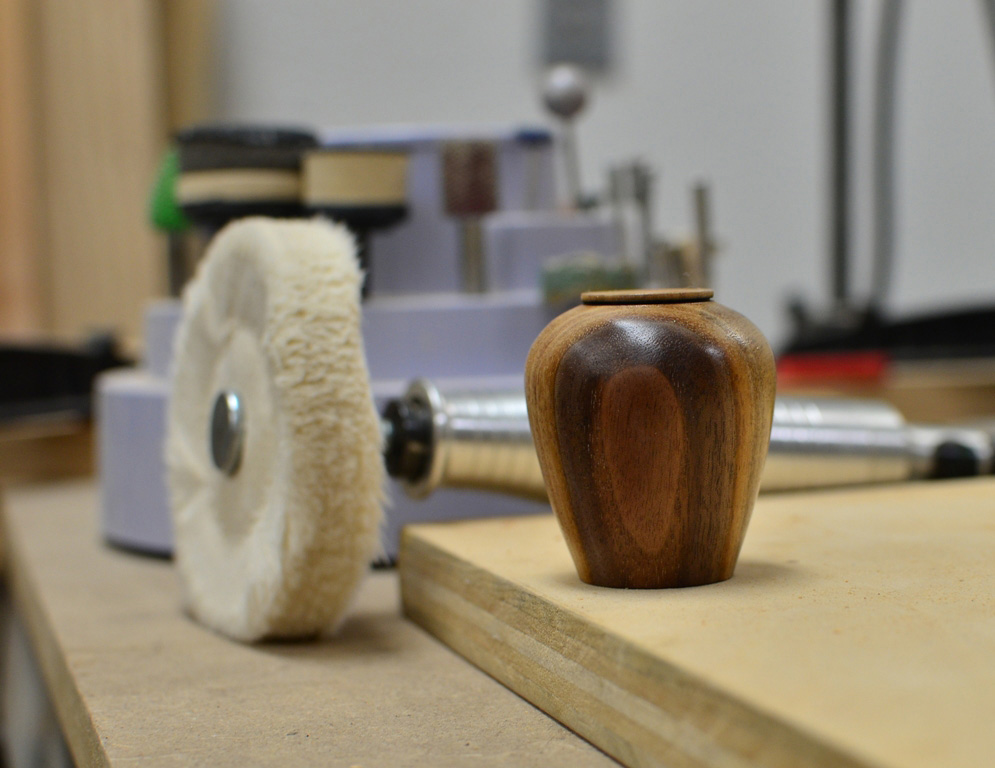
I prefer to sand the bottom with a flex shaft rotary tool. I use the
Foredom TX power carver.
I have used this for a range of sanding options and in ways I never expected. For example,
many of these vases were buffed using the Foredom and small buffing wheel.
Finishing
Minis could be finished with your favorite method. I use a range of finishes depending on the
desired look. For example, for the black vase above I applied a black acrylic paint, following by
light coat of Deft Sanding sealer. I then applied a
liming wax. This white wax lodges into
the pores of this ash vase. Once the wax was dry, I buffed off the excess. The small spalted pecan
vase was simply buffed out with carnauba wax.
Have fun turning minis. They are a perfect gift for your spouse, teachers or any other special
person.
Curtis is a former President of
Central Texas Woodturners, a member of the
American Association of Woodturners, and a member of
Fine Woodworkers of Austin. Curtis teaches and demonstrates nationally for Lie-Nielsen Toolworks. He also teaches for TechShop. He owns a studio where he teaches and works. Curtis lives in Central Texas with his wife and four young children. Take a look at his website at
www.curtisturnerstudio.com or visit his
Instagram: tx_planes.