Turning a mini disk
by Curtis Turner
Round Rock, TX
Note: click on any picture to see a larger version.
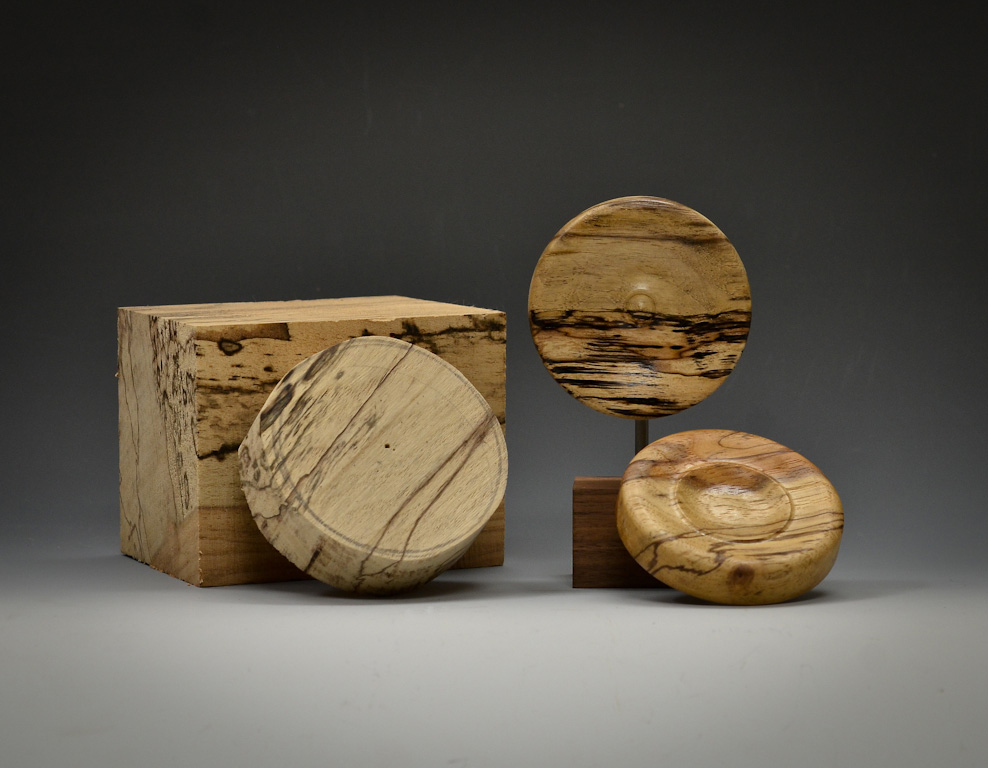
This project is an excellent way to take a break from turning the same old pens and bowls. This easy project can be accomplished on a mini lathe, and requires only a small block of wood. A mini disk is a good way to display an interesting wood and show off your turning skills.
Wood Selection
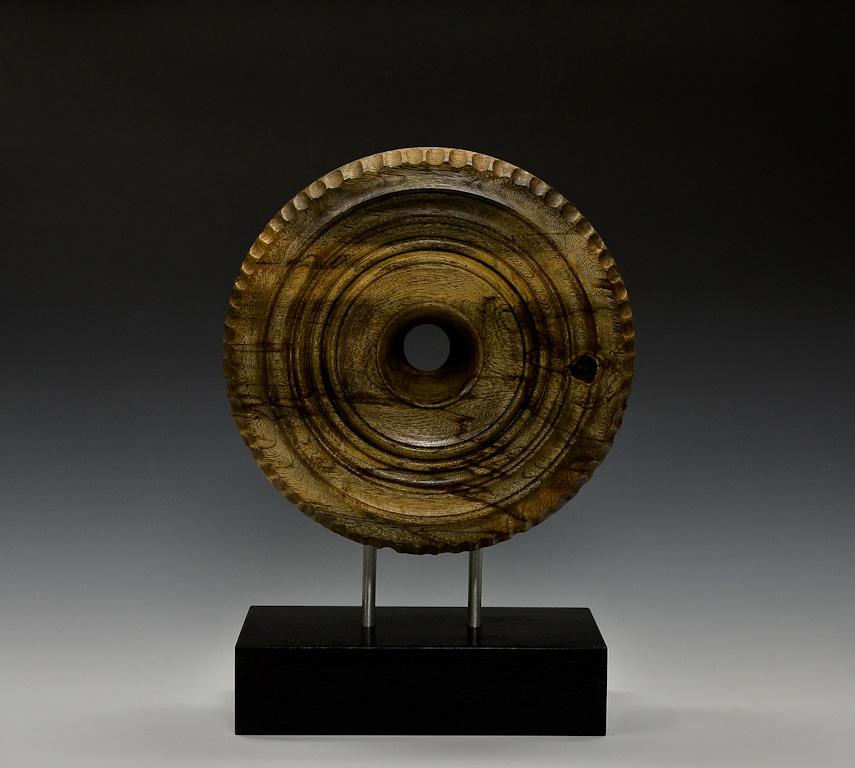
I chose a block of spalted pecan, with the intention of creating a piece about 3" in diameter and standing about 5" to 6" tall.
When selecting your wood blank, consider whether you plan to carve or decorate your final design. I believe that woods with strong natural character, such as those which are highly figured or with an interesting grain pattern, are more compelling if they are simple in design, with few to no surface embellishments. On the other hand, plain-grained woods with even colorations are good candidates for surface embellishment. For example, maple or pear would be attractive with flutes carved into the rim. Too many design features make for a busy and confusing piece.
My decision to select this particular piece of wood was based on the interesting spalted patterns. My plan was to create a simple disk, to feature the striking black lines across the pecan.
I began by cutting a 1 3/4" thick blank on the bandsaw. Next, I used a compass to lay out a 3 1/4" diameter circle. Finally, the pecan disk was cut on the bandsaw. The blank was mounted in a face grain orientation. This is similar to mounting a blank for a bowl project.
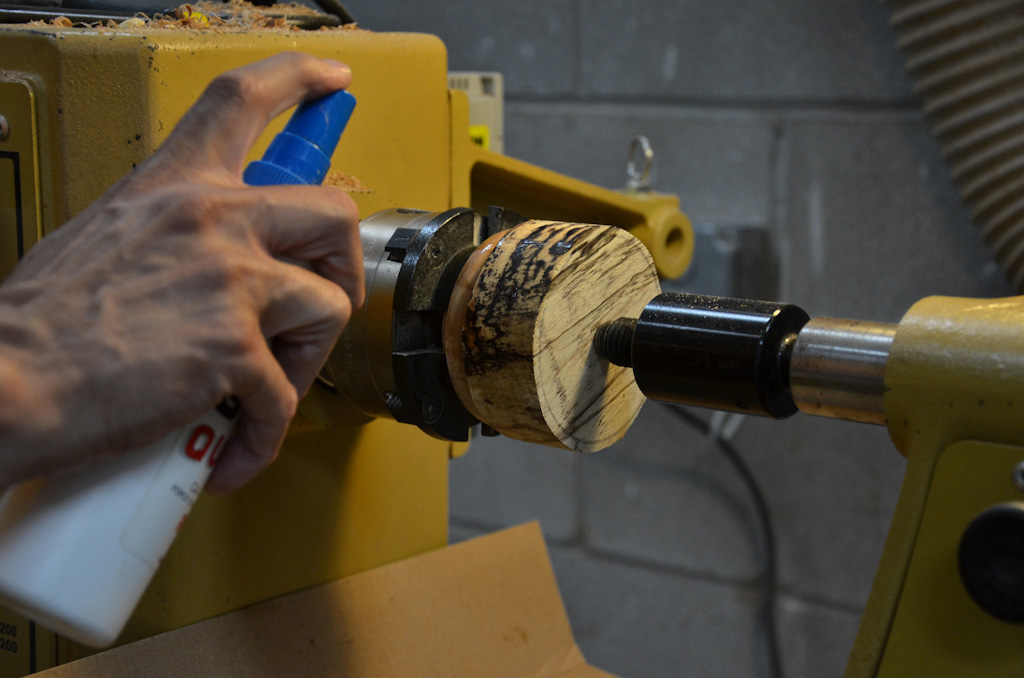
For this size blank, I recommend you mount it on a glue block. Turn the glue block true and flat. The face grain of the mounting block should be flat to encourage a good glue bond. Select the side you want for the front (face) of the final project. Place cardboard on the lathe under the project to catch any drips of glue. Then apply thick
CA glue
to the "face" of the project. You should center the blank on the glue block. Then, move the tail stock up to the blank, advancing the tail stock to apply pressure. Finally, spray the blank with accelerator. Wait a few minutes for the glue to fully cure before beginning to turn.
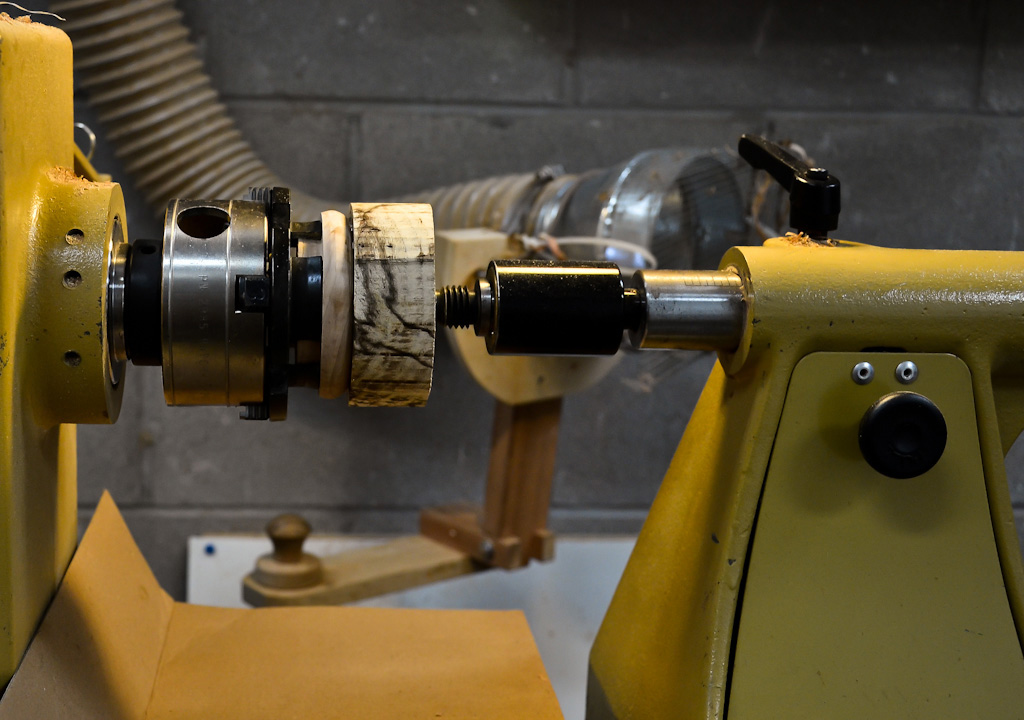
Now, true the blank and form a tenon to match your chuck. I left the tailstock in place during this operation for added security. Next, I used a thin parting tool to remove the blank from the glue block. Once this is complete, it is time to reverse chuck the project.
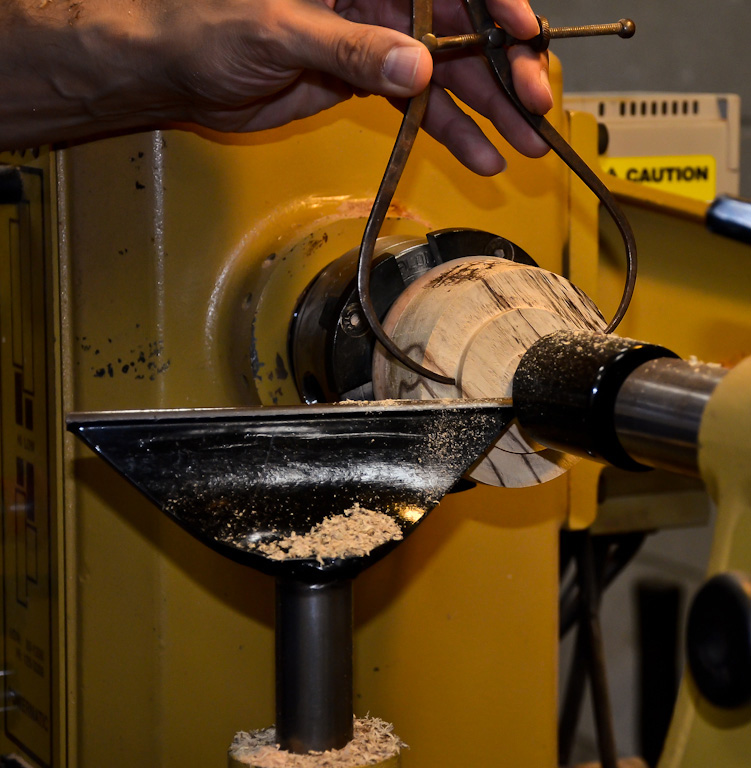
Began by re-truing the piece. Now, you can experiment with turning the project. You could add beads, coves, grooves or just about any embellishments you can dream up. You should remember to leave enough wood near the rim in order to drill a hole for the mounting rod. If you cut too deeply into the piece near the rim, you risk drilling a hole into the face of the project.
Once you have completed the face and sides, it is time to drill a mounting hole. Since the turning is still held securely in the chuck, I prefer to complete the drilling at this stage.
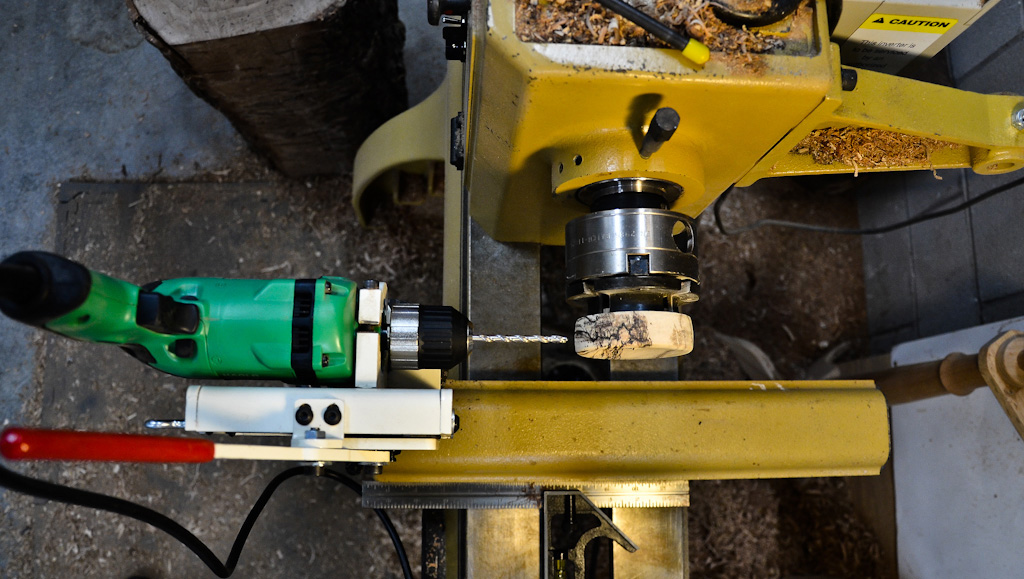
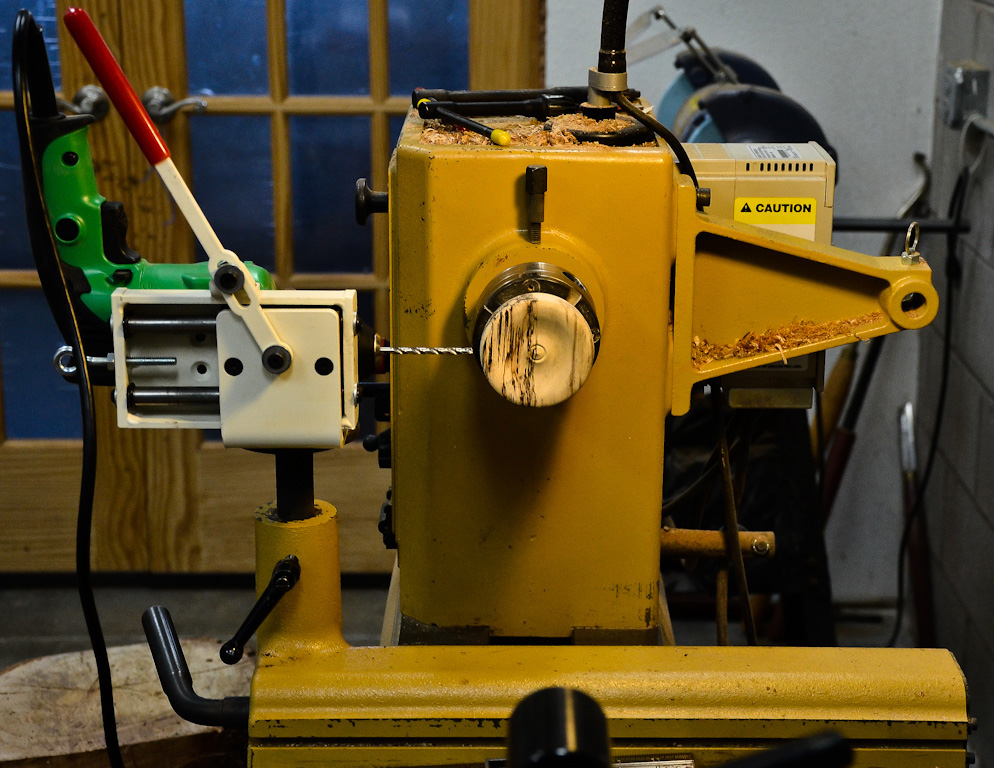
Drilling
You have two options for drilling the mounting hole. The most accurate method is to use a jig to ensure proper alignment of the hole. I used the
Oneway Drill Wizard. I used the locking headstock to hold the turning securely for the drilling operation.
The other option is to drill the hole freehand. However, if you rush this step, or don’t have a steady hand, the hole may be off-center. This will result in an odd alignment of the disk in relationship to the base.
Take the time to determine how the disk will look once mounted on the stand. The grain or your embellishments may determine the position you want to mount the disk. I wanted my disk positioned so that the spalted lines run horizontal to the base. So, I loosened the disk in the chuck and repositioned the piece so I could drill the hole in the proper location. Of course, I re-tightened the piece in the chuck prior to drilling.
This small project looks good with a 3/16" diameter rod. You may want a material to contrast with your disk, or to complement it in texture or color. I used a metal rod from the home center. However, a wood dowel would also work. I cut the metal rod with a hacksaw, and ground the ends smooth to avoid cutting myself with the sharp edges. I also sanded the metal rod for a clean brushed look.
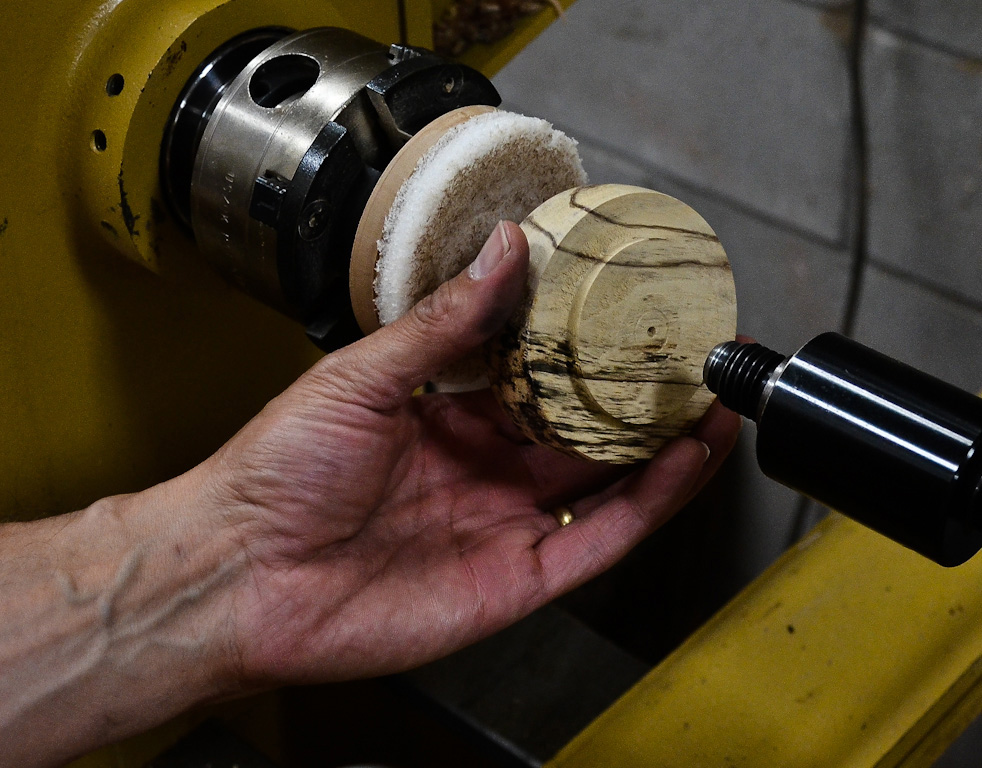
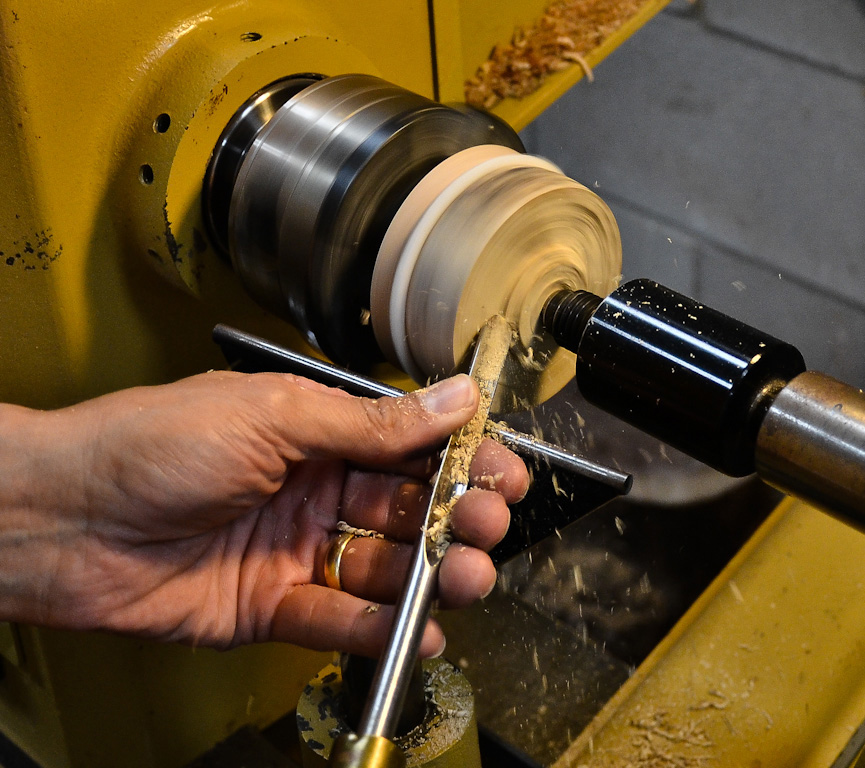
Now, remove the piece from the chuck, and turn away most of the tenon. I prefer to use a padded block mounted in the chuck to accomplish this task. The foam padding is glued onto a wood block. I center the disk on the foam padding and compress the piece into the foam by advancing the tailstock into the piece. The foam offers enough texture to grip the piece without marring the surface. I then turn away the tenon, leaving only a small stem. Then I remove the piece, and cut the stem off with a small flexible saw. Finally, I sand away the remaining stem.
The Base
The base can be made from just about any material. I have used MDF and hardwoods, both with good results. In this case, I used locally harvested walnut. I cut the blanks (1 7/8" x 1 3/8" square) to create a pleasing overall form. A bit of experimentation may be required to properly size the base to your piece. Of course, aesthetics are only part of the equation. The base must be stable enough to support your finished turning. I marked the center and drilled a 3/16" hole in the walnut base. Plane or sand your base as necessary.
Finishing
MDF makes for a nice sturdy base, but looks best if painted. Hardwood bases can be stained, painted or left unfinished.
I used a semi-gloss spray lacquer for this disk project. However, you have many options for finishing. I have used a range of oils like
Waterlox, Tru-oil, and no finish at all to create similar projects. I recommend that you spray the rod with a finish, to prevent the metal from tarnishing over time. Once you have made a few mini disks, try something a bit larger like the 10 1/2" diameter disk on the right. Have fun and experiment!
Curtis is a former President of
Central Texas Woodturners, a member of the
American Association of Woodturners, and a member of
Fine Woodworkers of Austin. Curtis teaches and demonstrates nationally for Lie-Nielsen Toolworks. He also teaches for TechShop. He owns a studio where he teaches and works. Curtis lives in Central Texas with his wife and four young children. Take a look at his website at
www.curtisturnerstudio.com or visit his
Instagram: tx_planes.