Turning a Christmas Tree
by Curtis Turner
Round Rock, TX
Note: click on any picture to see a larger version.
Another holiday season is fast approaching. This is the time of year turners gear up to begin making holiday gifts. We have many projects to select from, like kit-based items such as bottle stoppers and pens. Of course, bowls and boxes are always great gift items for anyone on your list. A seasonal favorite is ornaments and other decorations. This month we will make a simple Christmas tree. This project can be turned on the smallest lathe, with a minimum of tools and experience. The design can scale up or down in size to fit your needs and your available material. This is also a project that can be customized using paint and other embellishments.
Let's get started
Just about any small wood blank will work for this project. I would encourage you to first think about the finished project. Do you plan to texture or paint the tree? If so, I would favor a hardwood with a plain or even-grained pattern. I would save your interesting and exotic pieces for a tree that will not receive surface embellishments and will instead carry a simple finish of lacquer or oil, to highlight the natural wood details.
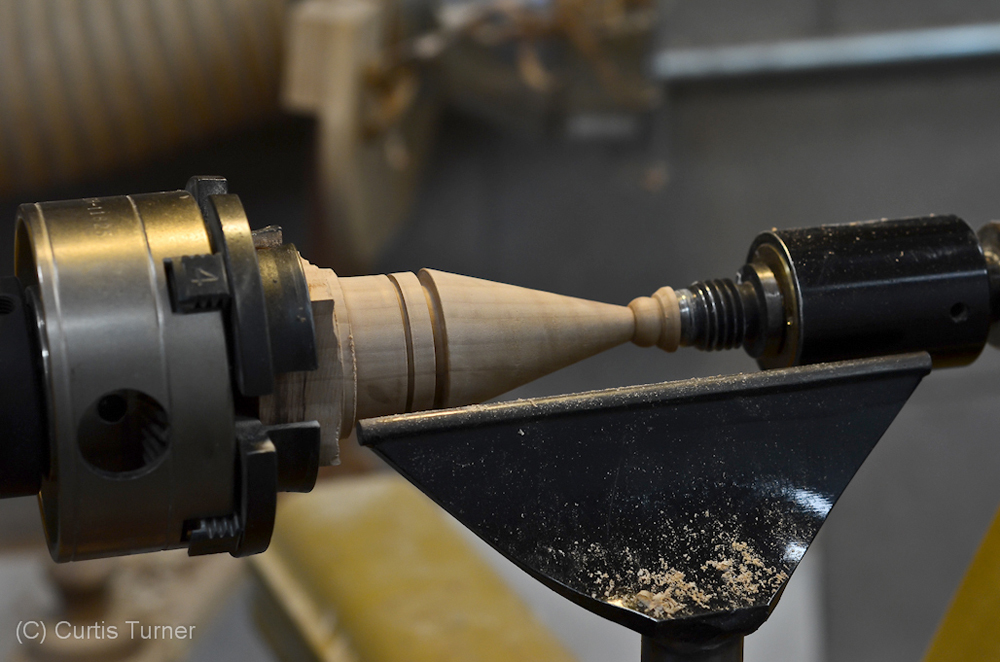
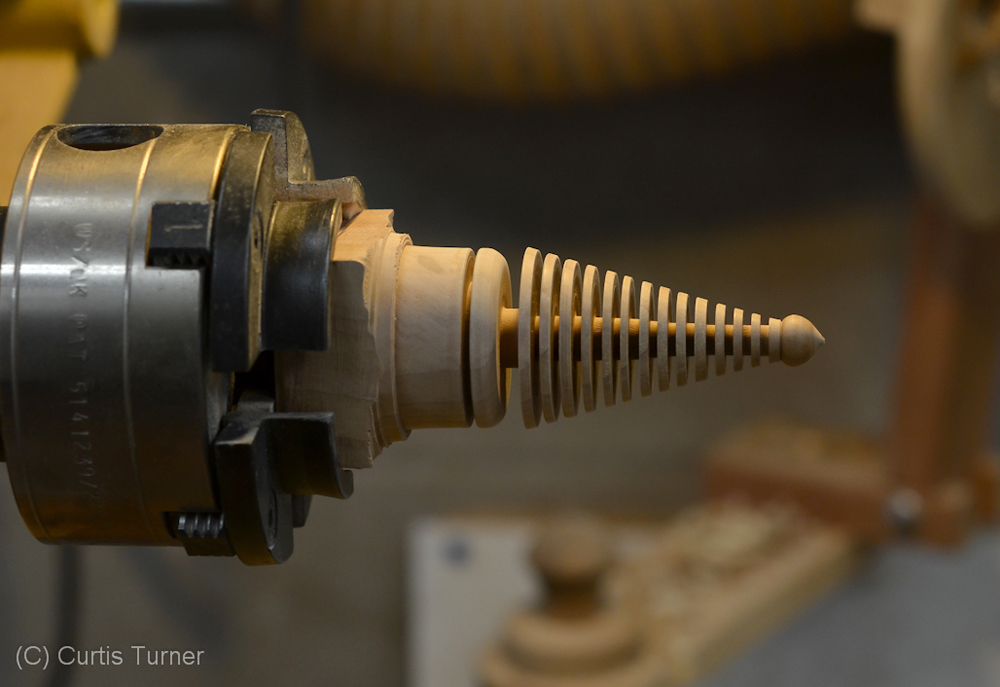
I have selected a small cherry blank for this tree. It measures approximately 4-1/2" long by 1-3/4" square. I start by mounting the square blank in a four-jaw chuck. The section mounted nearest the chuck will be the base, while the other end will become the top of the tree. I chose to mount the square blank into the chuck to save time, instead of mounting between drive centers, turning a tenon, then mounting in the chuck and re-trueing the blank. However, you may choose to mount your blank using either method. Both are perfectly sound methods and will yield equally solid results.
I used a spindle roughing gouge, skew, and spindle gouges to shape the tree to match the image I had in mind. After I turned the blank into a cylinder, I defined the key components of the tree. I used a thin parting tool to lay out the body of the tree, the trunk and the base.
Design choice
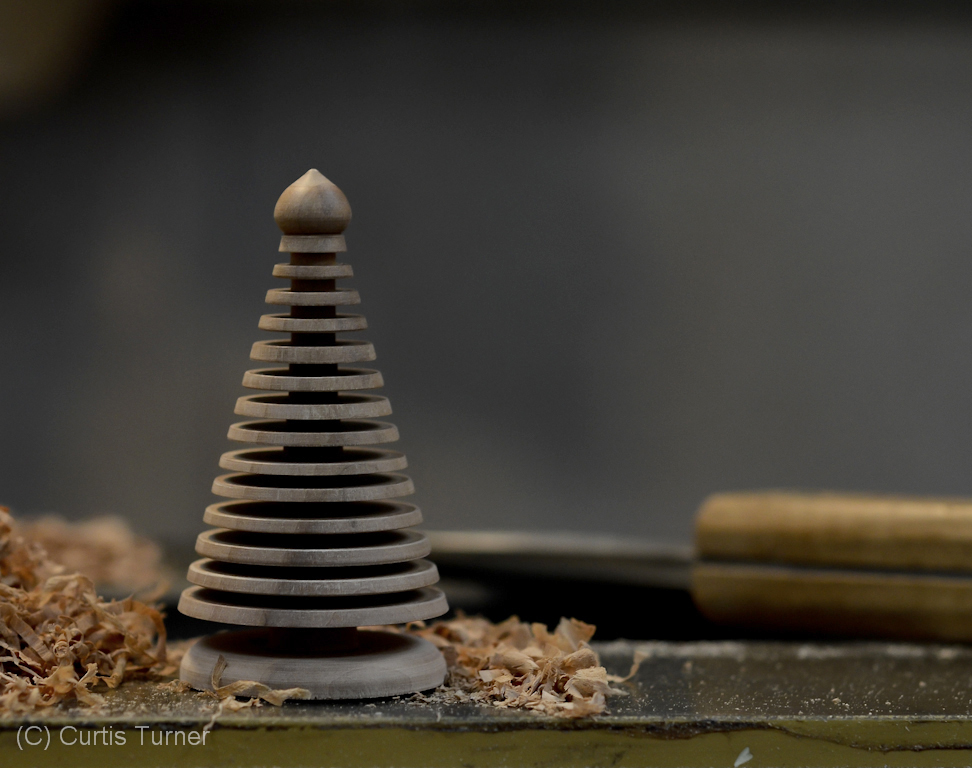
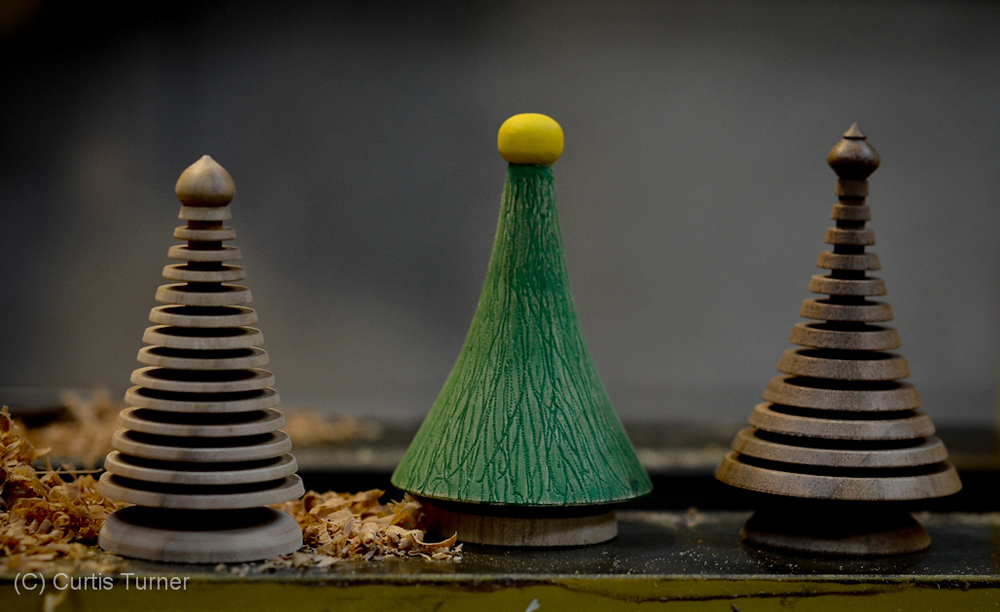
The body of the tree can be left as a solid block, or parted into sections. The body of the tree can take any form you like. However, I find a straight taper or a gently sloping taper pleasing to the eye. This tree will have a straight taper with a ball on the top. I tend to prefer turning a small ball as an ornament on the top of the tree. I have also turned small finials for the top, and they also look nice.
Shaping the tree
I worked the body of the tree and the ball in stages, switching back and forth to bring them down to dimension in tandem. You will only need to rough shape the top in this phase. We still need the tail stock to support the top while we shape of the body of the tree - We will complete the top later. Once the body and ball are complete, I sand the form.
The branches
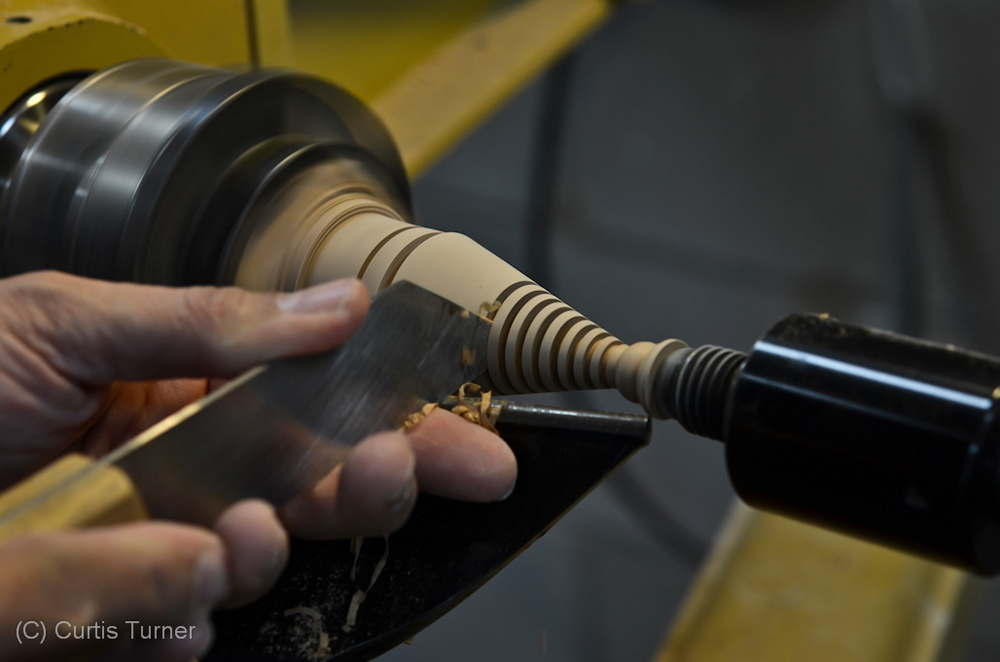
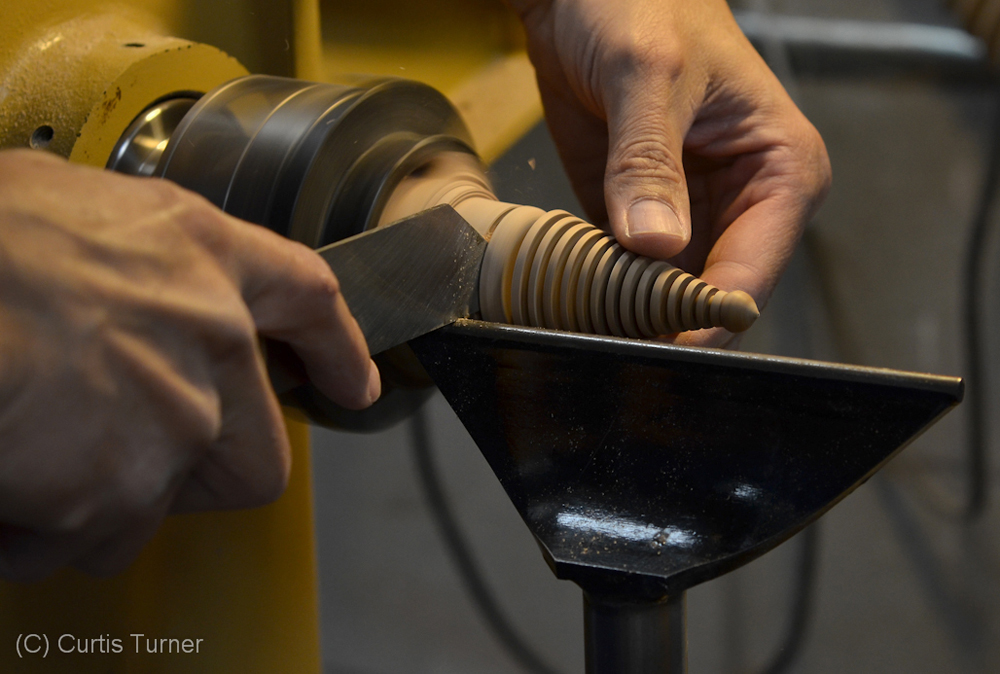
To define the branches, this tree will be parted with a thin parting tool in equal sections. You can precisely lay out these sections and mark them with a pencil line. Or, challenge yourself to execute this section by eye. I chose to trust my eye for this tree. However, I did use the tip of the parting tool as a guide to help me evenly space the "branches".
I usually go for spacing equal to the thickness of the parting tool. I start at the top of the tree and part to near the final thickness for the tree trunk. This tree will have a trunk of less than 1/4" in diameter.
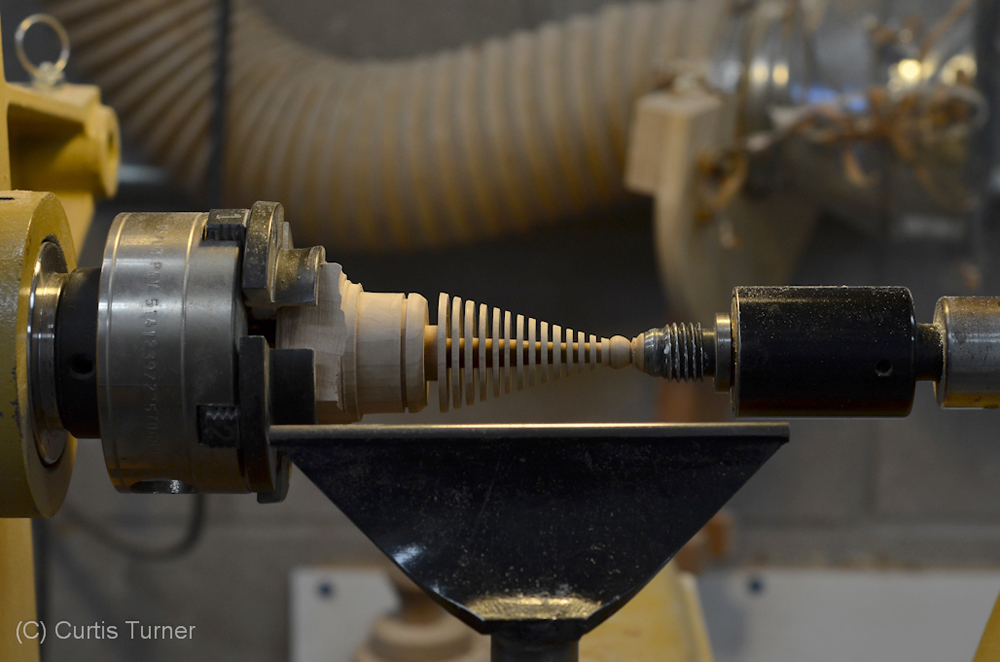
Once I have parted down to about 3/8" and defined each row of branches, I moved back to the top and completed parting down to my final trunk diameter. I leave the trunk thick, and section between the base and last row of branches, because we still need the support of the trunk while we refine the shape. The actual diameter is not important, although it should be visually appealing. I match the trunk in each section by eye, then I fold a piece of sandpaper in half and lightly sand the edges of each row to remove any imperfections.
Top it off
Now the tree is almost complete. I finish off the ball with a detail spindle gouge. I then remove the tail stock finish, shaping the ball. Finally, I sand the ball to 400grit.
The base
I will leave the trunk base a bit thicker, and will make the trunk length about twice the length of the upper sections. I shape the stand to a pleasing profile. Keep in mind that you want the base to be large enough to support the weight of the tree. Finally, I part off the tree from the tenon and sand the bottom.
The finish
You have lots of options for a finish. You could spray on a finish or paint. Or, simply use no finish at all. The more adventurous could choose to spray on adhesive and add glitter.
This simple project is a perfect gift item for the host of Christmas party, teachers, or something for the office. Or make it a project with kids or grandkids, and create a lifetime memory.
Curtis is a former President of
Central Texas Woodturners, a member of the
American Association of Woodturners, and a member of
Fine Woodworkers of Austin. Curtis teaches and demonstrates nationally for Lie-Nielsen Toolworks. He also teaches for TechShop. He owns a studio where he teaches and works. Curtis lives in Central Texas with his wife and four young children. Take a look at his website at
www.curtisturnerstudio.com or visit his
Instagram: tx_planes.