Turning a Pen
by Curtis Turner
Round Rock, TX
Note: click on any picture to see a larger version.
Pen turning is frequently the first introduction to turning for many people. I think it is the perfect introduction to the craft. The project is well-defined and includes a set of instructions. A simple set of tools, a lathe, a pen blank, and kit is all that is required to complete a first pen turning project. The variety of pen kits and blanks can keep an aspiring artist's creative juices flowing for a long time. But be warned -- pen turning is only an appetizer. Pen turners often expand their interests by dabbling in a wide menu of the many genres of turning.
|
I myself was bitten by the turning bug after innocently participating in a "free" pen turning class after having done only flat woodworking for years. Little did I know that it would become a "turning" point in my life. The class ultimately was not free, because it led to the purchase of several lathes, and a load of turning tools. I couldn't be happier to discover I am more artistic than I would have ever believed. I still can't draw a straight line, however I do enjoy the creative process of turning. For me, turning is a departure from flat woodworking, which I also enjoy. Both types of woodworking stretch different mental, creative and physical muscles.
While I don't consider myself a pen turner, I have turned many pens. I have even sold a few pens over the years. However, the most satisfaction I enjoy from turning pens these days is giving them as a gift. I have often been surprised when someone reminds me they still enjoy using a pen I gave them years earlier.
I know some readers are new to turning, or perhaps considering if they should take the leap. So, I wanted to share with you a few encouraging words and tips on turning pens. This short article is intended just to whet your appetite.
Choosing your project
Your first pen should start with selection of a
slimline 7mm pen kit. These are inexpensive kits, and typically require only a small 3/4"x 3/4" x 5" blank. The completed pen is small and easy to carry in a pocket, purse or notepad.
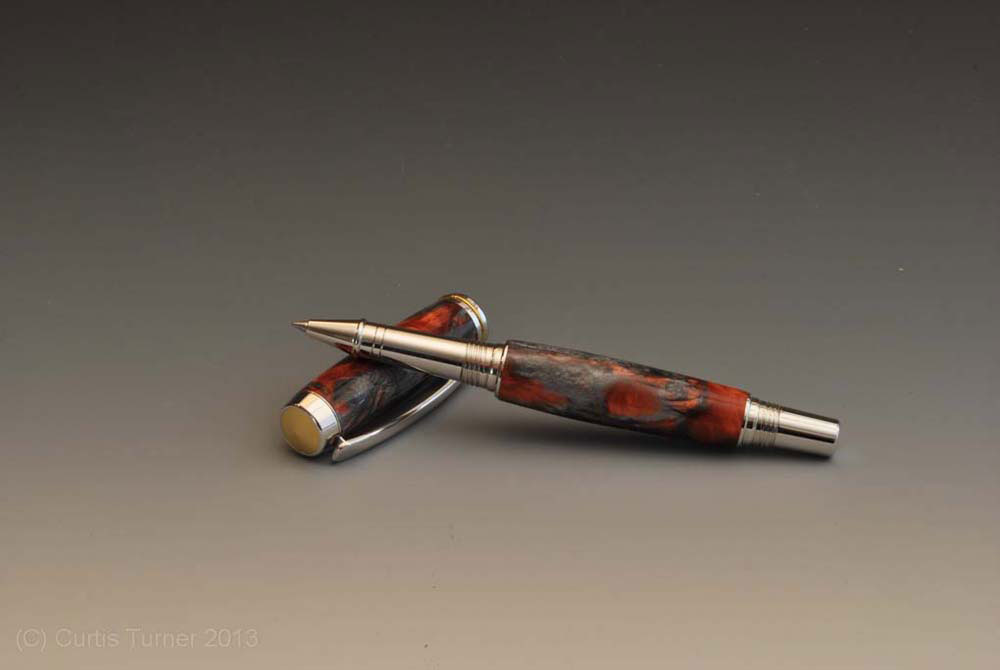
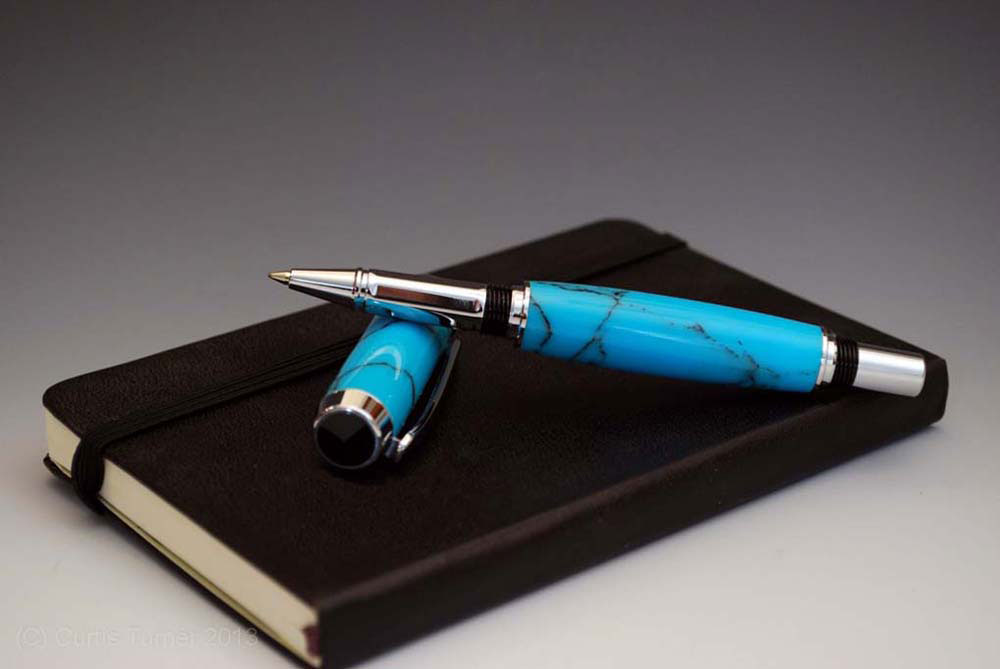
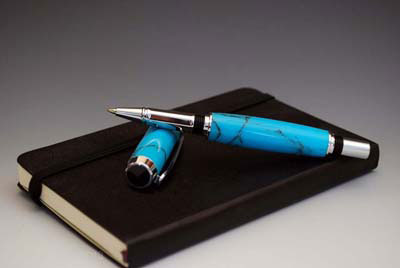
The larger pen kits are impressive. They can show off interesting wood grain or acrylic blanks. They also make excellent writing instruments. However, they are more costly to purchase. You should resist the temptation to jump straight to the large pens. I would encourage you to save the expensive kits and most prized blanks until you have successfully completed several slimline pens.
Drill the blank
The next steps are just the prep work prior to the actual turning.
-
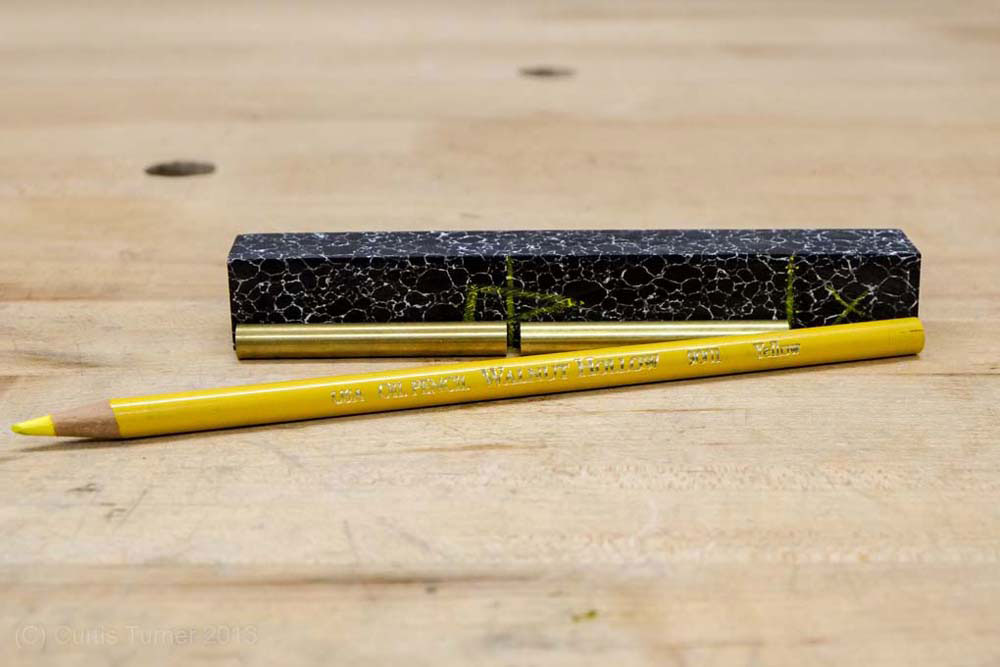
Mark the blank to keep track of the grain direction. This is important so that once the kit is assembled, the blank grain or pattern will line up in a pleasing manner. Cut the blank into slightly oversized sections that will hold the brass tube.
-
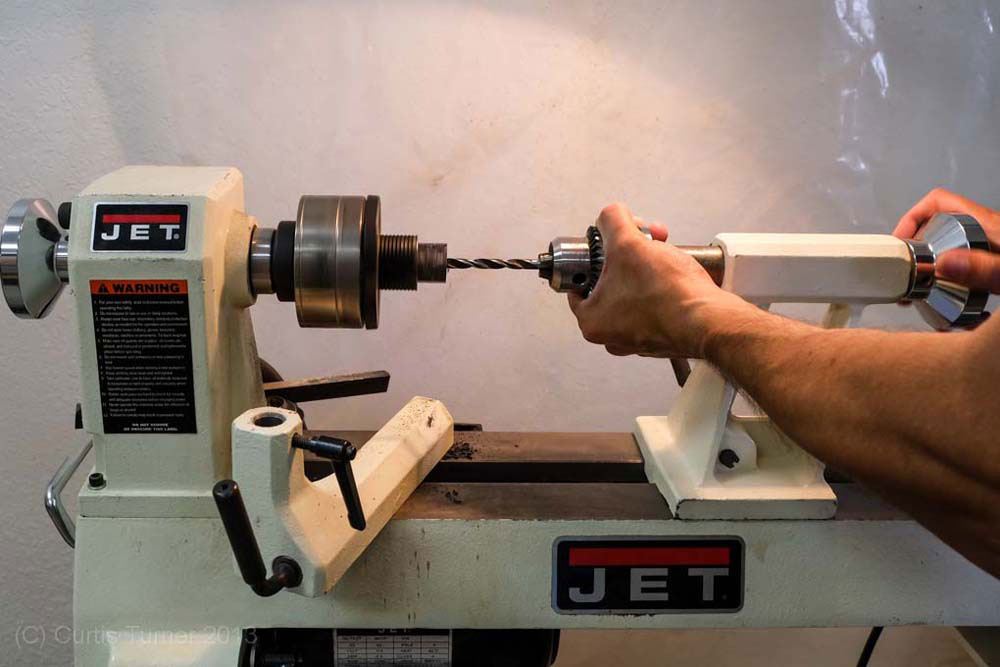
Drill each section using a
pen drilling vise. I have found that it is also easy to drill on the lathe. This method does require a few extra tools. Namely, a chuck and a
drill chuck. You will find that a drill chuck is very handy for creating pepper mills, end grain boxes and more.
Gluing and trimming the blank
-
Next you will sand the brass tubes to provide a rough texture to help with glue adhesion. I have used epoxy and CA glue. Both work well, however the epoxy will give you more working time, which makes the glue-up less stressful. The goal here is to insert the tube, and leave a little of the blank overhanging each end of the brass tube.
-
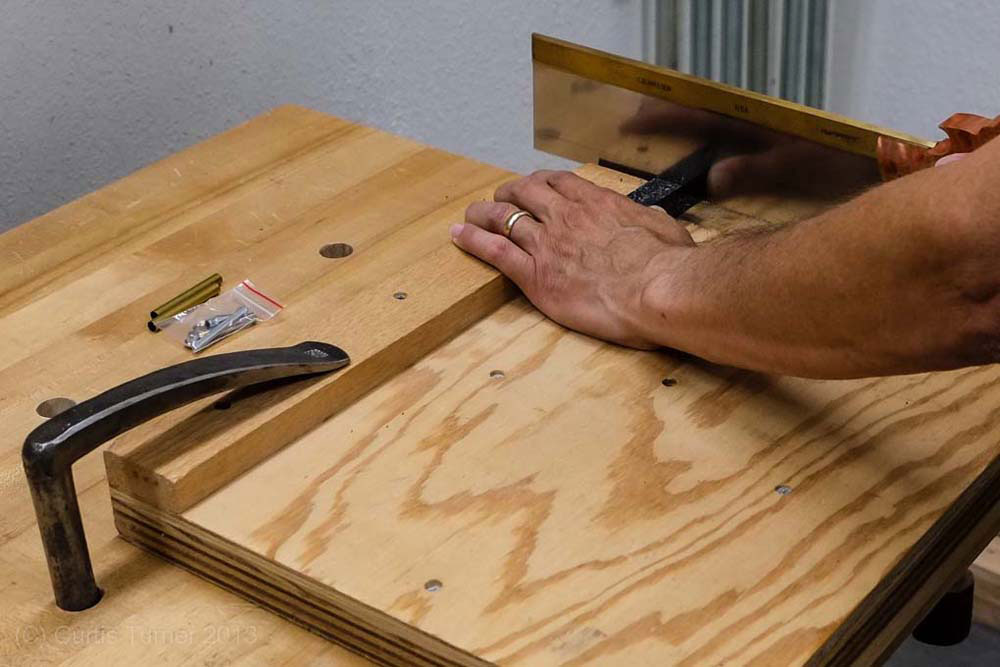
Once the glue has cured you will need to trim the excess pen blank to match the length of the pen tube. This is best done with a
pen trimming mill.
Mounting on the lathe
-
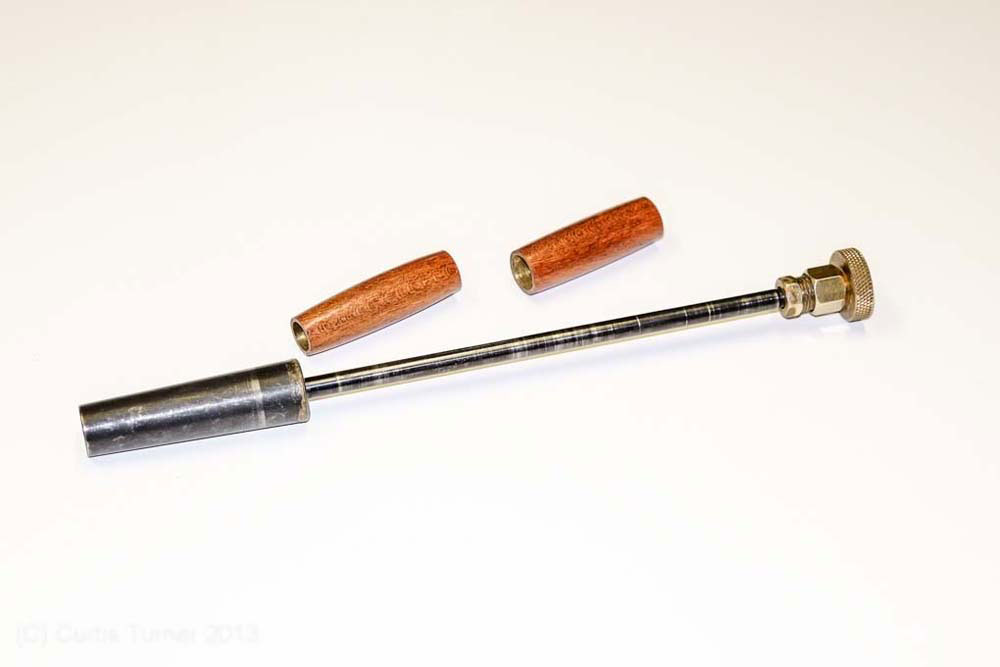
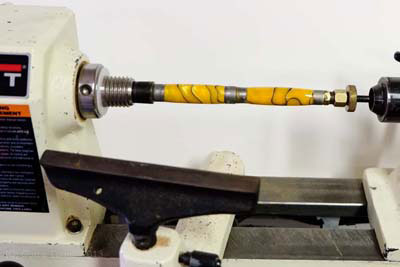
The use of a pen mandrel is an excellent way to hold the pen blank on the lathe for turning. The mandrel is typically a combination of a drive center with a rod that is supported by the tail stock. The blank is inserted on the rod, and separated by bushing (more on bushings later). There are several types of mandrels such as the
Maxi-Mandrel. The most basic mandrel has a fixed rod. This is fine for turning a longer blank like a 7mm kit. However, the more advanced mandrels offer the option to slide the rod into the head stock or tail stock to reduce the length of the rod, thus minimizing the amount of flex or wobble that can result from longer mandrels. There are pen kits and other projects that can use a mandrel, but do not need the full length of the mandrel.
|
-
Bushings are used as a guide for you to turn the blank down to the proper size for the kit. The bushings are stacked on each side of the pen blank. A fixed mandrel will require you to stack a series of bushings on the tail stock end to take up the gap left by shorter kits. This is where the advanced mandrels really shine. Anytime you can reduce the spindle length of the mandrel you have a better supported spindle. This spindle will be less likely to develop a wobble or whipping action as you turn. I think the more advanced mandrels are worth the extra money.
-
The bushing will last for many pen kits, however their outside diameter can become reduced as you turn the blanks down to match the bushing. Therefore, they would no longer provide an accurate guide. The bushings are also small and can get misplaced easily. It is a great idea to have
a few extra bushings
on hand.
-
The mandrel will be secured in place by the tail stock. It is extremely important that you do not apply too much pressure from the tail stock. It will be easy to bend the mandrel by applying too much pressure. It is also possible, with some types of mandrels, to over tighten and cause the entire assembly to jam. The key point is to apply just enough pressure so the blanks can be turned without slipping once the turning tool is applied.
-
Finally, it is also possible to turn pen blanks without a mandrel. This method requires special bushings. However, because mandrels are relatively inexpensive and can be used on other types of projects I think a mandrel is an excellent method for those just learning to turn pens.
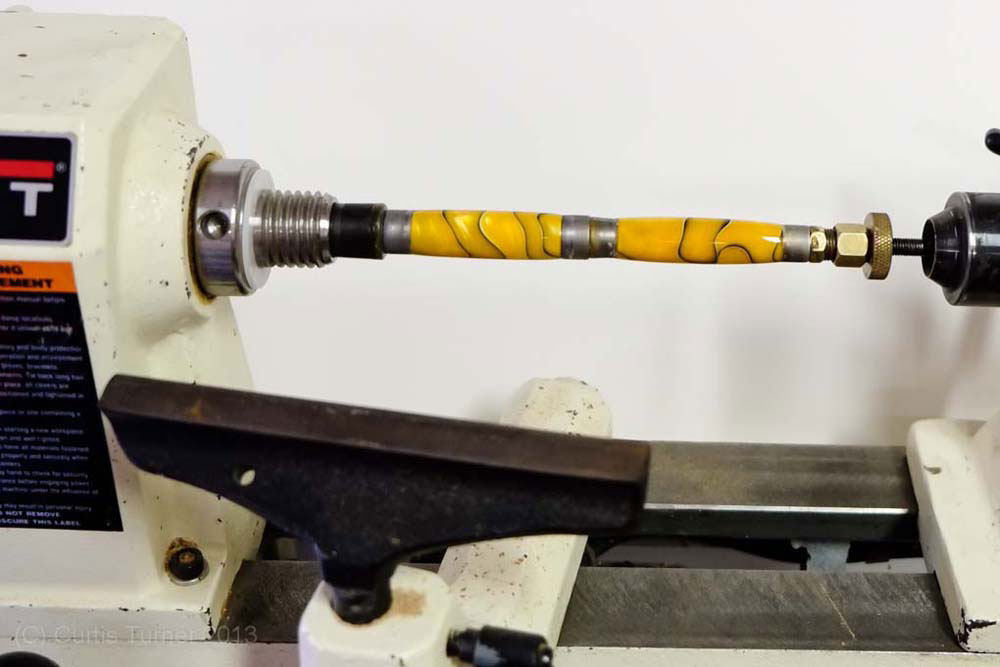
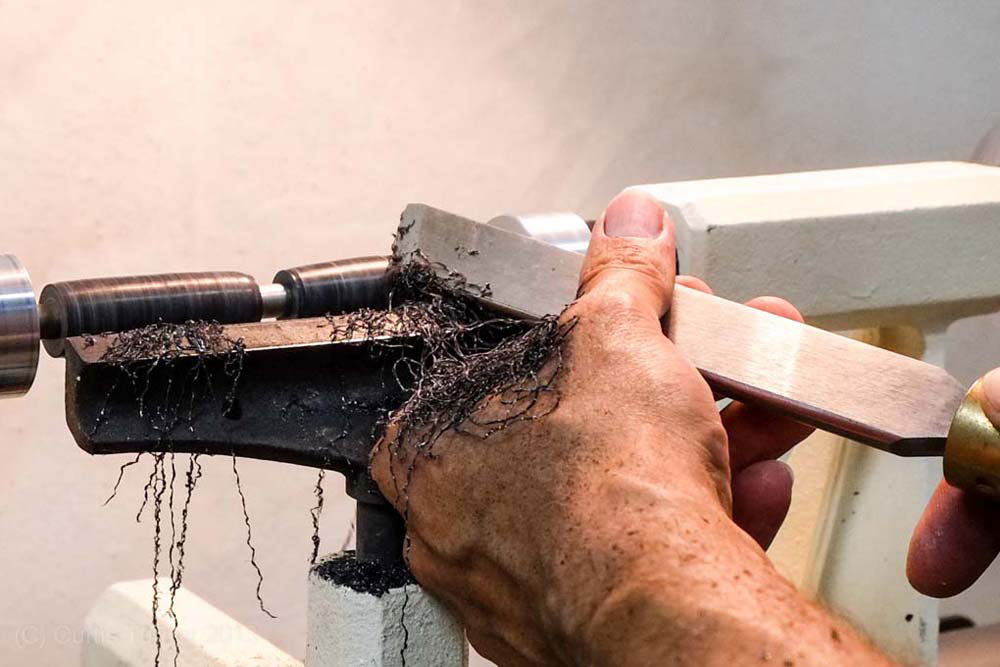
Turning
Now you are ready to turn. You can use a variety of tools from a spindle roughing gouge, skew, scraper or carbide-tipped tools such as the
Easy Wood Tools. It is just a simple task to turn the slimline down to match the bushings. As always, watch your speed. Start on a low RPM that matches your comfort level. Once the blank is round you can speed up the lathe. Also, take care not to apply too much pressure on the spindle while turning. This pressure can cause the mandrel to flex, which will result in a blank that is out of round.
Sanding and Finishing on the lathe
There are many options for sanding and finishing. An entire article could be devoted to this portion of pen turning. I will touch on a few.
First, an important step in completing your pen will be properly sanding the blank. There are different strategies for different types of blanks (wood vs man-made blanks). Typically, an extremely smooth surface is most desirable. You should reduce the lathe speed to 500 or less. This will reduce the heat buildup, thus reducing the chance of cracking the blank. I usually sand wood blanks through about 600 grit.
For acrylic blanks I like to use micromesh sand paper to wet sand the blank while still on the lathe. I sand through each grit up through 12,000. I then use an acrylic polish to achieve a very smooth glossy surface.
You have many options for finishing, from an off-the-shelf Penturner's finish, CA/oil or lacquer finish just to name a few.
Pen assembly
I recommend that you follow the manufacturer’s instruction that came with your kit. There is no glory in trying to figure it out without reading the instructions. Also, take your time on this last step and don’t rush in impatience to be finished. Many components cannot be disassembled without destroying your hard work or marring the metal on the kit parts. One option for assembly is using a
pen press. These will help to ensure proper alignment of the parts. I have also used my bench vise to assemble kits with great success.
Now time to enjoy your hard work. Or pass along a gift that is sure to be treasured.
Additional resources
Fortunately there are many excellent
books on pen turning. You can also find active pen turning forums on line such as the
Association of International Penturners.
Curtis is a former President of
Central Texas Woodturners, a member of the
American Association of Woodturners, and a member of
Fine Woodworkers of Austin. Curtis teaches and demonstrates nationally for Lie-Nielsen Toolworks. He also teaches for TechShop. He owns a studio where he teaches and works. Curtis lives in Central Texas with his wife and four young children. Take a look at his website at
www.curtisturnerstudio.com or visit his
Instagram: tx_planes.