Turning with Temple: Turning Multiple Spindles
by Temple Blackwood
Castine, ME
Note: click on any picture to see a larger version.
Before we begin, we have
three rules to guide spindle-turners.
These hold true in all cases, although it is possible to successfully break them once you have some experience. For those of us who favor a well-sharpened skew chisel, these are particularly important. Rule #1 is always true. Rule #2 is always true unless it conflicts with the first rule. Rule #3 is true but must work as dominated by the second rule. In priority order, they are:
-
KEEP THE BEVEL RUBBING
-
WORK FROM LARGE DIAMETER TO SMALLER ACROSS THE ENTIRE LENGTH (also following Rule #3 each diameter at a time)
-
WORK FROM THE TAILSTOCK (RIGHT SIDE) TO HEADSTOCK (LEFT SIDE)
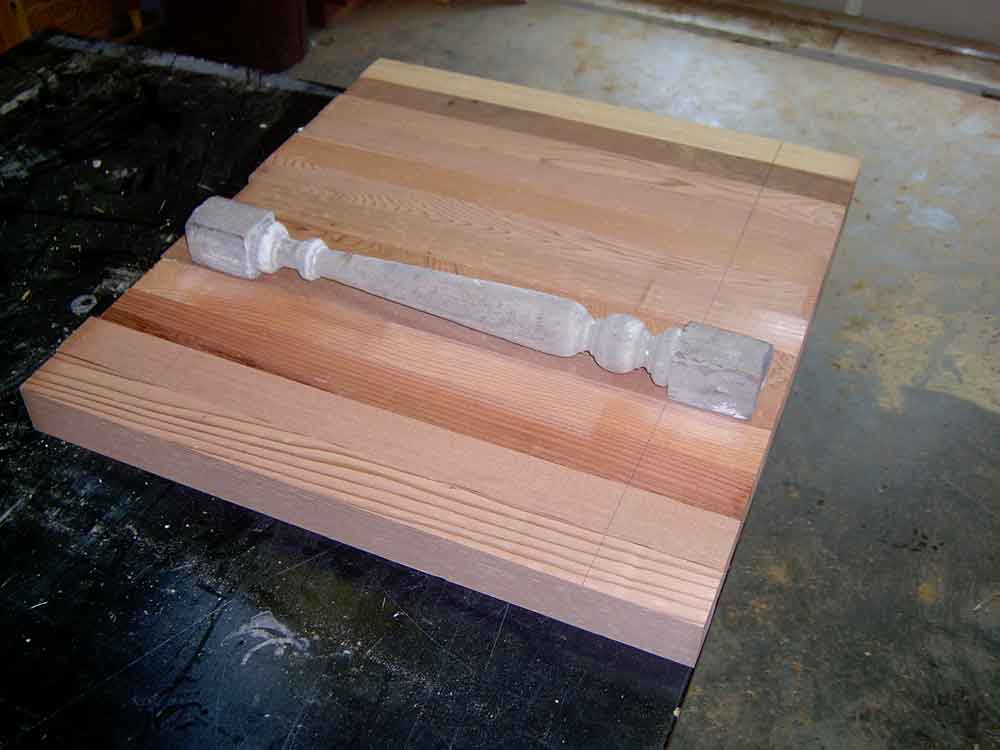
Setting out to turn a series of multiple spindles requires a number of helpful preparations. First, dimension the stock to a common square and length. In the case of this sample of cedar blanks to be turned, the contractor requested extra waste on each end to allow for field cuts in the old house he was restoring. This sample is relatively short at 22" and will not require a steady or special plan. It does, however, have square pommels at each end. The cedar is dry and brittle. One possible way to ensure the edges remain is to use see-through scotch tape, but that may pull the edge off when it is removed. Generally, I find I do not need to tape the pommel because of the excellent cutting characteristics of the well-sharpened skew chisel. With these 2"X2" blanks in this length and to the smallest diameter, a lathe speed of 800 to 1200 is plenty fast. Faster speeds can produce "rippling" that ruins the piece on finish cuts near the end. Smaller diameters over longer lengths turn better at the slower speeds.

|
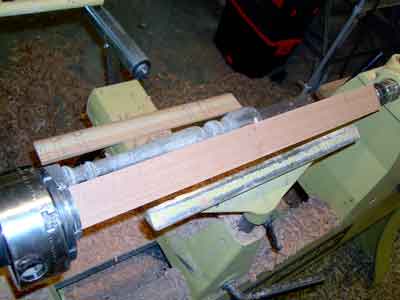
With the blanks all arrayed, carefully pencil-mark the top and bottom of the area to be turned fully round. There is no point in adding other marks at this point since the wood will be turned away in the roughing. Using a scribe and an awl, mark the center point on the end(s) to ensure absolute centering of the blank between centers.
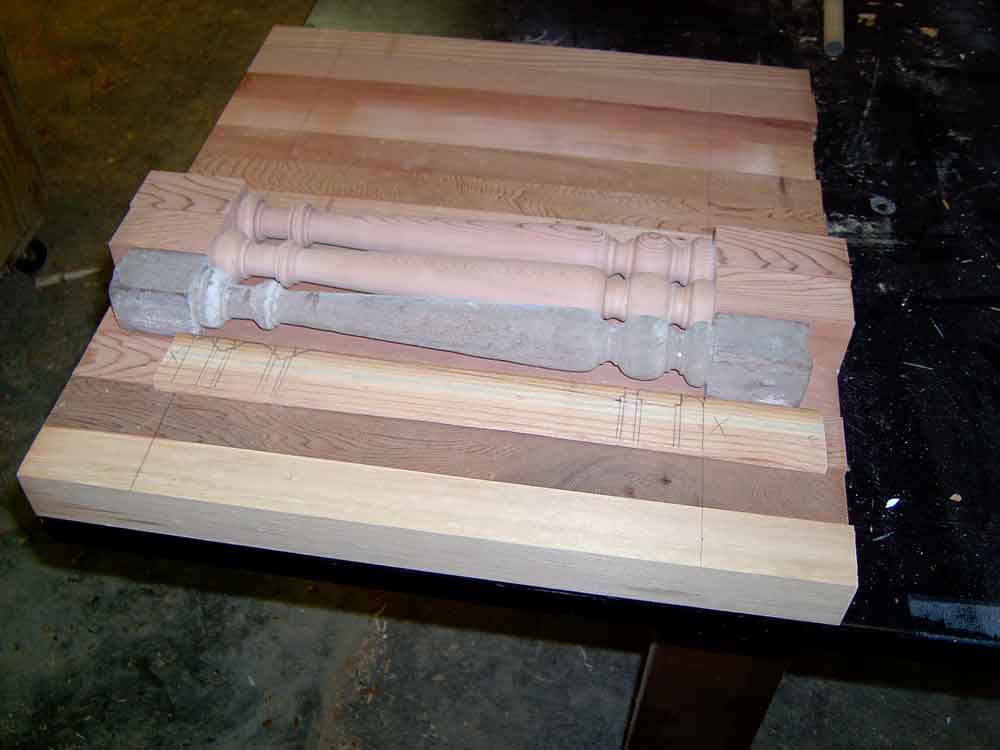
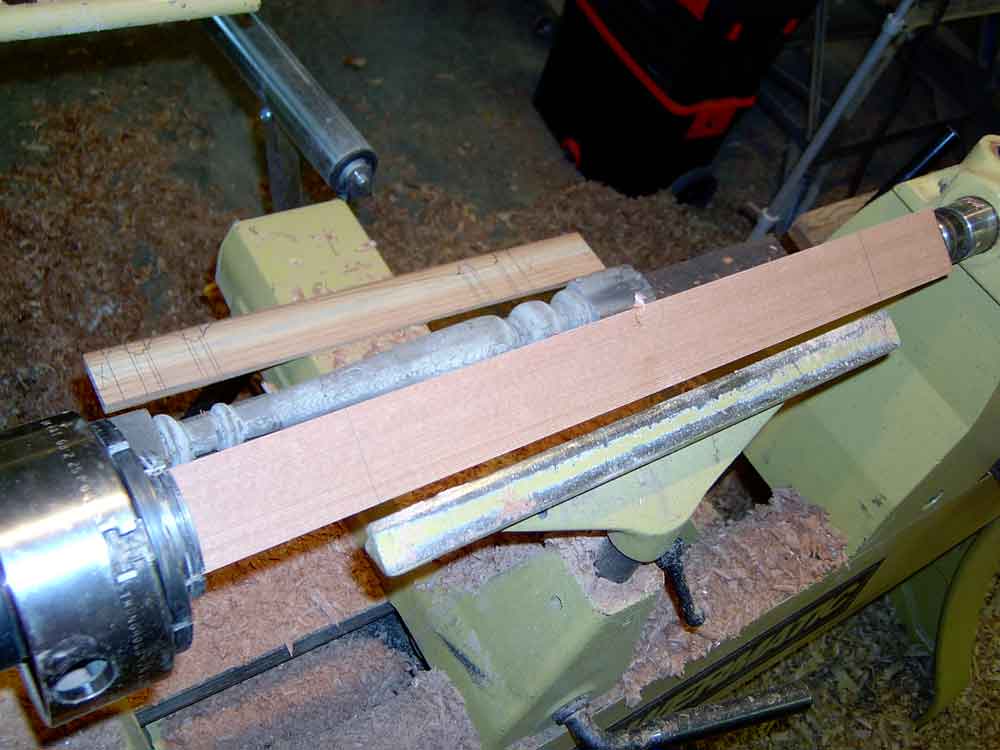
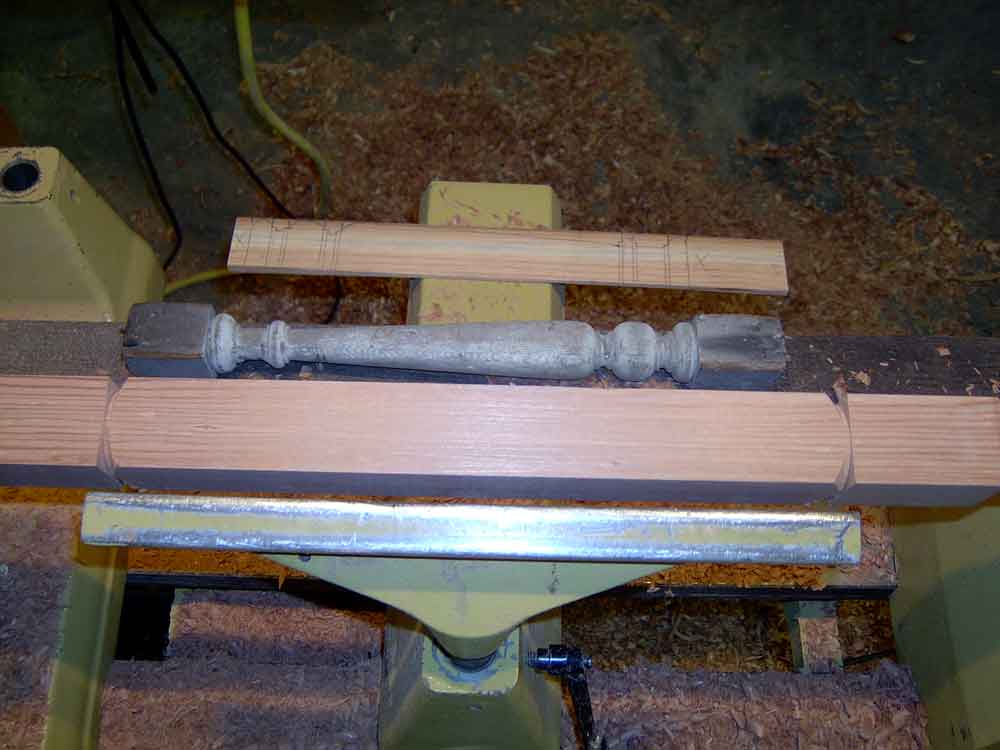
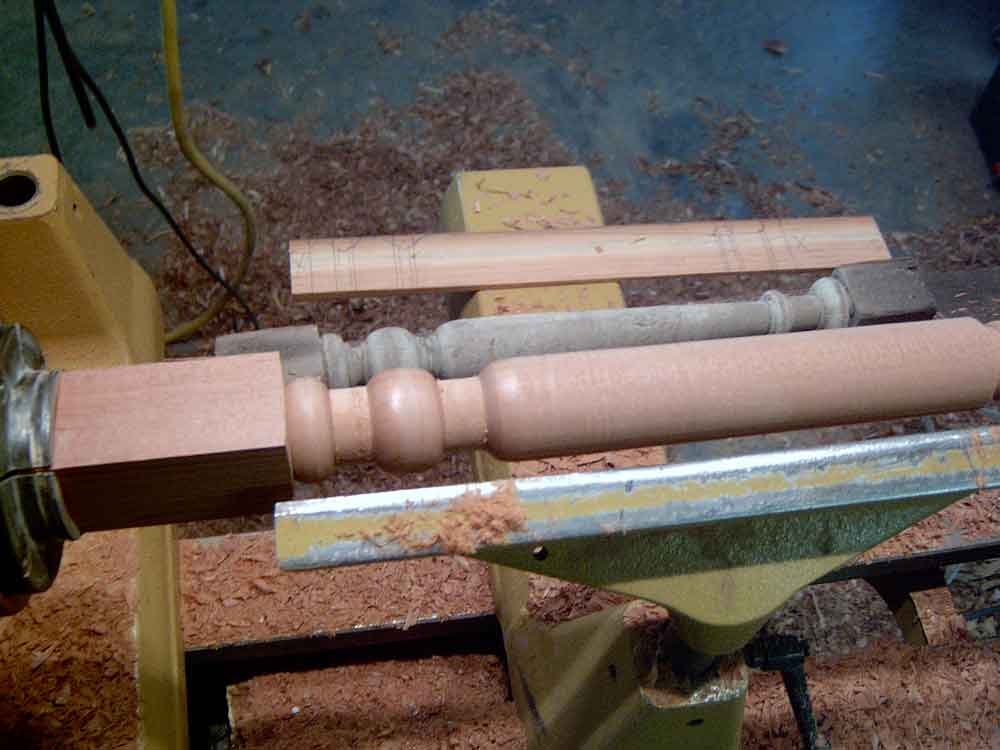
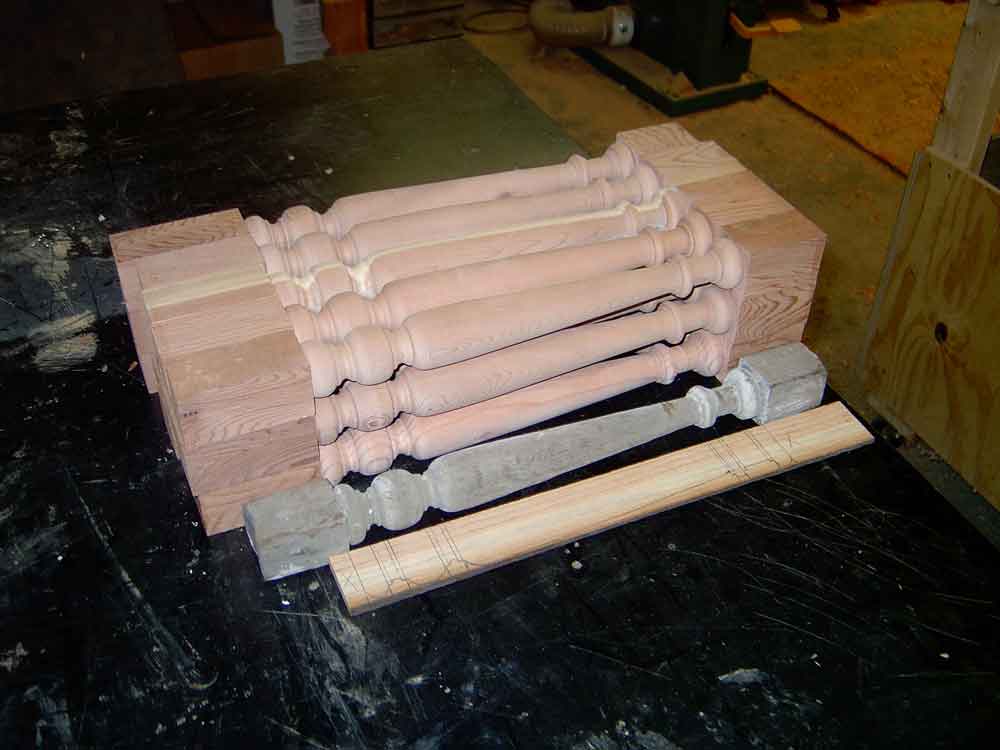
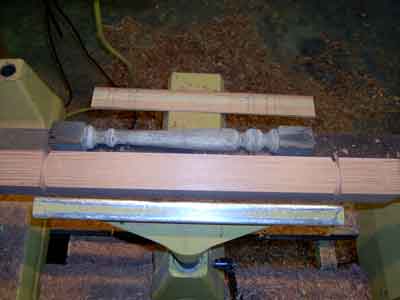
This is also a good time to create a dimensioned "story stick" of thin clean lumber to be used to mark the critical points of the turning details. Note in this photo the story stick, the original turning, and the first two turned copies are on top of the remaining marked blanks. The sharp edges of the beads, coves, and shoulders must line up exactly. Ironically, for many turnings, the diameter does not need to be exact. While calipers can help and the diameters should be in proportion, the actual diameters must only be approximate.
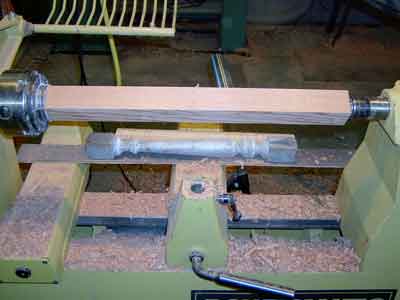
I find it helpful to position my sample and the story stick directly beyond the blank I am turning. I believe having the original (or first if working from a drawing) is a constant reminder to me of the finished profile, and it helps me keep my concentration. The imaging carries through from my eyes to my hands. Having the story stick there simply makes it easy to find and use with the proper end around. When you are well into your 48th blank, the lines for a bead can easily become confused with your hands deciding to plunge into a cove – an unfixable mistake. When that happens anyway, it is time to go do something else for a while, like cut grass, change light bulbs, or empty the trash.
|
|
|
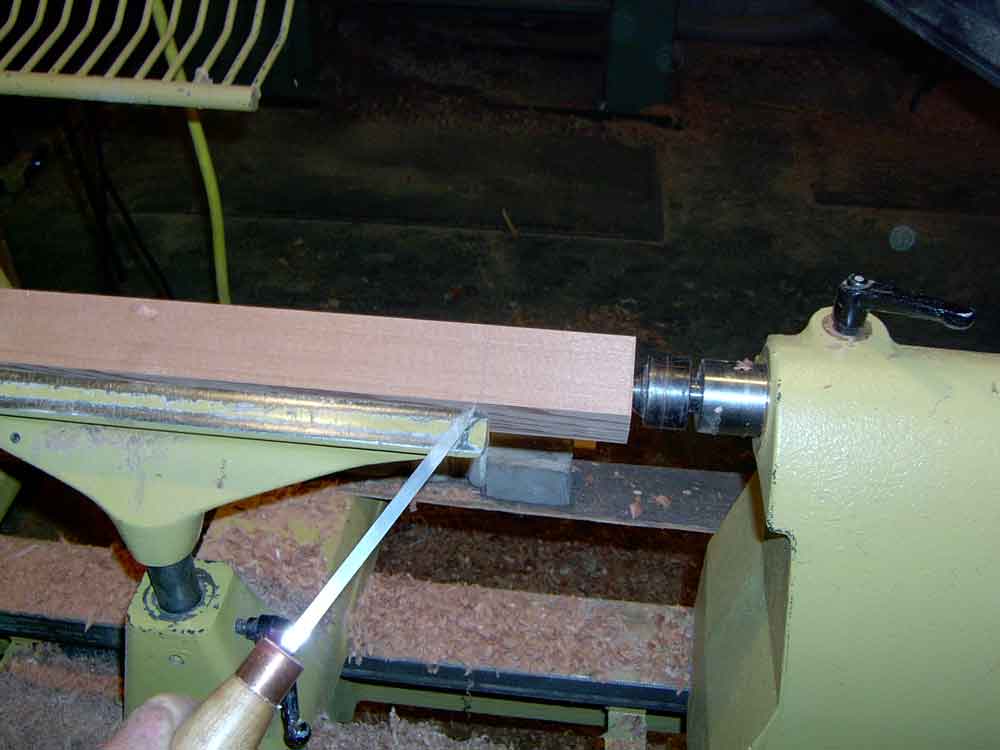
Cutting:
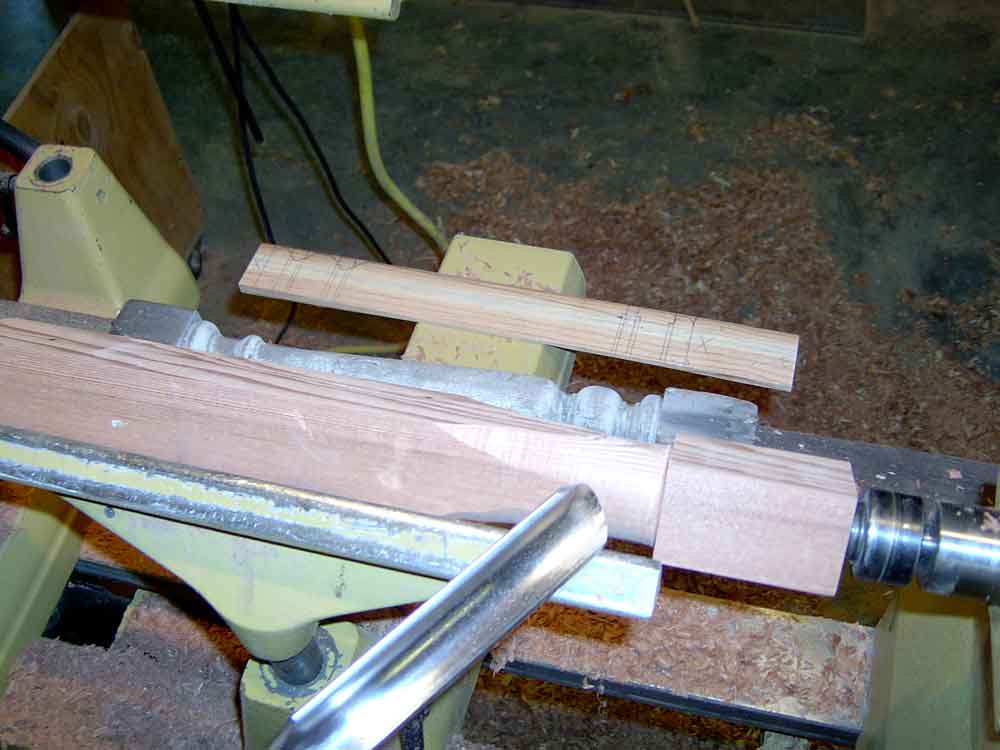
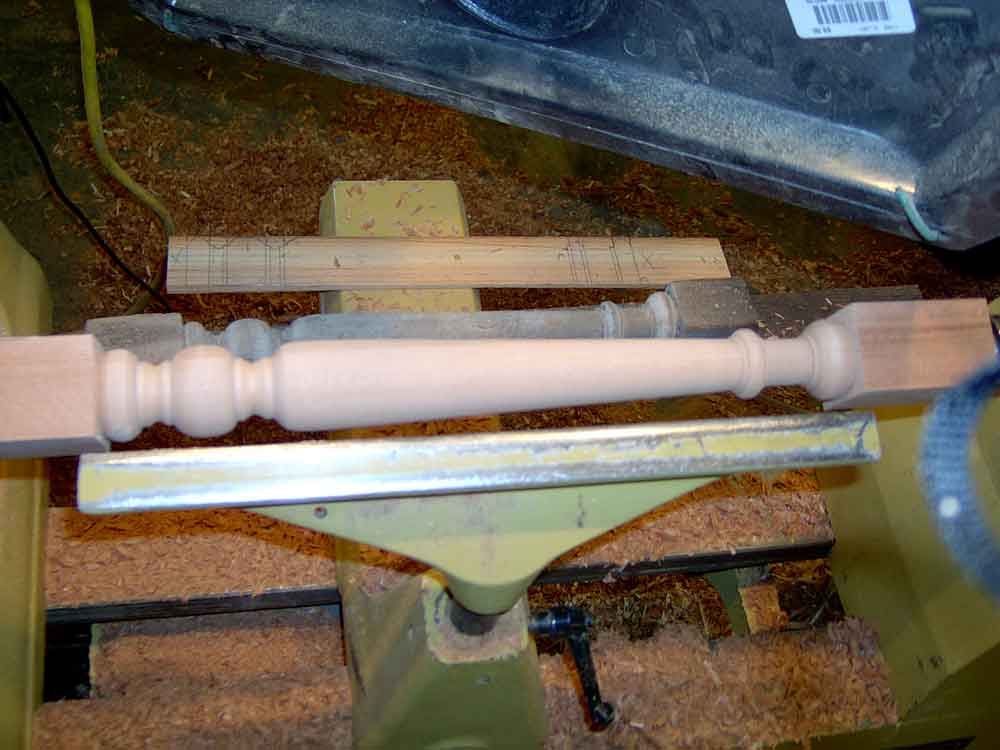
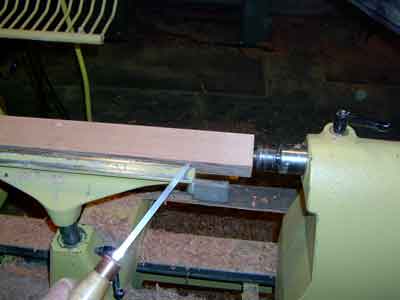
The first cut on this type of spindle is made with the large skew chisel, long point down. The cut should be made respecting the squareness of the transition between the square blank (pommel) and the turning. In this sample, the angle is a hard square perpendicular edge with no easing. The skew is started with the handle down, bevel face parallel to the stock to be left square, and the tool is levered (arched) in a short distance to create the clean edge cut. Still respecting the edge to be maintained, and using the long point in a down position, gently lever the tool to remove the waste (on the side to be turned round) to allow the "shoulder cut" to go deeply through the square portion until it reaches the full round. The second cut should be made to the other end presuming that both ends have a square pommel as in this sample. These two cuts should be made as final finished cuts and will preserve the square pommel edges from splitting out during the roughing-to-round stage. Notice the first cut is on the right (Rule #3). The cuts are obviously large-to-small (#2). And the skew bevel "rubs" the square edge of the pommel (#1).
|
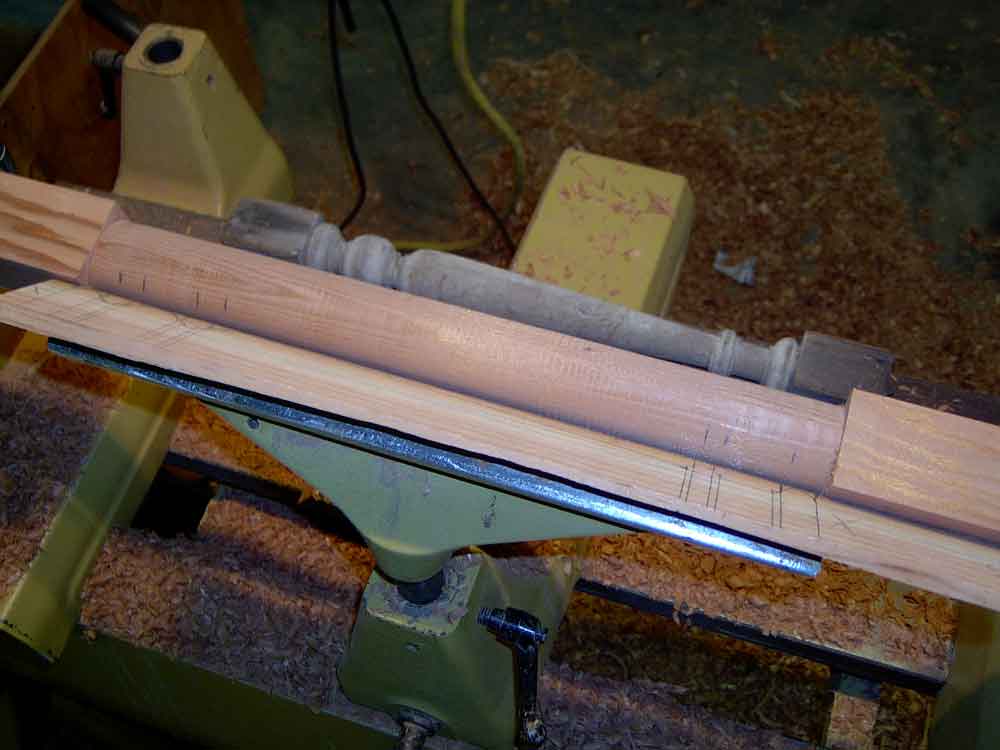
Proceed with a roughing gouge to round the blank between pommels. Work the edges carefully to avoid hitting the pommel edges and splitting them off. Use a sharp chisel with the bevel rubbing (#1).
Using the story stick, lay off the "high points" of the turning. These are the edges of the beads, coves, and shoulders.
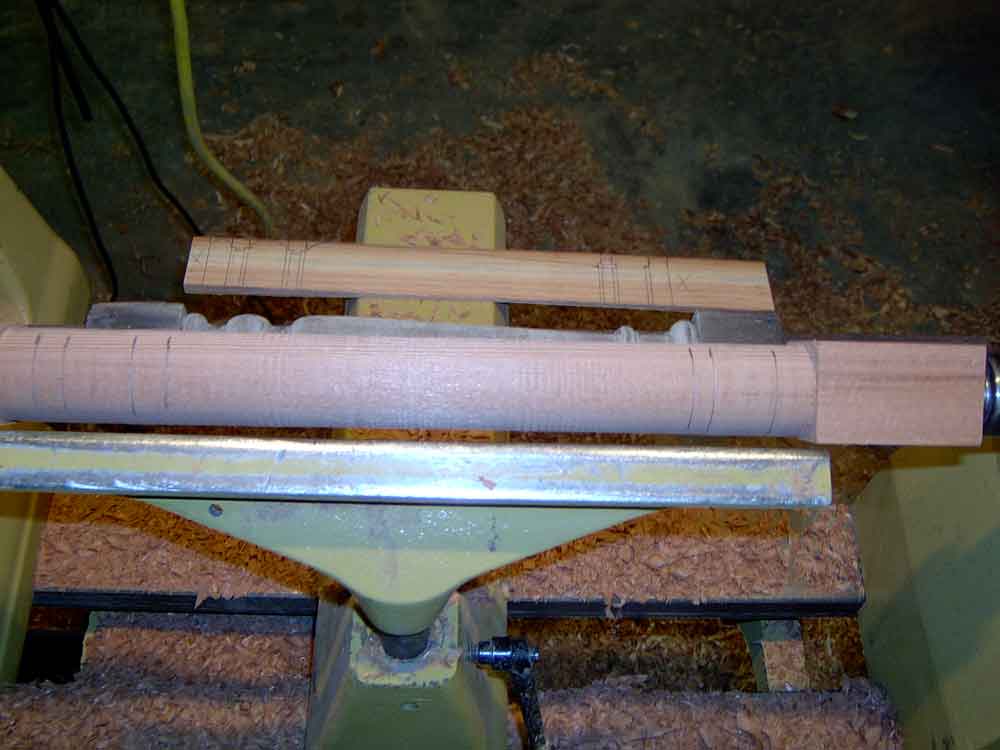
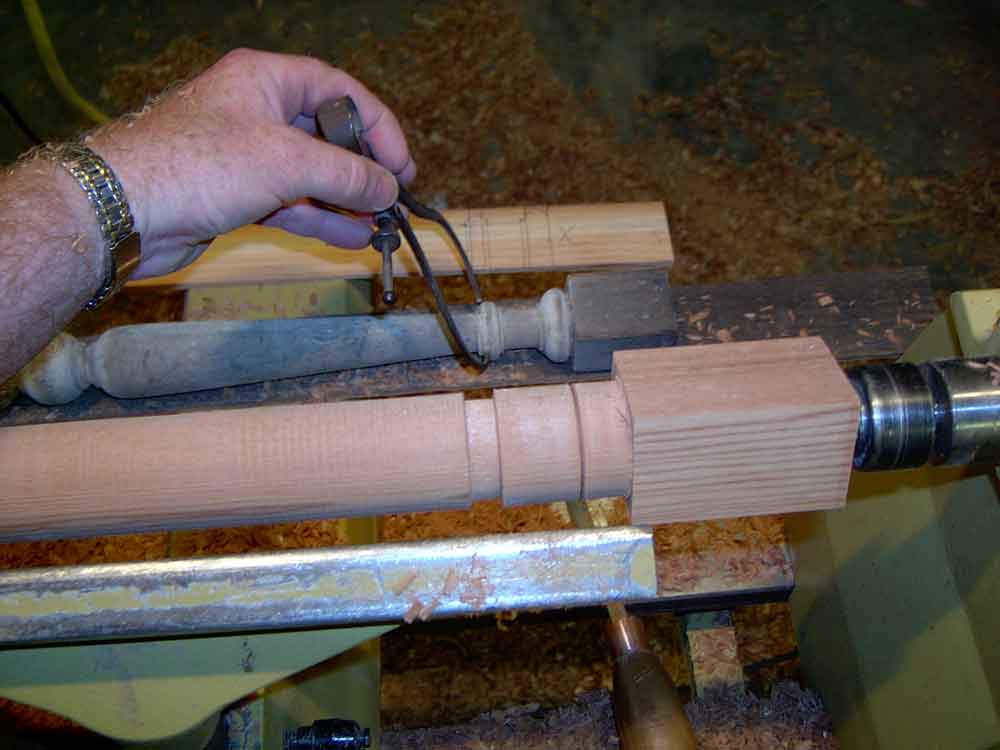
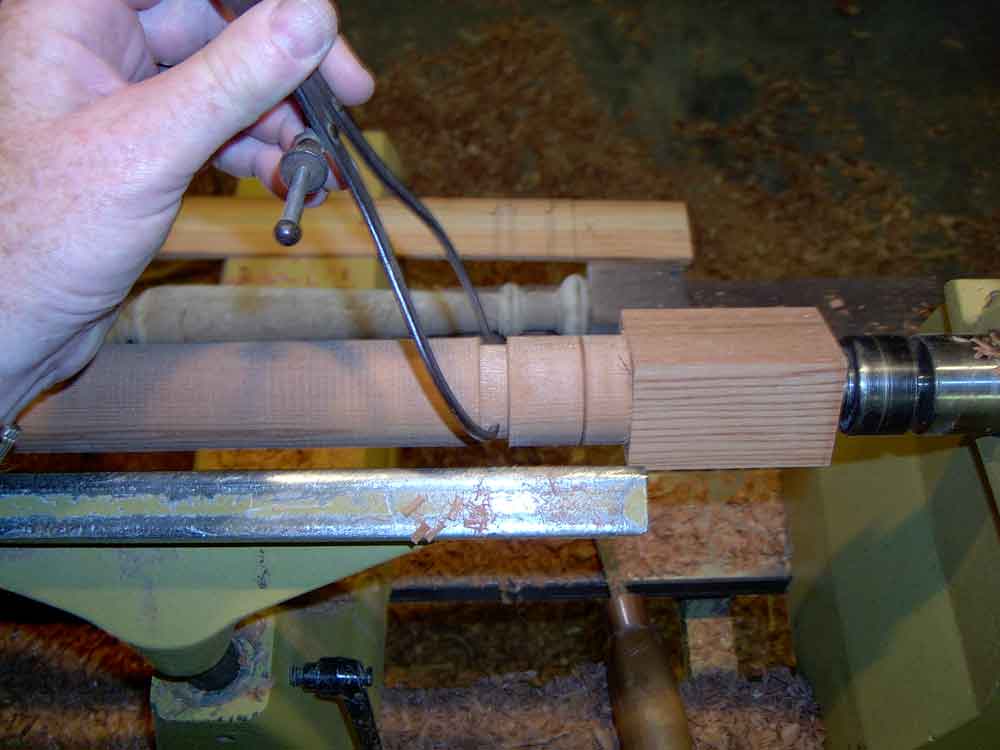
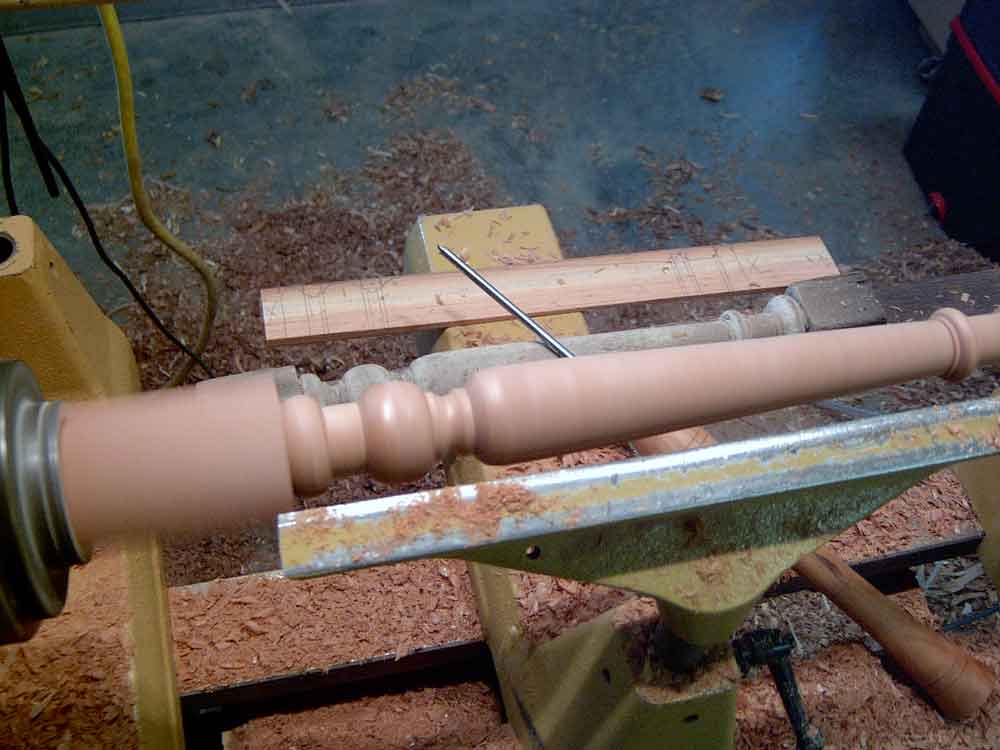
Working from the right (#3) with a parting tool and calipers (an open wrench makes an excellent measuring tool as well) establish the next largest dimension. In this case, the spindle's beads near the pommel, the eased bead on the left, and the largest portion of the taper are all full diameter. The right-hand smaller bead is the next largest diameter.
The next smaller diameter for this turning is the shoulders that define each side of the beads. All of these should be dimensioned with parting tool and calipers, first on the right side and finish the beads, then on the left side.
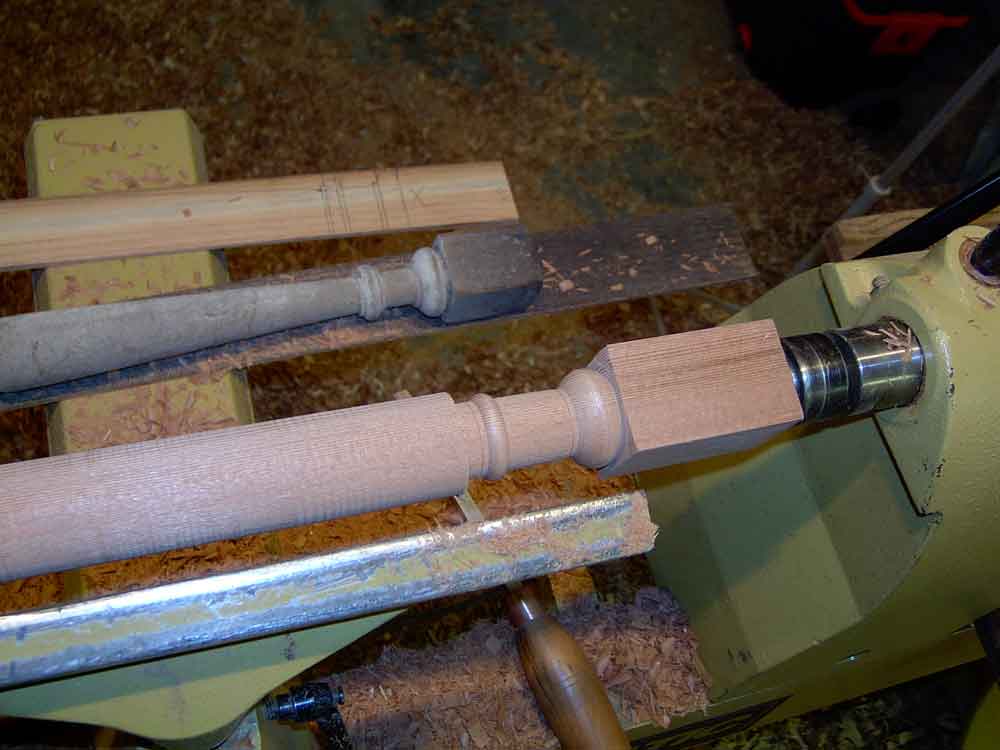
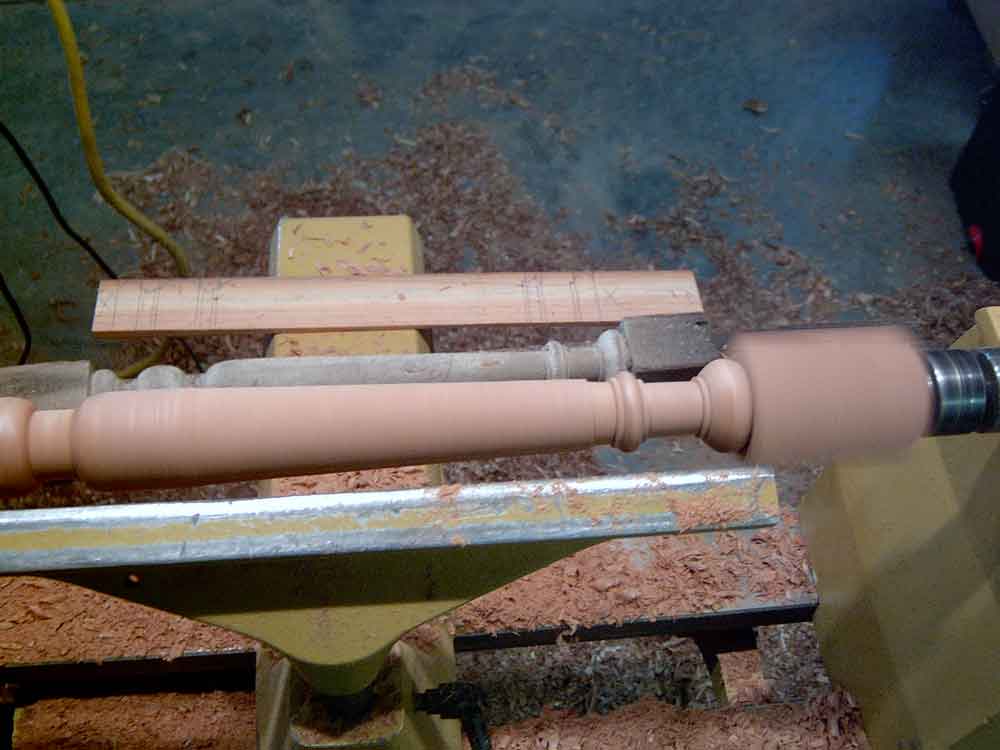
Finish the larger diameter beads on the left side and clean up the transition between bead and shoulder. Complete the final dimension of the end of the taper and the section beyond the shoulder of the right-hand small bead. Rough cut the taper with a gouge working from large-to-small (#2) and smooth to shiny with a well-sharpened medium sized skew chisel copying the profile of the original.
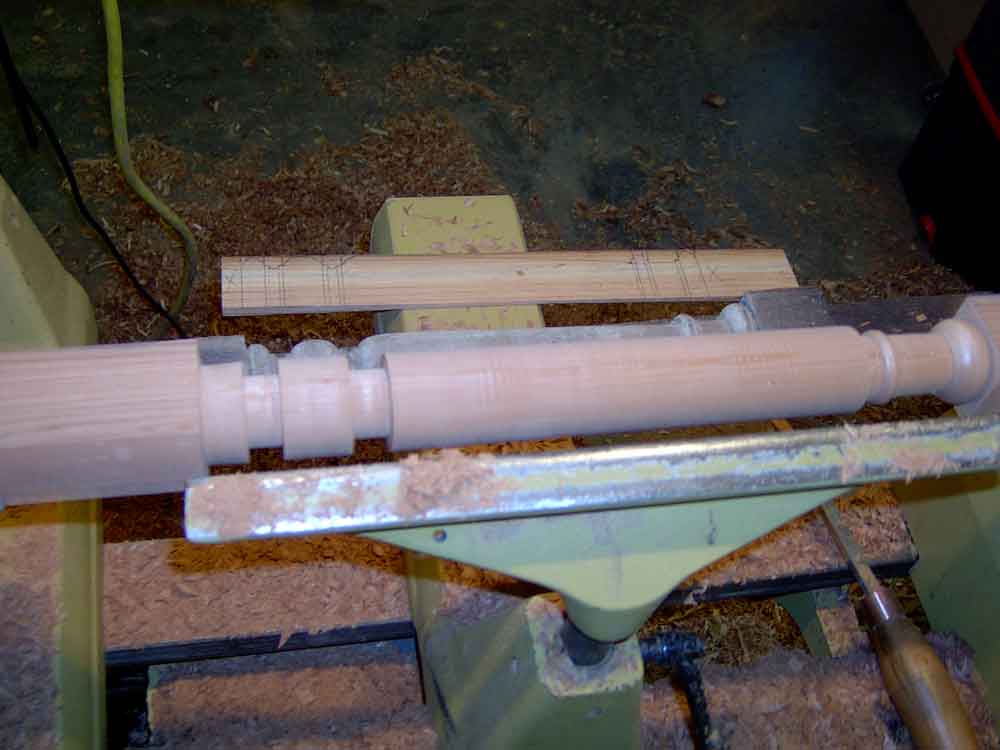
Using a sharp small gouge cut the shallow coves leaving clear shoulders around the two beads.
And repeat the process...
CLICK HERE
to see more projects that Temple's principles of turning multiple spindles can be applied to on the Highland Woodworking blog:
You can email Temple at
temple@highlandswoodturning.com
Take a look at Temple's Website at
http://www.highlandswoodturning.com/.