Turning with Temple: Demonstrating Turning with Belaying Pins
by Temple Blackwood
Castine, ME
Note: click on any picture to see a larger version.
Each summer during the months of July and August, I participate in a "Living History" project at the
Wilson Museum
in Castine, Maine where I live and have my
shop. After a long-time enjoyable and active membership in the
Chesapeake Woodturners
in Maryland, I moved full-time to Maine seven years ago knowing the value of doing woodturning demonstrations for the public both for a high-quality program and for myself. The discipline of planning and presenting regular demonstrations – every Sunday and Wednesday afternoon from 2:00pm until 5:00pm (often later) enriches my experience and skill as a woodturner while intriguing a diverse audience of fascinated beginners, late-blooming novices, and even a few committed and talented colleagues.

|
|
Photo by Patty Hutchins, Executive Director of the
Wilson Museum.
|
In my case, each summer I select a "featured" demonstration turning to provide counter-point to the special summer exhibit at the Museum. After several summers of turning spinning thumb-tops, "Harry Potter wands" (the endless demand is amazing), and small baseball bats, complete with "Castine Slugger" and the child's name; I turned many string-and-ring puzzles to support the Par Puzzle exhibit in the Summer of 2013.
The Summer of 2014 brought a special exhibit of the artifacts from the sinking of the sailing ship,
Defence, which was part of the "Penobscot Expedition" in the war of 1812. Having led the initiative to turn new belaying pins for the renovation of the
USS Constellation
in Baltimore Harbor a number of years ago, I knew that we could support the Wilson Museum exhibit, while teaching our energetic audience about old sailing ships through producing small belaying pins as our Summer featured give-away item. This project promised to be a fairly quick, complete, and unique demonstration item that would expand our past offerings (many of our audience return each year and already have several thumb-tops and wands) and allow us to include a burned-wood identifier for the Museum and dated summer, a feature I had not tried to include on past tops, wands, and puzzles.
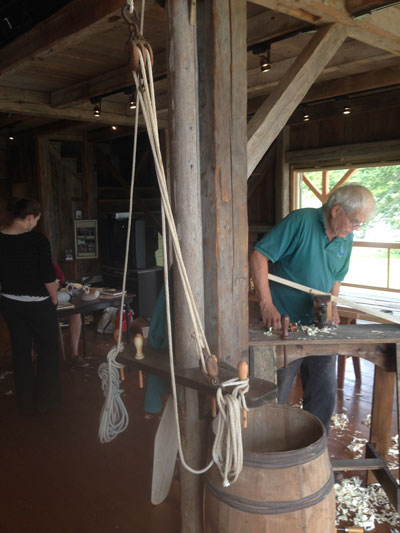
For those who might be unfamiliar with belaying pins, they are a common general fixture aboard most older sailing vessels that served a number of purposes – cleating sheets, halyards, and mooring lines, acting as a lever to enhance the windless and early winches, providing a handy mallet when needed, and becoming a general purpose weapon which might later become a "billy club" or nightstick for on-shore use. To visually illustrate the application, we set up a model ship's mast with a "pin rail" (below) where we could cleat lines and set up a simulated double-twist pulley system for audience members to hoist a heavy bucket of wood, a particular favorite of the youngsters.
|
|
The Wilson Museum simulated mast with pin rail, lines,
double-twist pulley system, and an expert worker
hand-fashioning a wooden paddle as part of the
"Living History" summer demonstrations.
|
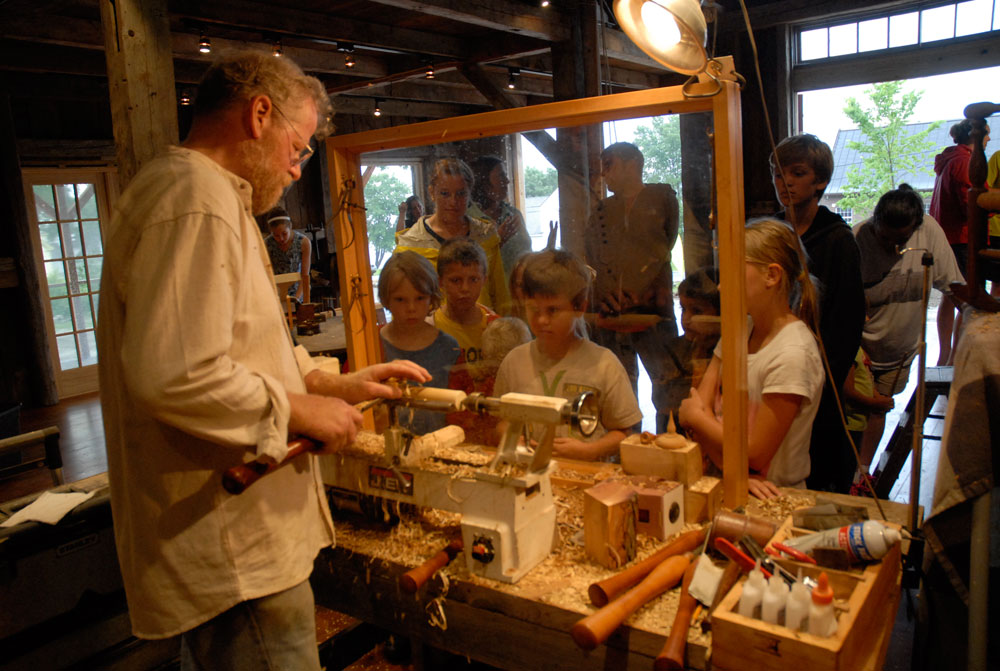
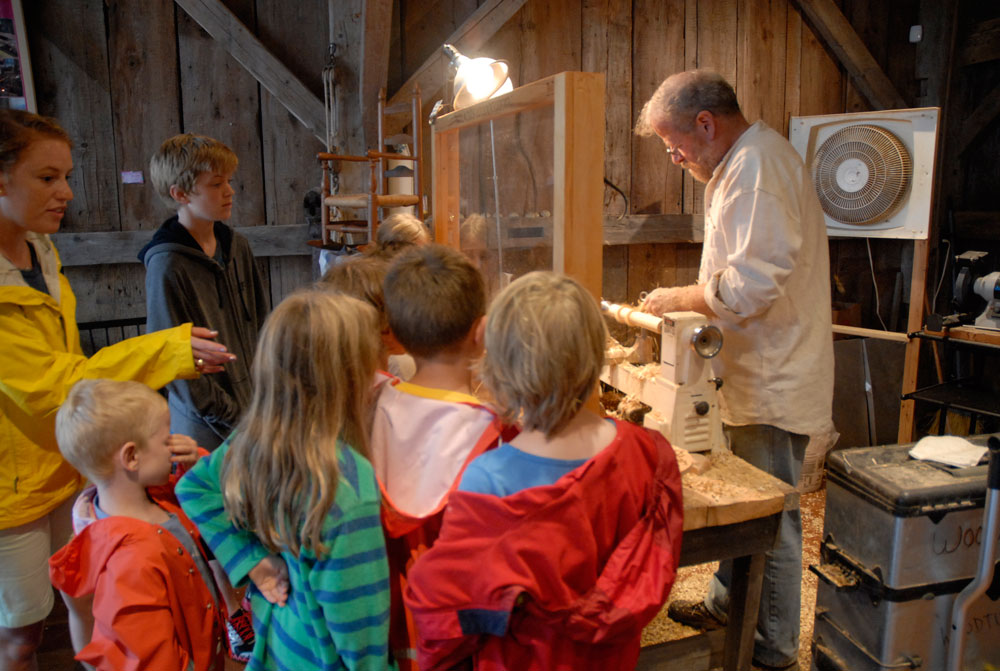
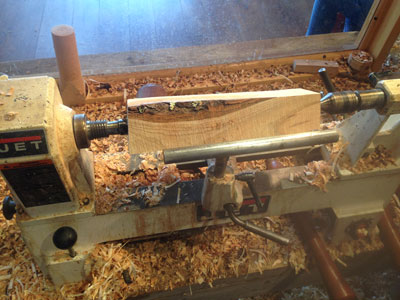
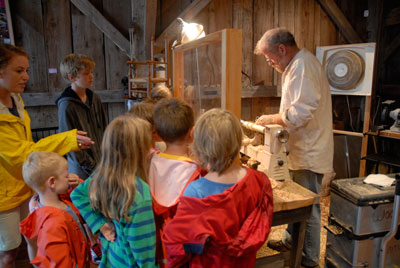
Demonstrations begin with planning, and planning begins with safety concerns. The demonstrating woodturner must ensure the safety of the audience (see first photo for a typical large-screen plexiglass shield fixture). Timing is another major concern since the audience must be either captured to remain or sacrificed to move on to another interest. To expedite the process of capturing the onlookers, a number of prepared turning blanks must be readily at hand. In this case, we found that 11" long black locust and black cherry 2" x 2" blanks worked well and were readily available. (Note: during the two months of demonstrations, we turned, burned, and gave away over 190 belaying pins ready for fall Show 'n Tell at schools all over the nation. The actual turning time per pin averaged 6 minutes which kept most audiences quietly fascinated from start to finish.) One other important factor is for the demonstrator to also have adequate eye-protection, in this case, safety glasses. Full-face shields plus the plexiglass screen make it impossible for anyone in the audience to hear the demonstrators description of the process.
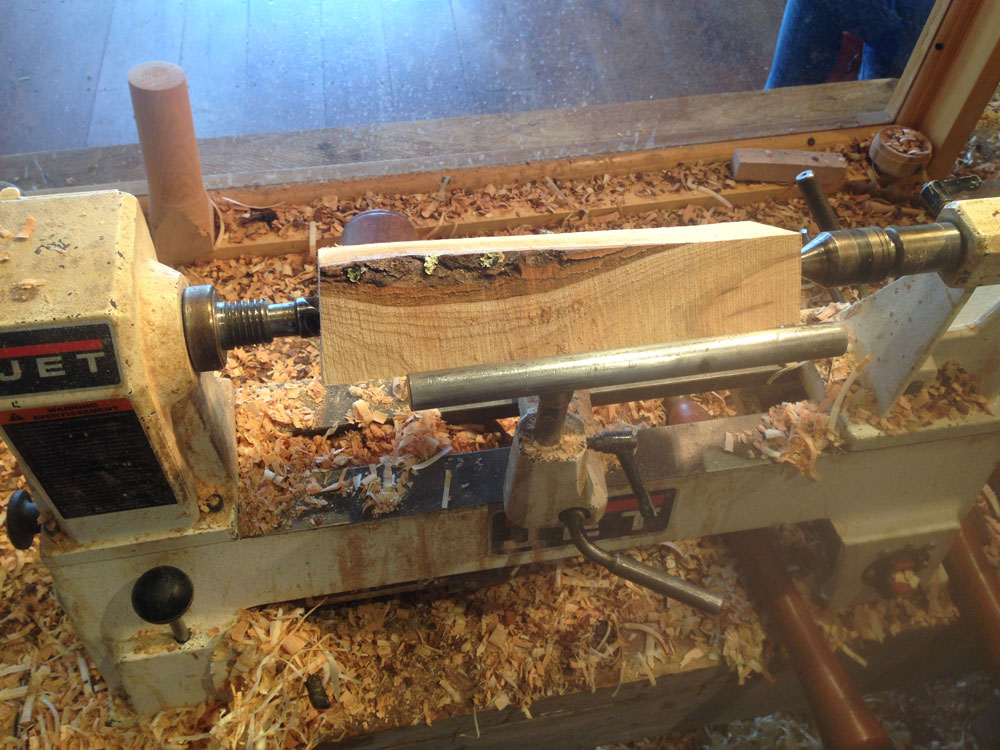
After offering a short history of the lathe as a tool and explaining that the turning blocks came from local wood freshly felled nearby and sized for the project, the demonstrator mounted the spindle block on the lathe clearly showing the grain between centers. Using blocks with some bark showing enhanced the tree-to-lathe effect.
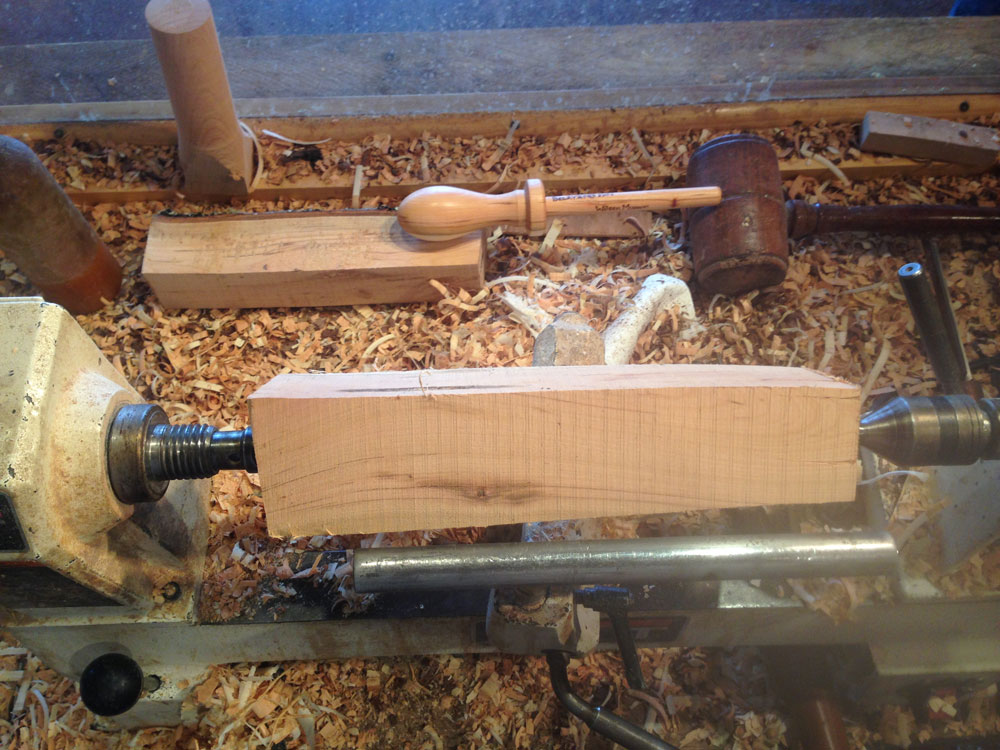
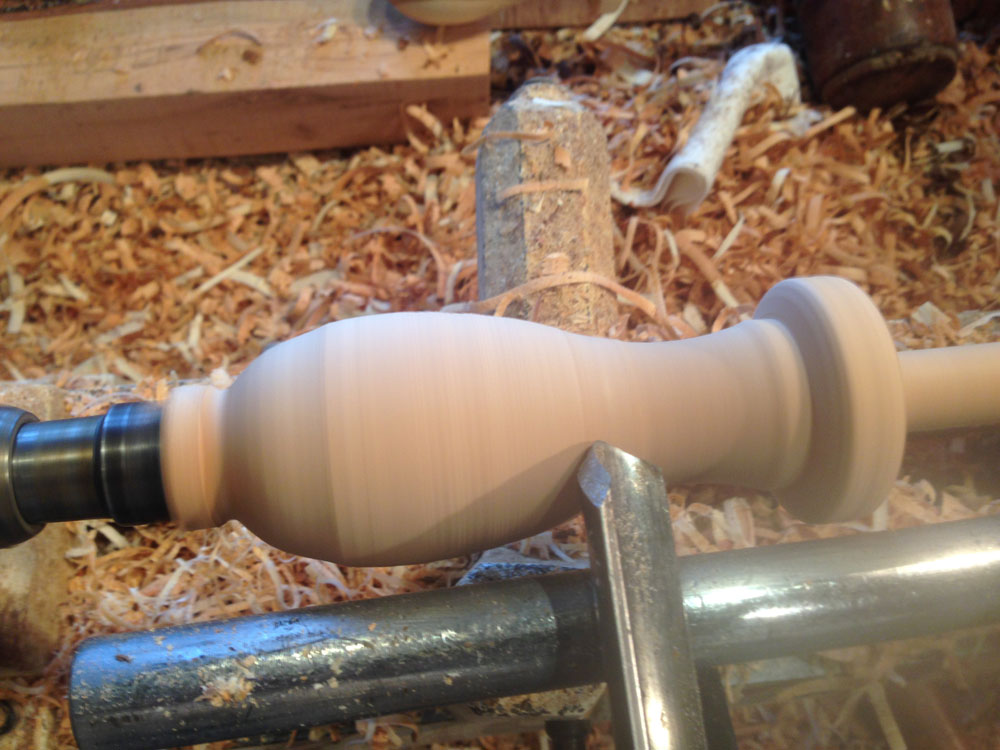
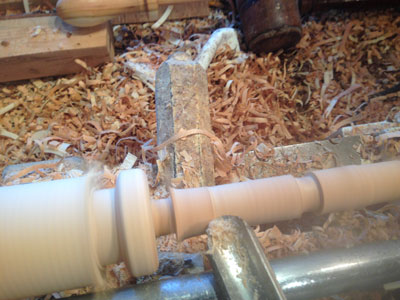
One of the important lessons for turning is the "order of cuts," especially when turning long, thin spindles. Along with Rule #1: "Keep the bevel rubbing;" we apply Rule #2: "Cut large diameter to small;" and Rule #3: "Work at diameters from tailstock (right) to headstock (left)." The following photos demonstrate the progression, complete with an example of the finished product, which helps me focus on the details and end goal.
|
|
From rough...
|

|
|
...to-round
|

|
|
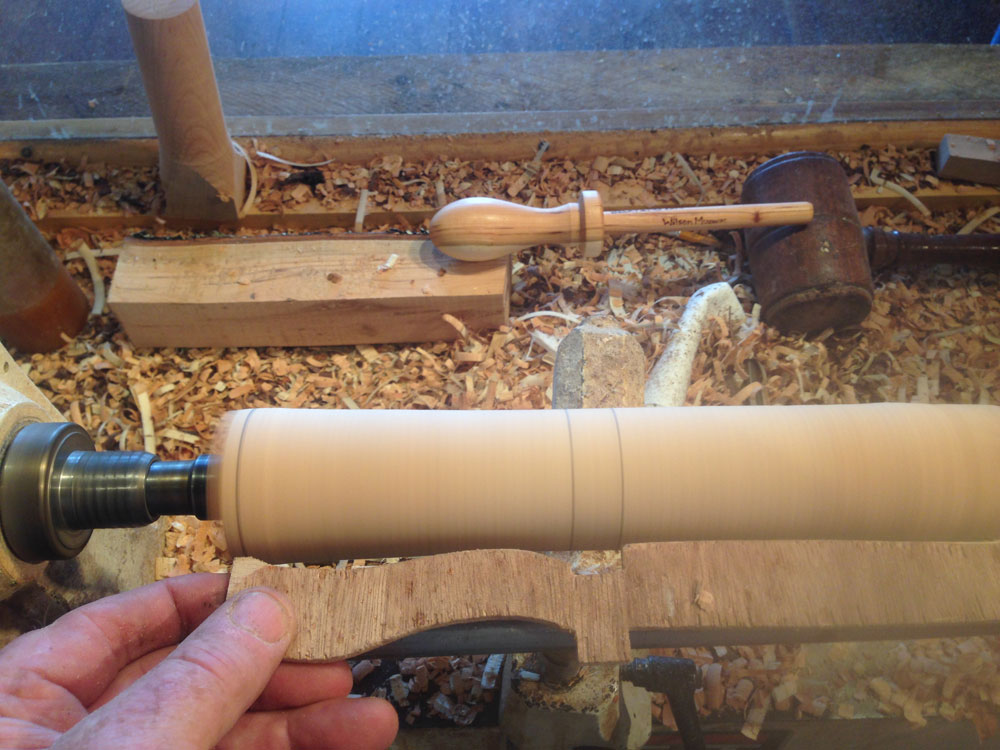
The right-most (tailstock) largest diameter is the collar
detail in the middle of a belaying pin:
|
|
|
Size the collar from the model to the blank.
|
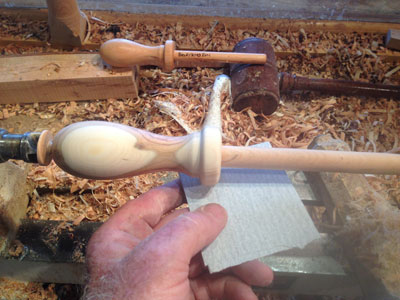
Smooth with a well-tuned planning skew cut before stopping the lathe to apply the "Story-stick."
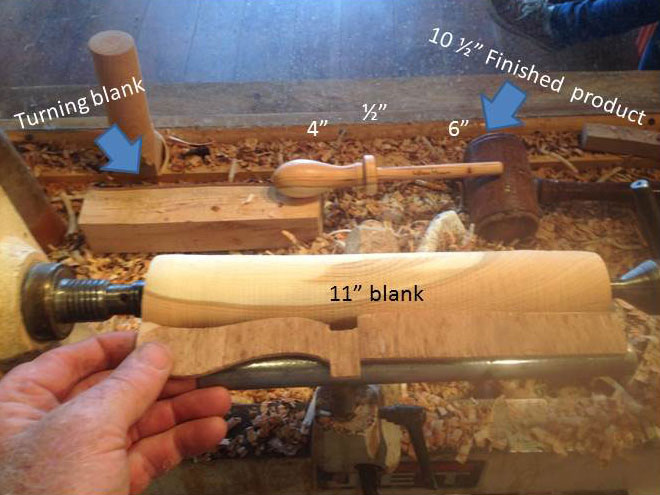
The pleasing dimensions for this run of belaying pins included a 4" handle, 1⁄2" collar, 6" pin (5/8" diameter), as seen below:
Once that has been marked and roughed out, the pin must be dimensioned.
|
|
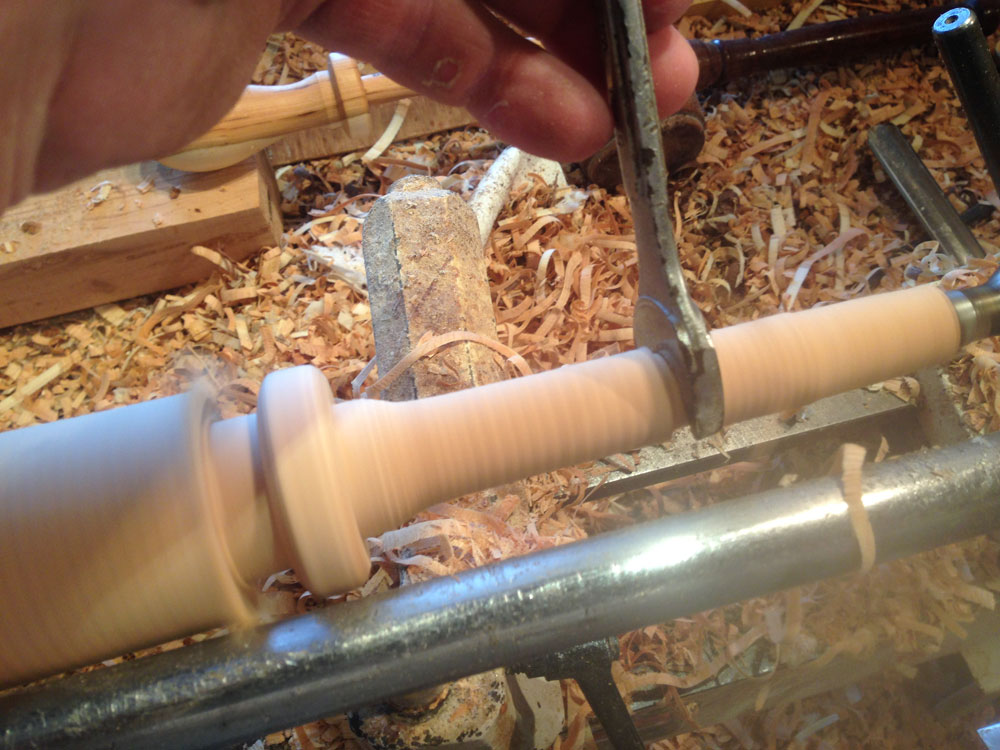
Begin by defining the "collar" with a 3/8" beading
and parting tool.
|
|
|
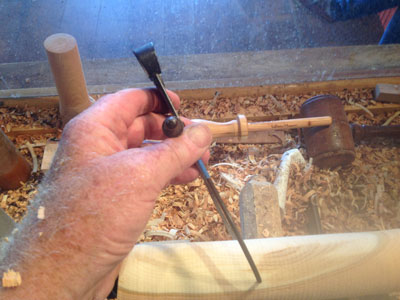
Using a 5/8" fixed caliper (other people think this is a
wrench), the sliding pin can be dimensioned to
fit the pin rail hole.
|
|
|
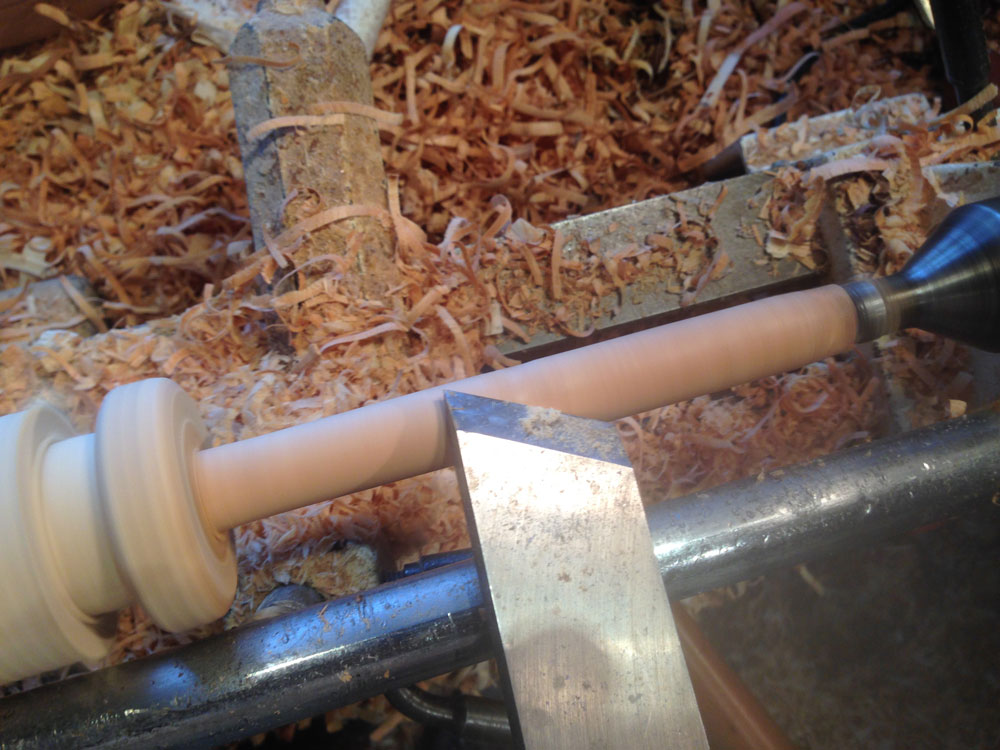
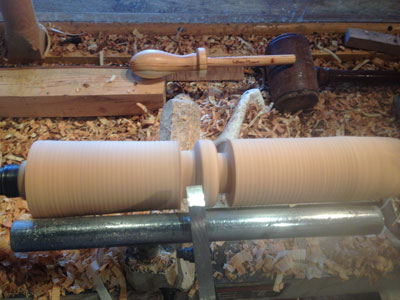
Still working on the right (tailstock), the pin needs to be
finished using a medium spindle gouge and smoothed
with a skew.
|

|
|
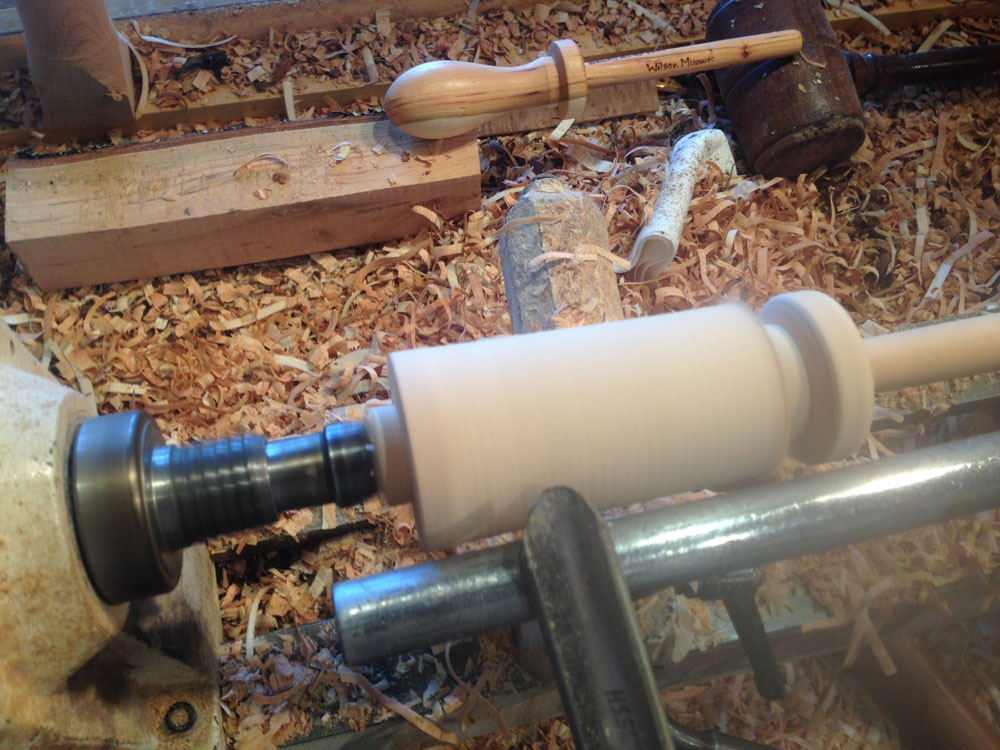
Once complete below the collar (tailstock), mark the waste
block at top and shape the handle with a medium
spindle gouge.
|
Overall length, length of pin, size of collar, and length of handle are critical dimensions if matching these to other belaying pins in the rail. The actual diameters of the handle are not critical but need to be close; the pin diameter is critical to be straight and true for mounting in the pin rail hole.
|
|
Sand with 220 and 320 before applying the friction finish
(we use 1/3 boiled linseed oil, 1/3 shellac,
1/3 turpentine mix in an air-tight container)
applied at speed and heated to dry.
|
|
|
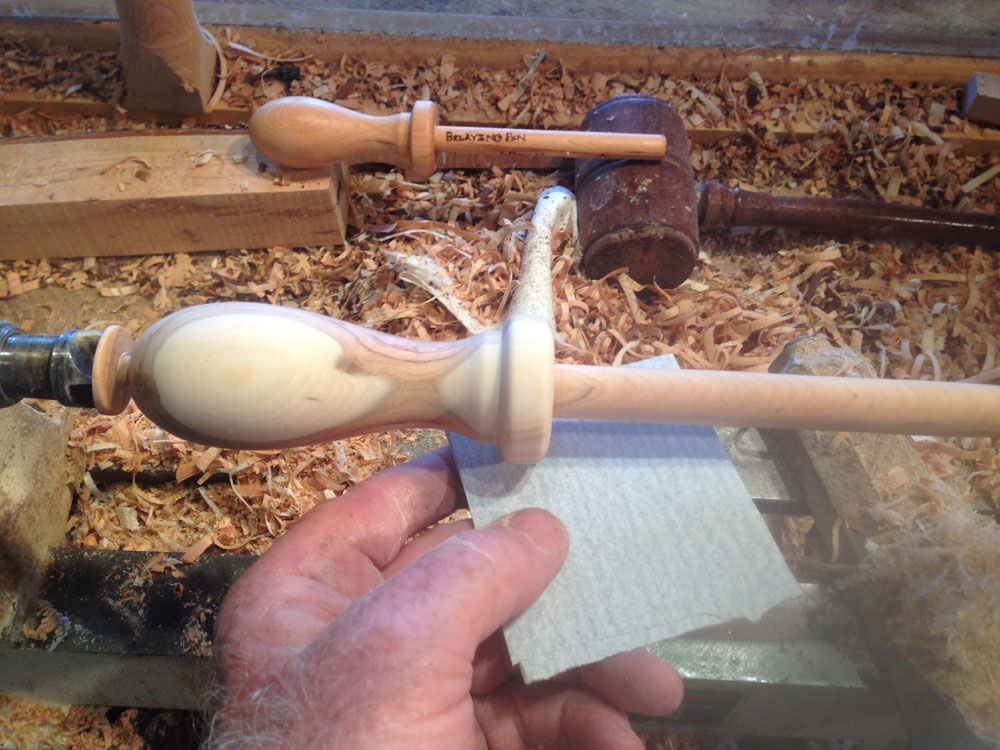
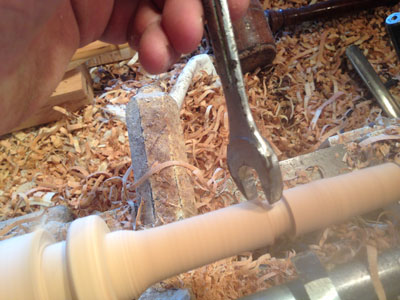
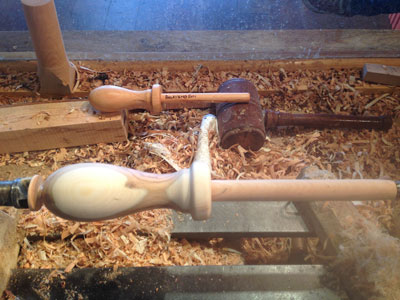
Part off from the waste block; hand sand the top, and finish
by hand-rubbing until dry and shiny. Burn and brand name
"Belaying Pin" with the date and whatever else is appropriate
with a burning pen tool.
|
|
|
Award the finished belaying pin to the most devoted
young audience member, sometimes to his/her surprise.
|
CLICK HERE
to read Temple's blog entry containing his General Information and Check List for preparing for a turning demonstration.
You can email Temple at
temple@highlandswoodturning.com
Take a look at Temple's Website at
http://www.highlandswoodturning.com/.