The String 'n Ring Puzzle
by Temple Blackwood
Castine, ME
Note: Click on any picture to see a larger version.
Several years ago I was casting about for a "hands-on" activity to promote
primary research skills for the engineers in my
Technical Communications classes at the Maine Maritime Academy. This would lead to an assignment on writing
brief, accurate, clear instructions. One extremely successful activity resulted from my
introducing them to a wood-turned puzzle, which was first introduced to me in the mid-1990's from
my highly skilled woodturning friend, Al Hockenbery (recently honored by the AAW).
The puzzle is amazingly simple to solve once you know the secret procedure, but it does
contain a complexity of parts that will confound and frustrate someone new to it for a
satisfying period of time (sometimes even longer).
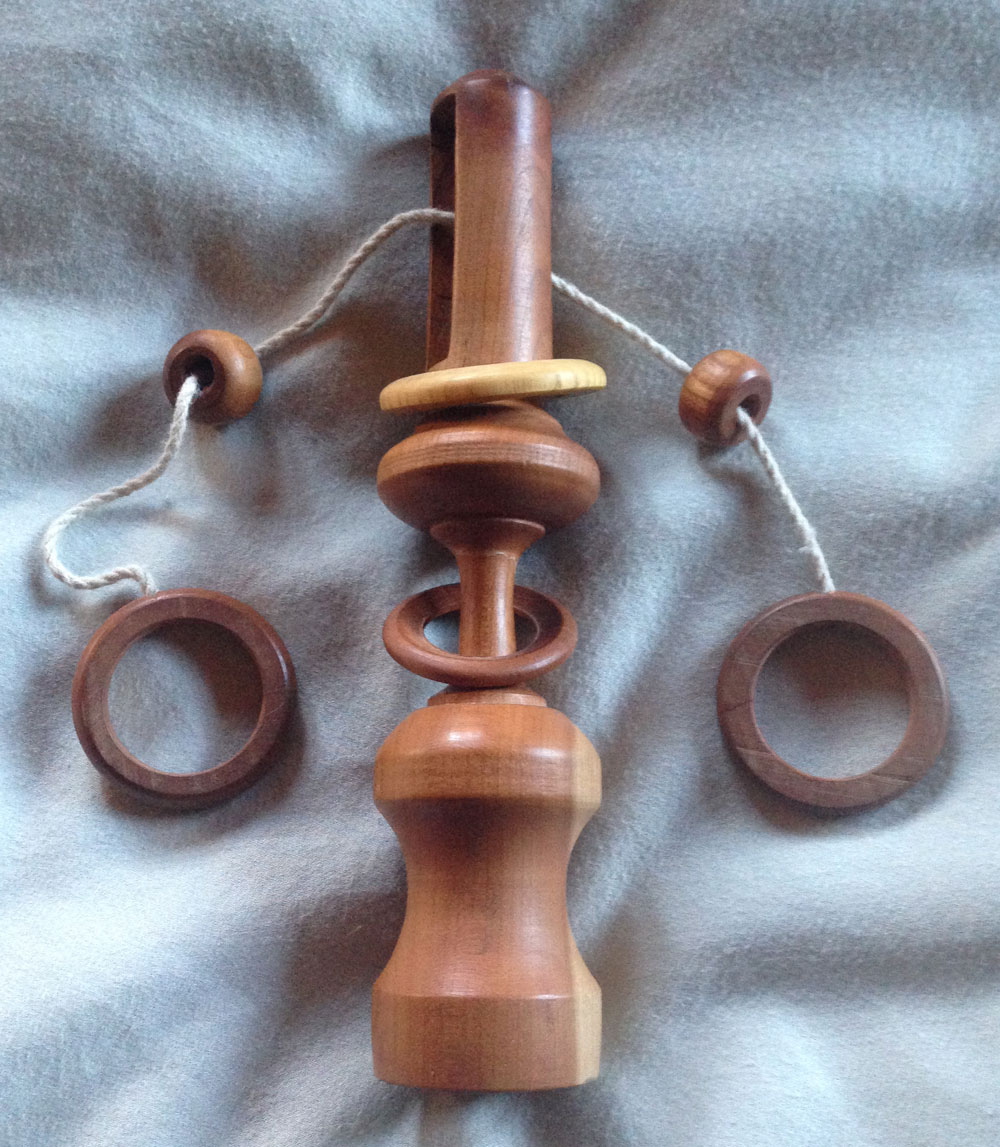
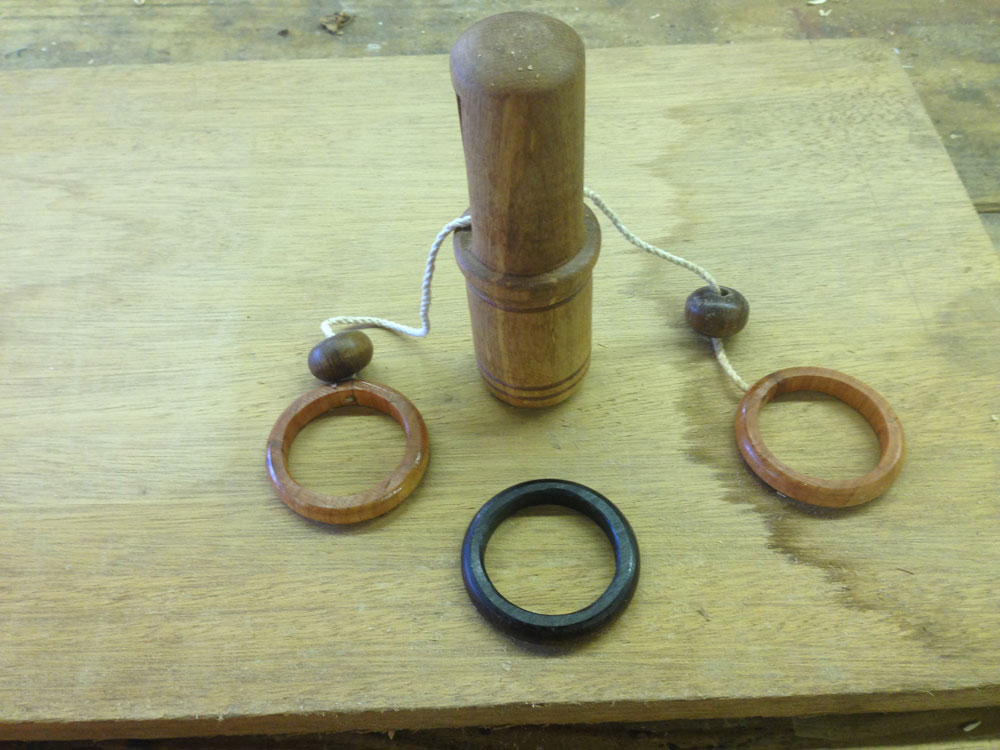
The puzzle consists of a center post with a slot, a trapped ring that must be freed, and two similar
rings fastened with a length of string that runs through two beads. The object of the puzzle is to first
free the trapped ring (the dark ring) and then replace it to its trapped position (this
ensures it will not be lost or stepped on between puzzlers who are working on it).
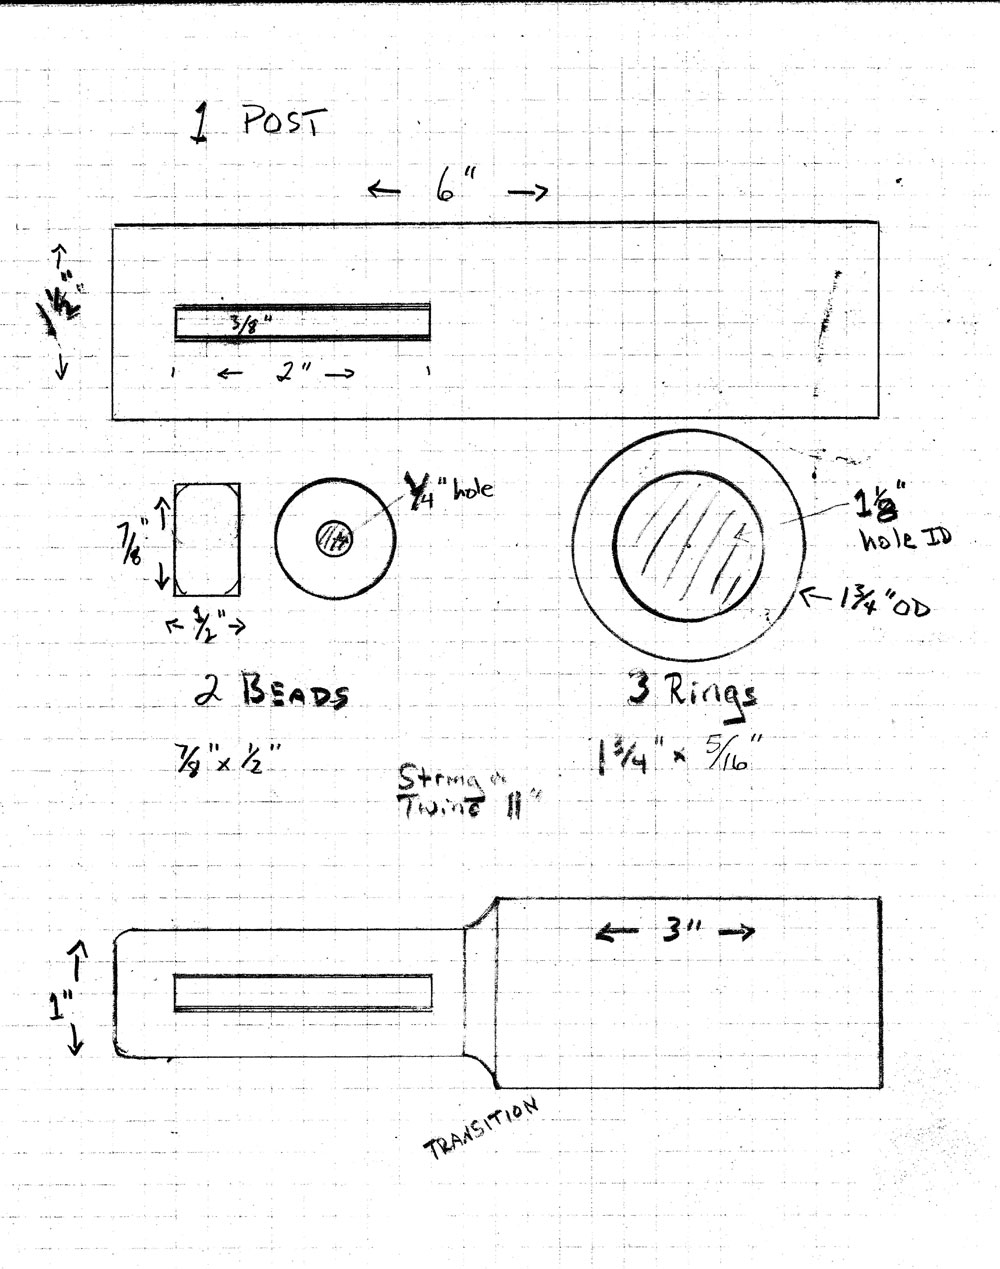
The measured sketch offers optimal sizes for the puzzle. While the post may
be any length and include a longer handle, a design element that frees the turner's
creative vision, there are a number of critical elements necessary to the puzzle:
-
All three rings plus a thickness of string must all be able to pass through the slot.
-
All three rings must also be able to slide over the upper (slotted) end of the post.
-
The two "string" rings must be firmly fashioned to the string.
-
Below the slot, the post must have a shoulder larger than the inner diameter of the
rings.
-
The beads must float on the string and must fit through the rings, but must not fit
through the slot.
Constructing the Puzzle
Having made quite a number of these puzzles over the years, I
know of two handy ways to make the slot in the post.
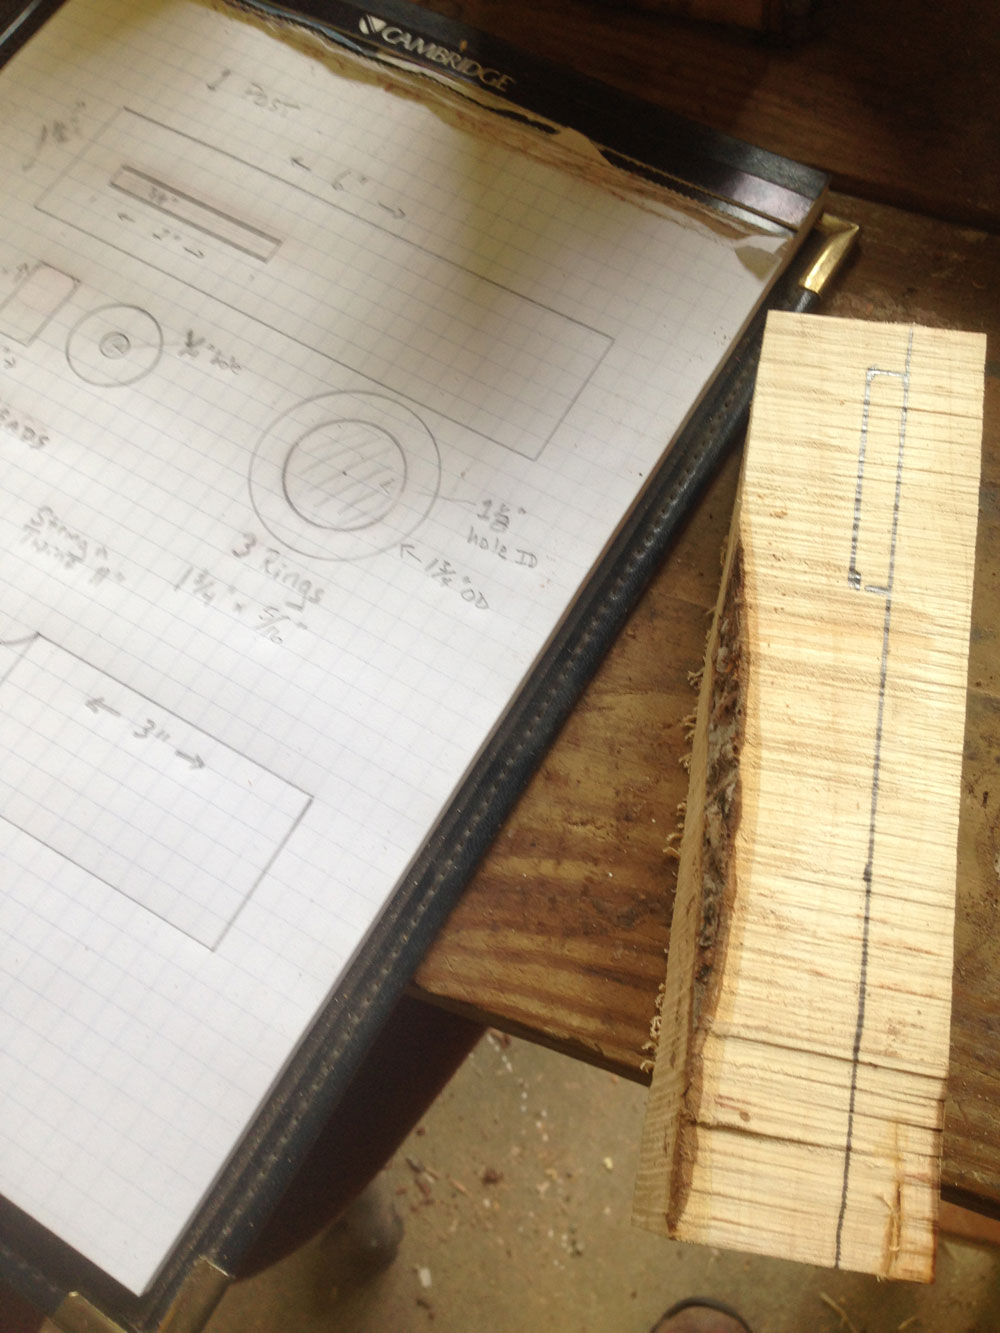
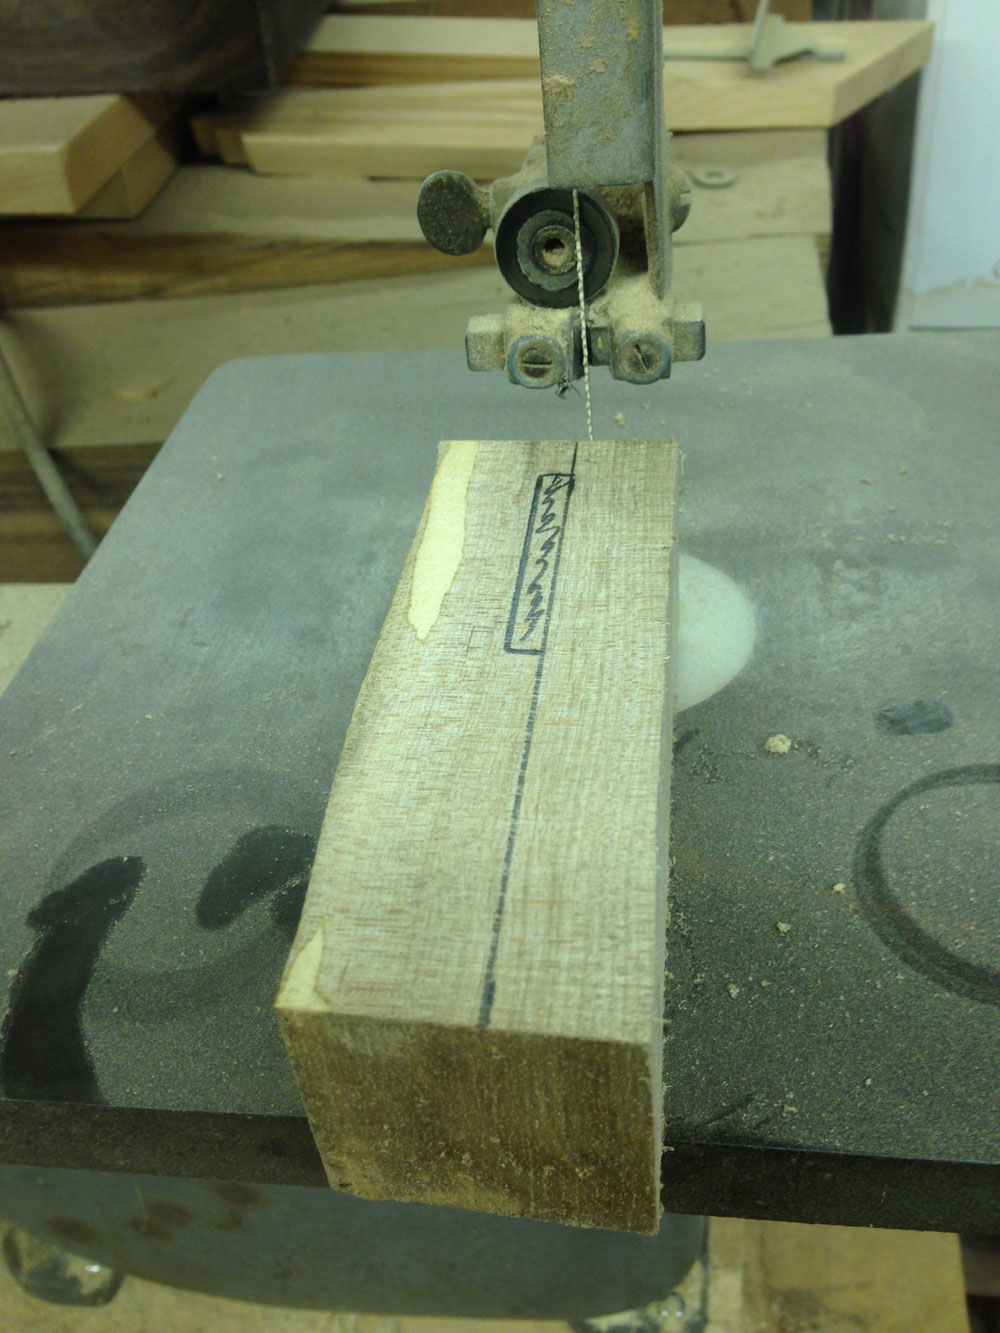
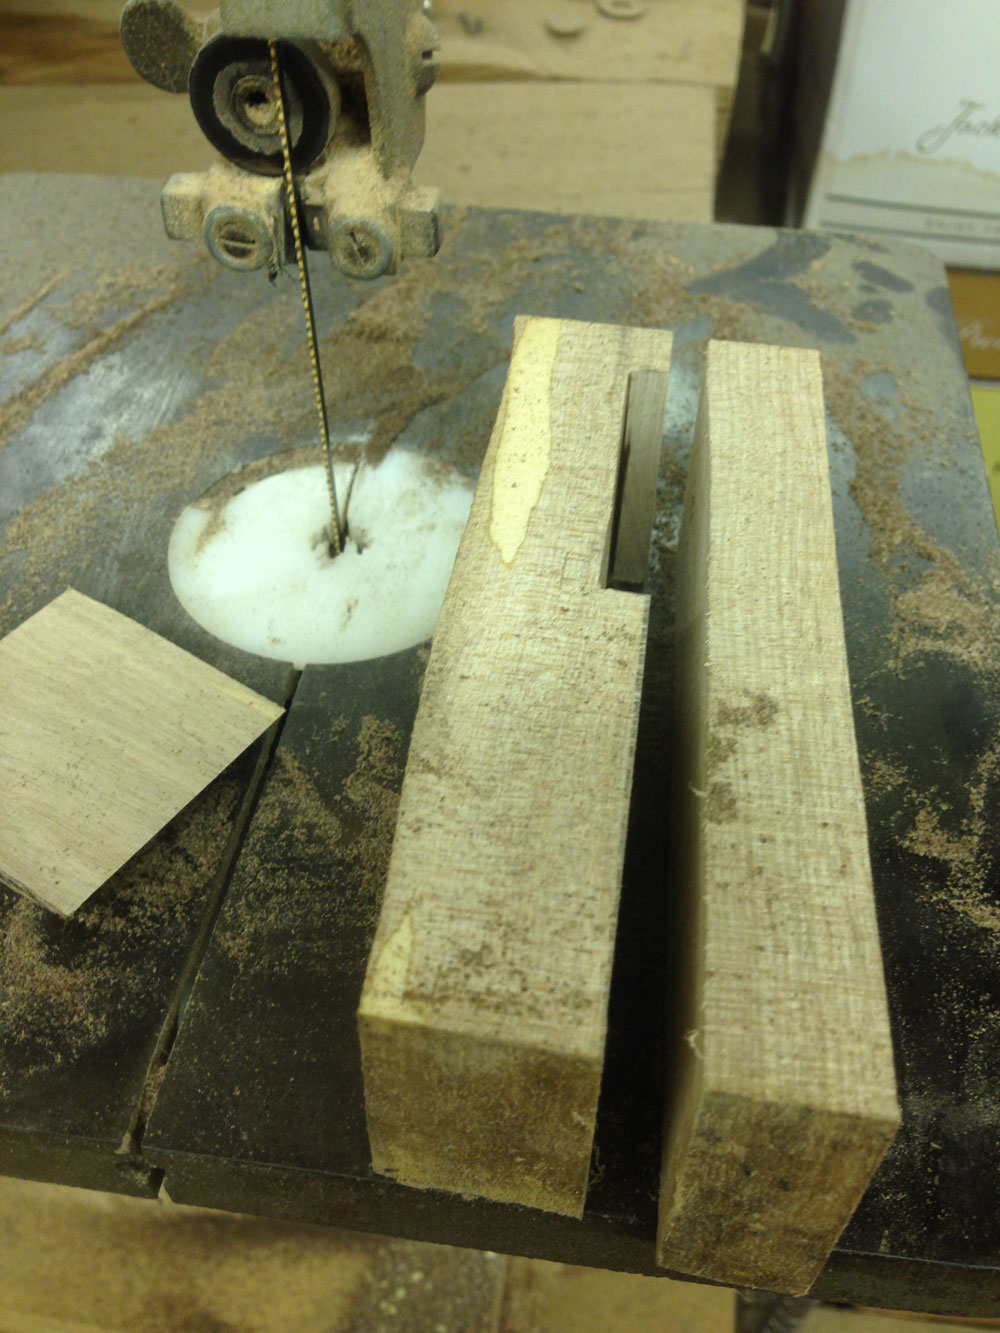
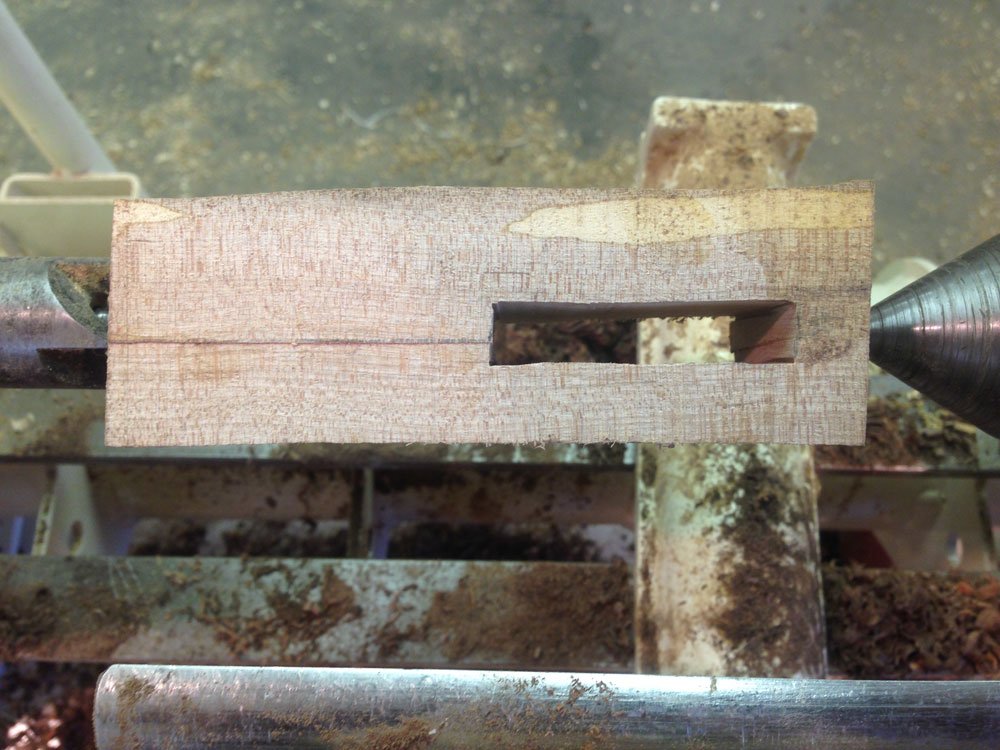
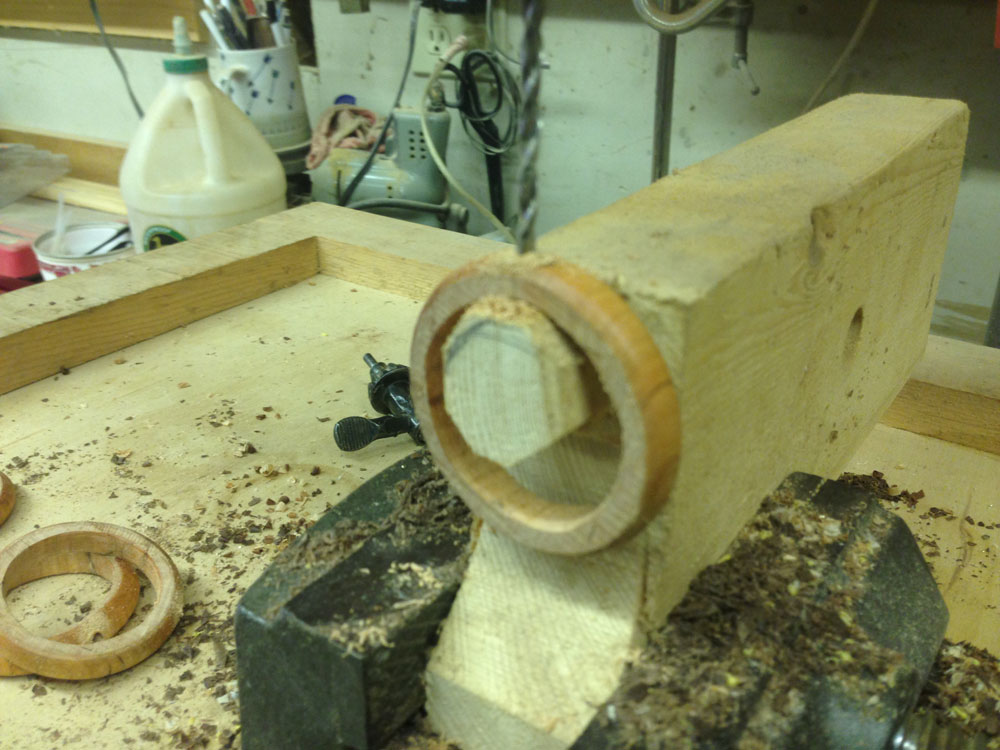
The
first method
is to bandsaw the post blank in such a way as
to then bandsaw out the ultimate slot either completely from one
side (shown) or partially from both sides. This is best and most
safely done while the unturned blank is still square. The
important thing is to keep the slot narrow enough that the beads
will not fit through it, but wide and long enough so each of the
rings plus a thickness of string will fit.
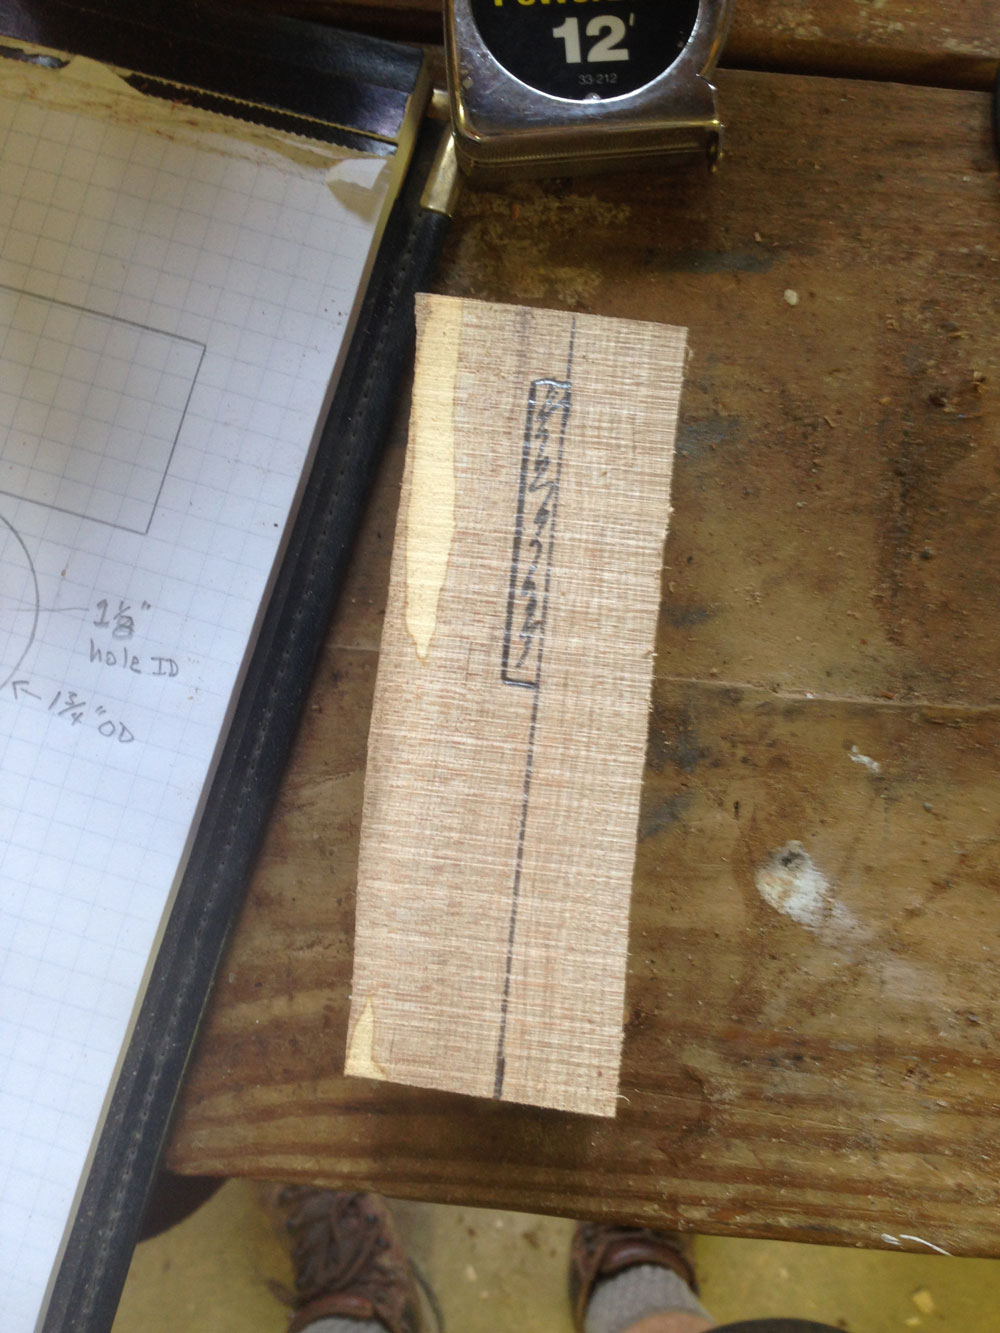
Measure and cut carefully.
Make the saw cuts with a thin blade.
Saw out the slot and finish by gluing the blank back
together. Let the glue dry fully before turning.
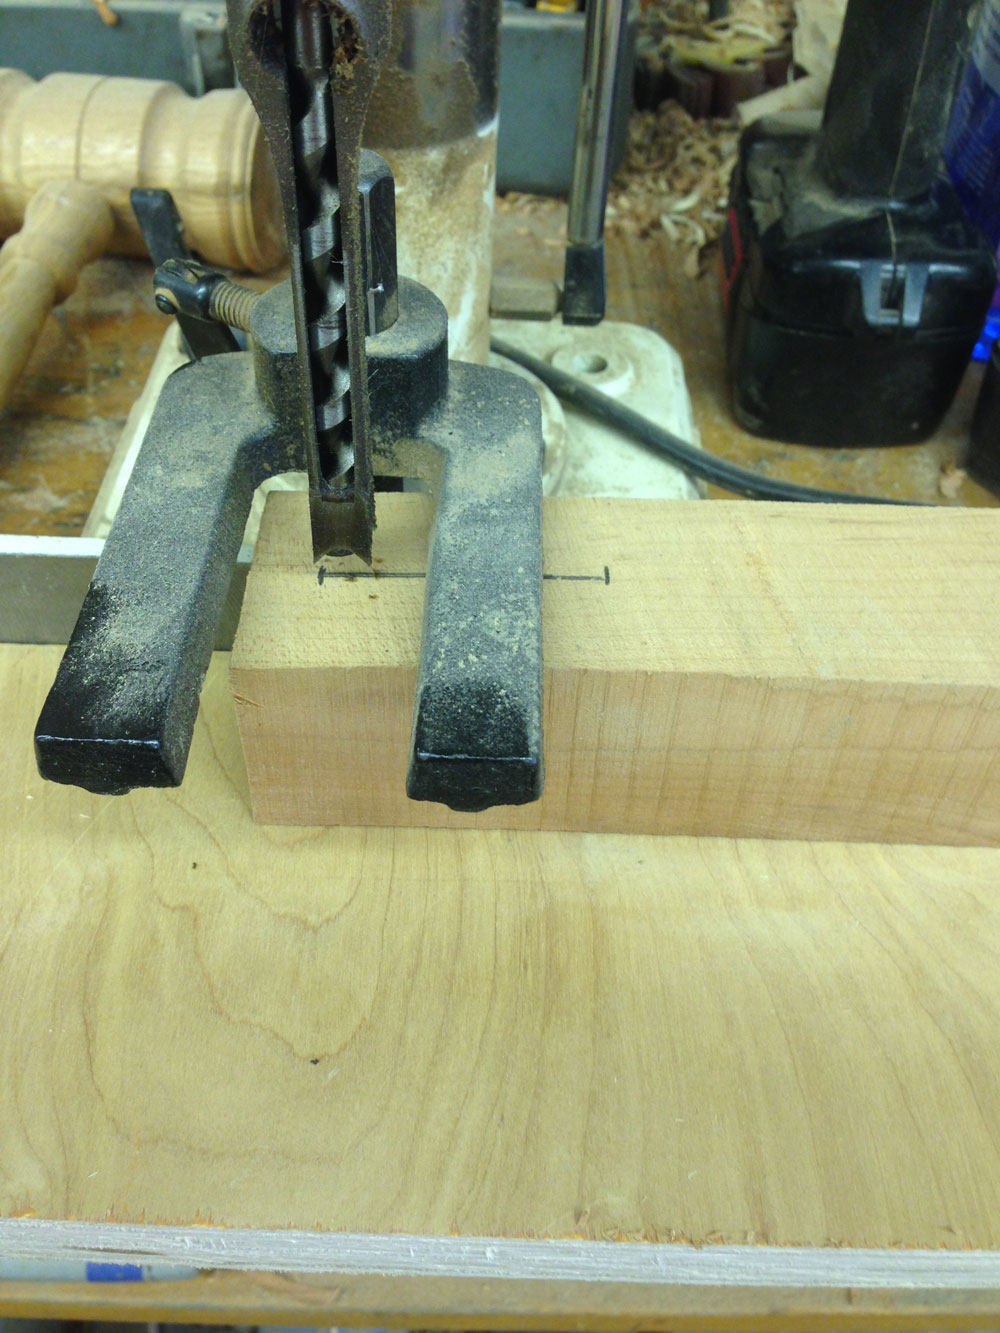
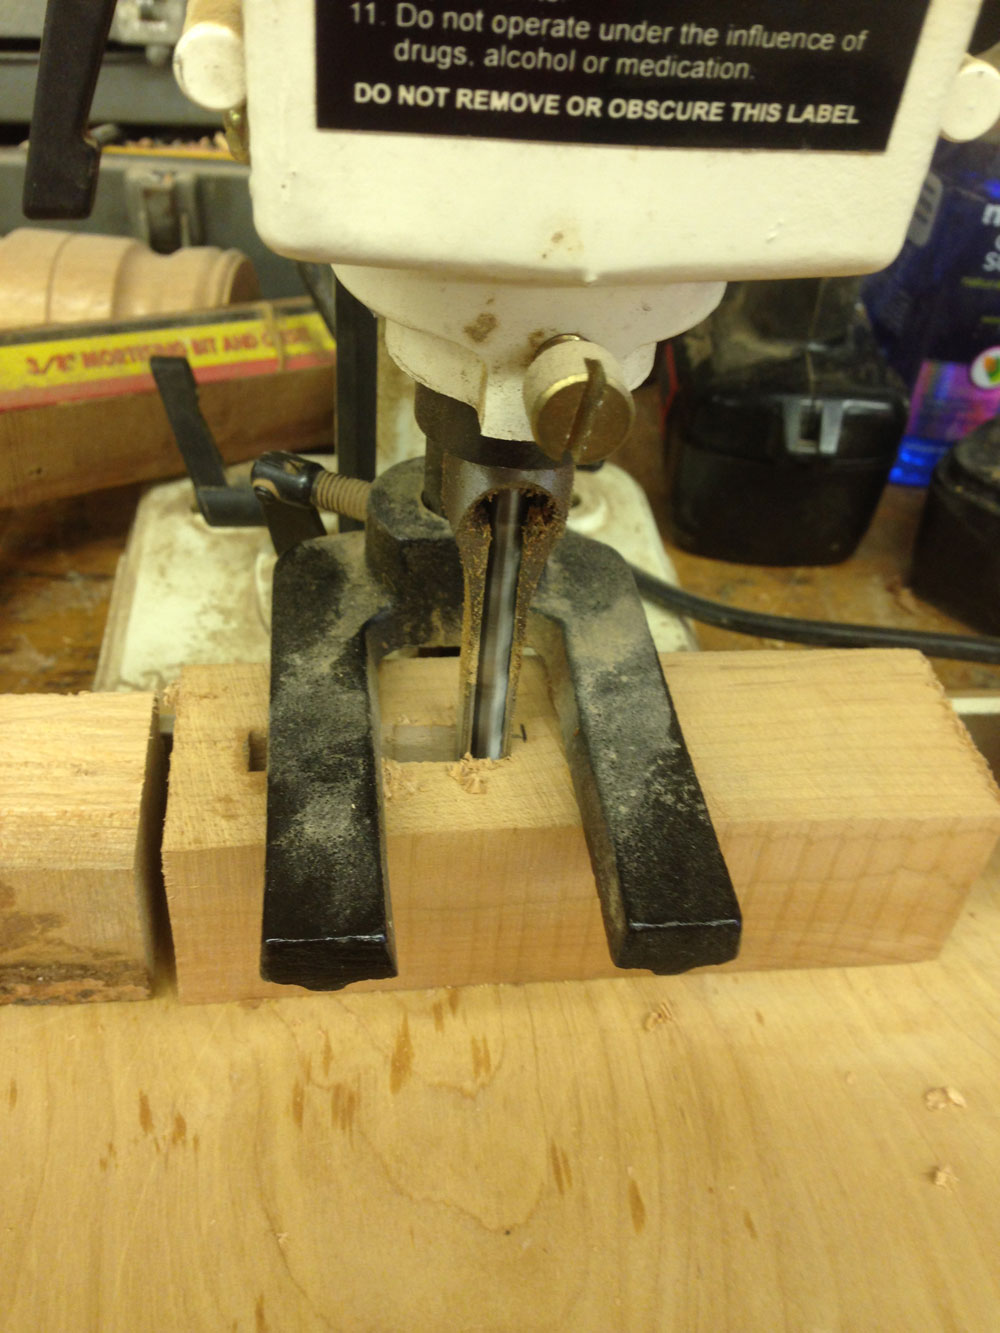
The
other method
is also best done while the post blank is still square. If the turner has
access to a mortising set-up with a 1⁄4" mortise bit then this can fairly quickly produce a clean
slot without creating the ultimate glue seam that the first method invariably cannot avoid.
Be sure the mortising bit is properly squared and sharp for a clean cut to avoid a time wasting clean-up for later.
This second method using no glue and producing a visible seam is the most efficient when
doing a series of puzzles (I typically make twenty puzzles at a time), because the turner
can set stops that keep the blank centered and properly sized.
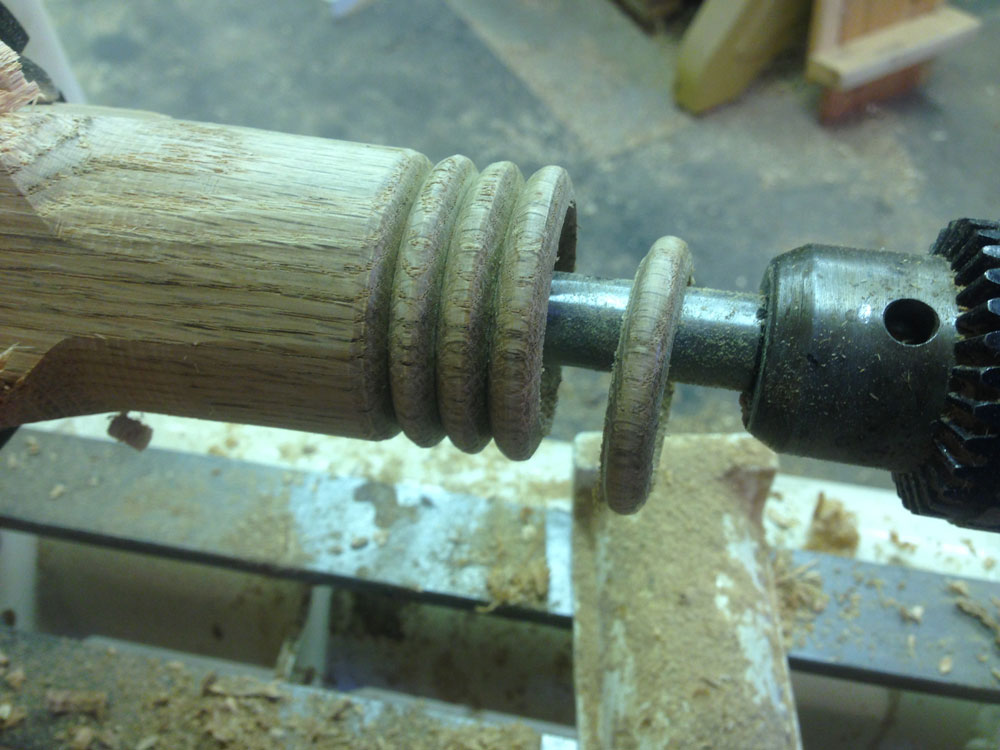
Turning the Parts
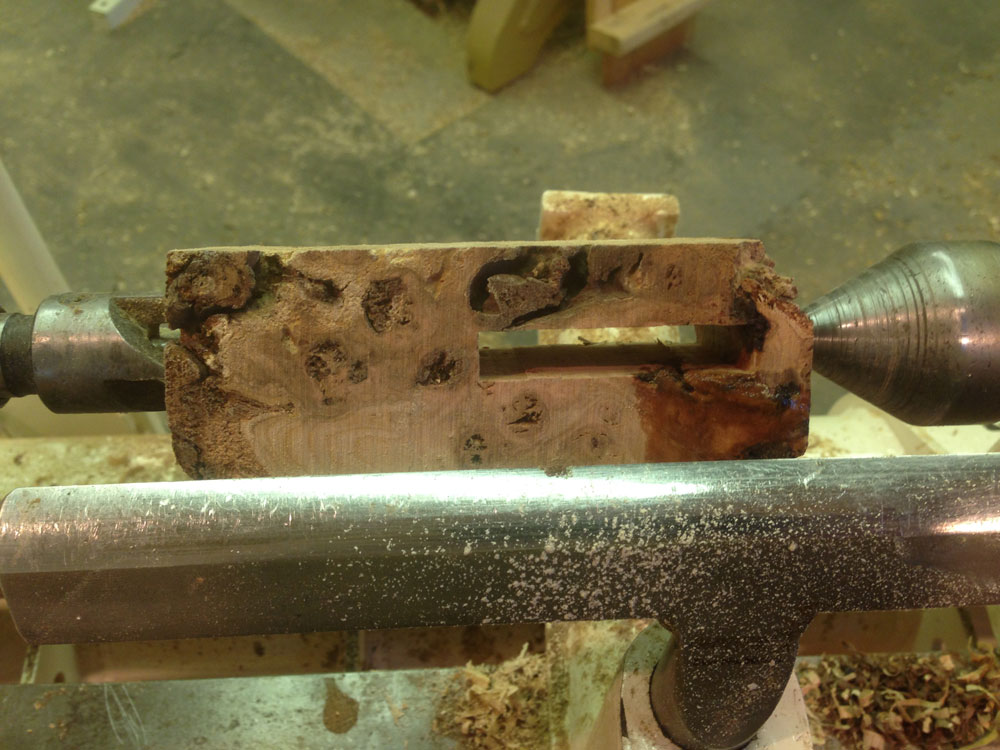
Center the blank between the centers on the lathe for turning.
The mortise machine method seems better suited to highly figured wood like this cherry burl.
Sharp
Gouges
and handy
Skew Chisels
make short work of the turning portion of this project.
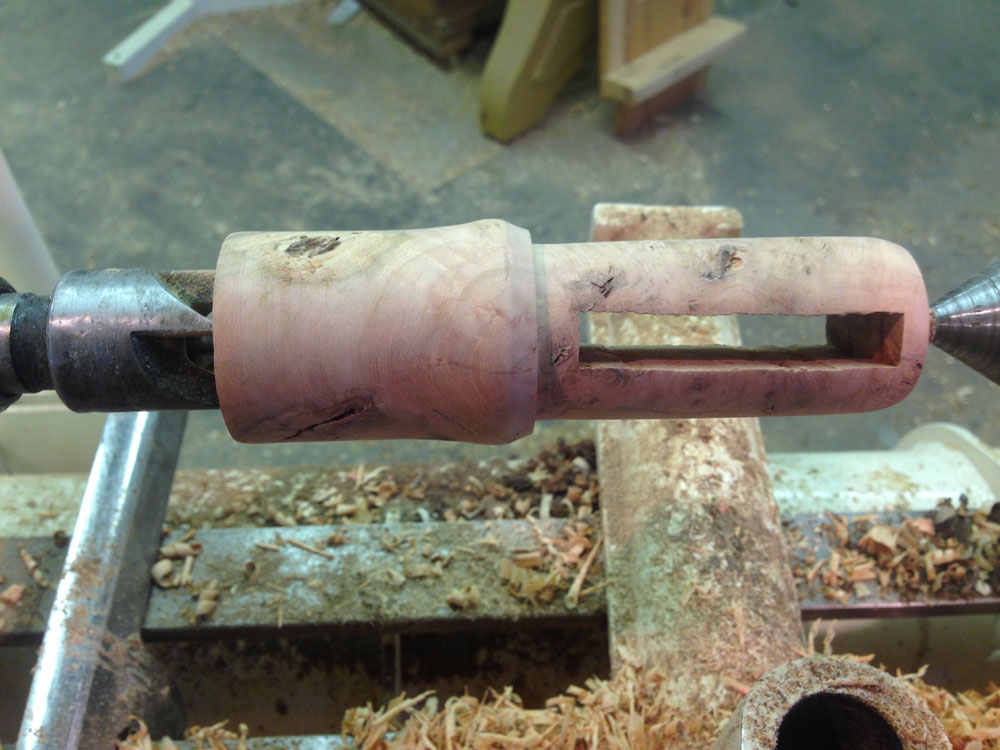
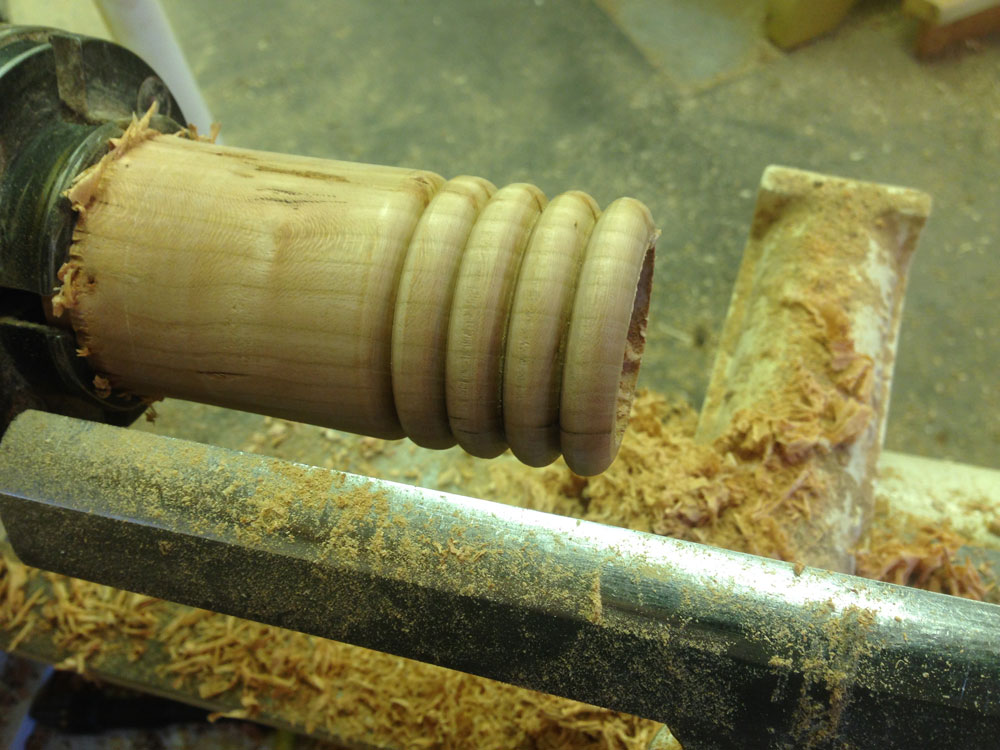
Lightly figured maple benefits from some mild detail. In this example, the "shoulder" or
"collar" that keeps the freed ring from sliding too far down is a little too close to the slot
in this blank.
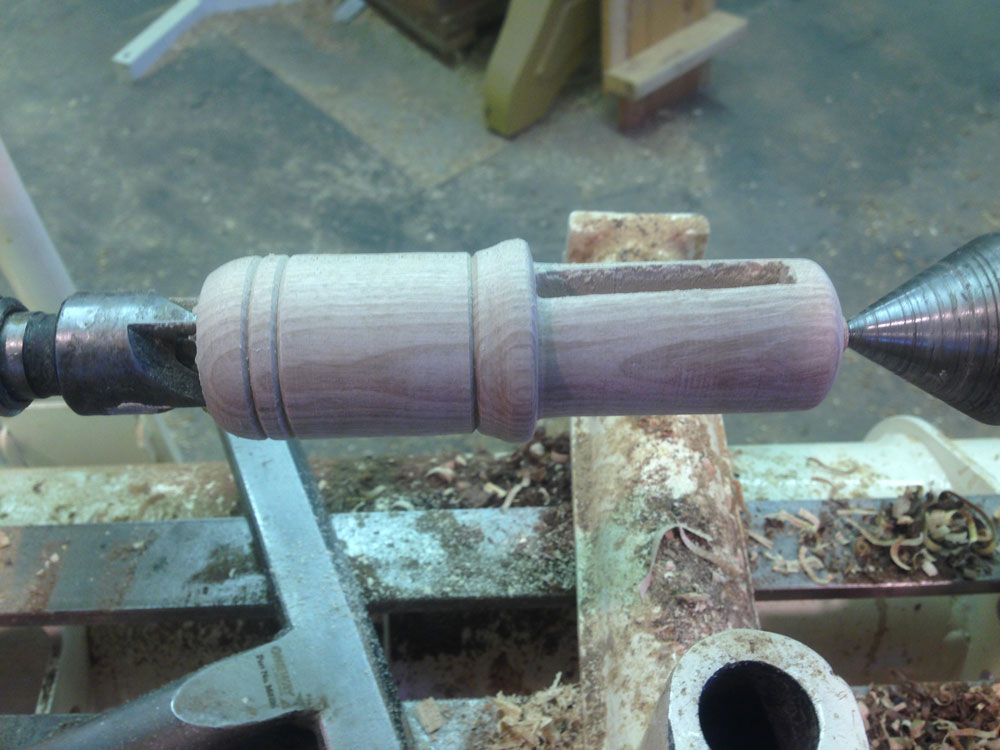
The post may be sanded and finished on the lathe or off of it. Several coats of finishing oil
such as
Watco
make it easy to put finish in the slot.
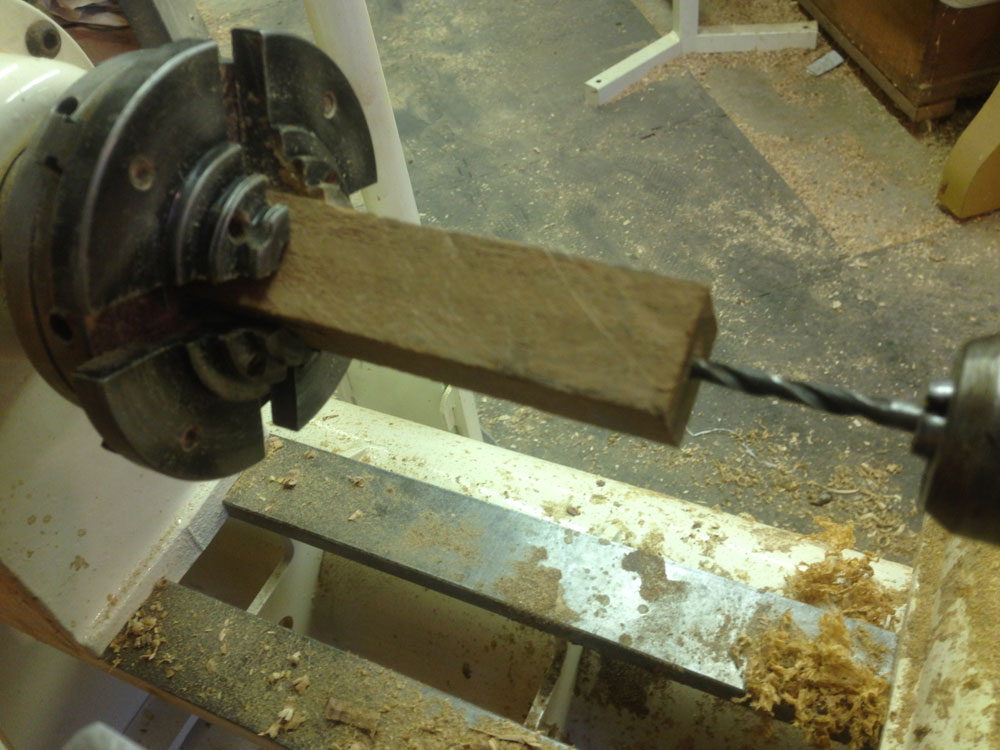
Turning the Beads
Once the post is turned and set aside to dry, the next step is to turn the beads. Depending on the diameter of the string you will ultimately use, select a larger drill bit and pre-drill the center hole.
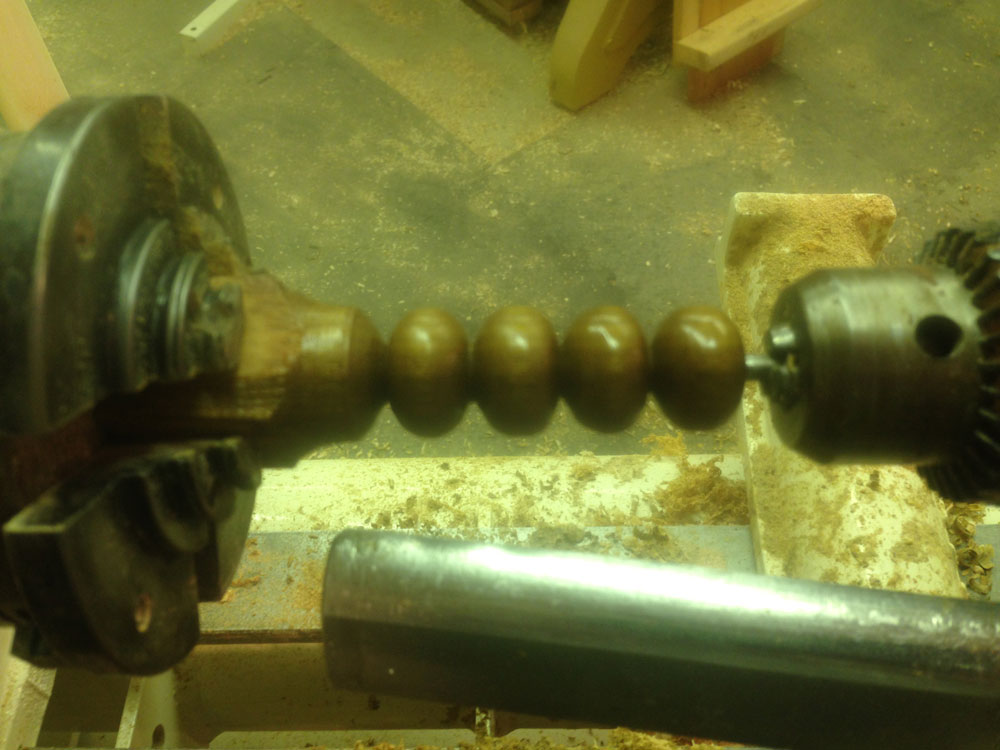
Turn, sand, and finish the beads, being sure that they will not fit into or through the mortised slot. I typically finish the separation of the beads with a thin
1/8" Bandsaw Blade
that I keep mounted on my Grandfather's 1940's Homecraft Saw. Then I hand sand the beads smooth before oiling.
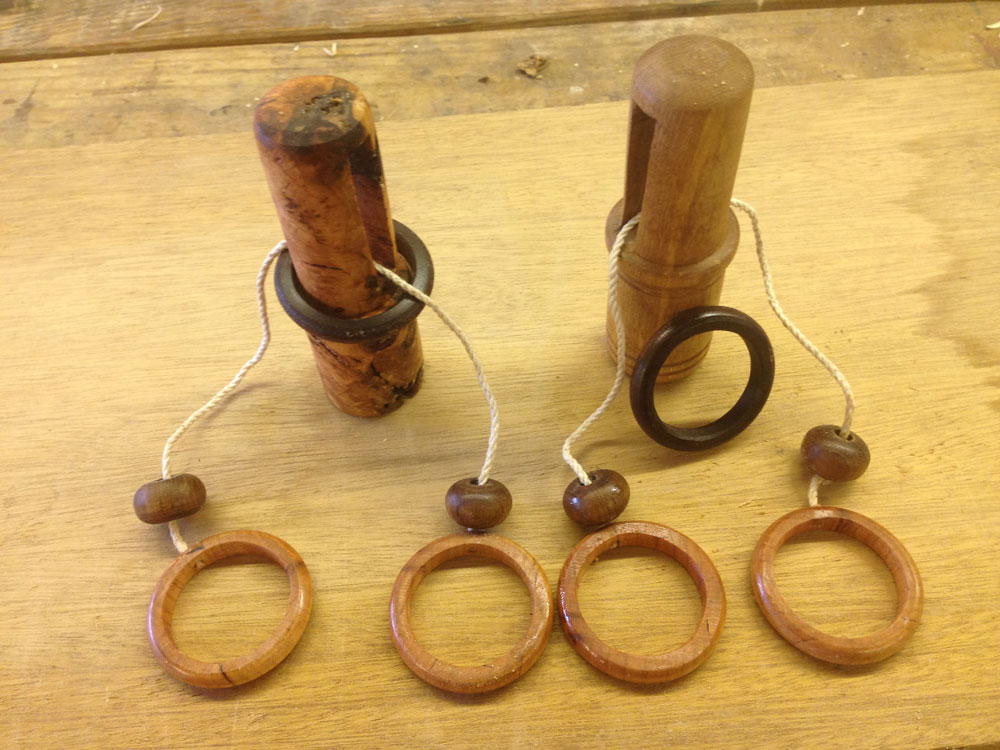
As you might notice, selecting dark and light wood for the different parts will make the
puzzle more interesting and will help the puzzler identify the terminology (part of the
task for my struggling engineers).
For the rings
I typically select a dark ring for the "free" ring and both light-colored
rings to attach to the string – or I reverse these. The contrast helps everyone, puzzler and
teacher alike, keep the parts separate and instructions clear. For people new to the
puzzle, it does not help to have each of the three rings and two beads a different color or
all of them the same, nor does the end result improve the artistic look.
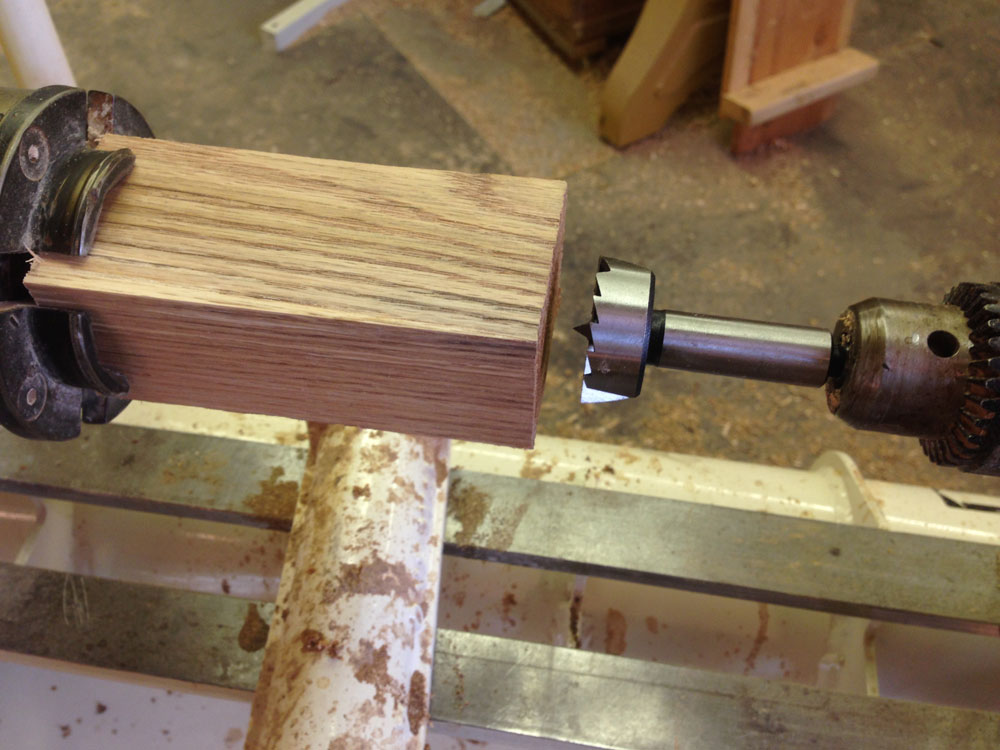
Using a
1-1/8" Forstner Bit, drill out the center
of the rings.
Set the lathe on a slower speed for drilling.
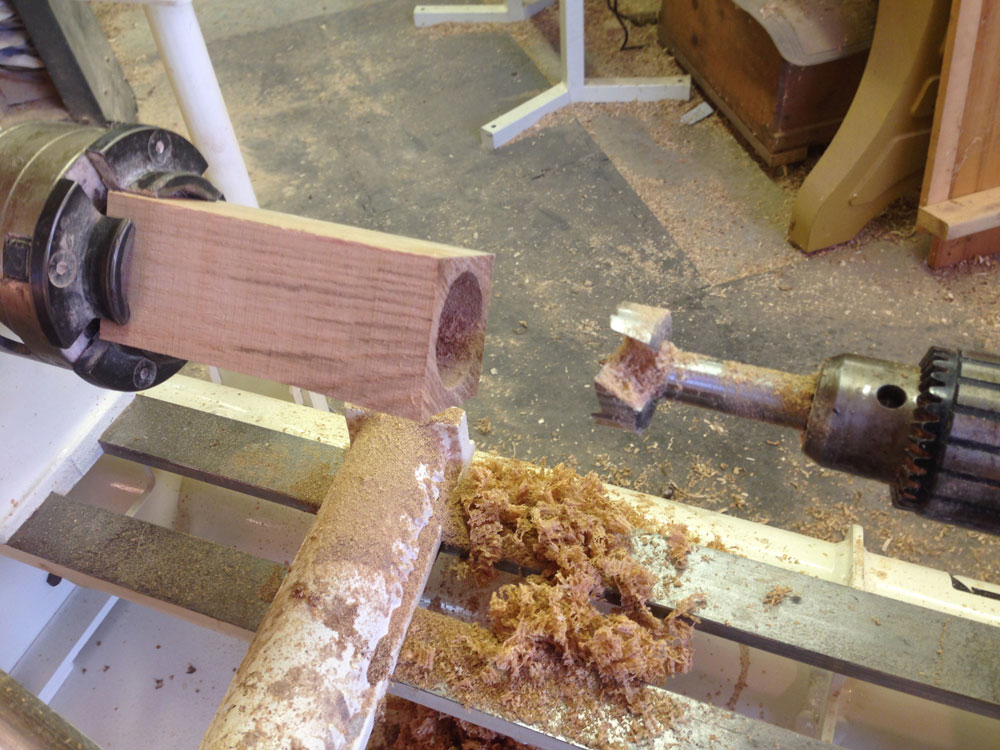
Define, sand, and finish the rings. Cut them
apart either on the lathe or using the bandsaw
(as with the beads). Consider testing each ring
for its slide-through clearance in the slot and
run oversized rings briefly on the belt-sander to thin it appropriately. Given the slight
inconsistency of hand-turned beads, fine tuning the size and fit at this point avoids the
frustration of assembling the puzzle only to find it will not solve.
Shaping and finishing a series of rings with the
3/8" Sorby beading and parting tool
makes the "manufacturing" process go fairly quickly.
For the rings attached to the string, use support and drill carefully with a sharp bit that is
just the size of your string thickness.
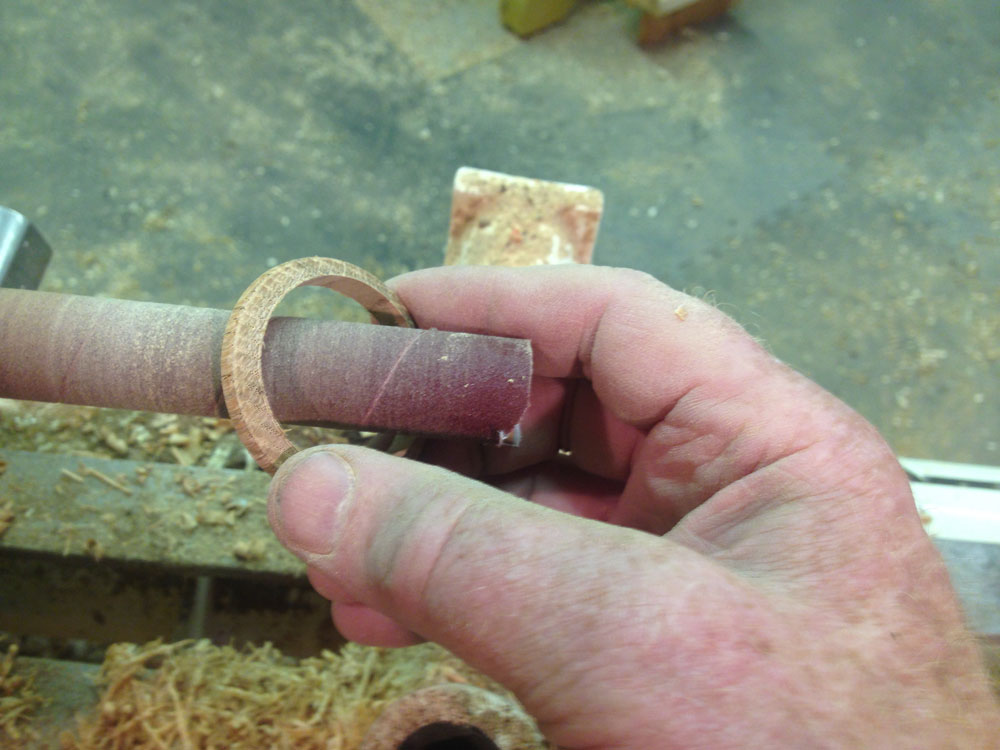
Set up a sanding station for sanding the inner circle and hard edges. One way is to use the
lathe with a chuck holding a dowel wrapped with 220 sandpaper.
Cut a length of string about 11" long. Put a drop
of
Medium CA Glue
in the hole drilled into the
ring and twist the string into the hole. A shot of
accelerator will fashion that in place. Thread on a
bead; run the string through the slot; thread the
other bead; and repeat the glue process on the
other string-ring.
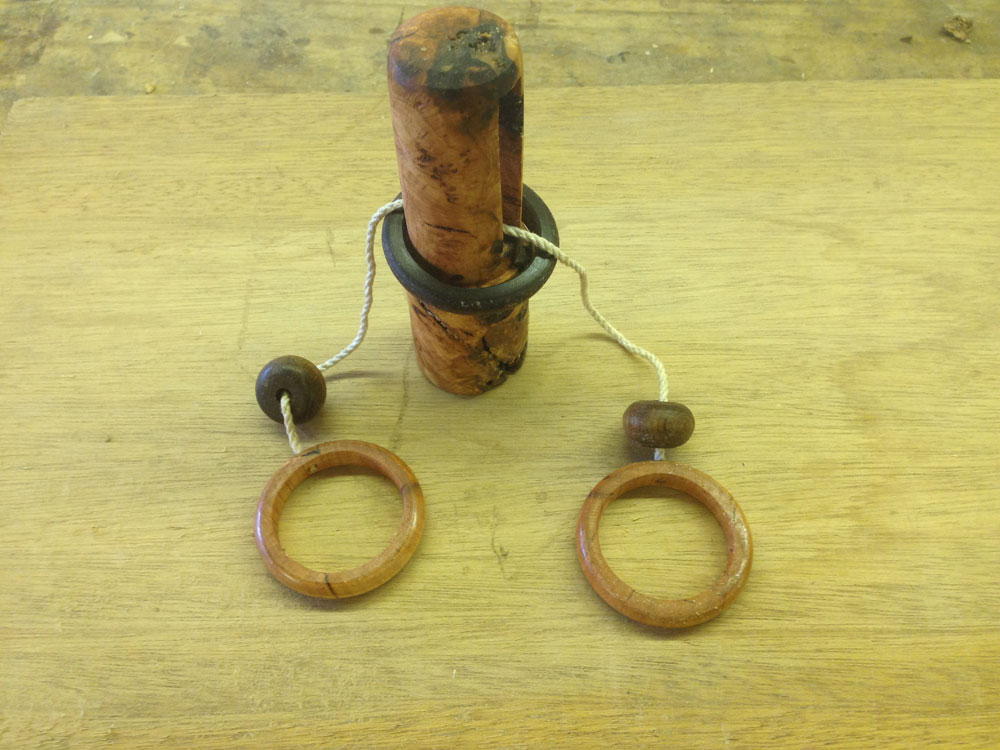
If you are initially unsure about how to solve the
puzzle, try putting the free-ring over the post before
you assemble the string and its parts. The puzzle is
typically easier to solve for the first time if you
start with the "free ring" (dark) captured.
The puzzle is simple to solve – free the dark
ring and then put it back into captivity – if the
puzzler knows how to do it. For those new to
the puzzle, the challenge can be frustrating and
daunting. The engineers in my classes
frequently, to their dismay, struggle
unsuccessfully for fifteen or twenty minutes
before one of them finally "gets it" and is
allowed to teach the others.
This puzzle makes a great gift and offers a rich opportunity to explore a more creative
design/implement approach for a woodturner.
While the solution instructions are not part of this article, turners
are welcome to email me at
temple@highlandswoodturning.com
for
a solution. Each semester my classes generate a large number of
successful "instructions" for the puzzle, complete with terminology,
step-by-step instruction on freeing the ring and recapturing it, and
affirming the puzzler's success.
Having spent a great deal of time thinking about and designing other turned puzzles, I
have not yet developed any better. I welcome photos of other folks' creations as well as
suggestions for new designs of woodturned puzzle challenges.
Located in Castine, Highlands Woodturning gallery and shop offers woodturning classes and shop time,
a gallery of woodturned art, custom woodturning for repairs, renovations, and architectural installations.
You can email Temple at
temple@highlandswoodturning.com
Take a look at Temple's Website at
http://www.highlandswoodturning.com/.