Reverse Chucking
by Curtis Turner
Round Rock, TX
Note: Click on any picture to see a larger version.
I have for years used a simple yet very effective method to reverse chuck bowls. This technique utilizes a shop made pad to hold and support a bowl during the final stage of turning. This device allows almost complete access to the outside bottom. This can be made from materials you probably have on hand.
I recently needed to replace several pads that are used by students. I thought a tutorial might be helpful to others. You will need a scrap of wood and a small section of closed cell packing foam. I would recommend 1/4"+ thick foam. Thin foam will not provide enough padding.
Why this Method?
This process allows the turner to make a final reverse chuck of a bowl. This is the last opportunity to make exterior adjustments and reduce the tenon to a small nub. This means the turner has good access to most of the bottom of the bowl. The bowl would then be removed and the nub cut away from the bottom.
Another method of reverse mounting is by the use of a
vacuum chuck. While this is a more expensive option, it is however, the best method. This process uses a pump to create a vacuum that pulls the bowl on to a gasket sealed chuck. This method gives the turner complete access to the bottom. The tenon can be turned away, and then the bottom decorated and sanded. This method is by far
my preferred method.
Getting Started
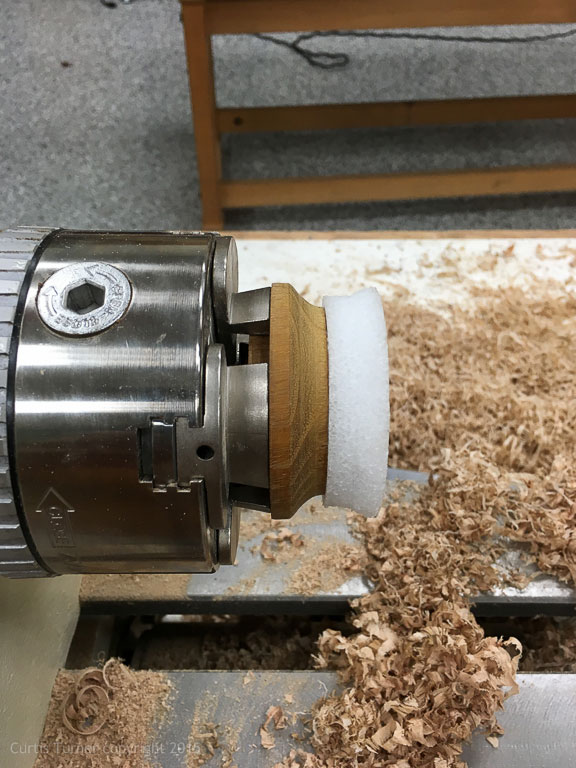
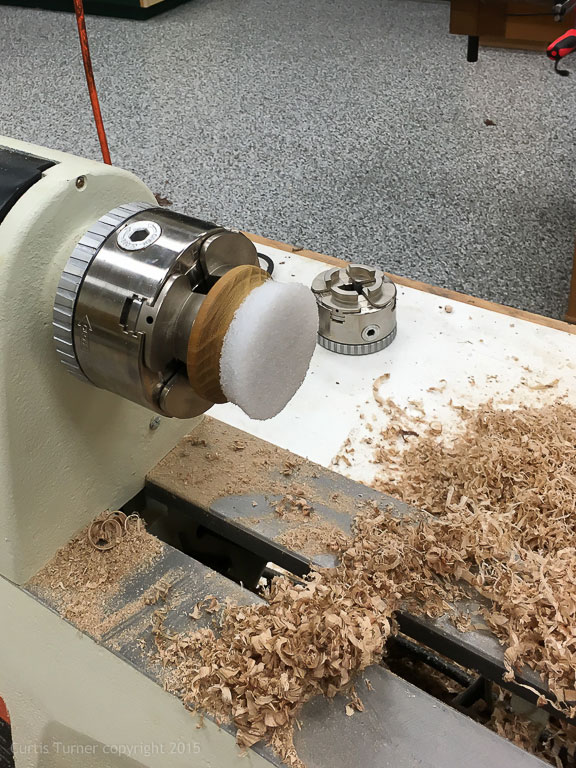
I first turned a wood base from scrap. I turned the outside diameter to about 3-1/2". I sized the tenon to fit the various chucks I frequently encounter. Next, I cut an oversized section of foam.
I then used thick
CA Glue
to adhere the foam to the wood. Epoxy would also work. After the glue set, I trimmed the excess foam with scissors.
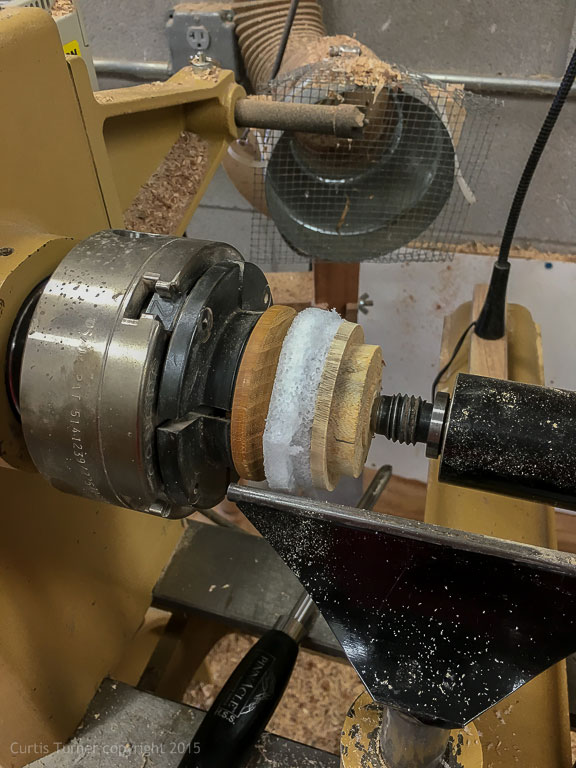
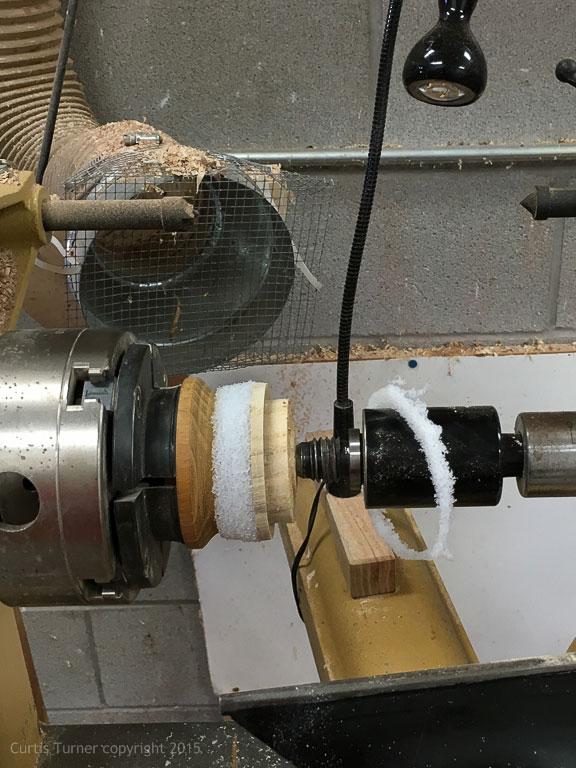
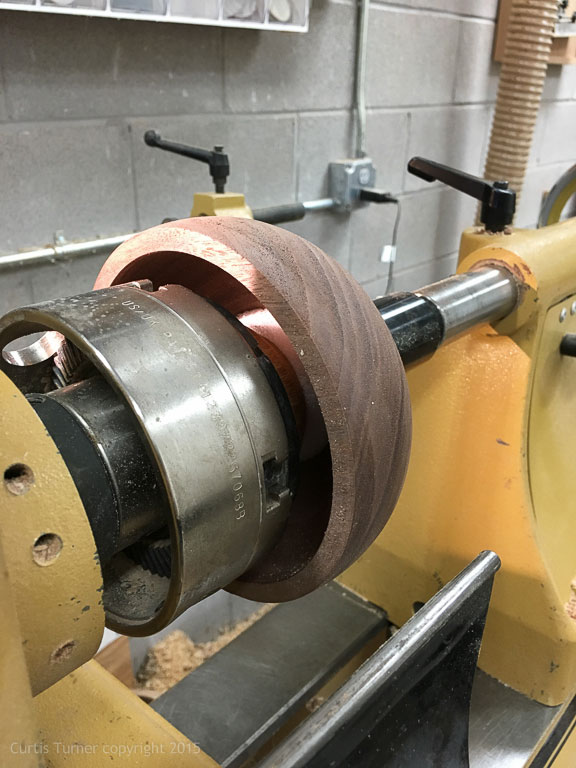
Then I mounted the base into a chuck.
Next, I used a block of wood, which was approximately the same size as the desired final diameter of the foam. This wood block was then pinched between the foam and live center. I advanced the quill to compress the foam. This prevents the foam from tearing away from the glue block. It also helps achieve a cleaner cut on the foam.
I have used both spindle gouges and skews to successfully trim the foam. Either works just fine. I do not turn the foam to match the glue block. I want to make sure that when compressed, there is enough foam to curve around the glue block. This prevents any possible contact between the block and the bowl. Wood to wood contact will likely dent the bowl. If the foam is not secure and slips, the block could spin against the bowl, resulting in a burned ring in the bottom of the bowl.
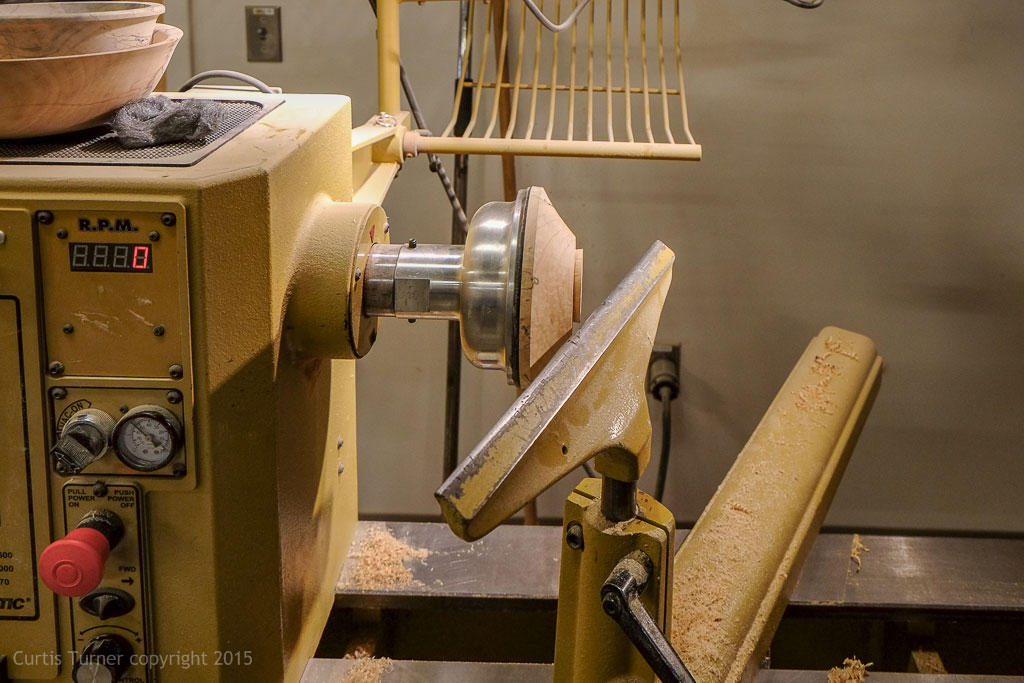
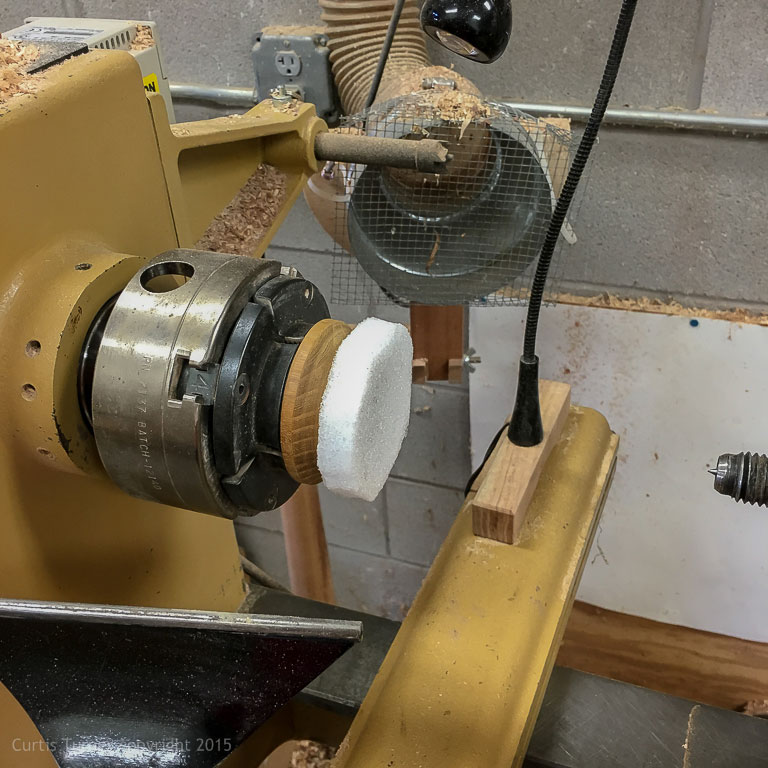
How To Use
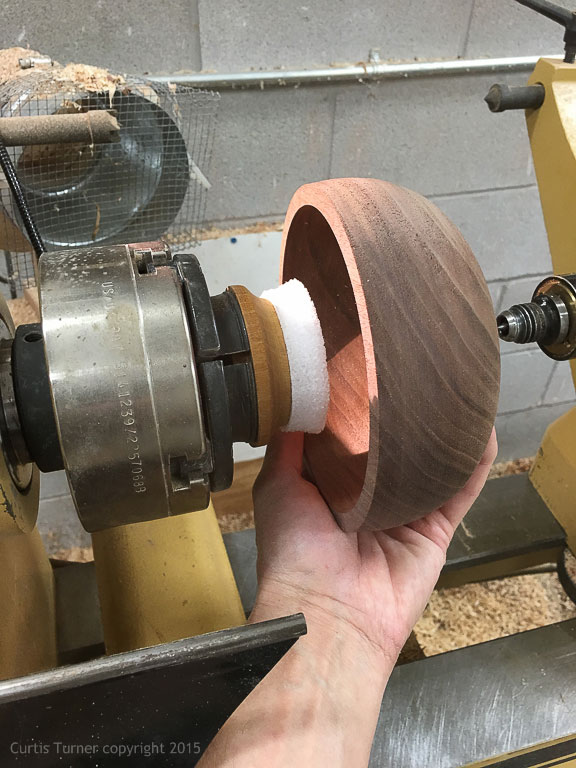
The pad is placed into a chuck and properly secured (see above). Then a bowl is positioned on the pad and held by hand while the tail stock is advanced.
I then advance the quill just enough to hold the bowl. I carefully sight along the bowl's rim while rotating the spindle by hand. I make subtle adjustments to improve the alignment. I also observe the outer profile of the bowl. I am looking to ensure the bowl is as balanced as possible. I continually apply pressure by advancing the quill.
The more centered the bowl, the easier it is to blend the bottom and reduce the tenon. This process becomes faster with practice. I lock the quill once the bowl is balanced. I then re-turn a portion of the bowl blending the outer profile with the bottom. I also create a concave bottom at this stage and then I reduce the tenon to about 1/4" in size.
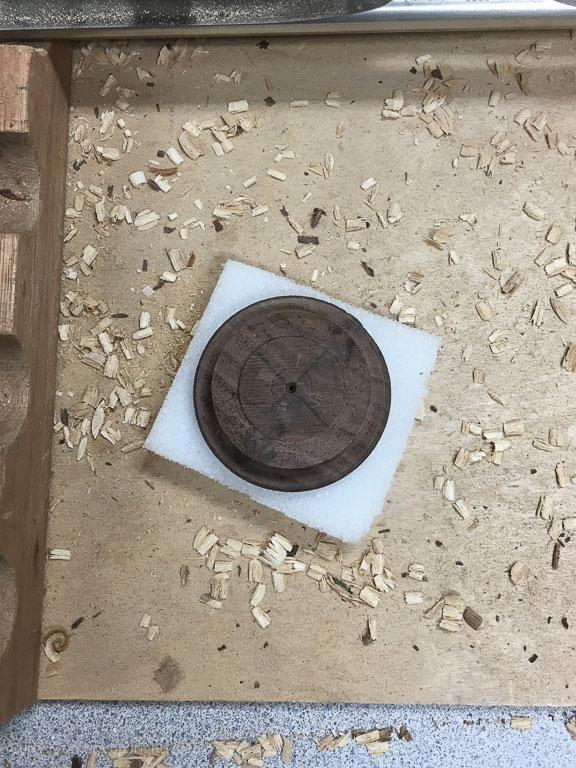
Once I am satisfied with the exterior, I keep a hand on the bowl and retract the quill. All that remains is the removal of the small nub. I prefer to use a small flexible saw to cut away the tenon. The flexible saw curves enough to follow the gentle concave bottom, thus allowing for a closer cut. Lastly, I sand and apply a finish.
Curtis is a former President of
Central Texas Woodturners, a member of the
American Association of Woodturners, and a member of
Fine Woodworkers of Austin. Curtis teaches and demonstrates nationally for Lie-Nielsen Toolworks. He also teaches for TechShop. He owns a studio where he teaches and works. Curtis lives in Central Texas with his wife and four young children. Take a look at his website at
www.curtisturnerstudio.com or visit his
Instagram: tx_planes.