A Case for Prototyping: The Vise Project
by Curtis Turner
Round Rock, TX
Note: Click on any picture to see a larger version.
A customer recently asked if I could turn a round handle to replace a traditional woodworking vise handle. My first reaction was 'sure no problem.' After we discussed requirements, I realized this simple project had the potential to be not so simple. In this case, the customer wanted to provide his own laminated blank with contrasting colors. The dark wood was to be centered in the outer rim of the wheel. Fortunately, I had the same woodworking vise. I decided my vise would serve as the guinea pig for this project.
Prototyping comes at the expense of additional time and materials. However, the payoff can be resolving unseen problems not identified in the original scope of the project. My hope was the additional time would be worth the effort.
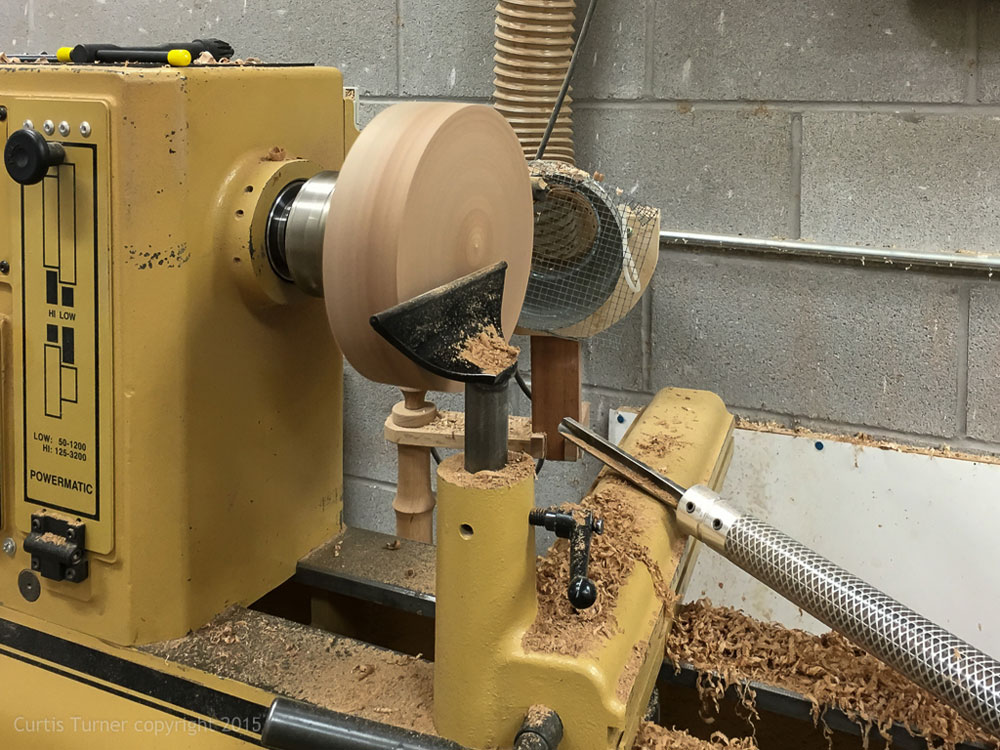
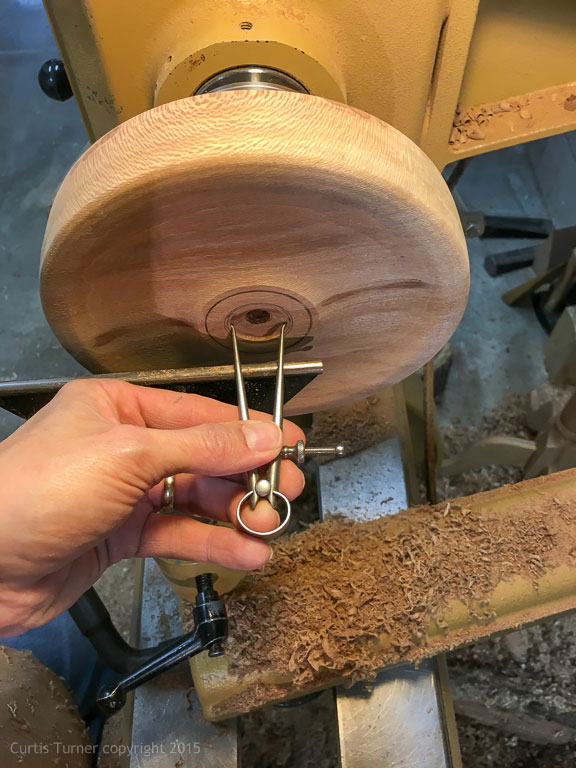
The first step was to remove the original handle. This was simply a matter of using a punch to remove the cross pin. Next, I used a ruler, calipers and dividers to determine the diameter and length of the protruding center screw.
Wood Selection
The stress applied to a vise handle requires a sound blank of hardwood. The diameter began as a 10" blank of dry pecan.
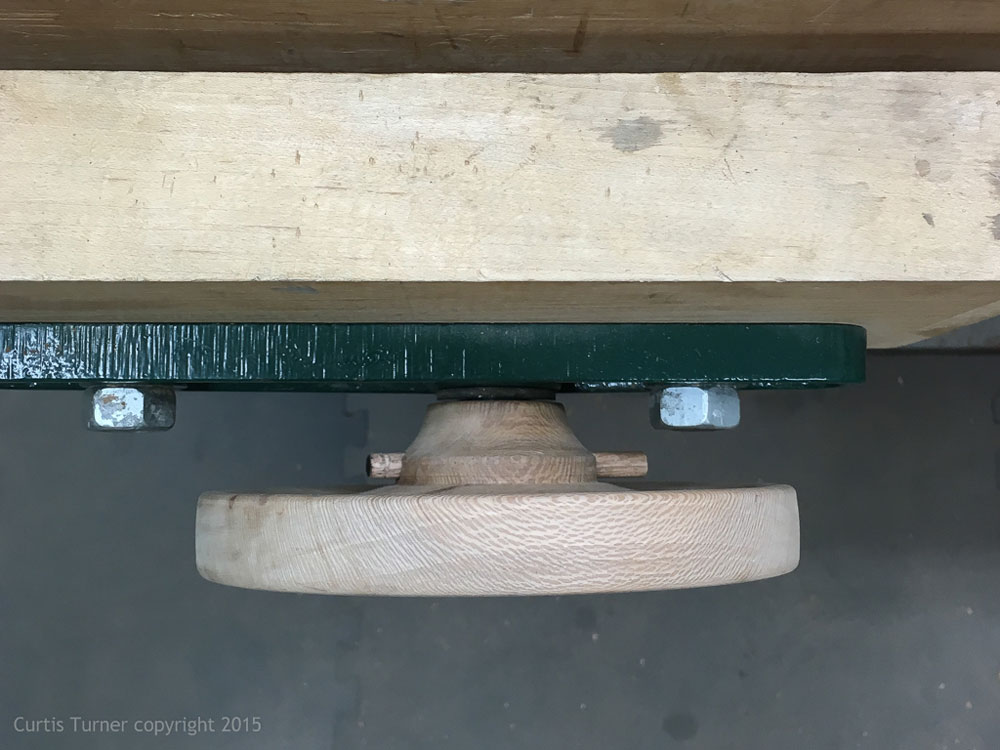
However, it was requested that the height of the wheel remain below the top of the bench. I also needed to account for the knuckle clearance between the wheel and the vise nut.
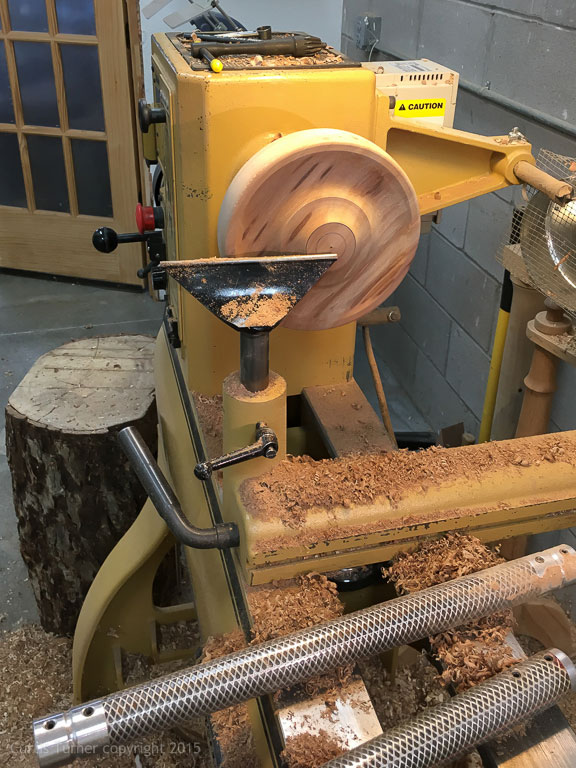
I essentially turned a platter with a hole in the center. Therefore, I am going to skip over some of the more basic steps to focus on the unique elements of this project.
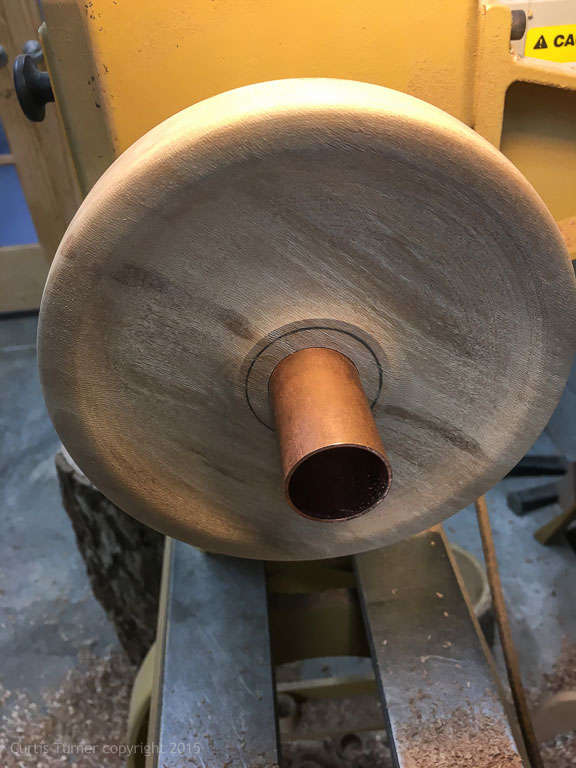
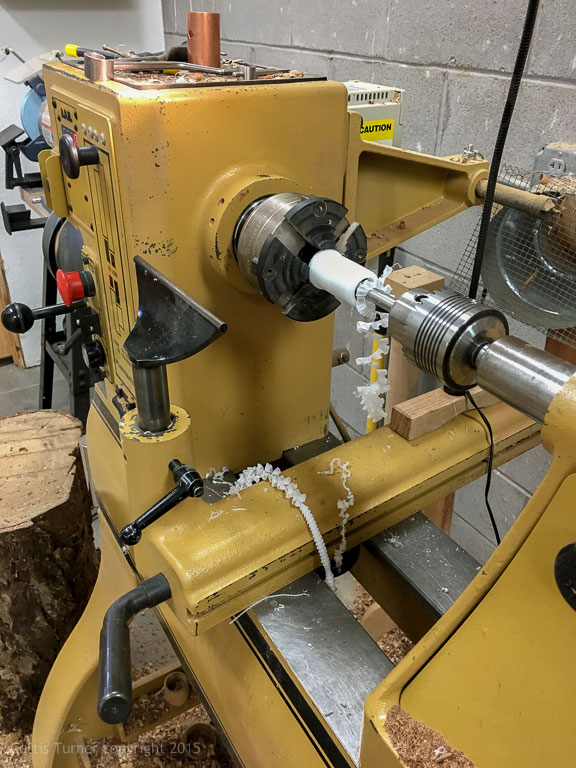
I was concerned that a metal cross pin through a wood handle could result in stress fractures and ultimately a failure of the wood. My solution was adding a section of copper pipe to shoulder some of the stress applied by the metal pin. Therefore, I needed to accommodate the outside diameter of the pipe.
I began shaping the wheel and laying out the diameter of the hole that would receive the center screw and pipe. This is where I made a mistake. I unfortunately planned for and drilled out a hole to receive the 1" copper pipe. My mistake was I needed a ¾" hole not a 1" hole. This 1" diameter hole was carefully widened, using a hollowing tool, to allow the copper pipe to fit. I bet you can see where this simple project is headed.
What to do?
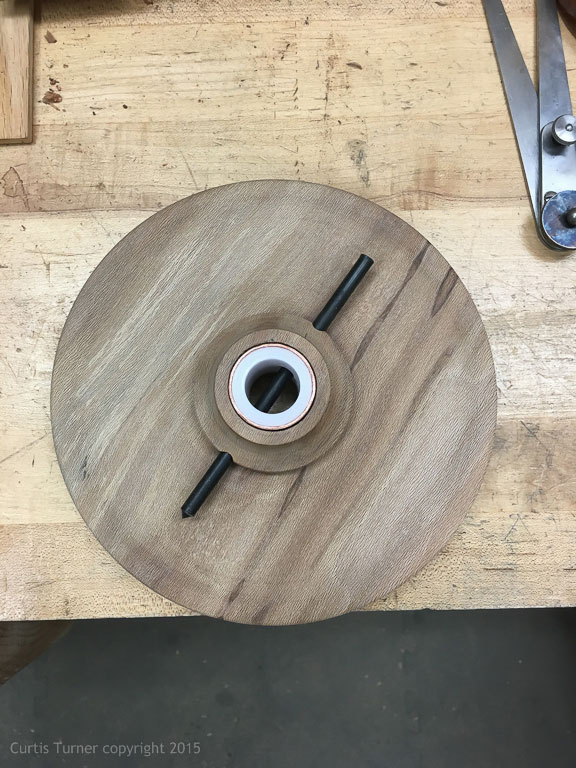
After realizing my mistake, the options were to start over or make a bushing. Since this was a prototype, I did not want to sacrifice another blank. So, I quickly made a bushing from a piece of leftover Delrin. See this is getting simpler by the minute!
Problem Solved
All three parts fit perfectly on the vise. Now I just needed to drill a perfectly straight hole through the entire assembly.
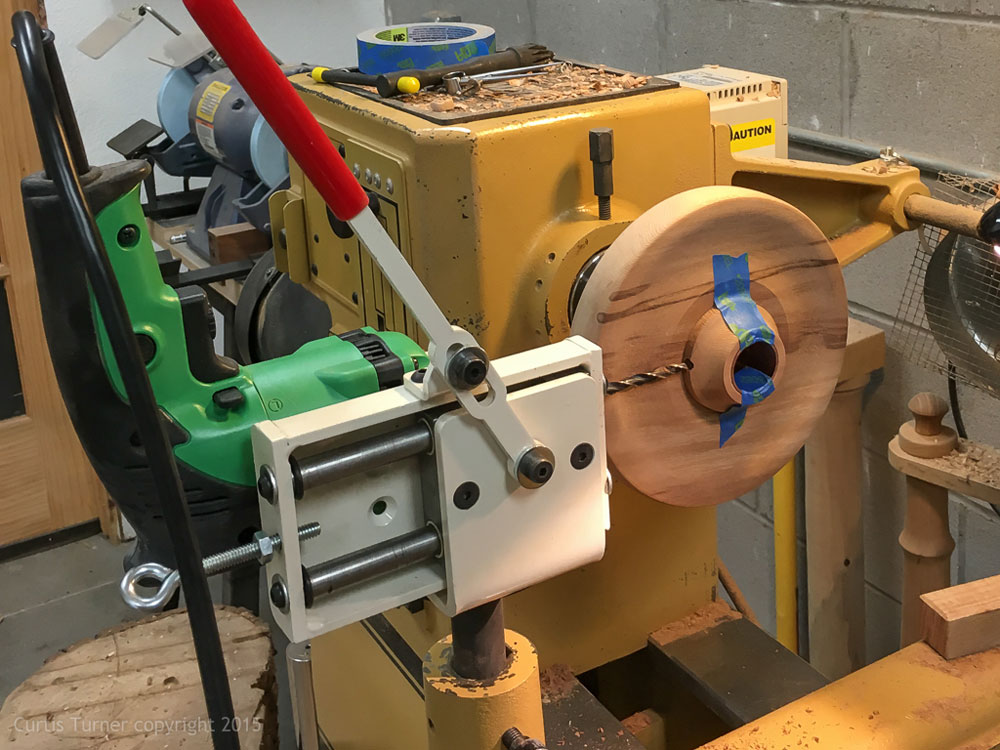
Drilling for the Cross Pin
I measured the hole that receives the cross pin. It was a simple 1/4" hole. First I locked the spindle. Then I drilled the hole in the wood wheel. The
Oneway DrillWizard
helped make this job easy to drill straight holes 90 degrees to the center axis.
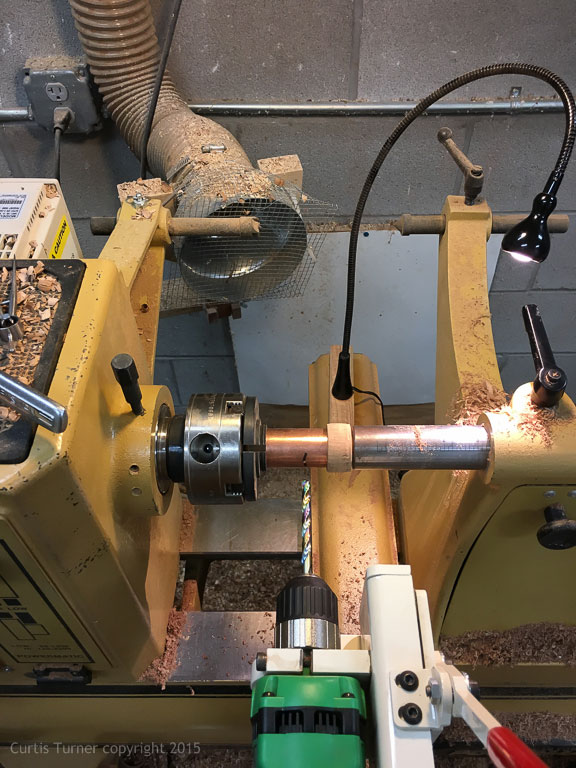
Then the copper pipe positioned and taped it into place.
Then I marked the pipe by a brief spin of the drill bit. I then removed the blank and mounted the pipe in a chuck. Next, I drilled the hole.
I did this to have better visibility of how the drilling was progressing into the copper. In retrospect, I did not need to take this extra step. I repeated the process for the bushing.
Fortunately, everything lined up perfectly!
Test-Fitting
Now with everything in place, I started to insert the cross pin. Then mistake number 2! What a surprise, the cross pin is slightly larger than the 1/4" hole in the center screw. Of course, that makes sense now. The pin is designed to compress as it enters the 1/4" hole in the metal screw. What now? I knew I didn't want to drive this metal pin into the 1/4" hole in the wood handle. My concern was the pin would split the wood.
Solution Number 2
I remounted the entire assembly and re-drilled with a larger size bit. Unfortunately, the larger diameter bit did not clear the outer wheel. The solution was to reduce the thickness of the wheel. This required removal of the Drill Wizard only to remount it to the exact same position later. See, just another simple project...
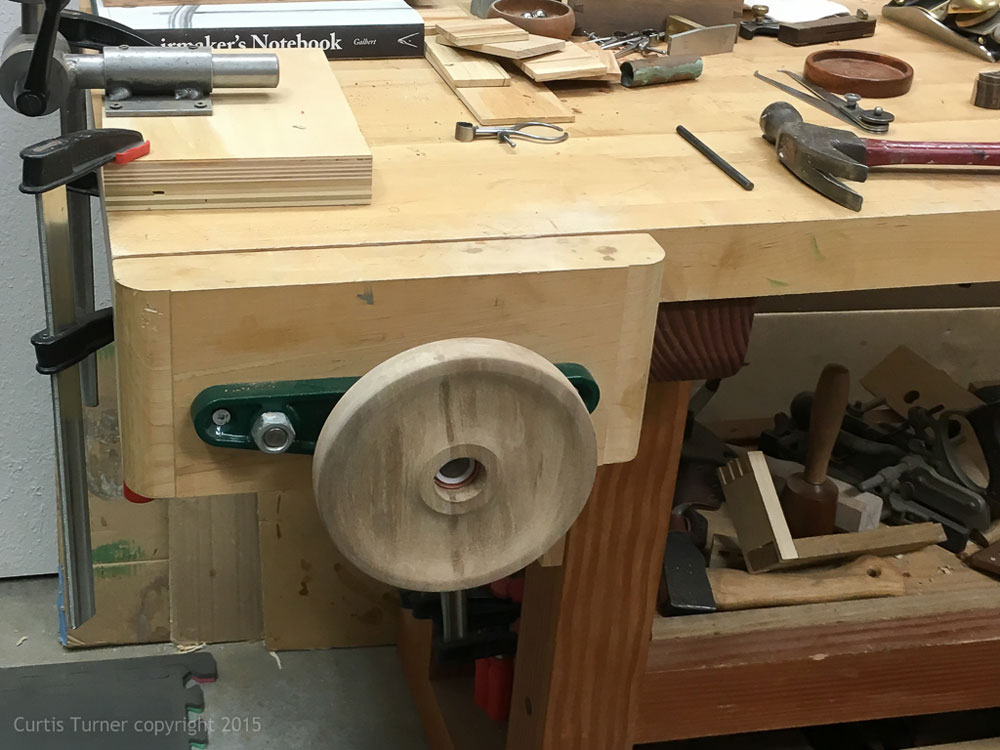
Finally, I am ready to attach this to my bench for a test run.
At this point, I did not want to use the metal pin just in case I needed to remove it to make further adjustments. I opted to use a 1/4" dowel with enough length to grip it with plyers for easy removal. Keep in mind this was not meant as a permanent replacement on my bench.
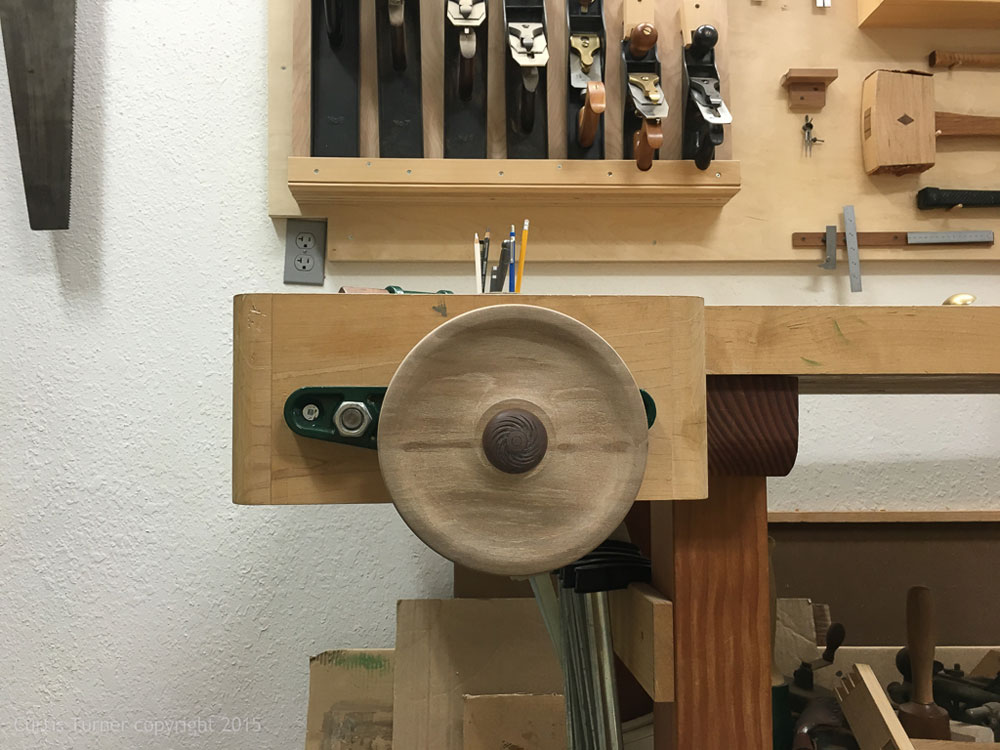
I also added a decorative cover of jatoba over the hole. This was press fitted into the center hole.
It worked!
The wheel was able to move the vise in and out. However, I quickly realized the wheel lacked several important elements. First, it was slower to open and close the jaws. Secondly, I needed to use both hands to advance the travel at a normal speed. This meant I could not easily hold a board in the vise and close the jaws with one hand. It simply lacked the power and leverage that is achievable with a longer handle. The third strike; was there was not really enough knuckle clearance while in use. It was one thing to simulate the action and it is another thing to actually measure the clearance in real world use.
After walking the customer through the process and the real world use…he wants to (wisely) think about it for a while.
What Did I Learn?
-
Well, I already knew that "simple" projects are almost never simple. This was just a good reminder.
-
Prototyping is critical when tackling an unusual project.
Curtis is a former President of
Central Texas Woodturners, a member of the
American Association of Woodturners, and a member of
Fine Woodworkers of Austin. Curtis teaches and demonstrates nationally for Lie-Nielsen Toolworks. He also teaches for TechShop. He owns a studio where he teaches and works. Curtis lives in Central Texas with his wife and four young children. Take a look at his website at
www.curtisturnerstudio.com or visit his
Instagram: tx_planes.