What's the "Right" Way to Use Friction Polish?
by Rick Morris
Duluth, GA
Note: Click on any picture to see a larger version.
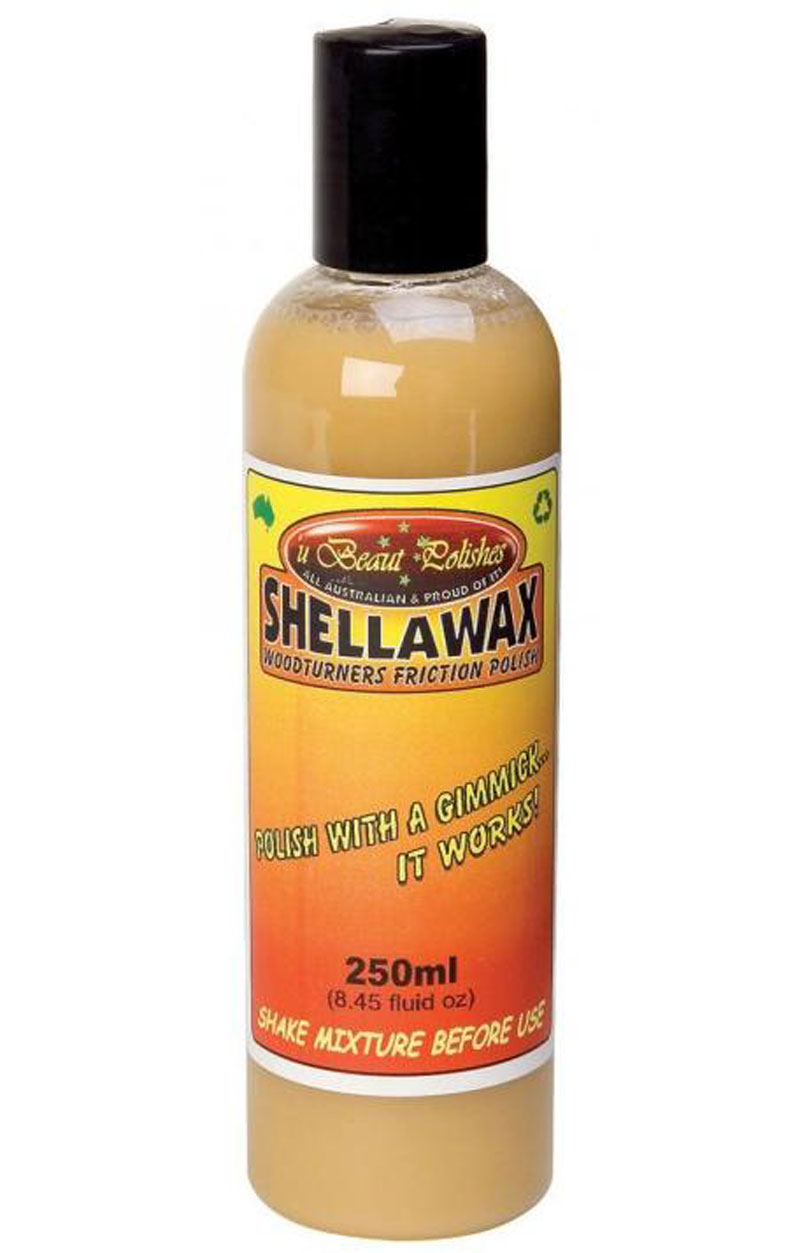
When I first started wood turning (yes, I started more than once, with a years-long gap between each time), I had a small inexpensive lathe and did small work only – weed pots, votive candle holders, etc. I wanted a finish that was quick, easy, relatively impervious to clumsy workmanship, and not too expensive. I had done some woodworking, and was familiar with shellac and varnish and lacquer, but none of those were appealing. In browsing through the few retail stores that carried woodturning supplies (there weren't no Internet back then, young fella…us woodturners were tough in the old days…we had to go to stores to get stuff), I stumbled across a product called Shellawax.
|
Figure 1 - Shellawax - I can testify it's
been in (my) use for nearly 40 years
|
I started using it and was delighted with it, and still use friction polish today on all my small turnings. I suspect that if you're reading this article, you're somewhat familiar with friction polish yourself. But I hope I can give you some information you don't know.
So just what is friction polish?
I thought you'd never ask. Friction polish (at least, the most common variety) is a mix of shellac, denatured alcohol, and (usually) boiled linseed oil. Manufacturers of commercially available friction polish probably also have some classy secret ingredients. I've read that some turners use a friction polish based on lacquer and lacquer thinner, but I haven't tried that myself. Oils besides boiled linseed oil may be used, such as walnut oil or tung oil. But the big constant is shellac – it's the critical component.
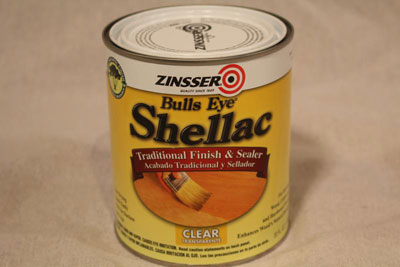
|
Figure 2 - The most important component of
friction polish is shellac

|
Friction polish is fast, easy, dries almost instantaneously, has a reasonably long shelf life, and gives a terrific high-gloss finish. It is applied to the workpiece while it is still on the lathe, and is darn near foolproof (I have proved that myself). It is also non-toxic and food-safe after drying (the main ingredient, shellac, is used as a candy coating, food glaze, in cosmetics, as well as in various woodworking finishes). It has one drawback, however, in that, like shellac, it is not particularly durable – so it is perhaps not suitable for items which will be frequently handled or exposed to water or alcohol (I never use it on the wooden shot glasses that I don't turn.)
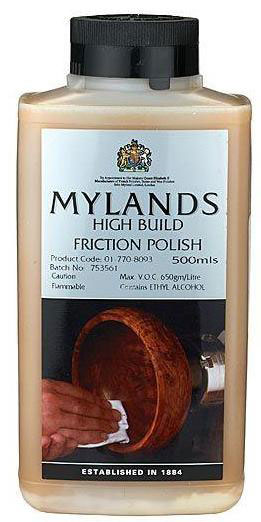
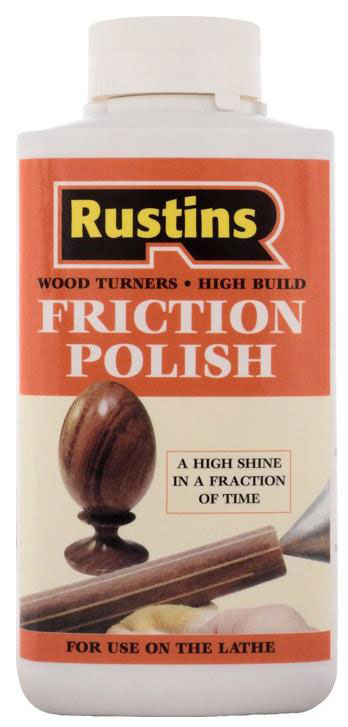
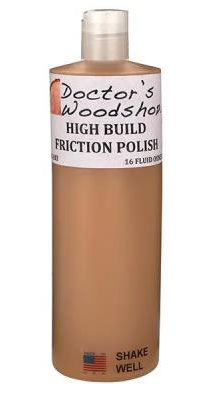
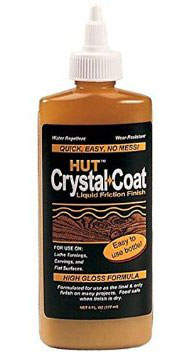
There are a number of commercial friction polishes, and most are easily available from online woodturning stores, and at woodworking stores
like Highland Woodworking. The only commercial polish I've used is the aforementioned Shellawax, but also available are:
Whichever one you might use, or decide to try out, you can't go wrong…they're all friction polish, are all used pretty much the same way, and give the same excellent finish!
My initial education in the use of friction polish
was solely what was written on the back of the bottle of Shellawax. It was only recently, as I began to rummage through the many woodturning videos on YouTube, that I realized not everyone uses friction polish in the same manner that I do. And for that reason, I decided to try out a number of variations in the use of friction polish in order to find out the "right", or perhaps, the "best" methodology in friction polishing.
The questions I intend to explore are:
-
Should friction polish be applied with the lathe running or stopped?
-
What type of applicator should the polish be applied with?
-
What speed should the lathe be running while polishing?
-
How much sanding is enough for the friction polish to make a high-gloss finish?
For the individual tests
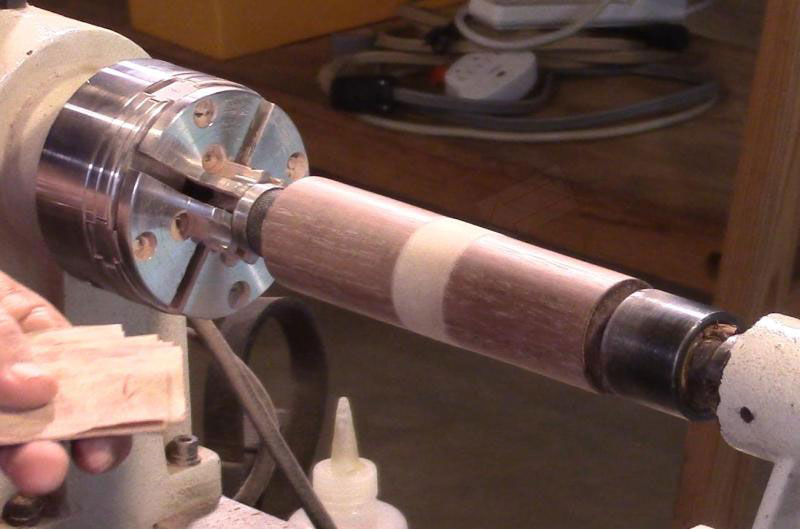
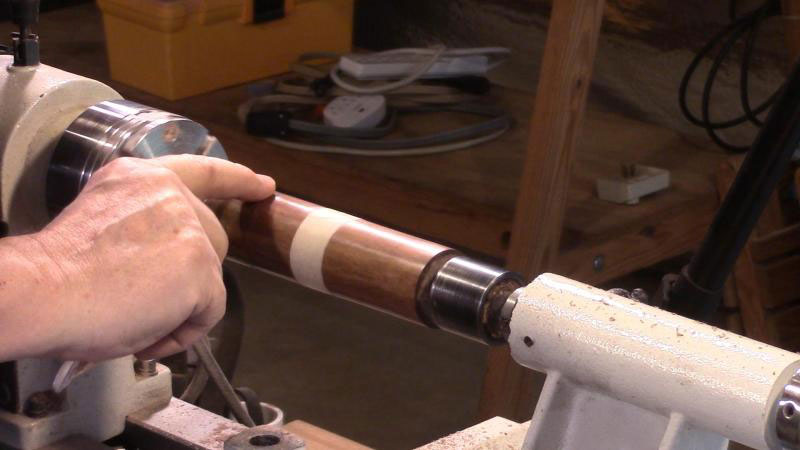
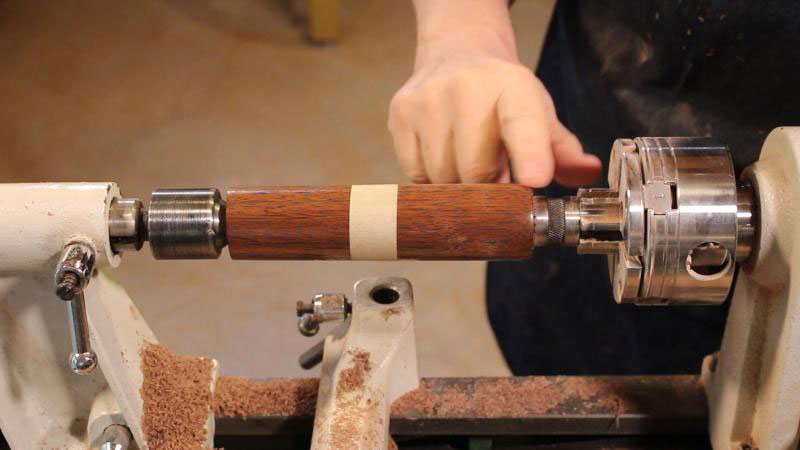
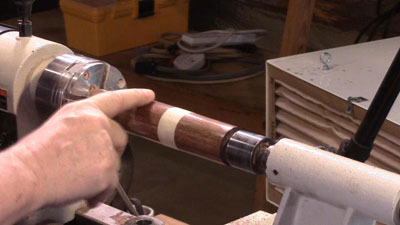
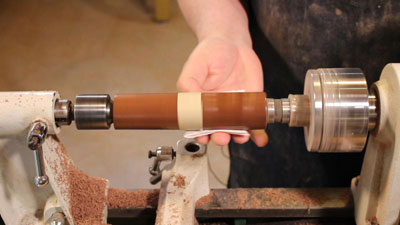
that I detail below, I am using a seven inch length of walnut, about 1-1/2 inches in diameter. Before each test (except the sanding test), I bring the surface down to bare wood, and then sand with 150, 240, 320, 400, 600, 800, and 1000 grit paper. I put a strip of masking tape in the middle of the workpiece so that I have two sides to experiment with.

|
Figure 8 - My test subject - walnut, divided into two sides
by a strip of masking tape
|
Test #1 – Does Sanding to a High (Fine) Grit Make a Difference in the Friction Polish Finish?
This sounds like a no-brainer, right? Everyone knows that sanding to a finer grit will yield a better finish. Yet I have seen many woodturners saying they only sand down to 220 grit or 400 grit before they apply a finish.

|
|
Figure 9 – The Sanding Test
|
|
Figure 10 - The left side is sanded down to 1000 grit -
the right side is only sanded to 320 grit
|
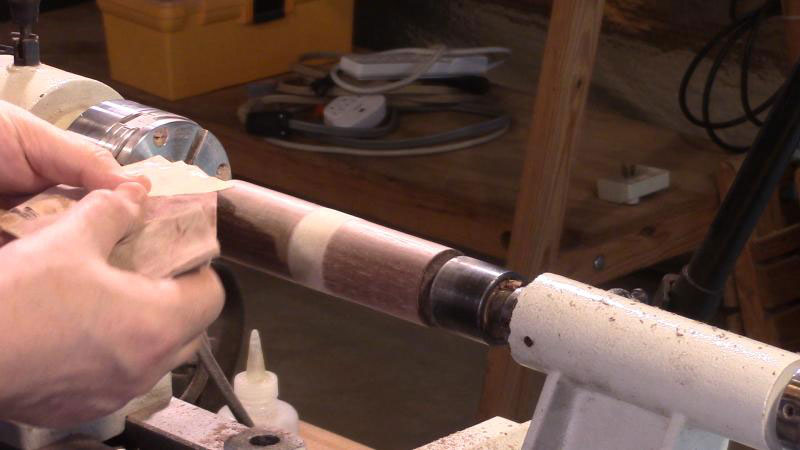
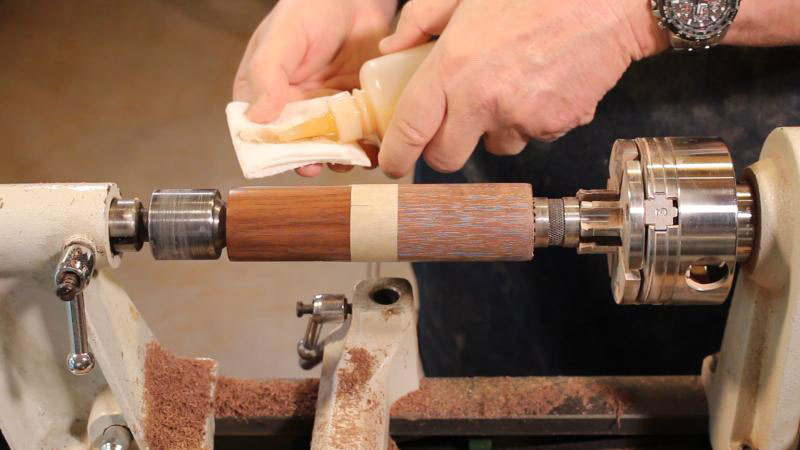
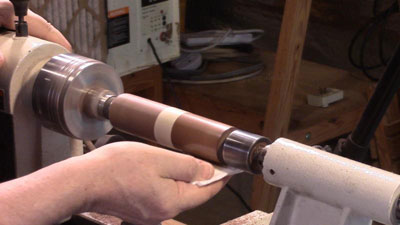
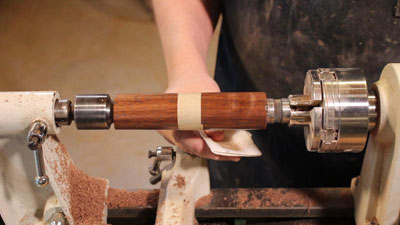
On my test piece, I sanded the left-hand side from 150 to 1000 grit, and the right-hand side with only three grits – 150, 240, and 320. I am using one-half of a paper towel to apply the friction polish to both sides. With the lathe off, I put the first coat of polish on the workpiece, both left and right sides, with a paper towel.

|
|
Figure 11 - Using a paper towel to apply the polish
|
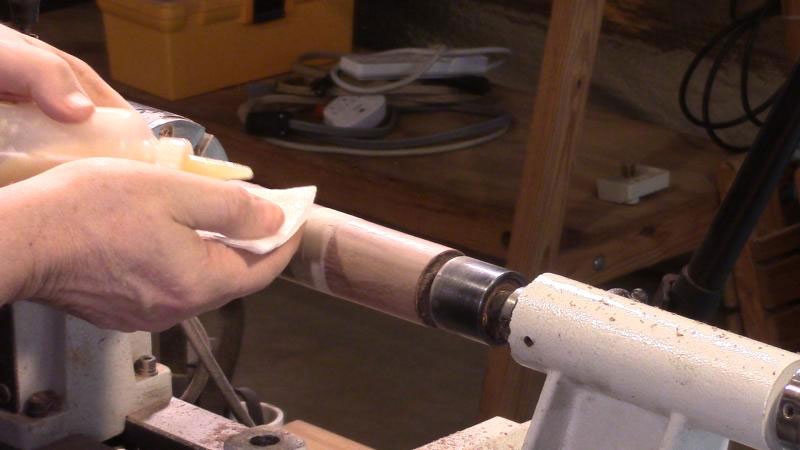
I then turn the lathe on, running at about 2600 rpm. I put a little more polish on my paper towel, and polish both sides for 15 seconds or so. Then I put on a second coat, adding the polish to the paper towel first, then applying the paper towel to the spinning work.

|
Figure 12 - After wiping on polish over the whole piece, I turn on the lathe
and apply another coat of polish with the lathe running
|
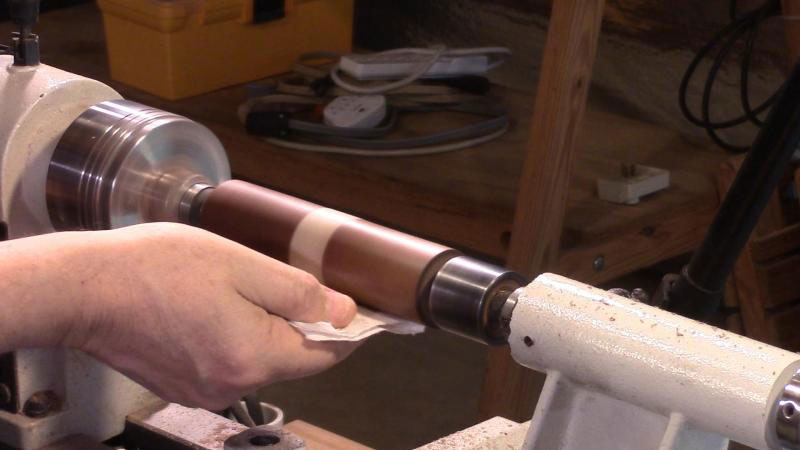
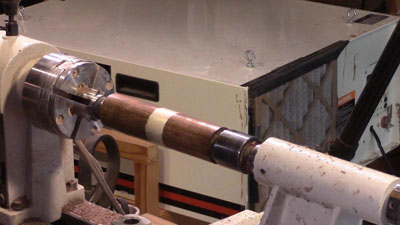
It doesn't show all that well in the photo, but the left side, sanded all the way to 1000 grit, has a brighter, glossier surface. Sanding does make a difference!
If you don't really care for extreme sanding, however, take heart…the difference, although noticeable, is not huge. The side sanded only to 320 grit still looks very good.

|
|
Figure 13 - Result - the left side is glossier
|
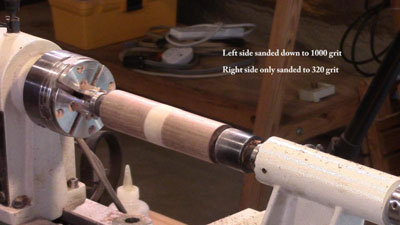
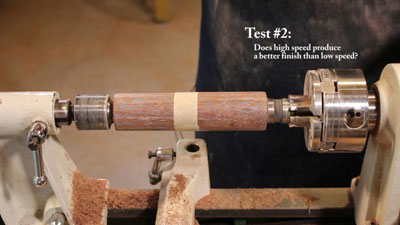
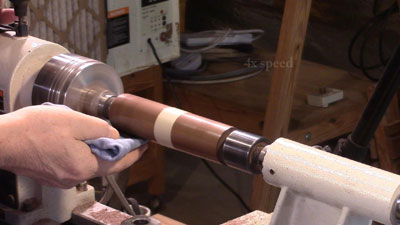
Test #2 – Is a Faster Lathe Speed Better Than Slow?
The instructions on my first bottle of friction polish said to turn the lathe up fast, and by golly, I did that! My criteria for many years has been to polish until my fingers are uncomfortably hot. Since I only use friction polish on small diameter items, I turn the speed up to 3000 rpm or more. But is that really necessary? A number of YouTube videos by turners I highly respect show the lathe running as slow as 400 rpm.
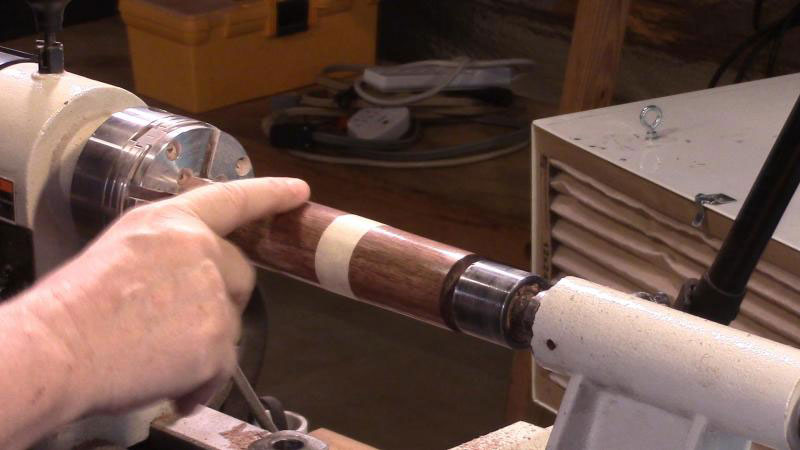
For this test, I once again have my walnut workpiece, cut back to bare wood and sanded to 1000 grit. The tailstock side will get polished at high speed, about 2700 rpm. The headstock side will get polished at 400 rpm.
|
|
Figure 14 - Test 2 - High speed application vs low speed application
|
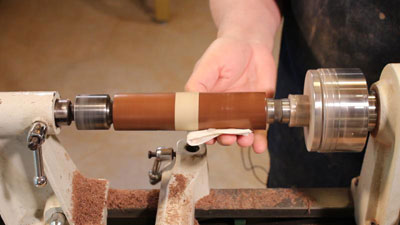
I polish the tailstock side first, with two coats of friction polish, at 2700 rpm.

|
|
Figure 15 - Preparing for the second coat on the high speed side
|
On the headstock side, I apply polish exactly as I did on the left side, but at only 400 rpm – two coats of polish, and a fresh paper towel.
|
|
Figure 16 - Second coat of friction polish at 400 rpm
|
At the lower speed, the applicator does not get very hot at all – nowhere near as hot as when I polish at high speed. So is there enough friction going on?
|
Figure 17 - (Change of camera angle!) After polishing both sides
at different speeds
|
Apparently there is, and that surprises me! I did have to polish longer on the low speed (headstock) side, but the result is a slightly better shine at the lower speed. Since I polished longer at low speed, I went back to the high speed (tailstock) side and polished some more (more time, but no more liquid polish). Even after that extra buffing, the low speed side was slightly glossier. It
is
a small difference – but the results of this test demonstrate (at least to my satisfaction) that the lathe speed doesn't make much difference – applying and polishing at a low speed is as good as, and possibly slightly better than polishing at a high speed.
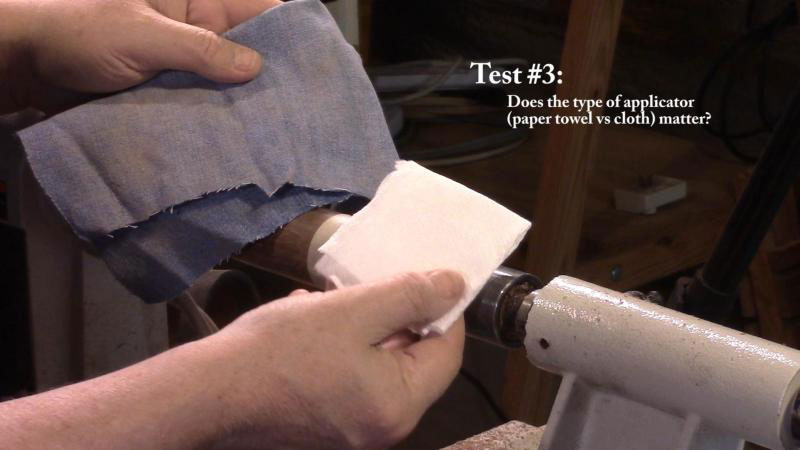
Test #3 – Type of Applicator (Cloth vs Paper Towel)
I've always used a paper towel to apply friction polish and never had a problem with it – paper towel is, of course, safer than using something that doesn't tear easily, such as cloth. However, online and in YouTube videos, I have seen turners mention using different types of cloth as an applicator. So perhaps I could have been getting even better results all these years if I had used a cloth instead of paper towel.

|
|
Figure 18 - Test 3 - Applying friction polish with a paper towel vs a cloth
|
For this test I am using a clean piece of paper towel on one side of my test workpiece, and a fresh piece of very soft woven cotton cloth on the other side. Again, the workpiece has been cut down to bare wood, and sanded on both headstock and tailstock sides to 1000 grit.
|
|
Figure 19 - Applicator Test - Paper towel on the tailstock side
|
I apply two coats of friction polish to both sides, with the lathe running at 2700 rpm, and spending the same length of time polishing on each side.
|
|
Figure 20 - Applicator Test - Cloth on the headstock side
|
Some comments I have seen led me to believe that a cloth might leave marks on the surface, caused by the weave of the cloth.

|
|
Figure 21 - Side by side comparison of the applicator test
|
However, I do not see any significant difference between the two sides of the workpiece. Since using paper towel is the safer alternative, I personally will continue to use it.
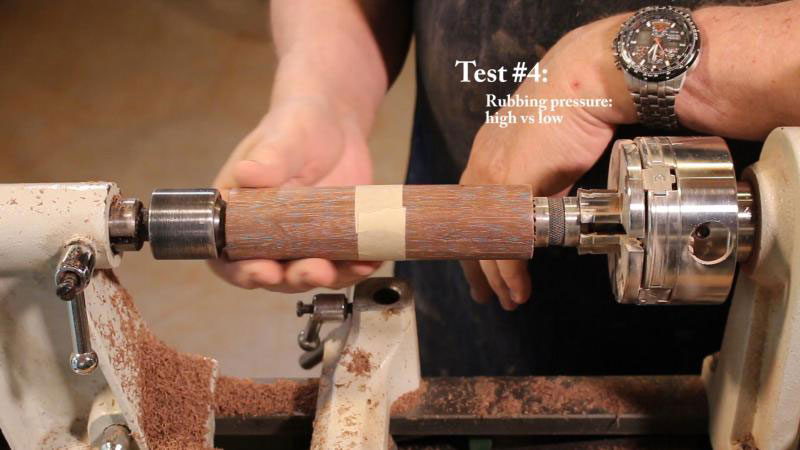
Test #4 – Heavy Pressure vs Light Pressure
I have always thought the "friction" in friction polish was due to applying it to the workpiece running at high speed and using fairly heavy pressure to "burn" it in – generating a lot of heat by friction to evaporate the alcohol thinner and set the shellac base.
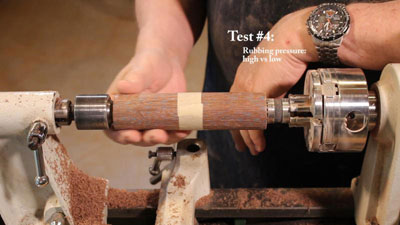
|
Figure 22 - Test 4 - Does heavy pressure during application and polishing
make a difference?
|
Again, the workpiece is "reset" to my starting specifications – bare wood, sanded to 1000 grit. For this test, I'm going to use a low lathe speed – 400 rpm – and distinguish the two sides with the degree of pressure I apply.
|
|
Figure 23 - Tailstock side is heavy pressure - headstock side is light pressure
|
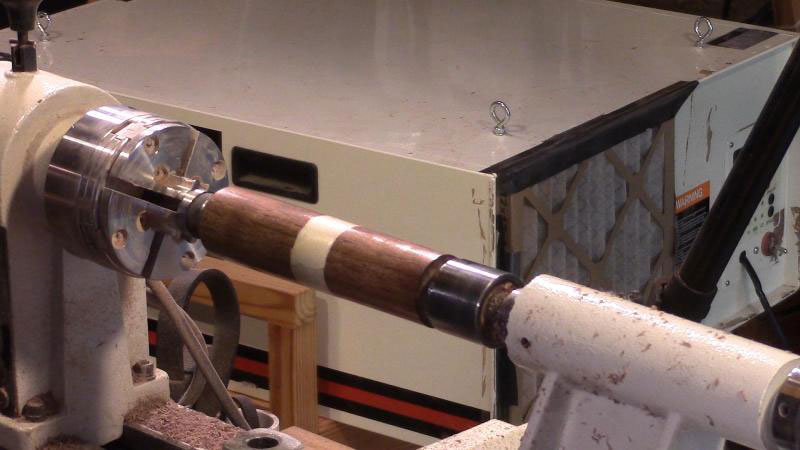
The result of this test is difficult to determine. Overall, I'd have to say that there wasn't much difference in the finish on the low pressure and high pressure sides. Both worked very well and yielded a great looking shine.
|
|
Figure 24 - High pressure vs low pressure - both sides look great
|
Test #5 – Fresh vs Old Friction Polish
What's the shelf life of friction polish? I know when I bought commercial polishes that I would only finish a bottle in a year or even more. When I mix my own, I mix smaller quantities but it still takes me four to six months to go through what I mixed.
So the last thing I want to test is the difference between using fresh friction polish and using polish that has been sitting around my shop for some time. I don't have any old polish waiting to test, so I simulated old polish by letting a small amount of friction polish, less than an ounce, sit open overnight in a small cup. This should allow some of the alcohol to evaporate, as could happen with polish sitting on the shelf for a long time.
|
Figure 25 - Test 5 Results – Once again, both sides
of (old and fresh) polish look great
|
I must admit that the results of Test 5 are inconclusive. Both sides of the test workpiece look equally good. However, I wasn't really using old polish, just polish I had left sitting open overnight. A bottle left on the shelf for a year or two might change more substantially than what I used.
That said, I have heard from various turners who report a very long shelf for friction polish, up to three years.
In Summary
Based on my testing, which I've tried to make consistent from test to test, I believe:
-
A higher degree of sanding does make a difference, but the difference is only a small one.
-
Applying friction polish at a low speed actually seems to yield a better shine than polish applied at a high speed.
-
Applying friction polish with a paper towel or woven cotton cloth doesn't make any difference. Keep in mind, however, that I only tried one piece of cloth; something else, such as a microfiber cloth or cotton balls might still exceed the results of a paper towel.
-
Application pressure doesn't make much difference.
-
A little bit of friction polish is just as good as dripping it on or pouring it on. (I didn't show any photos of this particular test). I've always seen recommendations to apply friction polish "sparingly", that the only mistake you can make is to apply too much. I can't confirm that – I got excellent results both ways. But I intend to use it sparingly, if for nothing more than economical reasons.
-
Applying friction polish first with the lathe off, versus applying the first coat by dripping it on the workpiece while the lathe is running (again, I have no pictures of this test) made no difference. So I intend to stick with putting the first coat of polish on while the lathe is off – I believe it's easier that way to ensure polish gets into every little corner around beads and so forth.
-
Finally – how many coats? I usually put on no more than two coats. In these tests, I limited it to two coats. However, I have put on as many as five coats of friction polish. There was, I believe, a small difference, not exactly in the shine, but in the "depth of finish", something that's very hard to quantify. Five coats looked a bit "richer" than one or two coats.
There are other tests I intend to make sometime. I'd like to know if there's any discernible difference in results with friction polish made with tung oil and friction polish made with boiled linseed, or even made with walnut oil. I'm also curious and want to try out friction polish made with lacquer and lacquer thinner.
I'm sure all woodturners reading this article have used friction polish – it's been around for years, and certainly isn't a secret. I hope some of the things I tried in this article shed some light on best techniques. I think my tests, if they've done nothing else, have demonstrated the tremendous versatility of friction polish.
You virtually can't make a mistake with it!
I'd love to hear any comments anyone has on friction polish and how to use it. My email address is:
rickandcathymorris@gmail.com