The "Curved" Turning Handle
by Ira Penn
Bellingham, WA
Note: Click on any picture to see a larger version.
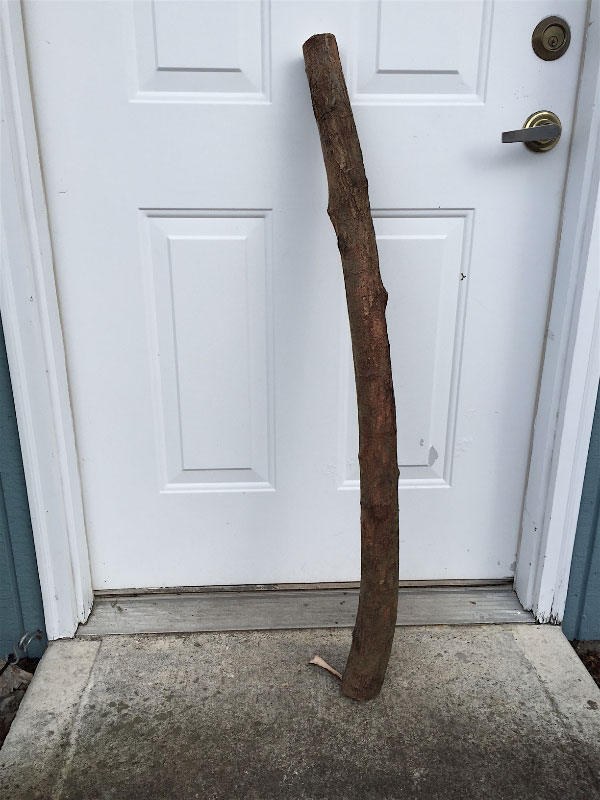
A while back I had to cut down a rather large Japanese Red Maple Tree that had decided to end its life. The trunks (there were several) were about 3" in diameter and had a curve to them. They were no good for bowls or lumber certainly, but the wood was creamy white and quite beautiful so I thought they might make nice handles for things such as ice cream scoops and pizza cutters. But when the time came to actually put the stuff to use I had an epiphany of sorts. Why only cut short handles when I could cut a long one for an entirely different purpose? Why not turn a custom handle for a carbide chisel?
Carbide chisels do not get maneuvered and turned in use like traditional ones do. The steel holding rods are square, not round. With the bottom of the rod being flat, the idea is to hold the thing at a 90-degree angle to the tool rest while turning and cut into the wood head on.
Since the handle didn't have to rotate, I figured I could use the bend in the wood to my advantage. I'd turn a handle with the natural curve intact and use it with the concave side resting against my body.
To turn a curved piece of wood where you want to maintain the curve you offset the drive center and live center so that they are closer to the concave side. How much more depends on how much curve you want to maintain in the finished piece. That way, you take more shavings from the convex side and leave the curve intact. In this case I didn't want a lot of curve so I just shifted the centers slightly.
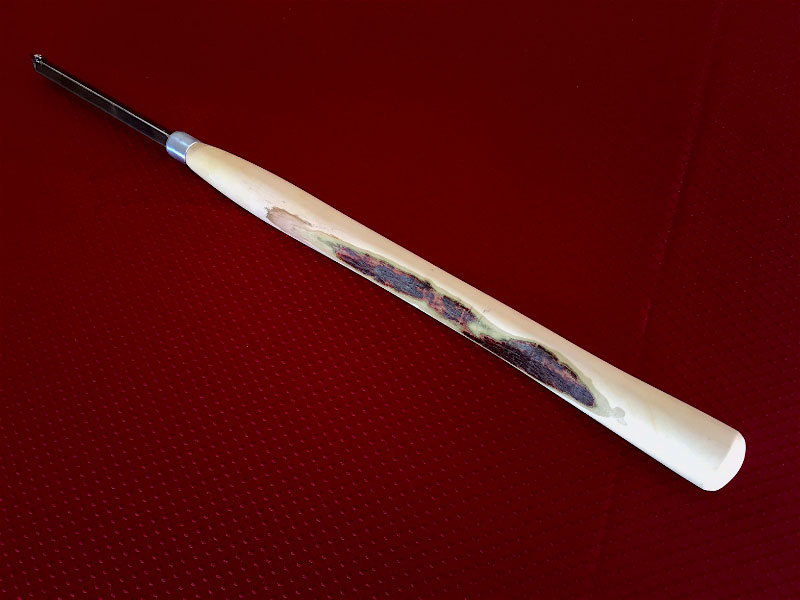
I turned the piece all the way down to finished size and then epoxied the ferrule on. I used a 3/4" x 1" x 1" steel spacer for the ferrule. When the epoxy had set, I bored the hole for the steel rod. I used a 1/2" brad point drill bit in a Jacobs chuck on the tailstock to bore. If you don't have one, a 1/2" spade bit will do. The brad point is just more solid to work with.
Then I epoxied in the steel rod making sure that the thing was positioned properly in the handle. The top has to be 90-degrees to the curve and facing up. Make sure you place the curve on the correct side of your body depending on whether you're right or left handed. Epoxy is not a forgiving glue. You can't correct this later.
Steel rods and cutter blades are available from various sources. I bought mine from
Eddie Castelin
in Louisiana. The rod came with the full length square. I had to grind down the steel to get the diameter to 1/2". But it's soft steel and the grinding is easily done on a low-grit bench grinder.
The completed chisel is below. The dark parts of the wood are bark where the curvature is. The handle itself is 21" long and the overall length of the piece is 29".
This tool has exceeded all of my expectations. The curved indentation is only 1/2" but it sure feels a lot better against my ribs than a normal round handle does.
If you have any questions you can email Ira at
rmqeditor@yahoo.com