|
At the request of my friend, Geoffrey Warner, the well-known, talented furniture designer/maker who is perhaps best known for his owl stools that he developed in his
studio/shop
in Stonington, Maine, I accepted the commission to make the turnings for a four-post, cherry bed he designed and will be building for one of his customers. To accomplish this most effectively, we broke the project into three parts:
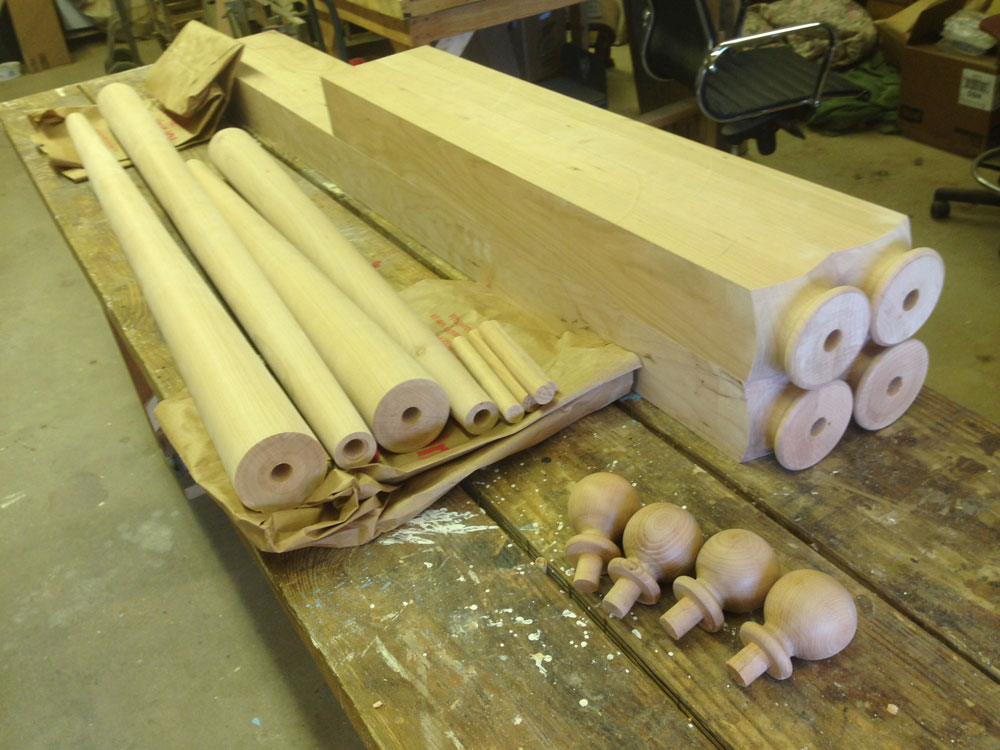
1. The base of square pommel with longer square length for the headboard and shorter for the footboard.
2. The tapered column, again with two different lengths, shorter at the headboard and longer at the footboard.
3. The topping finial with a simple ball and cove.
Each of these parts will be pinned together with turned cherry pegs to complete the overall 86" height for the finished bed.
Part I: Turning and Preparing the Base Pommels
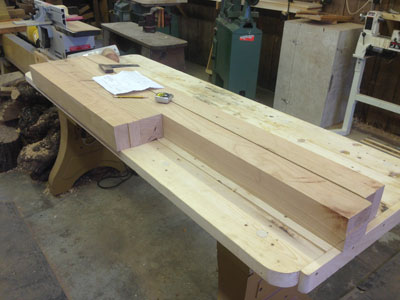
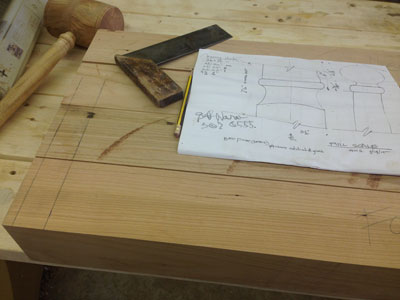
Beginning with the squared blanks, dressed to the finish dimensions on each side but cut to a longer, rough length, the layout measurements for turning the top transition element become a critical design feature. This decorative element will be a focal point of the transition as well as a convenient place to conceal the pegged joint.
|
Working from the drawings, the careful matching of the horizontal details on the wood will ensure the eye-attractive features will match across the expanse of the bed at the tall headboard while echoing the similar, shorter visual at the footboard.
|
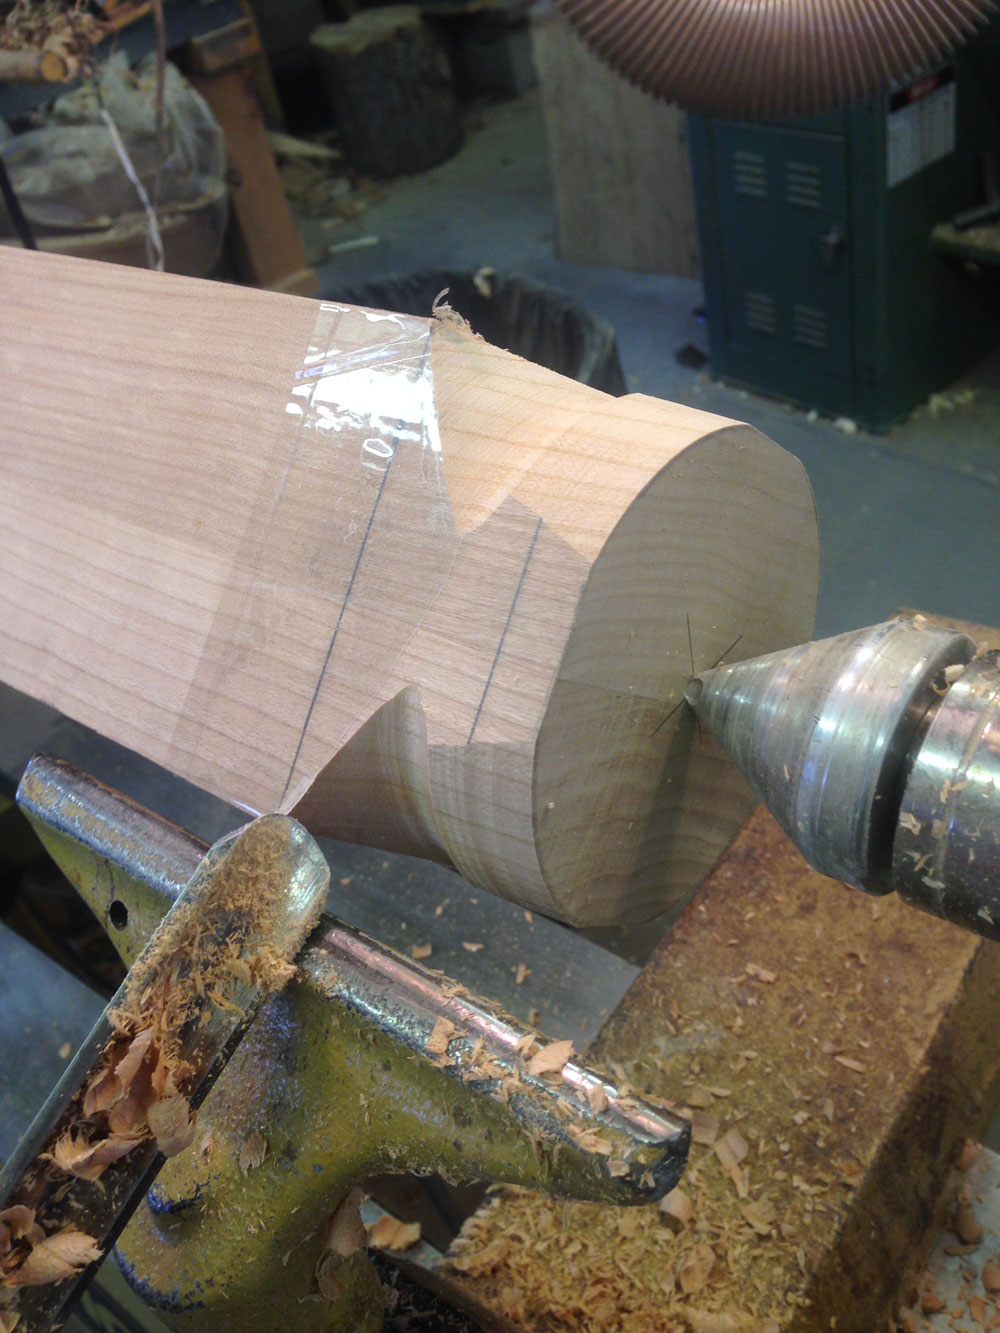
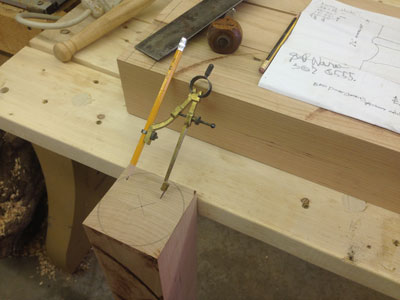
With the square legs at finished dimensions, identifying the precise center is critical. The diagonals intersect at that center.
|
Using a compass, the turner can mark the outside diameter of the full bead on the leg making that largest feature easily visible while turning. This makes it easier to work fairly quickly to the finished dimension of the planned bead.
|
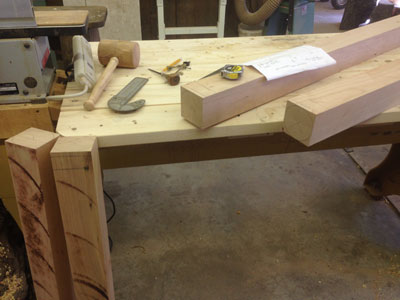
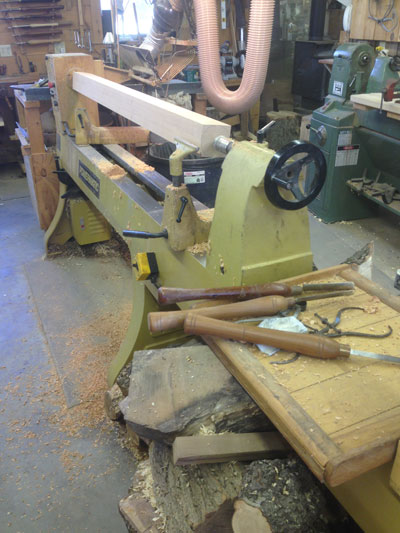
Once all four legs are measured and marked, the first leg can be positioned on the lathe and prepared for turning.
|
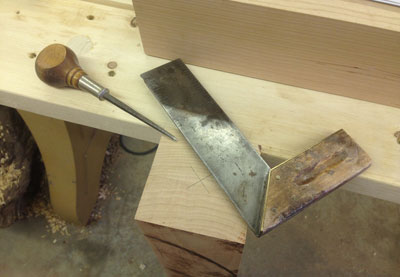
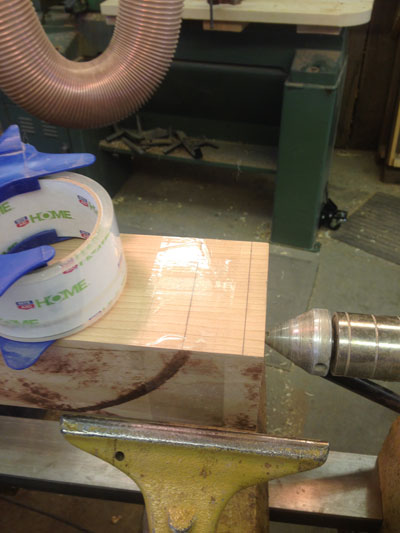
One of the tricks for making clean cuts between a square pommel and the rounded turning is to cover the transition point with strong, clear packaging tape. When the turning begins, the tape supports the fragile edges of the remaining square and avoids having it splintered off as might happen because of a weakness in the wood or a misjudged application of the cutting edge of the chisel.
|
Depending on the style of cut, the transition might be made with either a well-sharpened gouge or the skew (long point down and levered into the wood). In both cases the bevel must be rubbing to keep this cut crisp and smooth. This is also a case where practice on a different piece of wood can help avoid an irretrievable error. If the leg blank was initially cut extra-long, an error at this point could allow the turner to make the transition point further down and later cut off the false start.

|
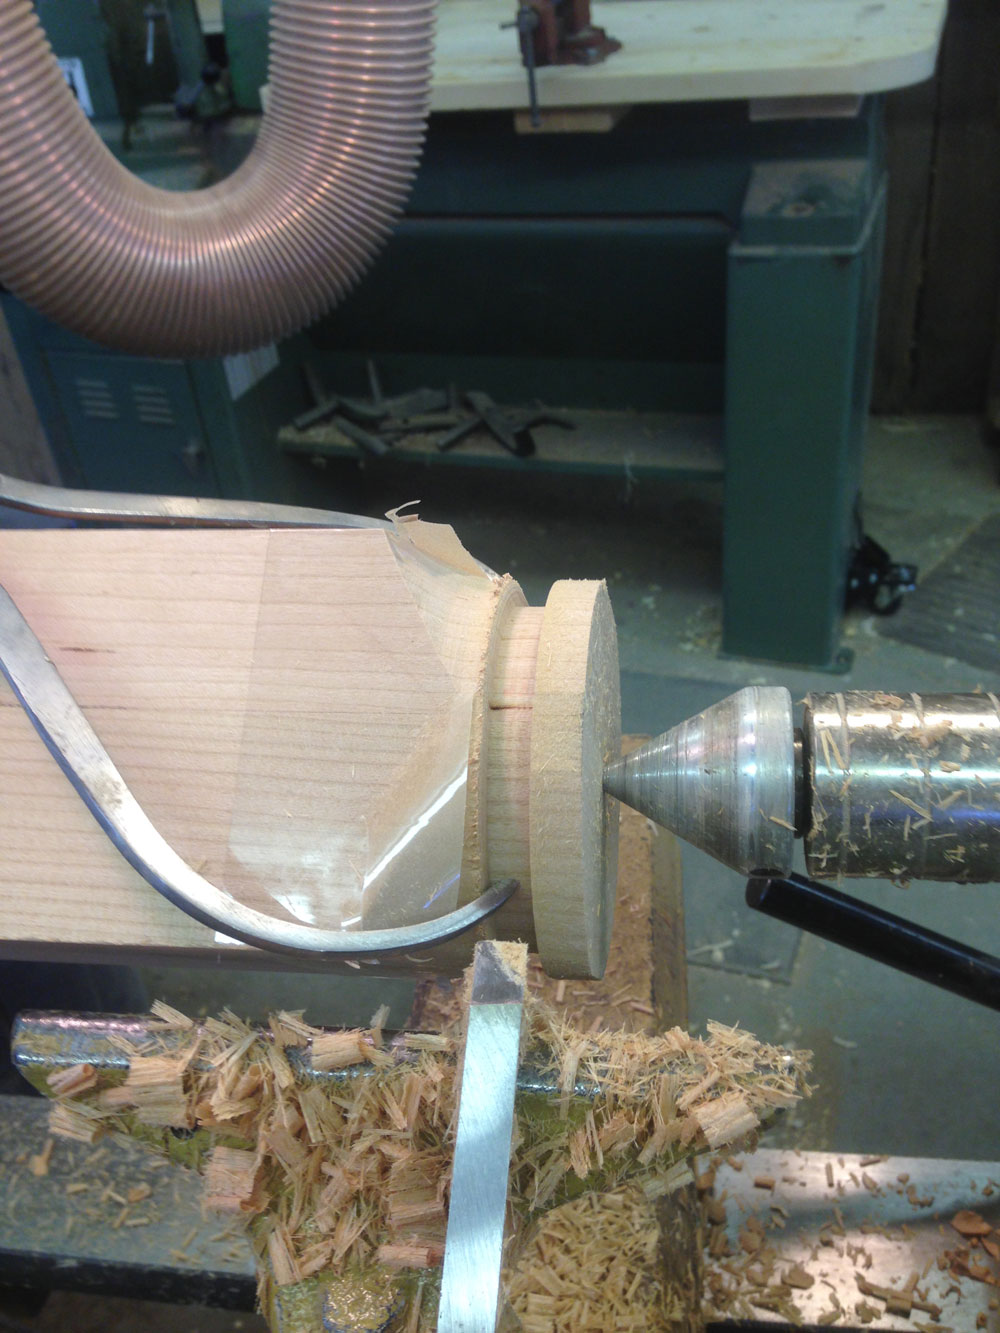
By carefully sizing the interior cove, the rounded bead and subsequent cove can be smoothly blended into the initial transition cut.

|
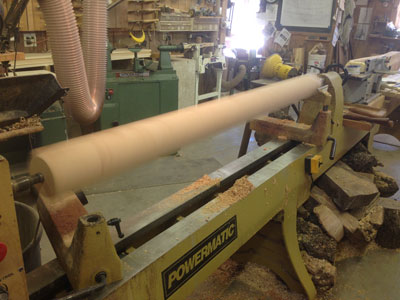
By positioning the leg with the turned transition at the tailstock, the turner can also cut the flat top with a slight dishing that will ensure a seamless connection to the tapered column that will be pinned on top. Once this is complete, use the lathe to finish sand to 220 or 320 to make it ready for later assembly and finishing.

|
|
For safety's sake, be sure the remote on/off switch is within easy reach, especially with long turnings.
|
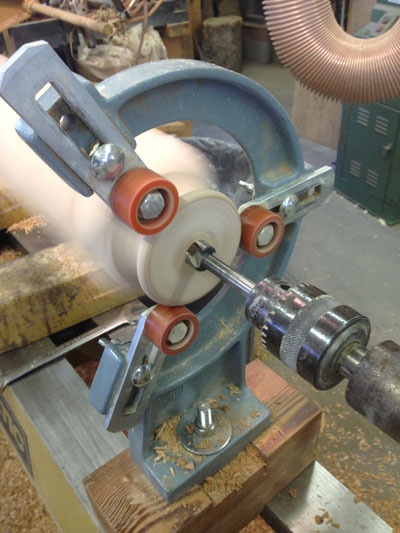
Finally, before removing the tailstock from the turned lower leg section, set up a reliable steady-rest. Drilling with the wood spinning encourages the cutting bit to seek the absolute center, keeping the ultimate pin and features of the lower leg and upper column straight and true.
|
For a number of reasons, turning shorter sections that are later joined with a center pin makes sense and produces a higher quality turning. The most obvious advantage is that the shorter turnings reduce the typical "whip" that develops as a result of the flexibility of the spinning wood. Another advantage is that the pin can actually strengthen what might otherwise be a weakened portion of the design. Where turnings are shorter, the lathe may be run at higher speeds (800 versus 300 RPM for example), and the turner can work more quickly without risking work done on other sections.
These lower section legs will be set aside in the next article where we will tackle to challenge of the matched tapered columns. In the case of this project, the beautifully clean and straight-grained cherry made all the difference in both efficiency and success.
Located in Castine, Highlands Woodturning gallery and shop offers woodturning classes and shop time, a gallery of woodturned art, custom woodturning for repairs, renovations, and architectural installations. You can email Temple at
temple@highlandswoodturning.com. Take a look at Temple's Website at
http://www.highlandswoodturning.com/.
Return to
The Highland Woodturner
front page
|