|
Click on any image to see a larger version.
The principles in this article can be used to turn off centered goblets, candle sticks, handles and other
items.
This technique can be fun and exciting but it can also be a bit wild or scary, as some have called it. There
are a few things to note about this type of turning. First, the blank will be mounted in one or more
positions or axes (FYI: axes is the plural of axis!), which results in the material spinning off center or out
of balance. This technique is also called multi-axis turning. I recommend that you be very comfortable
with the lathe and experienced enough to have developed good tool control. Secondly, make sure you
operate the lathe in a safe manner, using appropriate speeds,
safety protection
and procedures.
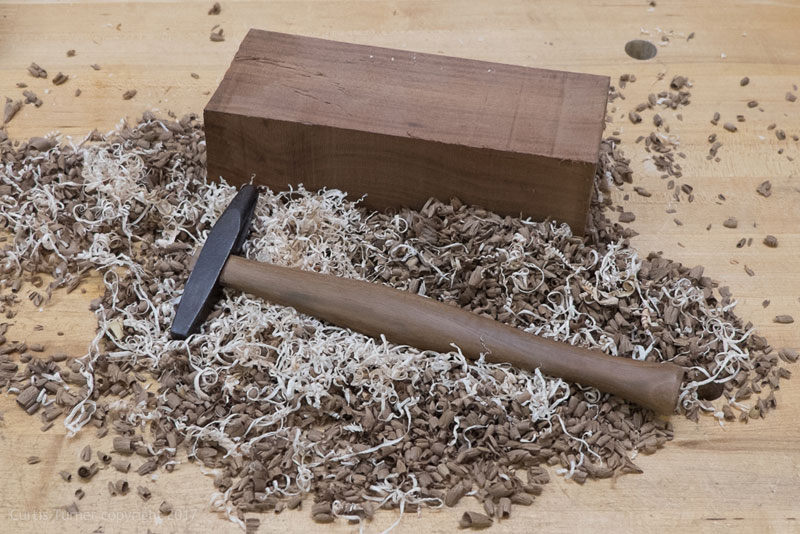
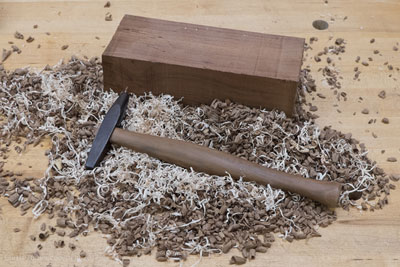
For the purpose of this article, we will focus on turning a replacement handle for a small tack hammer.
The use of this technique will result in a custom handle with an oval shape instead of a
round handle.
|
A handle shaped in this manner is more comfortable to use than a simple round or flat/square handle.
I selected a walnut blank that was about the correct size with fairly straight grain. The use of a handle
with straight grain is important for any striking tool. A straight grained handle will typically be stronger
than one in the same species that has wild twisting grain or lots of runout.
I began by squaring up the stock. This will help keep the layout lines as centered as possible. I marked
the center point on both ends of the blank. I then marked two points 3/8" off center (from the center
point). I was careful to transfer the same layout and in the same orientation on both ends.

|
In retrospect, I see that I was not careful enough in squaring the stock and laying out the center points.
This resulted in a little more shaping by hand later in the process. I positioned the blank and the layout
lines so that when the hammer head was mounted, the grain would be as parallel as possible to the
center line of the hammer head. While I did not achieve a perfect alignment, I think it will work fine,
especially for a light duty tack hammer. The grain alignment becomes more important for heavy duty
tools like large hammers or axes.
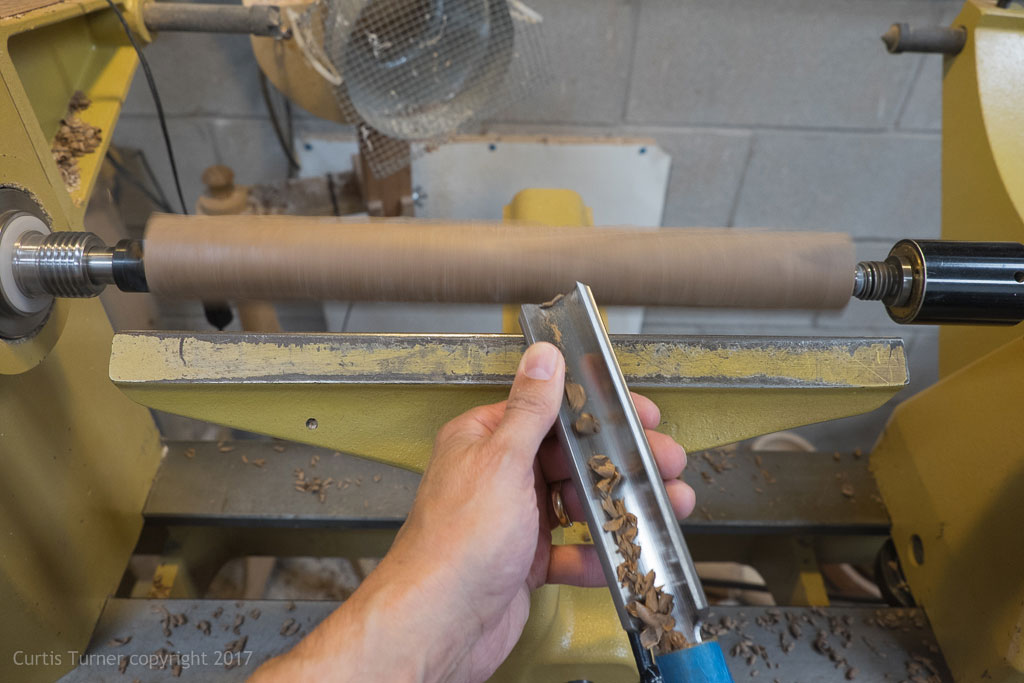
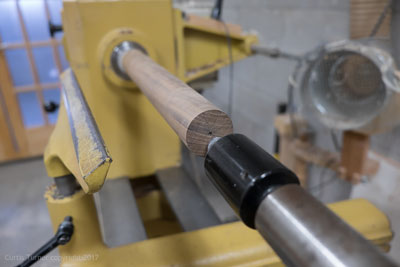
I started by turning the blank into a cylinder. Then, I moved the blank to one of the offset center points,
let's call that off center point (A).
|
I used the matching offset point on both ends. It is important to
reduce the lathe speed for the off center mounting positions. I kept the speed, while off center turning,
at less than 600 RPM. Note the ghosting and the light behind the spinning blank!
|
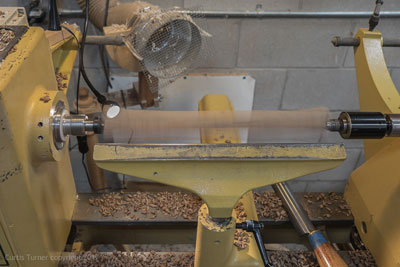
The initial rough turning of the off center portion was about 450 RPM. These slower speeds result in a less
than smooth surface.

|
I found myself sanding more than I prefer.
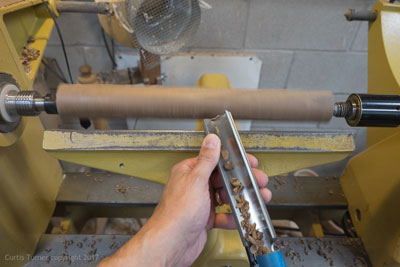
Once the initial off center points (A) were mostly shaped, I remounted the handle to the opposite off
center points (B) and repeated the prior step. I once again remounted in to points (A) and
continued to refine the shape. Then, I again remounted to off center points (B) and continued to
complete the off center portion of the turning. Lastly, I remounted the handle in the true center points
to add a bit more shape to the handle. All the turning was completed with a spindle roughing gouge and
a parting tool.
|
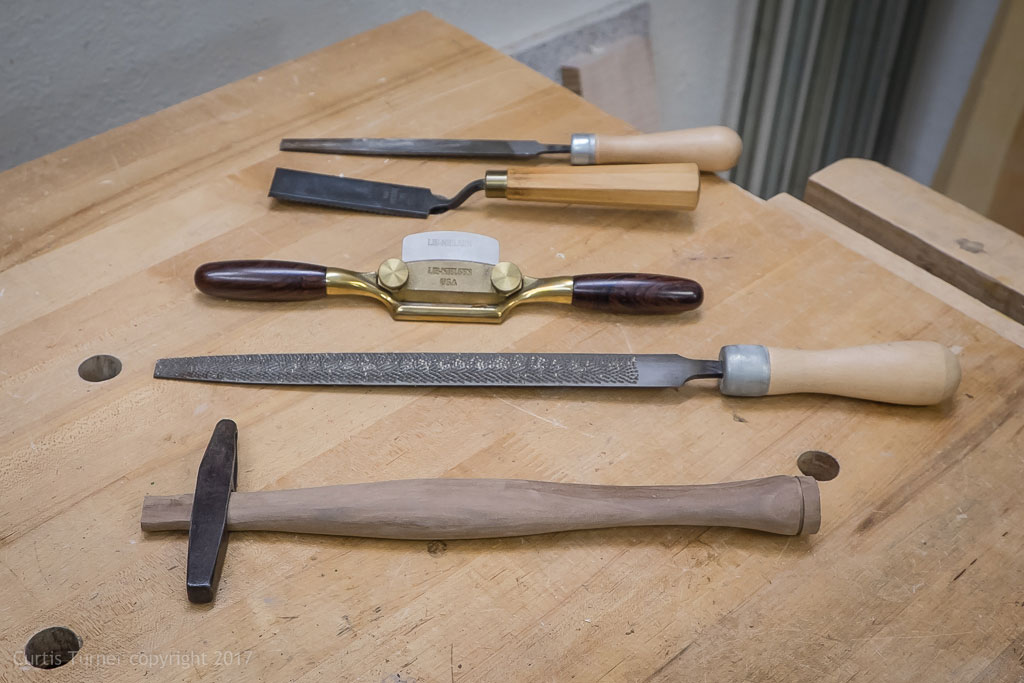
With the lathe OFF, I used a
large and small spokeshave
to blend the curves and facets.
The smaller tool followed the tighter curves where the large tool bottomed out in the
tightest portion of the curves. I then followed with sandpaper up to 400 grit. I did make a shallow
parting cut on the end of the handle (nearest the tailstock).
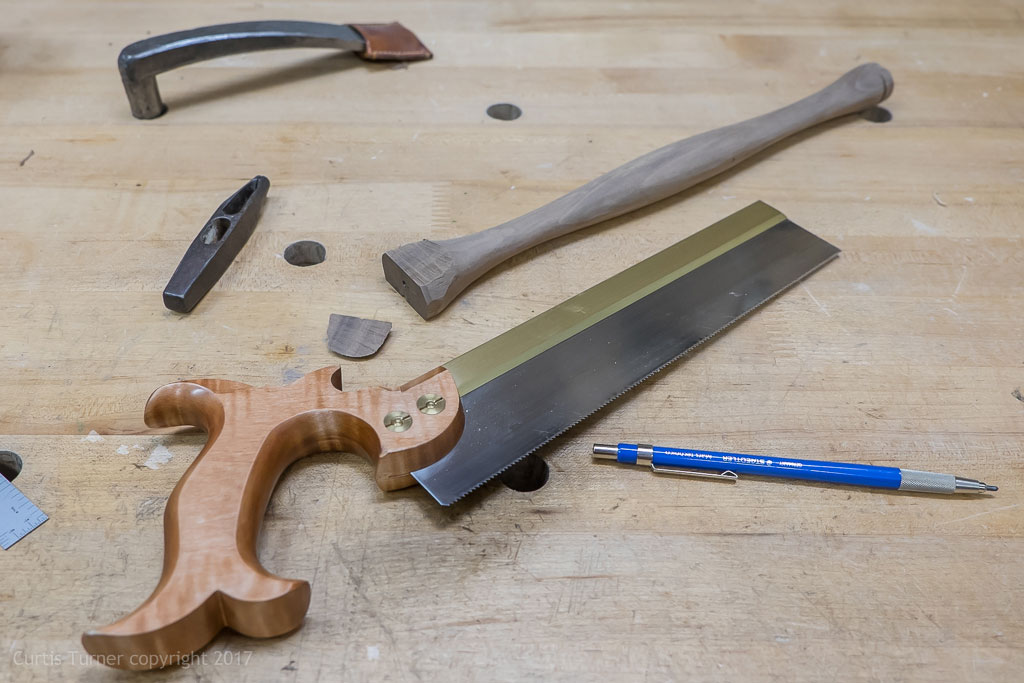
Fitting the Handle
A small
dovetail saw
was used to cut away a bulk of the wood in preparation for the creation of a tenon
that will fit the hammer.
I used several tools to shape the tenon including rasps, files, a spokeshave and a float.
It is not necessary to use all of these tools. I simply wanted to
research various tools to determine the best methods. I found the spokeshave and
rasp
to be the most
effective tools to fit the tenon.
This process is a bit long and tedious, as it requires one to remove some material from each side of the
tenon and test the fit then repeat this process numerous times until the correct fit is achieved.
I also used a hand saw to trim way the end of the handle where I made the parting cut.
Then I cut a slot in the tenon to receive a wedge.
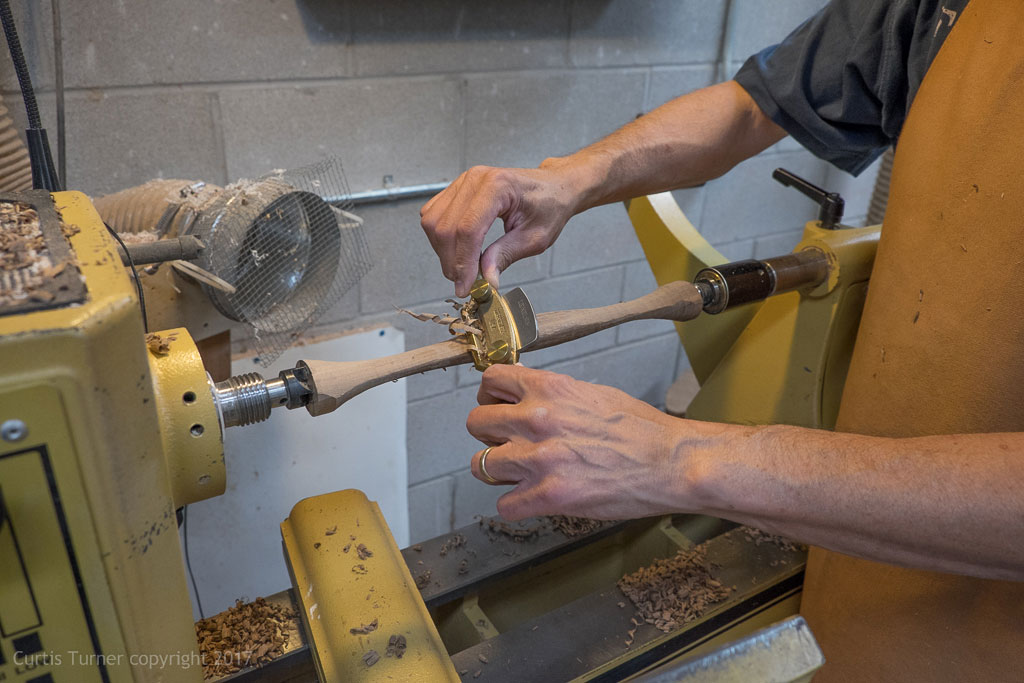
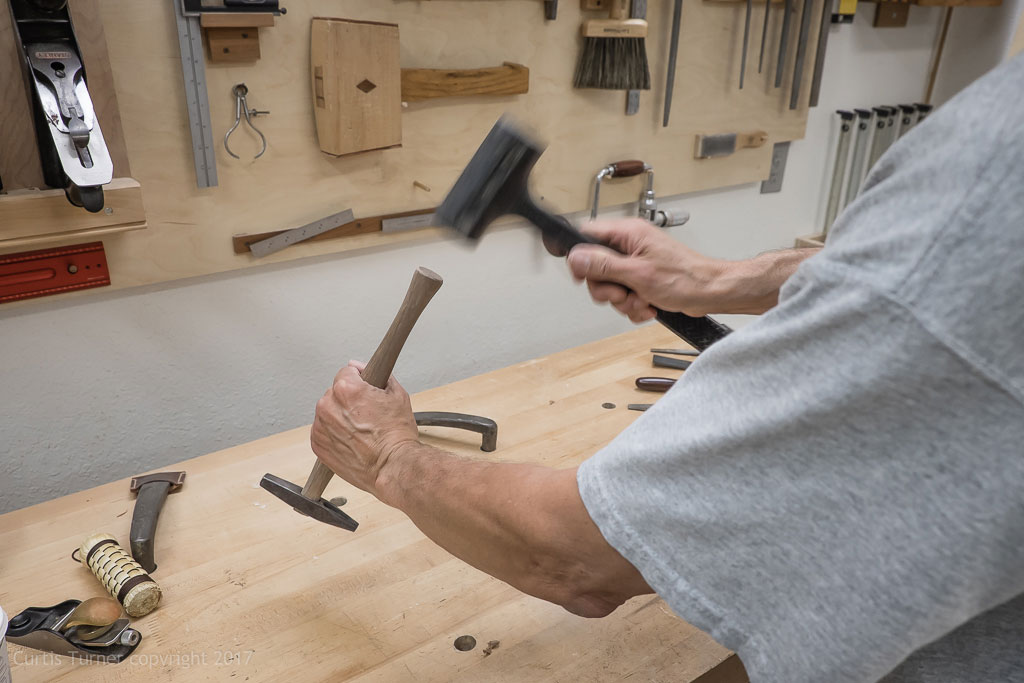
Hanging the Head
I installed the head by holding the hammer upside down and used a dead blow mallet to strike the end
of the handle.
This technique drives the head tight onto the handle. I then checked to ensure the head was mounted straight on the handle.
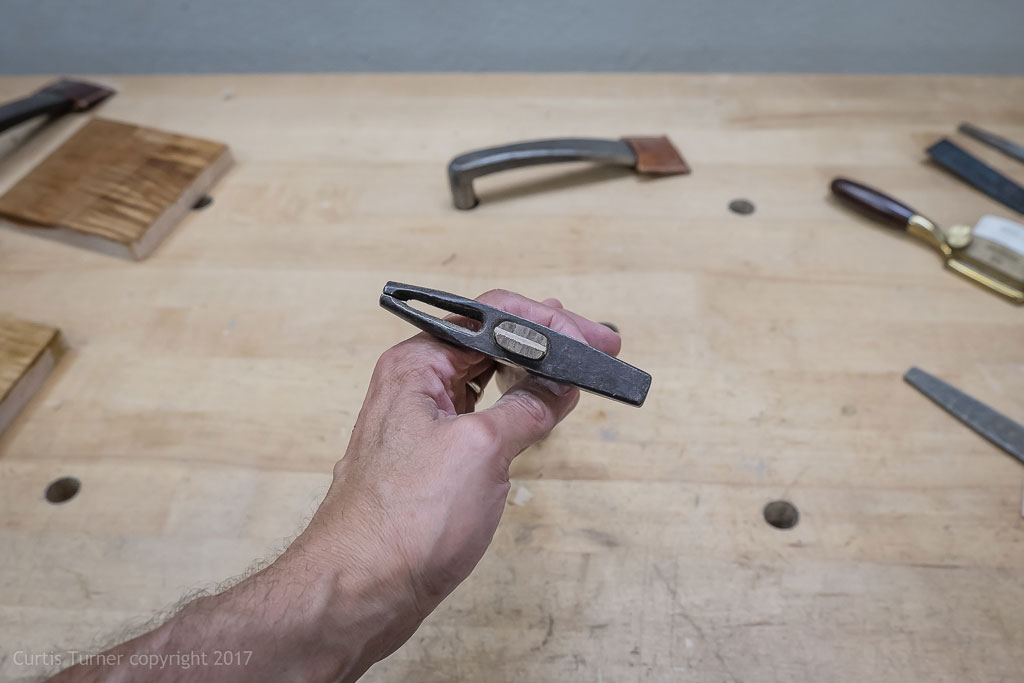
Installing the Wedge
I chose maple for the wedge, because it contrasts nicely with the dark walnut. I placed the maple wedge
into the slot and hammered it in until the wedge seated in the head.
The wedge splayed out the tenon creating a very tight fit.
I then cut off the excess tenon. I opted to not glue
in the wedge. Again, this will see only light duty as an adjusting hammer for plane blades. You may also
notice that the swell in the handle is slightly closer to the head than centered along the handle length. I
have found when I use
other plane adjusting hammers; I tend to choke up on the handle. So, by moving
the swell forward a bit, I will have a more comfortable grip. The handle is almost exactly the same
length as my other light duty hammers which means this hammer can still be used at full length to drive
in the occasional tack.
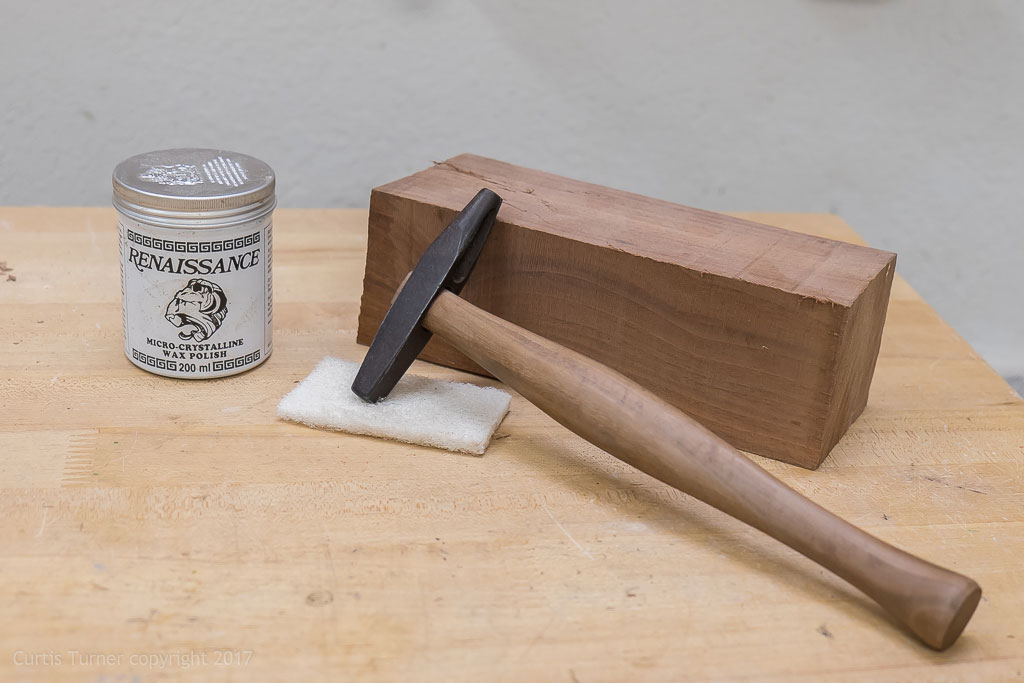
The Finish
The
Renaissance Wax finish
was applied with a white
scotch brite pad.
This created a smooth warm feel and an appearance that matched the vintage vibe of the old hammer head.
Curtis is a former President of
Central Texas Woodturners, a member of the
American Association of Woodturners, and a member of
Fine Woodworkers of Austin. Curtis teaches and demonstrates nationally for Lie-Nielsen Toolworks. He also teaches for TechShop. He owns a studio where he teaches and works. Curtis lives in Central Texas with his wife and four young children. Take a look at his website at
www.curtisturnerstudio.com.
Return to
The Highland Woodturner
front page
|