|
Click on any image to see a larger version.
One of the typical quandaries of woodturning matched-grain, lidded boxes begins with the initial decision of whether to turn and part off the top in its upright vertical orientation or whether to turn the top inverted. Like many such woodturning puzzles, the answer lies in the wood and the artisan's vision of the completed box, but the actual decision must be made as a beginning step in the process and actually does make a difference.
Standard Step-by-Step Process
|
|
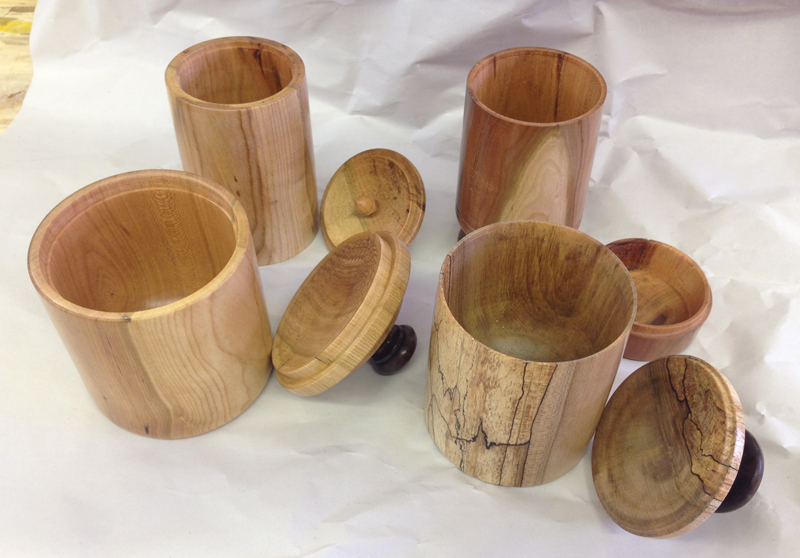
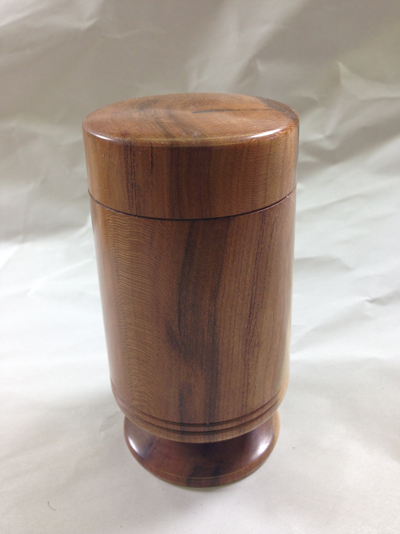
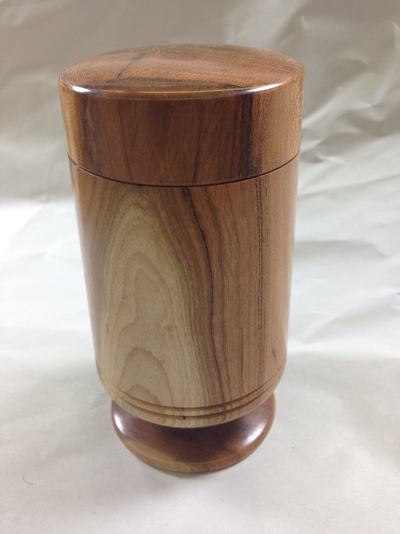
Consider a simple cherry box with a tight-fitted, no knob lid that was inverted when fitted to the body.

|
In this case, the grain does not line up, and while the box and top can be turned as separate pieces, the process for this box from a single piece was to:
-
Begin with a smooth turned cylinder that includes the full length of body and top plus extra (this one was 5-1/2” X 2-3/4” as a cylinder)
-
Hollow the inside of the lid first after defining the tenon that will connect the two parts
-
Carefully finish the inside of the lid
-
Define the top of the lid
-
Part off the lid, leaving a little extra to later cut smooth for the outside top
-
Define the body of the box and hollow slightly
-
Fit the lid tightly to the body, and finish the top of the lid (typically with the long point of the skew chisel to get a smooth end-grain cut)
-
Remove the lid (this should be difficult but a sharp knife or thin chisel can help pry them apart) and finish hollowing the body of the box without damaging the connecting seal for the lid
-
After sanding and finishing the inside of the body, replace the lid and finish the outside of the body of the box. (Typically this only needs a coat of friction polish and/or wax.)
-
Part off the finished box and smooth the bottom before adding signature and a coat of finish.
This description explains the usual process of making almost any lidded box on the lathe with the variations that re-organize the beginning steps depending on the plan for the lid.
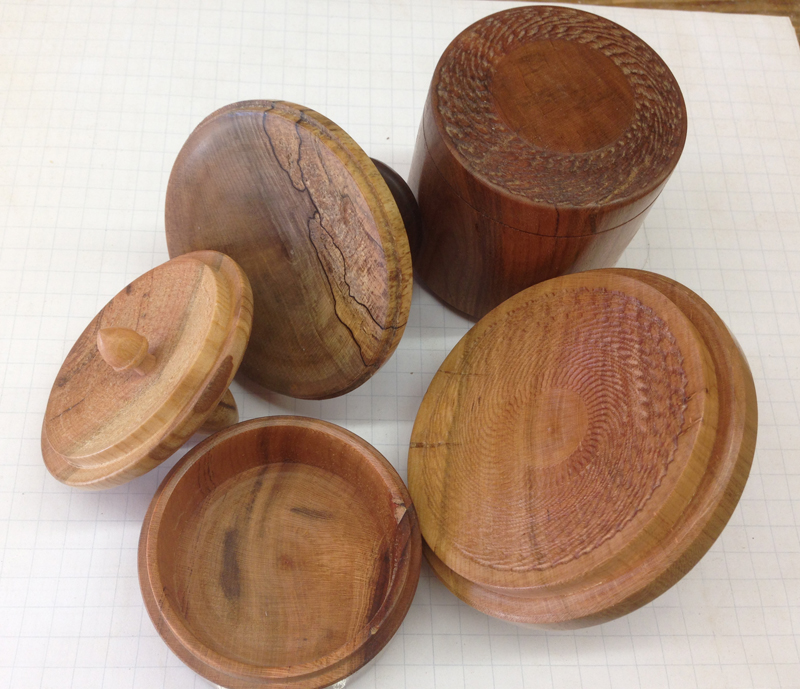
A Short Aside to Examine an Issue of Engineering the Connecting Link
Before proceeding, it seems timely to address the issue of how the lid and body connect. One way is to have the body sides smooth and allow the lid to have a tenon that fits inside it. My experience is that this is preferred when the lid is fitted because there is the least opportunity for later damage to the finished piece, and the firm tenon from the lid best manages the potential slight warping from the wood continuing to dry.
The other method, and one subject to later damage, is to leave the body-sides thicker with a protruding interior raised tenon around which the outer ring of the top will fit. The problem with this method should be evident: first, the small box with thick side-walls will seem clunky and unexpectedly heavy; second, the thin, protruding interior raised tenon on the body is subject to fracture and damage; third, the thin external ring on the top presents similar potential for damage.
For these reasons, my turned boxes all have lid tenons that insert into the mortise of the body. (This is not true when the lids are threaded and screw onto the body, which requires a thicker box wall of necessity for the stability of the threading).

|

|
Regarding the Straight Vertical Orientation of Lid-to-Body
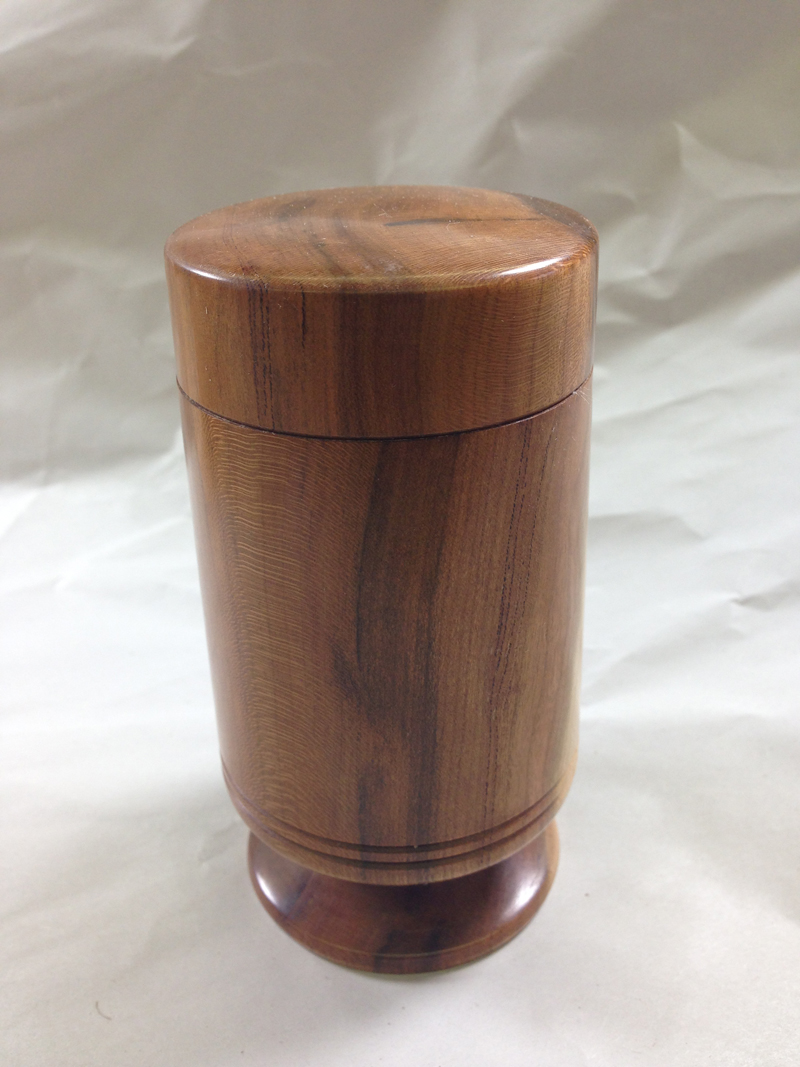
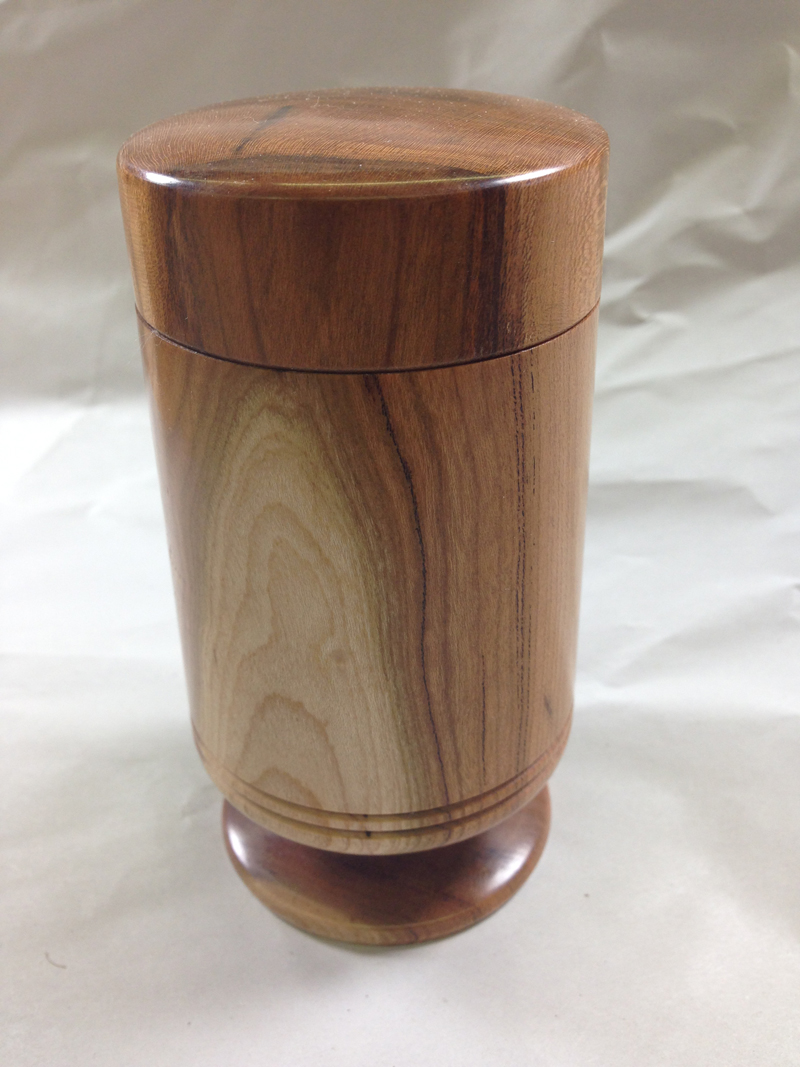
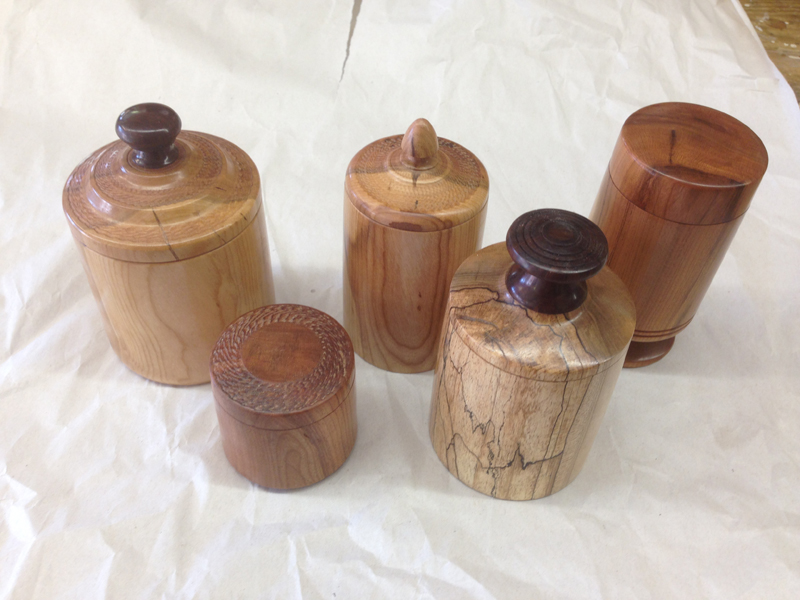
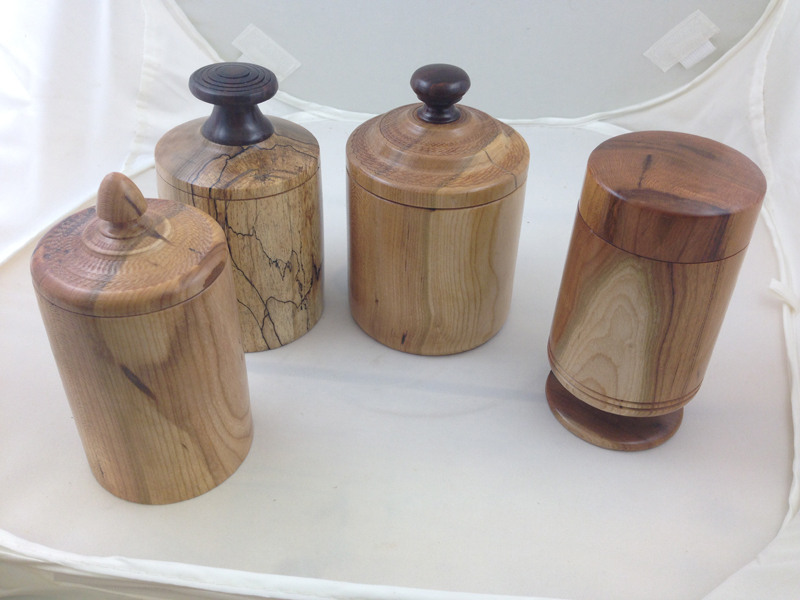
Like many woodturning projects, the process begins with carefully selecting the wood for its color, texture, and in this case trying to find and accentuate the especially lovely natural figure within the wood. Each of the boxes pictured offer challenges to the artist trying to match the design to the highly-figured wood. Two of the boxes pictured were turned with a straight vertical orientation (the top grew on the body as pictured) and two were turned with an inverted top (these will be further described later in Part 2). The viewer should be able to guess which is which.
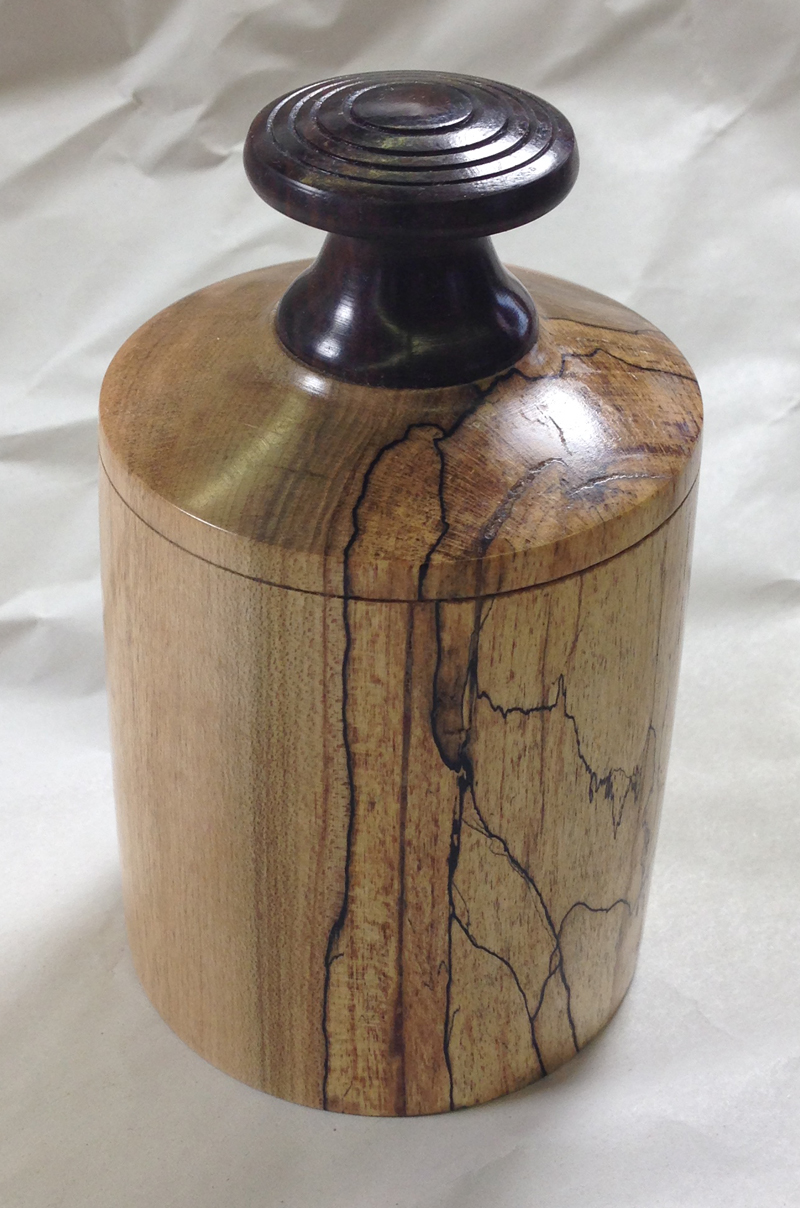
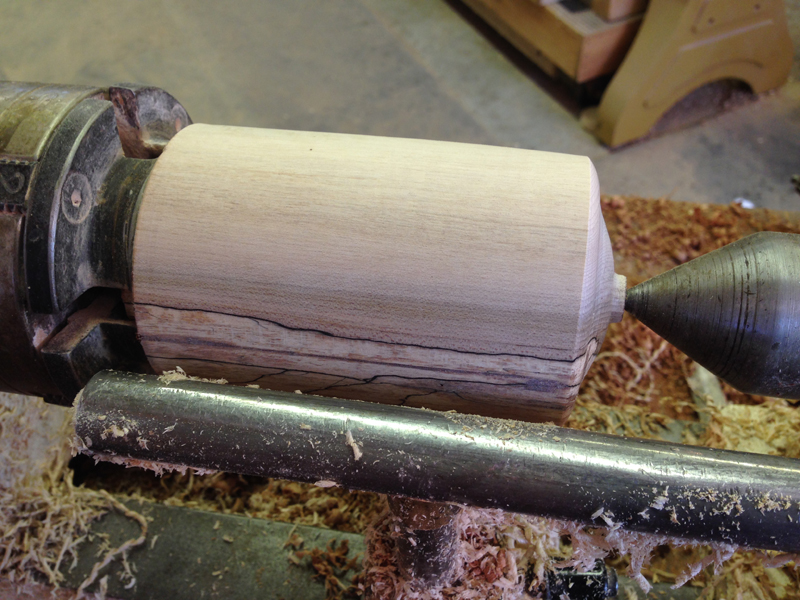
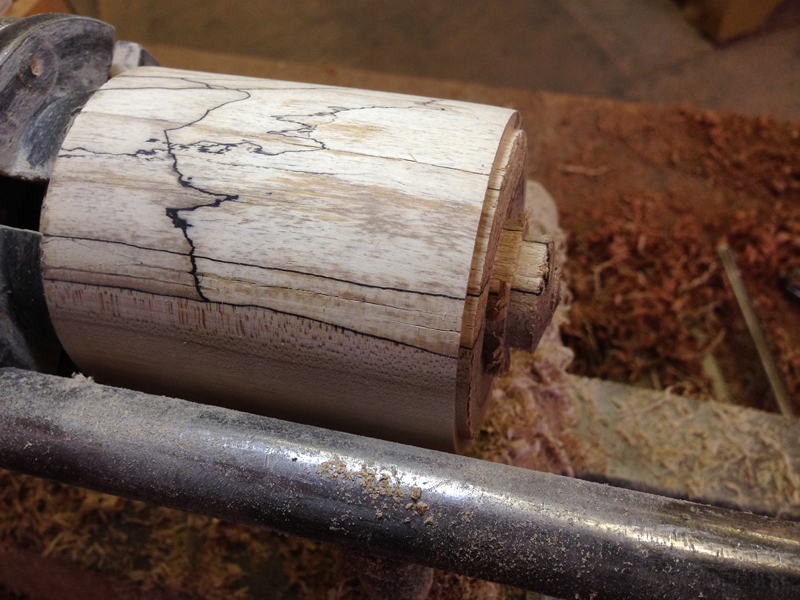
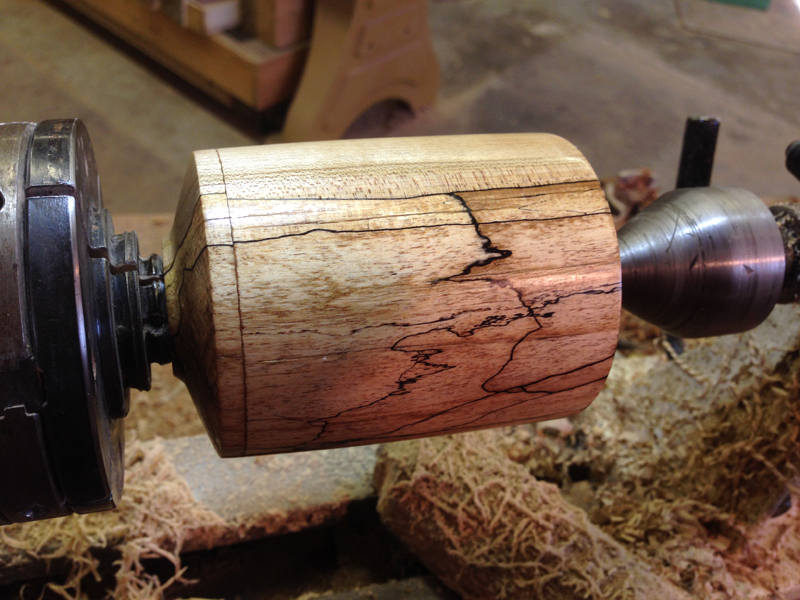
This highly-spalted maple box (below) with a black walnut knob was turned in the natural position, and the photo reveals that the matched spalted figure gives an otherwise unremarkable block of wood a startlingly impressive look that if/when the top is incorrectly applied, it will look wrong to most viewers.
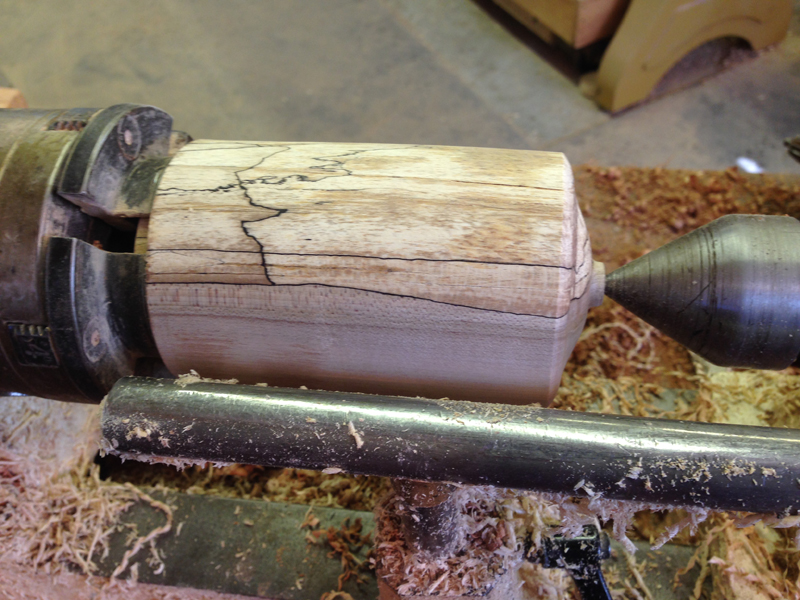
The straight vertical orientation top begins much the same way as any box with a clean, smooth cylinder of wood.
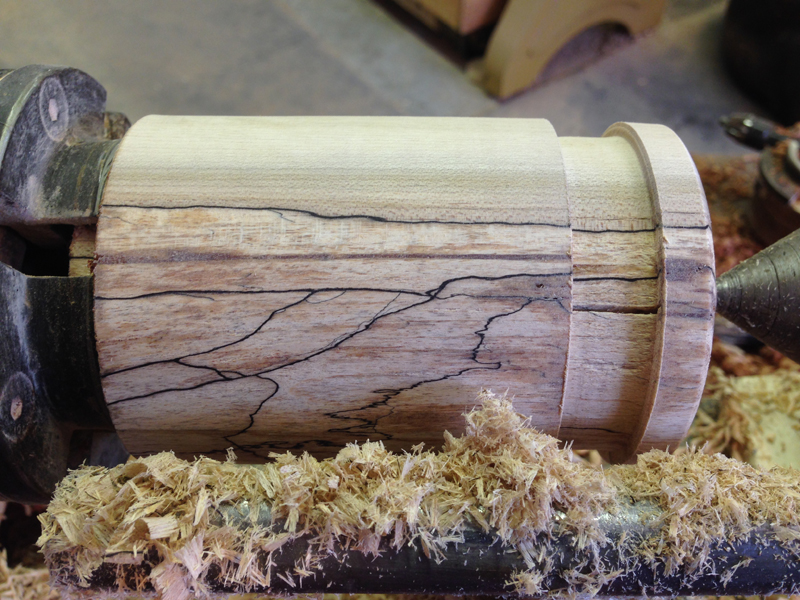
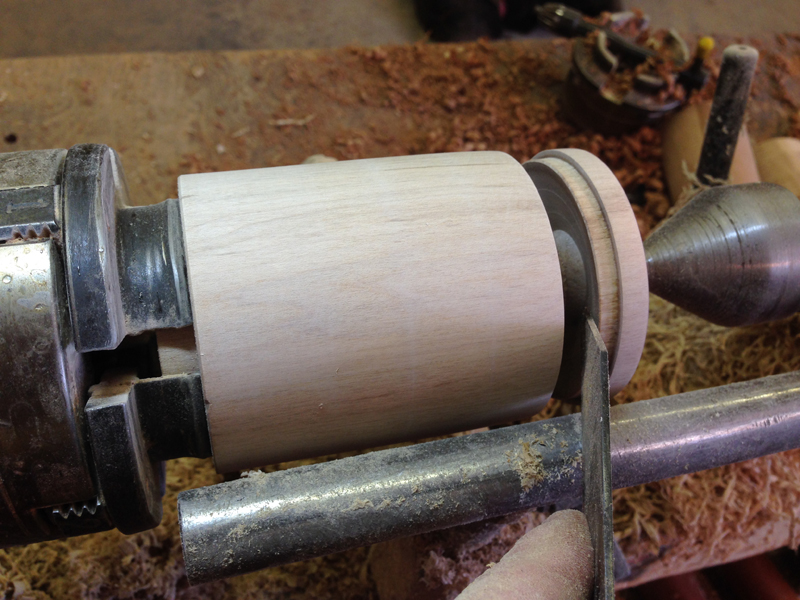
Begin by shaping the basic shape of the top of the top and turning a small tenon in the center about 3/8” (variable by the artist's smallest chuck size and the desired diameter of the knob).
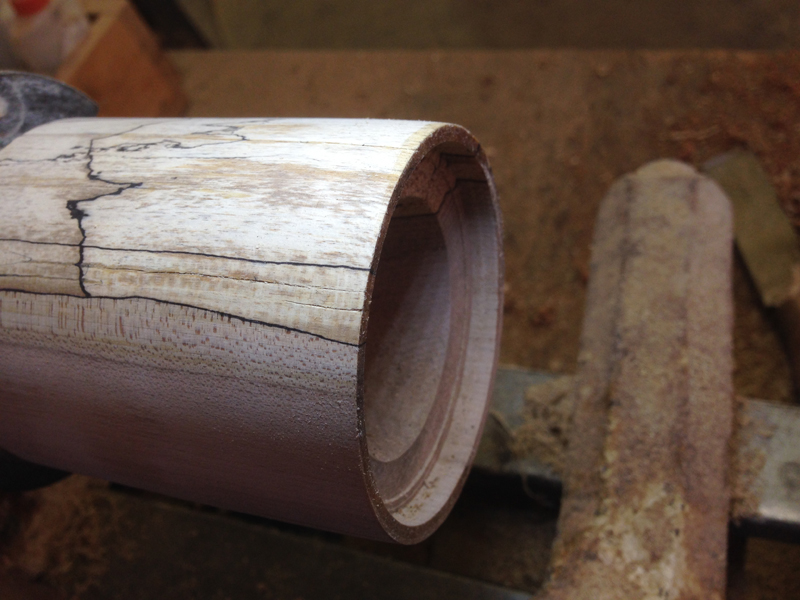
The division between body and top needs to be about twice as wide as a typical thin parting tool. The upper part (right and eventually the underside of the top) will become the fitted tenon of the top.
The lower (left) part will be where the artist parts off the top. The goal is to turn away as little of the figure as possible.
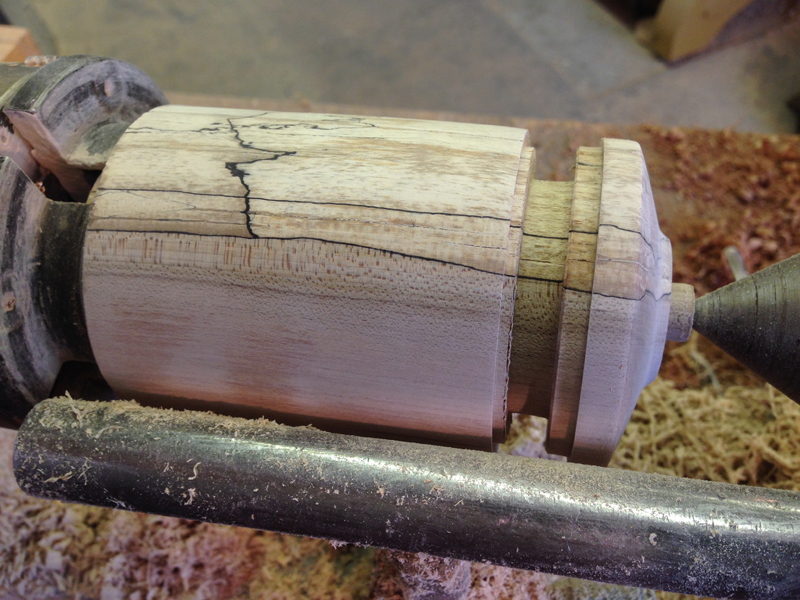
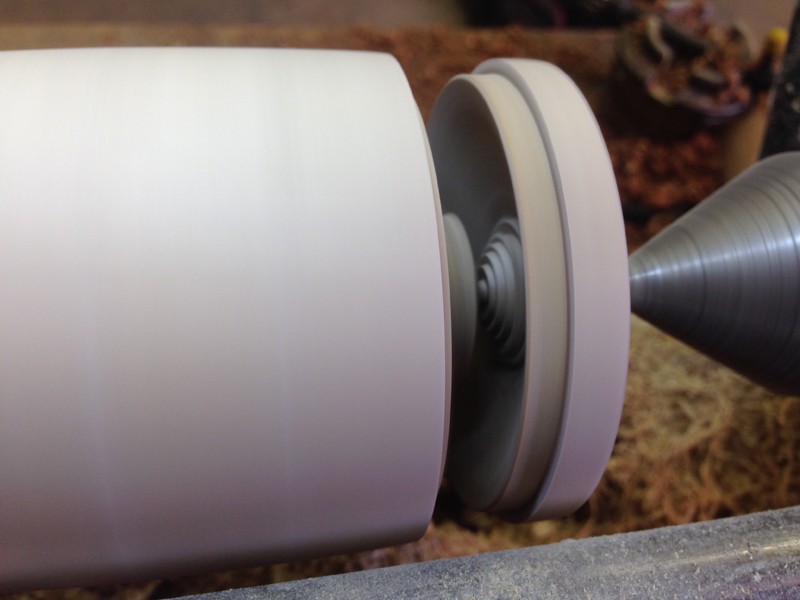
While parting off the top, use a thin parting tool (or fluted parting tool) to undercut into the underside of the top and scrape the top's surface as smooth as possible to make finishing easier later.
Gently finish parting off the top from the body.
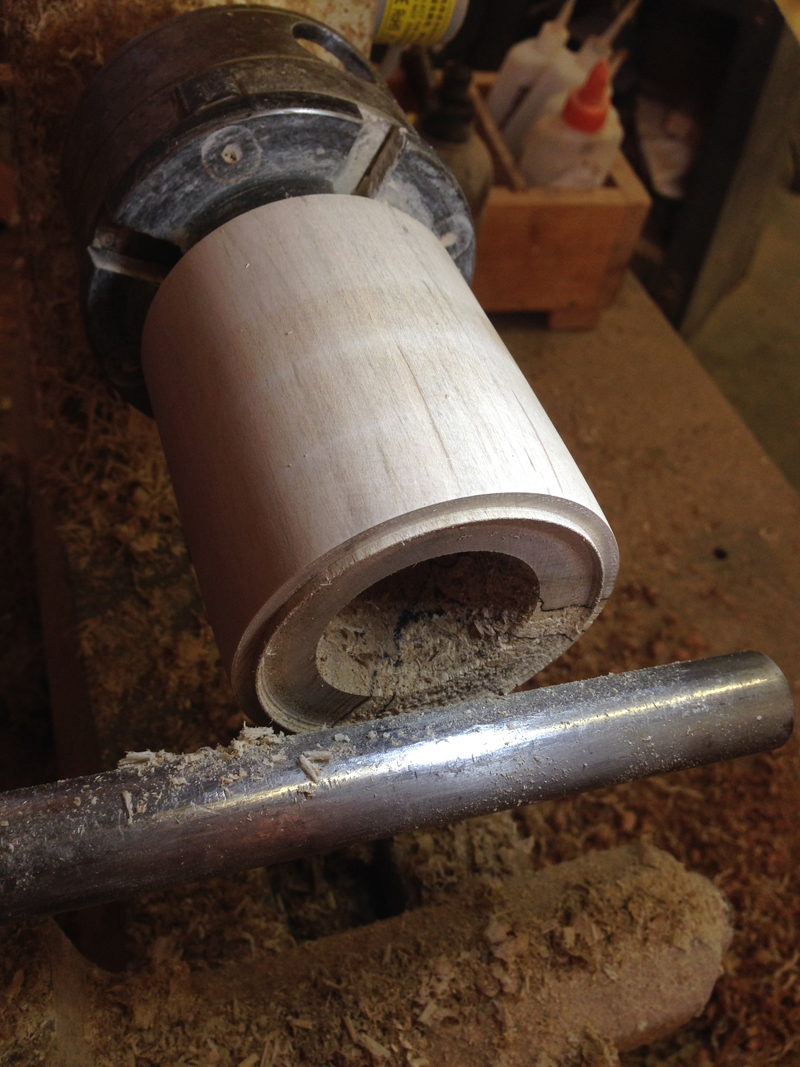
Notice the ridge left from the originally defined division of top from body offers a convenient guide for hollowing and cutting the mortise that will allow the top to fit tightly.
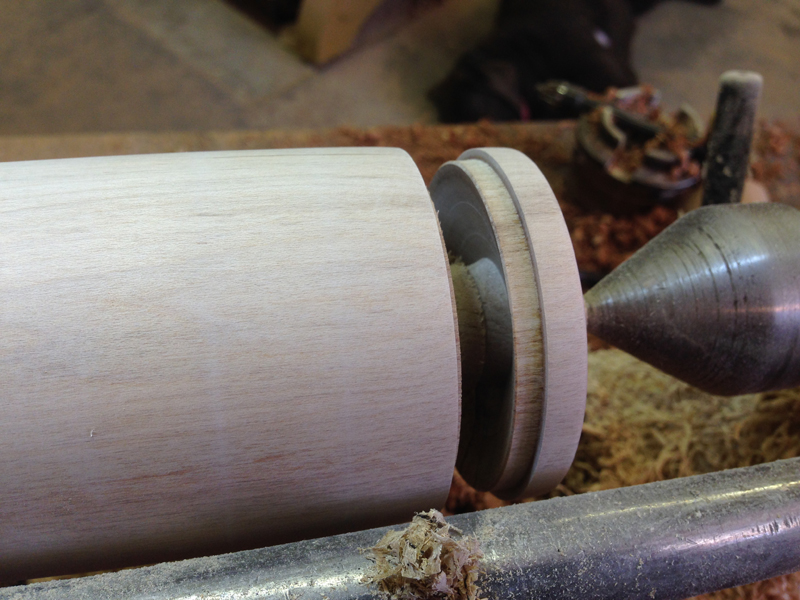
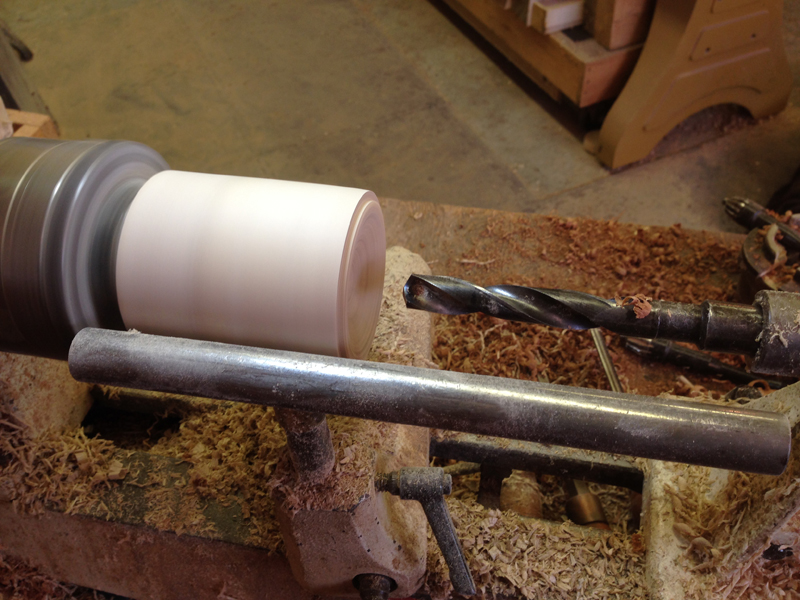
Hollowing to depth with a drill bit eliminates the problems of the center and of how to avoid hollowing “too deep.”
With some of the body core removed, work to fit the top's tenon so that it fits tightly. This is worth doing before hollowing the core completely to avoid wasting time and to add some stability to the sidewalls near the connecting lip.
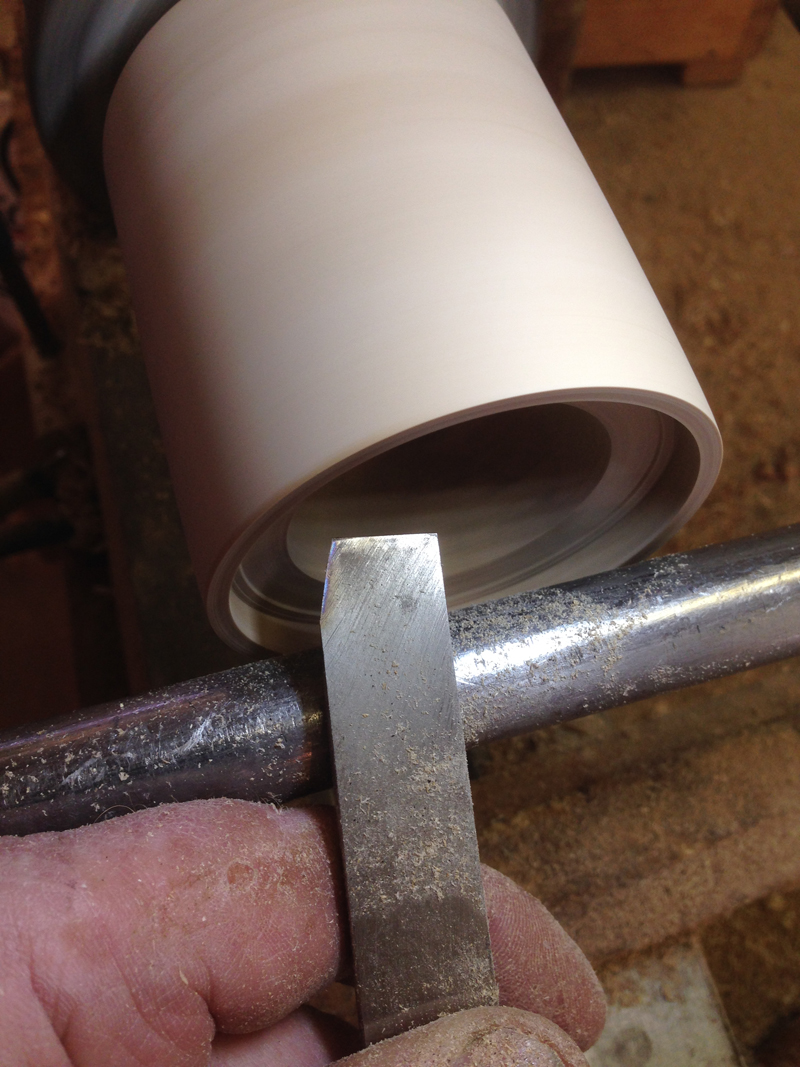
Follow this by hollowing the rest of the body core. The scraper shows what reground to a more effective shape using both the front and left edges to make the cuts. Note that the ground side makes it easy to smooth the side-walls of the box.
Note the minimal loss of the accent figure that made this piece so attractive for a small box.
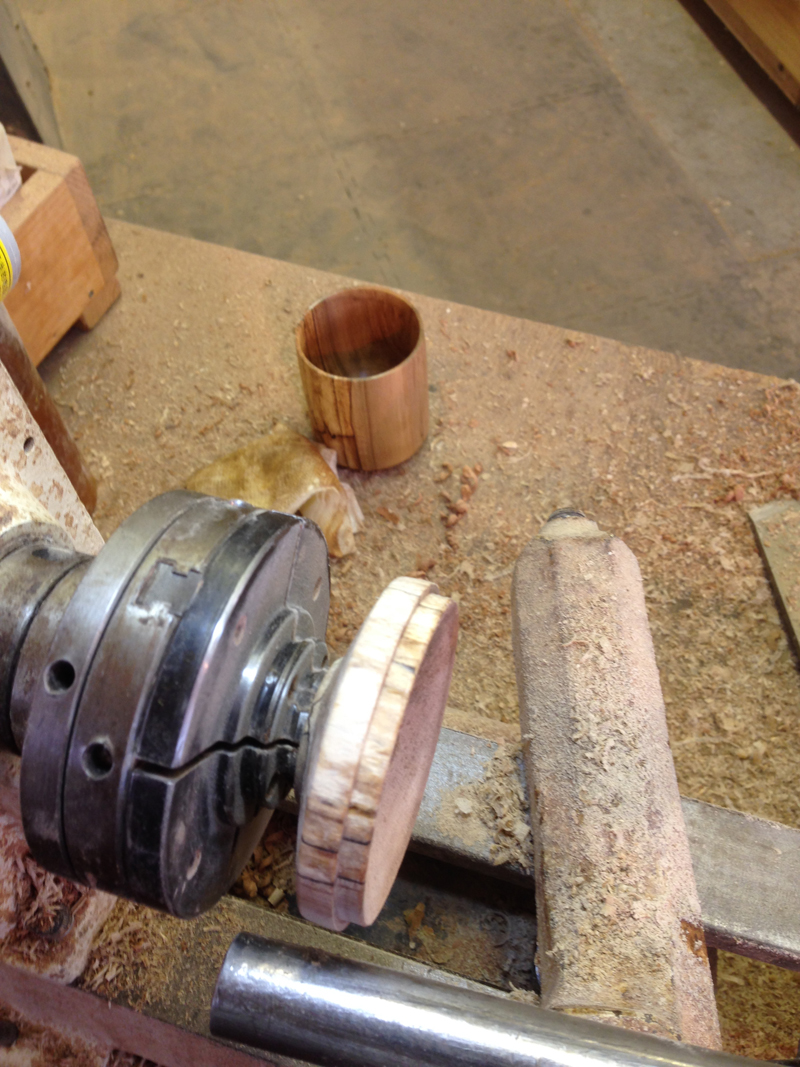
With the body of the box fully hollowed, inside sanded and finished with friction polish, it can be set on its side.
Mount the lid using a small chuck to hold the 3/8” tenon and smooth and finish the underside of that lid.
Pressure fit the box body to the lid, and using light pressure from the tailstock, trim and smooth the box bottom.
Sand and finish the entire outside of the box with the lid on in the correct position. Turn a knob from a different piece of wood, in this case the contrasting black walnut echoes the black lines of the spalting, and glue it to the 3/8” tenon.
The completed highly figured box is ready for the artist's signature and date. Very little of the figure was lost. The opportunities to do interesting things to the underside of the lid and add a different knob design, color, or even media make this method of turning the top of a lidded box in the straight-up vertical orientation an attractive and effective solution.
Stay tuned for Part 2 in the July 2017 issue of The Highland Woodturner.
Located in Castine, Highlands Woodturning gallery and shop offers woodturning classes and shop time, a gallery of woodturned art, custom woodturning for repairs, renovations, and architectural installations. You can email Temple at
temple@highlandswoodturning.com. Take a look at Temple's Website at
http://www.highlandswoodturning.com/.
Return to
The Highland Woodturner
front page
|