|
Click on any image to see a larger version.
The idea for this project began while I was attending a presentation by a furniture maker. One of his
pieces was table made with marquetry and inlay. The table top was inlayed to look like a tapestry. The
“tapestry” extended beyond the top and hung off the edge of the table. The tapestry terminated in a
single tassel. It was then that I knew I had to try and craft a tassel.
The goal with this article is to show a few techniques you might incorporate into your work. While this idea
was sparked by a fellow woodworker, this is my unique take on the execution.
Getting Started
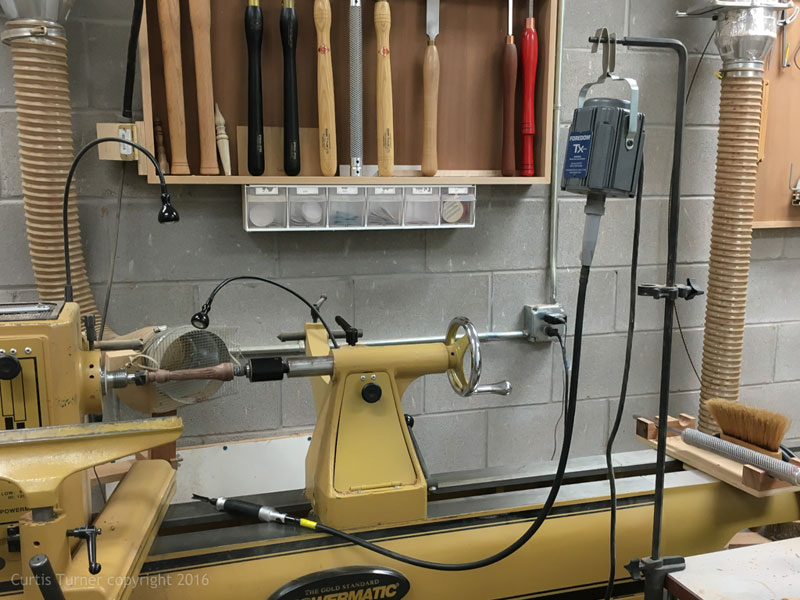
I was confident that most of this could be accomplished on the lathe. I started with a small piece of
walnut and turned a simple spindle. I chose to include 2 beads, one large followed by one smaller bead. I
used a shop made wire burner to burn lines around the smaller bead.
Carving on the Lathe
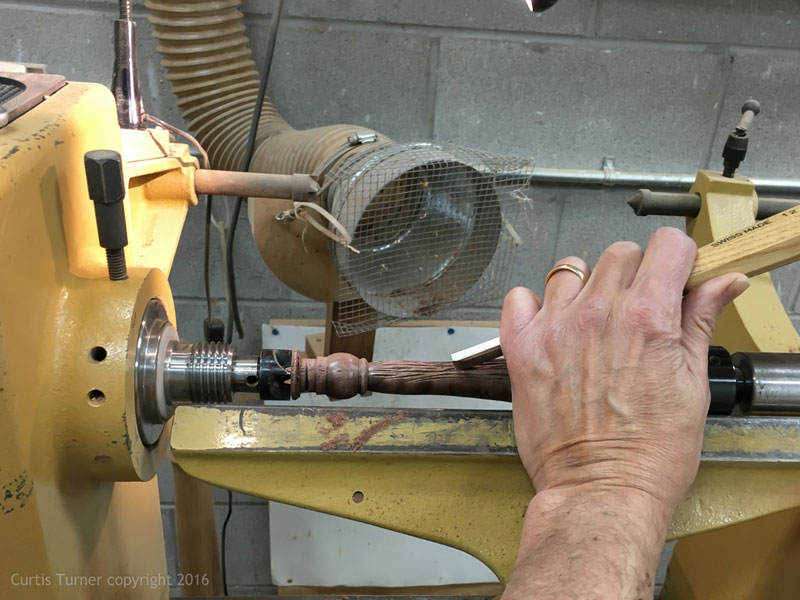
The carving techniques were done with the lathe off and the spindle locked, to do otherwise would
risk serious injury. It is important to realize that in this case, force from carving is applied to a small
round object that would spin or break causing the tool to slip forward in an uncontrolled manner.
You will notice the spindle lock directly above the lathe spindle. It is the device that looks like a
woodworm. This screw is tightened through a hole machined in the spindle. When engaged, the device
allowed me to have a rock solid lock on the spindle.
The first method I used was about as simple as it gets, a carving chisel.

|
I used a
V-gouge
and applied only hand pressure on the gouge, no mallet. I simply carved light curves to create an
interesting look.
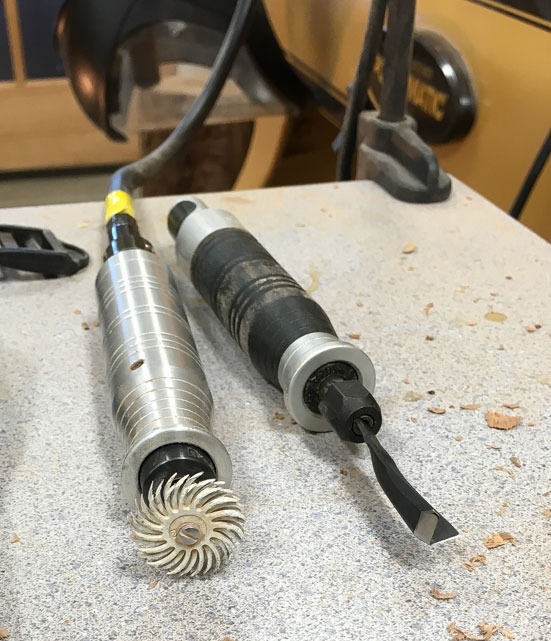
Secondly, I used a
Foredom Rotary Tool
with a V-gouge.
Again, I carved subtle curved lines into the walnut.
In both cases, I carved as much as I could with the spindle locked, then unlocked the spindle, rotated the
piece, locked it down, and repeated the process.
Finally, I unlocked the spindle and rotated the piece by hand while I used a 3M bristle sanding disc to
soften the carvings.
Both carving methods worked well. I really enjoy using hand tools whenever possible. I must admit the
Foredom was a bit quicker than the carving gouge. I would rate it just as effective as the carving tool. I
will also admit that I am a fan of the
Foredom TX
so I have slight bias. I frequently use it to
refine the bottoms of bowls and boxes. A luxury perhaps, however, I have found I use it so much that I would
be quick to replace it if something happened to it.
Next Step
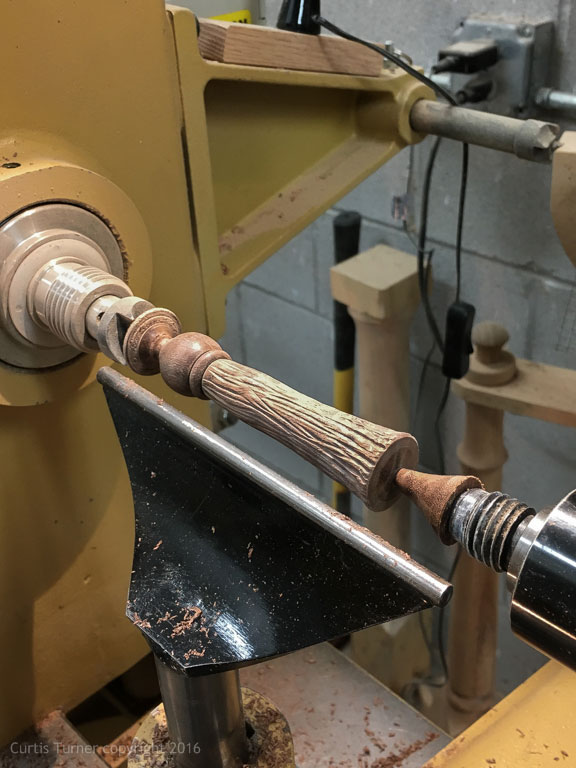
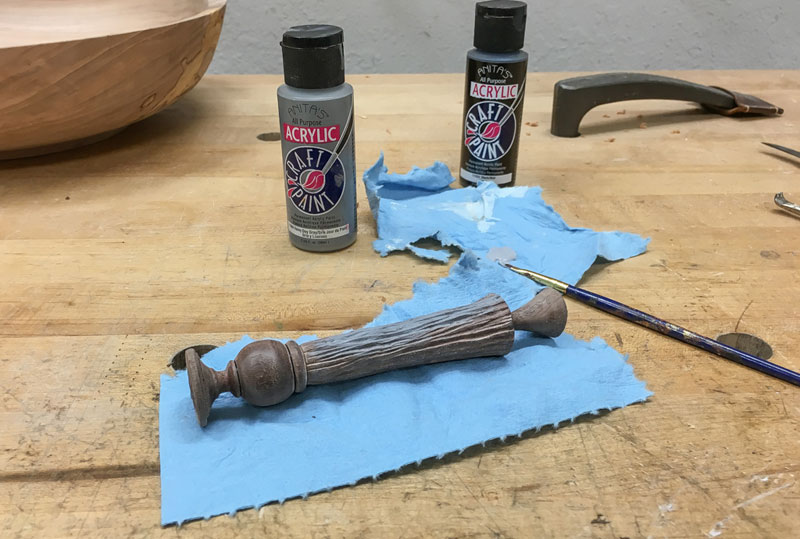
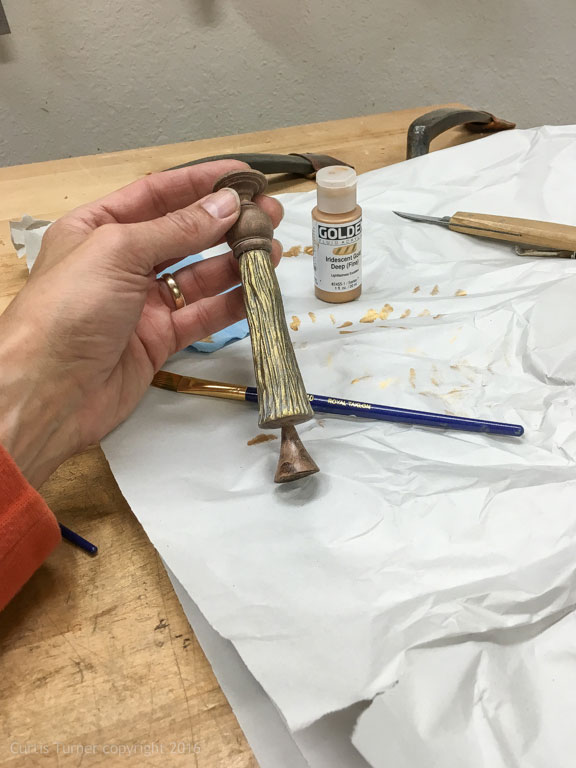
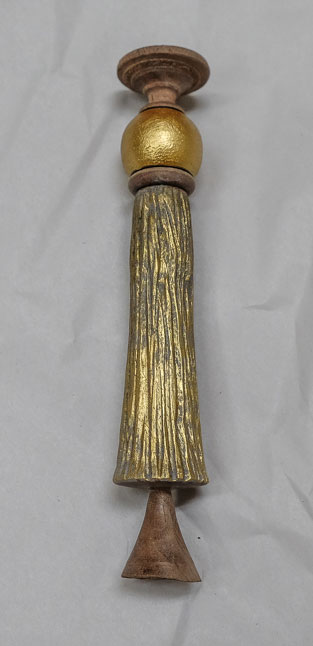
I wanted the tassel to look more realistic so I resorted to various paints.
First, I vacuumed off the piece. Then I applied a light coat of gray acrylic craft paint to the tassel (not the top).
After allowing the gray to dry, I lightly brushed on black paint.
My hope was this combination of colors would add depth and contrast. Finally, I lightly brushed on gold acrylic
paint.
I did not fully coat the tassel because I wanted some of the underlying colors
to show through. I also applied gold paint to the beads. I was careful to avoid painting over the burned lines.
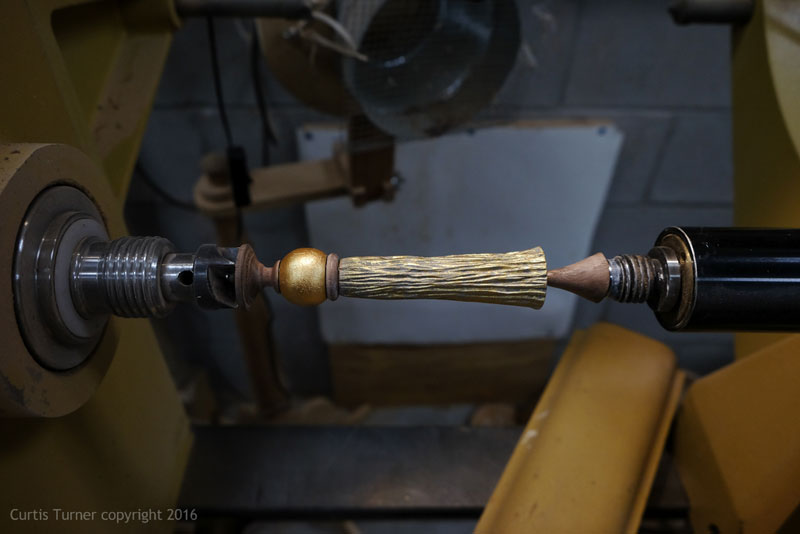
Final Turning
Next, I remounted the piece and spun it quickly to dry the paint.
I also took this opportunity to turn a small bead on top and turn away the waste on both ends. I then used a small saw
to cut away the tenons. Lastly, I used the Foredom to quickly sand both top and bottom to achieve a
smooth surface.
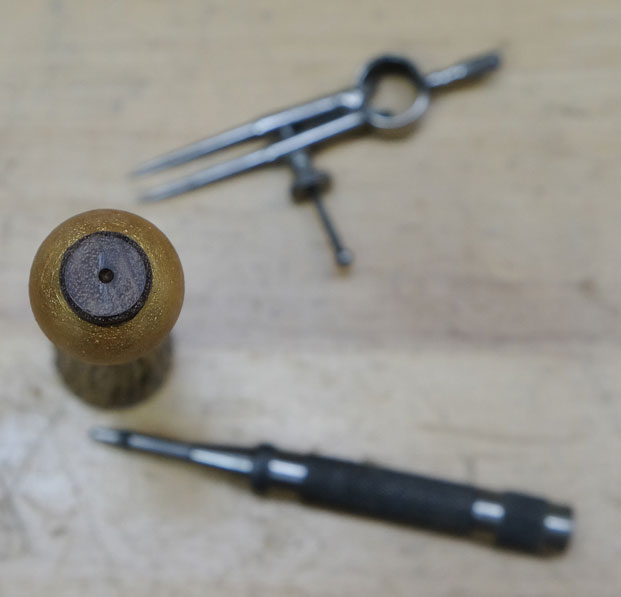
Installing an Eyelet
I began the eyelet installation process by using a
divider
to locate the center of the turning.
I also used an
Automatic Center Punch
to leave a small divot. This small hole kept the tiny drill bit centered and prevented it from
wandering in the grain of the wood. I used a drill bit installed in a Dremel to drill the hole.
I then placed a tiny dot of
CA Glue
into the hole and installed the eyelet.
Summary
In my opinion, I think my project looks like a tassel.
Will I ever use this? Probably not. Will I ever make another? Doubt it. Was the lathe the best tool for the job? Yes, I think so. What did I
achieve? It is the sense of accomplishment and the satisfaction of solving a problem that I enjoyed most.
I hope you can tuck away a few tidbits of information from this article for use on one of your own projects.
Curtis is a former President of
Central Texas Woodturners, a member of the
American Association of Woodturners, and a member of
Fine Woodworkers of Austin. Curtis teaches and demonstrates nationally for Lie-Nielsen Toolworks. He also teaches for TechShop. He owns a studio where he teaches and works. Curtis lives in Central Texas with his wife and four young children. Take a look at his website at
www.curtisturnerstudio.com or visit his Instagram: tx_planes.
Return to
The Highland Woodturner
front page
|