|
Click on any image to see a larger version.
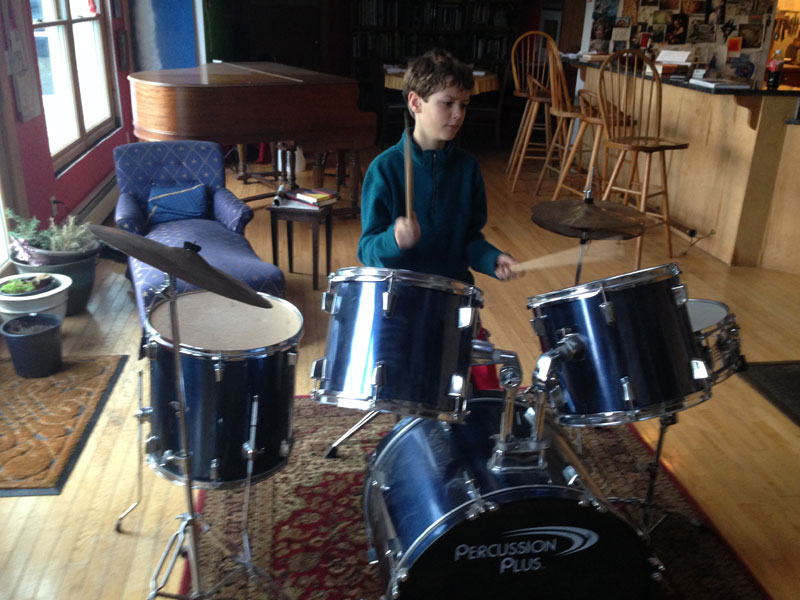
Last winter I accomplished a long-time goal by purchasing a used set of traps (drums and cymbals) for my oldest son's early birthday present. Without warning him in advance, while he was at work, I carried it over and set it up in our old farmhouse on the Bagaduce River where he lives with his son and daughter. Leaving the full set of base, snare, high-hat, tom, and cymbals – complete with an adjustable stool and drumsticks – in his living room, I knew I would score a home run. I did. The set remains in his living room a year later and is played daily by one or another of them, even by occasional guests.
The drumsticks that came with this set were bland and uninteresting … as well as (in my humble opinion) far too light and out-of-balance. Clearly this was an issue I needed to improve on.

|
From a different perspective, one of my local friends, Gordon, the drummer in our Castine Town Marching Band, asked for a back-up pair of drumsticks. He, like many of the reenactor participants, has a different need for drumsticks used with his authentic field drum, sticks that are heavier and more substantial. His need required a different solution and some thought.
Drumsticks appear to be extremely simple in design, but, like the classic wooden baseball bat, executing that "simple" design turns out to be far more complicated than most beginners realize. Issues of shape, form, and color -- a technical visual aspect -- are made further complicated by density (weight), flexibility, balance, and resilience. Feeling the sticks and sensing the impact of using them guides the drummer to control the percussion factor that makes drumming unique. Together, choosing different species of wood and applying a few design principles address these innate qualities.
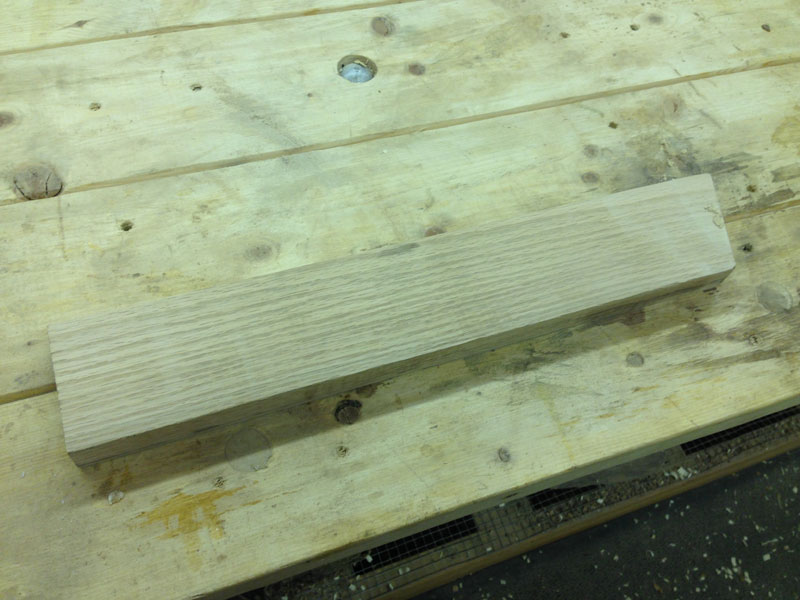
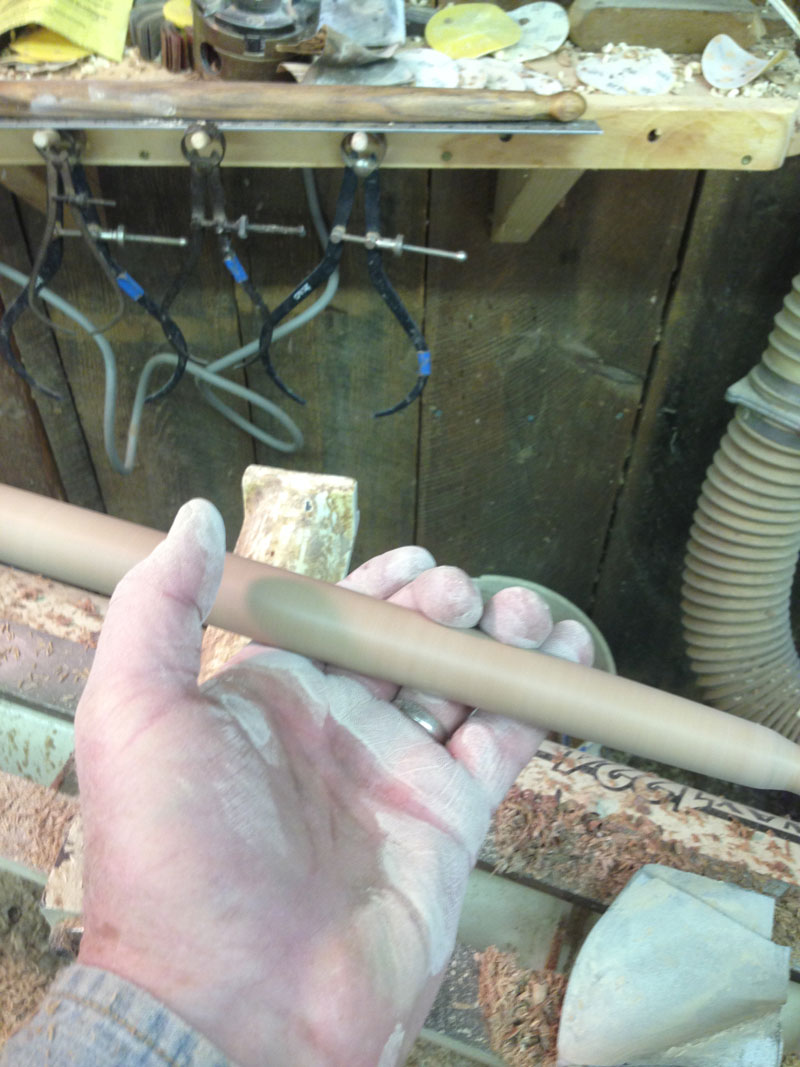
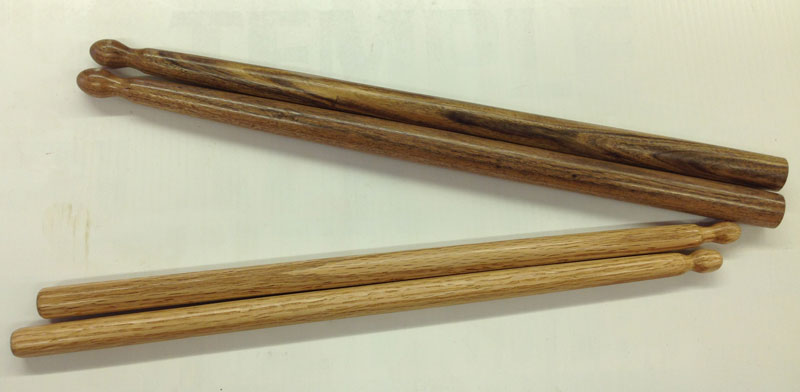
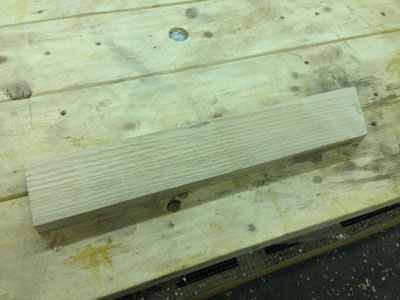
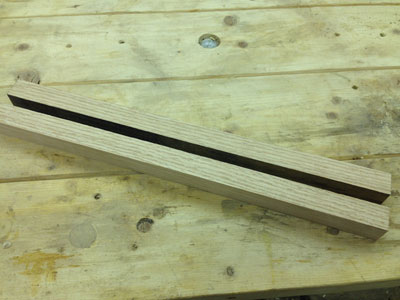
For my son's light, fast set of traps, I selected a piece of straight-grain white oak for its strength. Although ash, maple, hickory, and sycamore all offer variations, for this pair I found a piece of oak that was irresistible. The white oak is strong, light, and flashy.
|
|
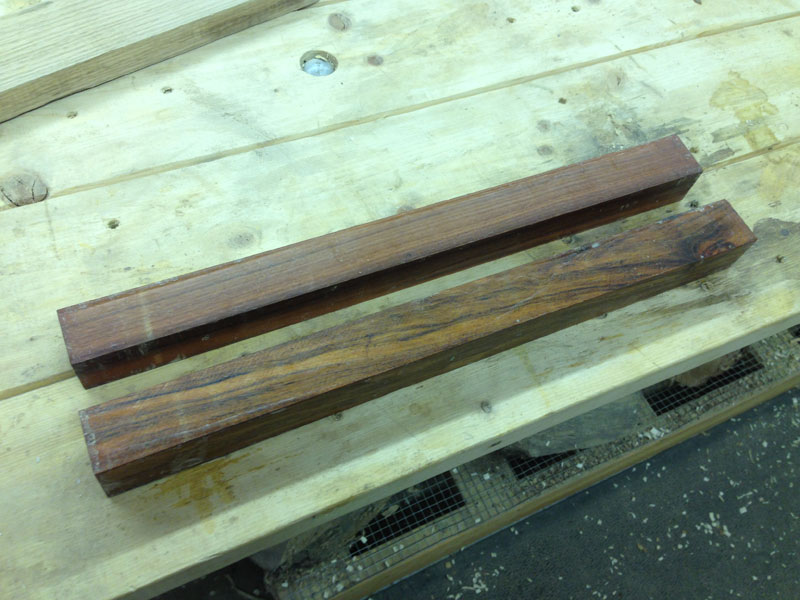
For my friend's heavy field drumsticks, I chose cebil (also called Patagonian Rosewood), which is native to Brazil and is considerably denser/heavier than cherry. I chose it mainly because I had never turned it before and thought it might be similar to my other option, cocobolo.

|
Both the oak and the cebil ended up being good choices, especially when dimensioned to accentuate the respective benefits. In both cases, an 18" long stick seems to be optimal for gaining the physical benefits of striking the drumheads and cymbals while allowing the drummer to rapidly shift both grip and activity. In the case of the field drum, the 18" allows the drummer to extend to the full grip for heavier (louder) striking or choke up a bit to lighten the impact and sound.
The critical considerations for selecting and preparing the blanks are:
-
How the sticks will be used (a field drum differs significantly from a set of traps);
-
The grain must be straight throughout the blank;
-
Weight and balance must be pleasing to the drummer's hand;
-
The drummer's size and agility are both important factors;
-
The purpose and appearance of the performance might dictate a color preference.
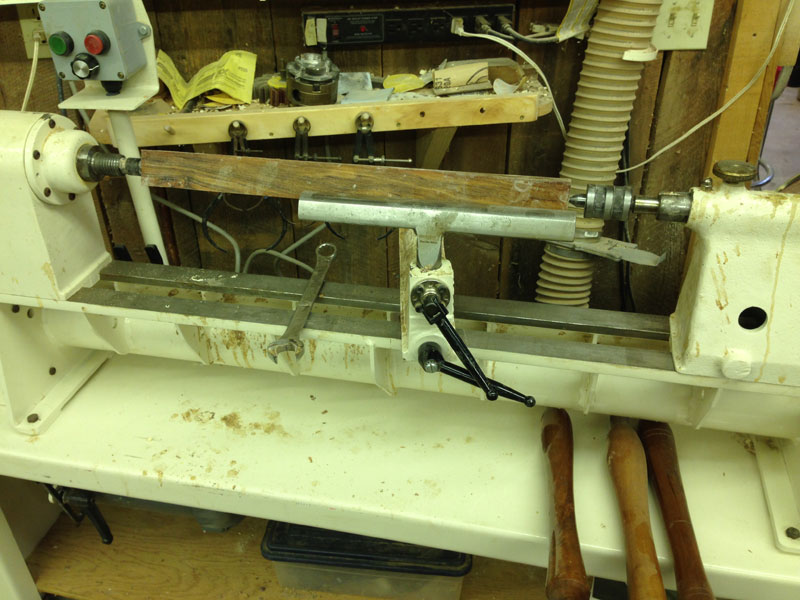
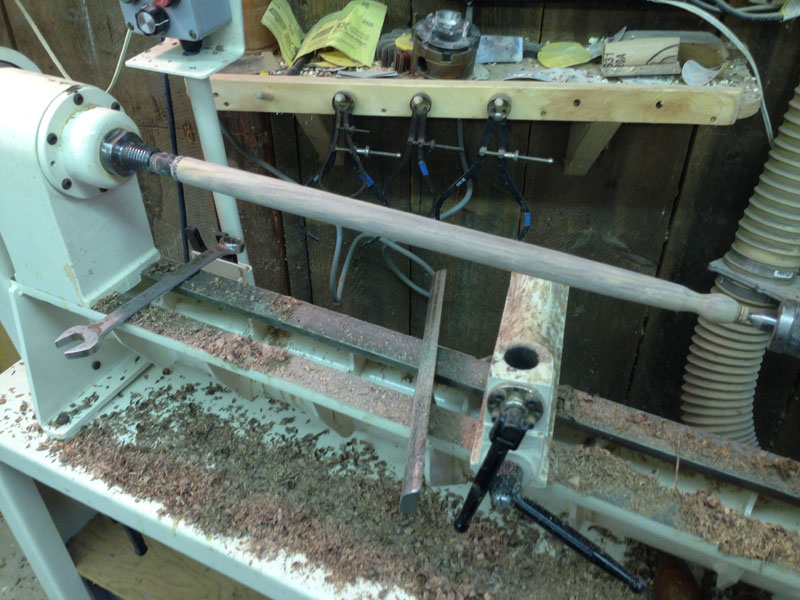
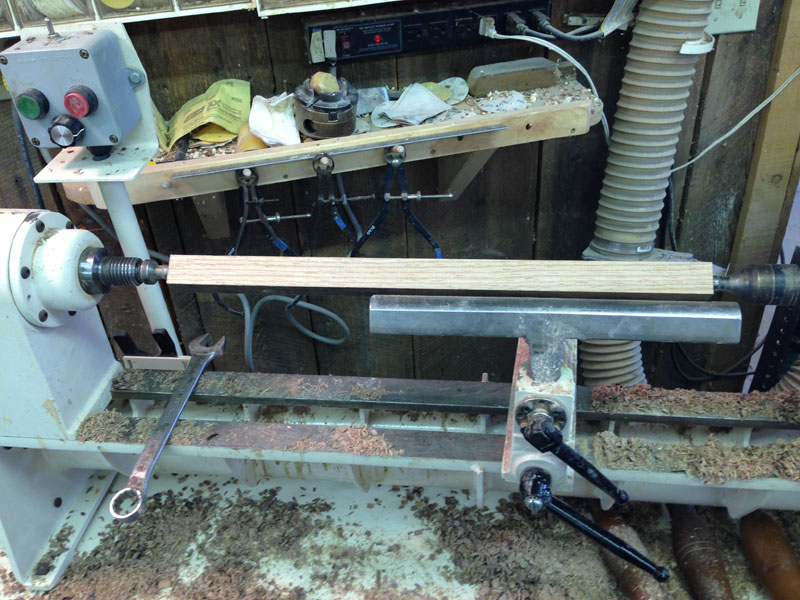
Because the field drumsticks need to be heavy, more durable, and managed typically by an adult male, the diameter will be planned for thick, a uniform 1" over most of the 18" length until the taper into the teardrop. Following the general rule-of-thumb #3 (heavier material toward the headstock) for spindle turning, the blank should be mounted between centers with a planned waste-block on the tailstock before the teardrop tip.
First – begin with a
Roughing Gouge
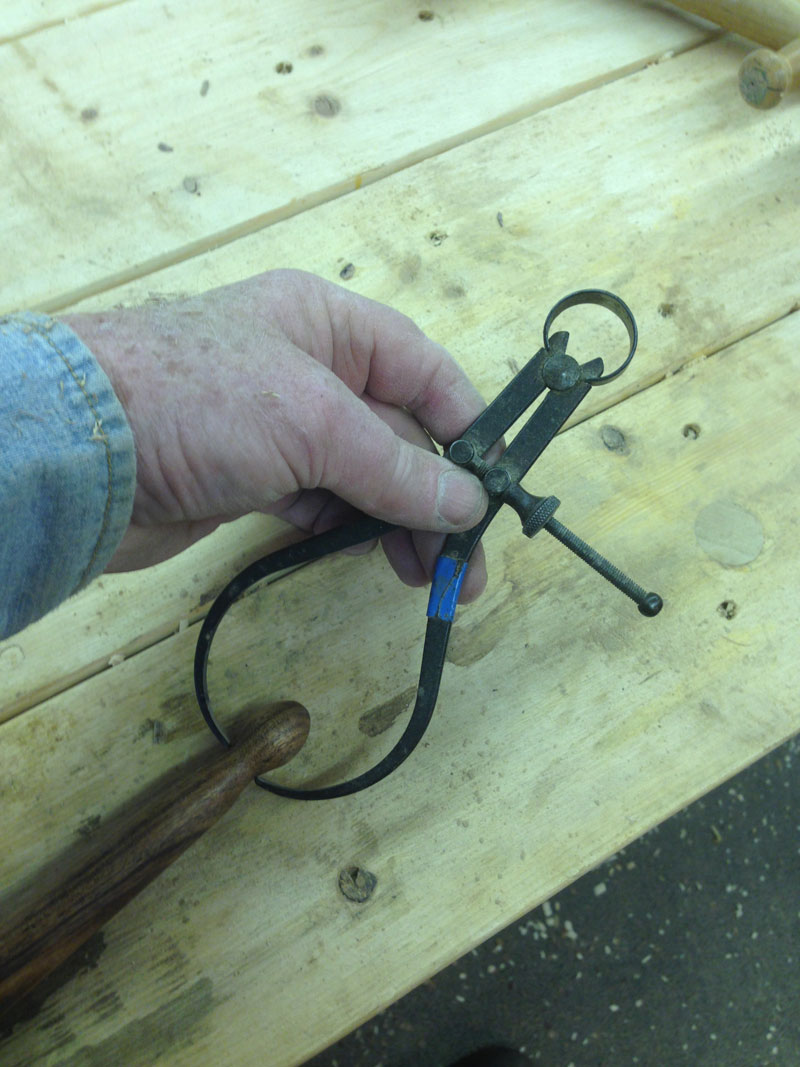
and turn square-to-round followed by sizing with a 1 inch "micrometer" (wrenches do not unexpectedly change their opening size).
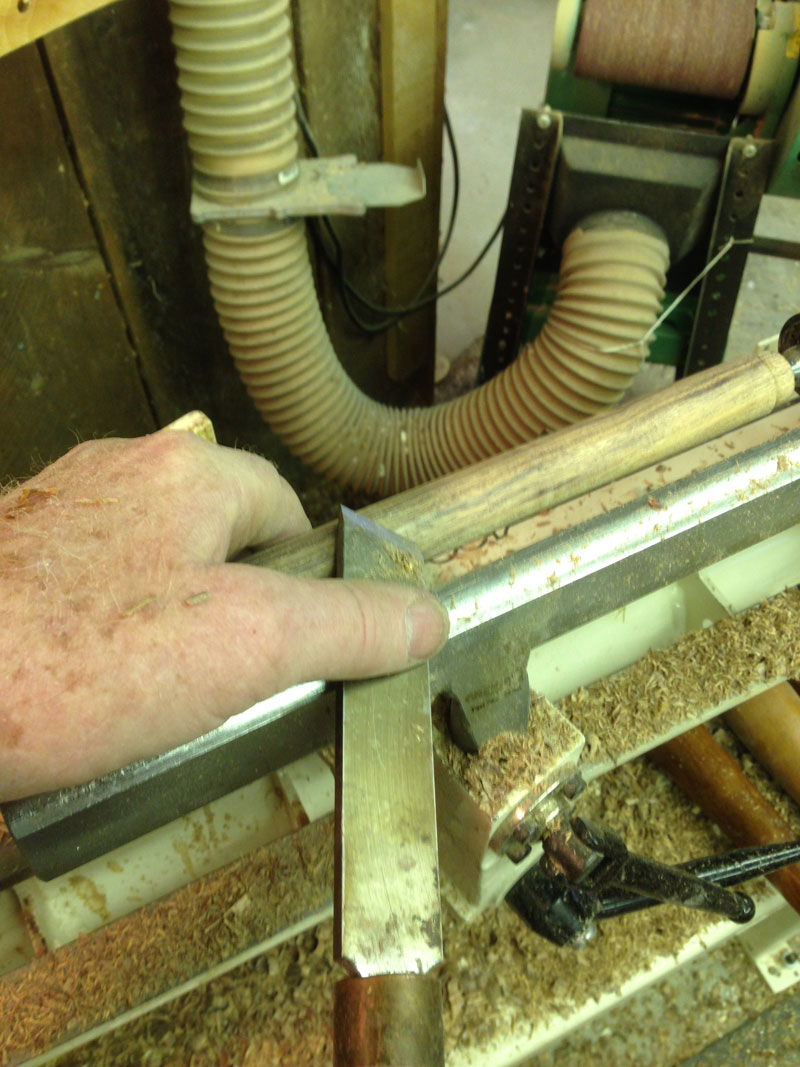
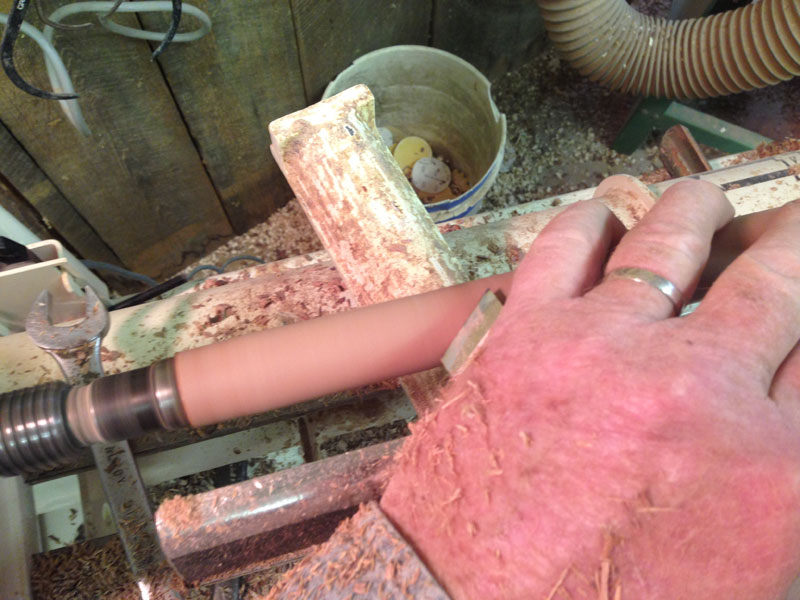
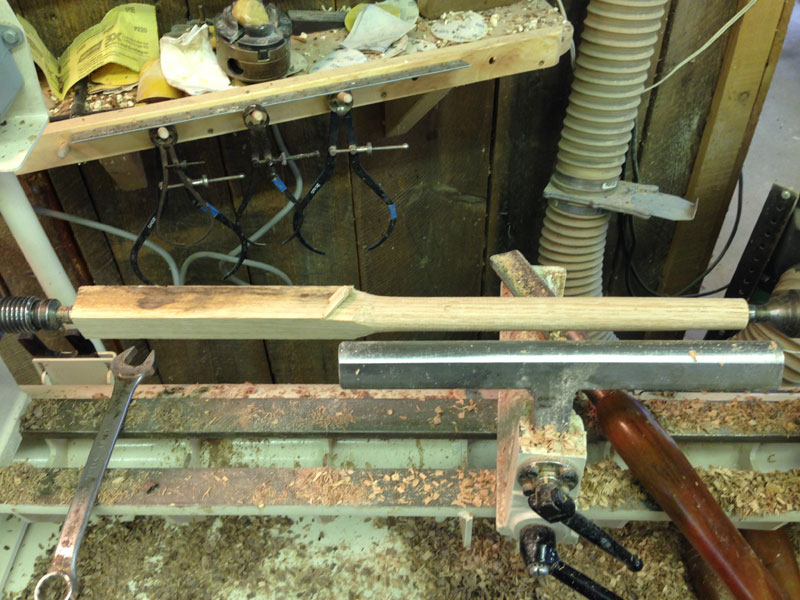
Hand support for the final skew smoothing cut creates an amazingly consistent 1" round over the full 18" length. Adding the light support of the fingers from underneath limits the vibration that results in "ribbing" waves that interrupt the smooth cut over a long, thin turning.
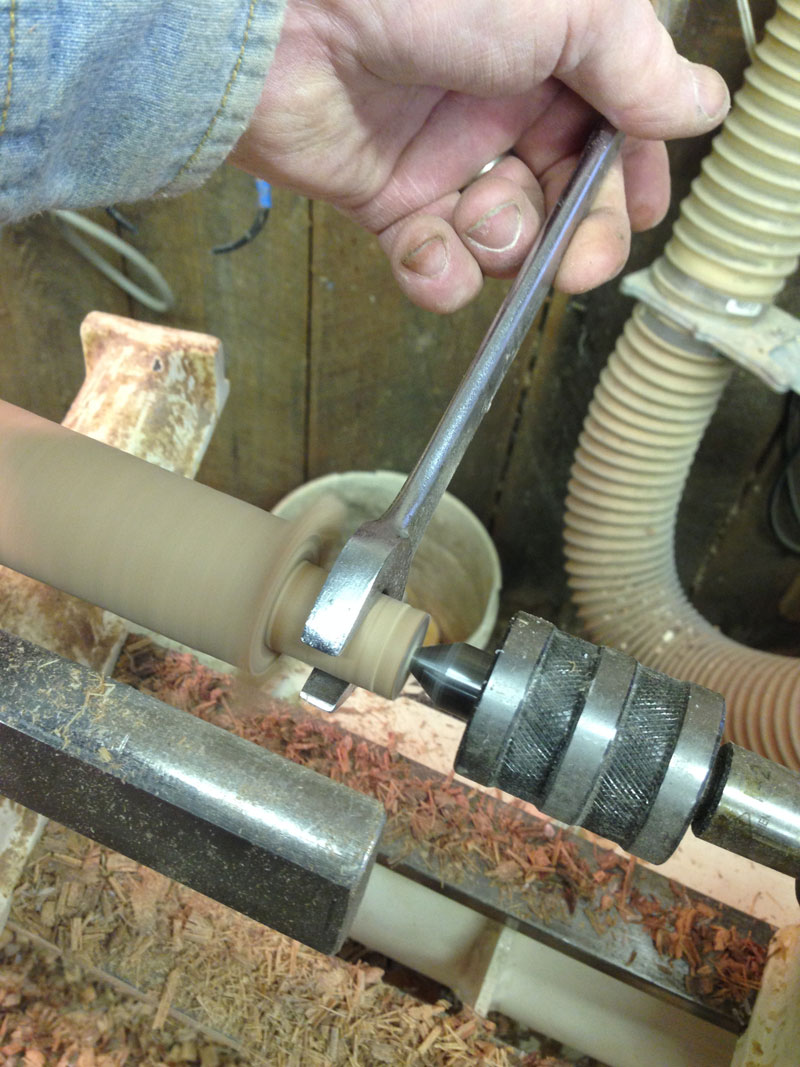
Sizing the eventual teardrop end for a 3/4" allows definition of the waist-block, teardrop, and eventual taper set off by its cove.
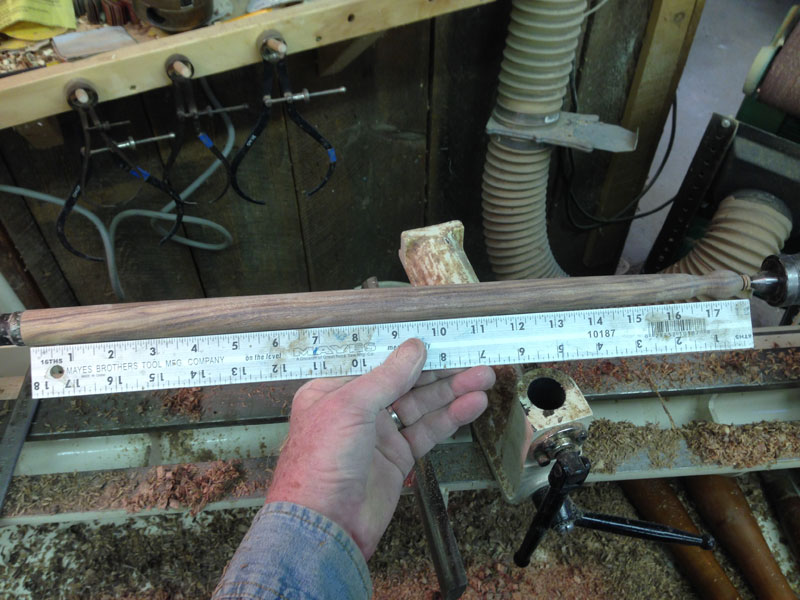
Using a reliable straightedge allows the turner to check the final turning before sanding and finishing. For the heavy field drumsticks, the blunt (left) end is straight over the length rather than slightly tapered in the fashion of the lighter sticks for the traps.
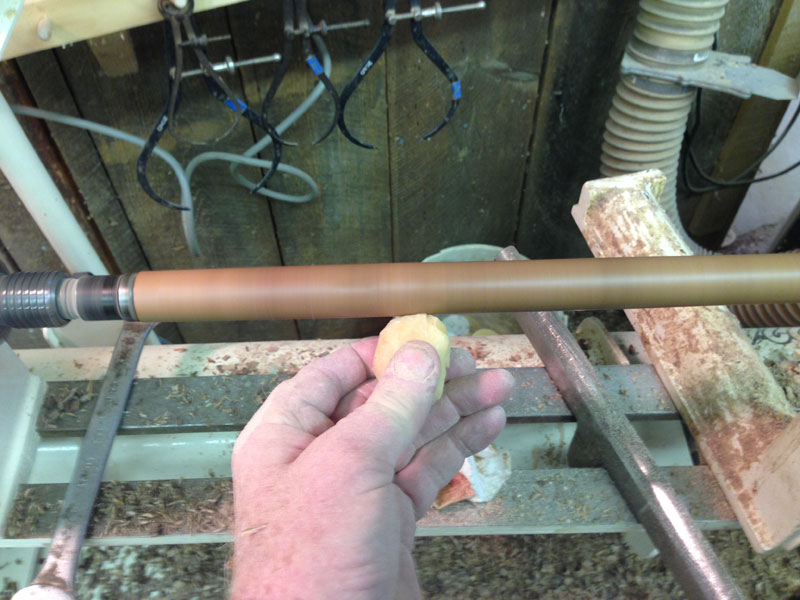
Sand with 220 grit followed by 320 grit and finish with the magic friction polish (a 1/3rd each measure of shellac, boiled linseed oil, and turpentine stored in an air-tight plastic bottle...dish detergent bottles work extremely well for this). Ultimately a good drummer will replace much of this with the oils from his hands.
Carefully part off the waste-block by the teardrop and avoid pulling the end-grain and leaving a void. This is the "business end" of the stick that will take the abuse of the blow and will create the sound.
The next challenge, chorused by many of my woodturning students, is to replicate what you just turned by turning a second one identical to the first. The first 1" dimension x 18" cylinder should be straightforward.
Copying the teardrop and taper to make them the same can be more of a challenge.
Sizing the shaft similarly is critical for both sticks to appear to be identical. Note: both the visual AND the kinesthetic hand-memory will impact the drummer. The diameter, the smooth shaft, and the taper are particularly important in this copy because the human brain can record and notice extremely subtle differences that disrupt and interfere with the drummer's attention to his/her task.
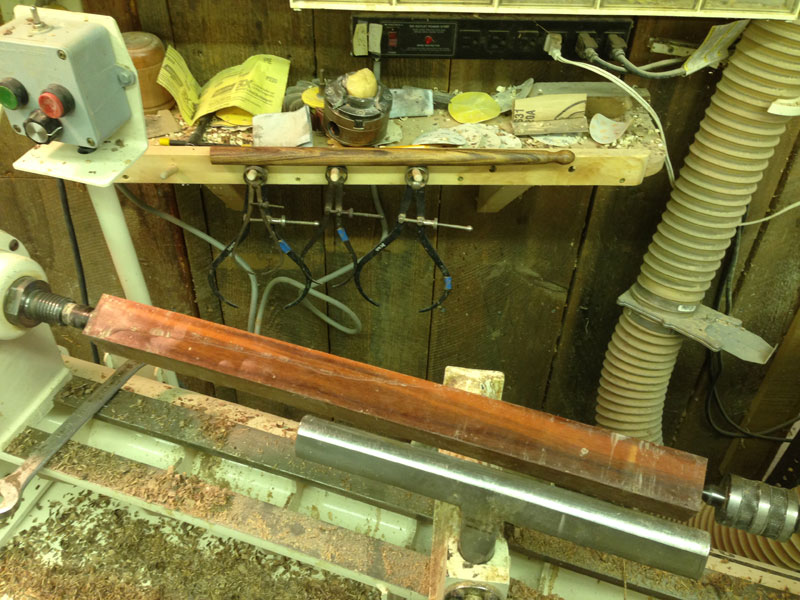
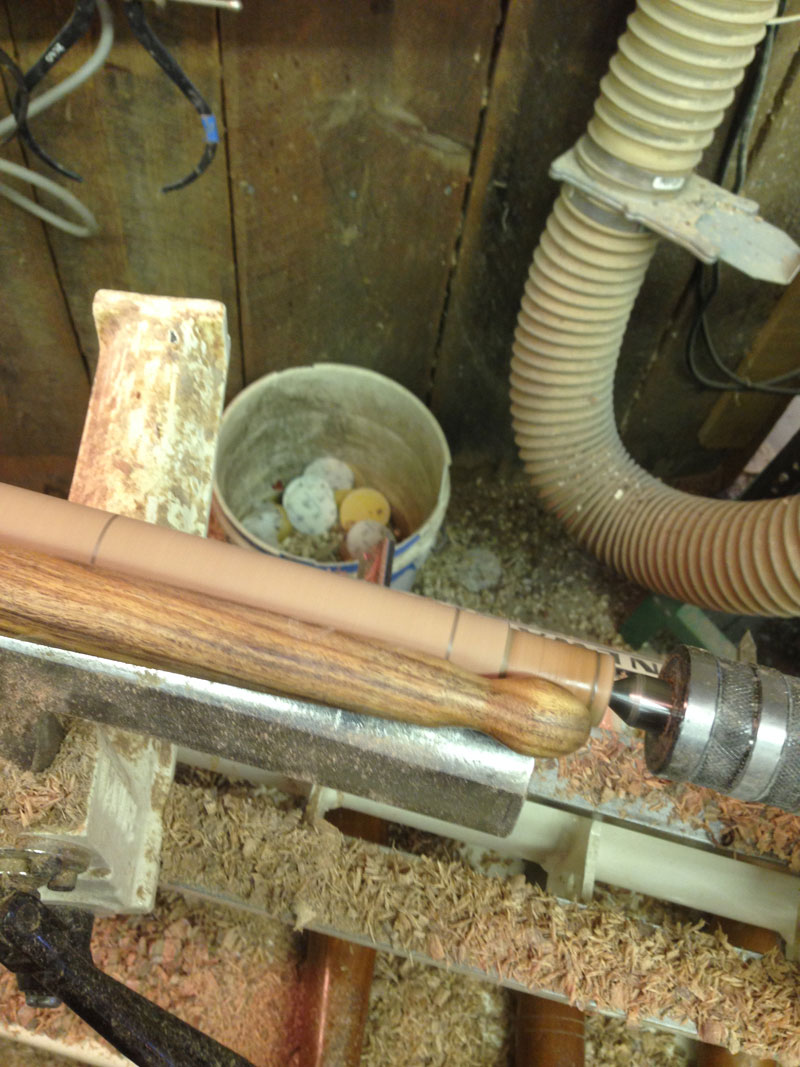
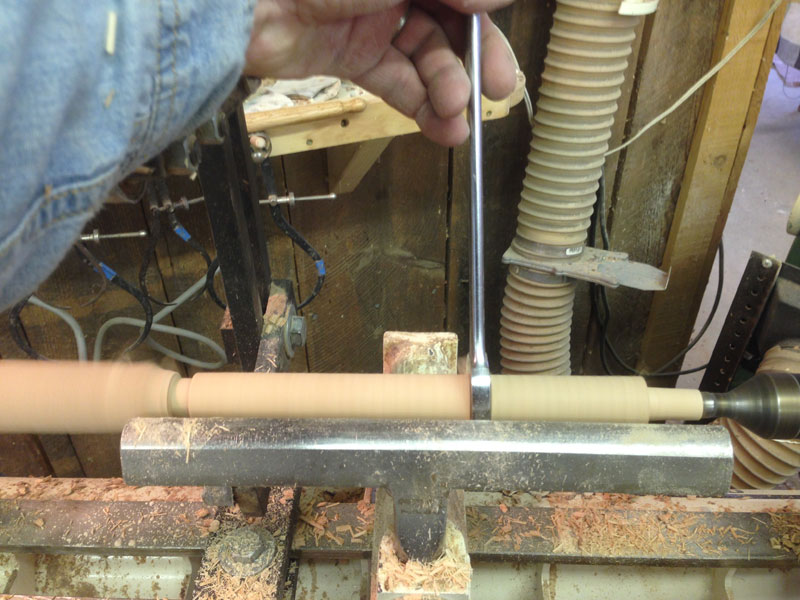
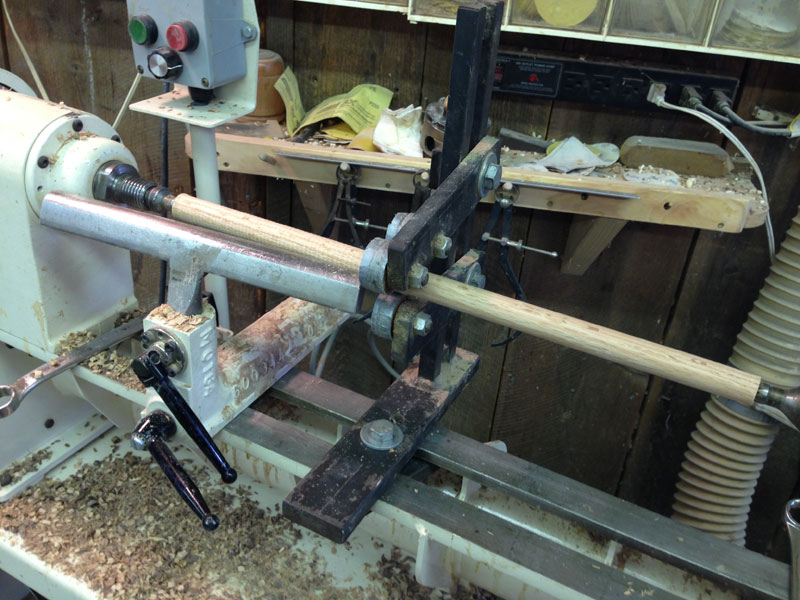
Establishing the dimensions of the copy teardrop and taper are critical. Note in the photo the first turned stick in the visual background. This can be especially helpful to turners making multiple copies of the same form.
Using the same skew smoothing cut with the fingers supporting the wood prepares the blank for final sanding.
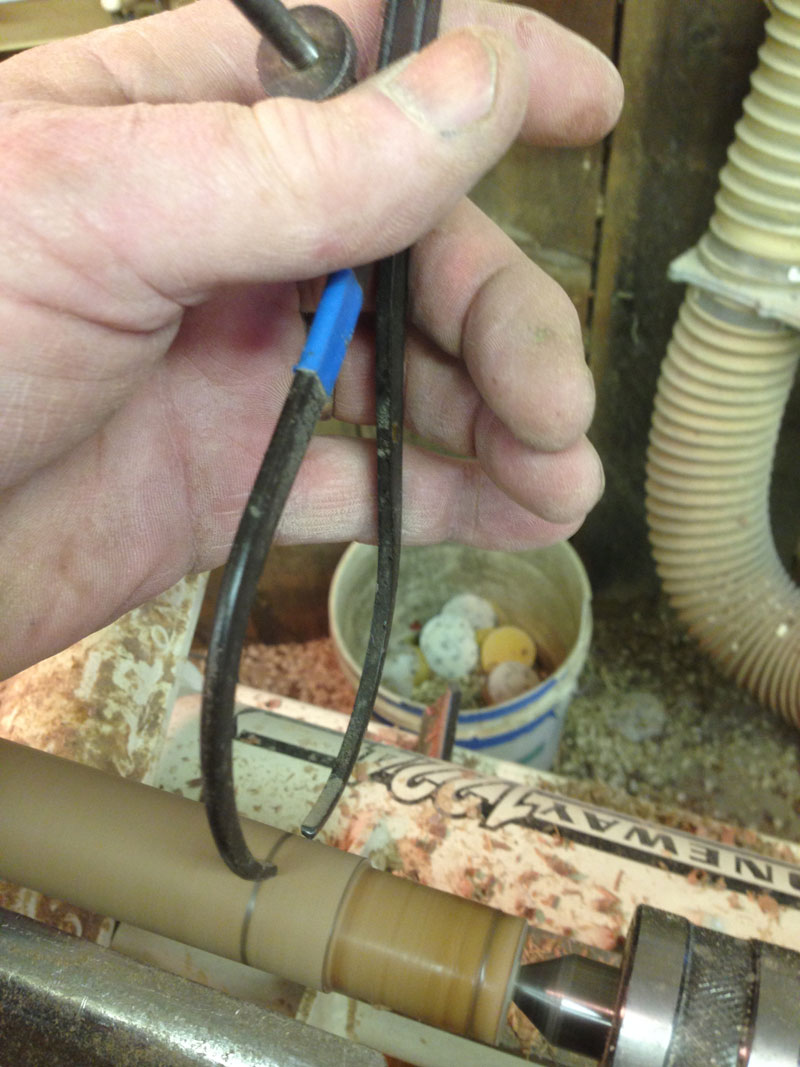
Checking the taper at the teardrop before parting off can avoid having a stick that does not match its mate, requiring a second attempt.
Using visual cues and add to the match over and above the measuring tools.
Matching tapers and curves on multiple turnings requires a level of practice, which builds trust in the turners instincts and perceptions. In my experience, turning five or more of an item can turn the corner on practice, and from that point on improvement is incremental. Setting up a challenge like this can be both effective and efficient. Accomplishing (realizing) the achievement can also be incredibly rewarding. I encourage my students to seek this goal.
Always sand from underneath and finish with 220 then 320 with a final sanding while the lathe is stopped. Make sure to sand with the grain. Then turn the lathe on and apply the friction polish before parting off, as before, without pulling the end-grain.
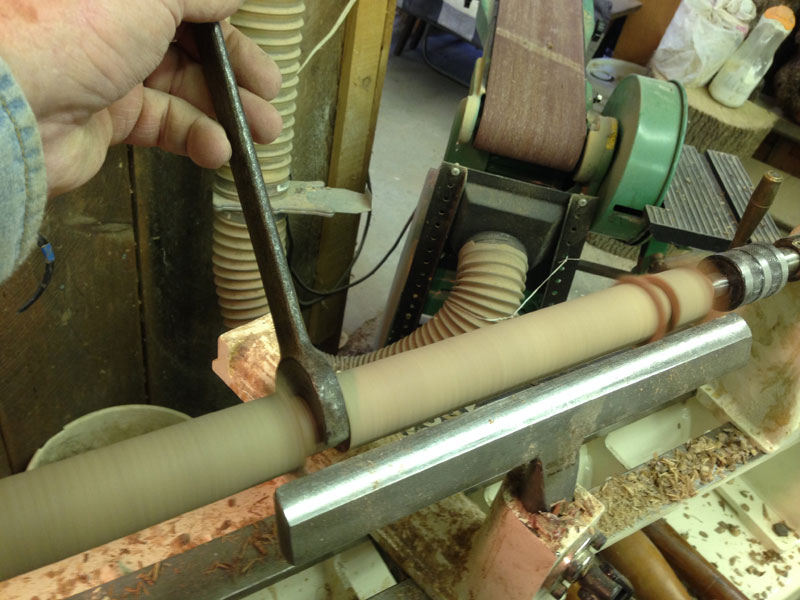
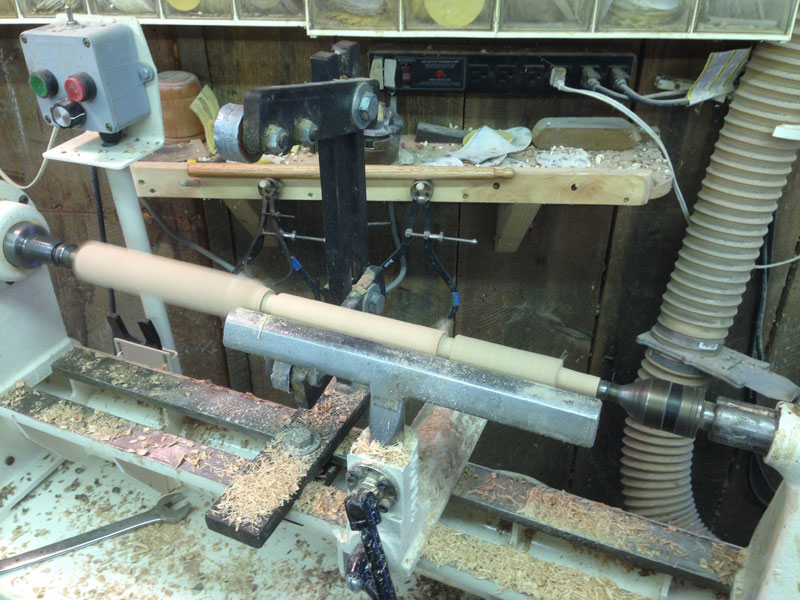
Once the turner has finished the more substantial sticks for the field drum reenactor, addressing the thinner, more challenging oak sticks for the rapid-fire traps drummer should be a step up. Long, thin turnings offer a special set of physical obstacles that can be best overcome by adding a support system.
The beginning remains the same with the oak blanks except that with a 3/4" diameter over the 18" the middle becomes unstable due to "whip" from the turning. The teardrop on this pair will be 5/8". The first part of the solution is to slow down the lathe.
The second part of solving this is to create a near-to-finish diameter round area near the middle of the turning.
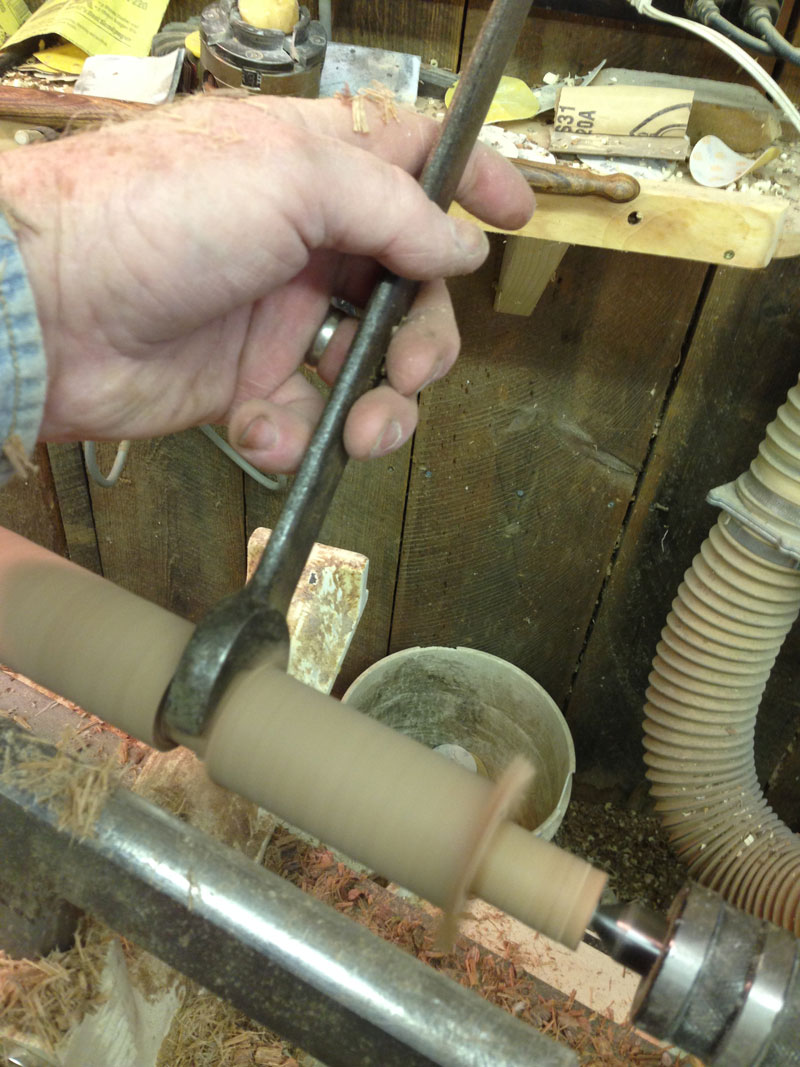
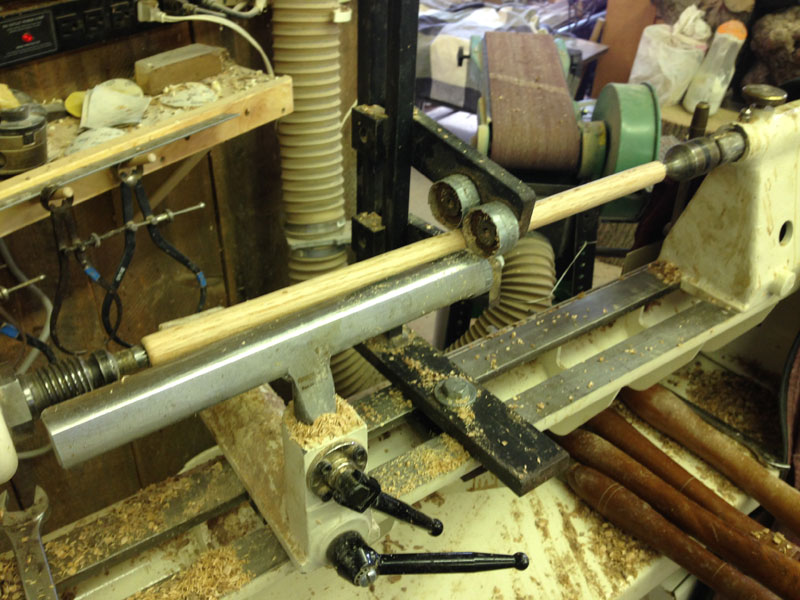
Add a steady-rest. This one had three ball bearings that ride the turning and stabilize the middle.
The two bearings above, supported by the one below, capture the turning and provide a stable base for the bevel and cutting edge of the gouge and skew.
These sticks are then turned safely and efficiently, similar to the larger diameter sticks – gouge, sized diameter, and skew finish prior to sanding.
Similar to the larger set, managing the taper to the teardrop end is critical to matching the sticks. With these lighter and more delicate drumsticks there is also a slight taper to the butt end (left) of about 3 inches.
Once sanded and finished, these drumsticks are ready for work. Both sets of drumsticks are reliably durable, flexible, balanced, and will last for a long time.
Find a suitable drum and go try them out to share the success of your skills!
Located in Castine, Highlands Woodturning gallery and shop offers woodturning classes and shop time, a gallery of woodturned art, custom woodturning for repairs, renovations, and architectural installations. You can email Temple at
temple@highlandswoodturning.com
. Take a look at Temple's Website at
http://www.highlandswoodturning.com/
.
Return to
The Highland Woodturner
front page
|