My Wooden iPod Mini
by Josh Darrah
Brisbane, Australia
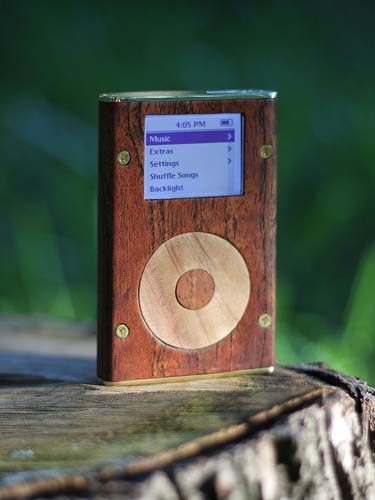
This is the wooden mod I made for my old iPod mini. It is by no means perfect, but it's been a
super fun project for me. I tried to make the case completely wooden (with working clickwheel) using
the internal workings of the original mini. I also wanted to make an iTrip and dock for it.
Because I wanted to use this iPod everyday, I couldn't make the wooden shell too thin for
durability's sake. So I knew it would be a much larger profile in comparison to the original
iPod mini's shape, but I did some planning early on for the final shape and decided I wanted
to keep the mini's rounded edges, with the back curves slightly deeper than the front. And it
feels really comfortable to hold after the final shaping!
Here's how I did it!
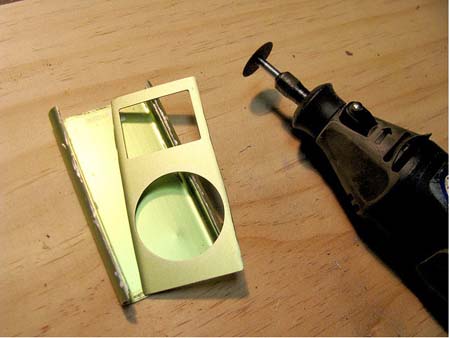
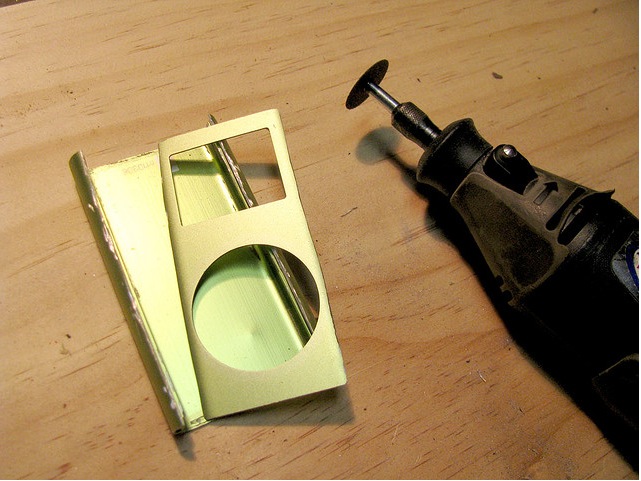
The first step was to cut the old shell in half so I could use the original screen and wheel hole
cuts as a template for the cut on the wood front.
I bought a cheap knock-off iPod mini shell from ebay to use, and only after I grinded the front
off did I realize that I accidentally cut my ORIGINAL shell. boo hoo! I guess that says something
about the quality of the knock-off shell since I couldn't tell the difference, eh?

The very first moment I took the mini apart, I had seemingly forgotten how to do it since I last
replaced the battery. I then pretty much used brute force to rip off the top bracket, which of course
pulled the headphone jack right off the logic board. I hadn't even started to make the case and I
had already broken it. I nearly cried.
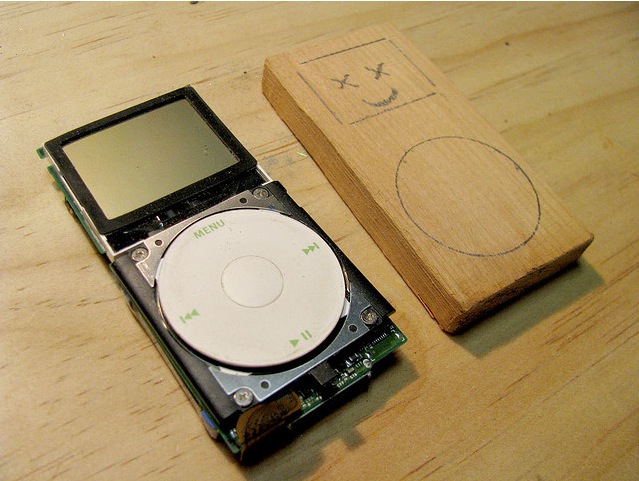
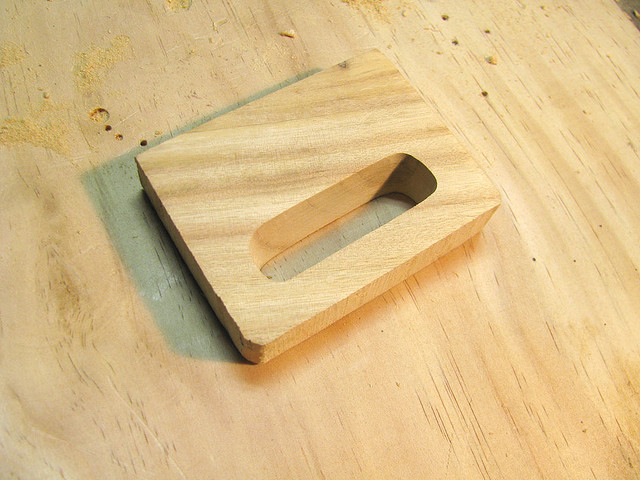
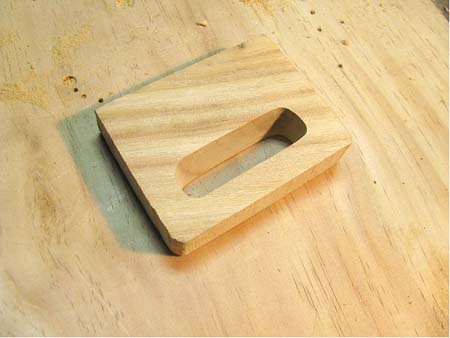
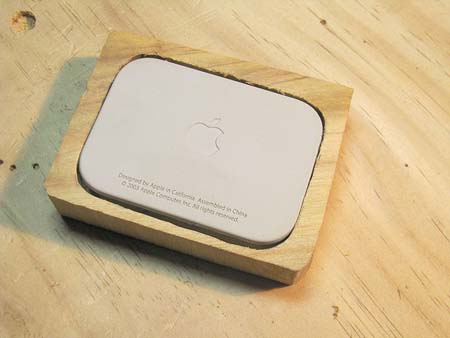
To protect the internals of the mini from being slotted in and out of the wood case as I carved it
down, I made a little block shape to use as a guide.
In the end though I ended up breaking the internals even further by repeated fiddling and
unplugging of the clickwheel's ribbon. Luckily I found a great place who fixed it super fast.

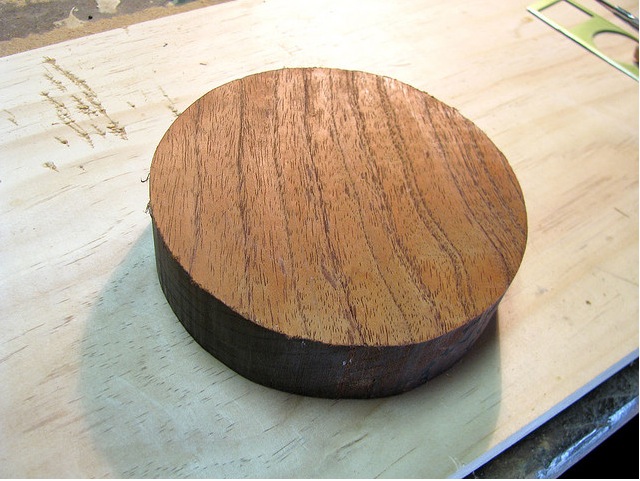
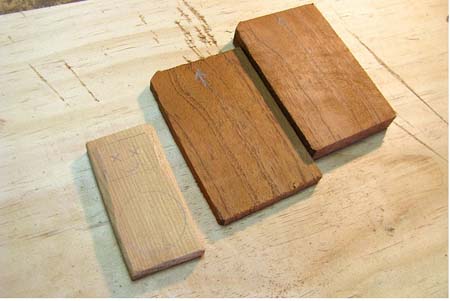
The raw block of australian cedar. I really love the grain and shimmer this wood gets with a
subtle coat of oil.
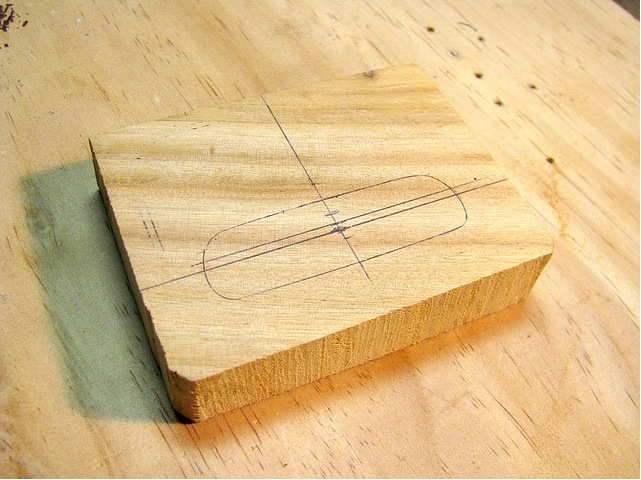
I had sketched multiple options in how to carve the case. a single piece drilled out, hinged
halves, etc. But I decided that I wanted a really robust and tougher wood case since I would be
using the mini alot afterwards. So I opted for a two half, screwed together method.
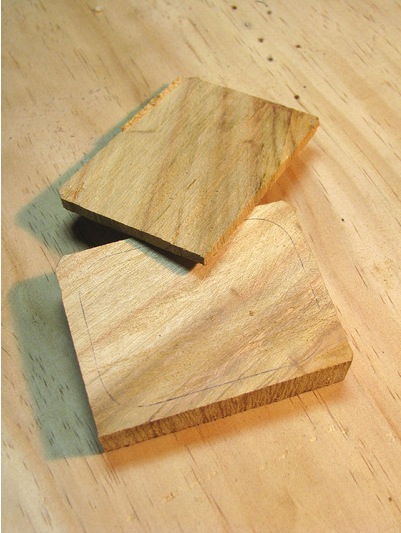
I didn't want woodgrain clashing so I sliced the original block and kept the sister slices
together hoping that the joining grain would line up close.
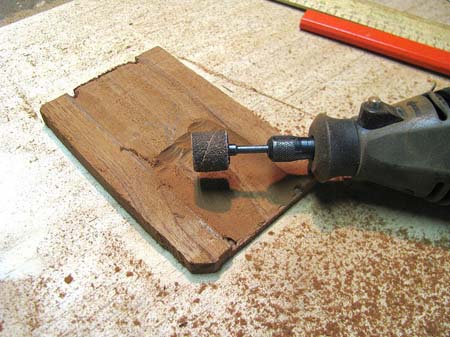
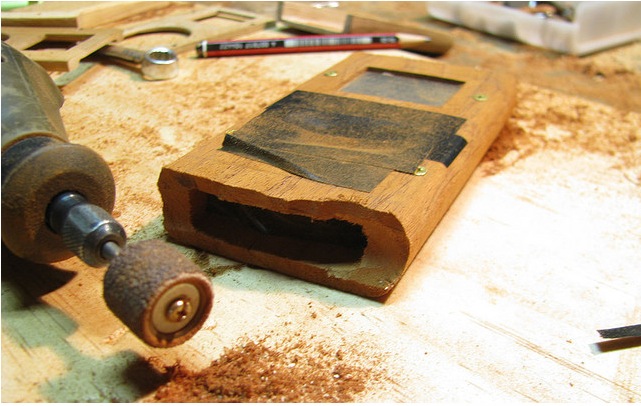
Since I don't have any routing tools, my dremel was my jack of all trades friend through the
whole process.

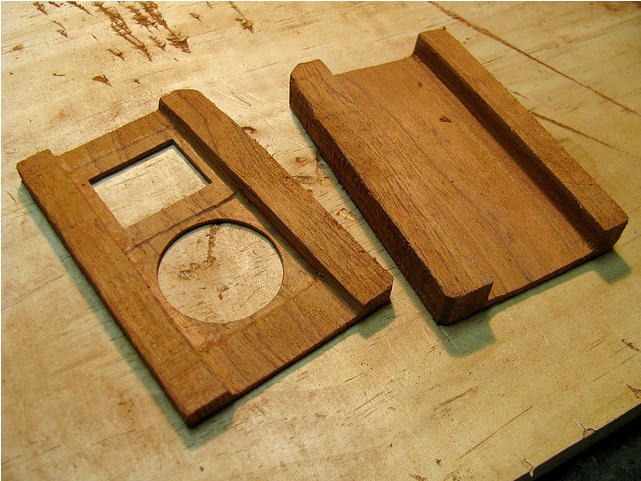
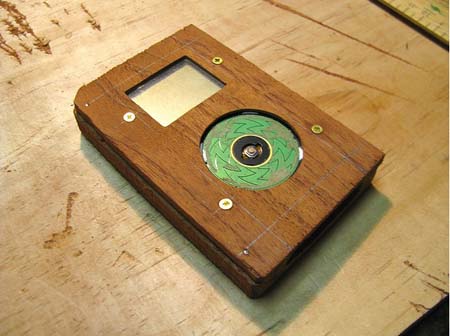
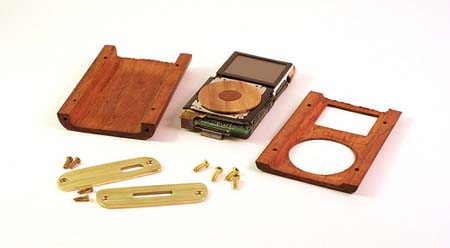
The early stage carved front and back faceplates. I ended up needing to do some fine carving
around the screen and clickwheel border to have the front faceplate sit as snug as possible over the
mini's internal parts.
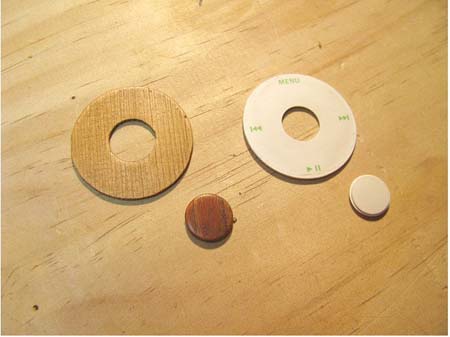
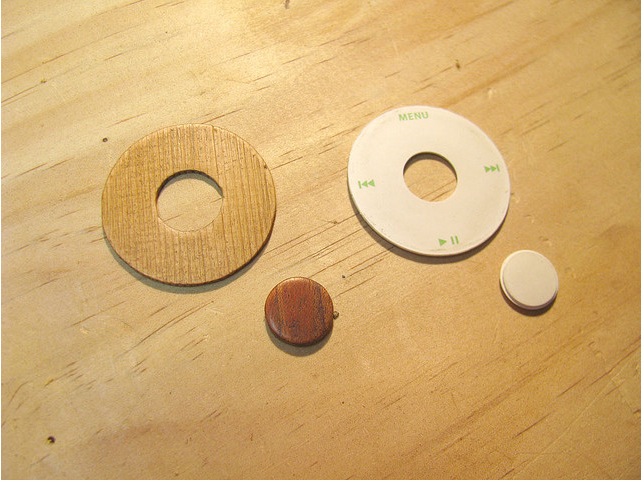
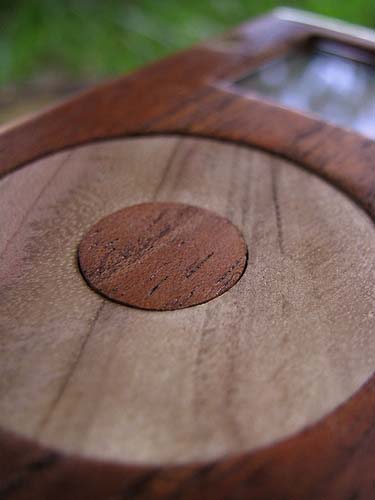
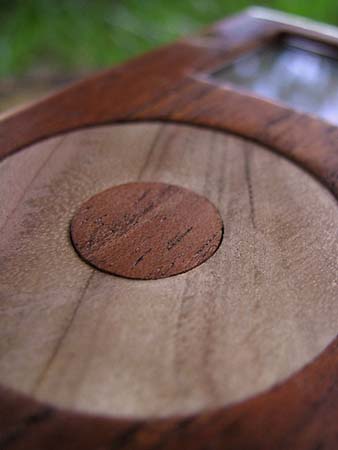
I like the new color schemes of iPod's click wheels with the inside button matching the case's
color. So I used a piece of the Australian red cedar for the button, and some pale red cedar for
the click wheel.
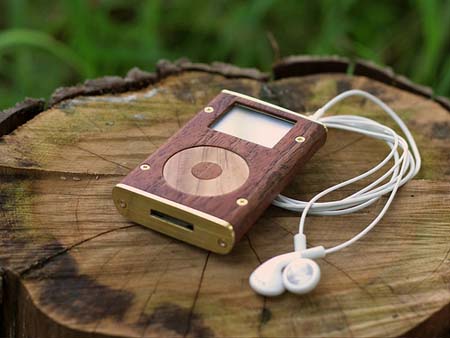
I ended up liking a camphor laurel piece's grain more than the pale red cedar in the end, and
made a replacement clickwheel (as you can see in the finished photos).
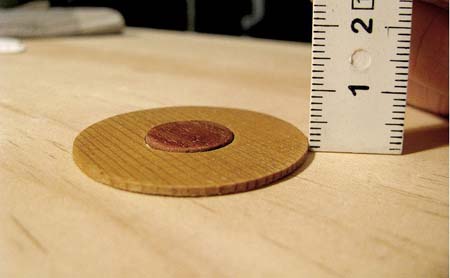
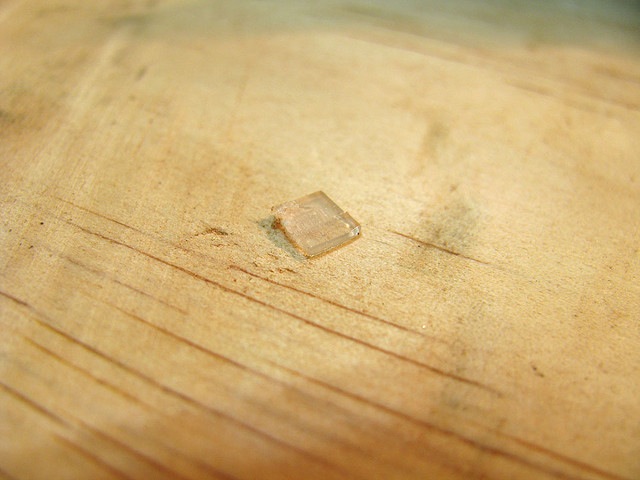
I originally didn't have any hope that I'd be able to make the click wheel wooden as well. I
did a test clickwheel and placed it on the iPod's sensor and I nearly fell off my chair when it
worked.
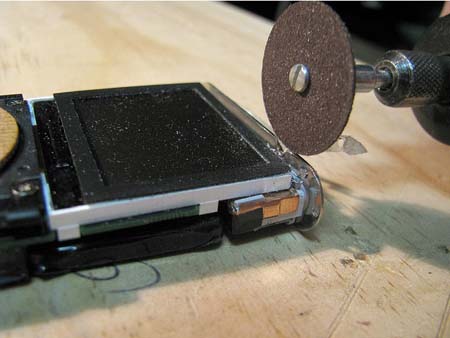
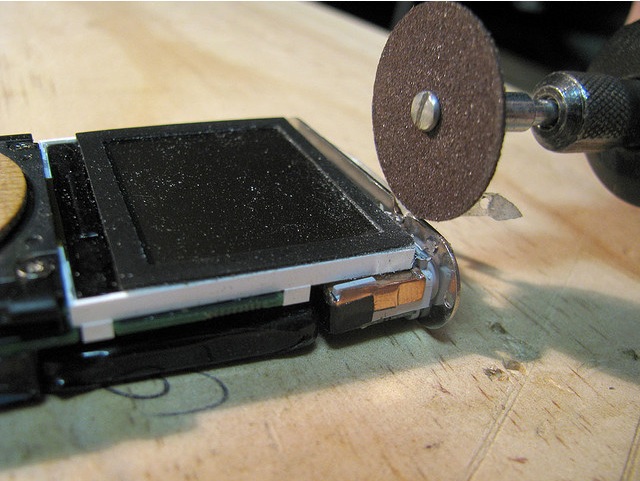
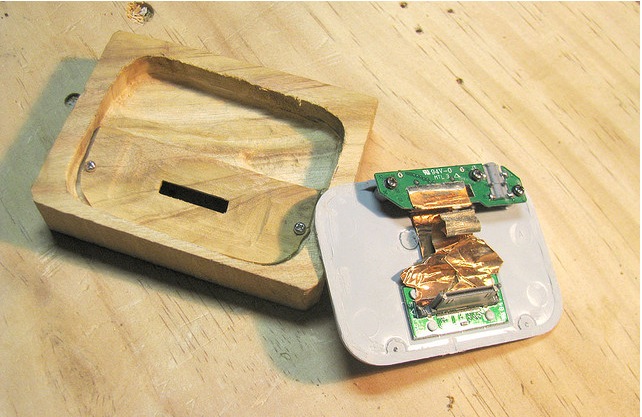
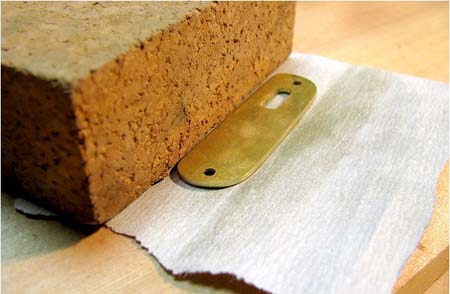
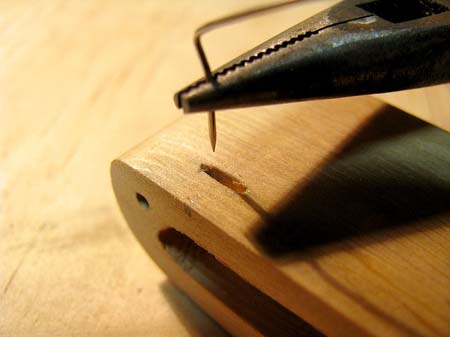
Cutting the screws of the headphone jack's bracket. This part was SO scary to do. I was just
waiting for the cutting wheel to skip on over and give the screen some nice customised gashes.
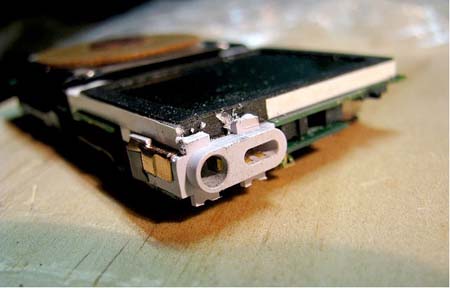
The screw holes on the plastic headphone jack casing were a little large for the wood faceplates,
so I lightly ground them down.

I sanded off the clickwheel's original securing tab since it wouldn't be needed with the wood
case.
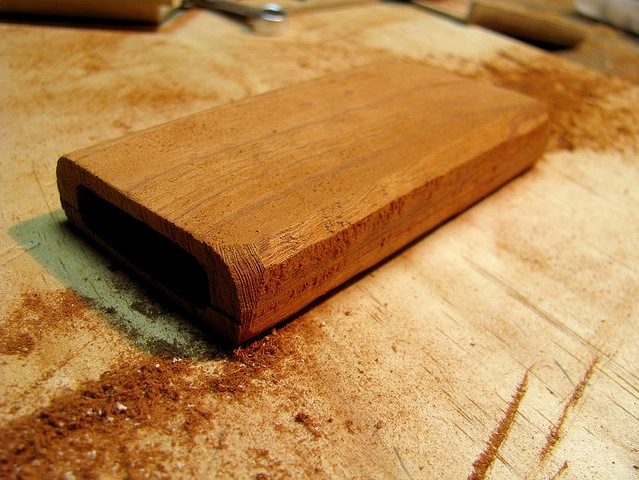
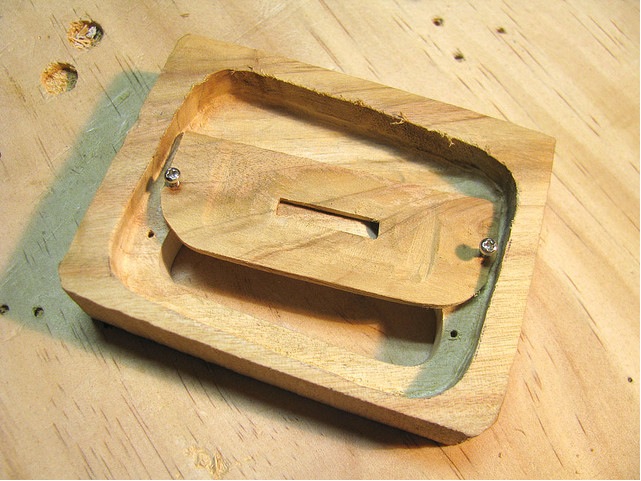
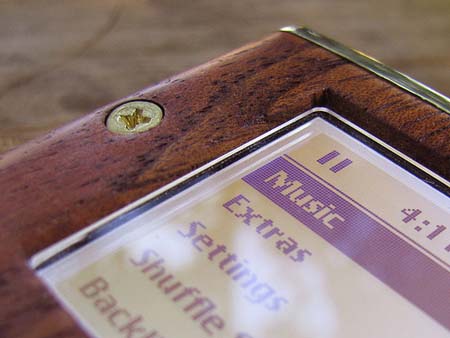
The raw block build of the wood iPod with the four final brass screws. I was kind of drilling
blind with the screw pilot holes, aiming to get as close to the inside as I could without splitting
the inside ridges. I still cannot believe none of the four screws stuffed up.

Next was sanding a curve and an early final shape to the wood case. This was pretty much the
funnest part of the carving.

Then I slowly took down the top and bottom of the wood case to match the final height of the iPod
mini.
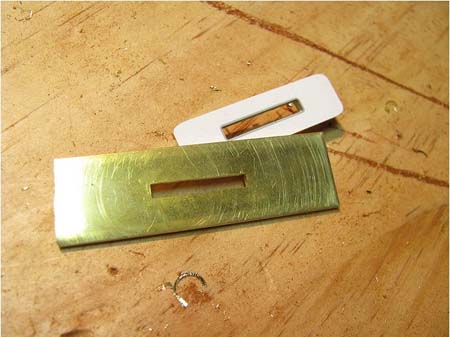
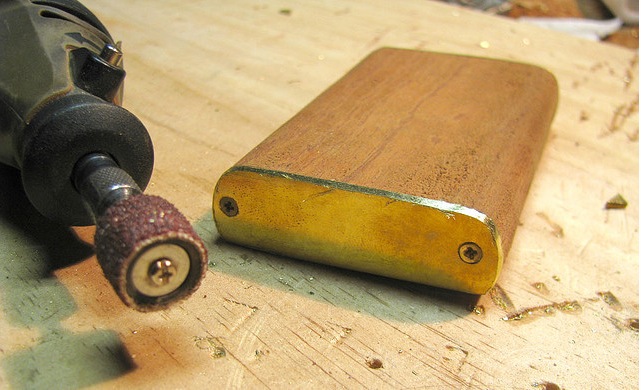
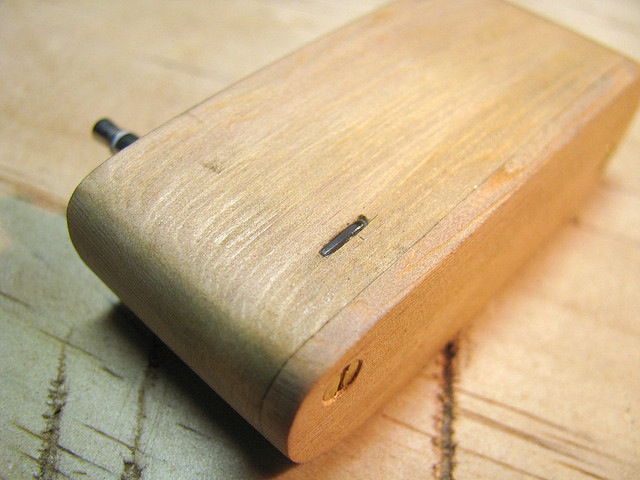
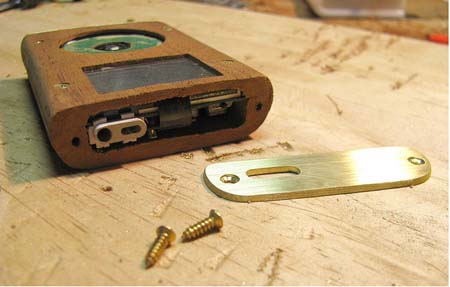
I cut a long strip of brass plate for the top and bottom end caps, and drilled out the dock
connector's hole. Then I used some needle files to clean it up.
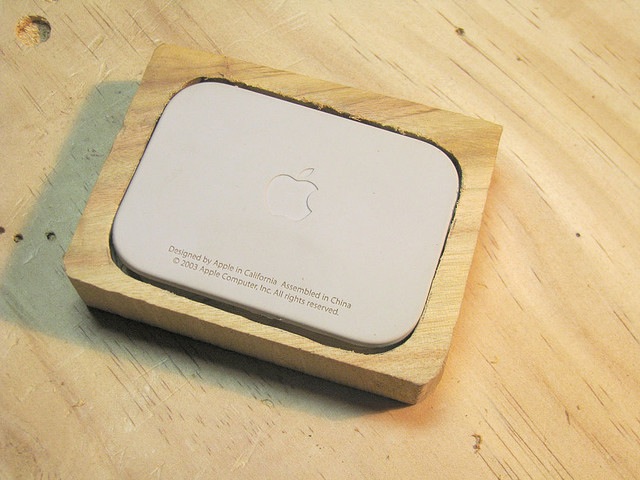
This is the top brass plate where the headphone jack hole would go. I mounted the brass plate on
with the brass screws and sanded the brass down to be flush with the wood case profile.
The finished drill hole to slip over the headphone jack's plastic housing.
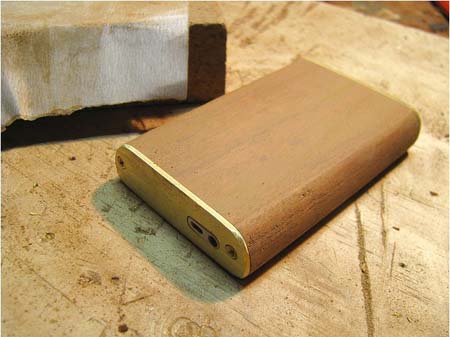
A little bit of sanding to clean up the back of the wood case and to bring the brass cap's edged
in line with the wood.
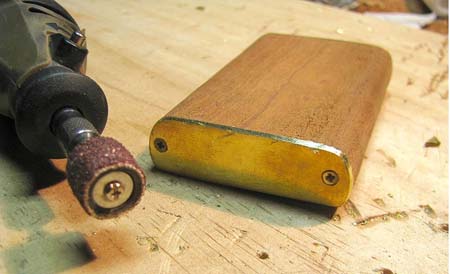
I saw another iPod classic's mod where the guy sanded the chrome back of his iPod to give it a
brushed metal look. Since raw smooth brass tarnishes easily, I decided to give the end caps a
brushed look.
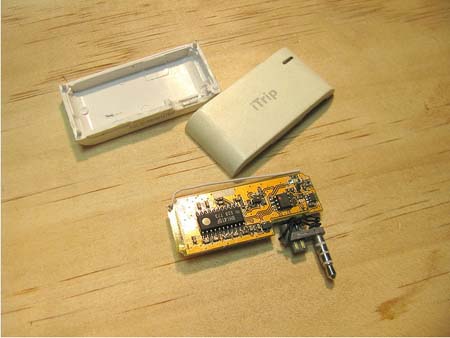
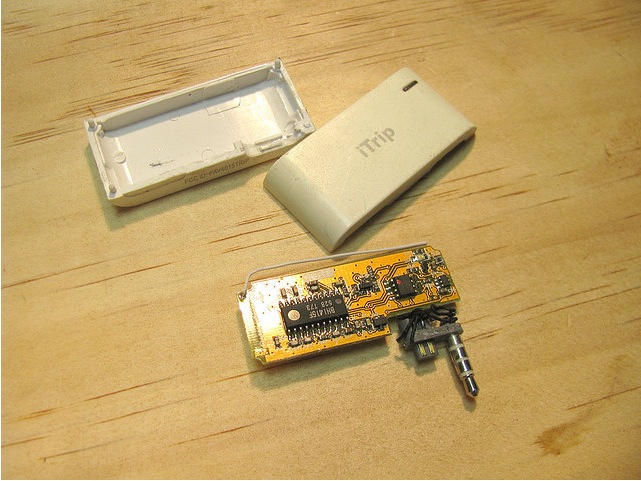
I then took apart my old iTrip to start to plan out how to make a wooden one.

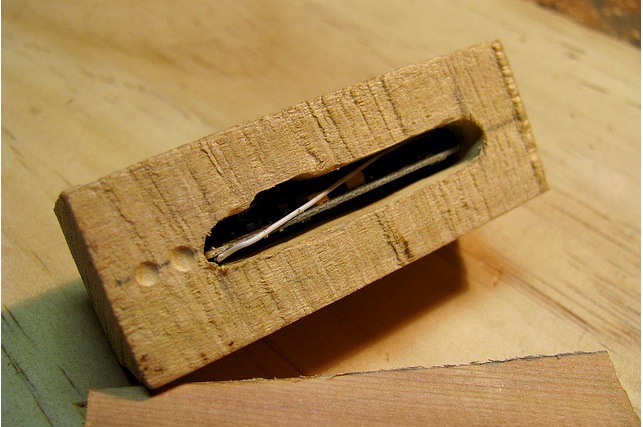
I grabbed a lighter piece of red cedar, and hollowed out a snug fit for the iTrip's internals.
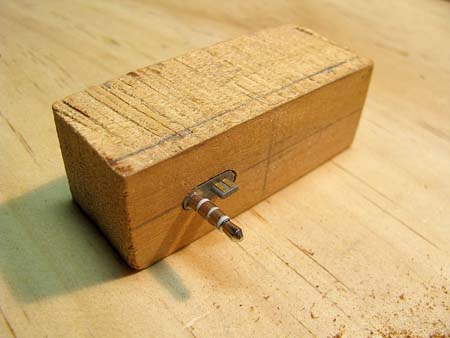
I drilled out the hole for the headphone plug and used a little glue to keep it snug.
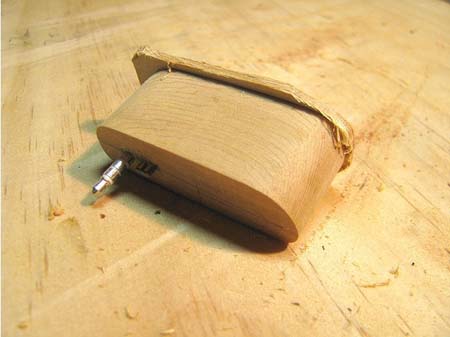
I plugged the iTrip into the wood iPod to get a final positioning of it, then sanded it to the
same rounded profile of the case. I then shaved down some cedar for a top wooden cap and fastened it
with two small brass screws.

Once again I had NO IDEA if I could get the wooden iTrip's red signal light to work. But I just
knew that an iTrip isn't an iTrip without that blinking light, so I shaved the mounting holes off of
the little clear plastic and hoped it would work.
I didn't have drill bits small enough for the light tunnel's hole, so I took some time to
carefully scoop it out with a safety pin.
I marked where the LED sat on the internal circuit and started to make the hole, hopefully in the
right place.

Eventually the plastic light piece fit perfectly in the hole and came out on the inner wall to be
right over the LED on the circuit.
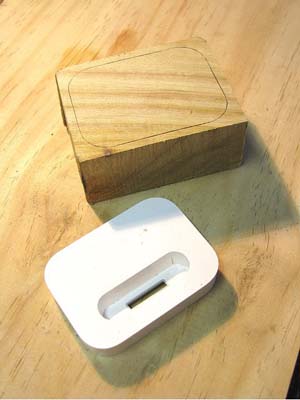
The third and final piece was to make a wooden dock specially for the wooden iPod mini. I grabbed
my old original mini's dock for its parts.
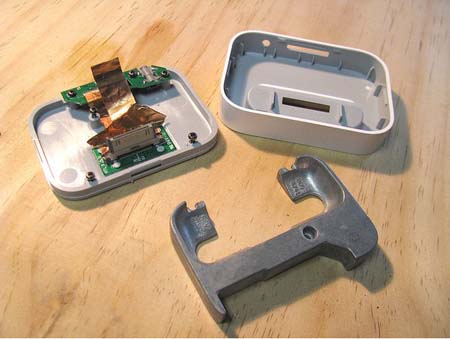
I didn't realize that these things just had a chunk of metal as a weight inside! I always
thought the docks felt 'good and solid' like I prefer electronic devises to feel, but it was all due
to a chunk of metal.
I decided to use the base part since the top and weight weren't functional at all.

I really loved the grain on this particular piece of Camphor Laurel, and I made sure to do a
single saw cut so the grain would hopefully line up on the finished dock's sides.
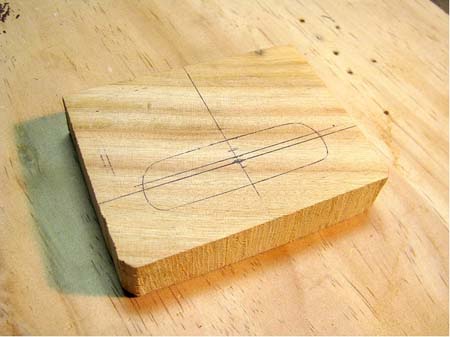
I then marked out the outline of the wood iPod's shape.
I used my drill and dremel to work the hole to the right thickness and a slight lean backwards
like the original dock.

I shaved a thin piece of the camphor down for the baseplate over the dock connector and screwed
it in.

After a bit of shaping, I managed to get the dock's bottom piece to fit into the wooden dock's
top piece great.
The best part of putting a base on this is that I don't have to pretty up the insides at all,
hooray for hidden bad craftsmanship.
The original dock in the new wooden top block.

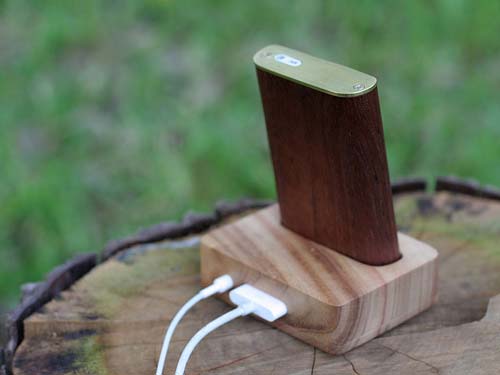
I then drilled and filed up the line out plug and the dock connector at the back of the wooden
dock, and I was done!
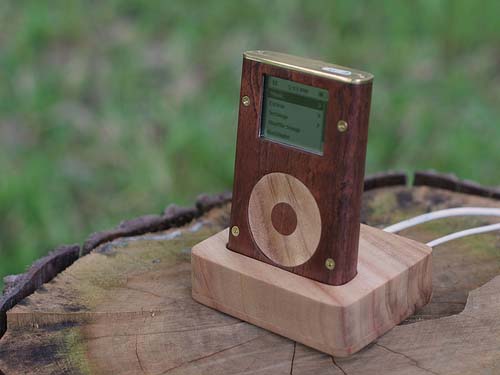
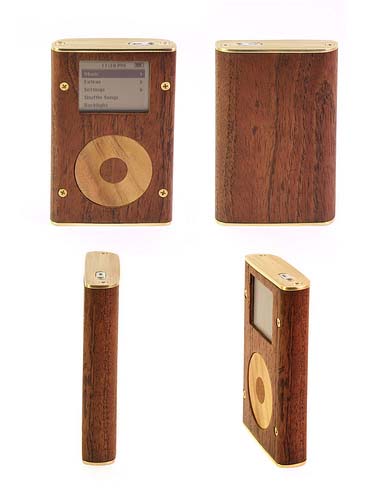
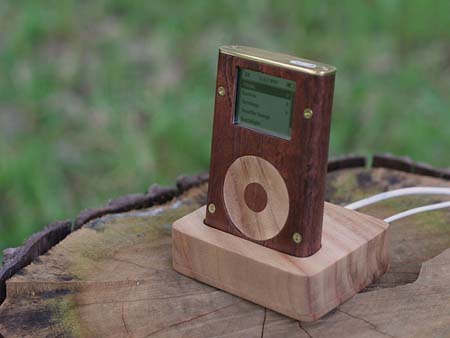
Some pictures of the finished iPod:


Josh can be reached by email at
paperjoz@hotmail.com
.
Return to
Wood News
front page