Finishing my Stout Work Bench
by John Bonin
Upland, CA
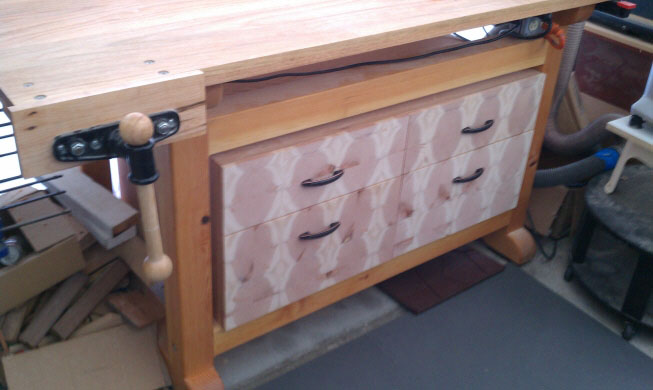
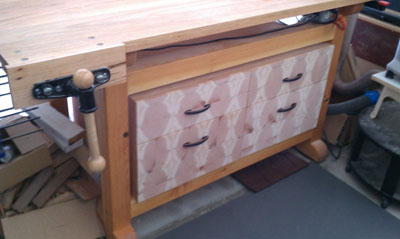
I just recently finished my stout work bench and began the carcase to hold four large drawers underneath. The drawers are made from Baltic Birch 1/2" plywood with finger joint corners. I wanted to make the drawer fronts fancy, so I went to the home center and bought a 8' 4x4 Redwood stick with a great looking end grain pattern. Each piece in this model is a 1/2" thick of the end grain. There will be 4 drawers: two smaller on top and two large on the bottom.
This concept is an idea I got from an article I read recently based on the work of craftsman John O'Brien.
the project is complete to the point I can do for a month or so, since the only 4x4 redwood sticks I could find were green. I have to let it sit for a month or two before I put a finish on it. (By the way, my workbench was green redwood too. I never had any problem with it warping - at least not yet. It is pretty stout though - which is not the case of these end grain slices.)
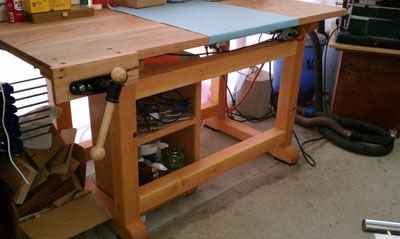
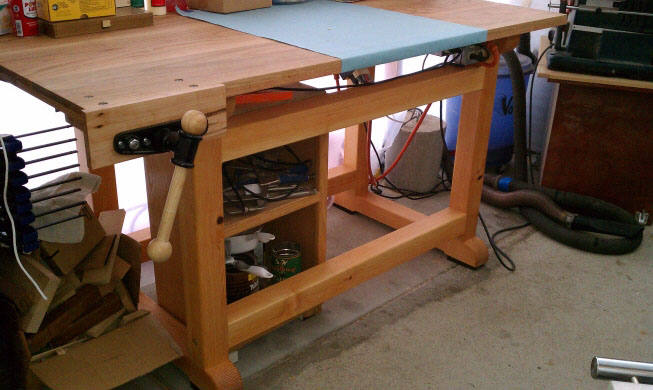
Base bench - this thing is almost 200 pounds at this point. It does have a finish on it now.
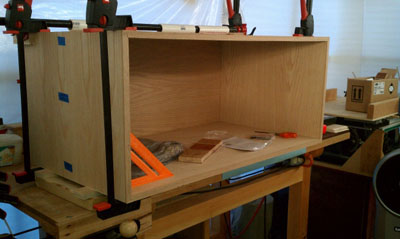
Carcase for underneath storage.
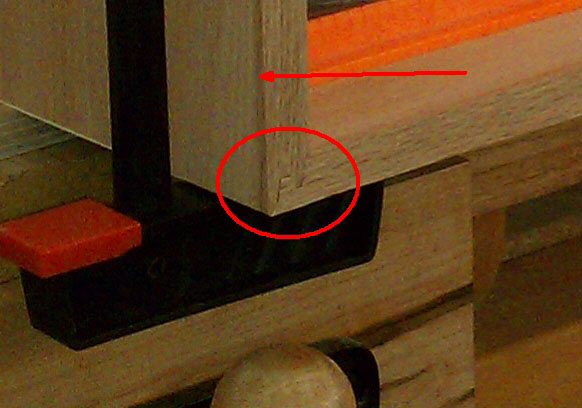
Everyone who sees this say it is one of the most unique joinery assemblies they have ever seen. It is a 5-sided box and each joint is a lock-miter joint. The bottom and top grooves face up, and the sides sit in the grooves so the sides can't fall outward. The top comes down and locks it all into place. The sides and top lock the back in. This is a picture of the first dry fit before the center vertical section was inserted (with a rabbet top and bottom.)

Close-up of lock miter joint, showing sides sitting down into the track provided by the bottom. I glued 1/8" oak trim to the oak plywood before routing the joint.

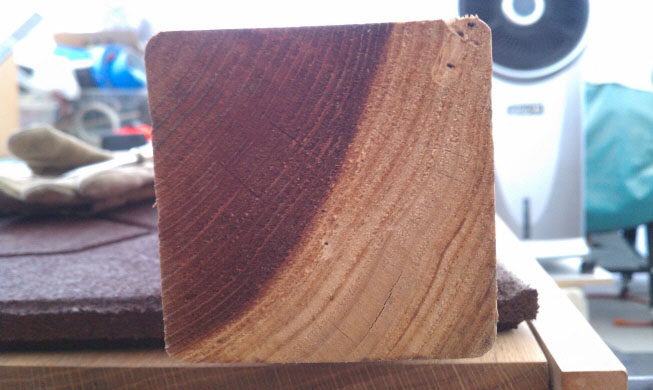
This is the endgrain stick I chose at the home center.
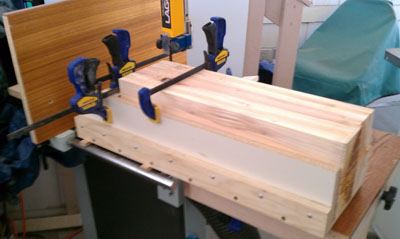
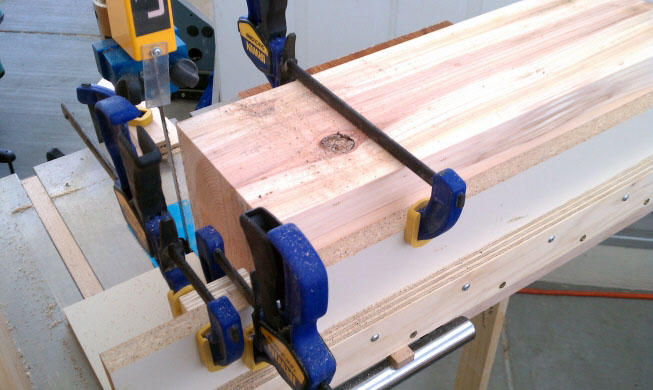
I jointed and planed it square and down to a precise 3x3, and then glued it together.
This is the band saw sled I made awhile back. (You don't see many of these around.) I drew it up in Google SketchUp and made it available to the 3-D warehouse. tag: band saw sled

Another view.
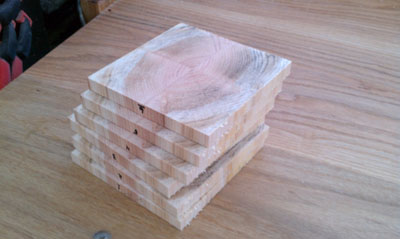
Here are a few of the finished slices.
An 8' stick, cut into 4 pieces, glued together, and cut into 5/8" slices yielded almost 30 slices. (5/8" includes the width of the band saw blade.)
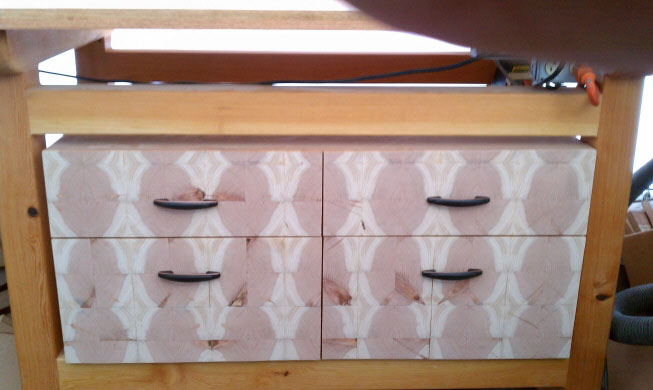
Here is the completed drawer front set, glued and disc sanded down to 1/2".
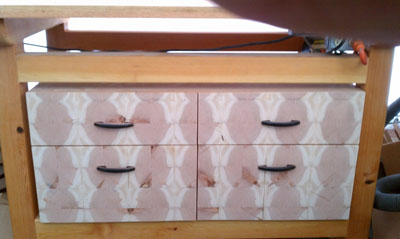
Another view.
Obviously it will be darker and richer after I put a finish on it. I still have to bevel all the edges. I'm going to do it by hand with a block plane as I am afraid it will chip if I use a router. Heck, it will chip with a block plane if I take the plane all the way to the end of the board!
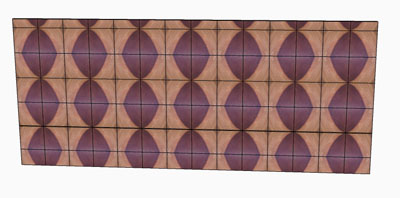
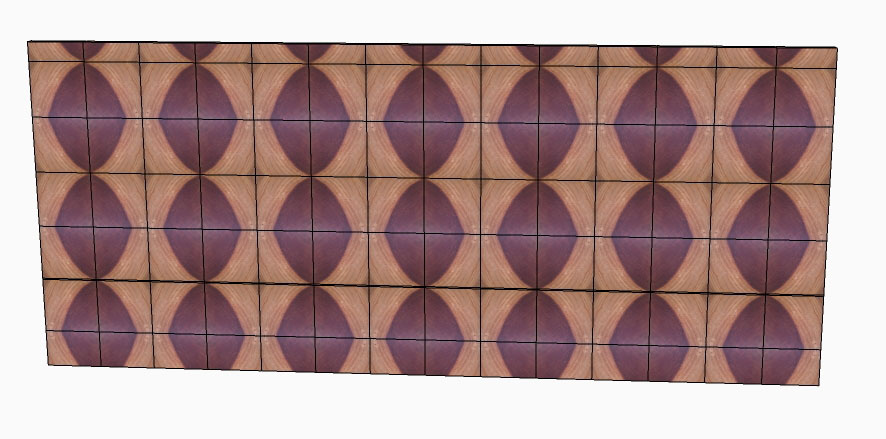
Here is the original design in SketchUp. Because it began with one quarter-slice picture that was replicated, it is much more symmetrical in the SketchUp image.

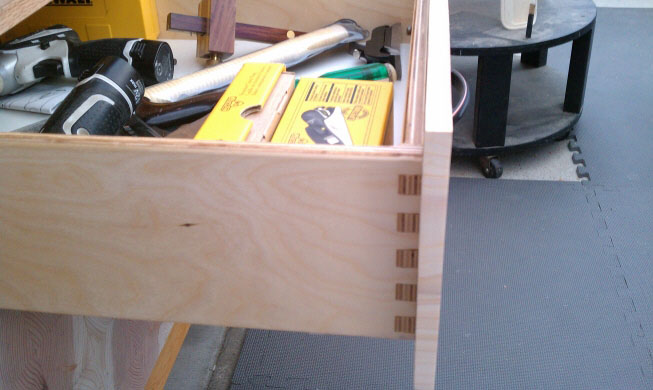
1/2" Box joint sides. I used Blumotion slides, which hide under the bottom. You can slam the drawer shut and the last couple of inches will cushion and pull it gently closed.
You can email John at
jabonin@gmail.com
.
Return to
Wood News
front page