Refinishing and Restoring Vintage Coffee Mills
by David Brearley
Austin, TX
Click on any picture to see a larger version.
I've restored and found homes for roughly 20 coffee mills and have a small collection of original mills here at home. The restoration projects are typically birthday or wedding presents or similar. Less than half are full blown refinishing projects, like the projects below:
Most of the mills that I work on just need to be taken apart so that the burrs can be soaked in coffee cleaner. It's pretty common for these old utensils to be coated in a yellow layer that is equal parts kitchen grease and dust. So before putting everything back together, I'll clean up the wooden pieces. I'll glue any corners or seams and fix stripped wood screw holes while the mill is in pieces. Once the wood is clean, I'll get a coat of furniture wax on the piece. Usually there is some amount of metal polishing involved. But I can have the mill put back together in a few hours. (By comparison, a full-blown refinishing project will take a few days, if for no other reason than the drying times involved.)
In the process of working on all these projects, I did nerd out on finish options, studying books and online resources. I'm basically finishing projects in the backyard, which is suboptimal in so many ways. But I've settled on some finish solutions that are very forgiving and fast-drying and adaptable. Sometimes I want to refinish a whole mil; more often than not I'm just trying to cover up a couple bare patches of wood on high use areas of a mill (like the drawer face or the top) and make these pieces match the original. I've found some products and techniques that work well.
While I never did any refinishing projects prior to this, that's changed now that I have products handy and some basic skills. I recently refinished the butcher block top of our kitchen workstation, which was worn bare over a large area. Since that project worked out okay, I'm eying a couple pieces of our (not fancy) vintage furniture that would benefit from a selective surface treatment. I'm limited by the fact that we don't have a garage or basement that I can use as workshop, just a small storage shed that I built.
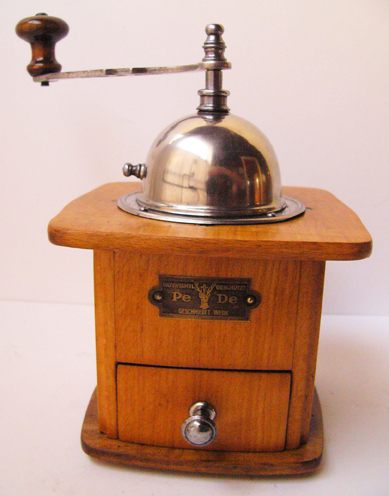
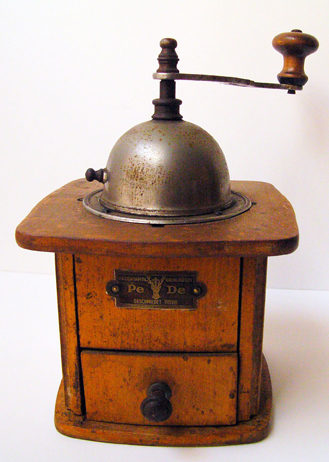
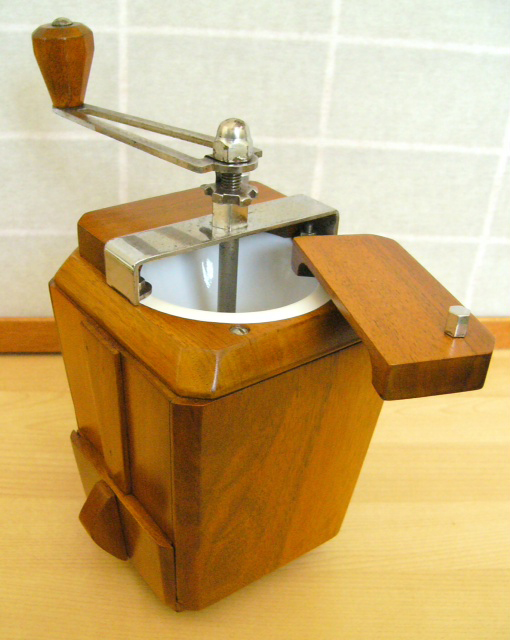
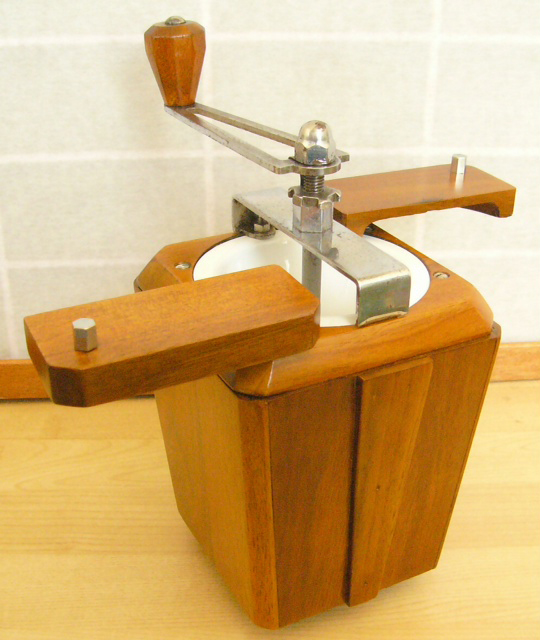
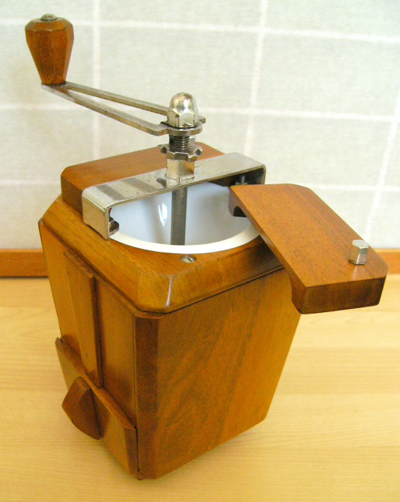
I've just done a few extensive coffee mill restoration projects. Photos of one of the more interesting projects are below. (Unfortunately, the before pics aren't great.) This particular mill is a first generation Peugeot Le Ric, which dates to 1936 – 1939. The pre-WWII Le Ric models were made out of black walnut and have a 24-faceted handle; the Le Ric models that Peugeot made after the war are made out of the more typical beech wood and have an standard oval handle.
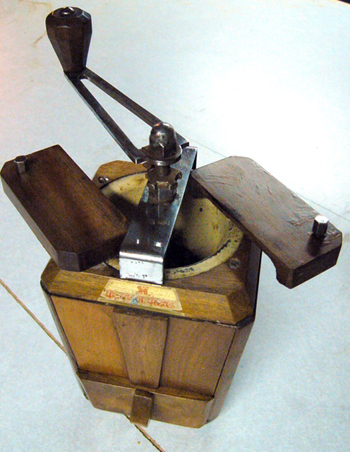


When this mill arrived from Europe—I bought it off of eBay France—it turned out that someone had wiped away some of the original finish from the grinder, presumably in an effort to clean it up for resale. Since the mill was no longer in it's original condition, I didn't feel obliged to treat it as a vintage item in need of preservation. Instead, I decided to have some fun and restore it.
Probably the most interesting part of the project for a woodworking audience is the finish detail. It took me a long time to decide on the best finish to use on these old mills for my purposes. Most of the mid-century European mills were protected with lacquer. However, I can't apply a commercial quality lacquer finish at home without professional spray equipment. What I wanted was something that was low toxic, reasonably durable, and most importantly relatively simple and quick. I spent a lot of time researching and trying out different products before I found a solution that I liked.
What I did with this grinder—and all subsequent grinder restorations—was mix dewaxed shellac from flakes to about a 2-pound cut. I then applied the shellac—in this case I used garnet shellac flakes because it's a dark wood—by hand using a rubbing pad or folded-up cotton cloth, building up the finish over a couple of days. The shellac is easy to apply and quick to dry. It can be applied until the desired effect is achieved—about 8 to 10 applications for this mill—and any mistakes are easy to fix. Afterwards, I applied a clear lacquer topcoat just to provide some additional durability for the finish. It's sort of a quick and easy, modified French polish finish that works well for small items that will be handled a lot.
Since the glue seams on this box were dried and gappy, I steamed the corners apart so that I could re-glued everything. Afterwards, I stripped, sanded and refinished the mill. (Unfortunately, the Peugeot decal couldn't be saved.) Peugeot painted their hopper funnels, so I repainted that surface as well, using a white appliance enamel. All the metal parts were cleaned, and most were polished afterwards; the burrs just get soaked in a coffee cleaner. Then everything goes back together—hopefully, the way I found it. To improve my odds, I take a lot of pictures of the mills as I take them apart. Depending upon what the particular grinder needs, some additional light woodworking skills and tools may be needed—like fixing the stripped screw holes on your mill. All things considered, it's a pretty easy long weekend or 2-weekend project for woodworking coffee geeks or coffee drinking woodworking nerds.
You can email David at
david.brearley@solarprofessional.com
.
Return to
Wood News
front page