Tips From Sticks-In-The-Mud Woodshop
by Jim Randolph
Long Beach, Mississippi
Click on any picture to see a larger version.
Welcome to "Tips From Sticks-In-The-Mud Woodshop." I am a hobbyist, not a professional, someone who loves woodworking, just like you do. I have found some better ways to accomplish tasks in the workshop and look forward to sharing those with you each month, as well as hearing your problem-solving ideas.
Tip #1
This tip takes two people, or one four-handed person. It is aimed at people who are averse to erasing pencil marks from their work.
|
|
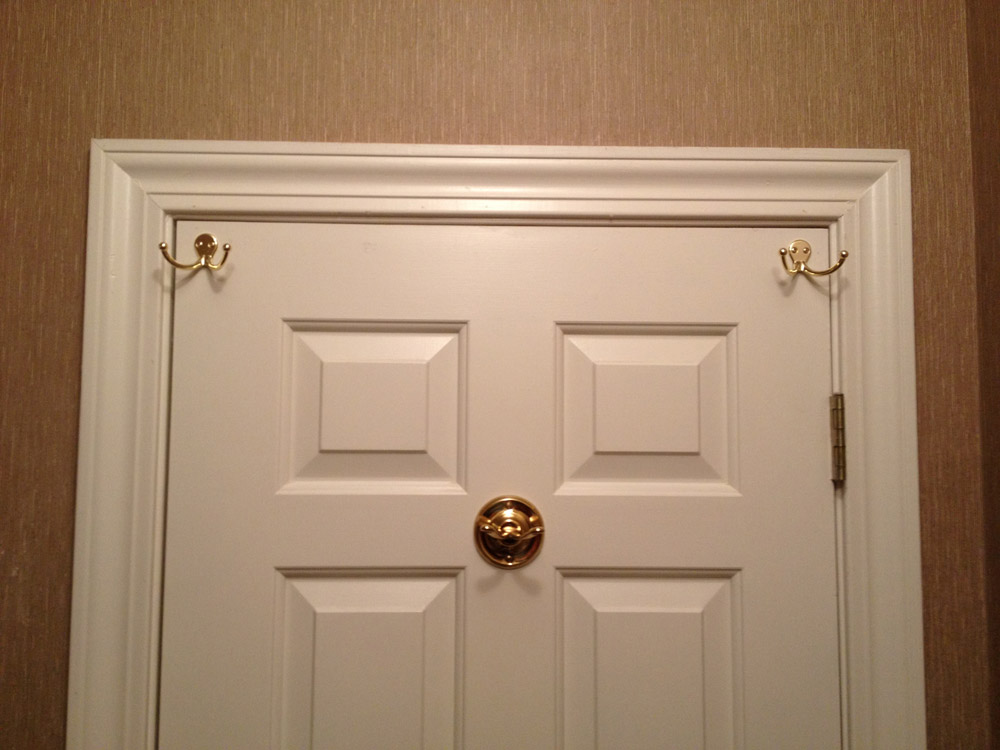
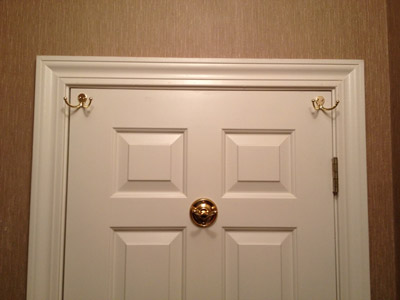
Nothing looks tackier around the house than objects out of plumb or level. It's not always easy, especially working by one's self. This tip will help. (Yes, if I could have found the same hook that already existed in the center of the door I would've used it. Yes, now that you mention it, it DOES look a lot like something Steve Johnson's brother in law would've done.)
|
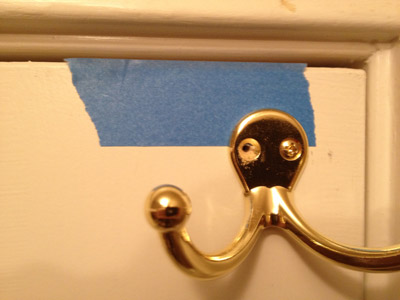
If you want to install a hook or hanger similar to the ones shown, you always want to get both screws in the same plane, or the job looks like Steve Johnson's brother-in-law did it! Measure the distance between screw holes and have your assistant cut a piece of blue painter's masking tape a little longer than that.

|
|
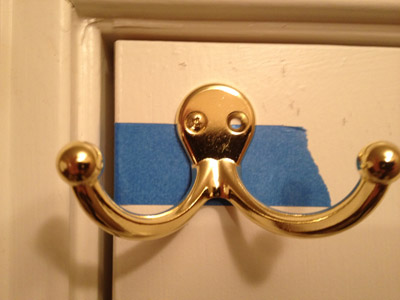
Your tape needs to be just a little longer than the space between holes on the object you're mounting.
|
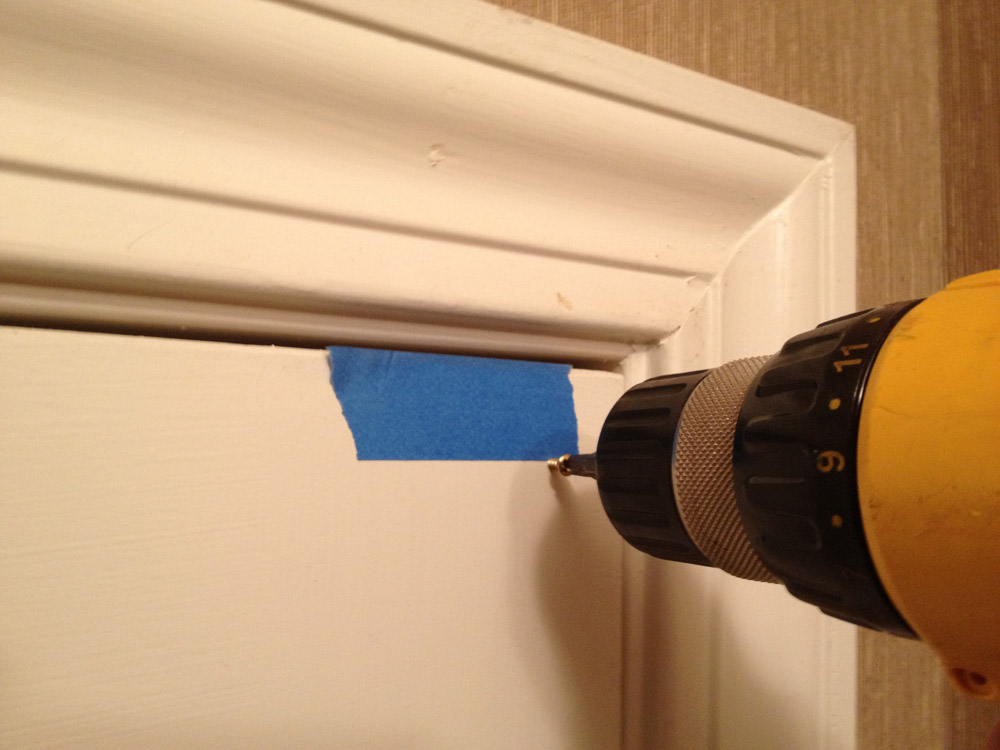
Once you decide where you want the hook, make a tiny hole with your awl where the first hole goes.
|
|
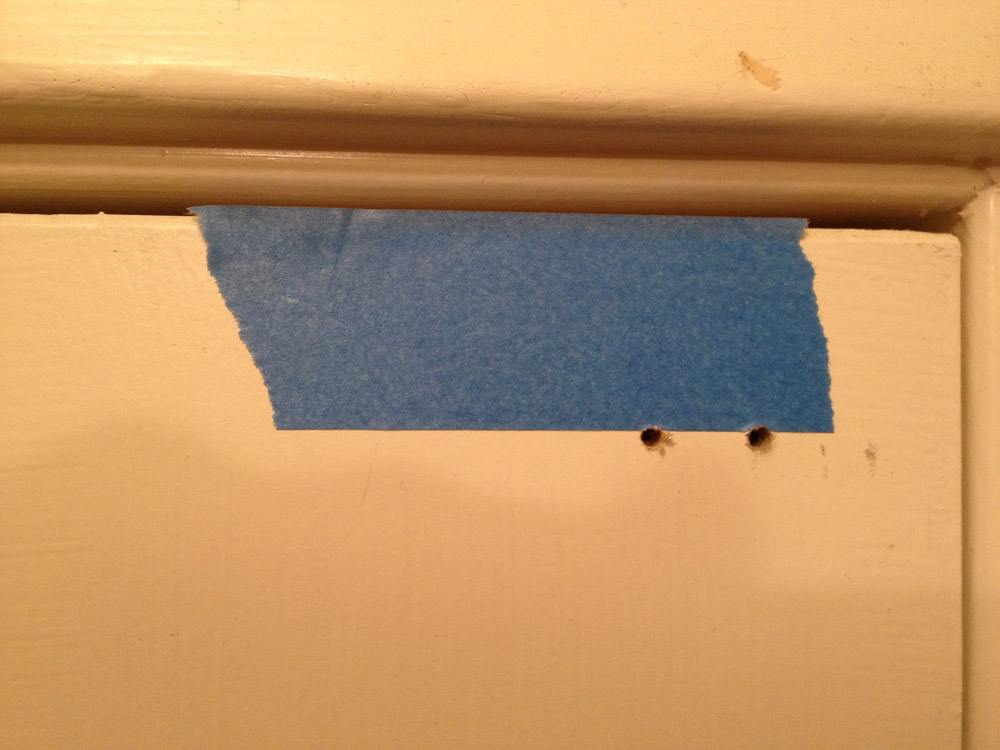
Because your tape is level, the holes made along its edge will be level, too.
|
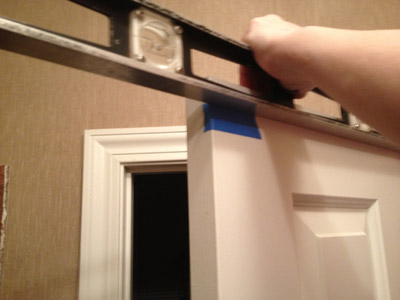
Now, center the edge of your level on that hole, and have your assistant put the strip of tape along the edge of the level from the first hole past the location of the second hole.
|
|
Once your second piece of tape is up, you are on your own. Everything you do from that point forward will be perfectly level.
|
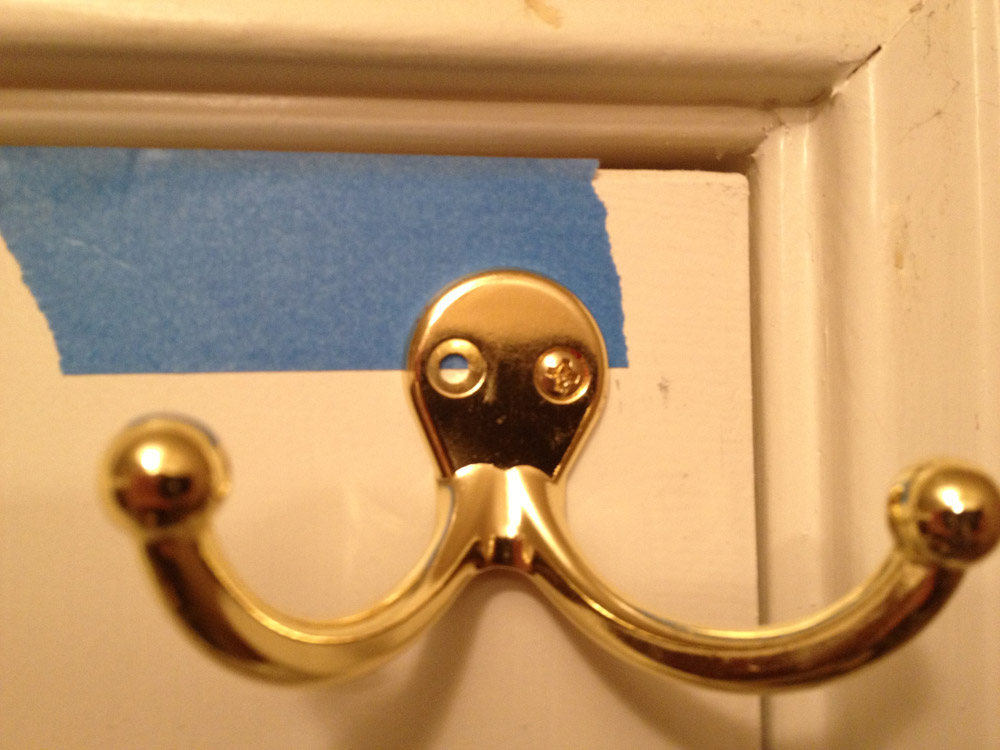
Next you can either drill the pilot hole for the first screw (best approach), but not tighten the screw all the way down, or you can just line up the screw opening in the hook's base with the first screw's hole.
|
|
With the first screw in, but not fully tight, you can position the hook level, then mark your second hole with the awl.
|
That should position the second hole for you. Where the center of the hole meets the lower edge of the tape, make another hole with your awl. Drill the next pilot hole, insert the screw and you're finished.

|
|
Establish threads in your pre-drilled hole before mounting the hook to make screw insertion easier.
|
Alternatively, you could balance the level on the arms of the hook, but these Chinese hooks are not guaranteed to be symmetrical, so the results might not be as good.

|
|
Perfect holes, perfectly level.
|
If you have absolutely no friends and no lovely assistant like mine, you can use clamps to lightly hold the level in place, but it's considerably more difficult. Then, again, nobody told you woodworking would be easy, did they?
Tip #2
No Southern-fried Southern boy wants to be called a Yankee, but we share the characteristics of shrewdness and thrift. Thus, each month we include a money-saving tip. It's OK if you call me "cheap."
There's cheap, then there's, well, dumb. If you don't have an awl you can decide for yourself which category you want to be in. Go buy one!

|
|
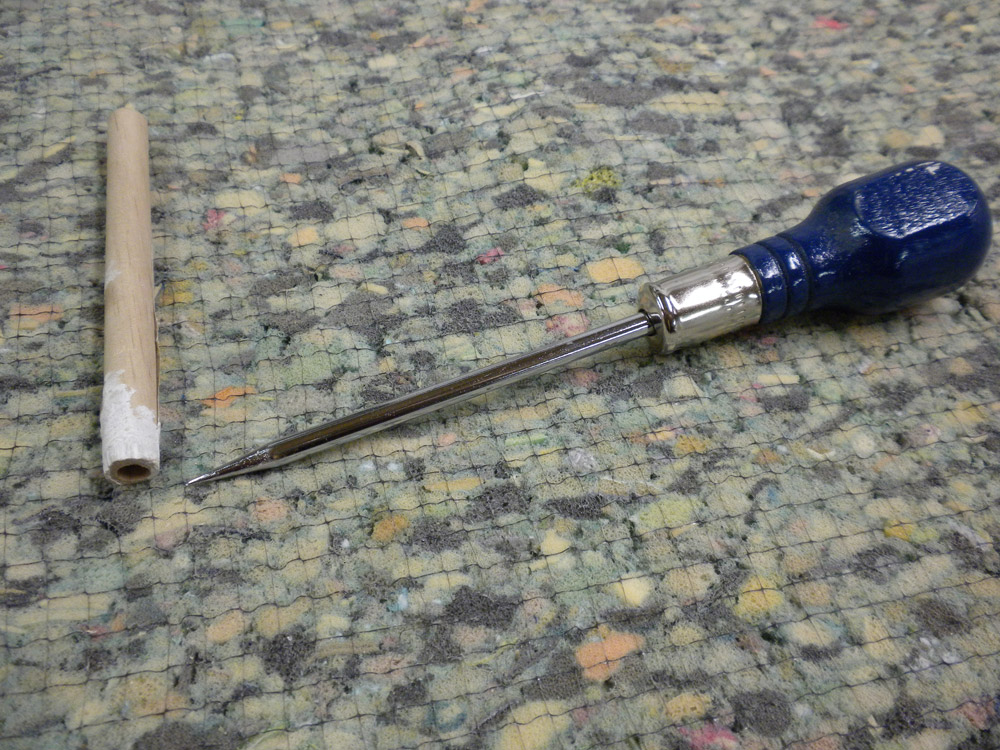
An awl doesn't have to be expensive. An ice pick will do. It does, however, need to be very, very sharp.
|
You won't believe you ever worked in wood without it after you use it a few days. Here's a tip on the tip, though. As purchased, the tips of awls are not very sharp. I'm guessing it has something to do with lawyers. Put that baby on the grinder and bring it to a really fine point. The smaller the tip the greater your accuracy. Of course, that means you have to protect the now-delicate tip to keep it from breaking off. A few strokes on a whetstone will remove the friction-inducing scratches the grinder made and your awl will work awl-somely!
|
|
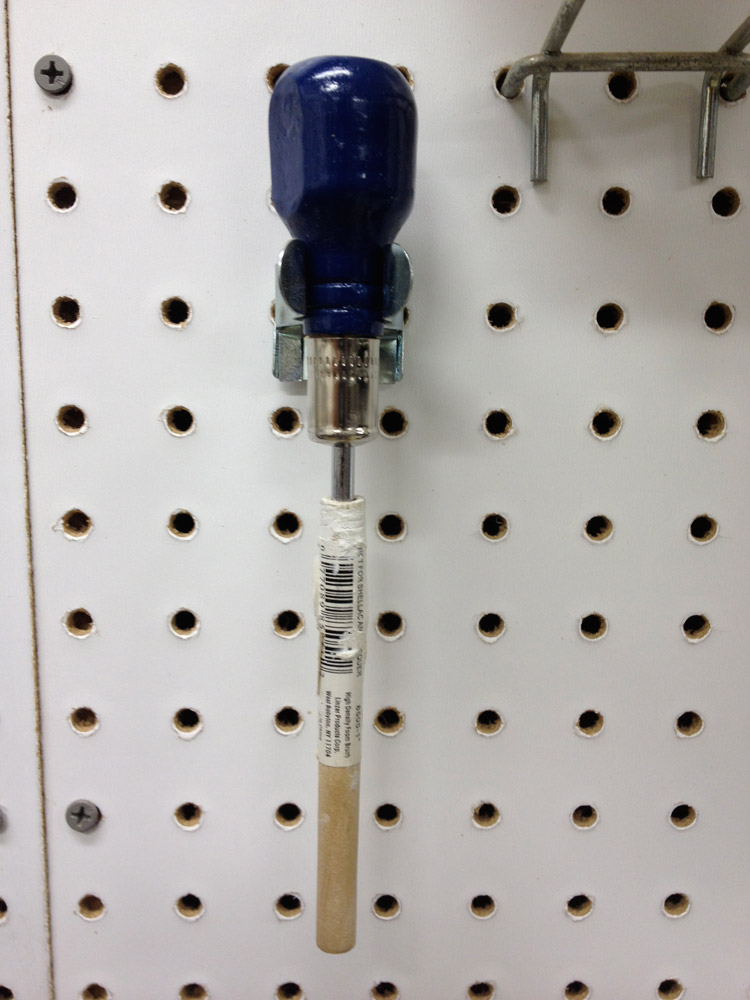
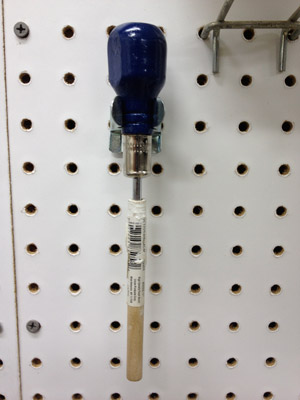
Use the awl to make a pilot hole for a tiny bit in the middle of the sponge-brush handle. Then, drill straight and careful down the center. The result? A free awl-protector!
|
Protect that tip by drilling an appropriately-sized hole in a handle from a discarded sponge paint pad. Now, when the awl falls to the floor (which it inevitably will), the delicate tip won't have to be reground.
Jim Randolph is a veterinarian in Long Beach, Mississippi. His earlier careers as lawn mower, dairy farmer, automobile mechanic, microwave communications electronics instructor and journeyman carpenter all influence his approach to woodworking. His favorite projects are furniture built for his wife, Brenda, and for their children and grandchildren. His and Brenda's home, nicknamed Sticks-In-The-Mud, is built on pilings (sticks) near the wetlands (mud) on a bayou off Jourdan River. His shop is in the lower level of their home. Questions and comments on woodworking may be sent to
DrRandolph@MyPetsDoctor.com
. Questions about pet care should be directed to his blog on pet care,
www.MyPetsDoctor.com
. We regret that, because of high volume, not all inquiries can be answered personally.
Return to
Wood News
front page