Creating a Curly Maple Handle for a Custom Japanese Hammer Head
by Lee Laird
Click on any picture to see a larger version.
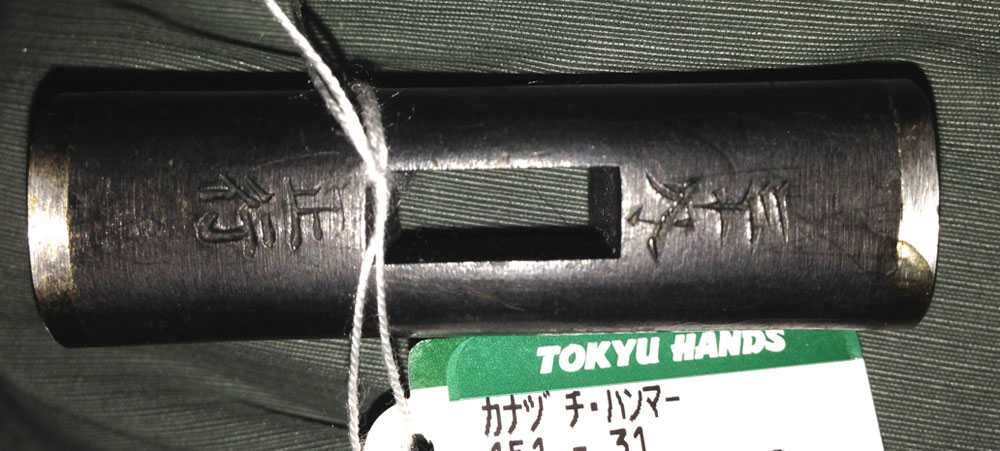
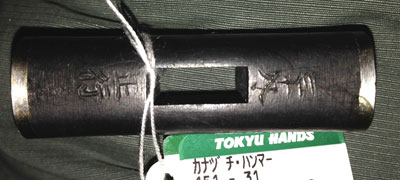
This month I've just returned from a family trip to Japan. My daughter graduated with a degree in BioMedical Engineering, and this trip was her graduation present. Our family spent a week in Tokyo and another in Kumamoto, Japan. During some of the down time, I had the chance to slip into a few tool stores, and in one, I was surprised to see a cool hand-made Japanese hammer head locked in a presentation case. This hammer head is quite small, but still made with the soft core and hardened steel on each end and the traditional one flat face / one convex face. As the hammer head was sold by itself, I knew I'd need to make a handle for it, and I wanted to make it from some wood that would draw as much attention as the hammer head did.
|
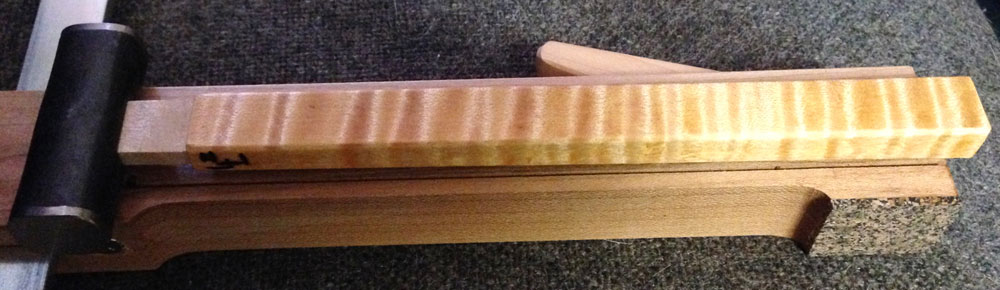
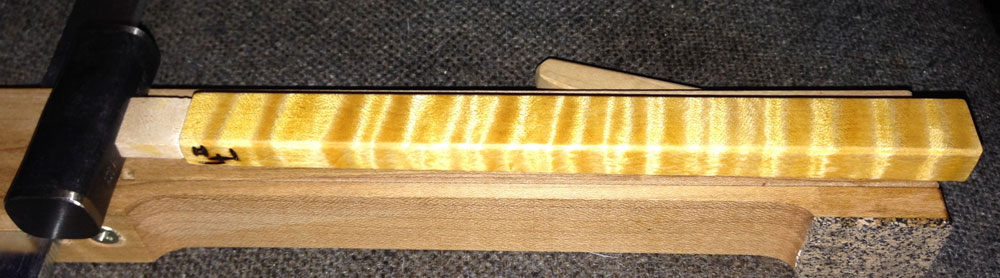
After our trip ended, and I slept for what seemed like a week (with the major jet lag on these flights), I started looking through the woods I already had in my shop. While going through off-cuts, I found a smallish piece of curly Maple that seemed like it could easily be perfect for the hammer's handle. It was just slightly wider than the mortise in the hammer's head, and just long enough so the hammer would feel good in use. Luckily, this little piece of wood had some really nice curl that looked like it would really pop with just a bit of enhancement. This piece of wood was previously planed to bring it into a rectangular shape, which was handy, as it really didn't have much in the way of excess. I'd have hated to have to pass this one over, just because it was slightly too small! Oh, and yes, there is still enough room to take a few super light passes for clean up.
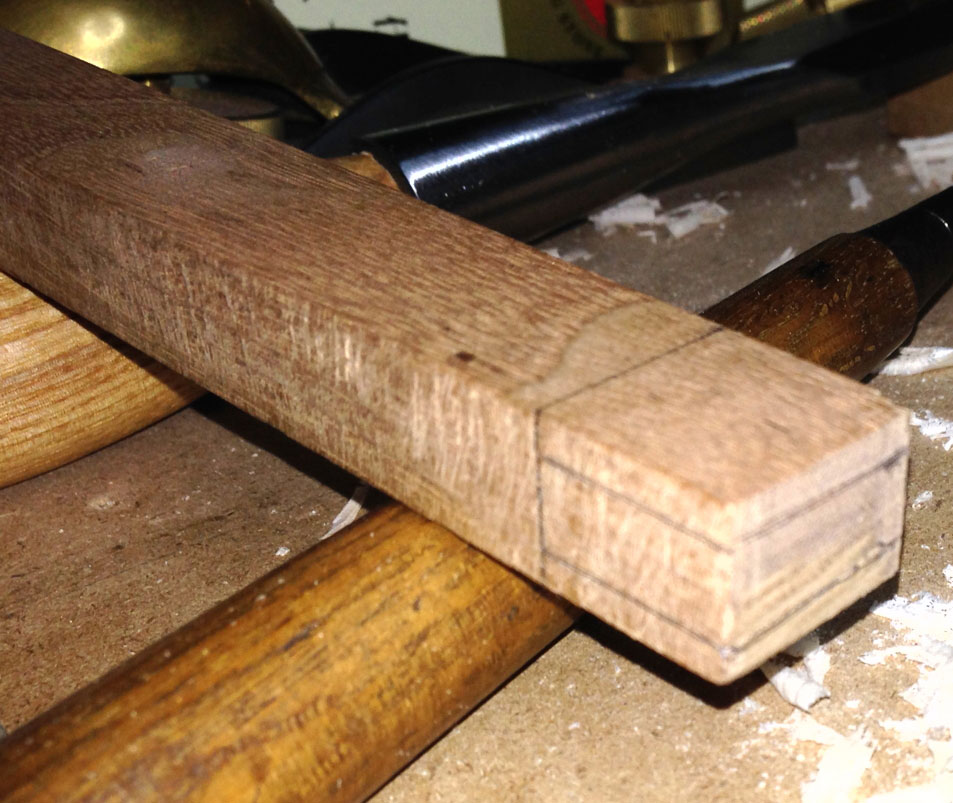
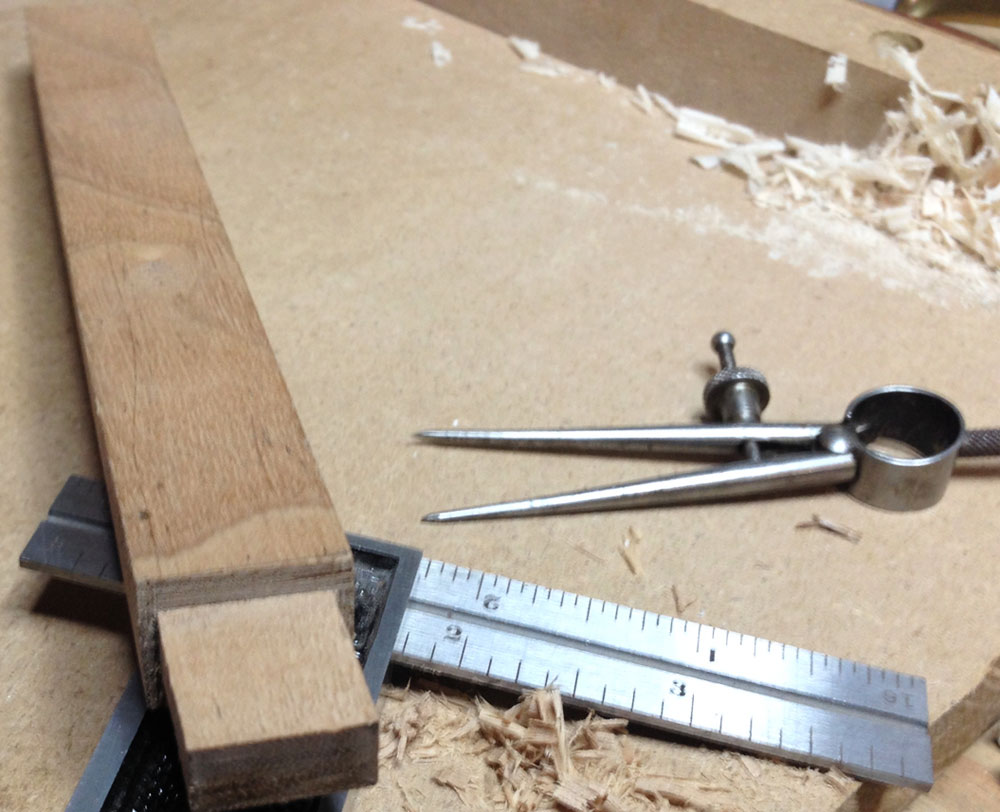
My first step was to take some small dividers and set them so they were just a bit wider than the mortise (narrow dimension) in the hammer's head. I centered the dividers on the end of the handle-to-be and left some small indentations in the wood. I then presented the wood directly to the mortise to see if this layout provided enough extra material on each side so I could sneak up on the perfect fit. When I had it exactly where I wanted, I set my small Tite-Mark gauge so it would score where I needed. I marked across the end-grain working from each outside face. Before continuing the marks down the side of the wood, I again presented the wood to the hammer head to determine how long the tenon should be, to end up with a very slight amount proud of the head. Once verified, I made marks around the handle, and then I brought the marks down the sides, from the end so it intersected the crossing marks. My layout was complete and it was time to pull out the hand saw. (Unfortunately, some of my first round of photos got away, so those you see that are obviously not curly maple, are of a second time through with a lesser sought after wood. I didn't want to waste a piece of curly maple just to retake some photos. Sorry in advance.)

|
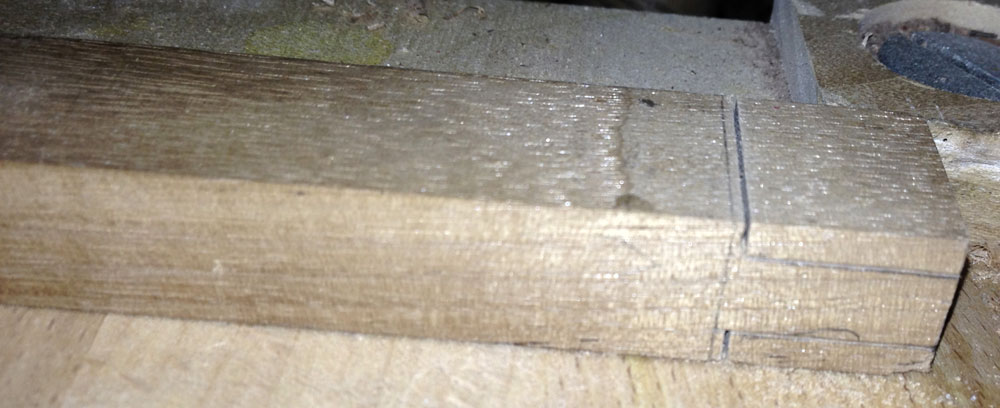
Since I was working on a Japanese tool, I chose to use a very fine Japanese pull saw, which leaves an extremely fine kerf and is super easy to start and stay on line. I first cut the shallow shoulder on the first face, at the mark that delineated the full depth of the tenon, which only took a few strokes. I flipped the wood over to the opposite side and repeated the task.
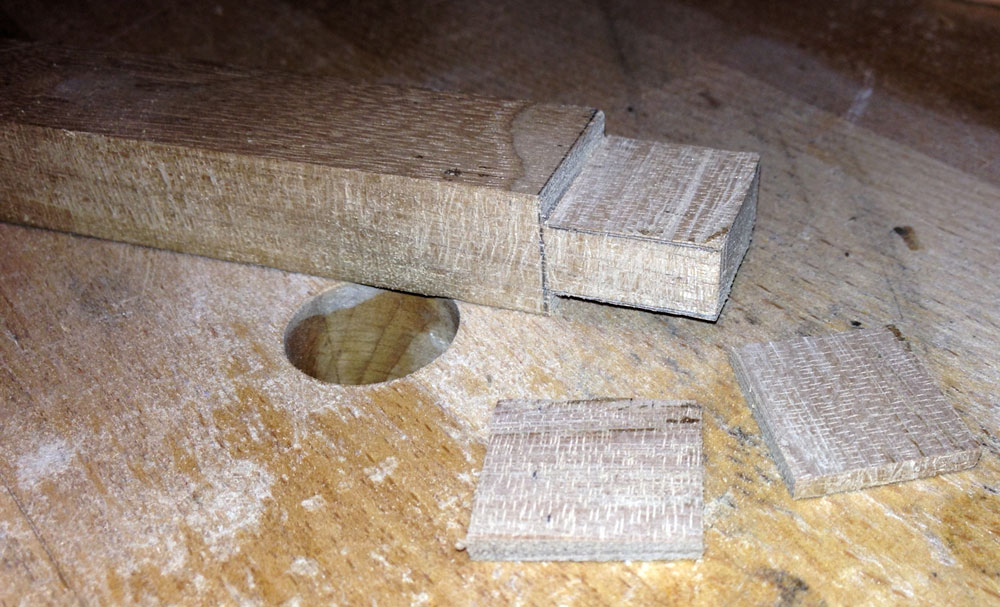
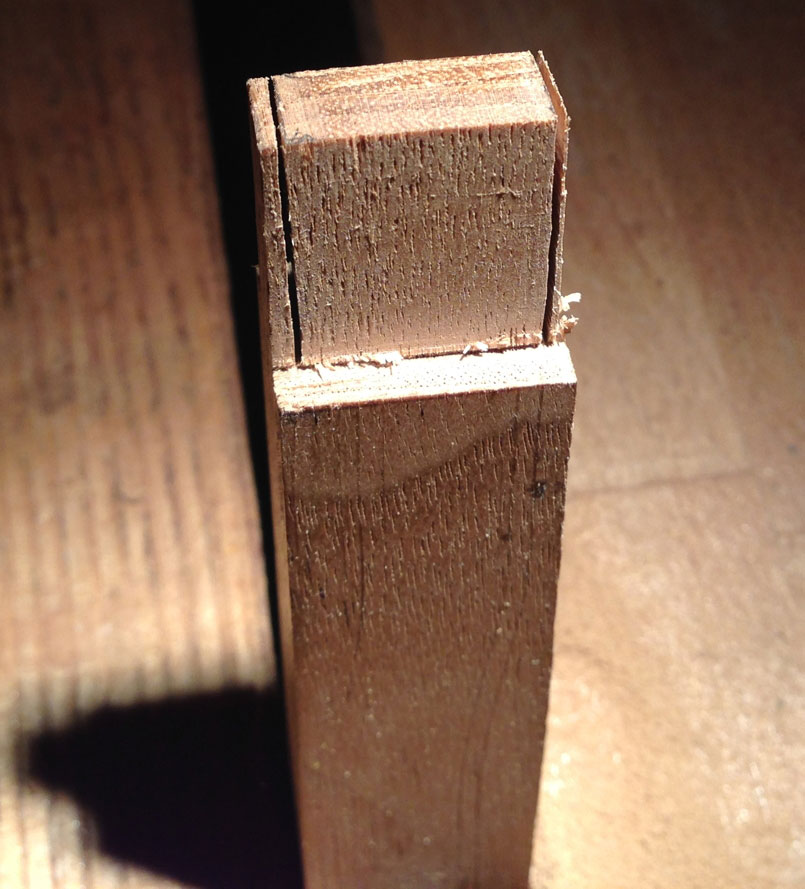
Now it was time to cut down from the end-grain, so it met with the previous saw cuts. I knew in advance I wanted to gradually sneak up on the perfect fit, so I purposely cut just slightly wide of my marks. Both of the little slabs of wood came off nicely. I'd slowed my sawing as I approached my baseline, so I didn't cut too deep on either side. I planned to finalize the actual baseline later, just in case my saw had a mind of its own.
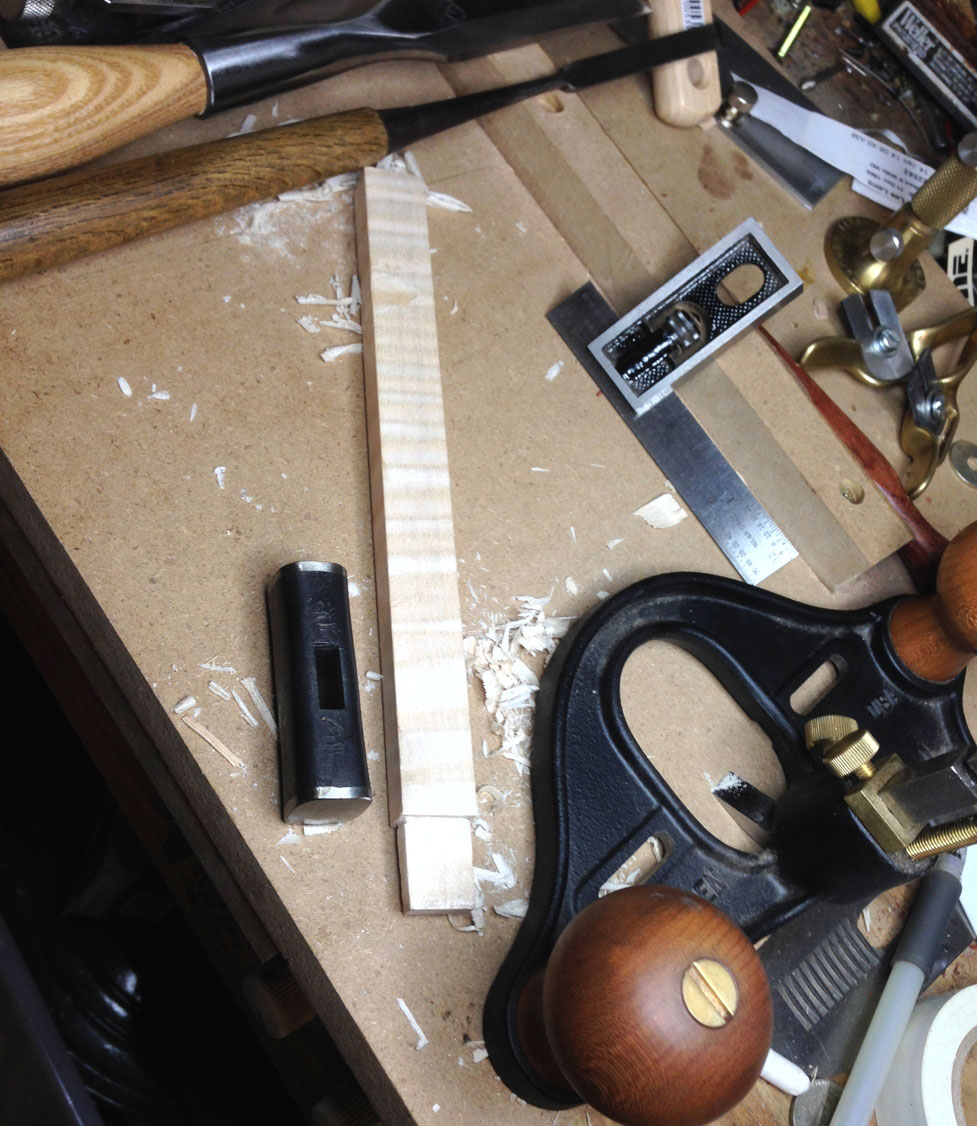
I presented the in-progress tenon directly to the mortise in the hammer's head to check my progress. As expected, the tenon was a fair amount thicker than the mortise. I pulled out my
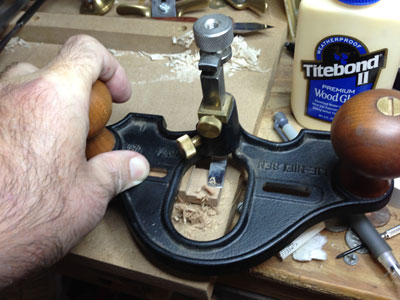
Lie-Nielsen Router Plane
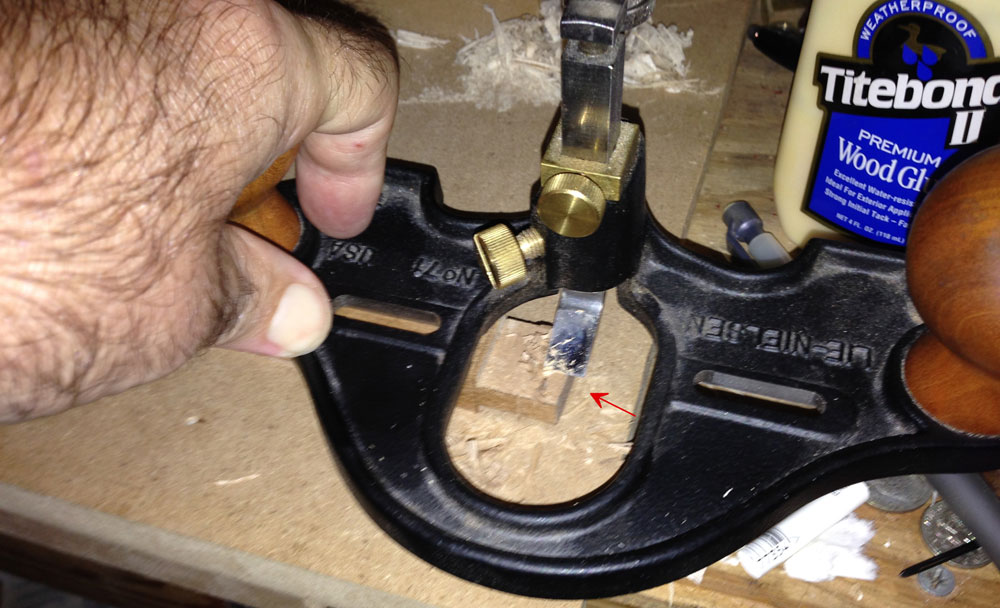
and made sure the cutter was super sharp. I set the base of the Router Plane on the portion of the handle that was still full thickness, and dialed the cutter so it just reached down to the freshly cut surface. After locking the depth control, and clamping the piece to my bench, I made light passes on both faces.
I worked by applying my pressure over the left handle, which was on the full-thickness of the handle, and pivoting the tool from side-to-side beginning at the end and working back towards the shoulder.
|
Showing my left hand pressing down on the handle.
Move the other handle with your right hand.
|
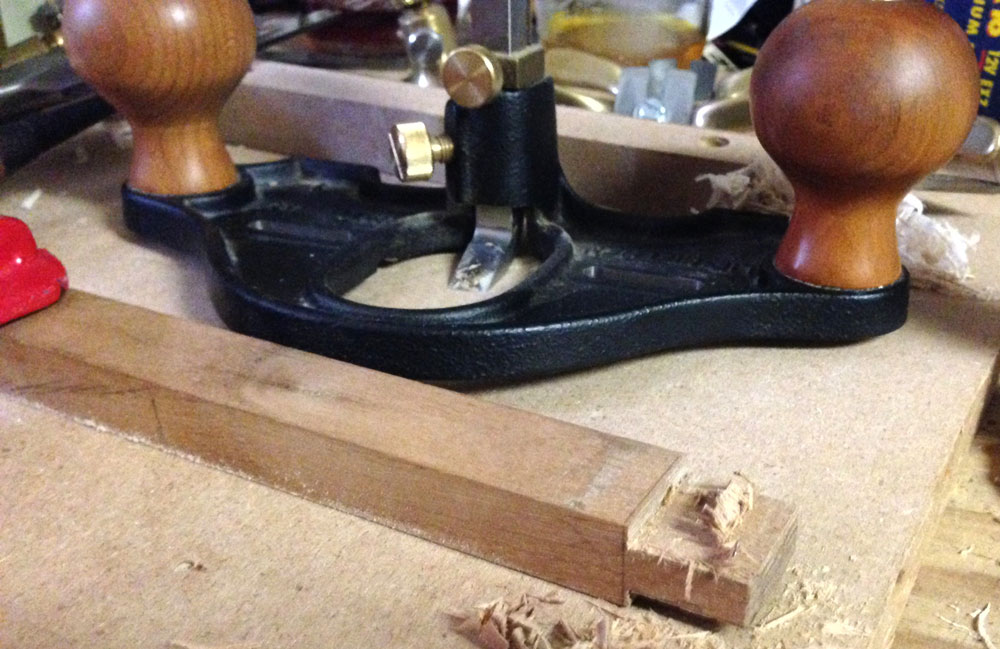
If you have trouble keeping the piece from slipping when you apply your clamp, there are options. I'll place a small piece of wood in the face vise of the bench, so it doesn't stick up quite as high as the surface I'm cutting. I clamp the handle up against this little "stop" which helps to prevent it from moving, and it doesn't block the path of the Router Plane either.
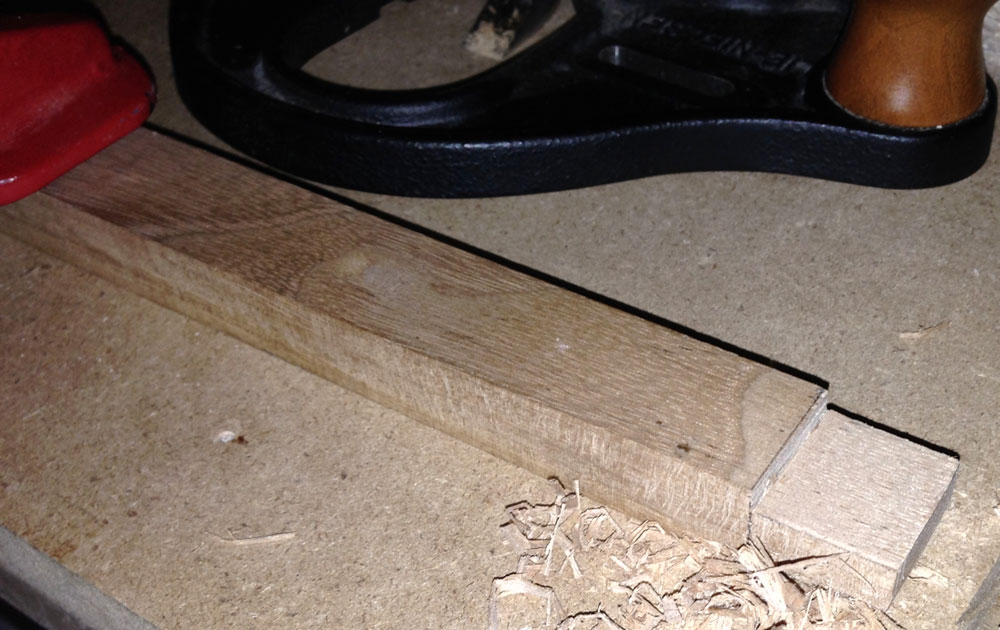
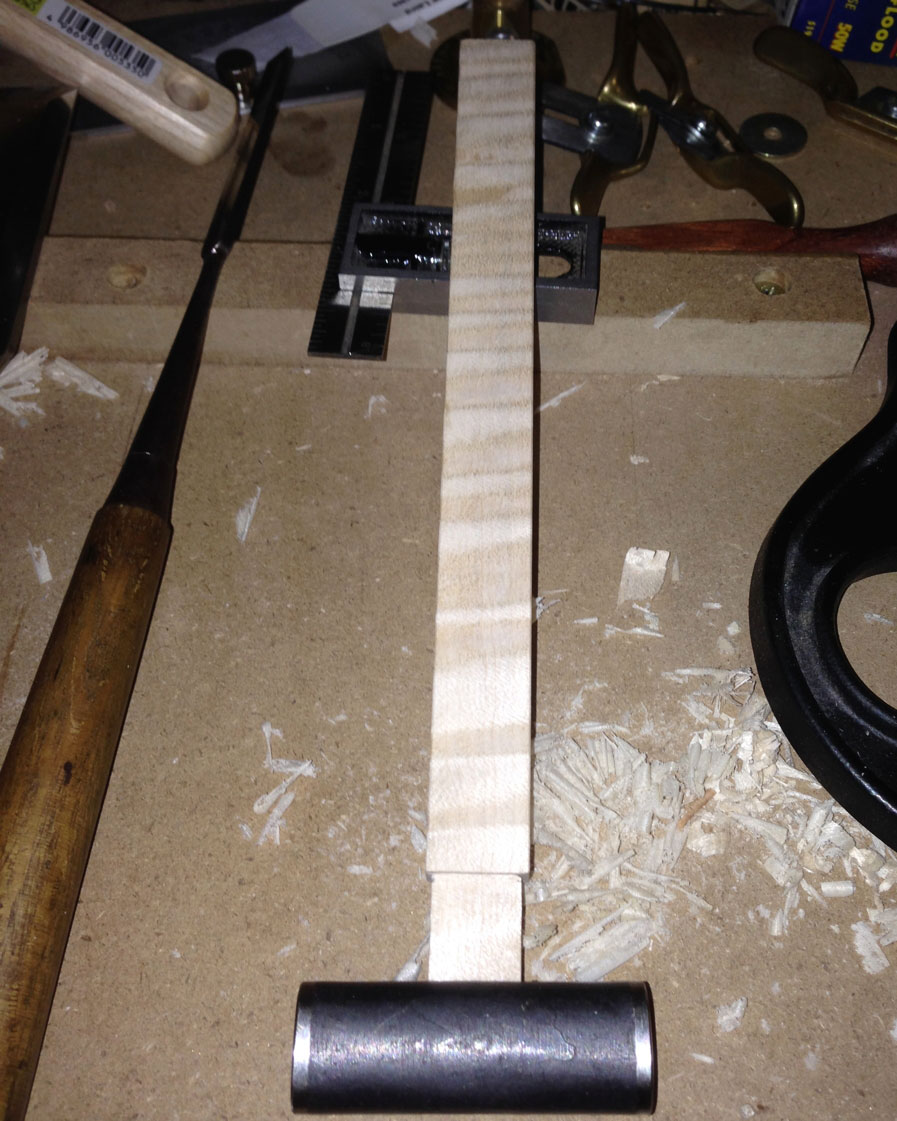
I keep track of how close I'm getting to my initial marking lines, and test the piece against its final home (the mortise in the hammer head) on a very regular basis. It's way too easy to get into a rhythm of sorts while removing the wood, advance the cutter and repeat, and just blow right past that perfect fit you were after. When I get it to the point where it will almost go into the mortise, I make sure to take an extremely light shaving on each side, so it stays centered, and test before removing any more wood. It is easy enough to unclamp and re-clamp and it takes very little time. I worked in this manner until I had each corner of the tenon entering the mortise with light pressure, and then stopped working on the faces of the tenon. I didn't want it to get so loose that it could slide in without any pressure.

|
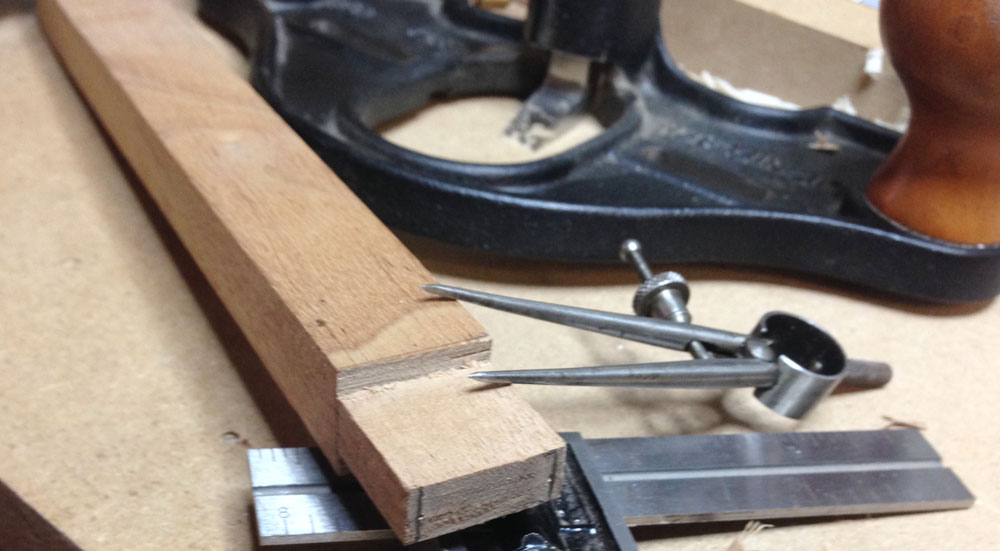
I used the small dividers again, to copy the width of the mortise (the long direction this time) and transfer this to the end of the tenon. I again cut slightly wide of my mark, in order to get THAT fit.
Just like we did on the faces, I used the Lie-Nielsen Router Plane to take very light shavings until the tenon tested as the proper size to fit up into the hammer's head.
(* Some might wonder why I didn't just mark and cut this at the same time I cut the face portions, but there is a good reason. Since I planned to use my router plane to bring both faces down to dimension, I knew there is a slight risk of the grain blowing out when you reach the edge. By waiting to remove these small sections that set the tenon's width, I can cut away any area that didn't behave nicely, and no one can tell if it happened.)
Now that the tenon showed signs that it was the correct size, I planed the handle surfaces, with a plane set for a sub-.001" shaving. I also took my
flat bottomed Lie-Nielsen Spoke Shave
and applied a nice chamfer on all of the long sharp edges.
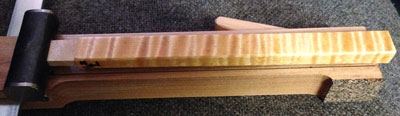
This really makes the handle feel so much better when it's in use. After this was complete, I sanded the handle to approximately 600 grit. While the curly maple is beautiful, just as it is, I really like the look with certain dyes applied. I made a mix of a couple of colors that I used on the top of the guitar I built, and used this same mix for the handle. I applied two coats of dye and let it dry completely.

|
|
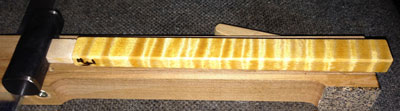
When it was dry, I applied a liberal coat of
Watco Danish Oil
. There is something about this combination of dye and then oil on curly maple that really makes the grain and curl pop. After a minute or two, I wiped any excess oil off with a dry rag. (Make sure you discard any rags/towels properly, if they come in contact with materials that generate heat as they dry and harden, such as some oils.) When the oil was completely dry, I applied a second coat. I again removed any excess and left it to dry. After this second coat was dry, I took a sheet of paper and rubbed over all of the surface, while applying some pressure. This does a good job of burnishing the surface and I love this on tools that touch my hands.
|
|
Oil now added.
|
The "finish" is complete, so the last step is to install the handle into the hammer head. I use some wood with a thin cork backing, on which to rest the hammer head, while driving the handle home. I also hold a piece of soft wood against the handle's base, and strike this instead of directly into the handle, so it better protects your work. If the tenon on your handle is long enough to make contact with the surface below, before the handle is all the way in, just use two pieces spread apart slightly below the hammer head. This will allow the tenon to continue down, until the handle's shoulders meet the hammer head. At this point you can either leave the tenon slightly proud, trim the edges to create a diamond shape in the middle, or trim it back flush with the hammer head. Really, this is a personal decision and you can do whatever you prefer.
|
|
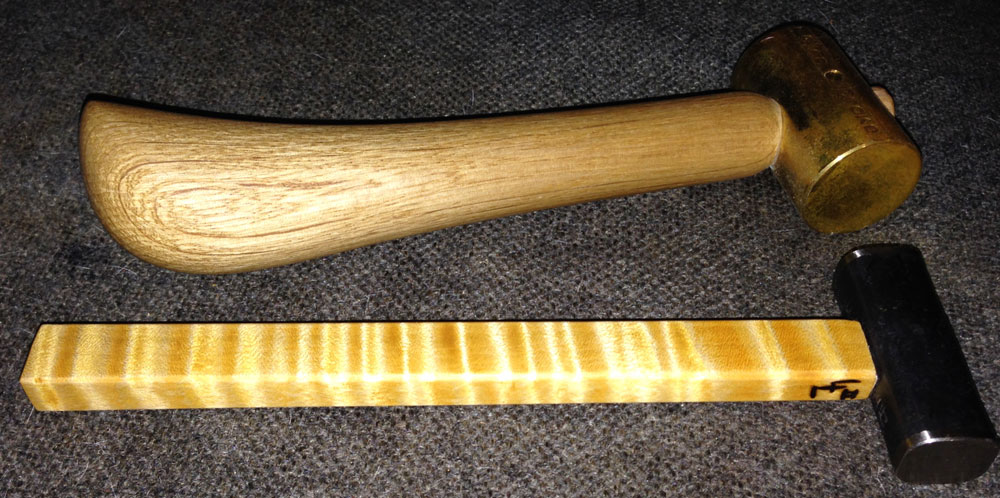
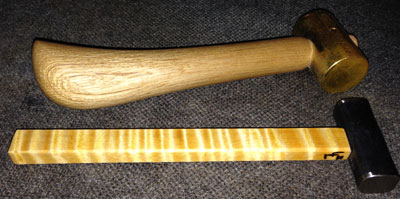
My completed hammer along side my Glen-Drake hammer.
|
I look forward to using this special hammer throughout the rest of my days. Hopefully, further down the line my son or daughter will cherish it and remember how it related to a special time and place.
I hope you enjoyed reading this article. Please let me know if you have any comments or questions. Until next time…
Lee Laird has enjoyed woodworking for over 20 years. He is retired from the U.S.P.S. and works for Lie-Nielsen Toolworks as a show staff member, demonstrating tools and training customers.
You can email him at
lee@lie-nielsen.com
.
or follow him on Twitter at
http://www.twitter.com/is9582
.
CLICK HERE to see our Japanese Hand Tools Department
Return to
Wood News
front page