by Steven D. Johnson
Racine, Wisconsin
(Page 2 of 4)
Previous Page
1
2
3
4
Next Page
Dust Free Finishing Enclosure
Click on any picture to see a larger version.
Accompanying this month's Down To Earth Woodworker column,
the third and final installment
of building the
"Dust Free Finishing Enclosure"
is available. The cut list and project hardware list are also available as
downloadable PDFs in the Highland Woodworking Library
.
I have already used the finishing enclosure twice… once to finish a counter-top "appliance garage" and next to apply multiple coats of shellac on a box I built as a gift. While the finishes were drying on these smaller projects I was able to saw, sand, and otherwise diminish the size and/or add shape to pieces of wood with nary a speck of dust landing on my "finished" projects. This is going to be a huge time-saver!
As noted in the
"first video of the series"
, I established seven design criteria. Here is the list and how well the project satisfied each:
-
Simple and fast to build
-
The filming and editing took longer than the building. If I went straight through the project, it would have taken a day and a half.
-
Inexpensive materials
-
The total cost for materials was less than $150, which might sound like a lot, but if I conservatively figure my shop time is worth, say, ten bucks an hour, the finishing enclosure has already paid for itself… twice… in shop-time savings.
-
Easy to set up when needed
-
Even without the 4X speed on the video, erection of the enclosure takes less than ten minutes.
-
Easy to knock down and stow out of the way
-
Completely knocked-down and stacked, the finishing enclosure takes up a space of only 35" X 35" X 28" (19.8 Cu. Ft.). The space for finishing, however, is large. In configuration #4, the unit will hold anything up to 62-1/2" long X 30" wide X 60" high (~65 Cu. Ft.).
-
Scalable to accommodate different size projects
-
As I built the unit, it can be erected in four different size/shape configurations.
-
Light
-
I didn't weigh everything, but all the panels can be picked up and carried at the same time. The 3/4" plywood base is the heaviest part.
-
Dust-tight
-
So far, so good… not a speck of dust on either project I have let dry inside the finishing enclosure.
The video covers the construction in broad terms, but here are a few tips, tricks, and troubles to avoid…

|
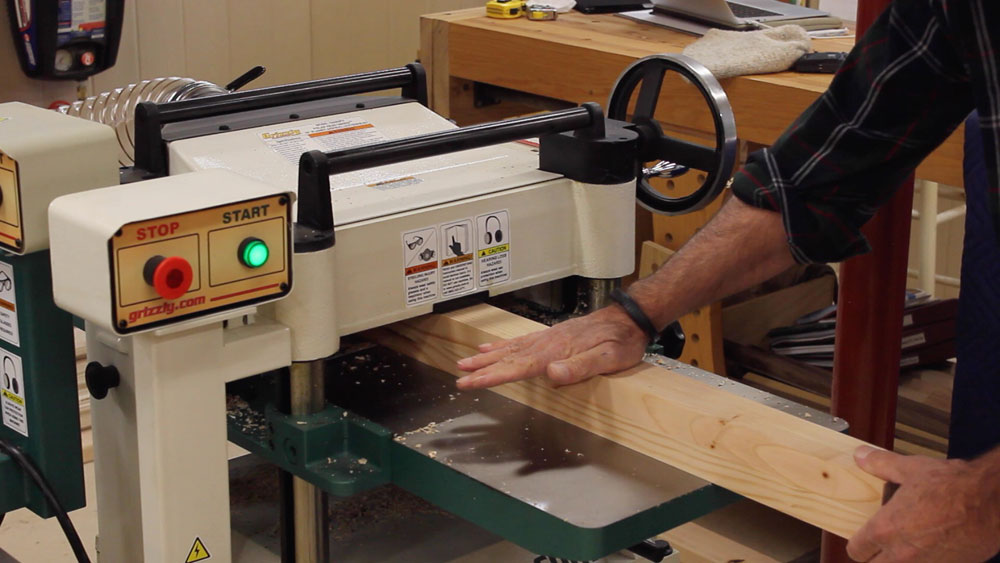
Figure 7 - If your "big-box" lumber is wet, wait a few days
before milling the legs to final size and cutting the dados
|
The legs are made from common 2 X 4 studs, and as they come from the big-box store they have relatively high moisture content. Even though I let the wood acclimate in my shop for a week, then did the initial milling and let the boards rest for another day, I still noticed some shrinkage as the days went by. If I had to do it over, I would mill the glued-up legs to about 2-3/4" square, let them dry for another week or so, and then mill them to the finished 2-1/2" square size before cutting the dados. The problem that occurred is that as the legs continued to dry and shrink, the dados also shrank, resulting in a too-tight fit for the panel tenons. I solved this very easily by using a block plane to shave a few thousandths off the tenons, but better drying of the legs ahead of time would have saved me that bother.

|
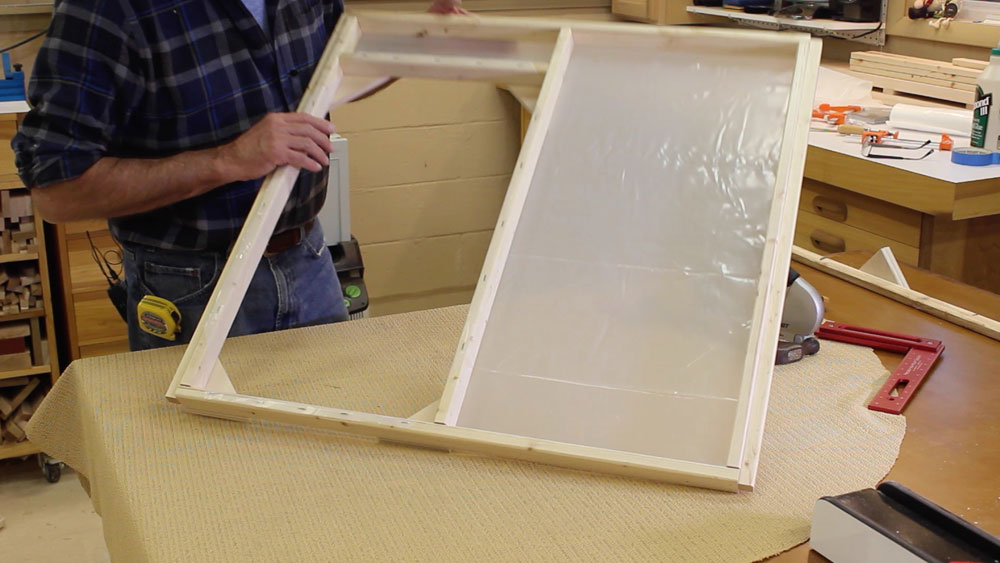
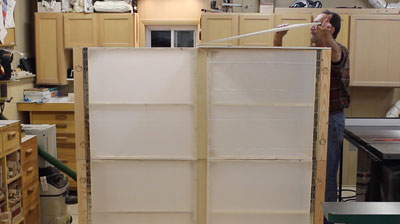
Figure 8 - It may be possible to find plastic
a bit more "clear" than this
|
The 6 Mil plastic I used to cover the panels is, at best, translucent. With a little (ex post facto) searching of the internet, I was able to find 6 Mil "clear" plastic. I haven't seen it, and I realize that "clear" may be a relative term, but it might be worth a try if you would like to see what's inside the finishing enclosure.
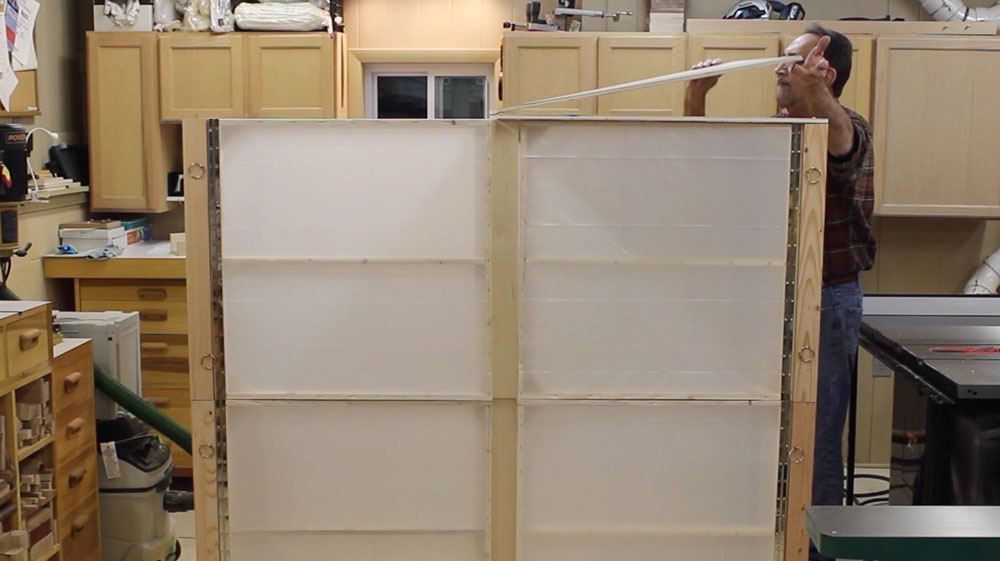
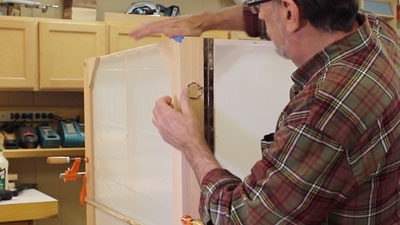
When I demonstrated the erection of configurations 3 and 4 in the video, I placed the top 1/2" plywood on upside-down. The hinge should be on the bottom side, which alleviates the tendency of the top to sag in the middle. I wasn't about to re-film the entire sequence!
|
Figure 9 - It is really better to place the top on
"hinge-side-down" to reduce any tendency for the
plywood to sag at the hinge joint
|
You might prefer to build the top just like the panels, using 1 X 2 stock and covering it with plastic. It could be two pieces, hinged or separate. It would certainly be lighter in weight and would let more light into the enclosure.
My first shop visitor made the observation, "You should have put an exhaust fan in the enclosure to speed up drying" (my visitors tend to be a vocal and outspoken bunch). I know it is easy to claim now, but I really did think of that while designing the enclosure. I thought of using a 12-volt DC computer cooling fan to draw air through the filters and exhaust it out of the top. Not enough airflow to stir up dust, but enough to aid in drying finishes. As it turns out, finishes seem to dry in about the same length of time they always take. Of course right now it is cold outside, warm in the shop, and the humidity is very low. Perhaps in the humid summer things will dry more slowly. If you want to install a fan, have at it, but please be careful. The other reason I was hesitant to add a fan to the project is because one errant spark inside an enclosure filled with solvent fumes could be a recipe for disaster.
|
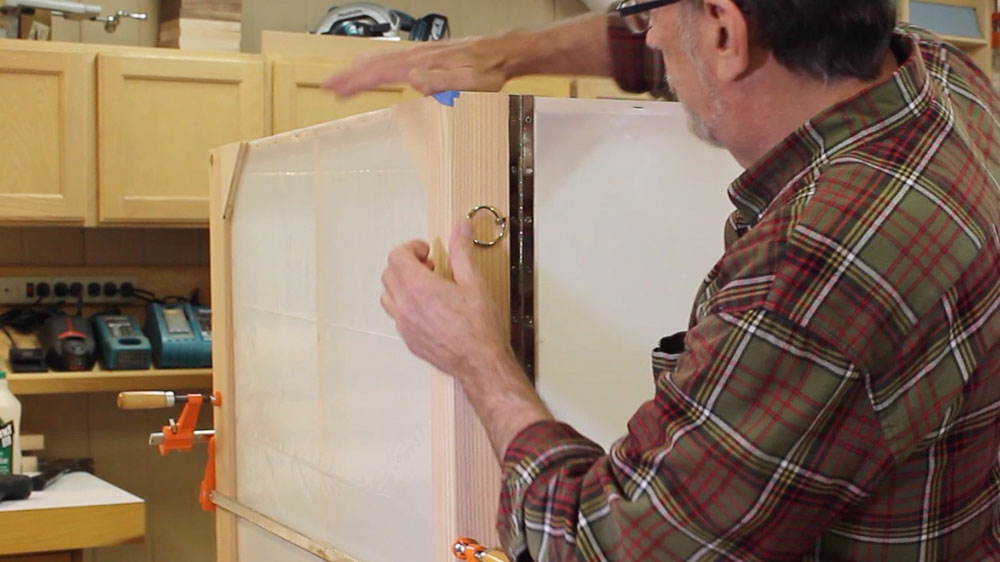
Figure 10 - Lynch pins may be hard to find...
the project requires 8
|
The project calls for 8 lynch pins. Every indication is that these are not hot-selling, high-volume items. I had to go to three different stores to gather enough. Everything else for the project was easily sourced.
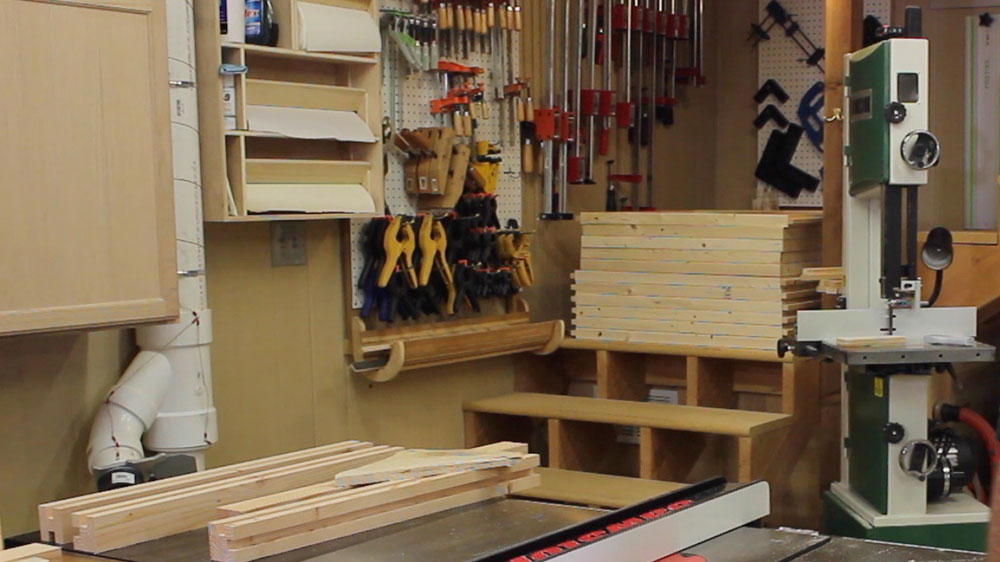
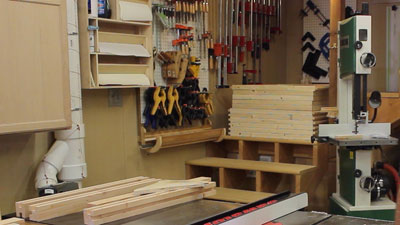
The videos did not cover this, (although you can see it in the background) but when first nailing/gluing the panels, stack them up flat to dry. The cheap 1 X 2 stock likes to twist, bend, and warp, and stacking the panels while the glue dries helps to keep them flat.
|
Figure 11 - Note the panels stacked and drying on my stair
landing. I also put some weight on top of the stack to help
keep the panels flat.
|
All in all, this was a quick little project that has made a big difference in my shop. I can continue to make sawdust, even while finishing a project. If you build something like this for your shop, please
send us a photo…
we would love to see it. Remember, by simply increasing the number of legs and panels, you can make the finishing enclosure any size you want!
(Page 2 of 4)
Previous Page
1
2
3
4
Next Page
Return to
Wood News
front page