How To Convert a Smoothing Plane into a Scrub Plane
by Chris Black
Rolesville, NC
Click on any picture to see a larger version.
Scrub planes with their open throats and convex blades are designed to remove a lot of stock quickly. Think of them as muscle powered thickness planers. As a young carpenter we used scrub planes to distress false, overhead beams we'd fabricate from 1x stock for dark paneled basement rooms lined with beer can collections. You know you had one complete with a shag carpet. Today, with renewed interest in hand tool woodworking, folks are using scrub planes to add surface quality to cabinet panels, distress tabletops and even thickness boards.
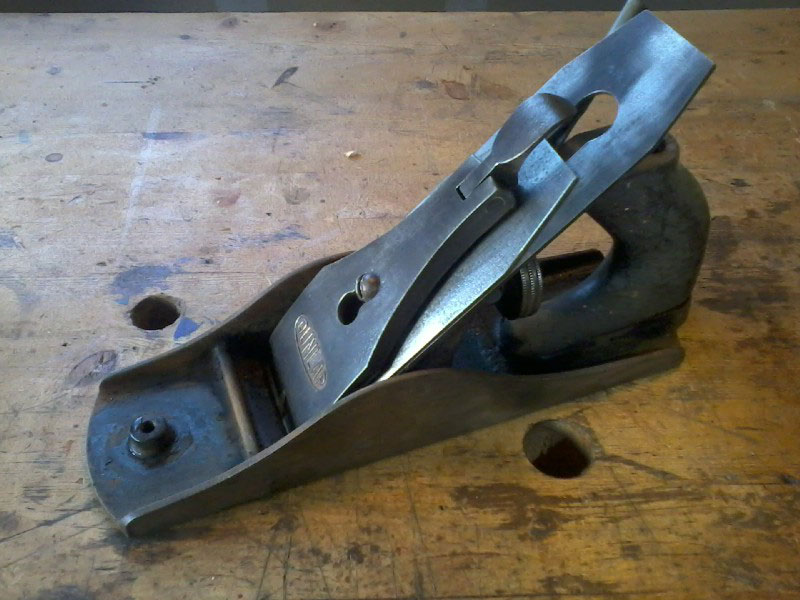
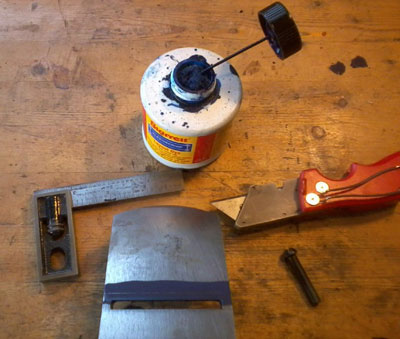
Now several manufacturers still make scrub planes; the Lie-Nielsen iron body #40 and the ECE wooden version come to mind. But with some sweat equity and a flea market smoothing plane, you can create a very inexpensive scrub plane and enjoy a rewarding project. The good news about choosing a smoothing plane for your scrub plane conversion is that you don't have to buy the best model out there. You may even have an old beater in your shop collecting dust on a shelf somewhere. I found this old Dunlap with a missing knob and broken tote for my scrub plane. Dunlap was Sears 2nd tier tool line back in the day but was perfect for this project.
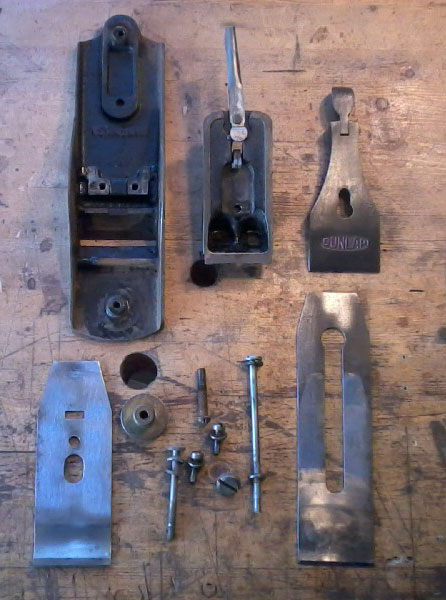
Replace Missing Parts and Clean
The first thing to do is to break down the plane and clean all the parts. To remove old grease, oil and wax, I like to soak all the parts in mineral spirits and work them over with an old toothbrush. As for rust you can submerge the parts in a citric-acid solution of ½ cup citric-acid powder to 1 gallon of water overnight and/or use a wire wheel attached to a drill or other tool. It can take as long as 24 hours of soaking to remove heavy rust. Citric acid powder is used in candy making, so you can find it in some grocery stores. If you use the citric-acid solution, it's important to thoroughly dry the parts after they come out of the bath, use steel wool or a Scotch-Brite pad to remove the carbon precipitate left on the metal by the chemical reaction and quickly oil the parts to prevent flash rusting. While the parts were soaking, I repaired the rear tote and turned a new front knob.
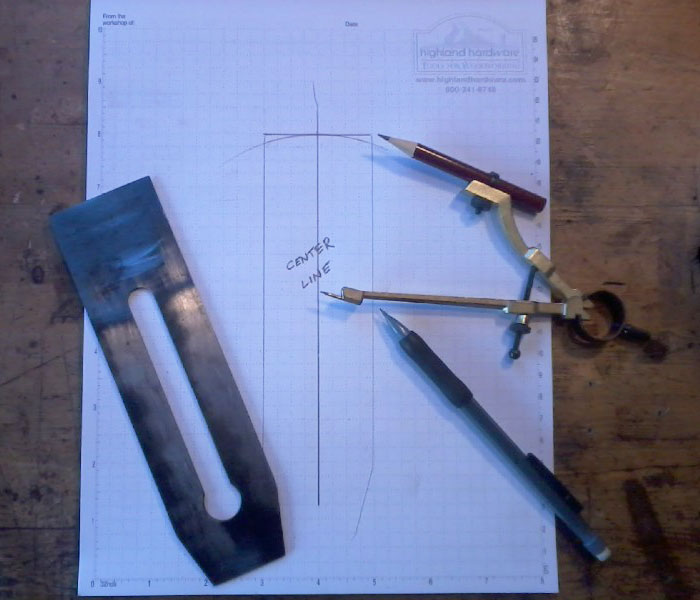
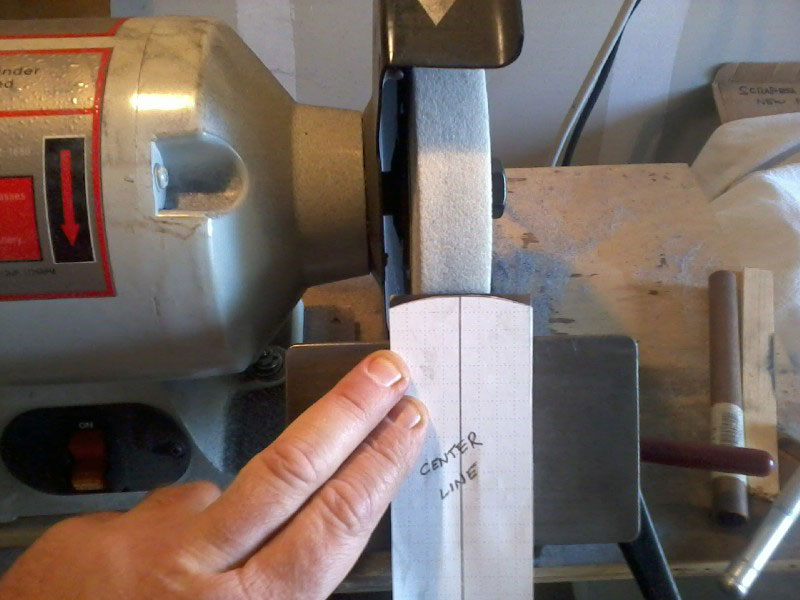
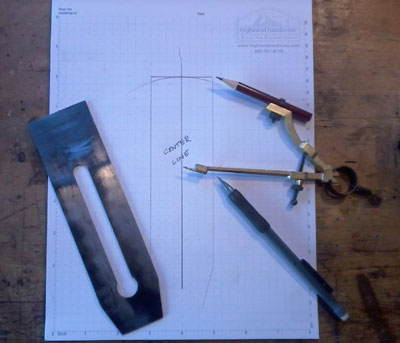
Layout the New Blade Radius
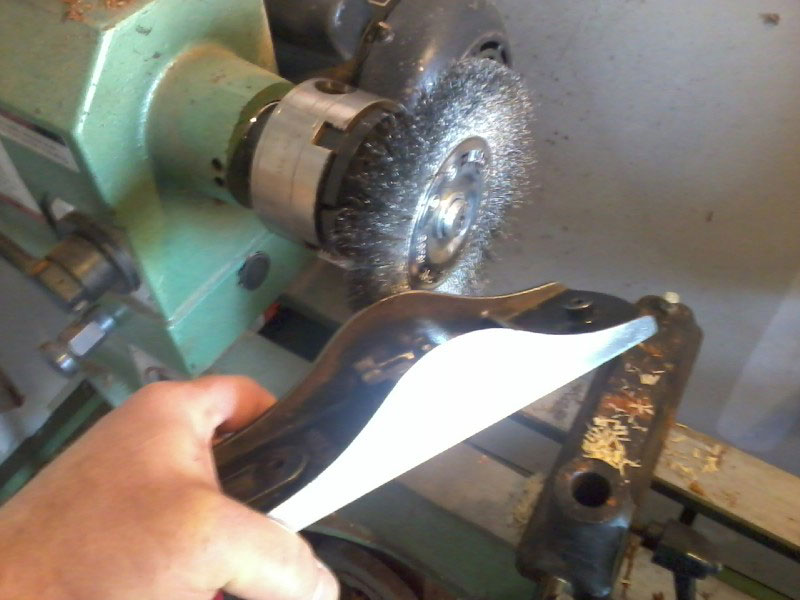
To layout the new blade radius you'll need some graph paper, a pencil compass and some school glue. Trace the blade of your plane onto the graph paper being careful to place it so that one of the graph lines establishes a centerline. Now decide how much of a radius your scrub plane will have. I chose a 3" radius because it looked right to me. Just open the pencil compass until the distance between the steel pin and the pencil point is the radius you want. Next, put the pencil point on the centerline of your drawing just below the cutting edge and the steel pinpoint on the centerline below that and draw the arc. With a pair of scissors, carefully cut out your blade radius pattern and glue it to the back of your blade. School glue sticks work great because they dry fast and the paper is easy to remove from the blade once you're done. Now head to the bench grinder and let the sparks fly! Keep grinding until the blade matches the pattern. Once the grinding is done you can file the chip breaker to fit the new blade radius. Don't get too obsessed about getting this part perfect. The chip breaker's main job now is to provide a slot for the blade advancing Y-yoke to fit into.
|

|
|
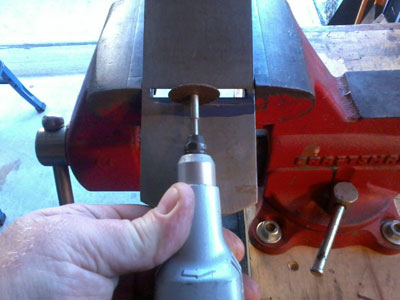
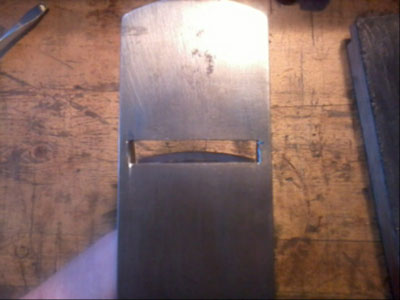
Widen the Throat Opening
A smoothing plane relies on a tight throat opening next to the cutting edge to reduce tear out, but a scrub plane needs plenty of room to clear the large chips it produces. You might get lucky and determine that your plane already has a wide enough throat opening. If that's the case, put the thing back together and you're done. Although, chances are you'll have to file, grind or cut the throat opening back some amount. With some machinist's layout fluid, color the sole of the plane just in front of the throat opening. Measure the amount of opening you want and scribe a square line through the layout fluid after it has dried. I had to remove 3/16", so I chucked up a fiber reinforced cut-off wheel in my rotary tool and cut to the scribed line. This is a fairly nasty chore so wear a full-face shield and a good dust mask. Also make sure the plane body is securely held in a sturdy vise. Once you finish the coarse cutting, clean up the tool marks with a file and reduce any rough surfaces on the plane's sole that can scratch wood.
|
|
Parting Tips
Honing a curved scrub plane blade can be challenging, but you'll find the hollow-ground blade surface left by the bench grinder gives you two positive points of contact to bear against a stone. Take it slow and try to keep both the cutting edge and the heel of the bevel riding on the stone as you swing the blade through the arc. Also scrub planes don't work well when working parallel to a board like most planes, so plane across the board at a 45-degree angle to prevent tear out. Try to plane down hill. All that means is that you should plane the board the way it wants to be planed. If the plane is sharp and tuned and you're getting bad results, try planning in the other direction. Simple, egh? As you use your new scrub plane, you'll find it has a few advantages over the commercially available versions. The same lateral blade adjustment and blade advance wheel that helped you take a fine shaving when it was a smoothing plane are still useful and much more convenient than the wooden wedges or thumbscrew blade caps that come with new scrub planes.
|

|
Chris Black, a former longtime Highland employee, now spends most days
caved up in his wood shop sharpening hand saws, teaching fine
woodworking classes, selling antique tools and manufacturing a line of
woodworking hand tools. He lives near Raleigh, NC and would be happy
to answer any questions at
redscabinet@gmail.com.
Return to
Wood News
front page