Here's My Woodcarving!
by Tom Pritchard
Madison, IN
Click on any picture to see a larger version.
My name is Tom Pritchard. I live in Madison, Indiana, and I have a day job
working as a Sales Engineer for a local tool and dye company.
As a young boy I tried carving by using my Boy Scout
pocket knife and a bar of Ivory soap. Even though the soap was easy to carve I could not safely handle
the knife and I slit my hand between my left thumb and forefinger. That discouraged me for a long time.
|
For most of my life I have been exposed to woodworking in some kind of
manner, from building small shelves to furniture and many things in between. On my
mother's side of the family, my uncle Dick was a talented woodworker and
also a woodcarver. He loved relief carving and also primitive style carvings,
which I have also found a love for, myself. Uncle Dick was my main inspiration for where I am today. With his
passing, his daughter was sorting through his estate and came across his
wood carving tools plus other miscellaneous tools that he had at the time.
For years these tools were left in a box collecting dust. When the YouTube era came about, I quickly became interested in wood carving. I wanted to accomplish a skill that others woodworkers may not have the ability to do. My
interest was to be able to carve 3D projects, and so I inherited Uncle Dick's tools and began wood carving.
For the past 5 years I have worked on my skills. My biggest hurtle was figuring out how to sharpen my knives. With so many products and methods on the market I was able to narrow down my method while
viewing various YouTube videos and buying and trying. Today I feel like I have accomplished that
stepping stone. I still have more to learn, but at this time I'm content with where I am at. Currently I use a leather strop for sharpening.
The type of wood I use most is Basswood. I have used Tupelo as well. Both species are very
similar, but Basswood seemed to be more available in my area.
My first projects were small figurines that had simple features. I never did relief carving.
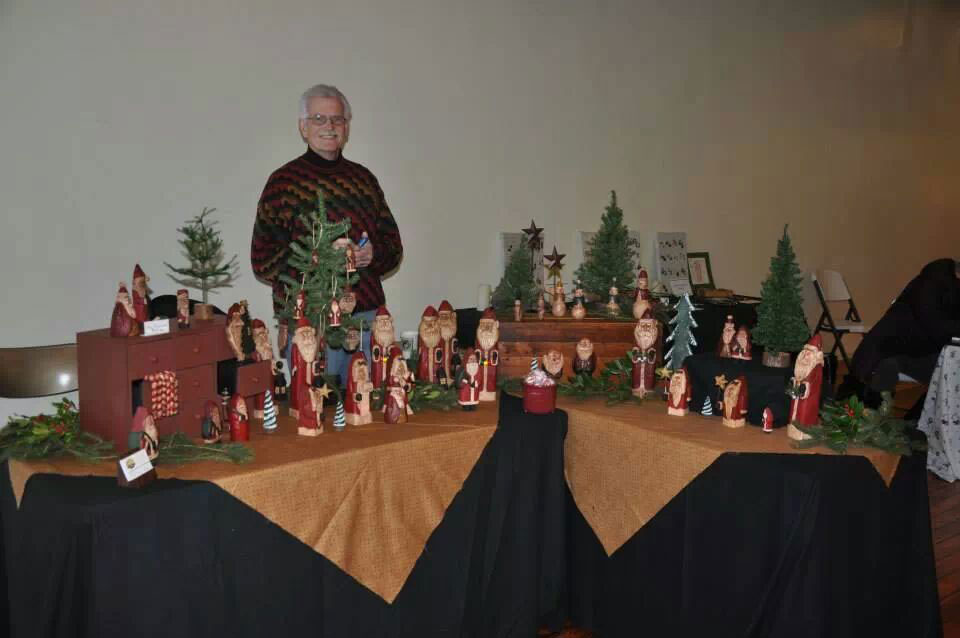
In mid-summer of 2013 my wife and friends noticed my developing skills and they said I should submit my work to some local festivals. That same year was a
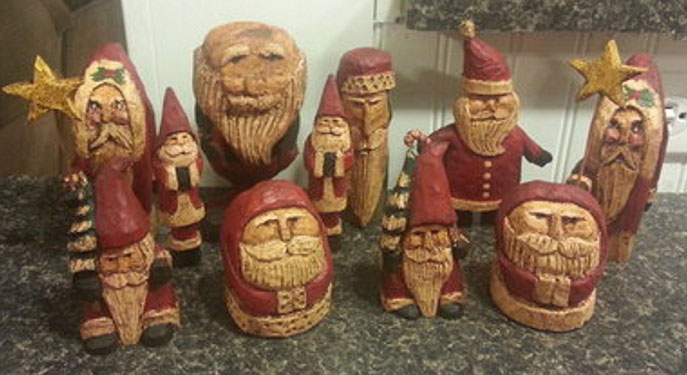
Christmas show. This juried show was to be the first for
our local social club, so after some encouragement I agreed to
submit to the show. I submitted some sample pictures and was accepted. The biggest concern I had was the fact that I was accepted on the first of October and the event was only 2 months away on the first of December.
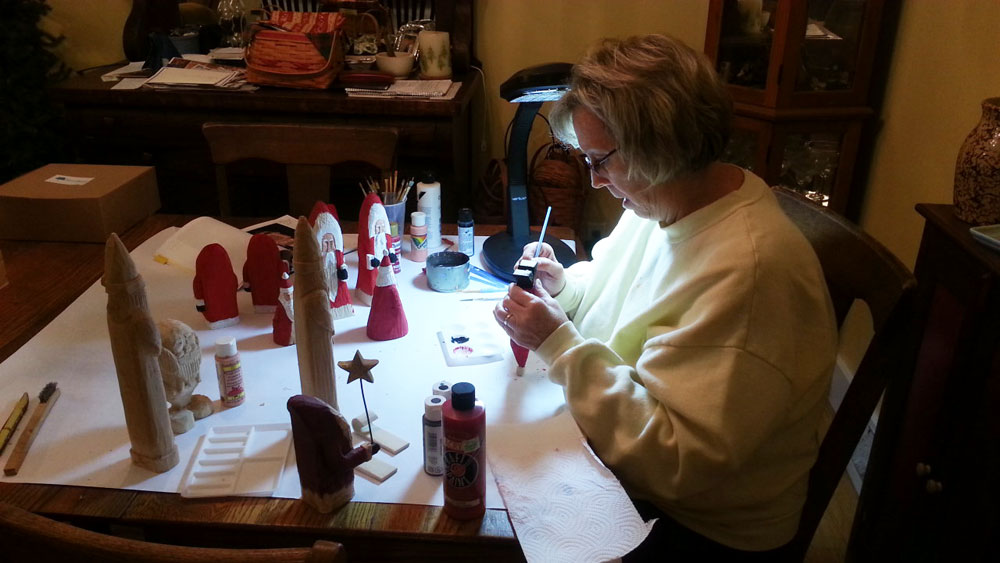
Within that time I had to carve enough inventory to make the show worthwhile. My wife Karen agreed to help
with the painting of the figurines. She didn't have the full comfort level of painting without having me touch up the small details, but after working together we ended up with a good inventory and Karen
became more comfortable with her skills.
|
|
|
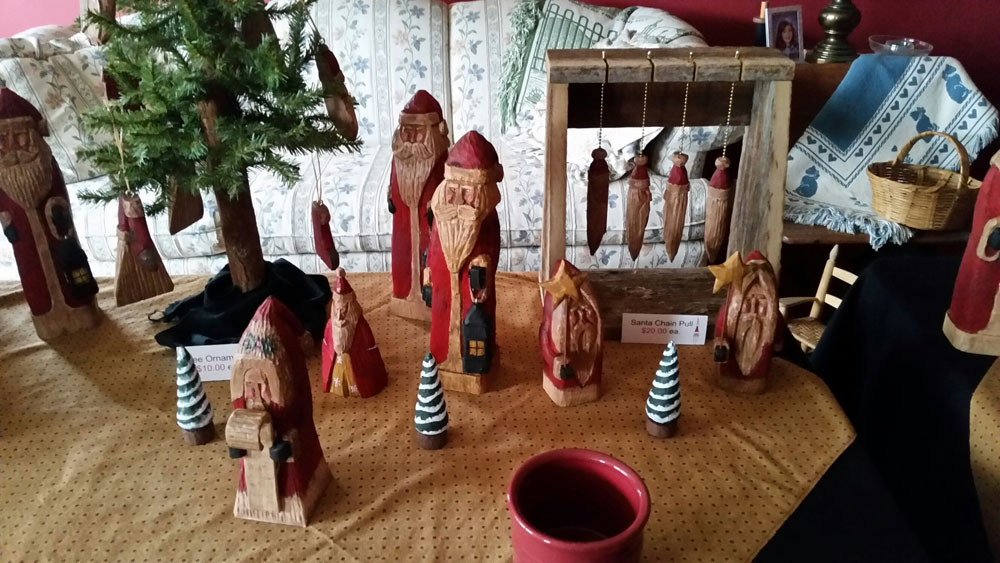
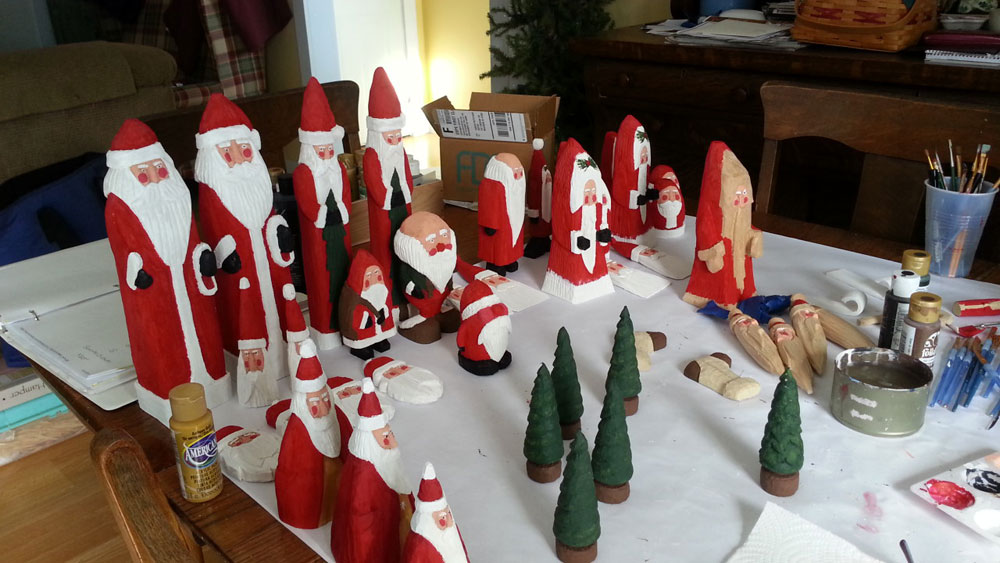
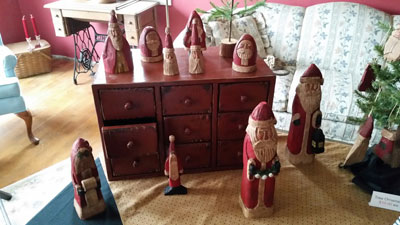
My first show was a great success! I sold all of my carvings and felt like I had priced them to where I felt
comfortable.
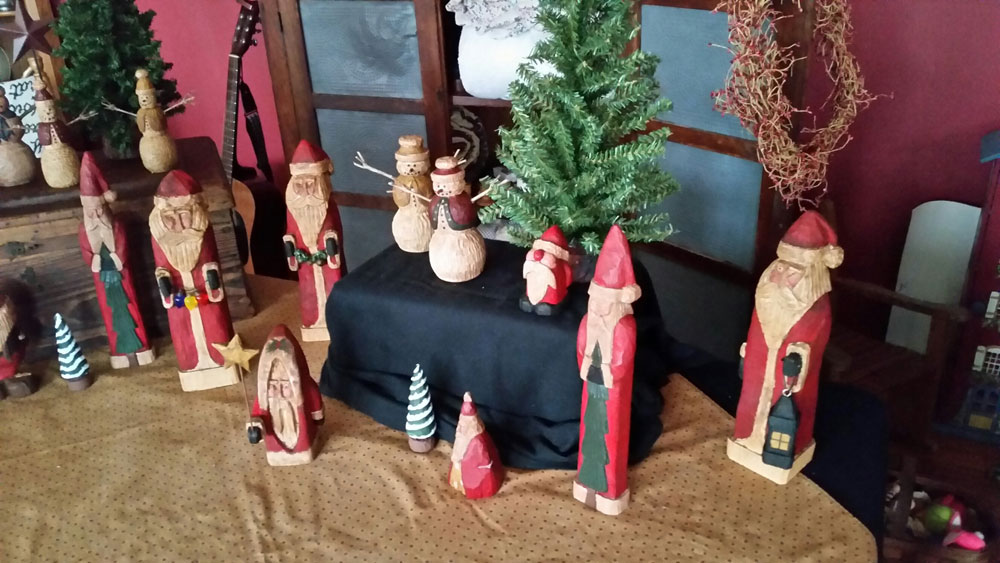
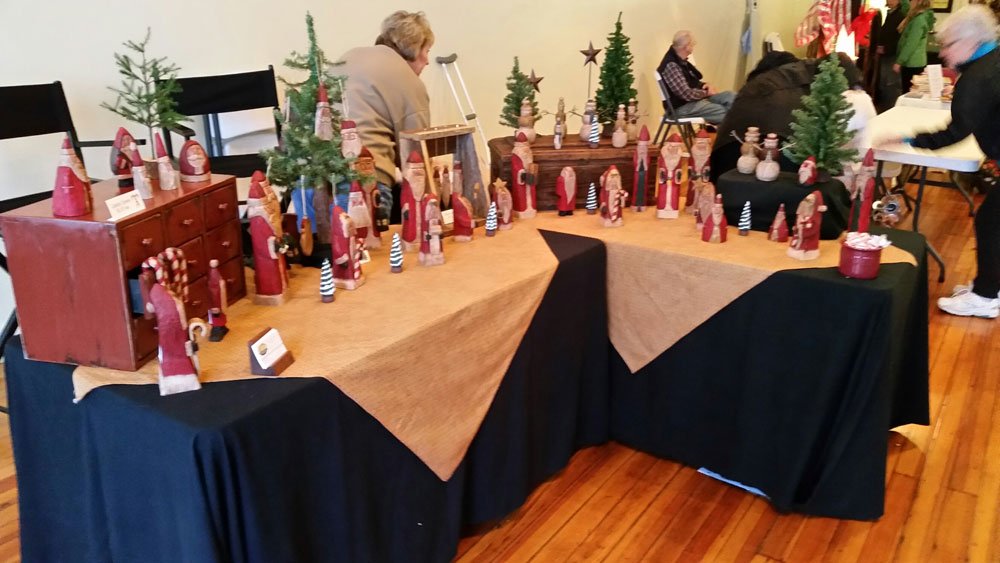
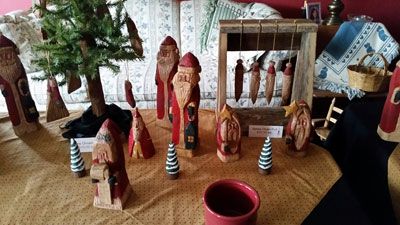
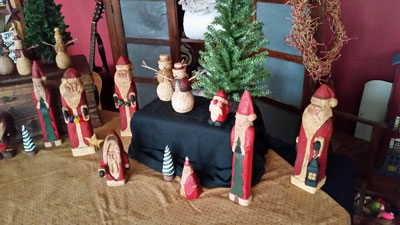
This past year (2014), the same show took place. Knowing that I wanted to participate again I began preparing
earlier and was able to have a bigger selection of carvings for sale. This event exceeded 2013 and I sold all but a
few small items within about 3 hours!

|
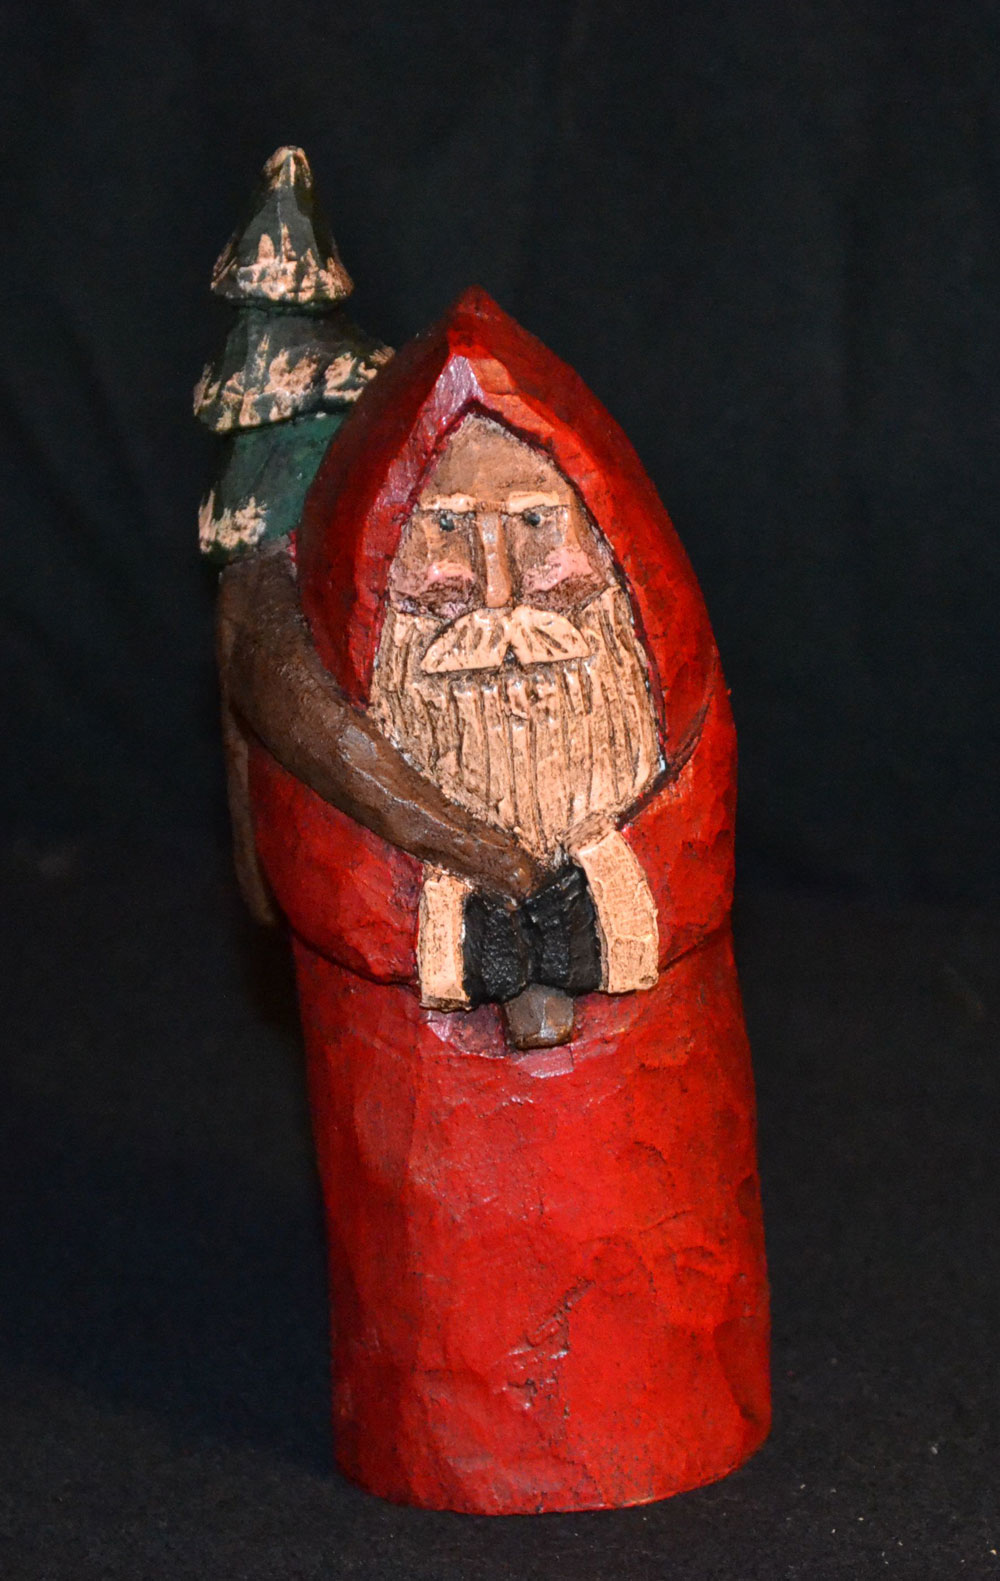
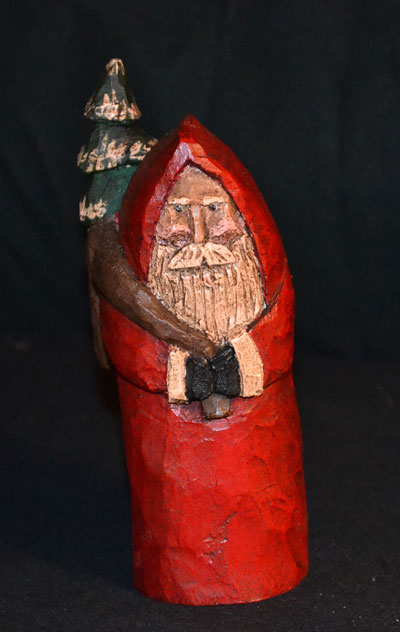
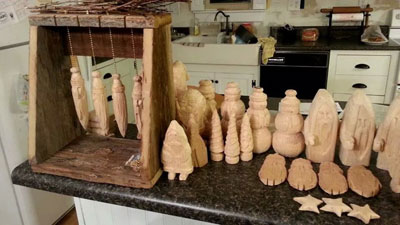
The design and carving method I use is relatively simple. After coming up with an idea of what I want to make, I hand
sketch a full-size pattern. By knowing the oversizes of the project I cut out a block of wood. Using the
sketch and carbon paper I trace the shape on the block. Mostly, I trace a frontal and side view and sometimes a rear view. On the complicated figures I cut the contour on one side, re-tape the
cutoff piece back and cut the adjacent or back side. I use the band saw to remove the bulk. Once I'm
finished with the band saw, I try to re-sketch the shape on the contoured shapes. Next, I start to
hand carve. Using simple carving techniques, such as making a stop cut, I begin the carving. Various
shaped tools will provide different features such as the V-tool for the hair, etc. After several hours of carving I use a round rasp and/or sand paper to finish the
final details of the project.
|
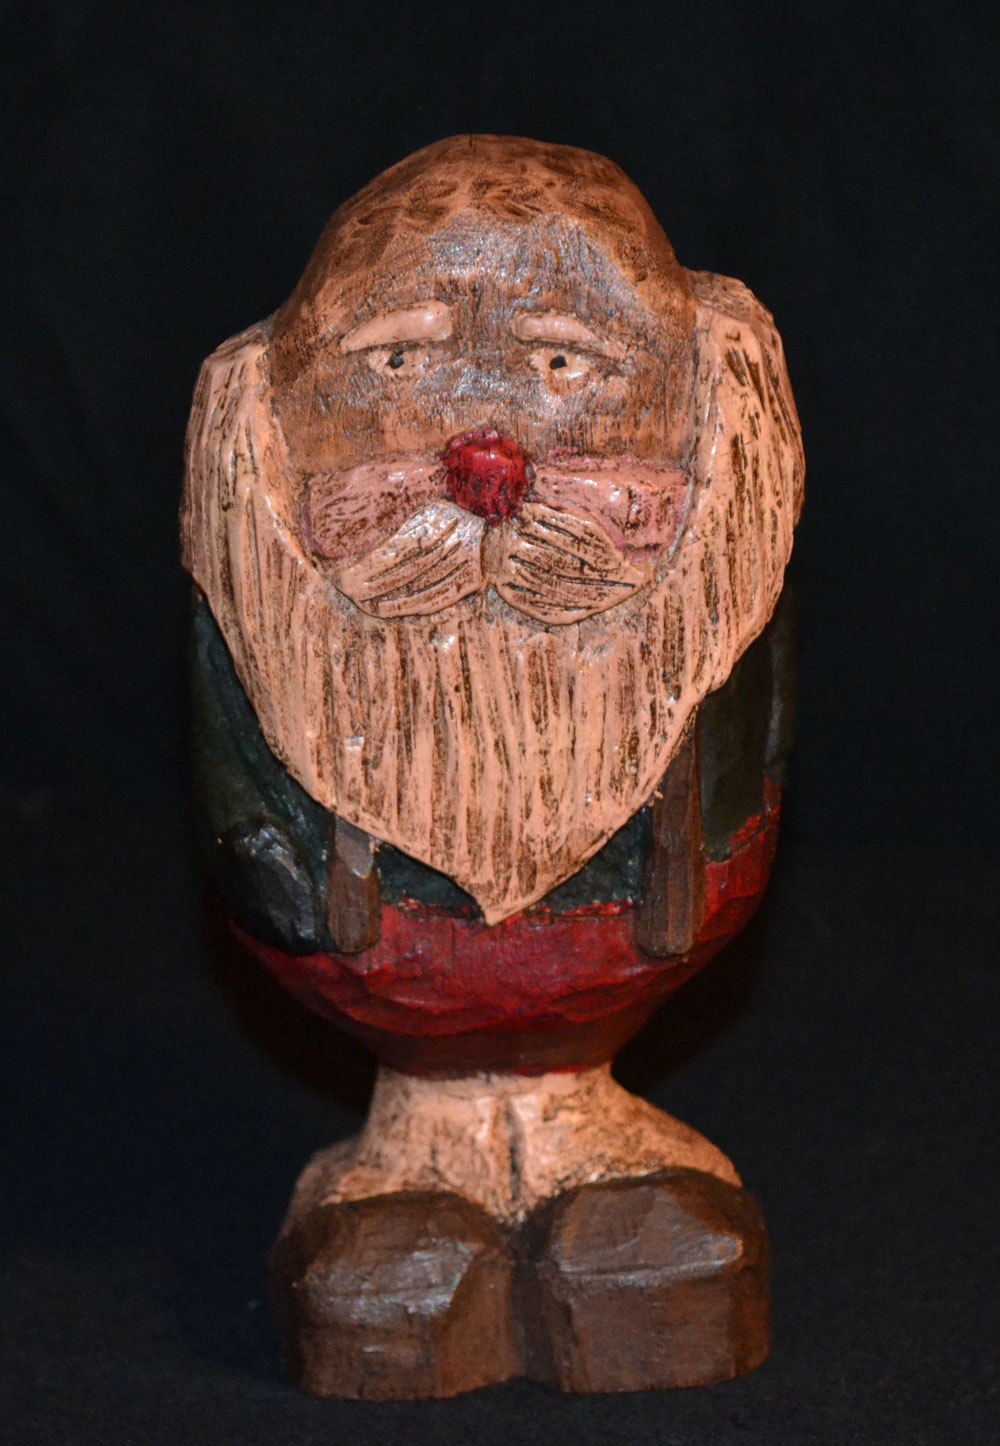
As I mentioned before, my wife Karen paints my carvings.
She uses acrylic craft paint. We use a lot of red, white
and black. Sometimes we use green, brown and yellow.
The carving is prepped by cleaning it with soap and water and trying to remove as much fuzz and pencil markings as possible. The paint is applied by brush. After the paint dries I use
a brown shoe polish to distress the carving. After lightly
applying the polish with a toothbrush I try to
remove as much as possible by using a rag or shoe shine brush.
My most recent tool purchase was the
Flexcut Carvin' Jack
. I use
it as one of my primary carving tools.
My future plans are to give carving lessons to small groups and start developing new project
ideas. I plan on retiring from my day job in a couple years and moving to the Seattle area to be
closer to my grandkids. Once there, I hope to open up some type of carving shop to sell my wares.
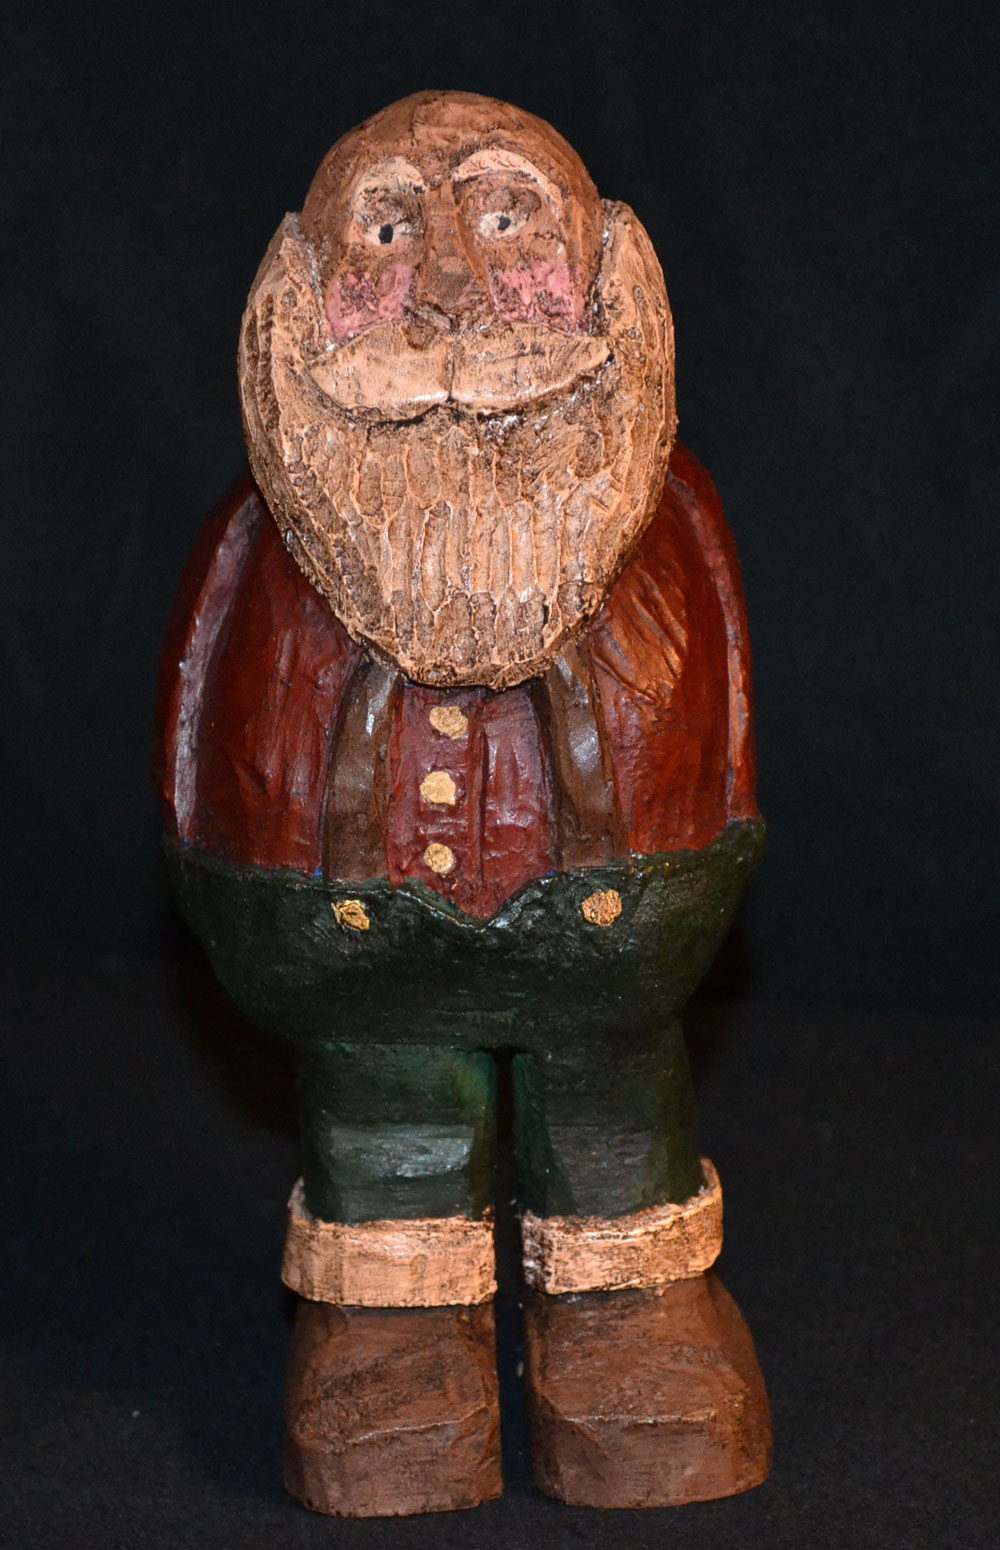
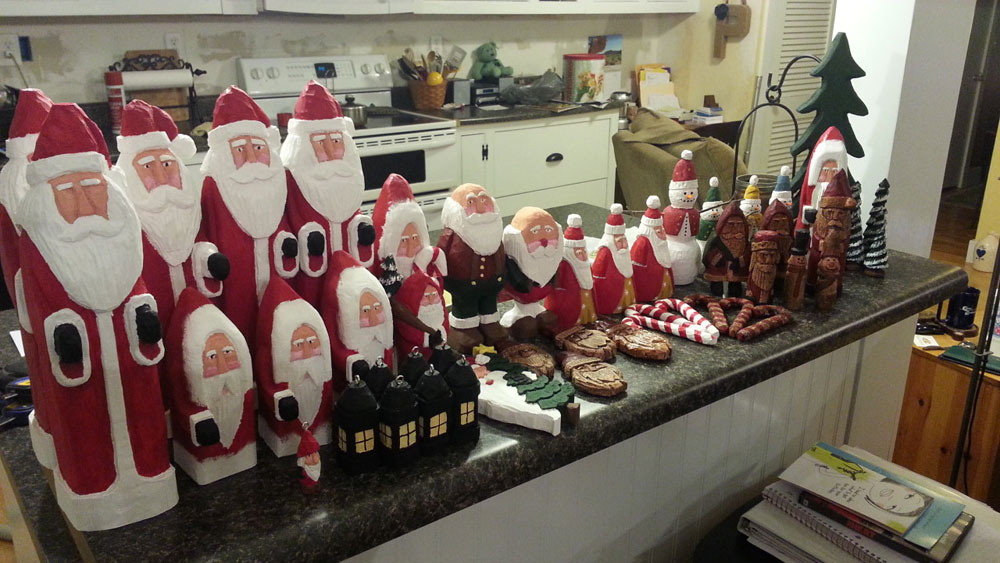
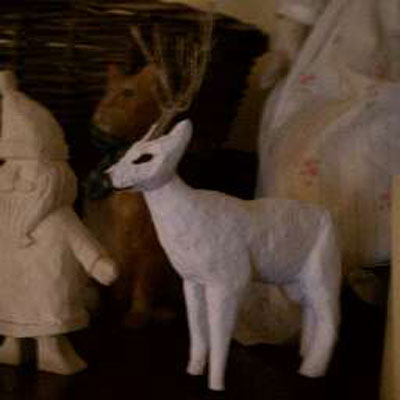
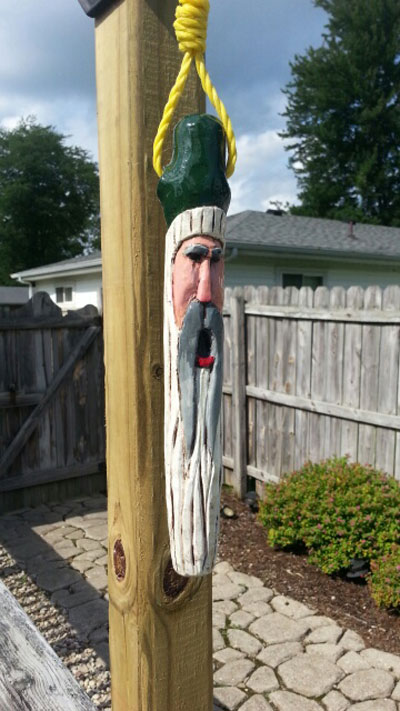
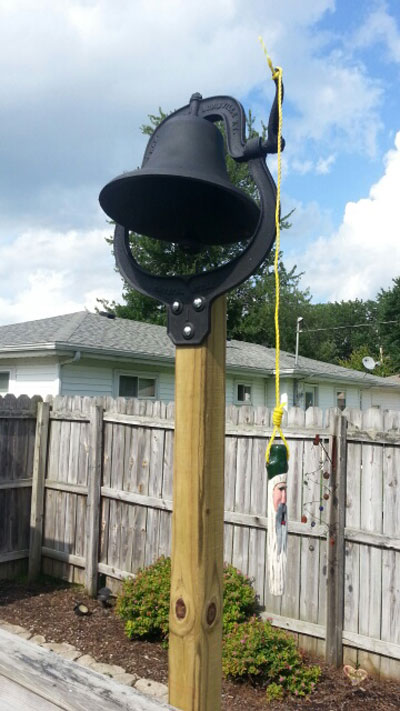
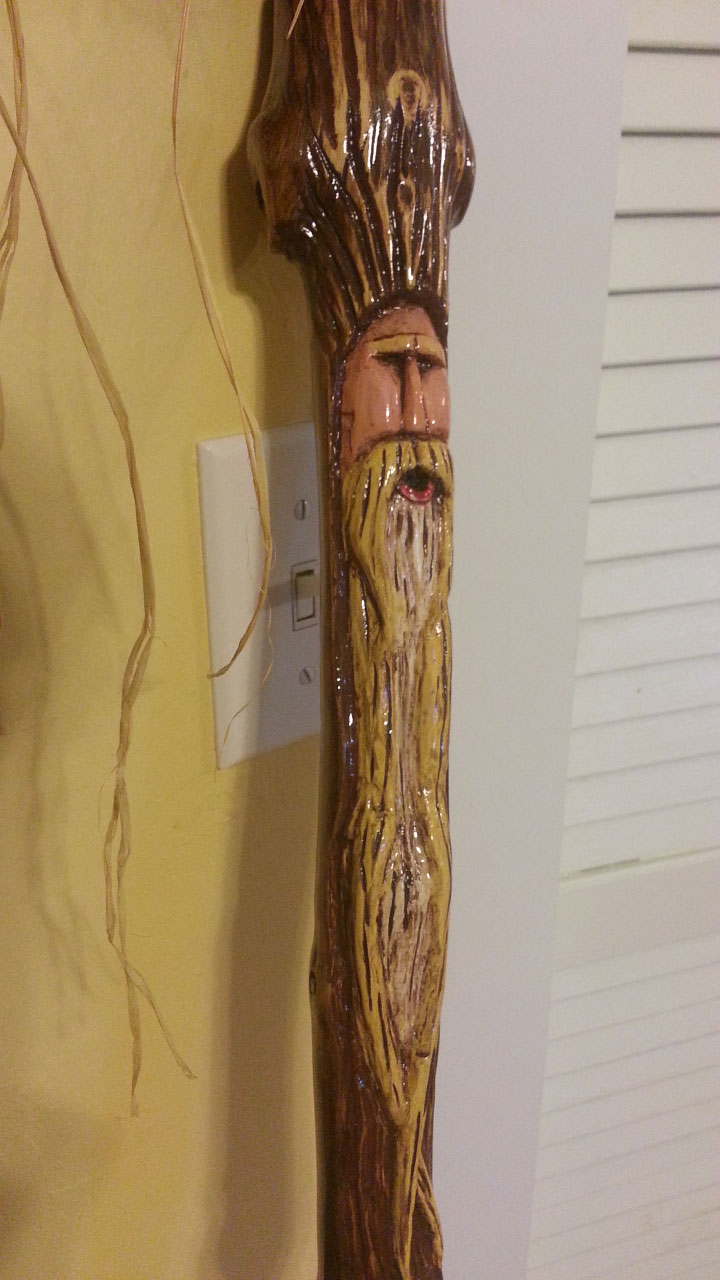
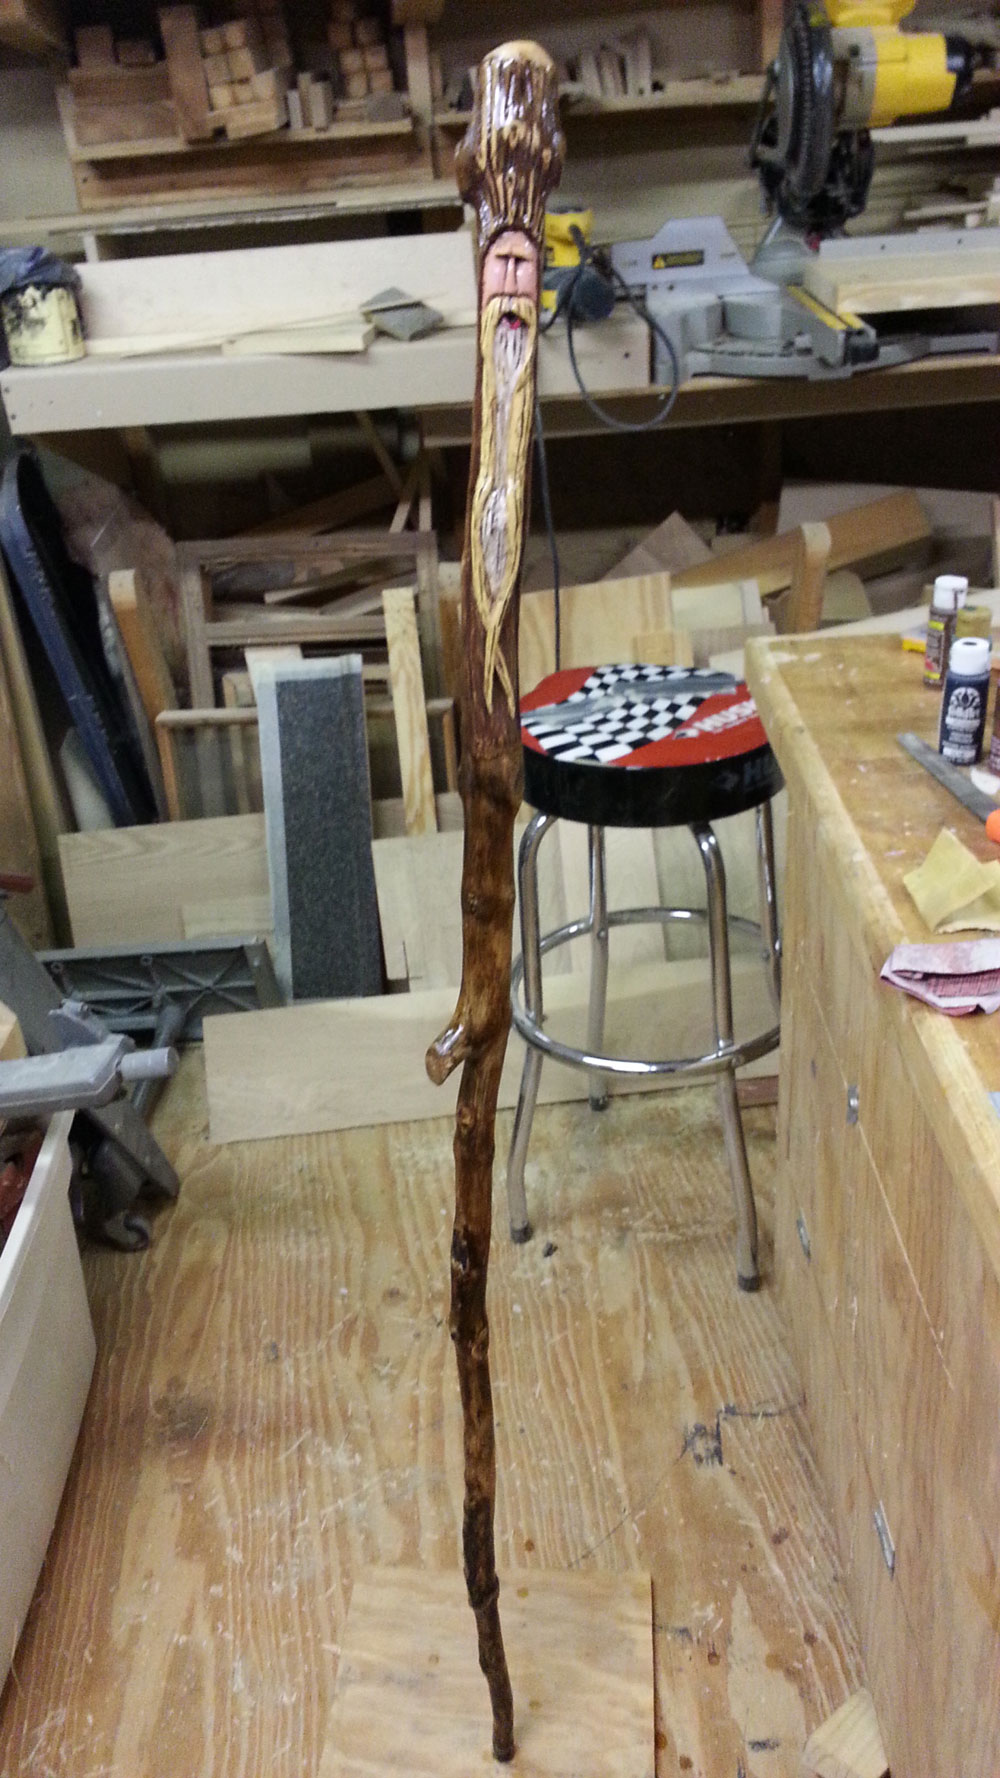
Here are a few of my other projects besides my Santas:
You can email Tom at
tompritch1@hotmail.com
.
Would you like to see your carvings in this column? We invite you to
SEND US PHOTOS
of your
favorite woodcarving projects along with captions and a brief history of your woodcarving. (Email
photos at 800x600 resolution.) Receive a $50 store gift card if we show your carving work in a
future issue!
Return to
Wood News
front page