Making Whirligigs Can Be Fun and Addicting
by Ken Radziwanowski
East Windsor, NJ
Click on any picture to see a larger version.
A few months ago, a friend brought over a broken whirligig and asked me if I could
repair it. Since I had never made or even touched one before, I was interested and said
I'd take a look at it. It was one of those double-winged flying ducks that you see on
people's lawns. One of the wings (propeller blades) had come loose from the hub and the
hardware parts were loose and rusted. Fortunately, the repair was simple and after
applying a few dabs of good exterior glue, some touch-up paint and a few new brass
screws, it was better than new. Unfortunately, by doing the repair, I realized how easy
they are to make and so for the past few months now I can't seem to stop building them!
Right after repairing my friend's whirligig, I did some quick research on the internet and
discovered all kinds of whirligig styles and designs. There were photos and plans that
ranged from simple two-blade/one hub propellers to some that had four blades, multiple
hubs and even gears and drive shafts to move funny characters – all powered and driven
by the wind. It didn't take long to realize that the creative choices for someone with
basic woodworking skills (me!) could let their imagination run wild. Since the options
were endless, I started putting pencil to paper.
|
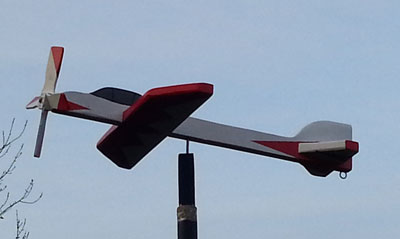
My first personal whirligig was an airplane (seen above) – a standard tried and true design.
Starting with nothing more than a 2' long piece of 1" x 4" pine, a few paint stirrers and
some brass hardware, I cut it, painted it and quickly put it together and placed it on a pole
in the back yard. The wind blew, the tail (rudder) steered the plane into the wind and the
propellers turned. Success! Now motivated to make more, I wanted to get a little more
creative and also finds ways to shorten the building process. So, I went back to the
internet looking for more whirligig ideas and resources.
I quickly discovered that there are various web sites and suppliers –
including Highland Woodworking
- that sell equipment and reference materials for building whirligigs.
Some even offer whirligig hardware and other parts. After completing just a few
projects, I learned that for minimal cost, I can even buy much of the hardware and basic
components "on-line" and that by having them delivered to my door, I can shorten and
improve my construction process. Also, in this way, I can focus and spend more time on
creating fun designs and personalized themes for the whirligig projects that I create as
gifts for family members and friends.

|
The first several whirligigs were all of simple design. Each had a body made of 1" X 3"
pine or poplar. (See above diagram of basic whirligig parts.) The propellers were
dual blade hubs attached to the body with a brass flathead screw, brass 1/4" bushing and a
brass flat washer. The only design change I made for each of these was that the tail or
rudder was modified to reflect the theme of the item. For example, I used the silhouettes
of a French bulldog, a hummingbird, and a pig as rudders or tails. For one that I made
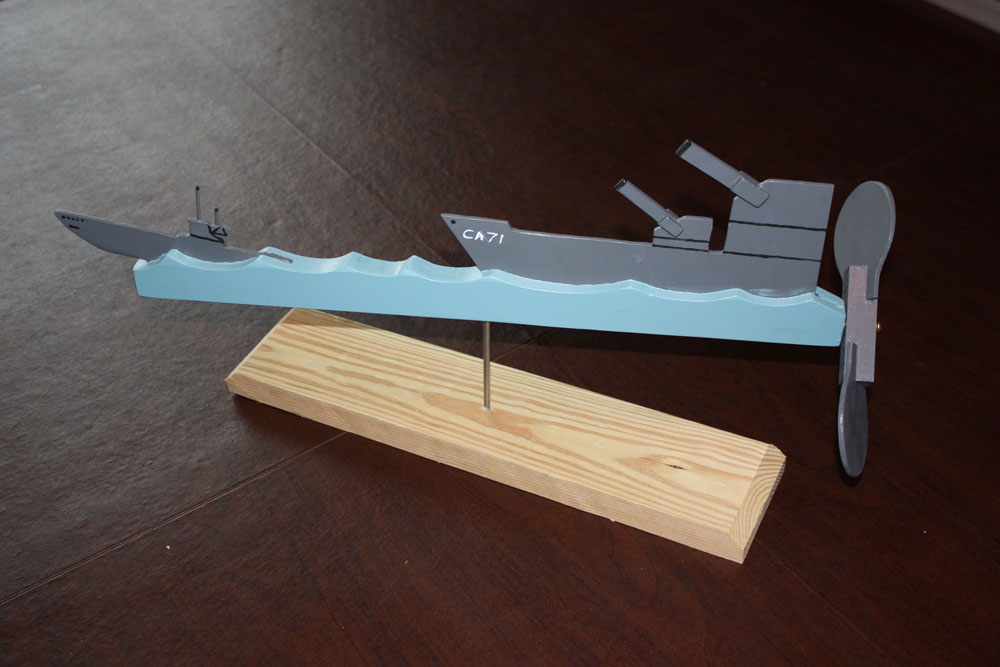
for my father-in-law, a WWII Navy Vet, I used the silhouette of a destroyer chasing a
submarine. The hub was positioned at the back end so that it appears as the propeller of
the Navy destroyer!

|
|
Navy destroyer whirligig
|
As I gained experience and did more research, I started building whirligigs that had
characters and actions that were also powered by the wind. While I could buy the basic
parts as before, I needed to use a scroll saw to shape the characters. Also, there's a
certain amount of "hit and miss" adjustments you'll need to make to get the mechanisms
to turn and rotate properly. However, the design possibilities are endless. You can
make these moving crafts as simple or as complex as you like. Your only limitation is
your imagination. To determine design themes, I used my other hobbies and the interests
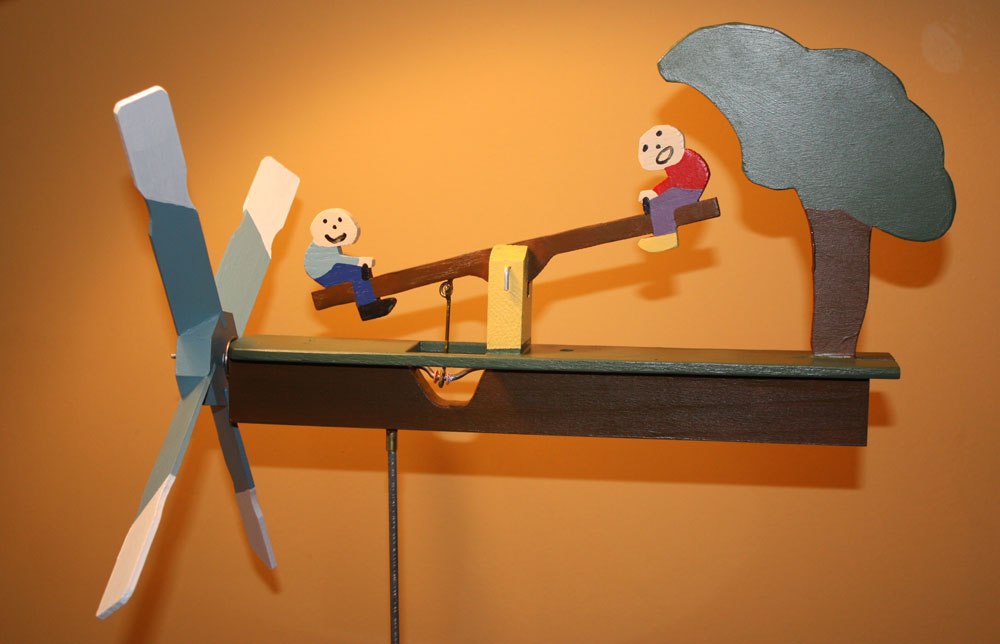
of family members. Since I also enjoy trap shooting, one of my projects involved a
moving trap shooter. Another animated yet simple whirligig design has two children
playing on a seesaw.

|
As shown in the above illustration, the components are simple and construction for the majority
of designs is straightforward. For my first few projects, most of the wood that I needed
was sourced from extra pieces I already had in my workshop. I ordered the brass
hardware, drive shafts and propeller blades from on-line woodworking supply stores. For
the rudder designs, I used craft plywood purchased at a local hobby store – which is
supposed to hold up better when painted and placed outside. And for the paint, I
recommend you do what I did. I visited my local large hardware supply store and
purchased a variety of colors in small trial size containers of exterior satin enamel. They
were available in 7.25 oz plastic containers and are handy, have
screw tops for easy closing, and have covered multiple whirligig projects without creating
any mess or waste.
Once you get started, you're sure to develop a few tricks of your own. I have found that
trimmed down paint stirrers make for good small propeller blades and hard plastic tubing
cut into small pieces can serve as adequate bushings for drive shafts. Before starting to
paint the design and characters, I keep a collection of various artists' brushes and a glass
of water nearby (for cleaning them) and then I'm ready to go. In fact, I have found that
painting each whirligig has actually become one of my more favorite activities in the
process as the colors really bring each design and their different characters to life.
So, if you're lucky enough to have some spare time, have basic woodworking skills, and
want to make whimsical crafts for yourself or as gifts to be enjoyed by others, I
confidently recommend you try making a whirligig, or two. Who knows, there may be a
double-winged duck just waiting to be built in your workshop right now.
You can email Ken at
kenmradz@verizon.net
or take a look at his Whirligig Etsy website at
https://www.etsy.com/shop/KindOutdoors?ref=hdr_shop_menu
Return to
Wood News
front page