Project Idea: Karate Belt Display
by Forrest Bonner
Huntington Beach, CA
Click on any picture to see a larger version.
My two grandchildren have been taking karate for quite some time now. They
just earned their Junior Black Belt so I thought it appropriate to build a display for
them to show all their belts.
Searching the web for ideas I rather liked this one.
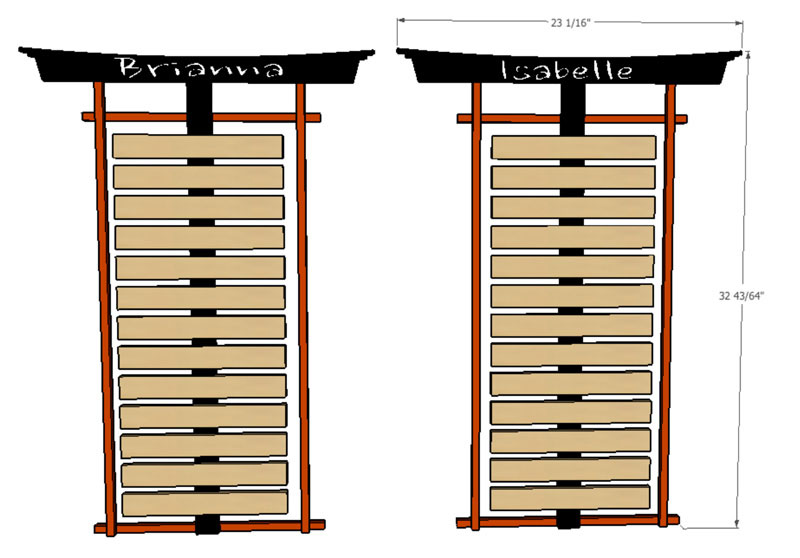
Using SketchUp I designed a similar unit that would be easy to build. As you will
see at the end with all the belts attached, I somehow misunderstood the number
of belts: they have 10 belts each, not 13.
Poplar was my choice of wood since it is inexpensive, machines well, and
painting is planned.
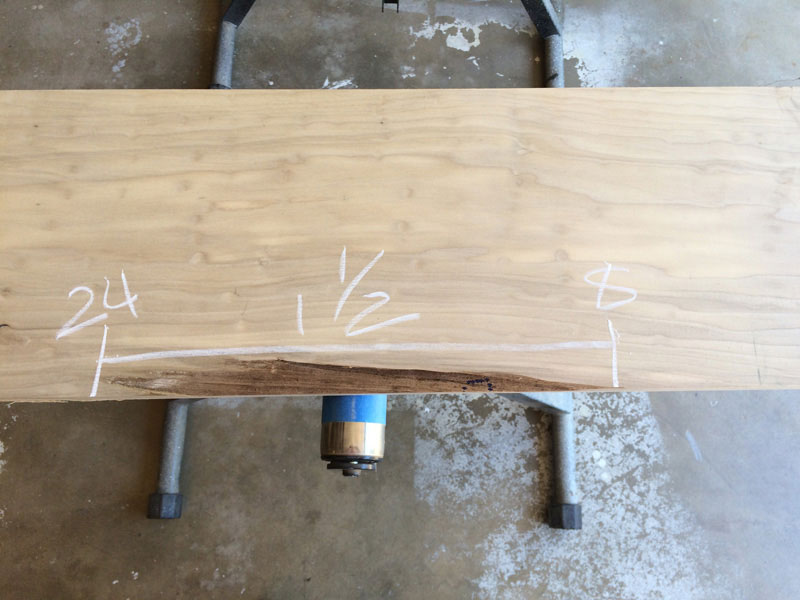
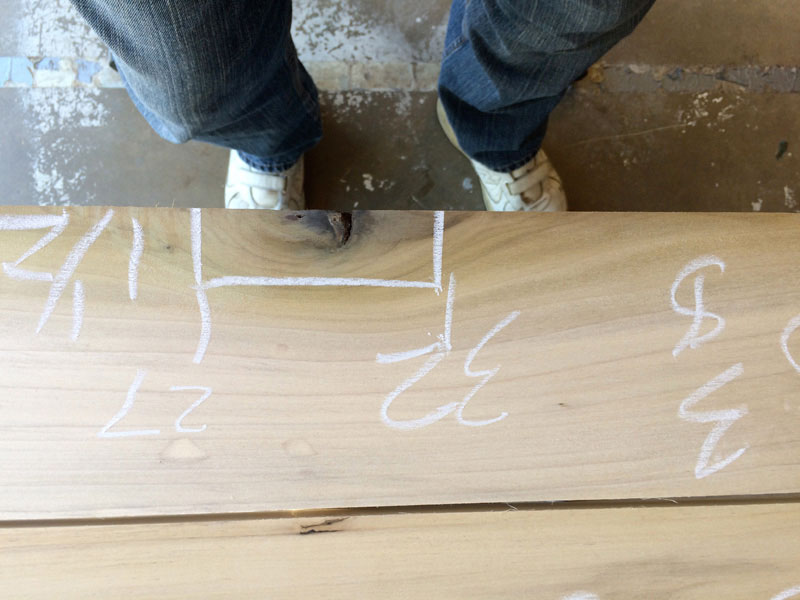
In chalking out the pieces there were, as usual, some spots that you don't want
to use. My lumber supplier makes allowance for bad spots in calculating board
feet.
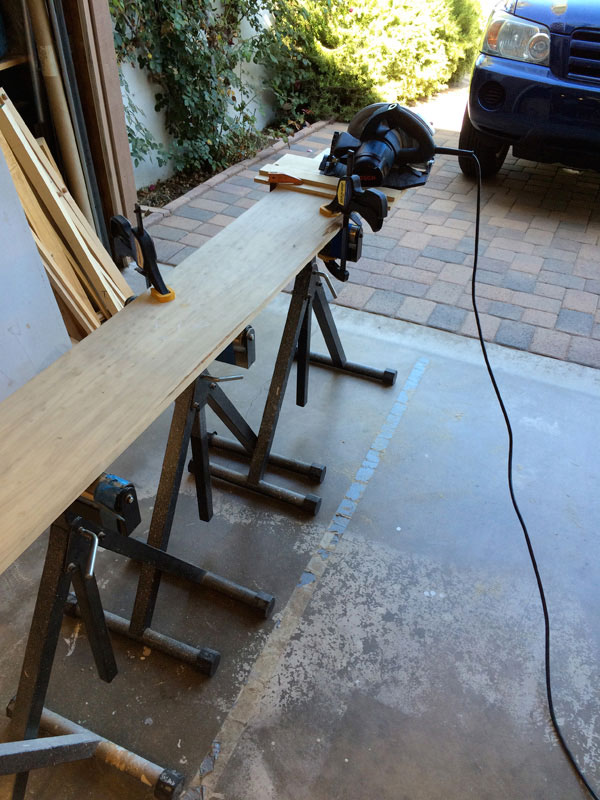
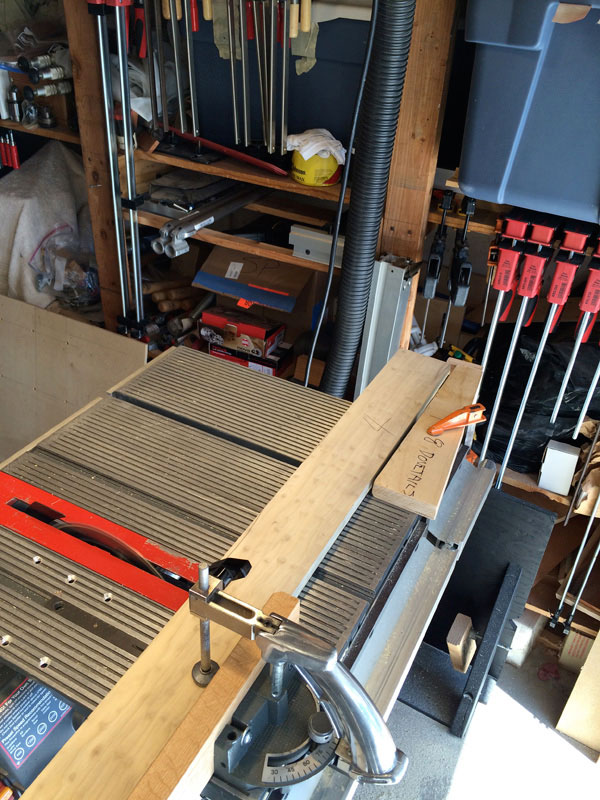
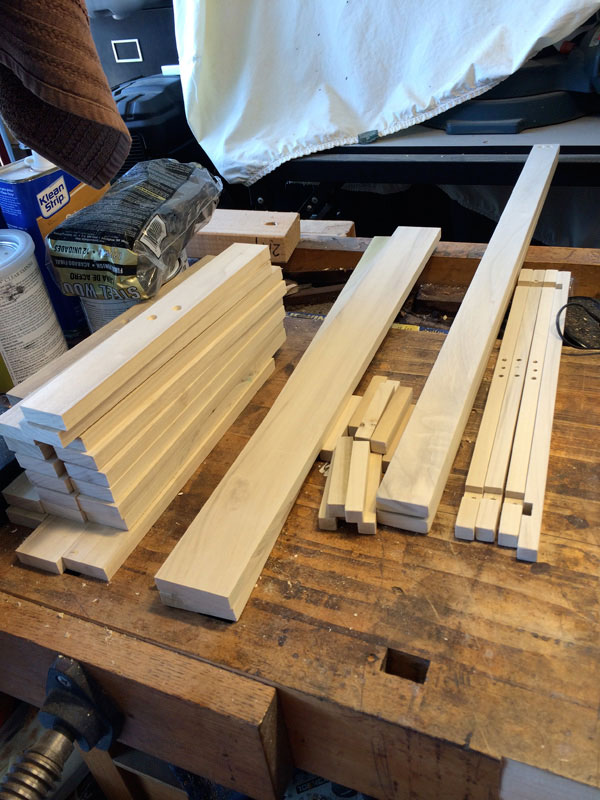
With all the pieces marked up it was time to cut the long boards into more easily
handled pieces.
The rough boards were ripped and then crosscut to approximate size.
The result was 25 pieces including spares. The cross members where the belts
will be tied were left double-long to make thickness sizing less work at the
planer.
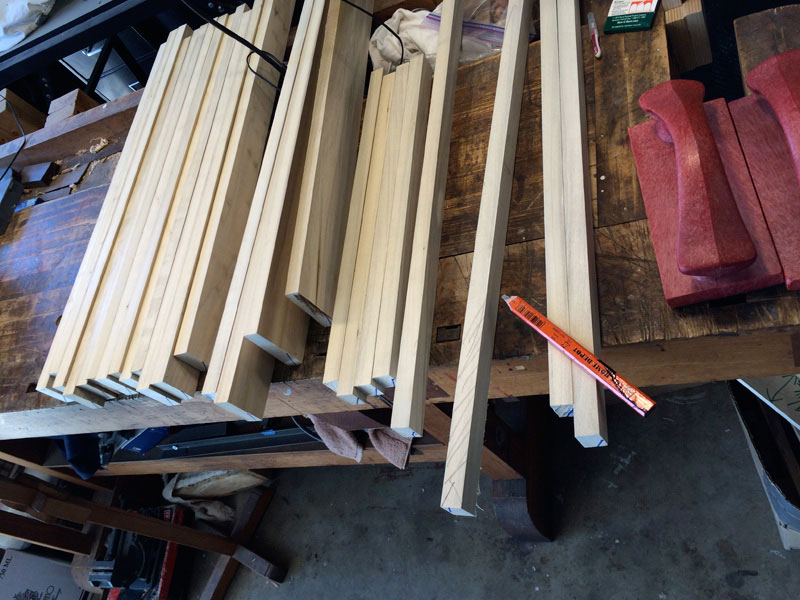
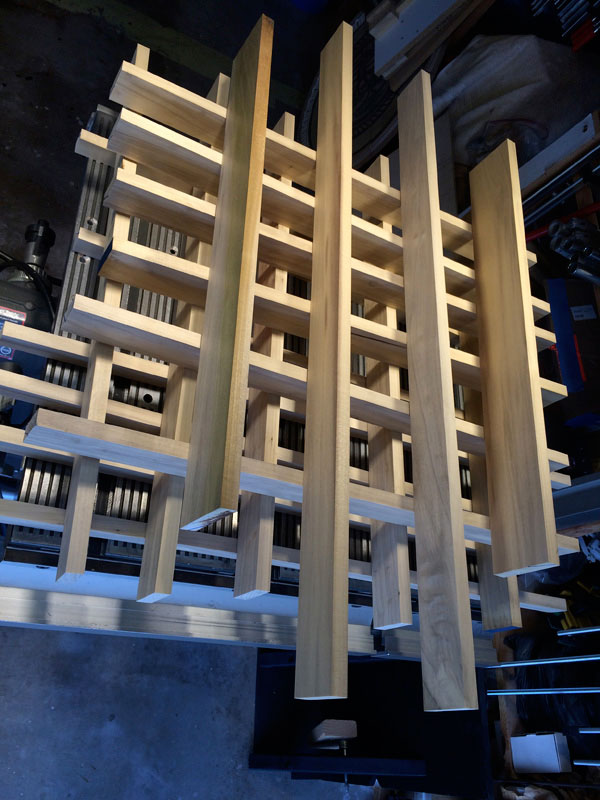
All the rough pieces were taken down to within about 1/8-inch of final thickness
after jointing.
They were then stickered and left for three weeks to adjust a bit to my 'shop.'
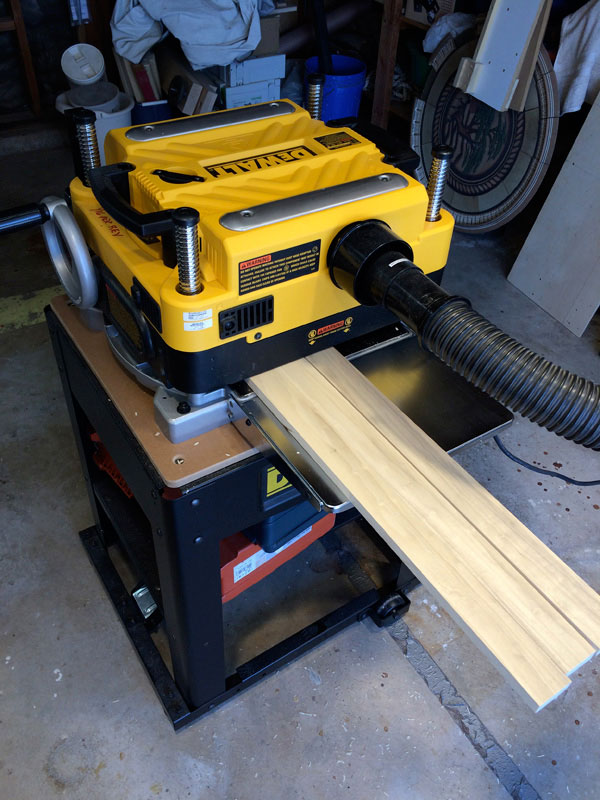
Room is an issue that generally keeps me down to no more than two projects at
a time. Each night my wife's car goes where you see the planer. Well, it is left
outside a few times a year.
After jointing again and planing down to final thickness it's off to the table saw to
cut everything to proper length.
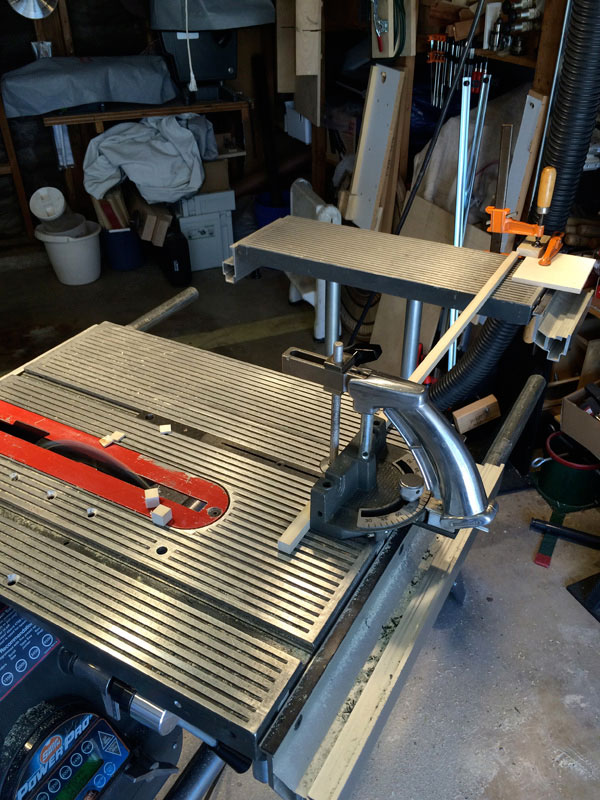
All of the thin strips that are in red in the SketchUp picture were to be half-lapped
for strength. A jig on my table saw sled allowed me to very accurately cut each
half-lap. The piece that the strip is resting against in this picture below is a precisely
sized shim to control the width of the joint: make one cut with the shim, remove it,
move the strip against the stop, cut the other end, then cleanout anything in
between.
All of the holes for attaching screws were drilled and countersunk before cutting
the half-lap joints.
The pieces are now ready to do first assembly for fit-check.
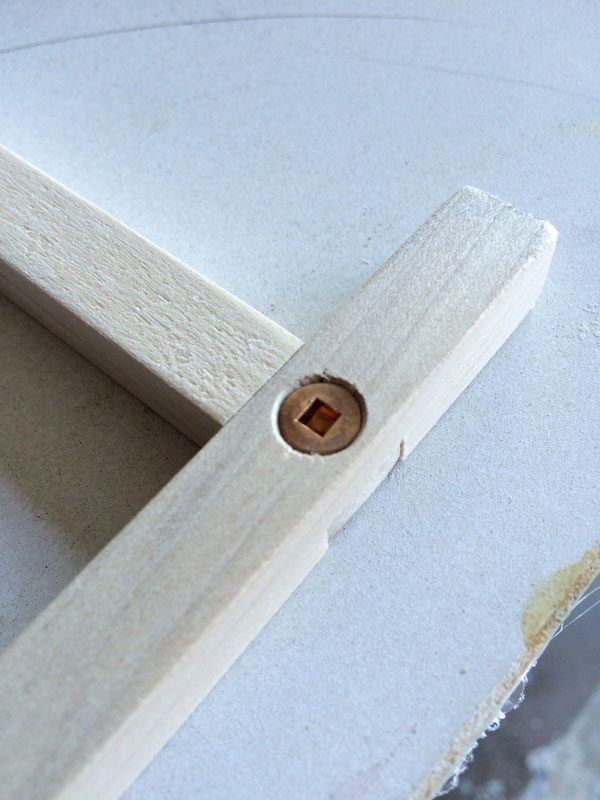
Each half-lap joint will be secured by a slightly shortened #8 by 1/2-inch screw, so
those positions were marked to allow me to use a tapered drill for maximum
thread engagement. The strips are only 1/2–inch square which means I get
slightly less than 1/4-inch thread engagement.
The only #8 by 1/2-inch screw in my shop was a silicon-bronze square head. All
other screws are Phillips-head brass.
Each cross member is attached to the spine with two #8 screws. I put spacer
blocks in between them and aligned the ends against a stop block attached to my
table.
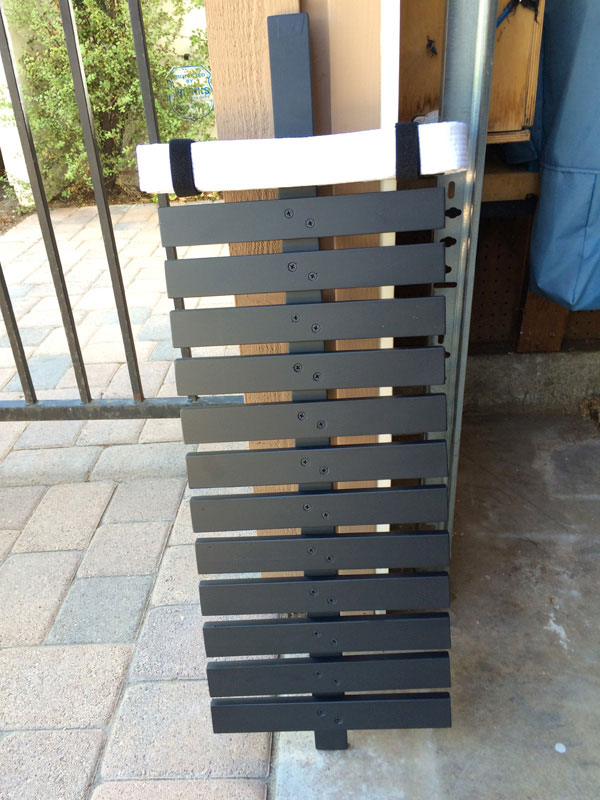
Everything fit! The name banner head was not yet done since that was a difficult
task given that I wanted filled-letters but had no CNC router available.
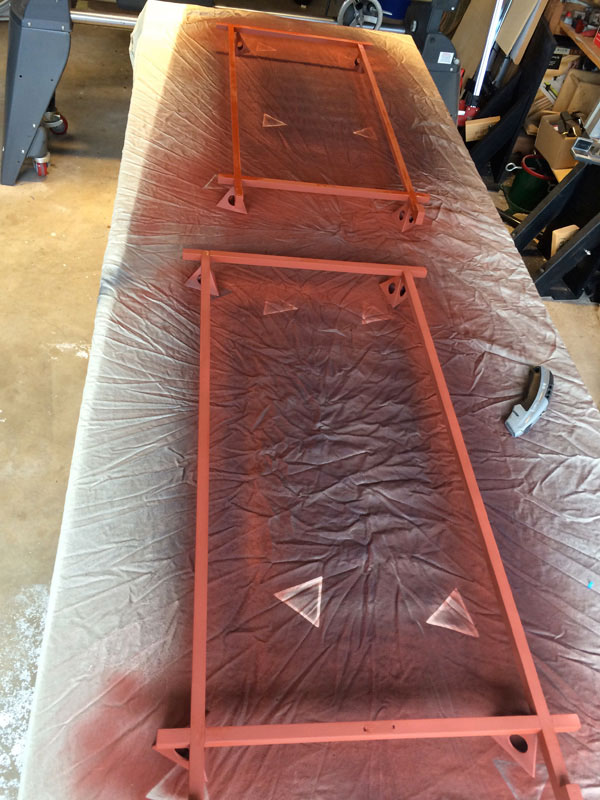
The strips were painted flat red after assembly to fill any gaps. The entire
displays were going to be dis-assembled so they could more readily be shipped.
Yes, unfortunately, my grandchildren live all the way across the country.
After painting the belt holders, I attached one belt using hook-and-loop ties on
each end.
Then the thought hit me that I couldn't remember during the design phase
whether or not I had left sufficient room for multiple turns of the belts at each
end of the horizontal mounting pieces.
Fortunately I had.
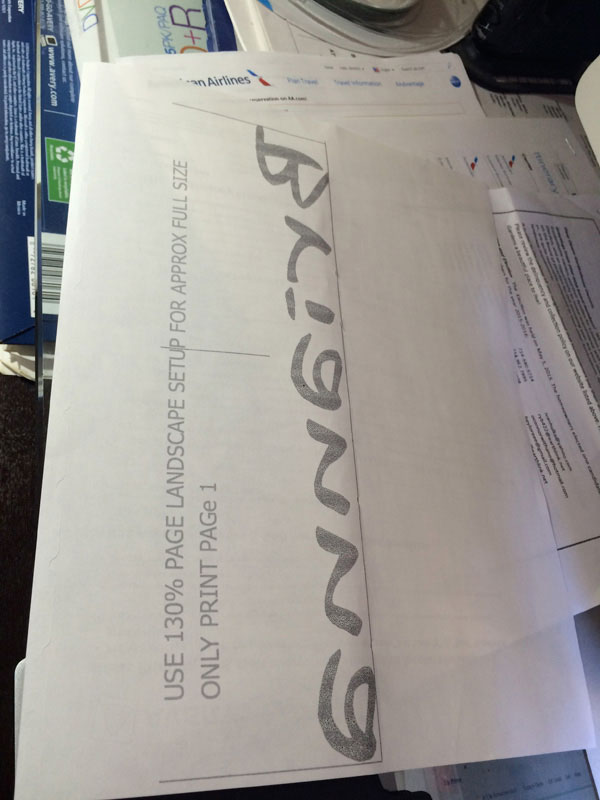
I planned to hand rout the names into the banners so I needed a way to write the
characters. I solved that problem by printing the reversed names from the
SketchUp file on to Avery Easy Peel Address Labels with the labels all removed.
I learned this from a
Steve Ramsey video
.
And it works nicely.
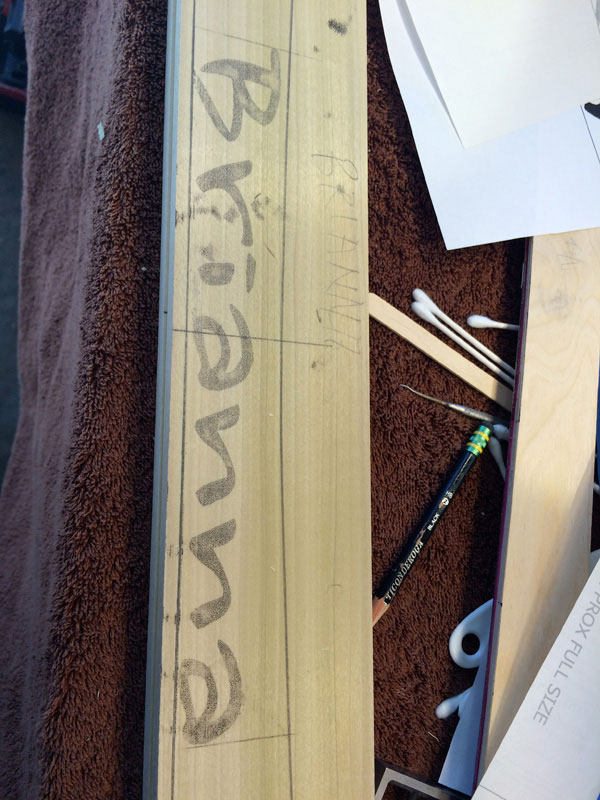
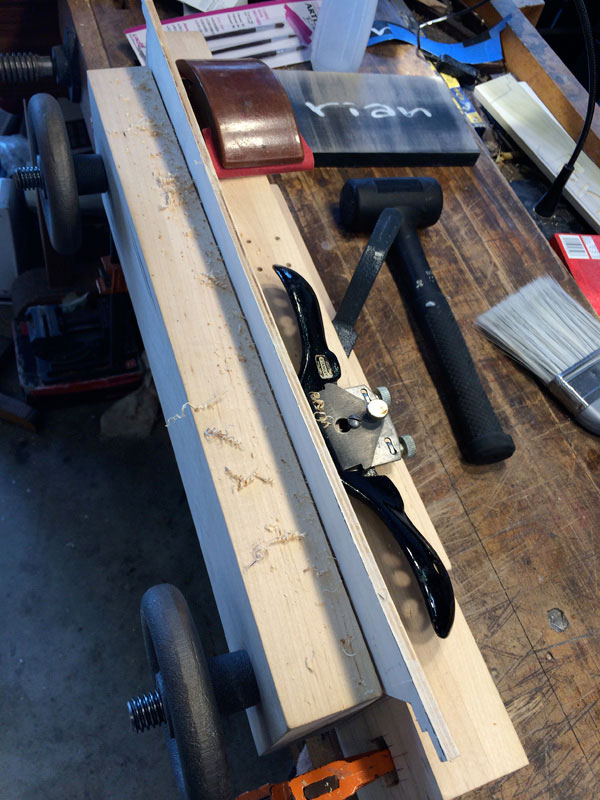
I used a
Whiteside SC 39 Round Nose bit
in my router and followed the
letters as best I could. This was one of my many practice sessions. I was down
about 1/8-inch.
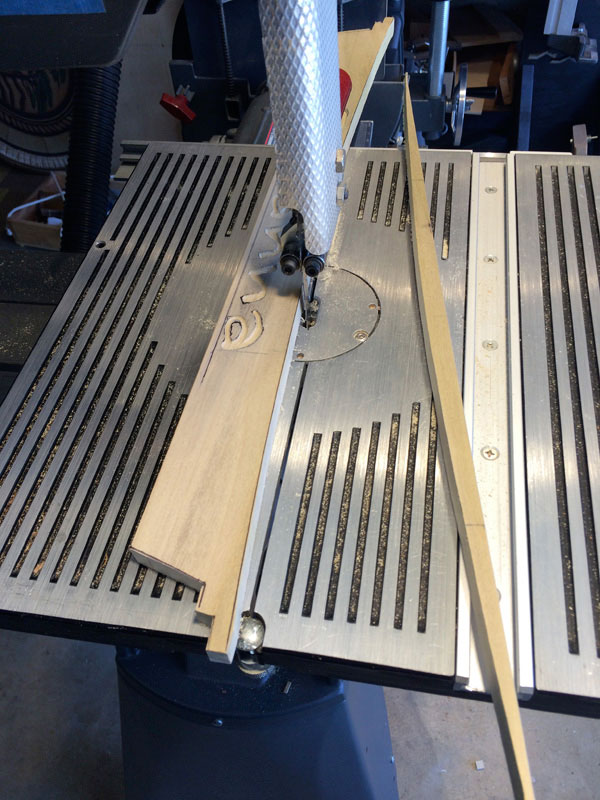
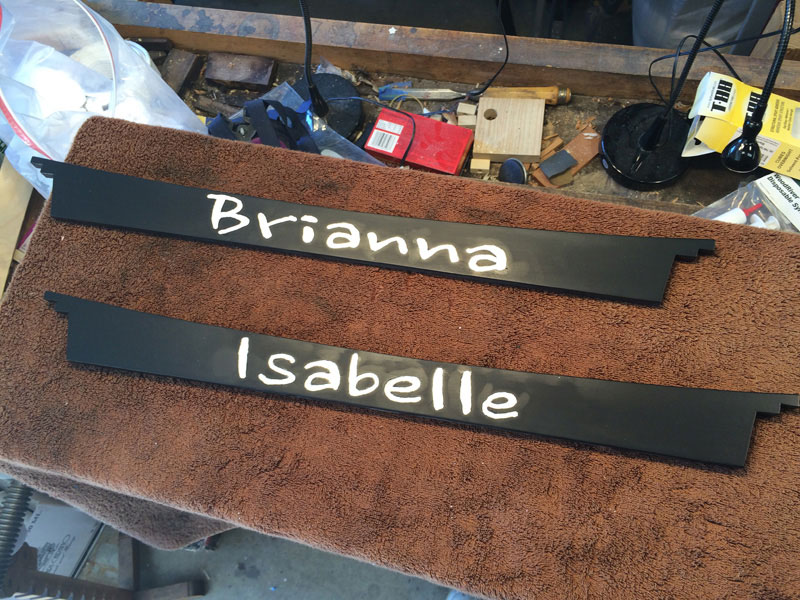
After routing the banners, I made a template of the final shape and used it to
mark each banner and cut the waste on my bandsaw.
The curved top was smoothed with a spokeshave as I had done to smooth the
template.
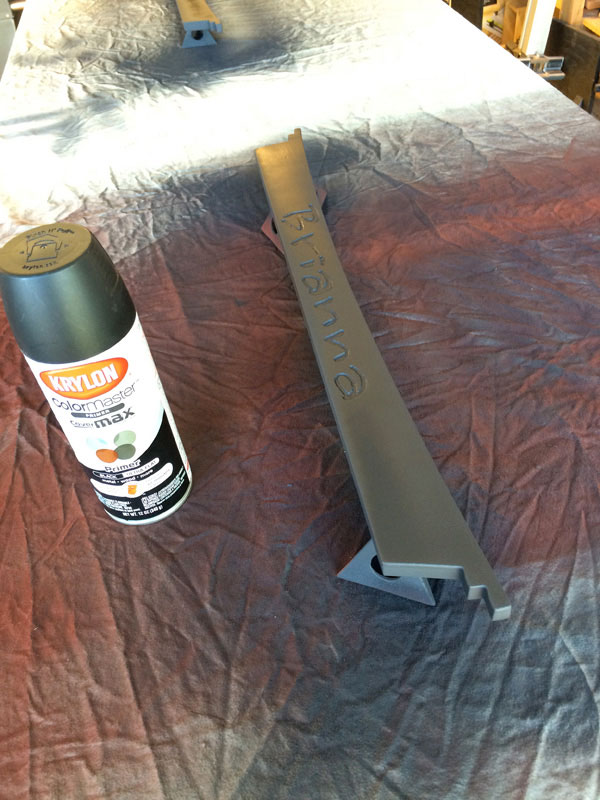
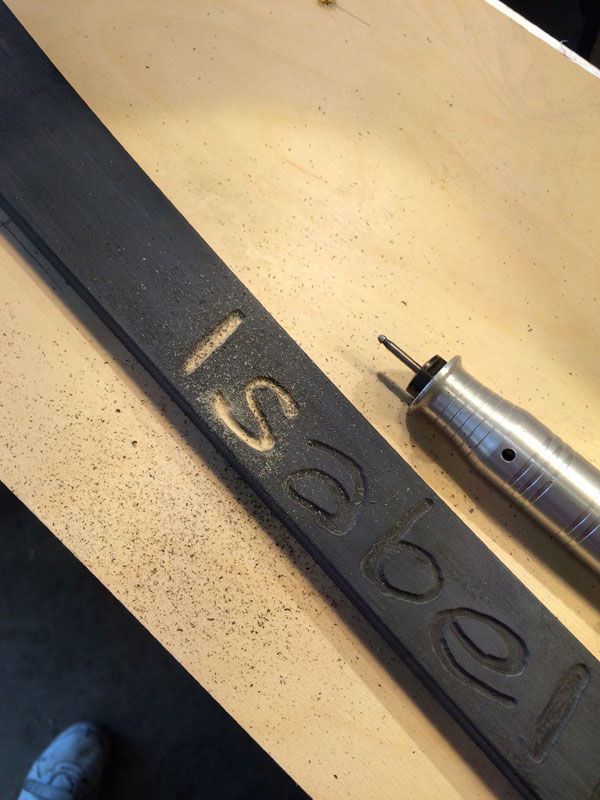
Both banners were painted flat black after routing and sanding.
The paint in the letters was removed with my Foredom to provide a clear wood
surface for the epoxy to stick.
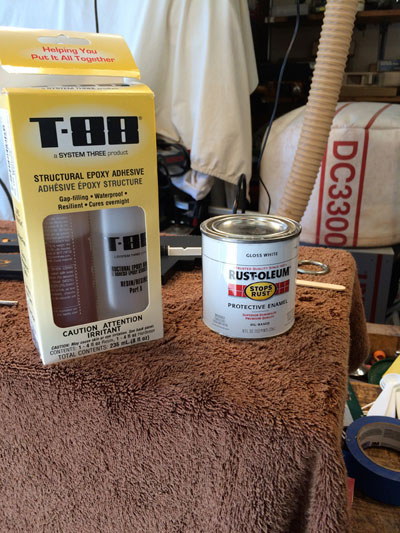
The letters were filled with a
long cure epoxy
diluted with an oil base gloss white
paint.
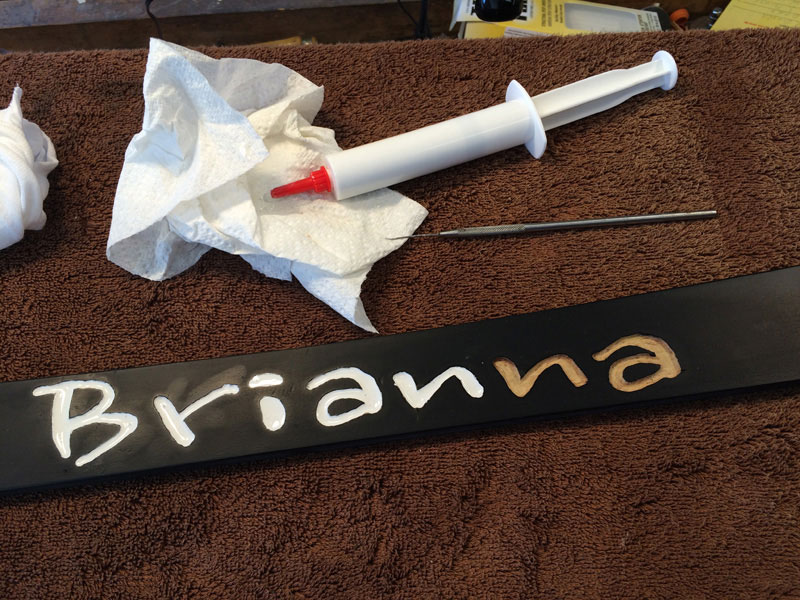
A disposable syringe with a fine-cut nozzle was used to inject the epoxy/paint mix
into the letters. I ruined one banner by putting in too much epoxy which, when
settled, spread over the area outside of the letters.
So I carefully added just a bit of epoxy/paint and used a thin metal probe to push
it into location. If more mixture was needed, that was much better than too much
to begin with.
They turned out just fine. The font is a Korean–based Nanum Brush Script
chosen since karate came from Asia.
The displays were dis-assembled and each mating surface was marked so re-
assembly would get back to the original. I packaged everything needed to re-
assemble: pieces, screws, hook-and-loop, and the hardware to hang them on the
wall.
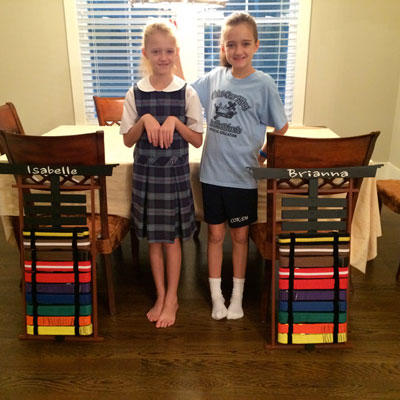
The package was shipped off to South Carolina and on a visit a few weeks later
we put them together and added the ten (not thirteen!) belts. They are continuing
their karate lessons so I think that I will, in the future, have a shot at correcting
things.
|
|
Happy Girls!
|
If you have any questions or comments, feel free to email Forrest at
forrest.bonner@verizon.net
Return to
Wood News
front page