From Woodworking To Luthiery
by Rod Scott
Hayden, ID
Click on any picture to see a larger version.
I have been a woodworker for many years beginning in the 1960s. Since getting married in 1976 I have had room for equipment and slowly gathered hand and power tools to the point my wife says I have "more tools than Home Depot." Over the years I have made cabinets, tables, boxes, many chairs, including a set of Queen Ann chairs, and numerous Windsor chairs. As I neared retirement I searched around for a new challenge.
During a web surfing session I came upon a site describing how to make an acoustic guitar:
"Building an Acoustic Steel-String Guitar
." After reading this and other articles on the net I decided to try guitar making. After all a guitar is just a box with some hardware attached, right? That was the beginning of a yearlong project that produced my first model, a 6-string acoustic.
Before I relate my adventure, I confess I have only completed three guitars and do not consider myself a luthier, just a woodworker that has made some guitars. Next, guitars really are boxes with hardware attached but much more. A lot of research, experimentation, and some great advice from a local luthier helped guide me during the project. However, no one source guided me to all the intricacies involved. Many revisions and failures also were involved and I readily admit that I made enough parts for about five guitars before my first was complete.
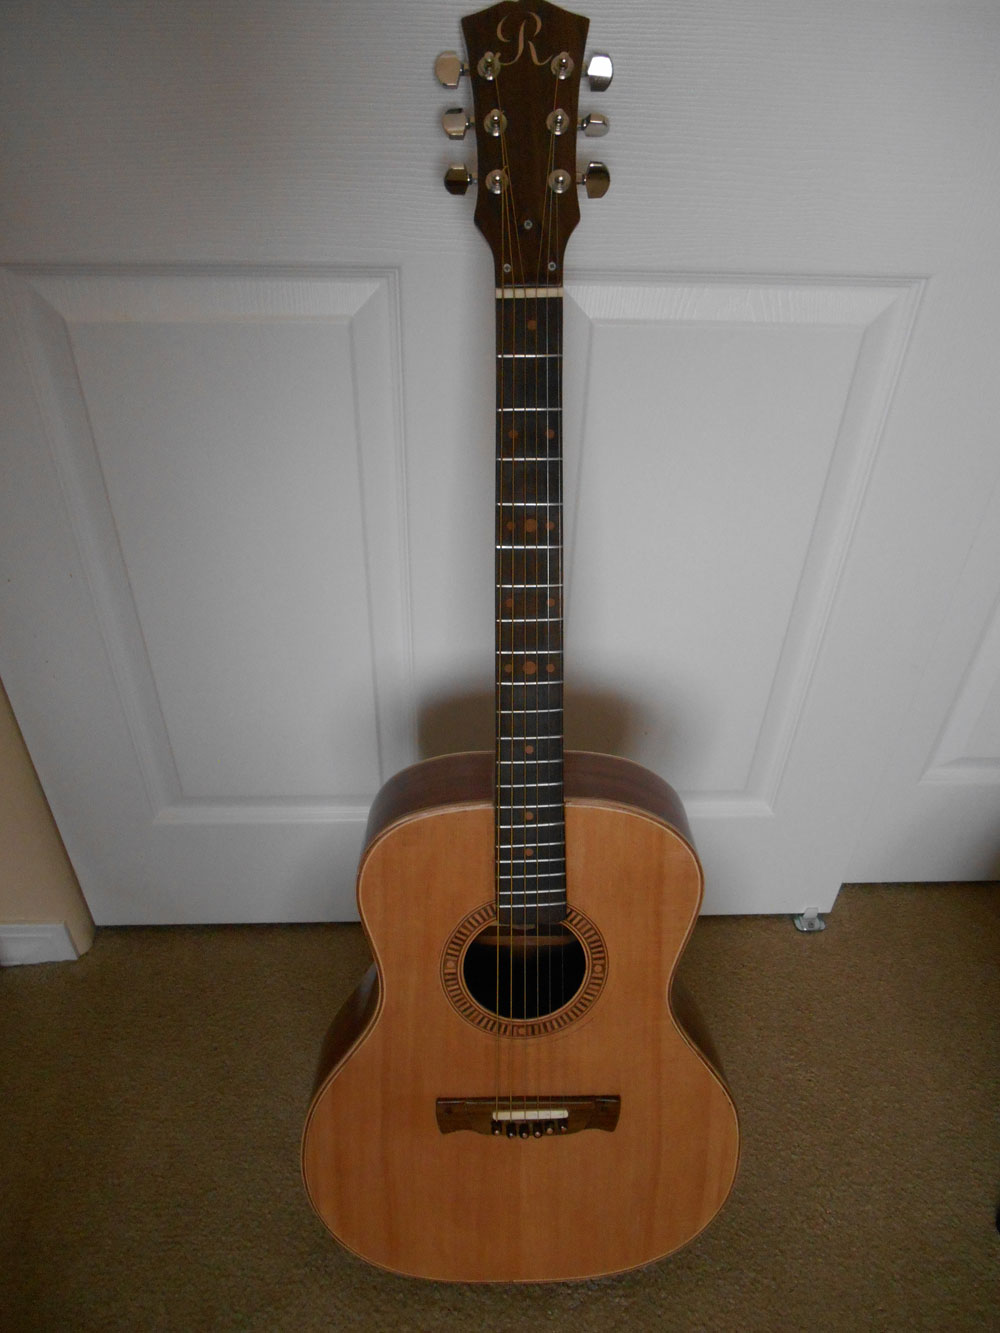
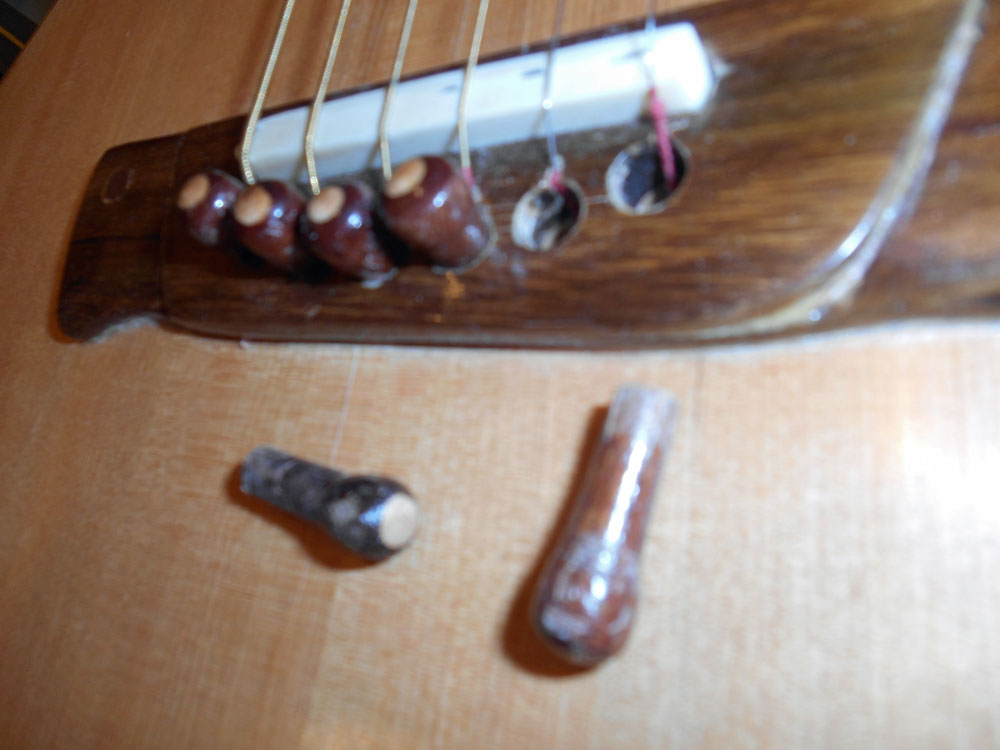
My first decision was how involved I would be in the making of parts. Everything required to make a guitar can be purchased online, including complete kits. Ultimately, I decided to make all the parts I could including; the sides, back, front, fret board, neck, and bridge. I even turned the pins that secure the strings to the bridge. The nut and bridge were made from bone provided by a friend who is a grocery store butcher. The only purchased items were the strings, fret wire, and tuning machines.
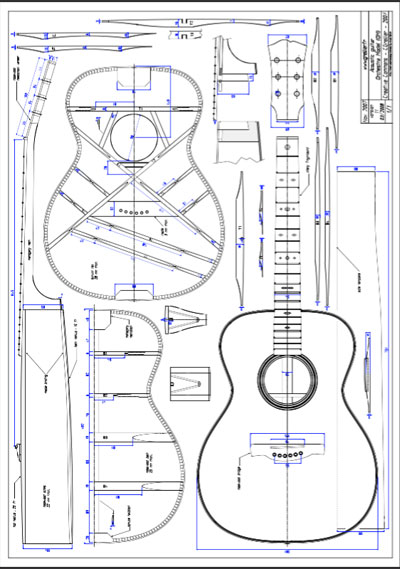
During my research I discovered that acoustic guitars come in many sizes including OO, OM, GA, Dreadnought, and Jumbo among others. Drawings are available for all these sizes from various sites on the web. The size decision was made for me when I found an open source drawing for a 20 fret, Martin type OM, which stands for Opera Model. I took the digital drawing to a print shop and had them make a full size pattern.
|
|
Click for full PDF of design drawing.

|
Choosing the wood species required a lot of consideration. Backs and sides are the glamor parts of the design and a "tone" wood is required for them and the top. Tone woods tend to transfer sound well and are strong and light. Brazilian rosewood is the Cadillac of wood for the sides and back. It makes a pleasant ringing bell sound and finishes beautifully. Unfortunately, Brazilian rosewood has been over logged and is difficult to find and VERY expensive. A sides/back set can cost $1500 or more for the raw wood. Tops are traditionally made from vertical grained Sitka spruce and some of the cedars.
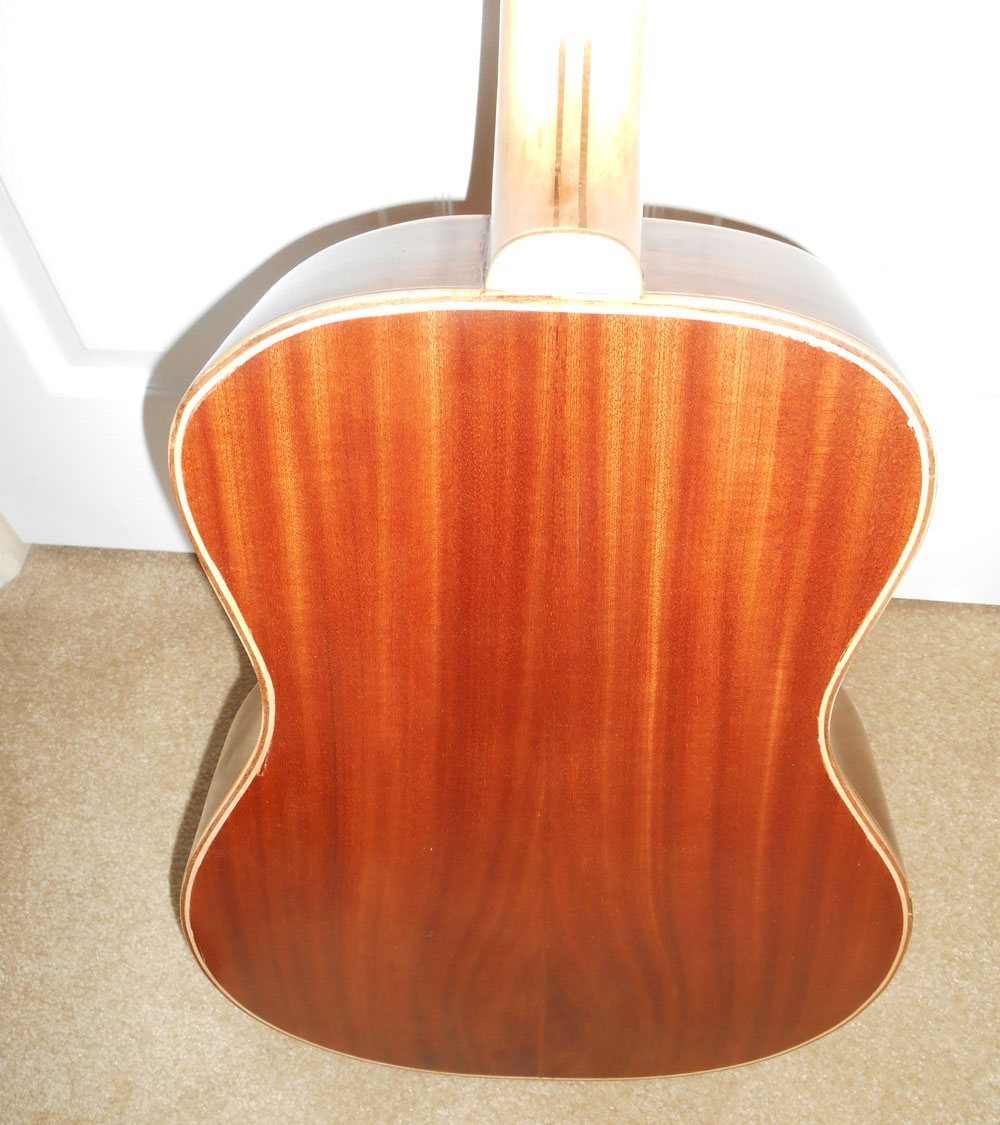
My personal choice of woods became; sapele (a type of mahogany) for the back and sides (see the book matched grain below), vertical grain Douglas fir for the top, hard maple for the neck and "white" trim, and Indian rosewood for the headstock overlay, "black" trim, fretboard, and bridge piece.
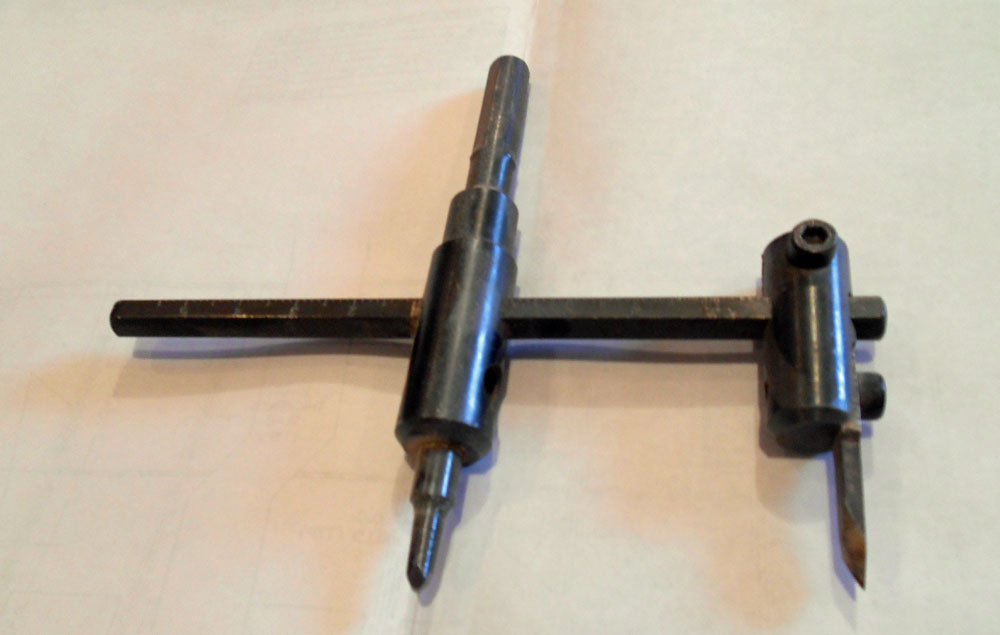
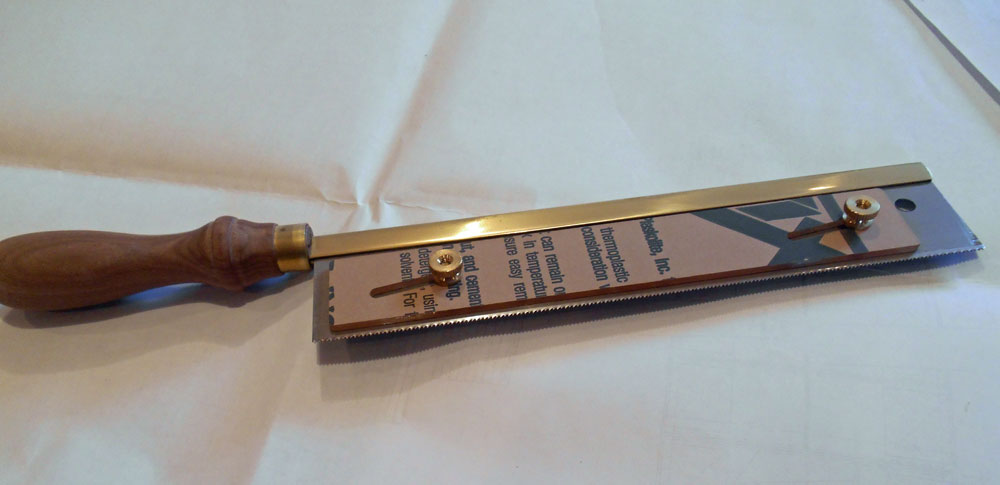
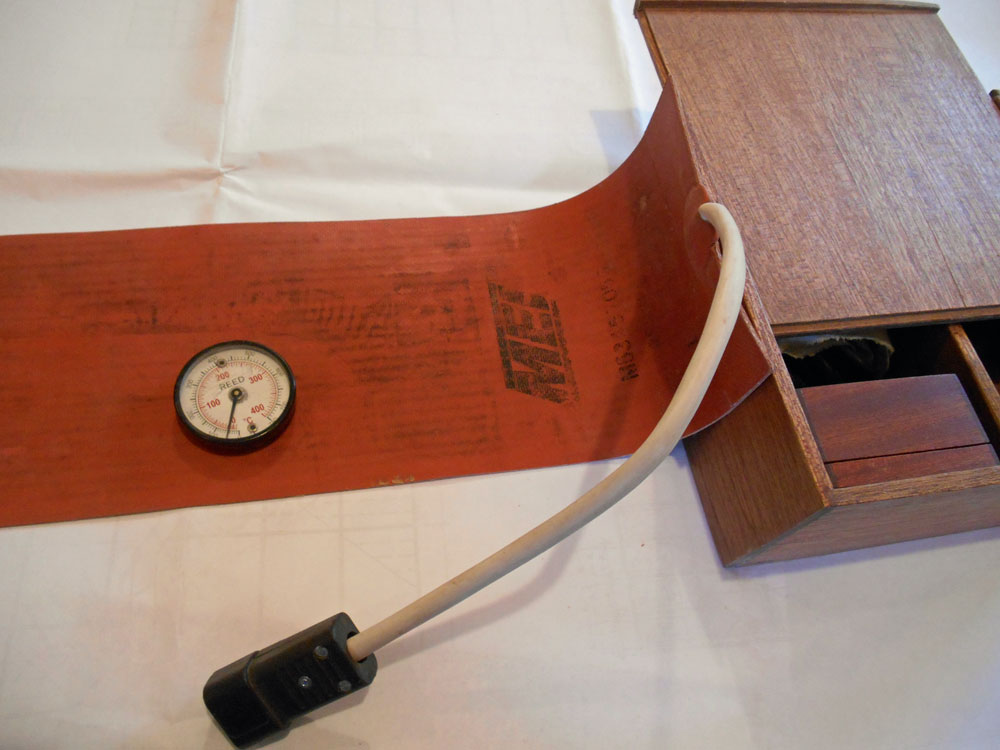
Although I have a well-stocked shop, a few new tools were needed to make some jobs easier or more precise. I bought a wing cutter to make the sound hole more accurately round. A specialized fret saw was used to cut grooves in the fret board that snuggly captured the prongs of the fret wire. Most importantly I purchased a rubber heating blanket that made the bending of sides go from almost impossible to routine. I later discovered how to bend binding and perfing with this blanket. Lastly, a wide belt sander that I already had was used to thickness the back and sides. Without this sander making very thin veneers for the sides, back, front, and trim would have been nearly impossible.

|

|

|
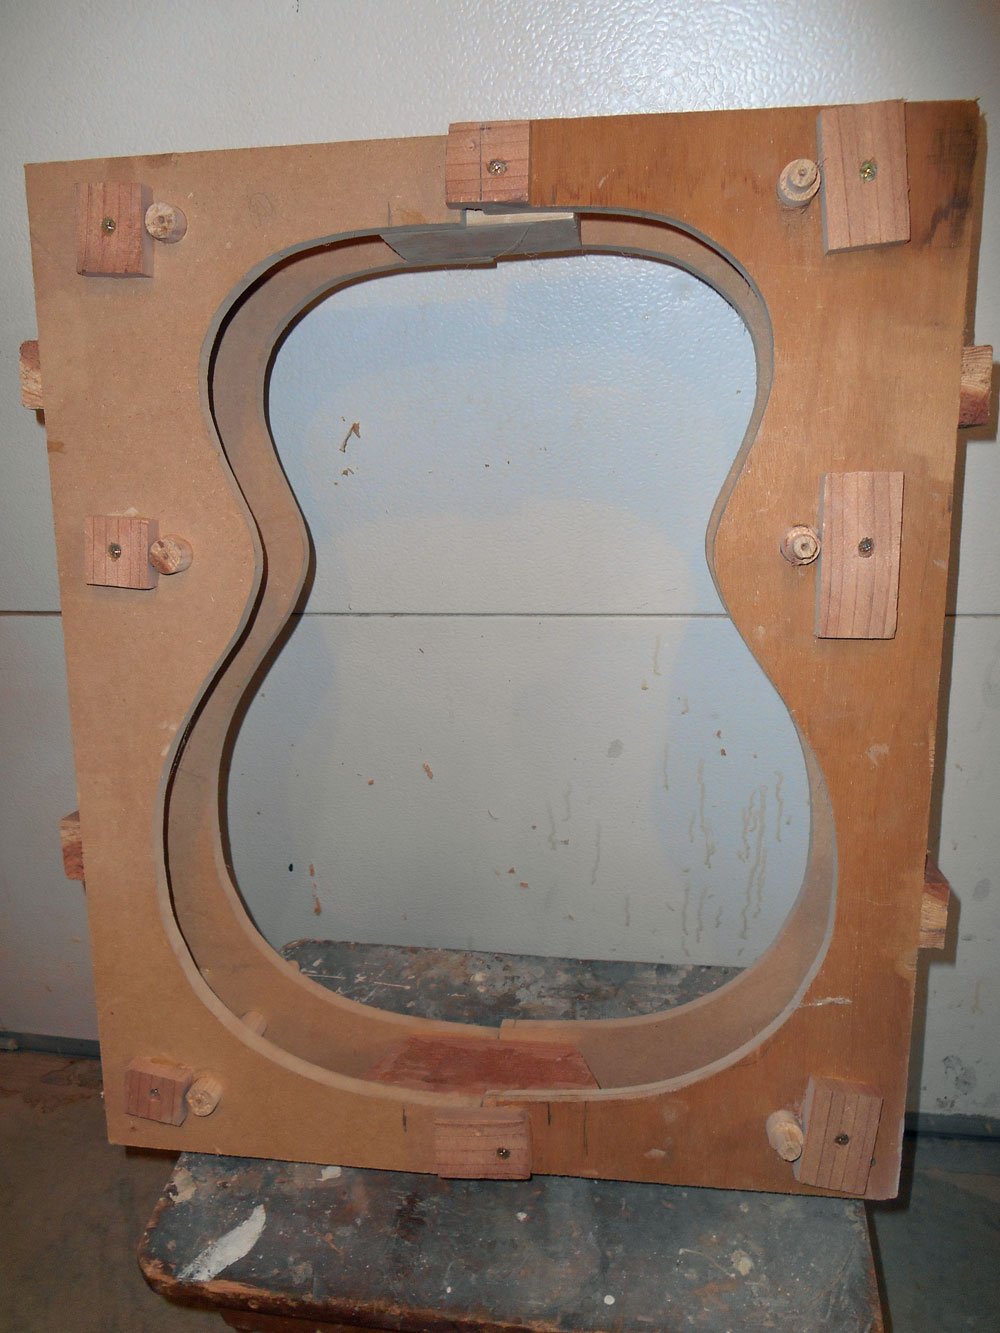
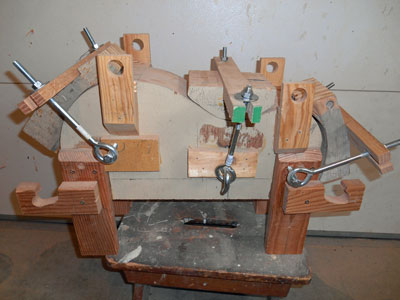
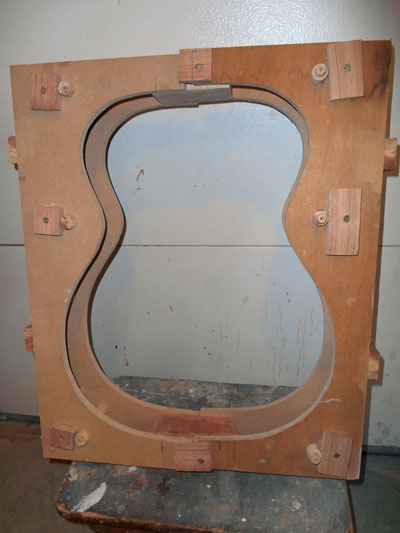
The next necessity was to build some jigs. Since a guitar has no square corners and few right angles, all parts must be held in jigs either for forming the piece or holding components during glue-up. The most important jig was the bending form. I laminated several layers of plywood cut in the shape of half of the guitar from the centerline to one edge. Clamping blocks with draw screws were added to pull the pieces into shape during heating. The same jig served for both the sides and the bindings. The next jig was a hollow form shaped to the profile of the whole guitar and separated at the centerline. This allowed me to hold the top and bottom at the proper shape while the braces were attached and glued to the sides, assuring that the guitar would have a pleasing and symmetric shape.
|
|
Since my guitar had domed tops and bottoms, I made a jig to hold them when the braces were glued on. This jig consists of plywood routed out to the correct curvature and covered with high pressure laminate. I also made long clamps from oak bars with threaded inserts and screws to reach the center of the 20 inch wide doming jig. The sound hole rosette required a jig to hold its nearly 100 pieces while the glue dried.

|
With all the design decisions made, the assembly process could begin. I did not vary greatly from the process I had studied in assembling the guitar box. One major difference was in using yellow carpenter's glue instead of the hide glue recommended. It is much easier to deal with but not traditional. I did use hide glue to attach the neck and fretboard as it is slightly easier to reverse if repair is ever required. The box has a myriad of parts and takes time to completely assemble due to glue drying times. The most demanding woodworking procedure was to cut the blind dovetail in the top of the box. This joint must be tight and the neck must align with the guitar centerline. I also discovered the neck must tilt back from the face to allow for the height of the bridge.
The neck is a laminated piece of maple and rosewood. This allowed the maple to be placed in a vertical grained position enhancing its stiffness. After band sawing the general shape the neck was carved to shape with a drawknife, rasps, scrapers and sandpaper. Then the dovetail was cut on the lower end of the neck and refined to get the angles required.
Several months later with the lacquer finish completed and the frets, strings, and tuning machines in place the truly difficult process began. Every guitar is unique and requires a process called voicing and attenuation. The nut at the top of the strings must be shaped and cut to hold the strings at the proper spacing above the frets. The frets must be the correct height above the fret board and uniform so that playing one fret does not force a string to touch other frets.
Attenuation is the most painstaking process of the project. A guitar is a two octave instrument. The lower tone octave is set by the tuning machines and the upper octave is then checked. If it is sharp the bridge must be removed and spaced farther from the nut. If flat it is moved closer. This requires the strings to be removed and the bridge anchored without glue until the proper placement is found. This is an iterative process, tune the lower octave, check the upper, move the bridge, etc. Also, notice that the bridge is not perpendicular to the strings. Each string must be tuned individually. No wonder the project took most of an entire year.
I undertook this challenge to see if a woodworker could accomplish all the requirements of a luthier. I do not have the space here to provide all the details of construction and do not pretend that I am an authority on guitar making. I would recommend this project for those who would like a challenge. Just be prepared for the research, minute detail, and extended timeframe it will require.
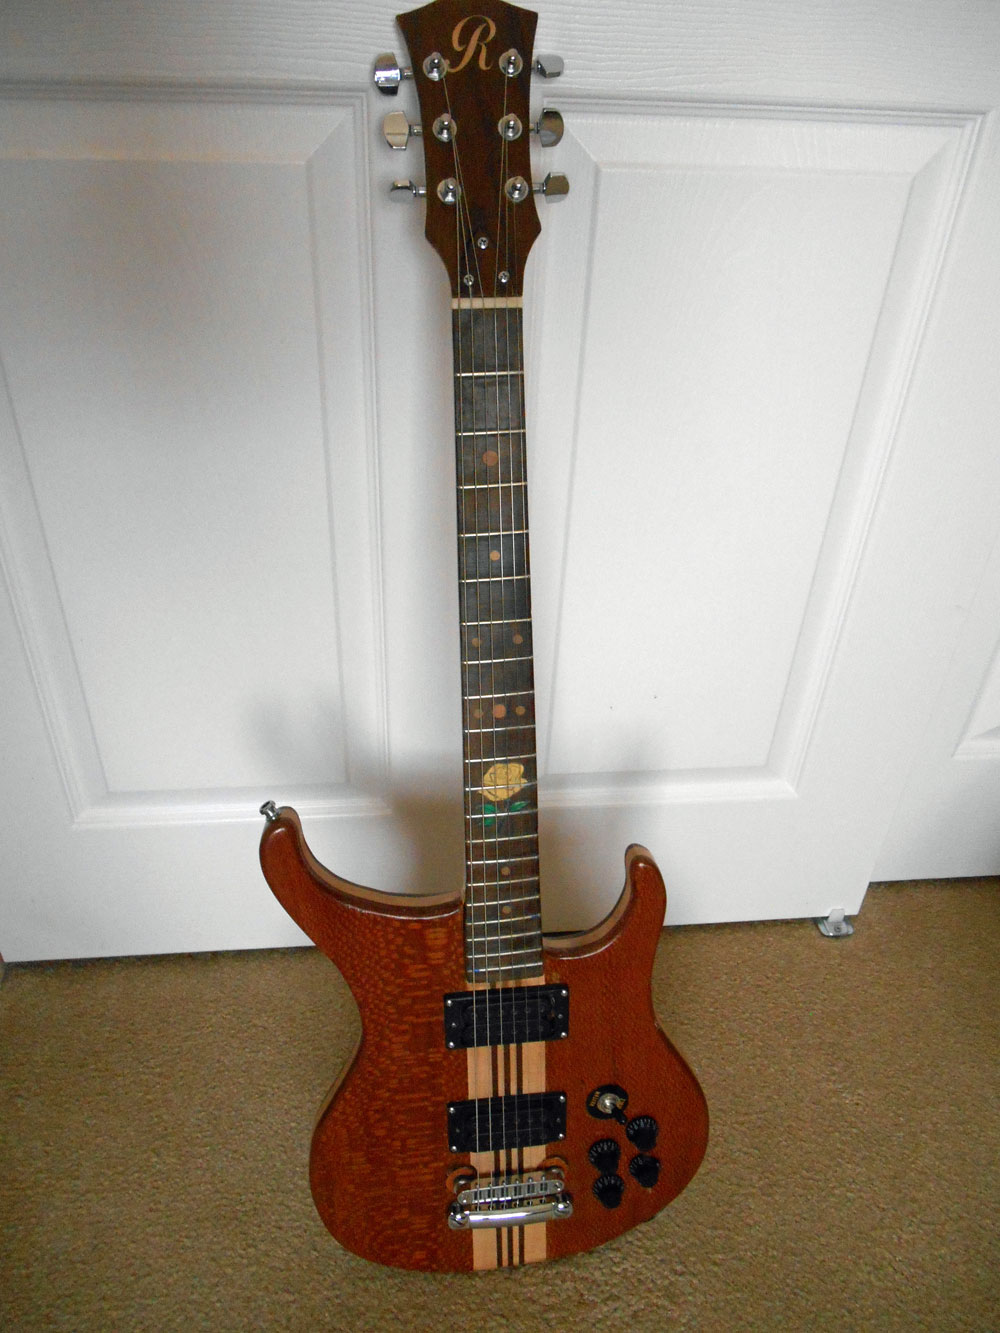
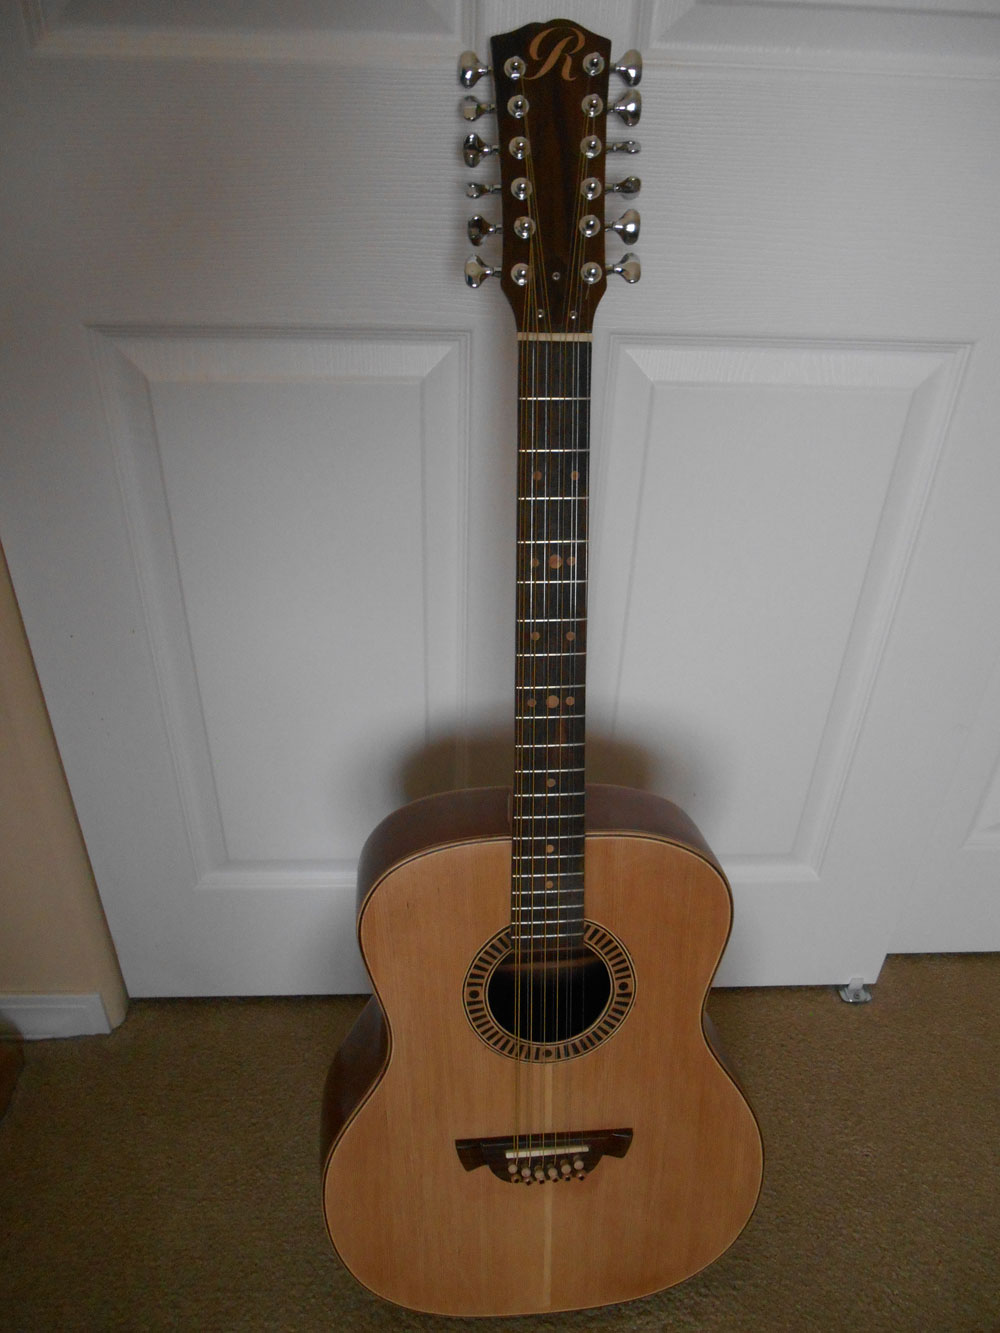
My follow-up projects were an electric guitar and a 12 string that I am now learning to play.
You can email Rod at
dyle.scott@yahoo.com
.
Return to
Wood News
front page