Leigh Router Table Jig - Tool Review
by Jeffrey Fleisher
New Market, VA
Click on any picture to see a larger version.
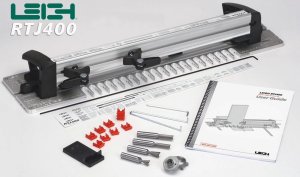
Leigh Industries has created the
Leigh Router Table Dovetail Jig
that is used on a router table using a stationary router and you move the jig and boards. I cut a set of through dovetails using the jig and found the setup to be very straight forward, and I was able to get a very nice tight fitting joint with just a small tweak of their patented 'eBush' elliptical template guide. I will discuss the elliptical template guide later in this article but you can adjust the fit of your dovetails to a thousandth of an inch.
|
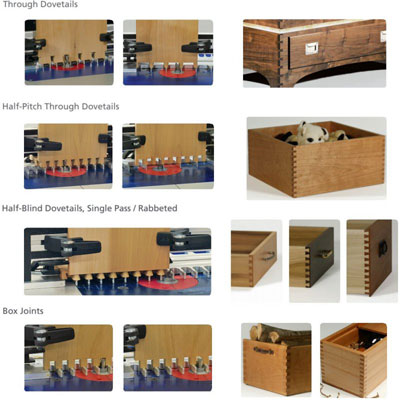
The RTJ400 comes with an aircraft-grade aluminum plate that is designed to cut pins on one side and tails on the other. The vertical fence has handles on either end so it is easy to grip and move around on the router table. Pin locators under the handles fit into various well-marked holes and slots on the template, which automatically position the fence for different joint setups. How to position the fence on the template is nicely laid out in the instruction booklet and on 5 quick reference strips that slide into a slot on top of the fence. You can cut through dovetails, box joints and half-blind dovetails. The pin and slot indices enable the jig to cut nine sizes of through dovetails, three sizes of half-blind dovetails and four box joints. Both boards for half-blind dovetails can be cut in a single pass. Through dovetails can be cut in boards 1/8" to 1" thick, half-blind dovetails in boards 1/2" to 1" thick and box joints in boards 1/8" to 1" thick. The jig can handle boards up to 16" wide. The following diagram from Highland's website shows the variety of joints that can be made with the RTJ400.
|
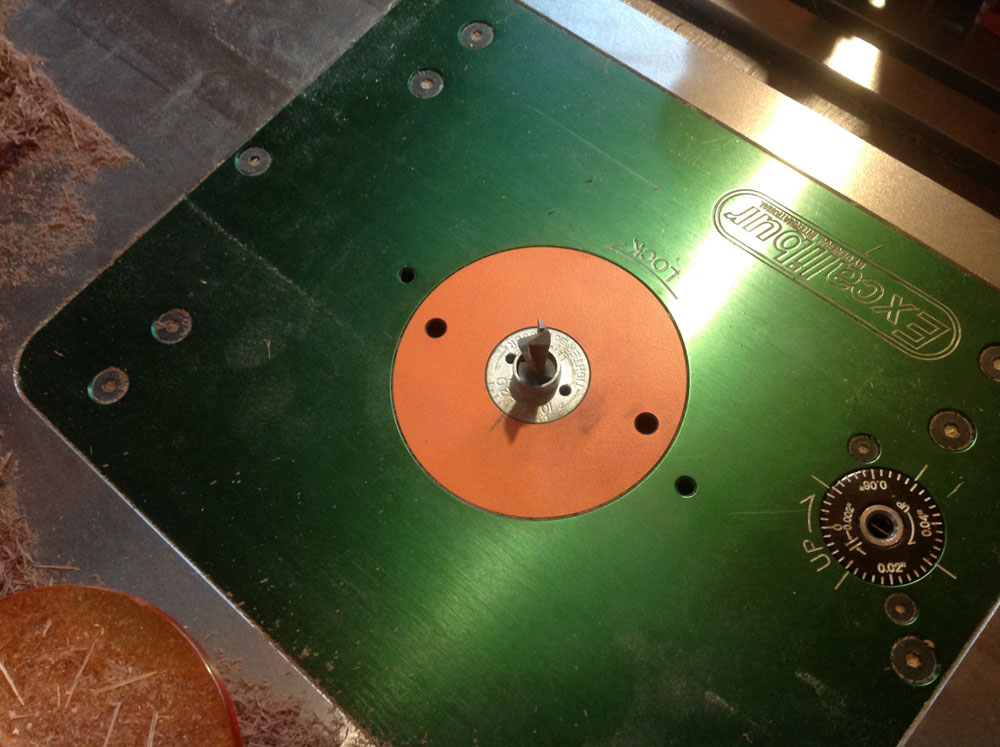
I think the most unique part of the RTJ400 is the patented 'eBush' elliptical template guide. This guide is made to fit into a 1-3/8" 'universal' style template guide in your router table. The template guide is based on the industry standard guides by Porter Cable. The elliptical guide is etched with numbered markings so you can dial-in a very tight fit. By rotating the elliptical template guide right or left, the joint tightness can be tuned to within a thousandth of an inch.
I found that I could cut my tailboard and I could then fit my pin board based upon the elliptical template guide setting. For the example I'll show in this article, I cut the pin board slightly oversize (tight) and then adjusted the guide to get a tighter fit. I could do this on the RTJ400 without having to re-cut both pieces.
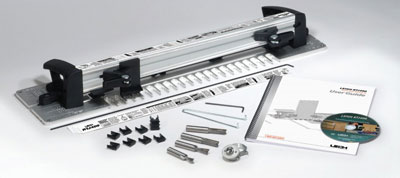
Before I get into a description of cutting through dovetails let me say that the RTJ400 is a complete system, right out of the box. The package includes a fully illustrated user guide and 5 Quick Reference instruction strips. The standard equipment in the box includes:
-
Nylon stop rod
-
1/8" ball end hex key
-
e10 elliptical guide bushing
-
Blockers, pack of 10
-
Cutting Depth Gauge
-
Dovetail bit – 1/2" x 13/16" x 8 degrees
-
Dovetail bit – 1/2" x 14 degrees
-
Straight bit – 1/2" x 1-1/4"
-
Straight bit – 3/8" x 1-1/4"
-
Four Cam-Action Speed-Clamps
-
Adjustable Sidestop
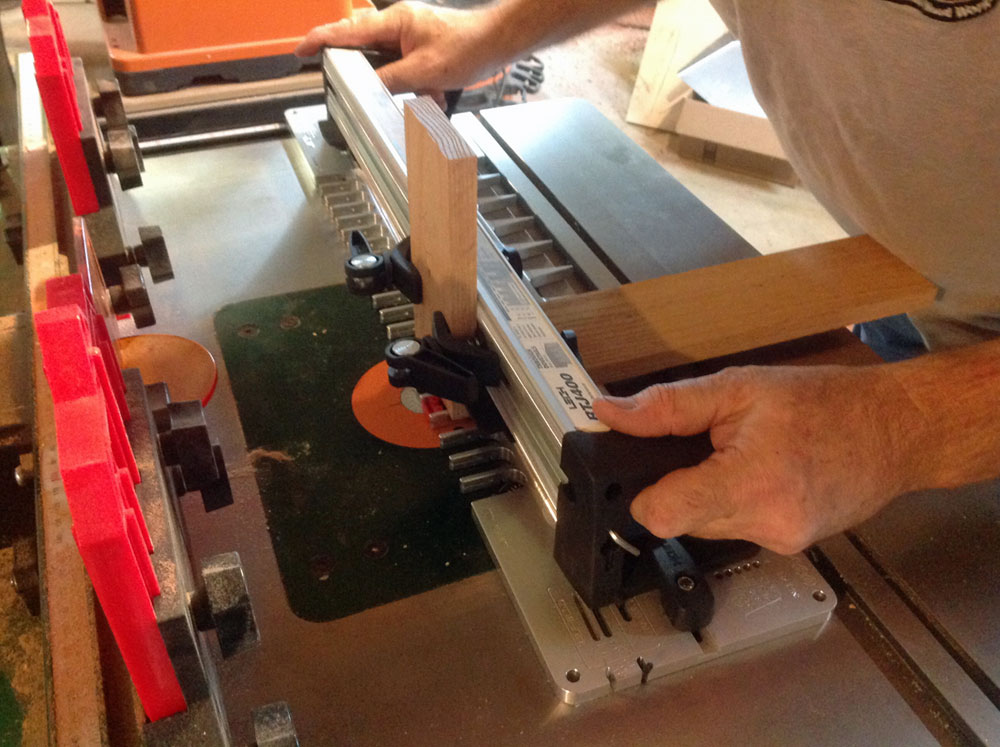
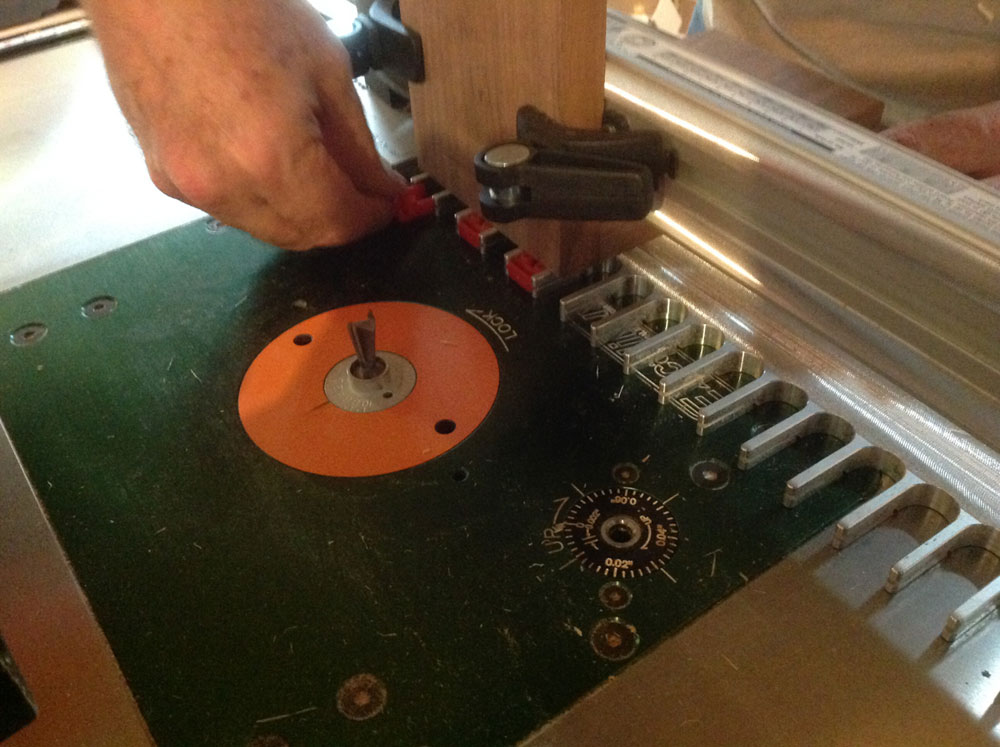
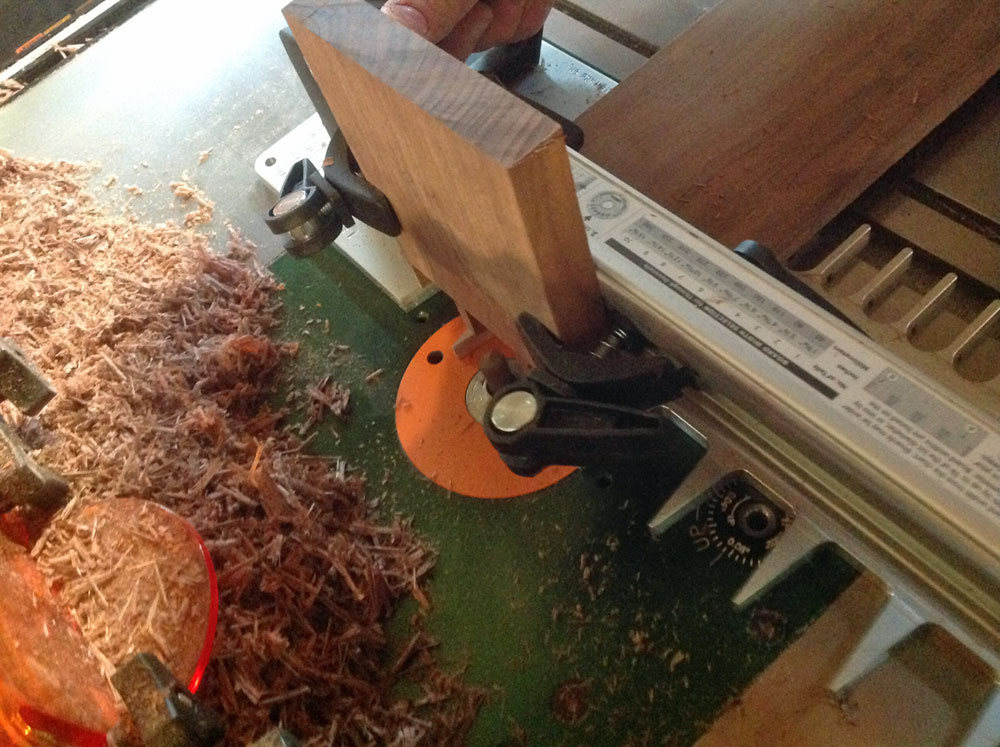
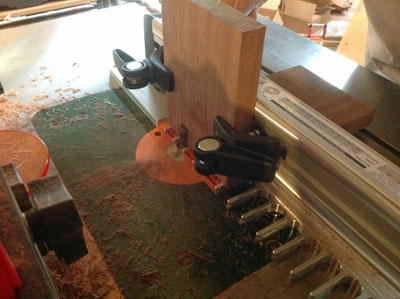
Pictured here is the standard configuration of the RTJ400 showing the vertical fence mounted on the aluminum template. The project piece is held vertically with two quick release clamps and a sacrificial backer board is also held in place with quick release clamps. In this configuration you can easily slide the unit around on the router table.
Starting with the tail board, you mount your board in place and then set the height of the dovetail bit to the thickness of the pin board. The elliptical guide bushing is set at its midpoint #5 setting or at a previously determined setting based upon previous use of the jig.
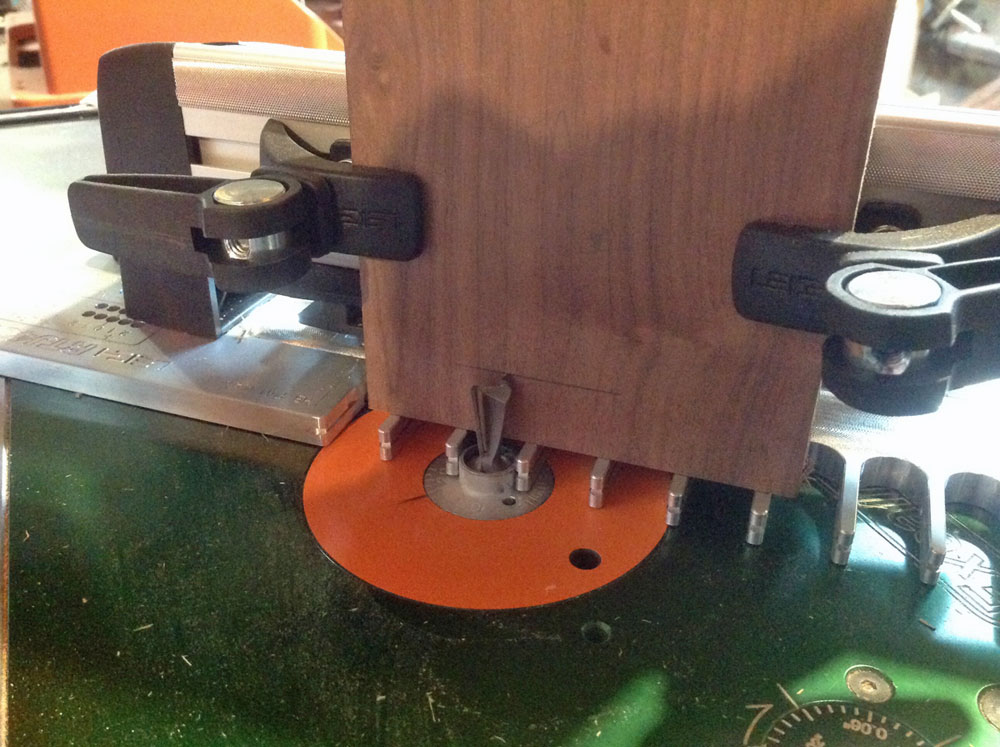
The jig comes with a set of blockers, which are plastic inserts that can be put into the gaps between the fingers as a reminder of where you
DO NOT
want to cut. Once the bit height is set, the blockers are in place and the fence is mounted on the template, you are almost ready to cut the tail board. The last thing to do is to slide a stop block over to just barely touch the side of your board. This stop block will help to align the pin board.
|
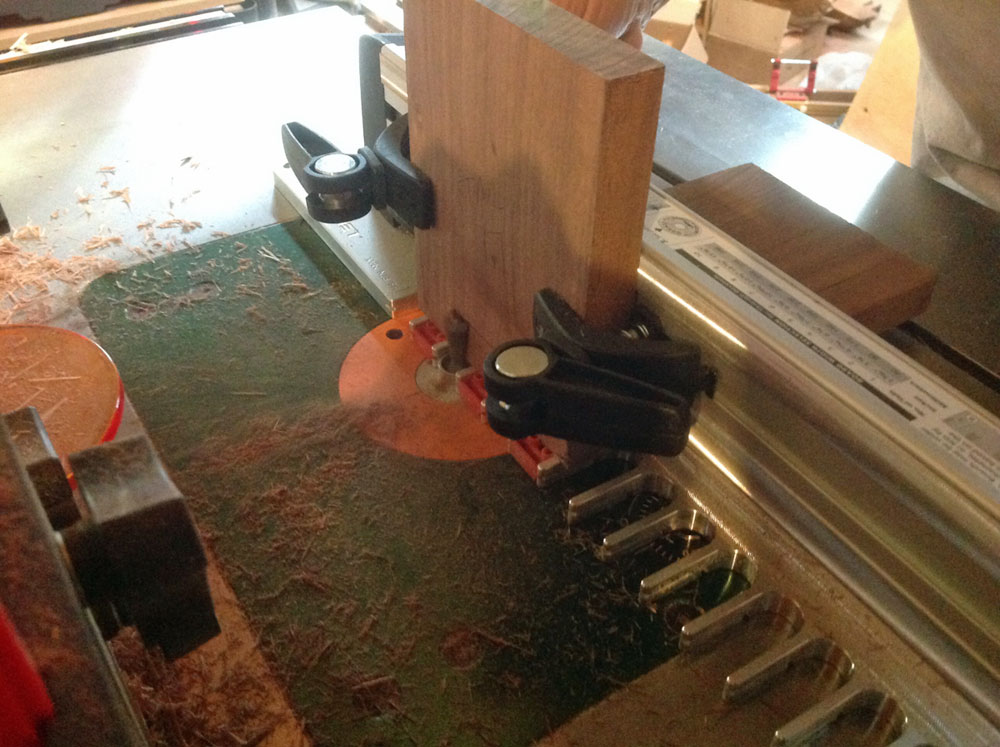
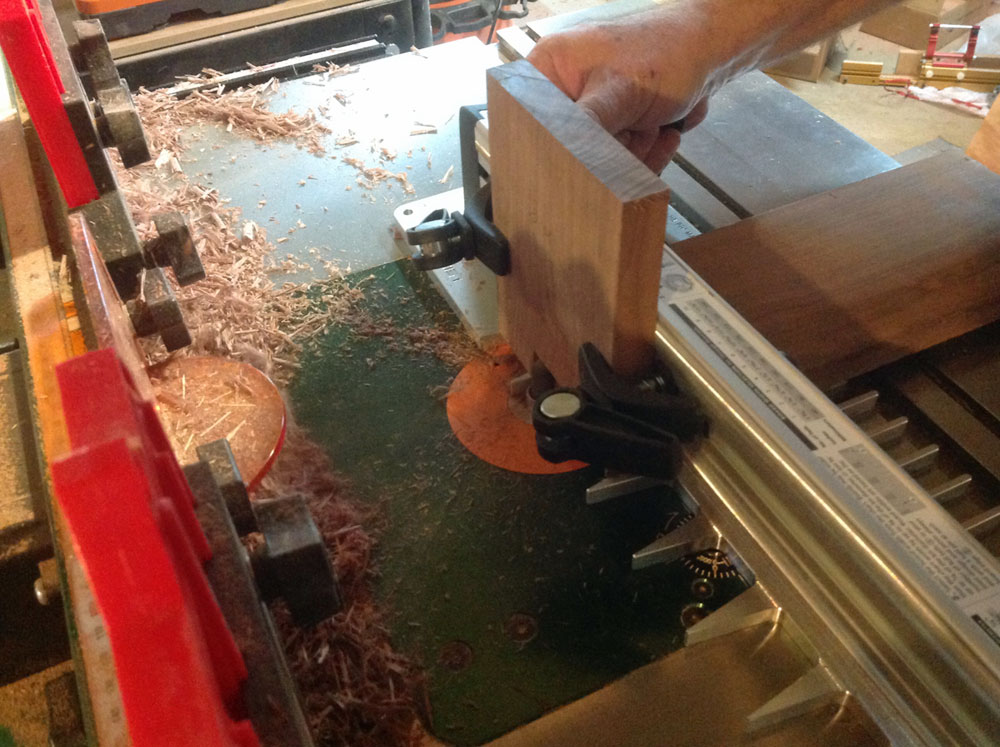
After cutting the tail board, you unclamp the fence and turn it around so that you are using the pin board fingers. The quick reference instruction strips mounted on the top of the fence tell you which pin and slot holes to use when mounting the fence to the template. Once in place, you mount your pin board by sliding it against the stop block and clamp it using the quick release clamps. You also use a backer board in this step as well. The instruction book describes each of these steps in detail. After setting the height of the straight bit, you are ready to route out the pin board. Using one hand on each of the handles, you can easily slide the jig forward into the router bit. Using both a regular cut and a climb-cut you can create nice clean pins. (Note: I would normally have a vacuum setup to collect the chips but I could not do that and take pictures at the same time. Please use dust collection when using your router table.)

|
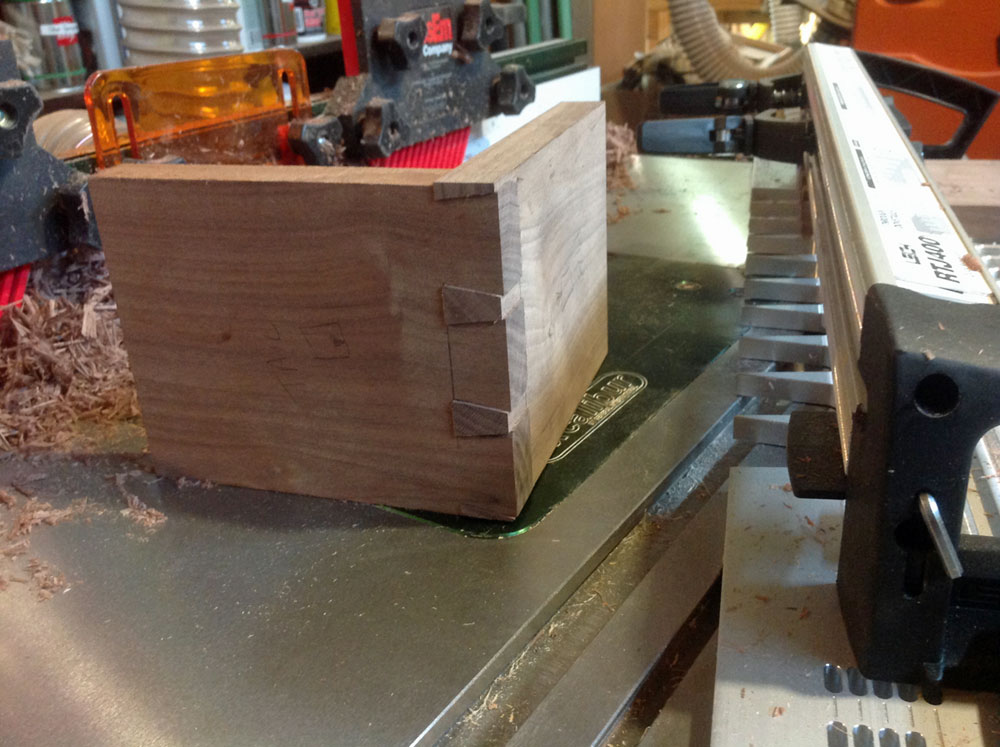
With both the tail and pin boards cut you can do a test fit and see if they are too loose, too tight or just right. I cut the pin board so it would be just a little too tight and now I can use the elliptical busing to dial in a perfect fit.
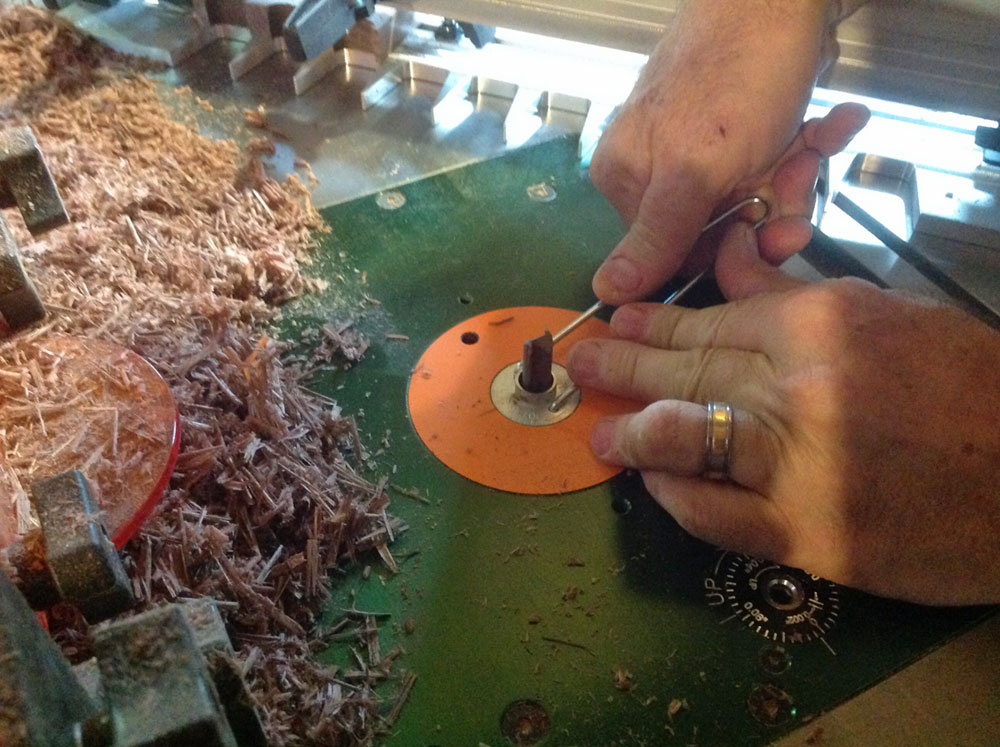
Using the included tool, you can rotate the bushing to change the fit. The bushing is marked to show which way to rotate depending on if you need to loosen or tighten the fit. By making a guide mark on your router table next to the bushing it is easy to see how much you have rotated the bushing. You should use a test board to do the initial fitting.
I recut my board and am ready to do a final fit.

|
|
Looks like a nice tight fit to me!!

|
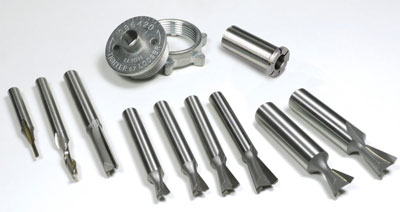
Leigh offers an accessory kit for the RTJ400 dovetail jig to broaden the size and shapes of dovetails and box joints that you can cut. To make full use of the jig in the variety of board sizes that you are likely to want to use, I would highly recommend that you purchase the accessory kit. The accessory kit includes:
-
1/4" 8° Dovetail Bit 8mm shank for through dovetails
-
5/16" 8° Dovetail Bit 8mm shank for through dovetails
-
3/8" 8° Dovetail Bit 8mm shank for through dovetails
-
7/16" 8° Dovetail Bit 8mm shank for through dovetails
-
1/2" 12° Dovetail Bit 1/2" shank for half-blind dovetails
-
1/2" 18° Dovetail Bit 1/2" shank for half-blind dovetails
-
5/16" Straight Bit 8mm shank for through dovetails
-
3/16" HSS Spiral Upcut bit for Box Joints
-
3/32" HSS Straight Bit 1/4" shank
-
e-Bush (e7) for Half Pitch Through Dovetails
-
1/2" to 8mm collet reducer
|
Are there any limitations to the RTJ400 jig?
The biggest limitation is that it uses a fixed finger template. This means that you can only create dovetails that have uniform spacing along the edge of the board. Many jigs by Leigh and other manufacturers use fixed finger templates so this is a well known 'issue' with this type of jig in this price range. I would be surprised if the engineers at Leigh Industries aren't working on movable fingers for this jig right now! This is an excellent dovetailing and box joint system. It is not over-engineered which means it is easy to setup and use on your router table. Finally, it has the well-built ruggedness, fit and finish of a Leigh Industries product.
CLICK HERE to find out more about the
Leigh Router Table Jig
Jeffrey Fleisher has been a woodworker for approximately 20 years and a professional woodworker for the past 6 years. He is the president of his local woodturning club, the Woodturners of the Virginias and past president of the Northern Virginia Carvers. You can see some of the furniture he has made at www.jeffswooddesigns.com. He can be reached by email at furnmkr@gmail.com.
Return to
Wood News
front page