|
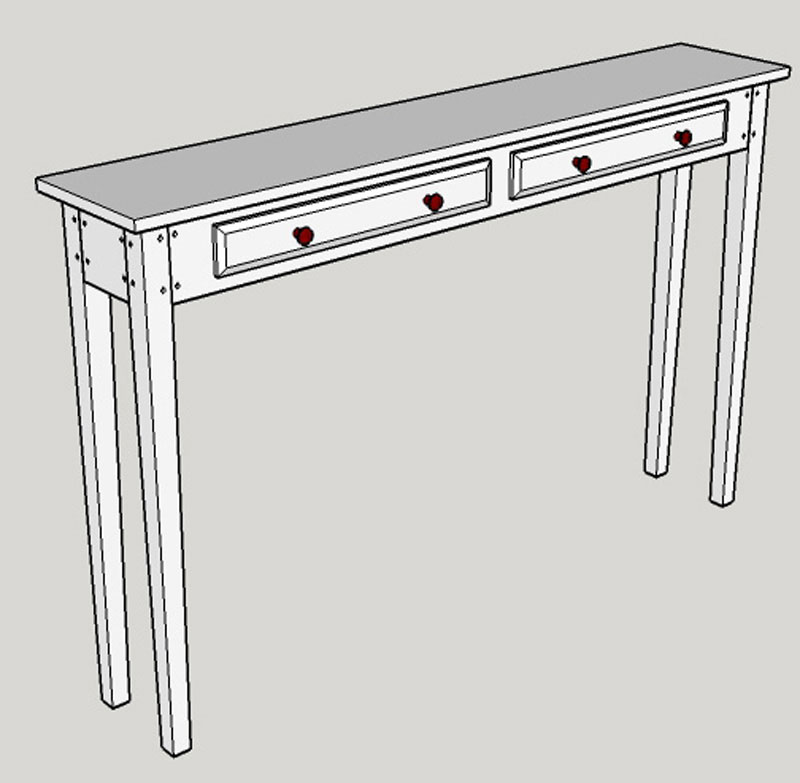
A friend of ours moved into a new apartment locally and, since she has seen some of my woodwork, asked if I would build a narrow hall table for her. Always looking for new challenges, I said sure! We went on a fairly wide search on the internet for narrow tables and came across a Silky Oak and Redgum Hall Table by Australian Woodwork.
The target size agreed to was 12 inches wide, 55 inches long, and 35 inches high. With those dimensions and the picture I proceeded to use SketchUp to design the table and dimension all of the individual pieces. The final design had a 1-inch overhang with legs tapered on two sides and two drawers.
I had just watched the Michael Pekovich video series on building a Single Board Side Table and thought to give it a try.
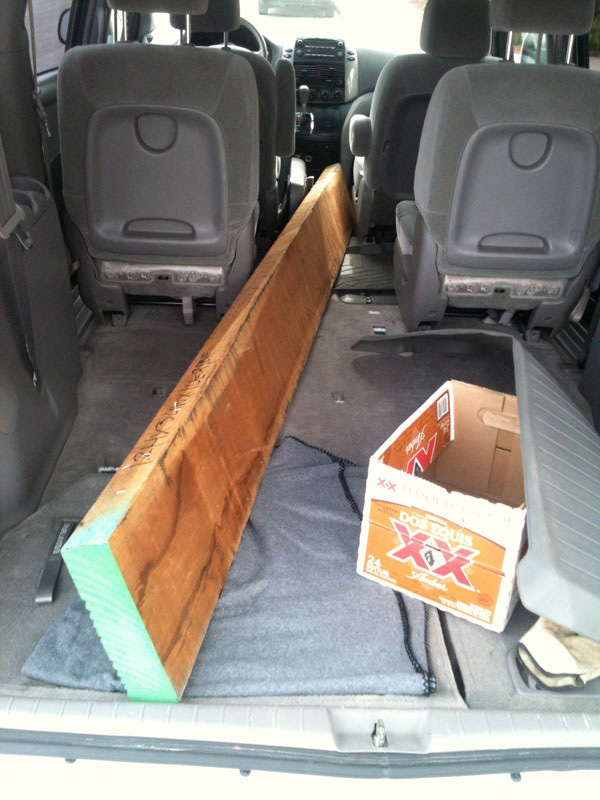
My SketchUp design gave me dimensions for all the pieces and allowed me to figure out the size of the single 'board' that I needed. I almost gave it up! But, not being one to say 'I can't do that.' I searched locally and found that there were cherry single boards of near the size I wanted at Ganahl Lumber in Anaheim, CA.
In fact there were five boards on a rack high up and they were kind enough to fork-lift them down onto sawhorses outside their shed. That made it easy for me to examine them and have my pick. Three of us loaded my choice into my Sienna.
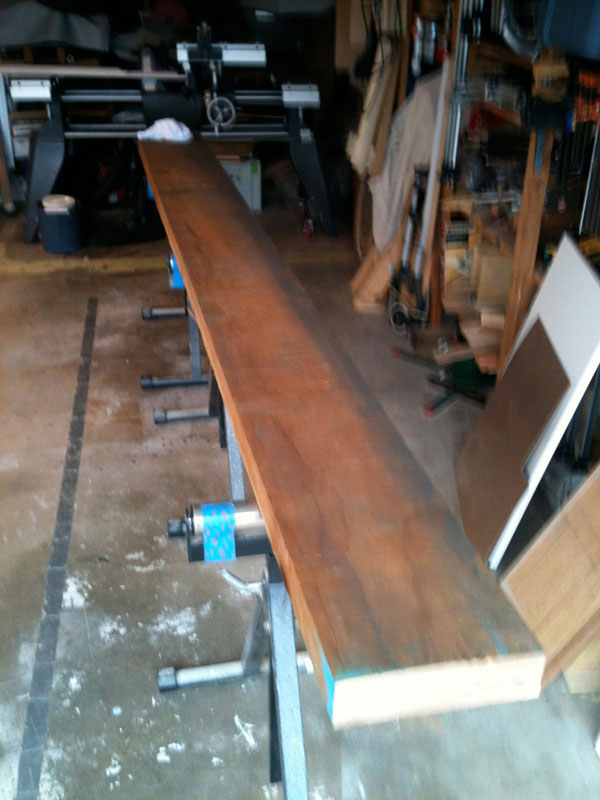
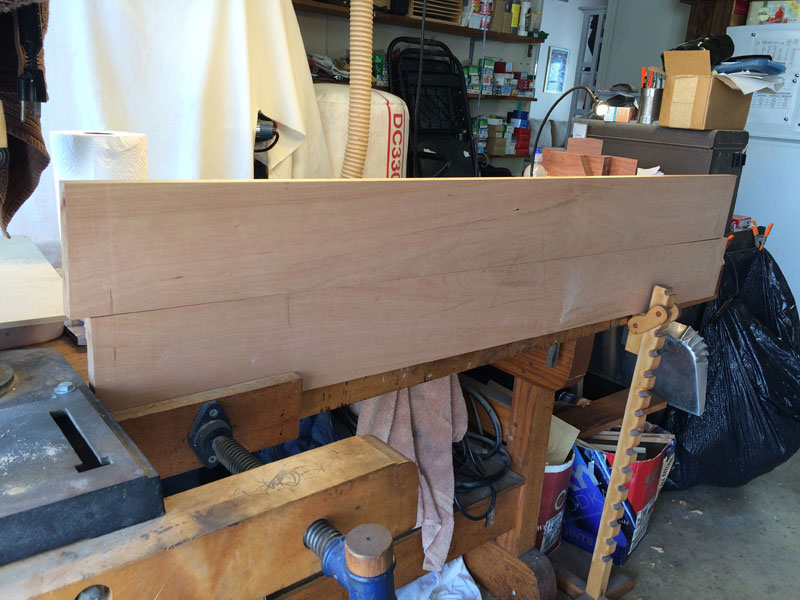
It was 10/4 rough: 12 inches wide, 2-1/2 inches thick, and 10 feet long. Backing up to my 'shop' made it easy for me to get it onto stands.
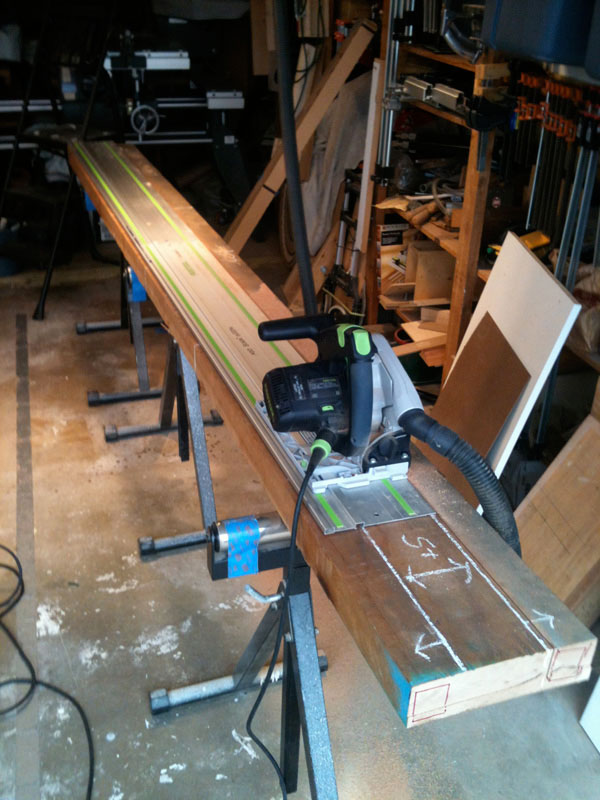
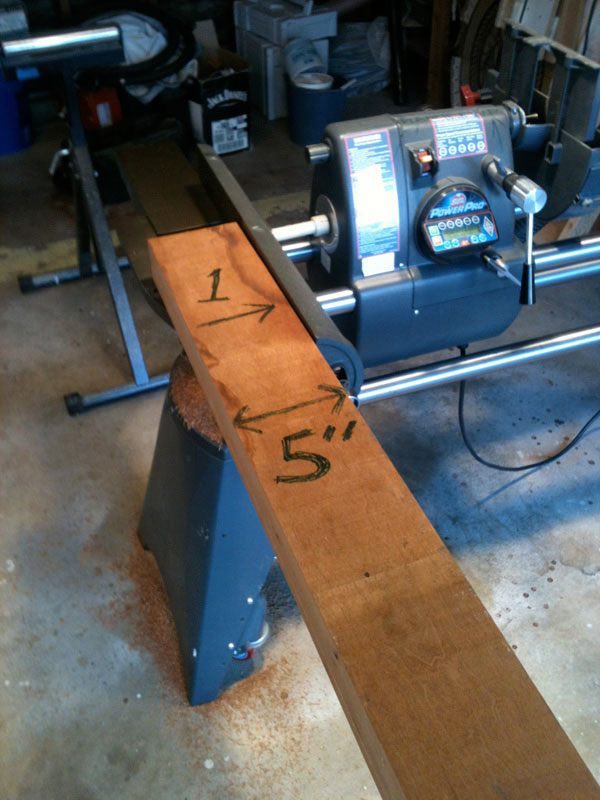
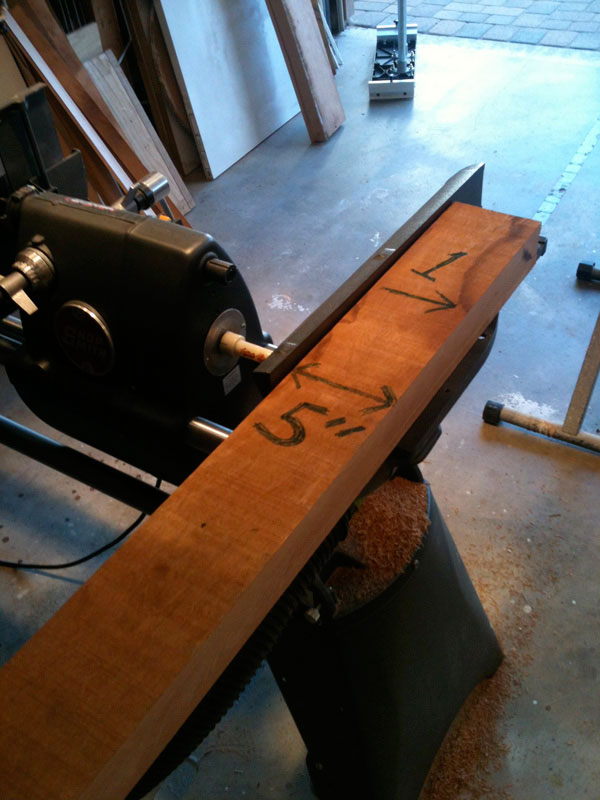
I started laying out the various pieces that were needed and after several revisions in chalk I began to cut it up, beginning with the legs out in the rift-sawn edges.
I had to accurately layout the cut line on both sides of the slab since my circular saw was not able to cut clear through so a two-sided cut was needed. I had considered doing this on my bandsaw but felt that the length and weight would make that too dangerous since I am the only worker in the 'shop.'
In the end, I wound up with four rough legs, rough stock for the aprons and a double-thickness rough top.
Even though the original board had been at Ganahl Lumber for years, and we both are in Southern California, I waited three weeks before I moved on with more milling.
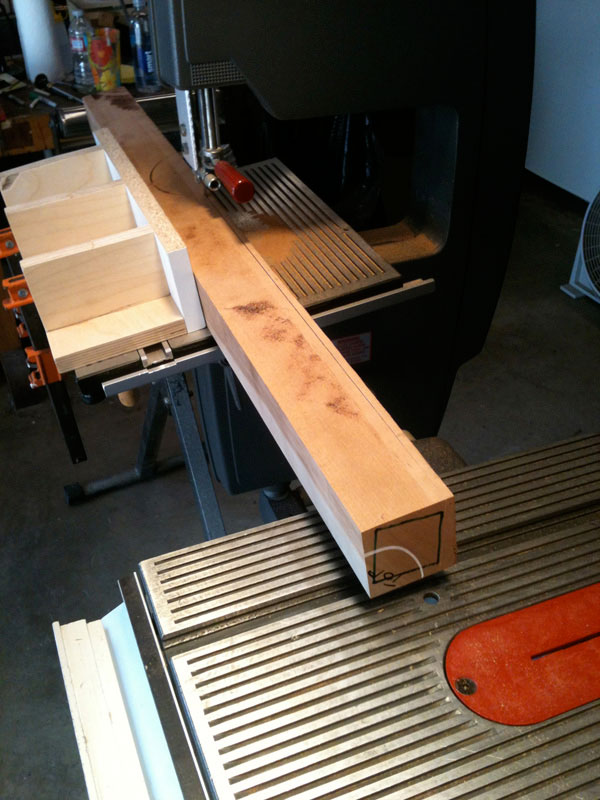
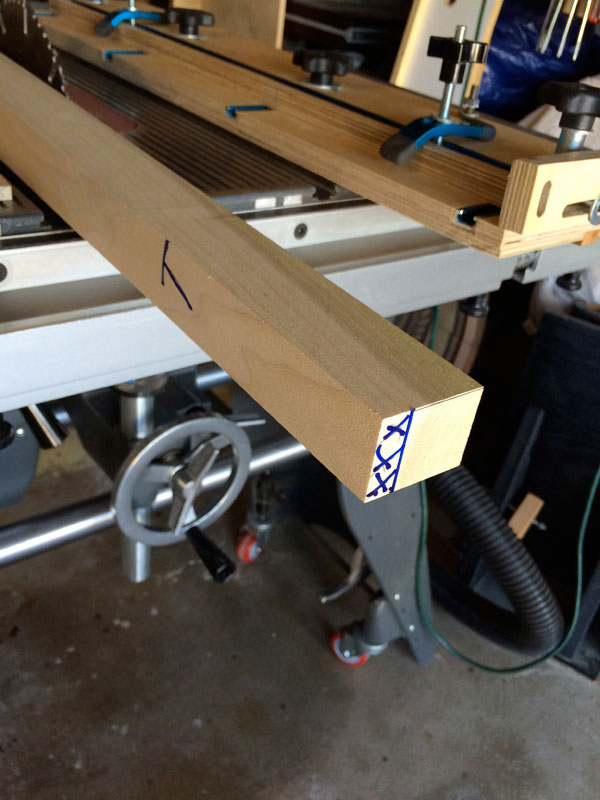
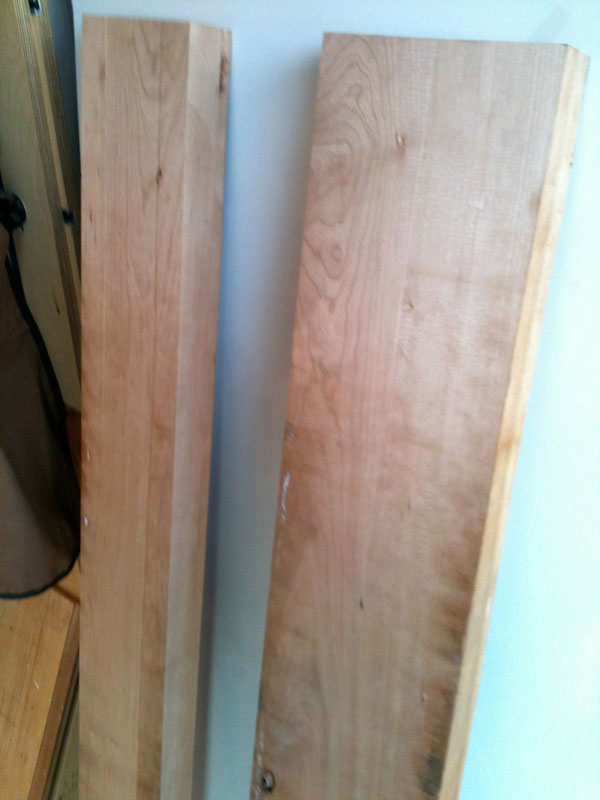
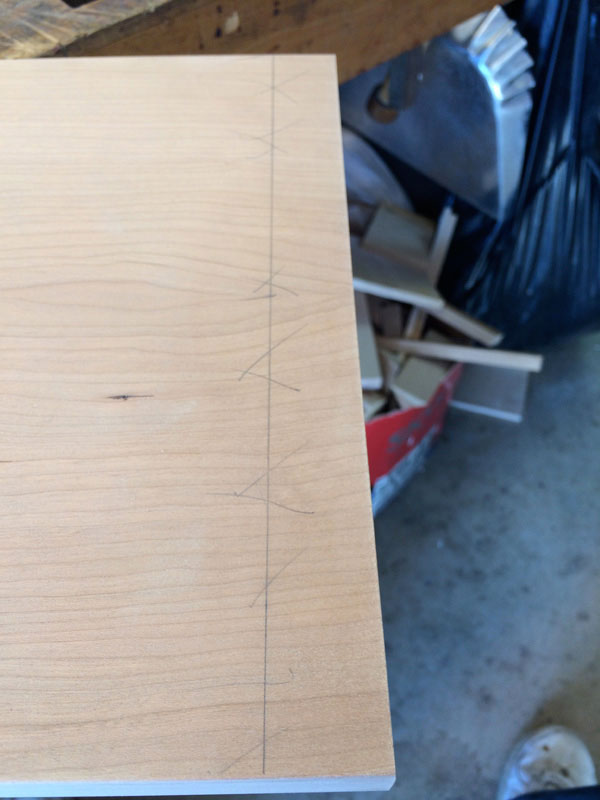
Once roughed out and jointed, the next finer cut on the legs was on the bandsaw. The square drawn on the end was my desired final leg orientation to maintain as straight-down grain as possible. Since there was some sapwood, I wound up with one leg showing a small amount. It is in the back and not very visible.
Once the legs were finished to size and square they were tapered using my tapering jig. This is a completed test cut of a same size piece. I marked which side was to be tapered and to what end dimension to help minimize mistakes.
Jointing the wide boards for the top and aprons was going to be a mean task since my jointer is only 4 inches wide. Fortunately, instead of proceeding with planes to flatten one side (did that years ago when I was much younger!), I found a video of Matthias Wandel demonstrating how to joint boards wider than your jointer. It works like a champ as long as you use the convex side of the board. I know that is contrary to 'normal' jointing, but it allows you to begin flattening the hump instead of two ends so you get there more quickly.
The process
is to joint one part of an edge, turn it around and joint the other edge part:
Do that over and over until you have a large enough 'flat' spot that will stay true through the planer. I used a very thin cut, 1/32 inch, so it required many turns to get there but the ridge left was very small and did not cause a problem in the planer.
Turning the stock so many times was tiring, but not nearly as much as trying to flatten with planes.
The same technique was used on the aprons board.
After running them through the planer with the jointed side down first and then turning them over once the top was flat I finally had jointed and planed boards useable to final mill the aprons and the top.
I took another three-week timeout to see if the moisture content would change, but it continued to stay at a 9% reading throughout.
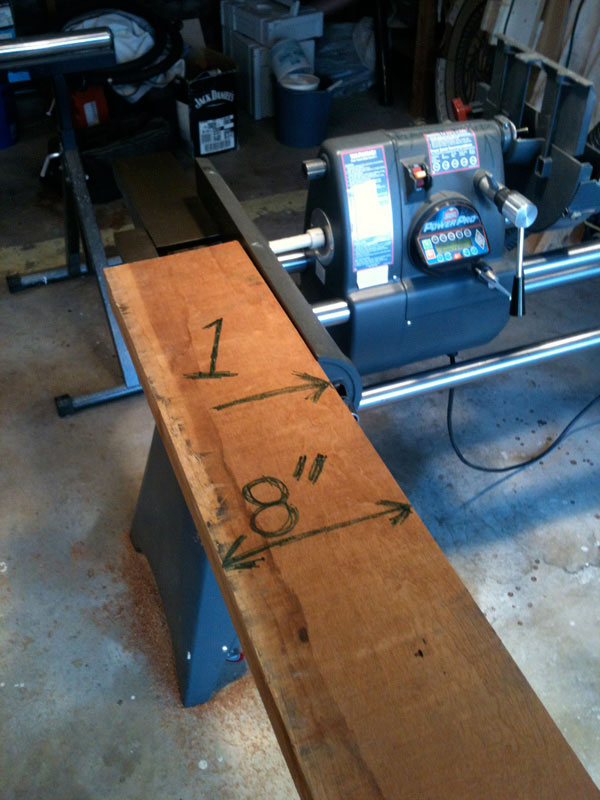
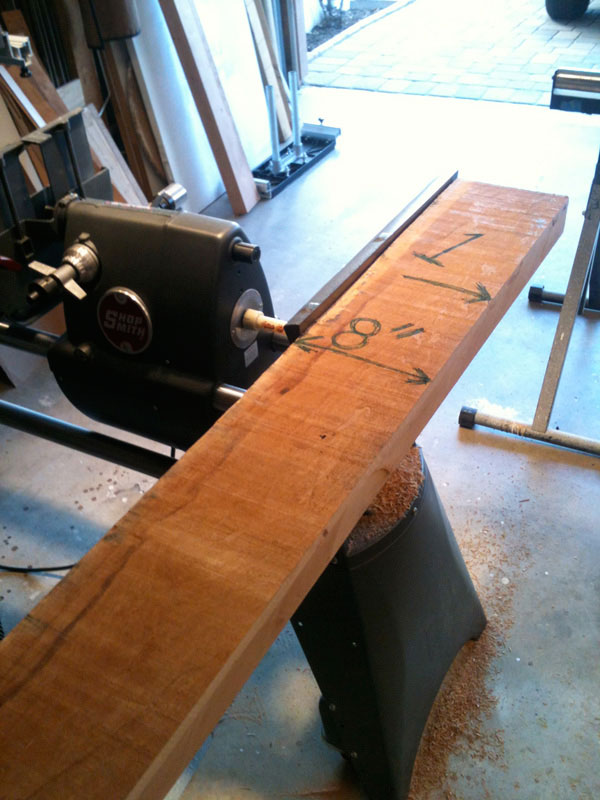
My next task was to bandsaw the piece for the top so that I could make the 12 inch wide top out of two pieces. That meant that I needed a bit over a 6 inch throat on my Shopsmith Bandsaw. That didn't exist. After watching Shopsmith's Nick Engler modify his to get a small increase in throat height I took his technique a little further and got a throat height that allowed me to re-saw a 6-1/4 inch wide board. So I cut the best part of my wide double-thick top piece to that width, jointed the edge and cut it in half.
At the request of some Shopsmith Forum members I
posted a video of this re-sawing
.
I used the two outside surfaces that had been flattened to run through my planer to final thickness since fortunately they stayed flat after the re-sawing. The time waited between milling seems to have worked for me.
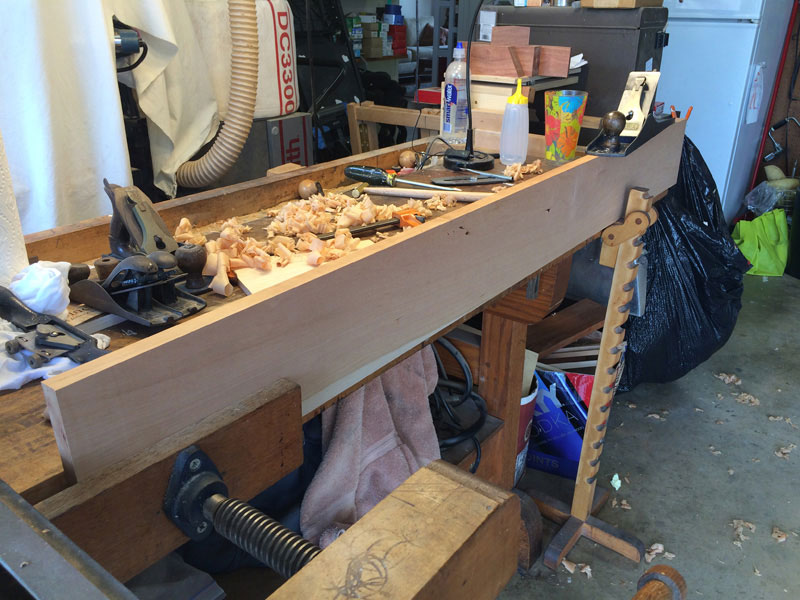
I was not comfortable using my jointer on such a long piece to prepare the edges for gluing so I resurrected my hand-plane skills to get an edge glue with a minimal line. I was going to have a book-matched, cathedral top which is notorious for showing the glue line. Not shown are the many practice tries before the two boards came into agreement.
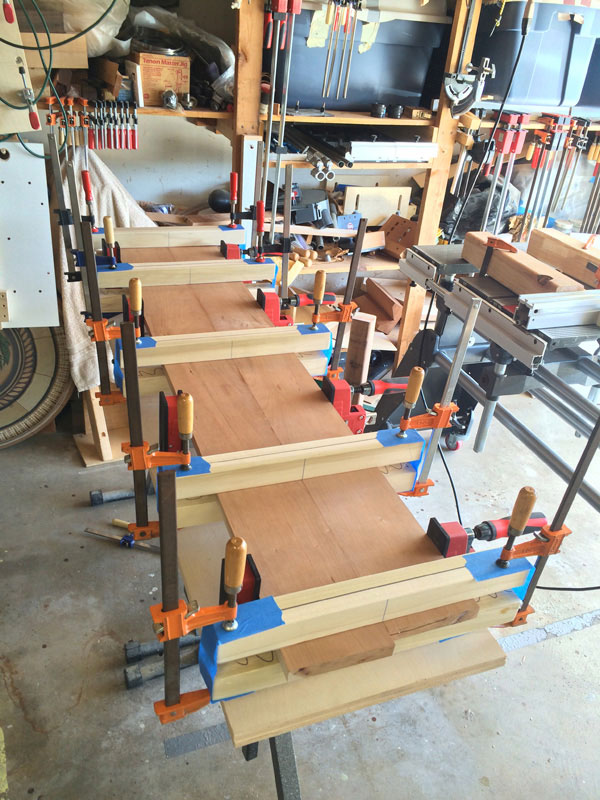
To better control the top pieces during glue-up I made ten cambered cauls out of poplar using the
Fine Woodworking technique
. I used packing tape instead of wax to protect them from glue squeeze-out.
Then it was on to glue-up the top.
I now had the task of joining the aprons and legs. The traditional best joint would be mortises on the legs and tenons on the aprons. That would be easy on the short end aprons of only 6 inches or so, but I was not at all confident in my ability to make accurate tenons on the ends of the 52-inch front and rear aprons.
I decided to use slip tenons. That required making mortises in the ends of those 52-inch aprons – my 'shop' isn't tall enough!
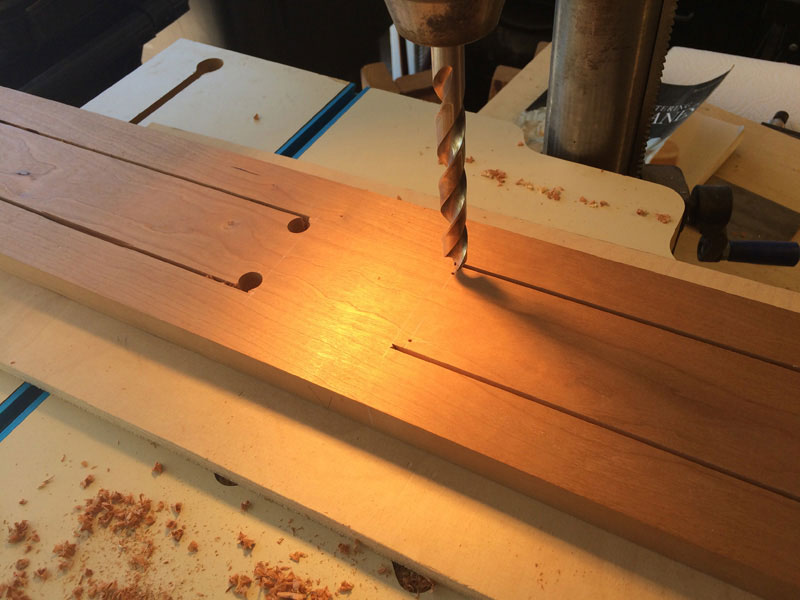
So I set up my Shopsmith to do horizontal chisel mortising. It turned out to be a poor decision because no matter what modifications I made to stiffen my Shopsmith, the mortises were somewhat ragged. The pressure required to drive in the chisel is terrific and more than the Shopsmith could resist without slight movement. That resulted in my having to use a long open-time epoxy to do some much-needed gap filling.
Lesson learned: For future long tables I will definitely use my Shopsmith in the horizontal boring mode with a router bit instead of a drill bit. It requires another fixture to allow me to move the wood safely through the router bit, but I enjoy designing fixtures more than I do chiseling off the peaks left over from a drill bit.
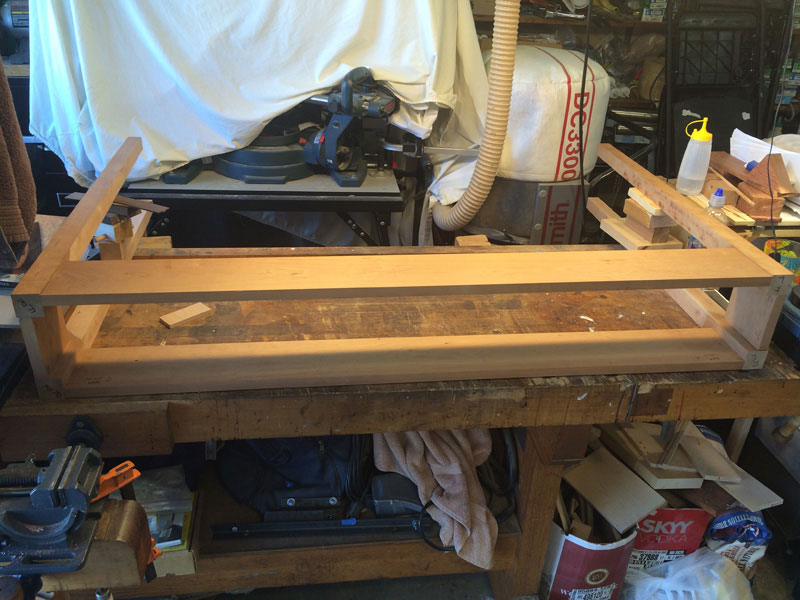
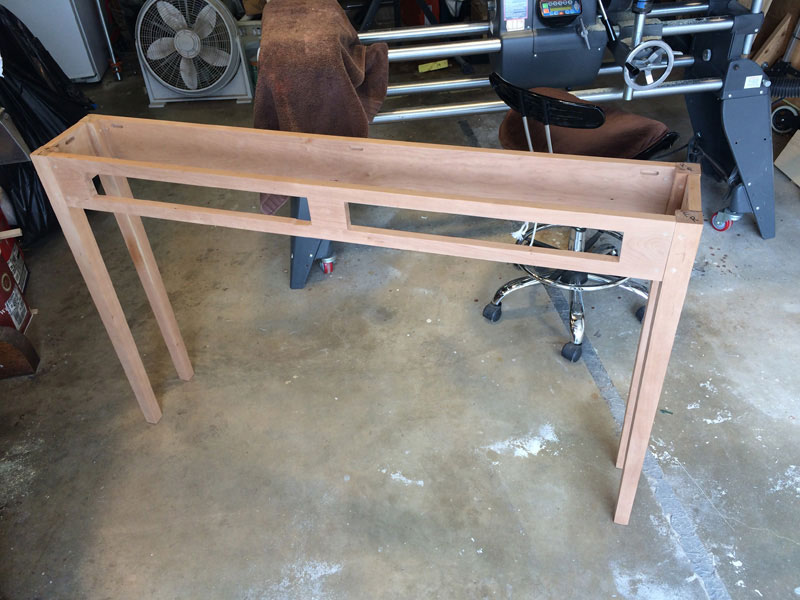
I could now do a dry fit of my table.
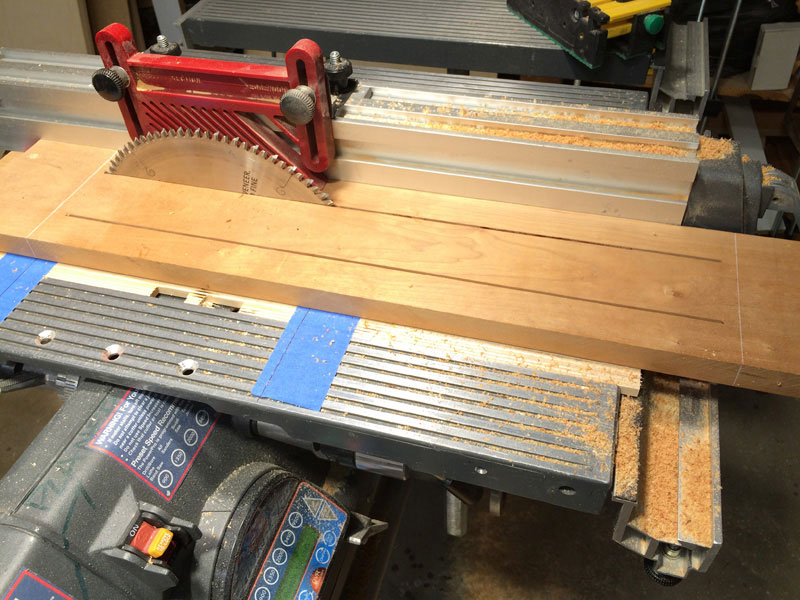
The front apron required two openings for the drawers.
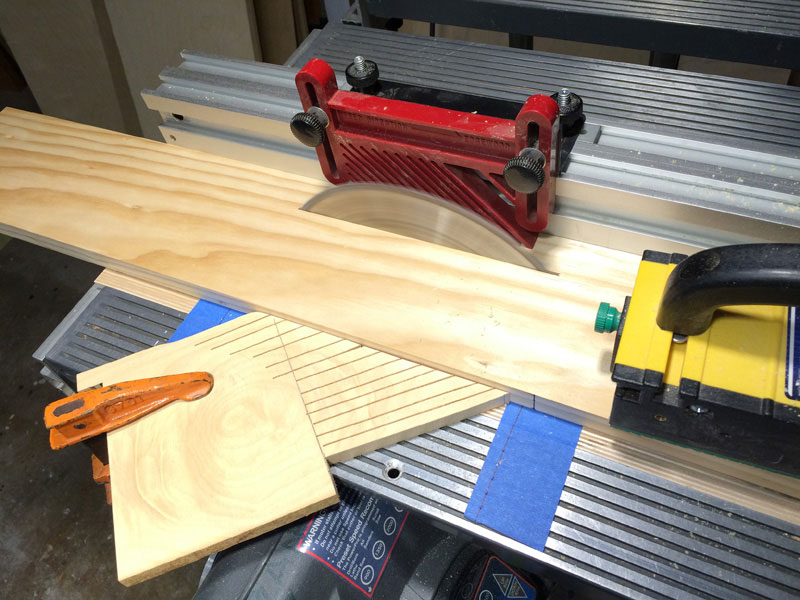
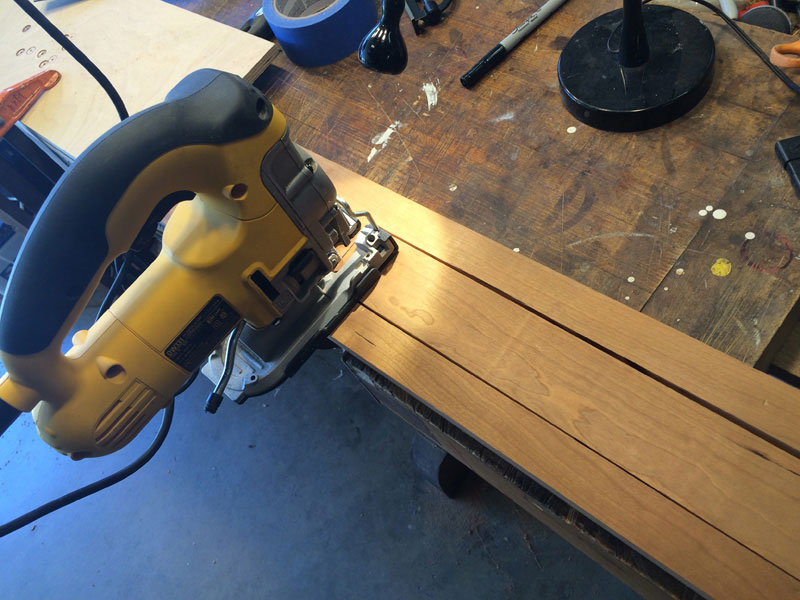
I thought to rough cut the openings and use a router template to finish the openings, but I found another video on the web about cutting the long opening on the table saw by raising the blade up though the wood and running it between markers. So I milled some pine for practice and used a jigsaw to cut the sides.
Seemed to work fine so I went to my real front apron. I do believe that in the future I will rough cut the opening with a jig saw and rout the final surfaces following a template for a smoother surface all around.
Not shown, but I used my plunge router and a template to rout the slots on the insides of the rear and two side aprons that would accept the hold-downs that secured the top to the base, yet allow seasonal wood movement. The front apron will be fixed to the top to allow the top to move away from the front so that its overhang remains constant.
Time now to prepare the surfaces before glue-up to make finishing easier.
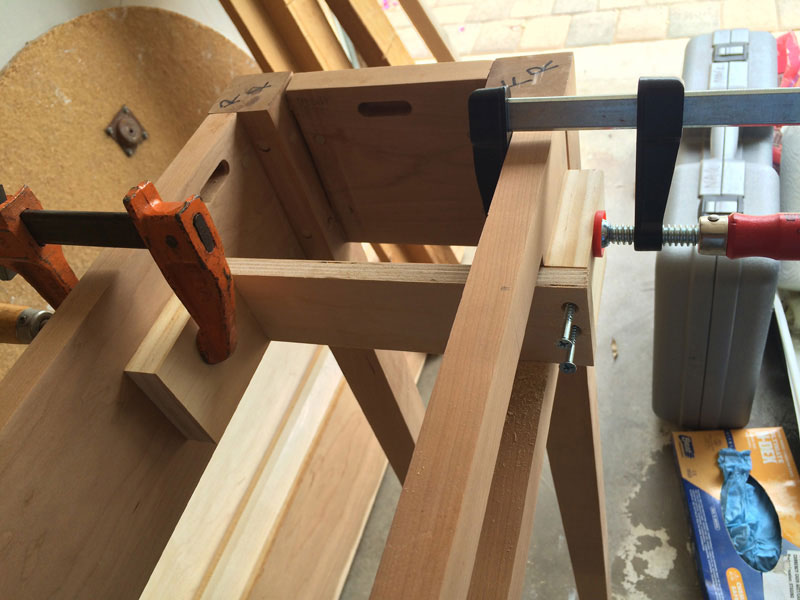
Using a long open-time epoxy I glued the front and rear aprons to the legs first. After an over-night set, the end aprons were glued on to give me a completed base.
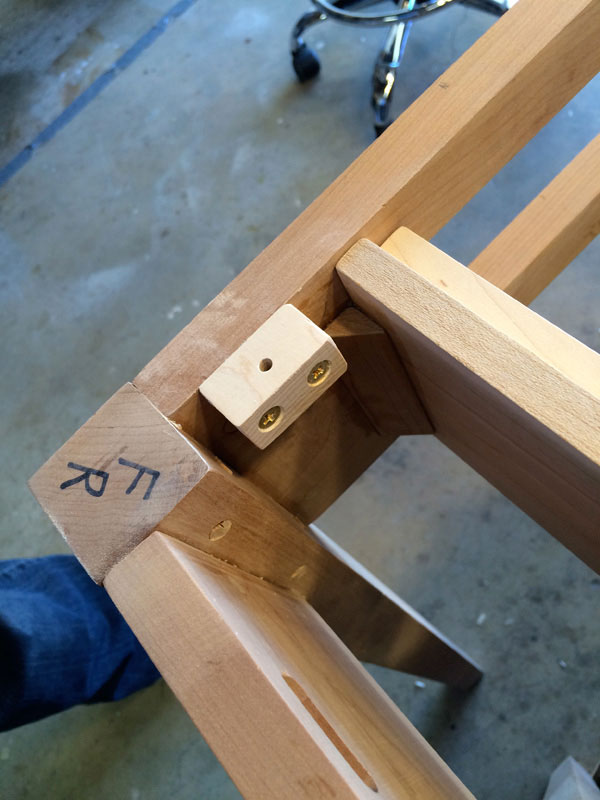
I decided to use full-width drawer guides held in with glue blocks because they would provide additional rigidity to the long, narrow table. I made fixtures to be sure the guides were installed at 90 degrees and flush to the opening. I believe this simplified assembling the base rather than having to accurately locate the mortises on the front and rear apron to secure the four drawer guides exactly where they needed to be at the drawer openings.
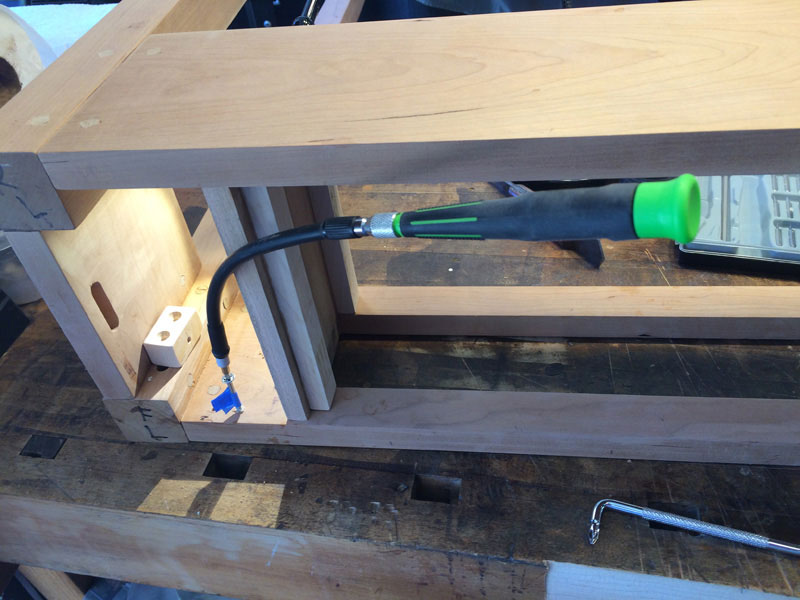
It would have been easier to install the fixed hold-downs for the top on the front apron before glue-up but it is just another one of the mistakes from which you learn. Fortunately, it was not a disaster since I still had room to mark the screw locations and cut the threads with a steel screw before installing with brass screws.
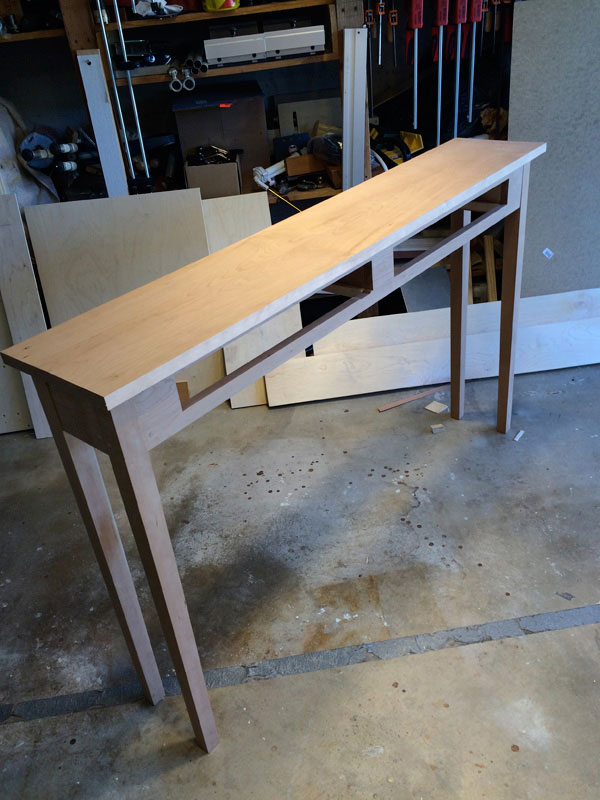
I then fitted the top and cut it to final size.
Time now to move on to the drawers, which will be the start to Part 2 of this Hall Table project build to be continued in the June 2016 issue of Wood News Online.
You can email Forrest at
forrest.bonner@verizon.net
.
Return to
Wood News
front page
|