|
One of my neighbor's is involved with a few local Orange County community groups including the Landmark Senior Community-Mat-Makers, with the American Legion Auxiliary Unit 291, and with the Elk's Club "Cinderella's."
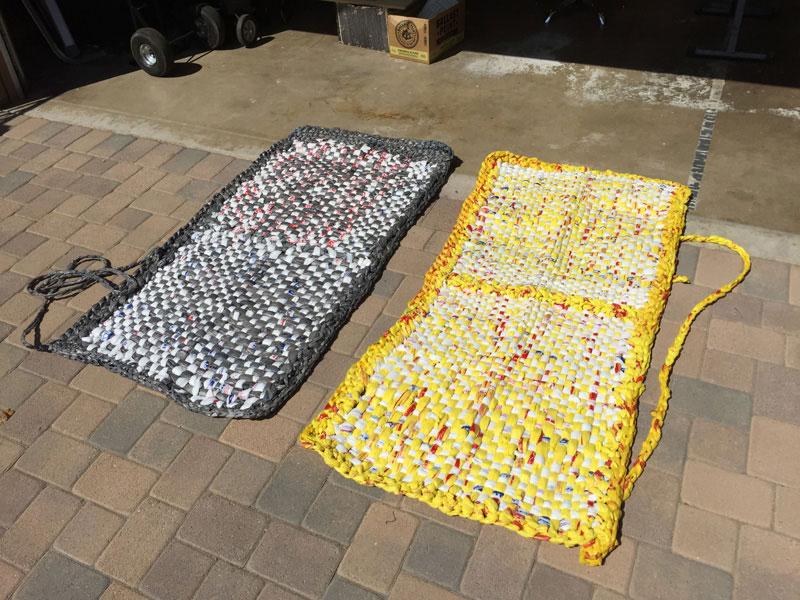
These folks are making "Mats" for our homeless military veterans to use as better protection for their sleeping bags and, as of late August 2016, have made about 150 Mats for distribution at an upcoming Stand Down. These Mats are being put together by folks from 8 years of age to 90 years of age. Below are two sample woven Mats:
The Mats are made of recycled plastic bags (plastic yarn known as PLARN) which does not absorb water, so they dry more quickly, and the used plastic bags don't end up in the landfill. The Mats in the above picture were woven on a loom. Two equal sized small mats are combined into the 6-foot size shown above.
A video of the making of PLARN and making the Mats using a knitting technique instead of weaving on a loom can be
viewed here
.
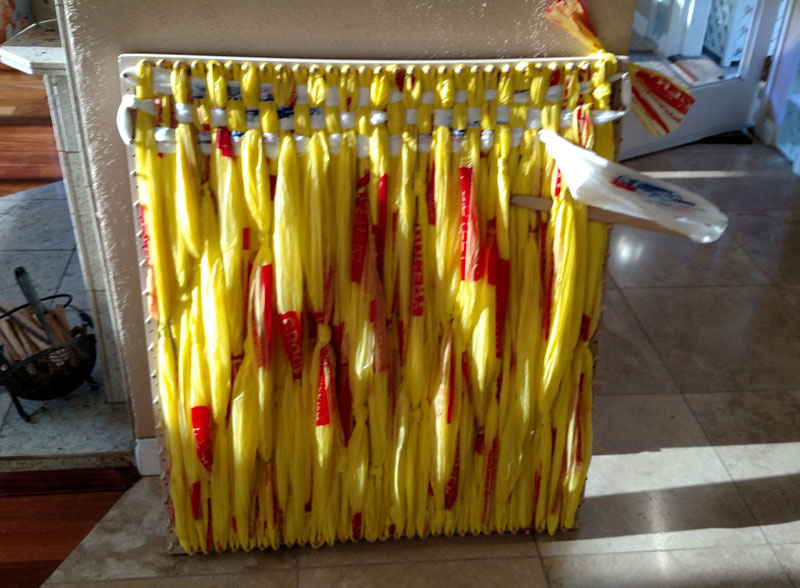
Below is a picture of a partially woven Mat still on the loom. After the 2 pieces are connected, the outer edges are crocheted and a shoulder sling is added to simplify carrying a rolled-up Mat when traveling.
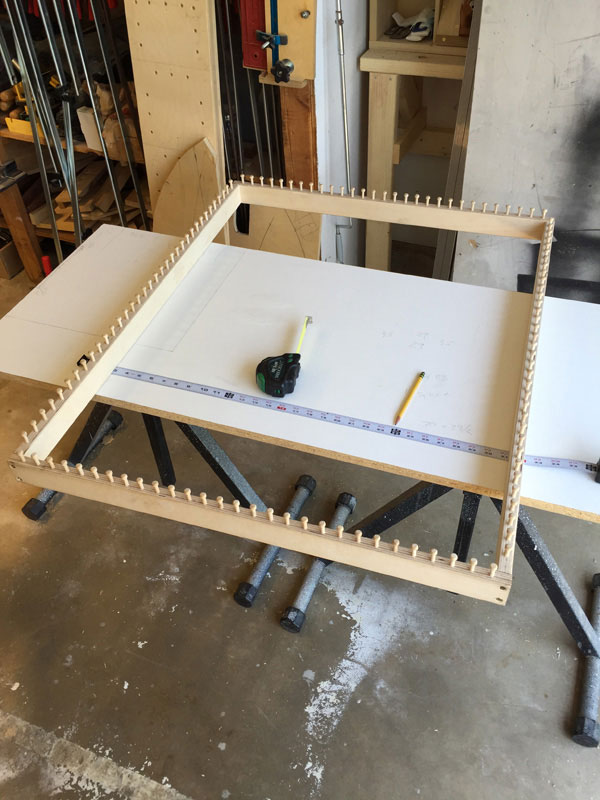
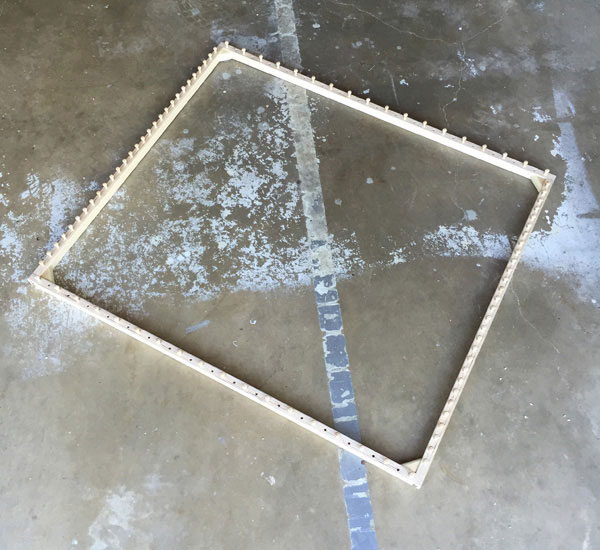
My neighbor uses looms to make the Mats and has been getting local scout units to help with this worthwhile effort. The problem is that she only had one borrowed loom which really slowed down production. She asked if I could make some wooden looms for her and brought over her borrowed loom as a model:
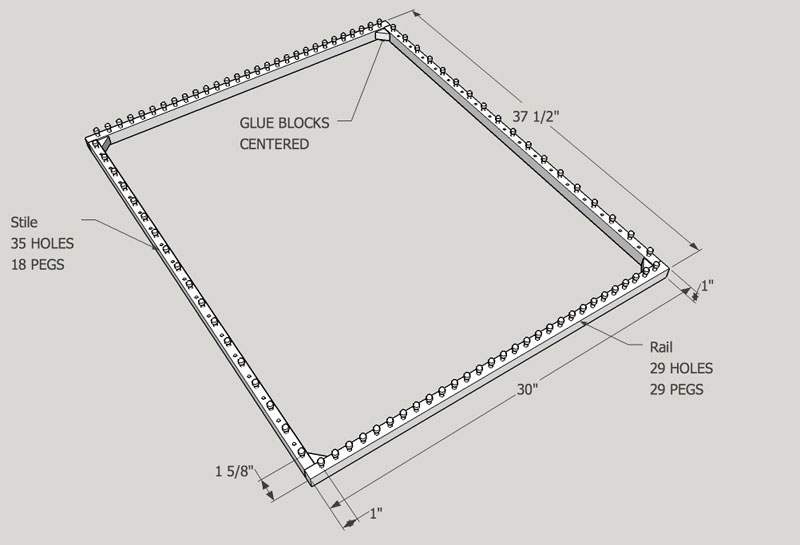
The borrowed loom was constructed using 3/4 inch Baltic Birch plywood and toy wheel axle wooden pegs. I took measurements from it and used SketchUp Make 2016 to detail all of the parts. It came out looking like this:
For the Stiles she requested pegs in every hole for her Mats, but we decided to drill all 35 holes in case other uses for the looms came about. All 29 pegs were to be installed in the rails.
It turns out my local woodworking store sells 3/4 inch BB plywood in a 30 inch x 48 inch sheet. From that material up to six looms could be made. My neighbor was ecstatic to be able to have that many looms! Getting the go-ahead, I purchased one sheet of the plywood, and her husband found and ordered the wooden pegs online.
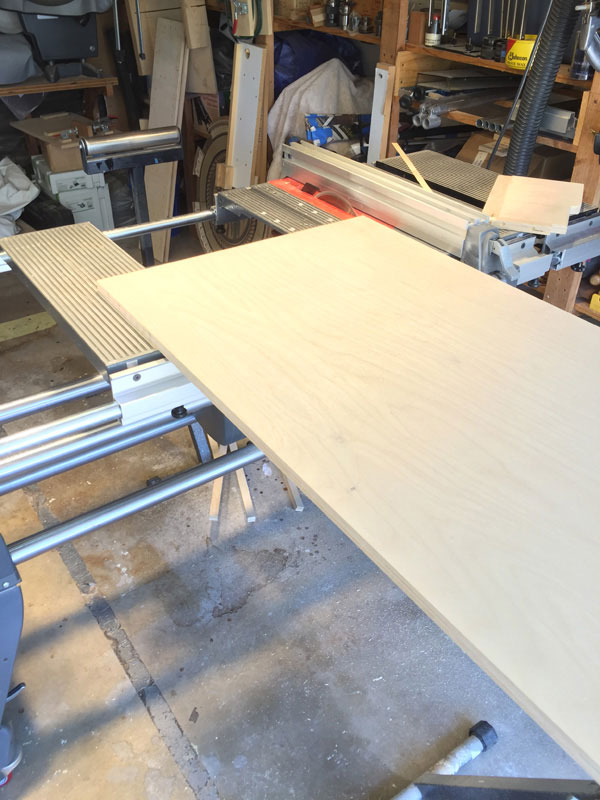
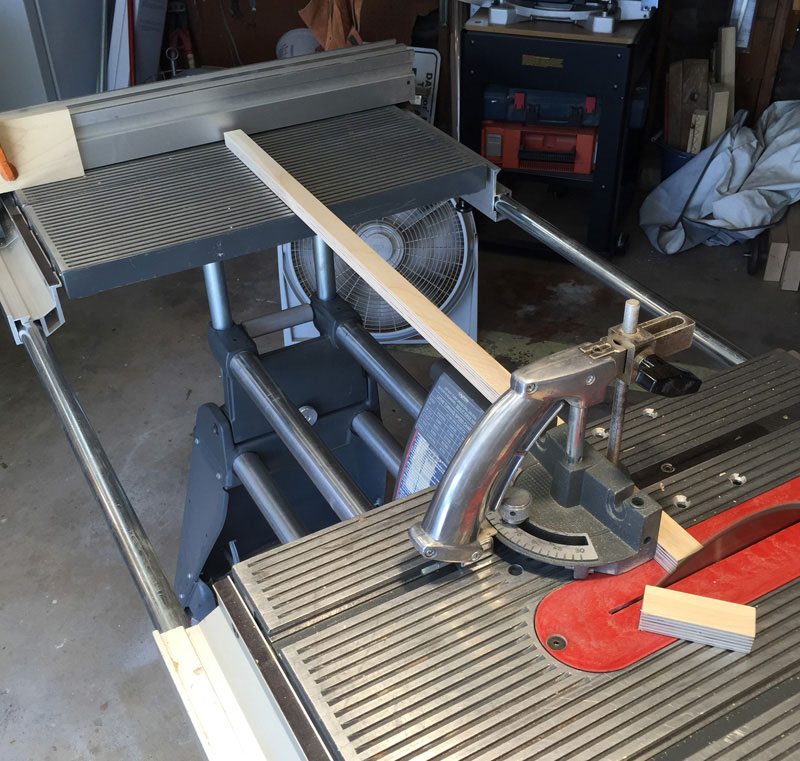
The next step was to go to the shop to rip the plywood into 1 inch strips for the rails and stiles.
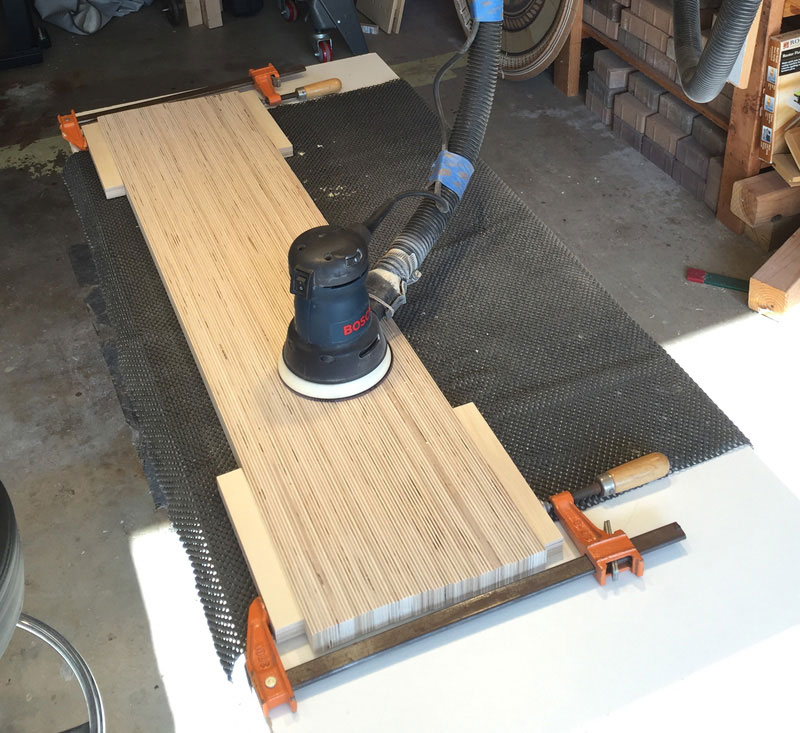
The strips were ganged together and I sanded all four surfaces from P80 up to P220. The sharp edges were then eased over using P150 paper.
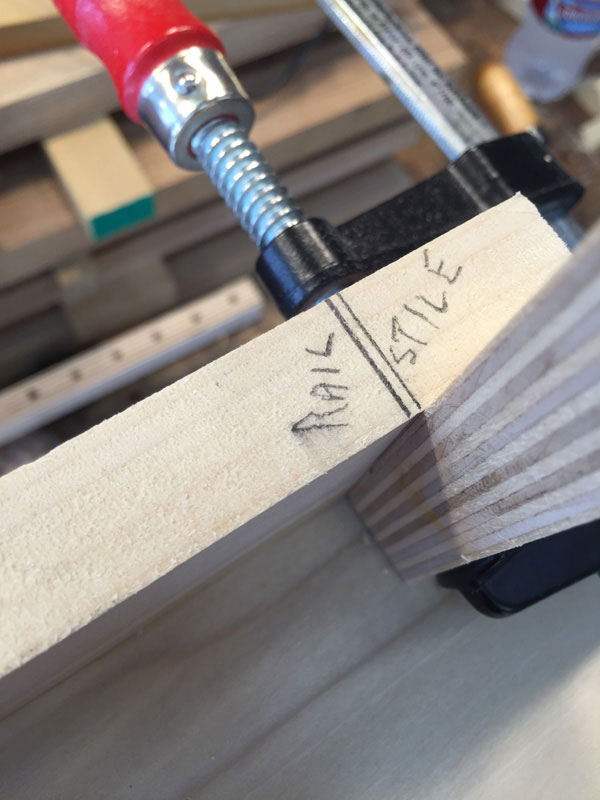
I decided to square one end of each strip and then cut them all to the same length. The only differentiation as to a rail or a stile would be the number of drilled holes and its starting position on my drill fixture.
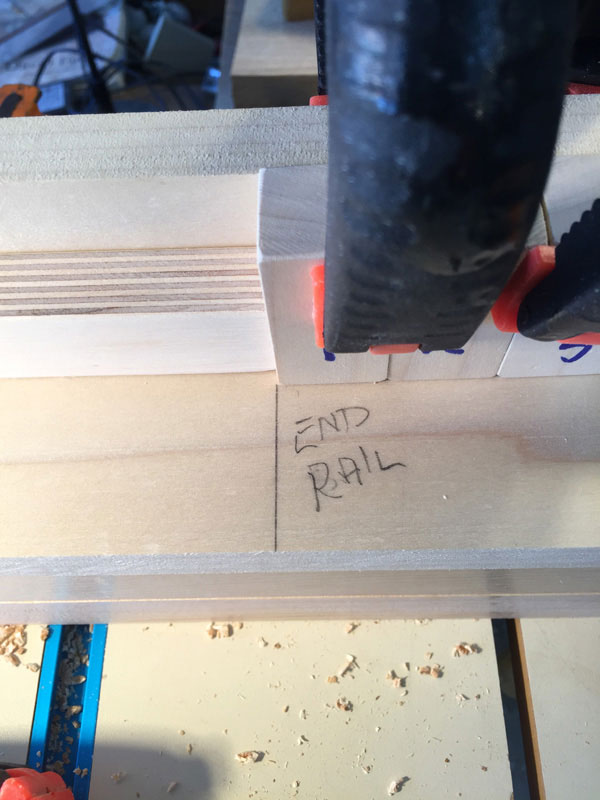
I had also marked on the fence where the 29th and 35th holes would be drilled so that I did not have to count holes. This chore was very tedious!
They would later be cut to final length. This picture shows the stiles cut to length but the rails at full uncut length after all drilling was complete.
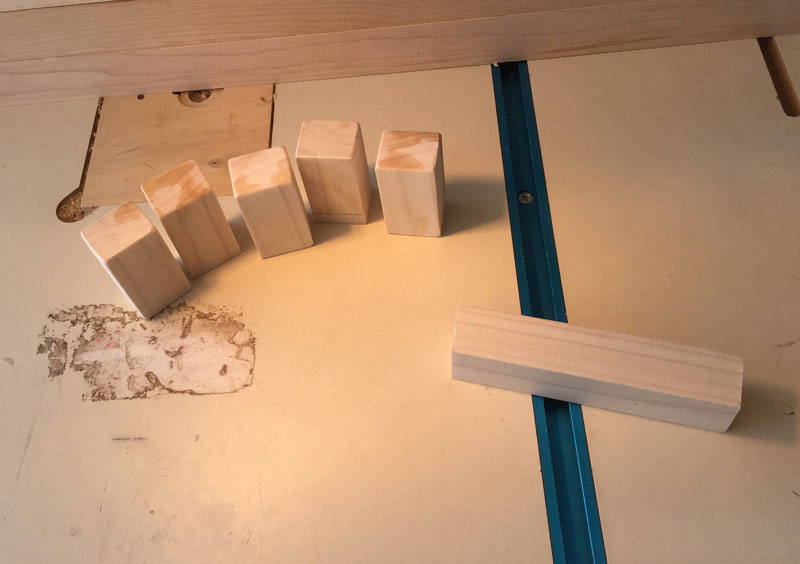
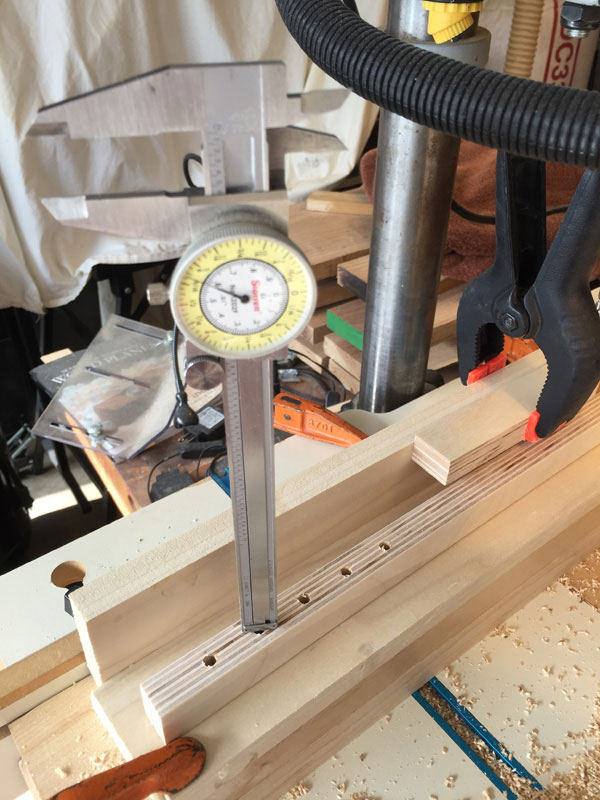
In order to meet the length requirements, each drilled hole had to be separated by as close to 1 inch as possible. Rather than try to mark up to 35 drill positions on a fence or – heaven forbid! – on each strip I decided to use spacer blocks.
I sized a piece of hardwood 3/4 inch deep by a little over 1 inch wide and cut off five 2 inch long spacer blocks.
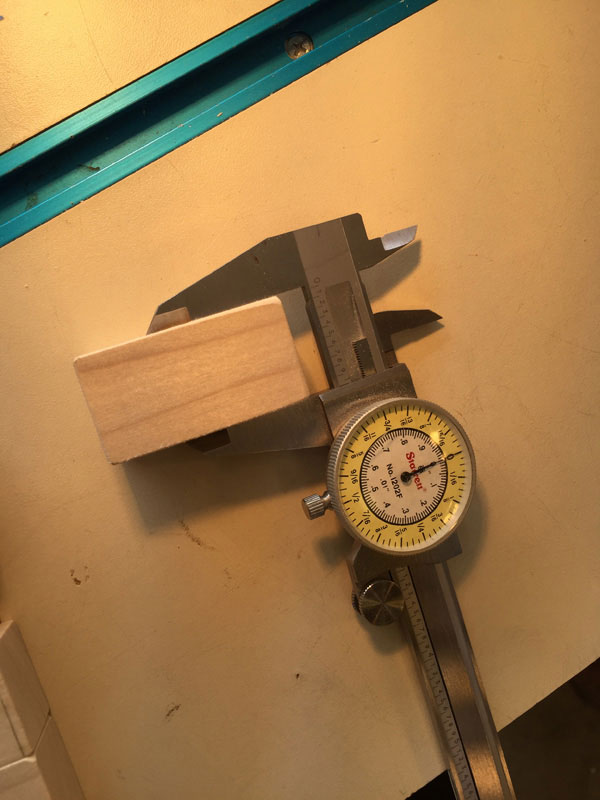
By sanding one side of each block I worked down to less than 1/128 inch over the required 1 inch. Each block was checked individually as well as multiple blocks stacked together since the drilling operation would require more than one spacer be used at a time. I learned the sanding technique by watching a David Finck video on making wood planes assured that the side sanded remained flat, not rounded over.
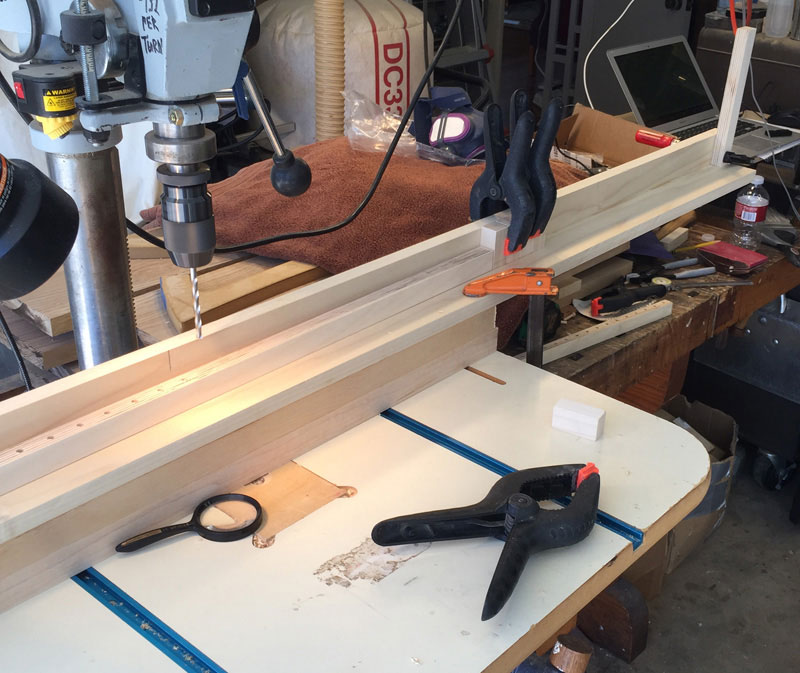
My drill press fence would not support a piece 40 inches long, so I jointed and flattened a piece of hardwood, ripped it into two pieces, and glued them together in a 90 degree L. That was mounted on my drill press with a 7/32 drill bit whose depth was set for a 9/16 inch deep hole in the rails and stiles. Because of the long length of the fence, I had to clamp the base table to the press metal plate to prevent any unwanted movement. And, yes, that did happen during practice drilling.
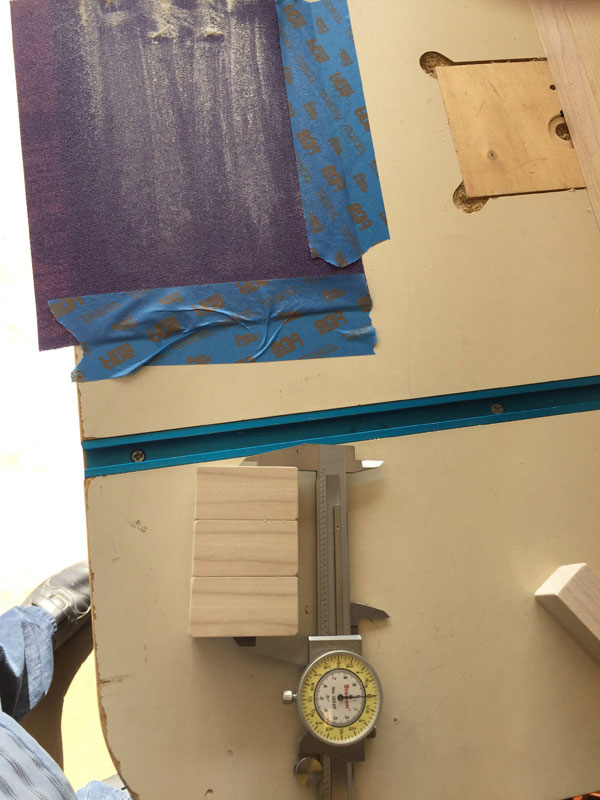
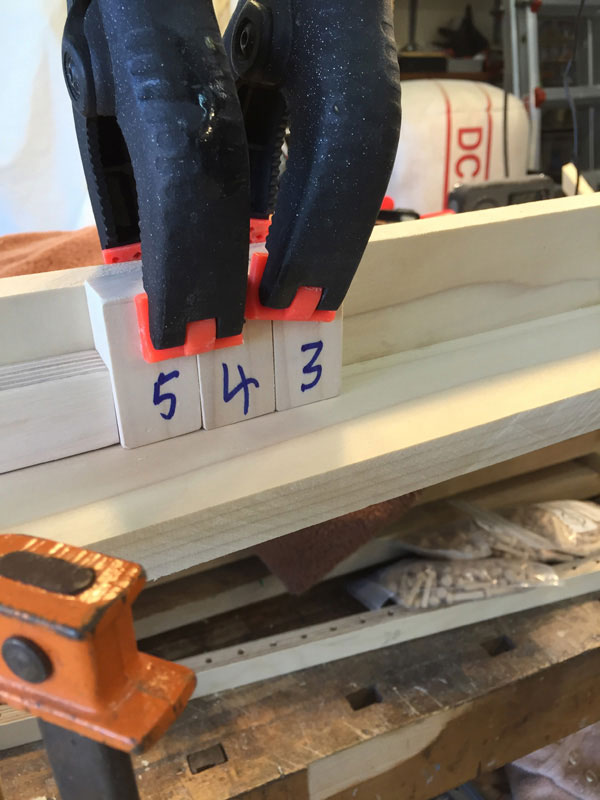
By having multiple spacer blocks I could clamp three of them to my fence, position the strip against them and drill the hole.
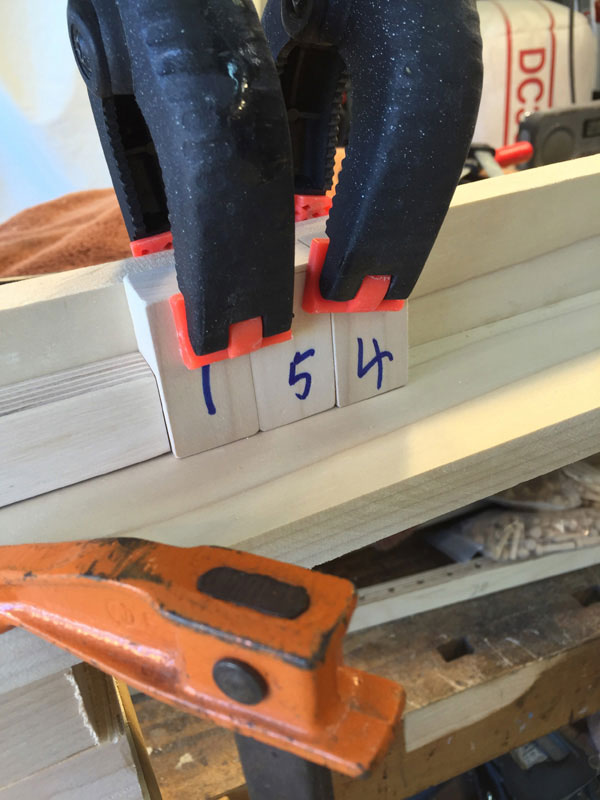
To locate the next hole, I released the right-hand clamp, added another spacer block in front, and moved the released clamp to hold down the new spacer block and the one next to it.
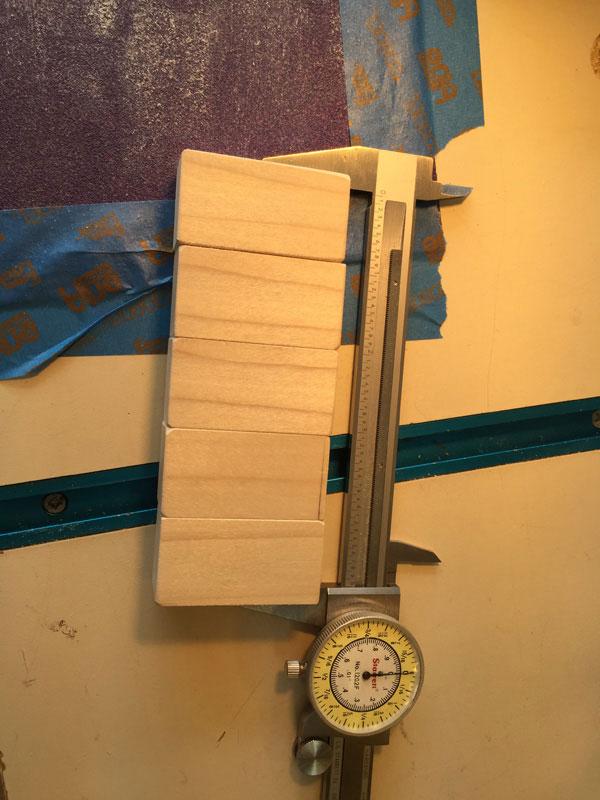
That sequence was repeated many times and my hole distances were so close to the required 1 inch that I could not measure any deviation in the final assembly.
I numbered the spacer blocks only for illustration purposes but, being somewhat OCD, I really did follow those sequences.
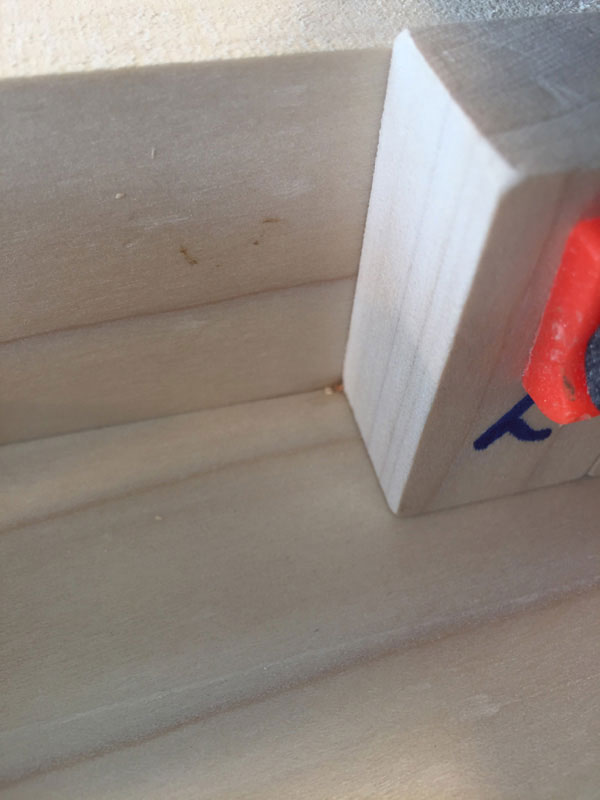
It also allowed me to maintain an exact position to clear out any debris that might have affected the drilling distance. I realized that this is a miniscule amount of debris, but blowing on it did not remove it so as I mechanically removed it I wasn't too worried about losing drilling position.
Sporadically, I verified the depth of the holes.
The piece of wood clamped to the fence gave me a visual check before drilling that the keyless-chuck had not loosened to possibly allow a too-deep hole. I had bottomed the bit before tightening the chuck to minimize that risk, but even though it is a quality chuck it has been known to drop the bit.
After all 768 holes had been drilled, I cut the pieces to length.
I planned to use two screws to attach rails-to-stiles but since this was plywood I also added glue blocks in each corner to provide additional support over the long haul.
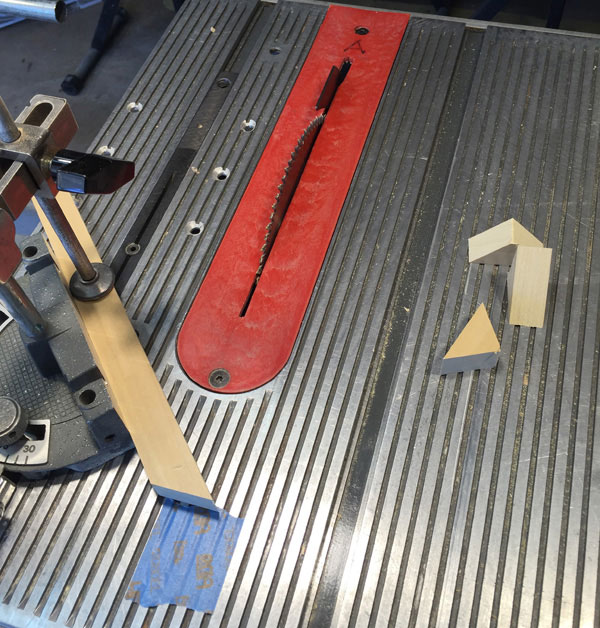
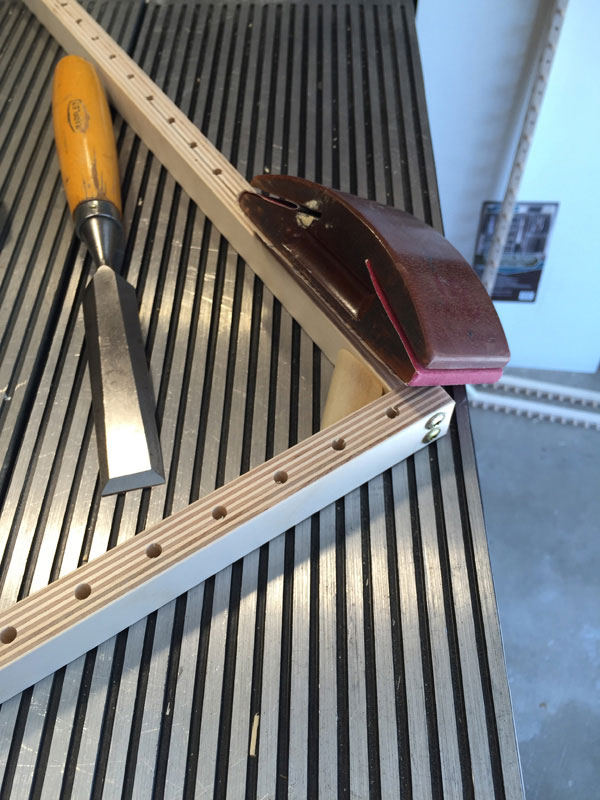
I used an available scrap of hardwood that was an appropriate thickness, set my miter gauge at 45 degrees using Richard Pattee's Miter Set, and cut several blocks. The blue tape gave me a starting point to assure a consistent size very quickly.
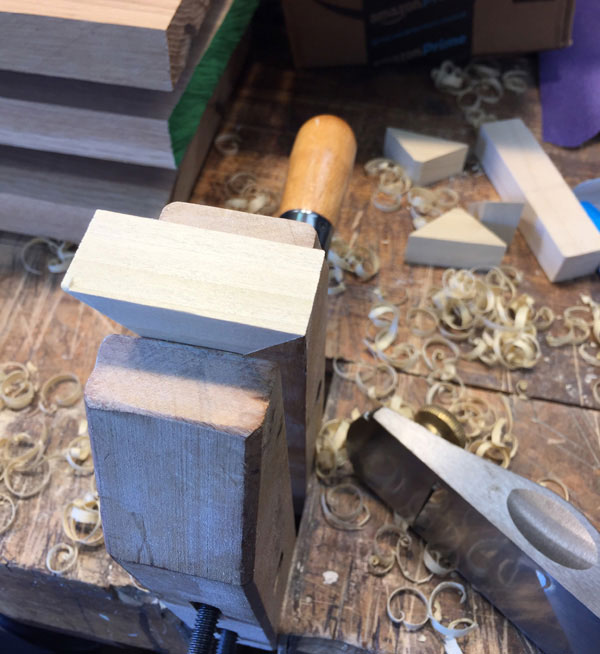
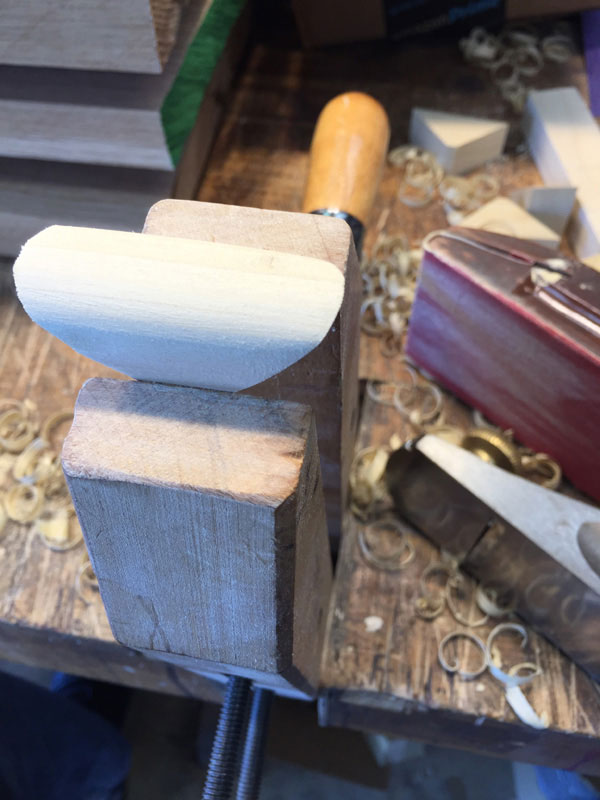
To prevent a sharp edge from dinging a user's leg if the loom slipped off a table, I rounded them over using a block plane followed by P80 and P150 sandpaper.
Now for assembly!
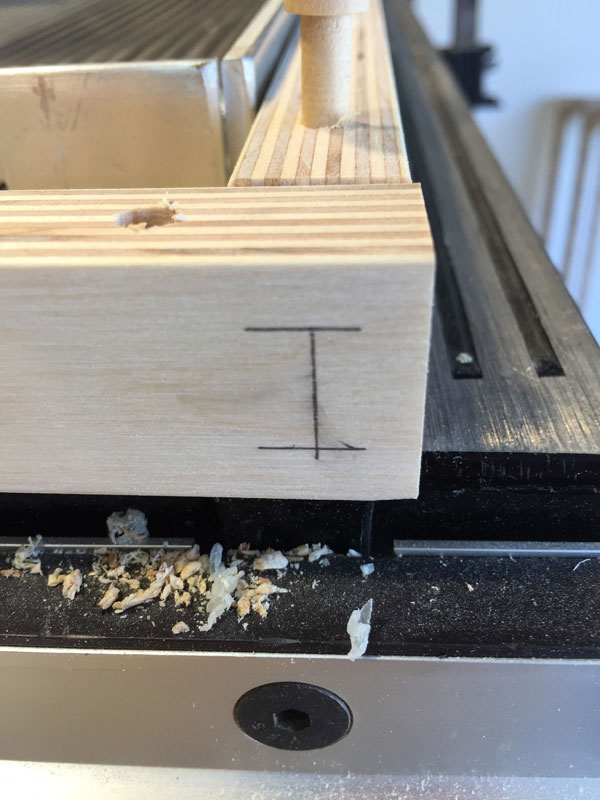
Each rail was marked for the screw locations to be sure that the screw heads did not overlap and that they did not go beyond the edge of the rail.
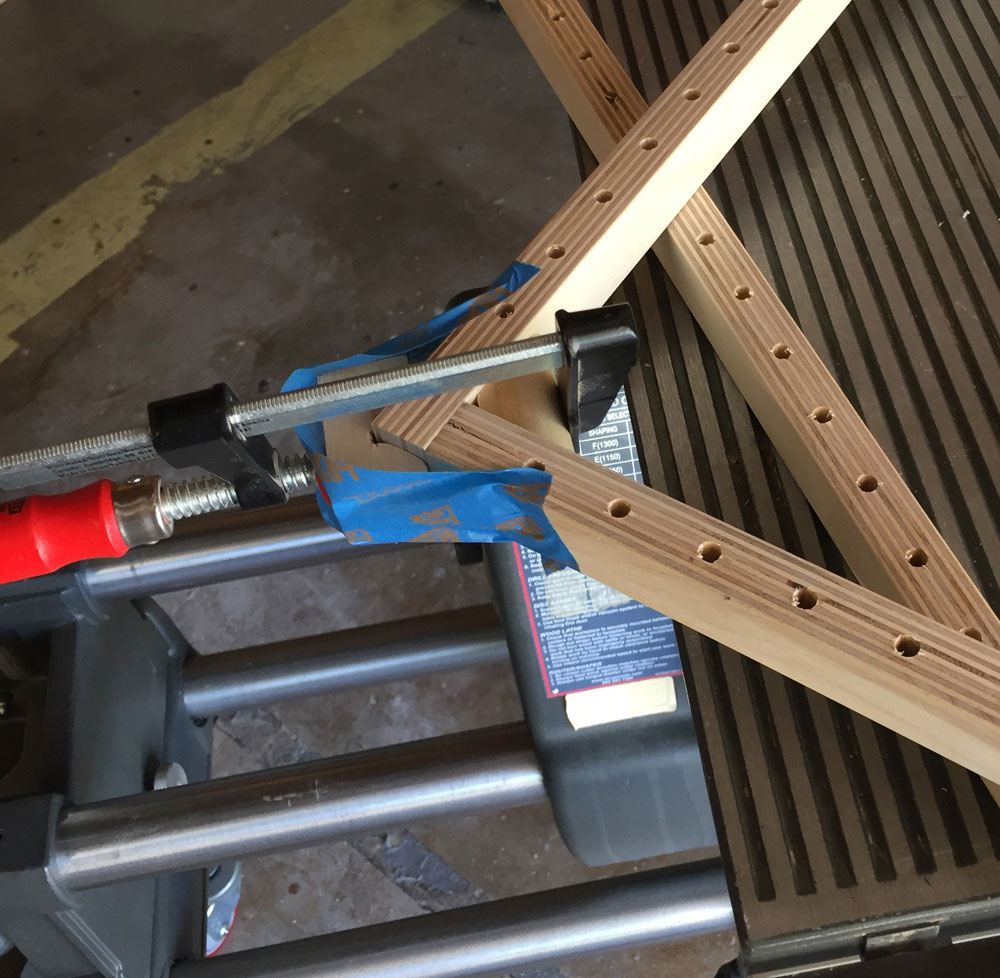
The rail/stile junctions were flushed and held to 90 degree with clamps. The two holes were drilled with a 7/64th bit to minimize the chance of plies coming apart when the screw was added. Each screw is a no. 8 x 1-1/2 Washer-head
Spax screw
. Since they are a long screw the first peg was installed before drilling – just in case.
The four glue blocks were installed and left overnight to dry.
After assembly the junctions were trued if required and sanded to remove any sharp edges and corners.
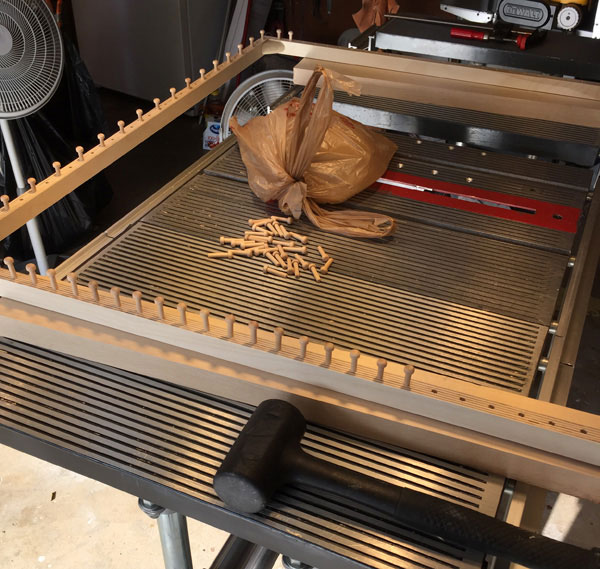
The 90 pegs were installed using a dead-blow hammer to protect the peg head.
And the Loom was complete!
All six Looms have been delivered to my neighbor and are being put to good use for the benefit of our homeless military veterans in Orange County. If anyone would like more details, please
send me an email
with your contact information and I will pass that on to these local groups. I would also be happy to email you a copy of my SketchUp file if you would like one.
AUTHOR'S NOTE: Subsequent to submission of this Project, I was told by my neighbor that there was a request from a retirement home, Van Niekerk, in South Africa for one of the Looms, in order to aid those in need in that country. One of the six Looms was disassembled and shipped to them. Some go viral, we went global!
You can email Forrest at
forrest.bonner@verizon.net
.
Return to the
Wood News Online
front page
|