Making a Veneer Compass Rose
(Page 2 of 3)
Cutting the Angles
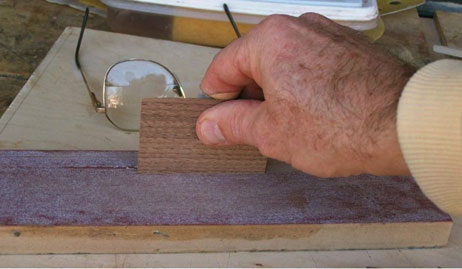
Next, we need to cut the pieces into wedges that will make up the sections of the rose. But before we do that, we need to make sure that one edge is flat. This is easiest to do by sanding the edges flat, as shown in the next picture.
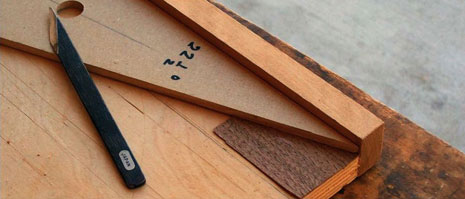
Next, we'll use the template to cut the wedges. I lay the veneer on the cutting board, against the fence.
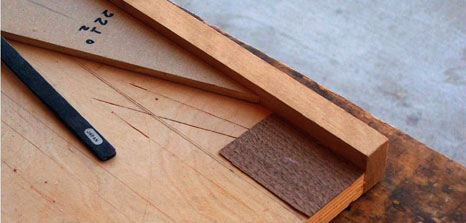
And then put the template over the piece of veneer to cut it. I cut it with the Japanese marking knife.
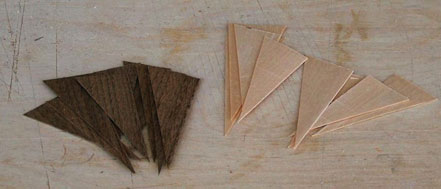
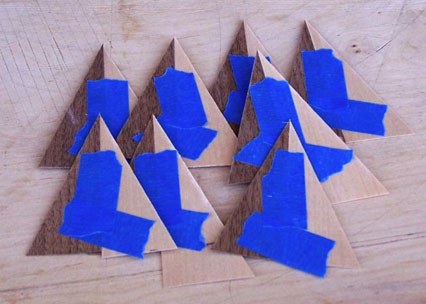
The result is 16 (or more) pieces cut into wedge shapes.
Now, we want to make sure that the edges are straight and the points are really sharp. We can achieve this by sanding the edges on the sanding block.

Assembling the Rose
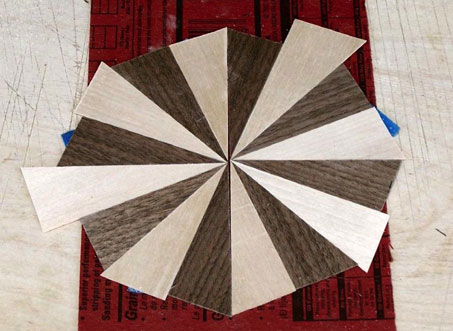
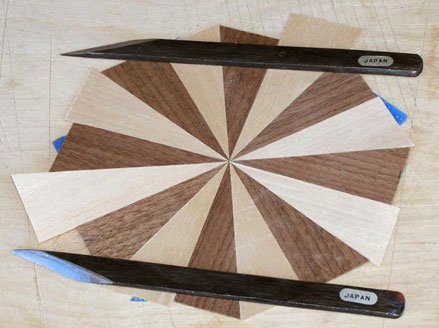
Now that we have all the pieces cut and sanded, we can start assembling the rose. We begin by putting all the dark and light pieces together. Note how the sides that are parallel to the grain are placed together. This looks better then the alternative.

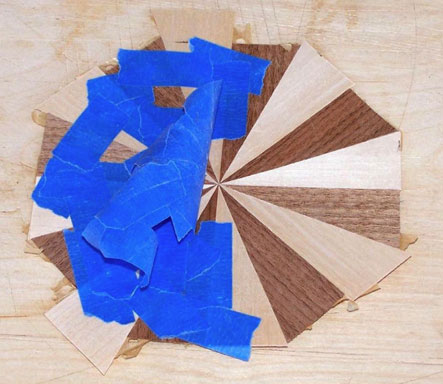
Now that we have our eight pieces of dark and light veneer, we can start assembling them into a disk. We do this in two halves.
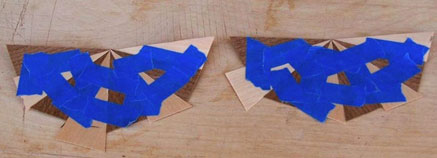
Note that the halves are more than halves. The picture makes them look a lot worse than they are because of the perspective, but they are each more than a half (if they were as bad as they appear in the picture, we'd have to start over). No matter what you do, when you piece the sections together, they will come out either over a half or under a half. If they're over a half, you can sand them down until they fit, just like we sanded the individual pieces. The picture below shows how the pieces fit together after a bit of sanding. You can see that the pieces are still a bit more than half but getting close.
If your pieces come out less than half, you'll have to re-cut a couple of wedges to make them larger. This can be done by putting a coin, perhaps a nickel, between the template and the fence, as shown in the next picture.
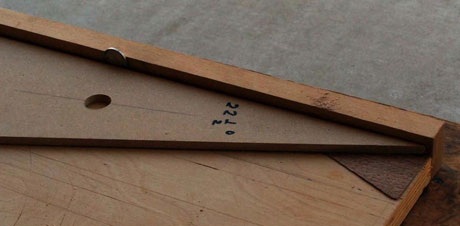
I was taking this picture just to illustrate this point, and I wasn't careful about the piece of veneer I stuck in. It should be a square piece to be cut.
Anyway, once you cut the larger wedge piece(s), replace the outside pieces of the halves. Replace one and try the fit. If it doesn't fit, replace another.
Either way, over half or under half, the ŇoutageÓ should be quite small, probably less than 1/8 inch at the largest point (which is the sum of the outage on both halves). It must be small enough that you can add or subtract from a couple of wedges without anyone noticing. If you halves are way out of size, it's a sign that your template is bad and you have to go back and correct that.
Once you get the halves to fit together, tape them together with blue tape.
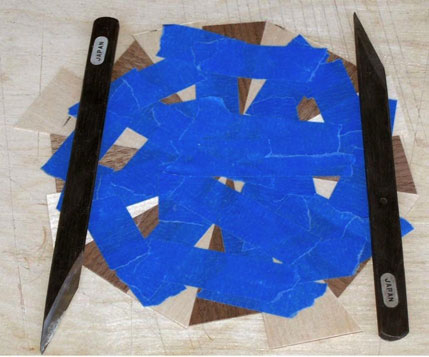
Now, turn it over so that the show face is up and begin putting veneer tape on the seams. Note that we don't want to have more than four layers of veneer tape at any point so you don't want to just run veneer tape across the face of the rose, over and over.
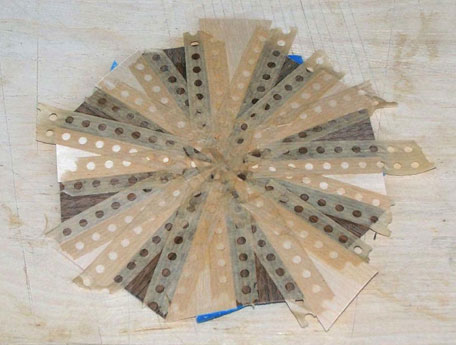
Set the piece aside and let the veneer tape dry well - perhaps an hour. Next, turn the piece over so that the glue face is up and remove the blue tape.
Go to page 3 of 3 of
Making a Veneer Compass Rose
