|
My project this month involves turning a new medium, leather. You may be familiar with fixed blade knives that have a stacked leather handle. This type of handle has enough texture to offer a secure grip. It is very durable and looks better with age. I have turned many mallets but this is the first time I'm making a mallet with a stacked leather handle. The name should give you a clue as to the process. The concept is simple. A series of leather disks are stacked on a metal core glued and shaped to the desired form.
Learning Something New
My limited experience in working with leather meant I had to plan out my approach carefully. My plan was to turn a wood head for the mallet and attach a leather handle. My plan evolved into the following process:
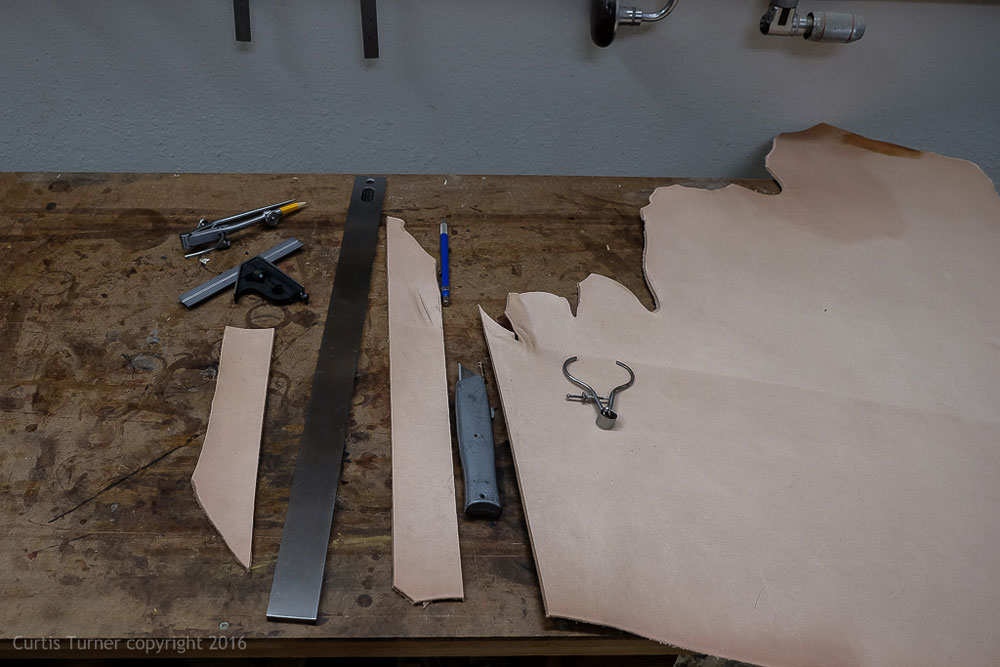
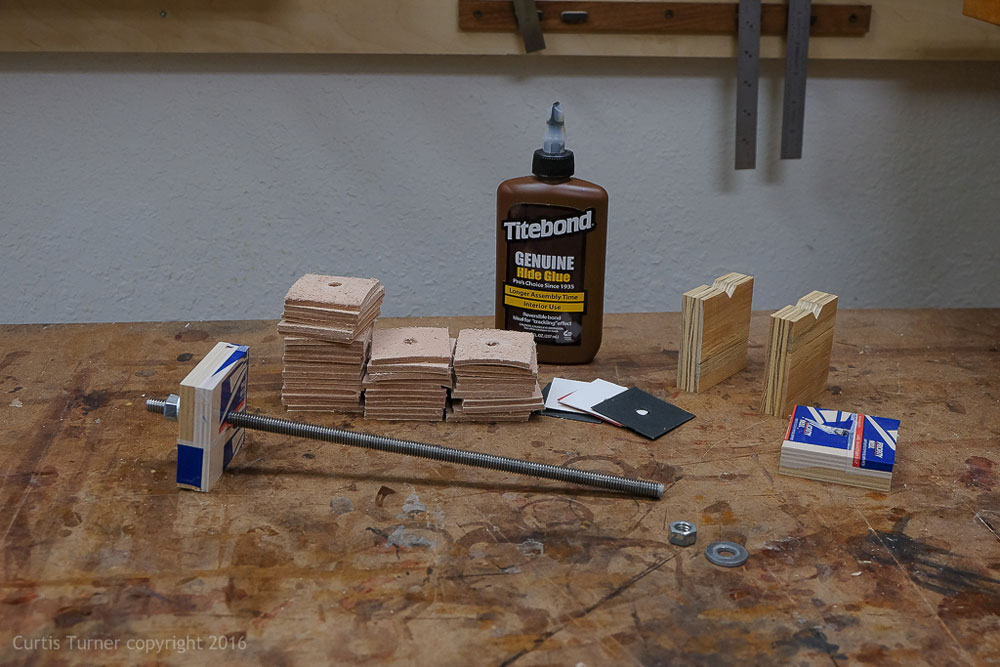
First, I sourced vegetable tanned leather (above). I cut a few small squares and conducted a test with the adhesives I had on hand. I tried
T-88 Epoxy
and
Titebond Hide Glue. I also tested an old can of contact cement; that failed due to age. My research found that most leather workers use contact cement. However, I wanted to avoid purchasing too many specialized materials for an experiment.
I found the Titebond Hide Glue adhered as well as the T-33 Epoxy, however, it was a bit more flexible which I considered a benefit. In the end, I chose to use the
Titebond Hide Glue.
Making a Jig
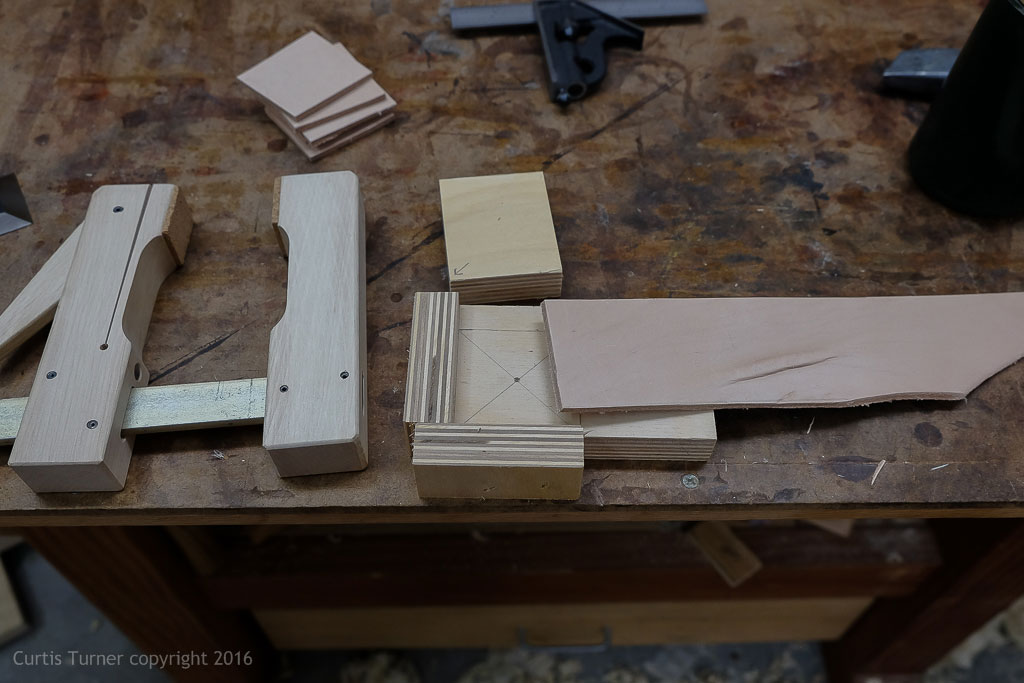
The first step in actually making the project was to cut enough leather to make a handle. I started by making a simple jig to cut consistent 2x2" squares.
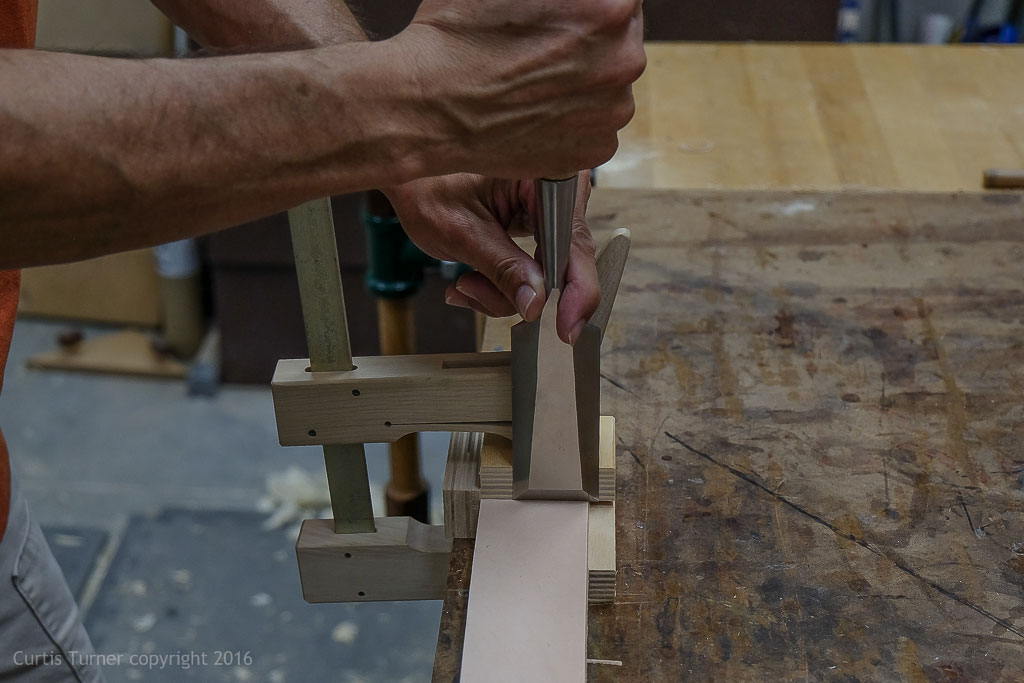
The top clamping caul solved two issues:
1. Held the leather down with enough pressure to avoid slipping while being cut
2. The caul created a registration surface for the chisel
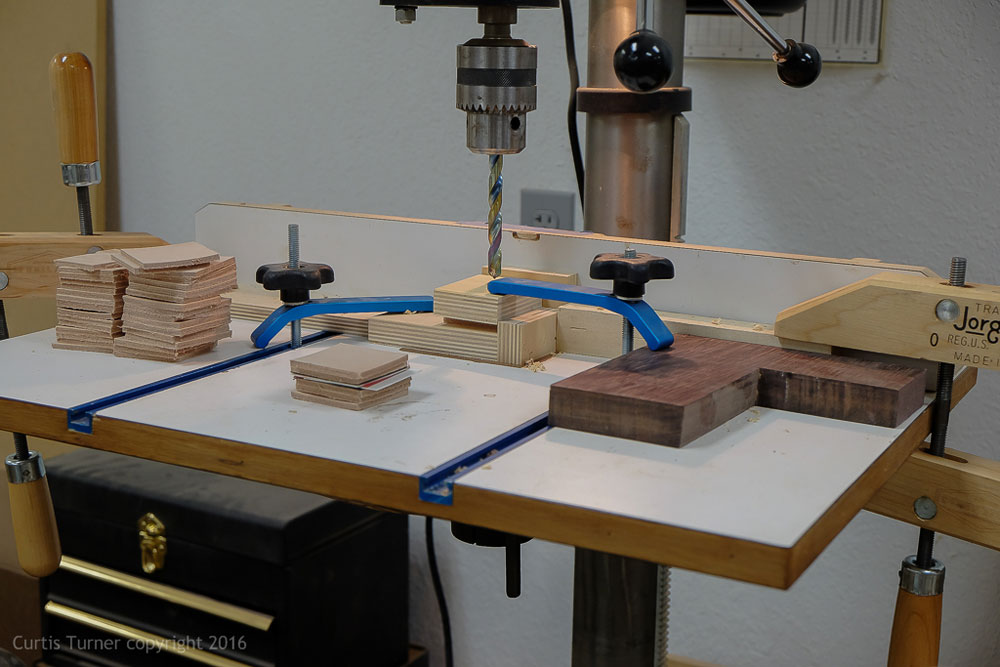
I used the cutting jig on the drill press to make accurately centered 3/8" holes in each square.
I decided to add several decorative squares of G10 in red, white and black. This material is often used by knife makers on similarly styled handles. I cut and drilled the G10 in the same manner as the leather.
Next, I covered two plywood squares in packing tape to use as the cauls for the glue up.
I used a 3/8"all thread rod as the core. I used washers and nuts to apply clamping pressure.
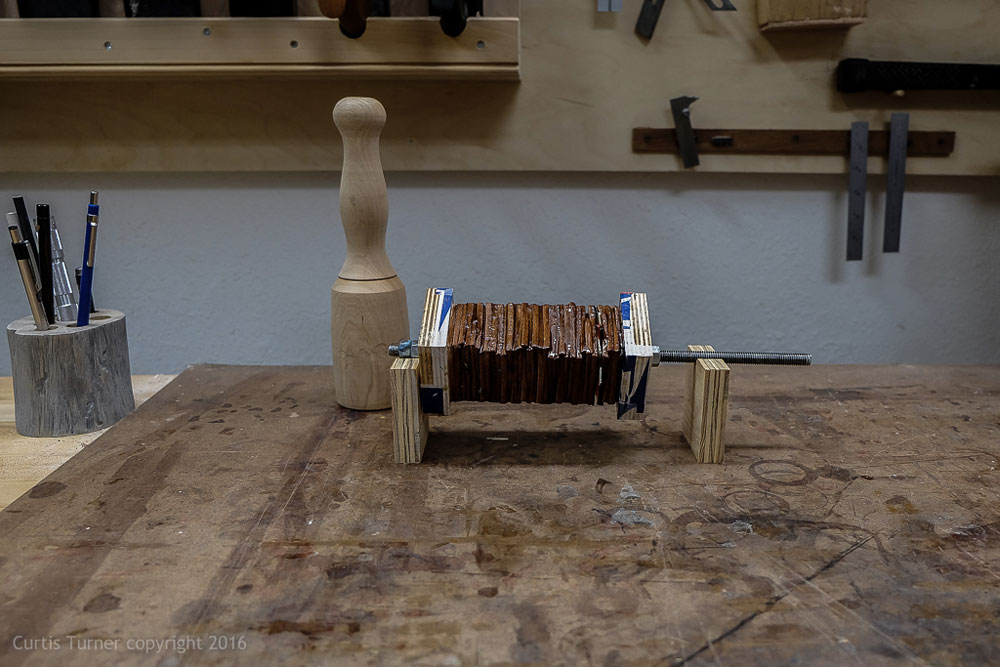
Once all parts were prepped, I was ready began the messy process of the glue up! Once all the parts were glued and mounted on the rod, I tightened the nuts to compress the leather. I let this dry for almost two days.
Next, I turned a maple block to serve as the head. I then drilled a 3/8" hole in the blank. Once the leather handle was dry, I drizzled
T-88 Epoxy
into the maple blank, inserted the rod, and used the tail stock sans drive center to apply clamping pressure. I let this cure overnight.
Problem Solving
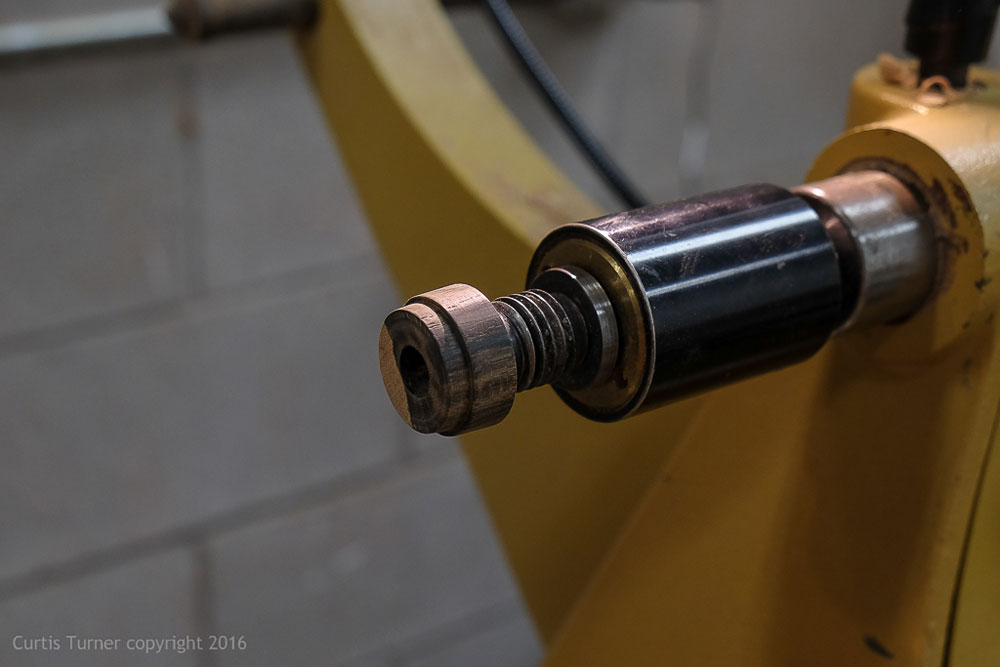
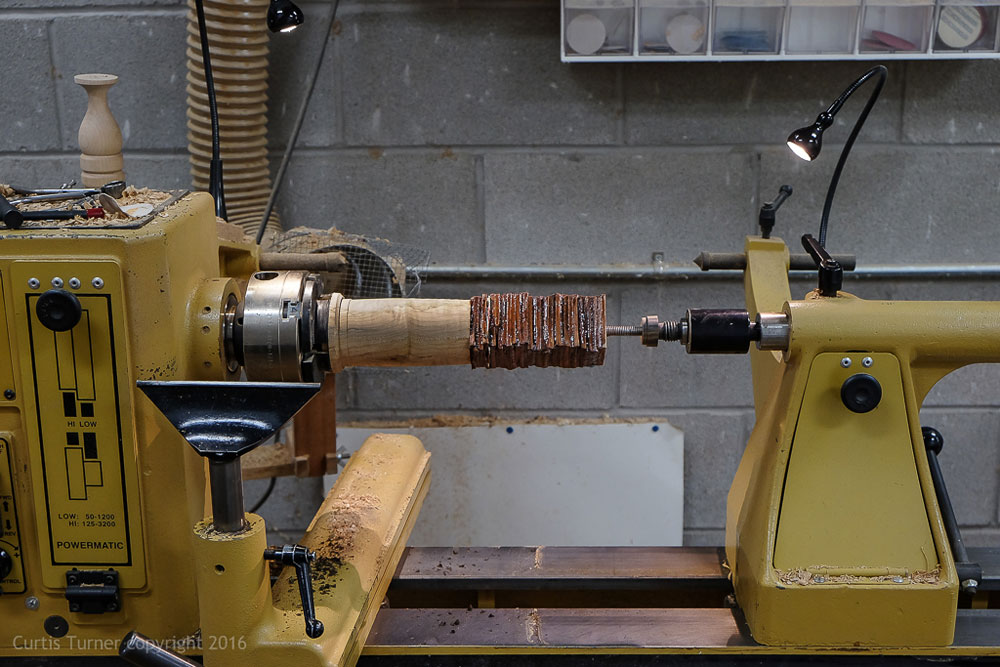
I now needed a method for supporting the end of the rod. So, I turned this small device to support the rod while turning. It worked perfectly.
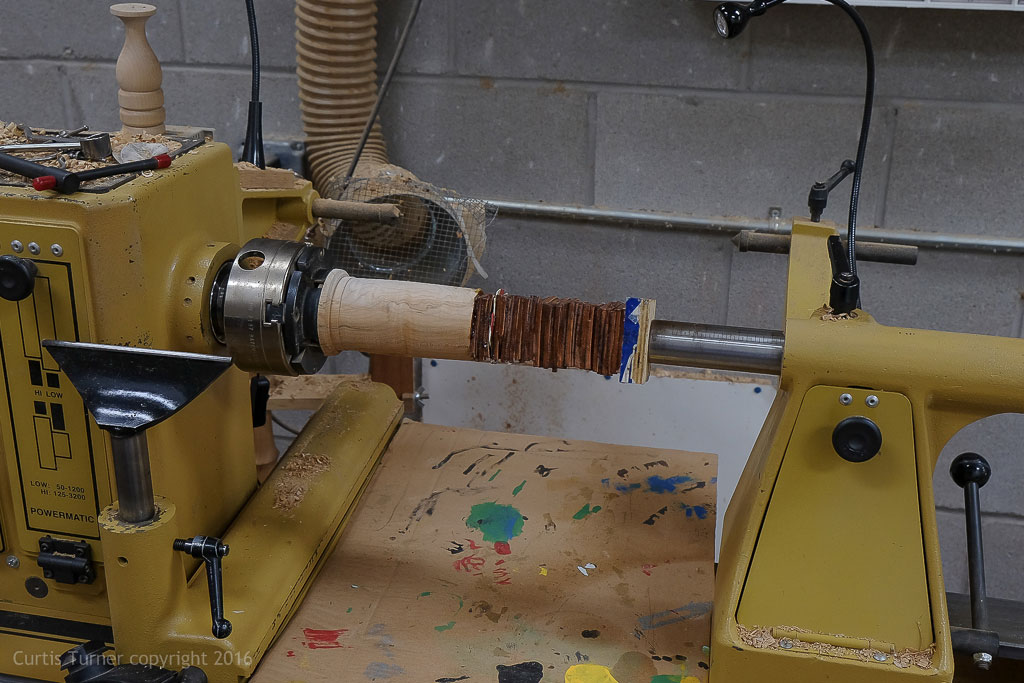
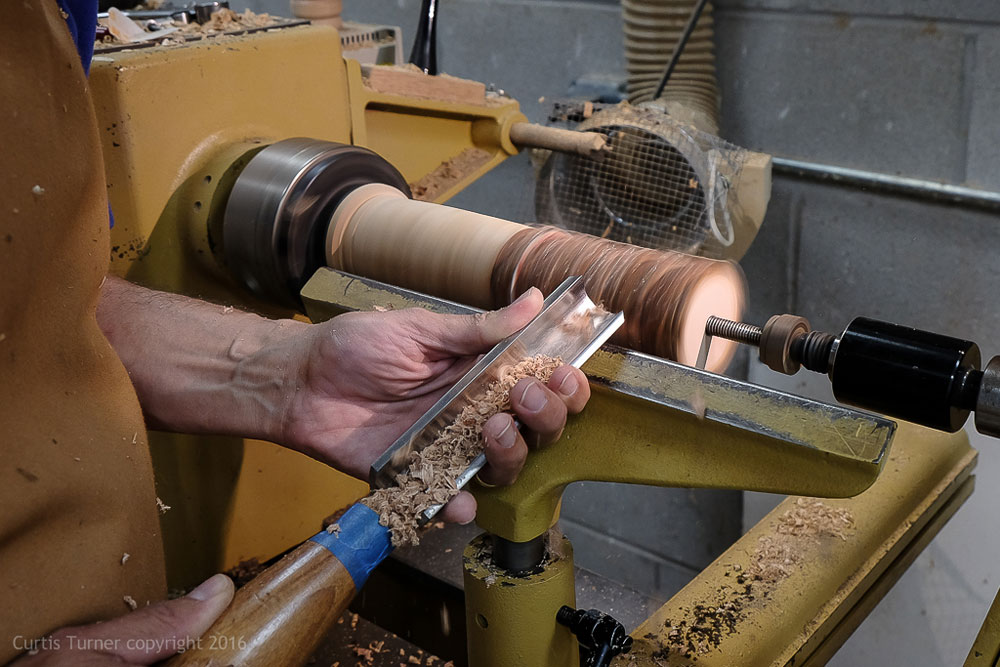
Next came the real test. I chose to start with a spindle roughing gouge at a moderate speed of about 600 rpm.
It worked! I tested various speeds and tools. I tested a skew, scraper, spindle gouge and a bowl gouge. I found the spindle roughing gouge and bowl gouge worked the best. The scraper worked surprisingly well. The best speed range was about 1,200 -1,400 rpm. I also sanded the handle in the same manner I would for any wood spindle.
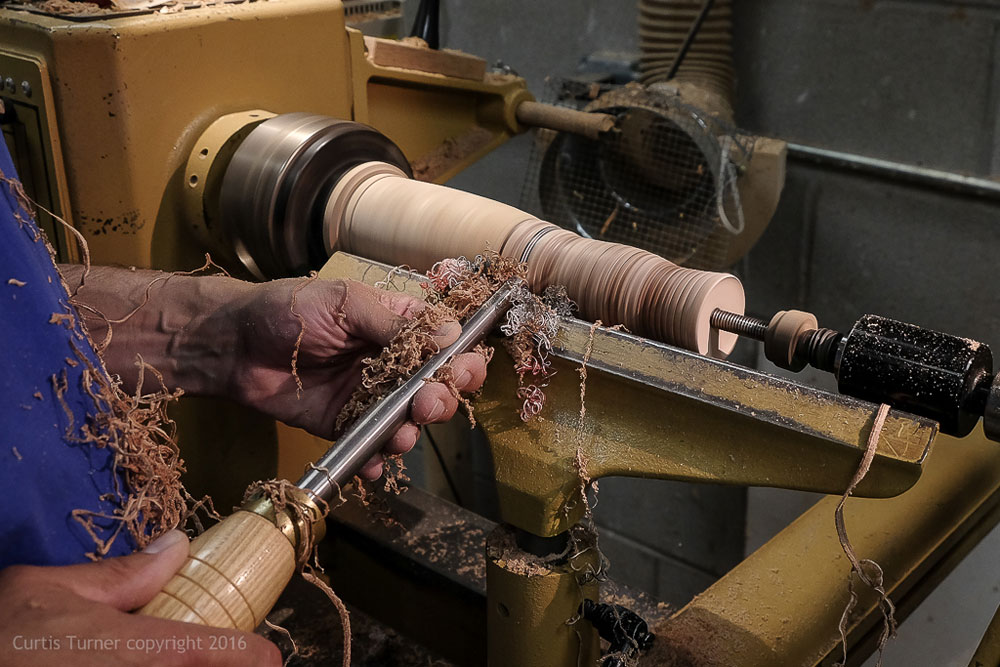
The shavings looked just like wood shavings. You may notice that the G10 shavings look like ribbon candy.
Concerns
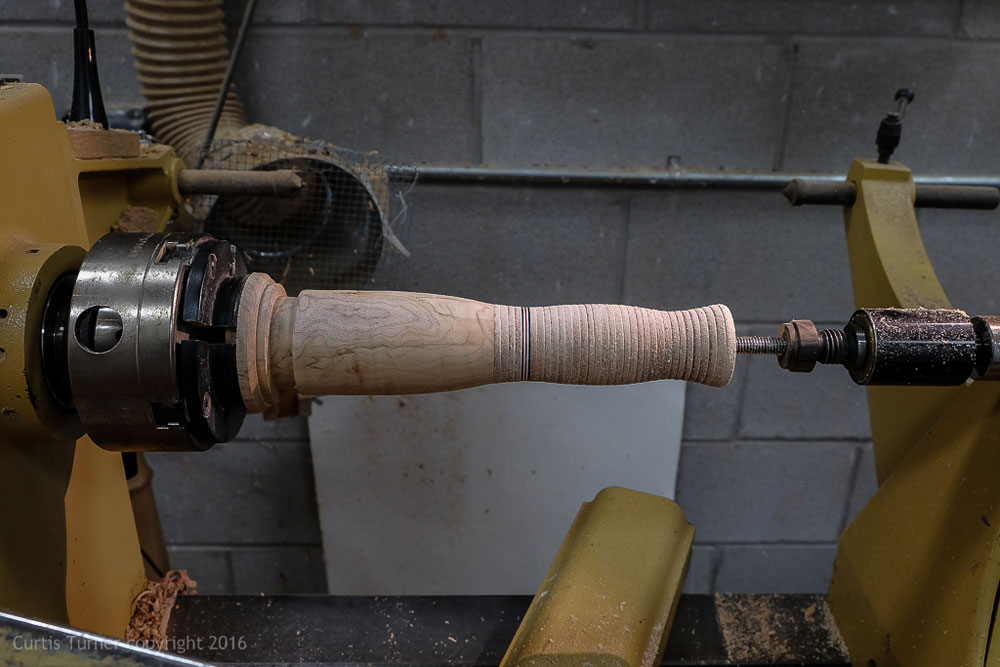
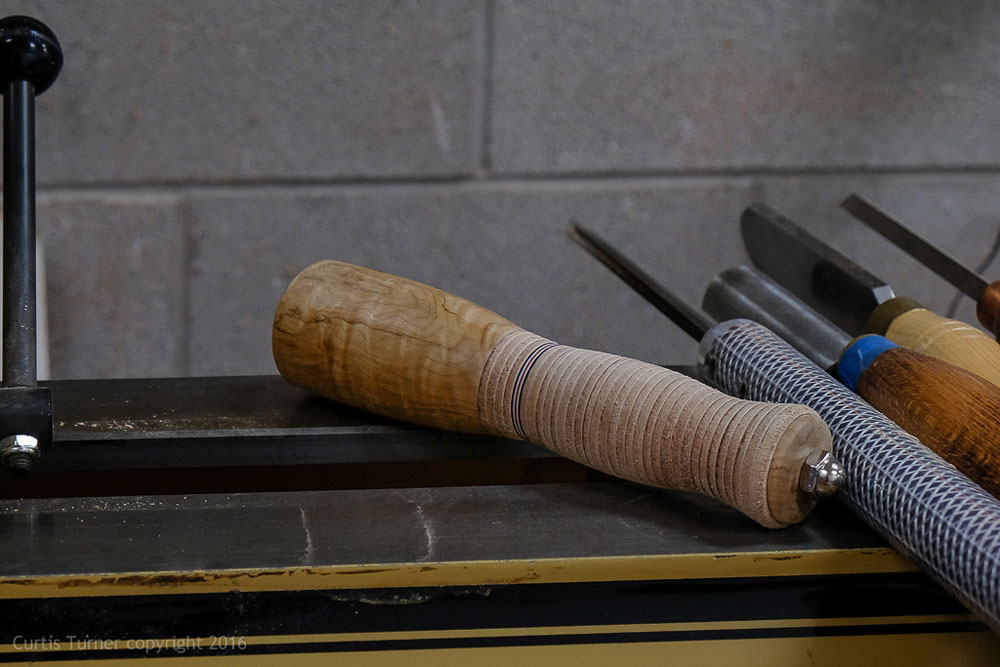
My concern with this project was the structural integrity of the multiple glued parts. Thus, I opted to make this mallet with the intention of using it for light duty work. In other words, I will not use this to chop out mortices. Therefore, I turned the head a bit small and left the handle a touch larger. Time will tell if I could have gone with a much smaller turned handle.
Once off the lathe, I turned a small wooden disk to fit on the end of the handle. I then trimmed the excess rod and added a cap nut on the end. The leather handle has a nice rock solid feel.
The mallet head received several coats of a homebrewed carnauba and bees wax blend. I have not applied a finish to the leather. I'm not sure that I will because over time it should develop a worn patina.
I enjoyed the creative problem solving that this project required. I'll be interested in making other leather handled tools in the future.
Curtis is a former President of
Central Texas Woodturners, a member of the
American Association of Woodturners, and a member of
Fine Woodworkers of Austin. Curtis teaches and demonstrates nationally for Lie-Nielsen Toolworks. He also teaches for TechShop. He owns a studio where he teaches and works. Curtis lives in Central Texas with his wife and four young children. Take a look at his website at
www.curtisturnerstudio.com or visit his
Instagram: tx_planes.
Return to
The Highland Woodturner
front page
|