|
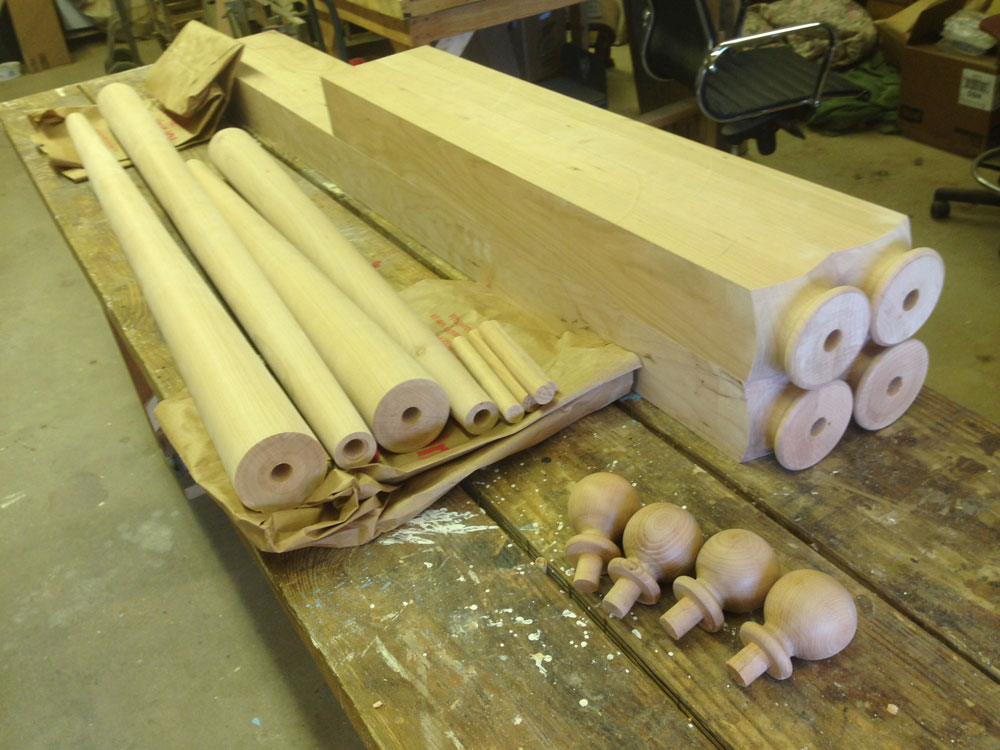
In this 3 part series, Temple Blackwood has been commissioned to make the turnings for a 4-post cherry bed being made by his friend Geoffrey Warner.
Part 1 of this series
was featured in our July 2016 issue of The Highland Woodturner where he discussed the turning and preparing of the Base Pommels.
Headboard: Turning the Short Section of the Tapered Post
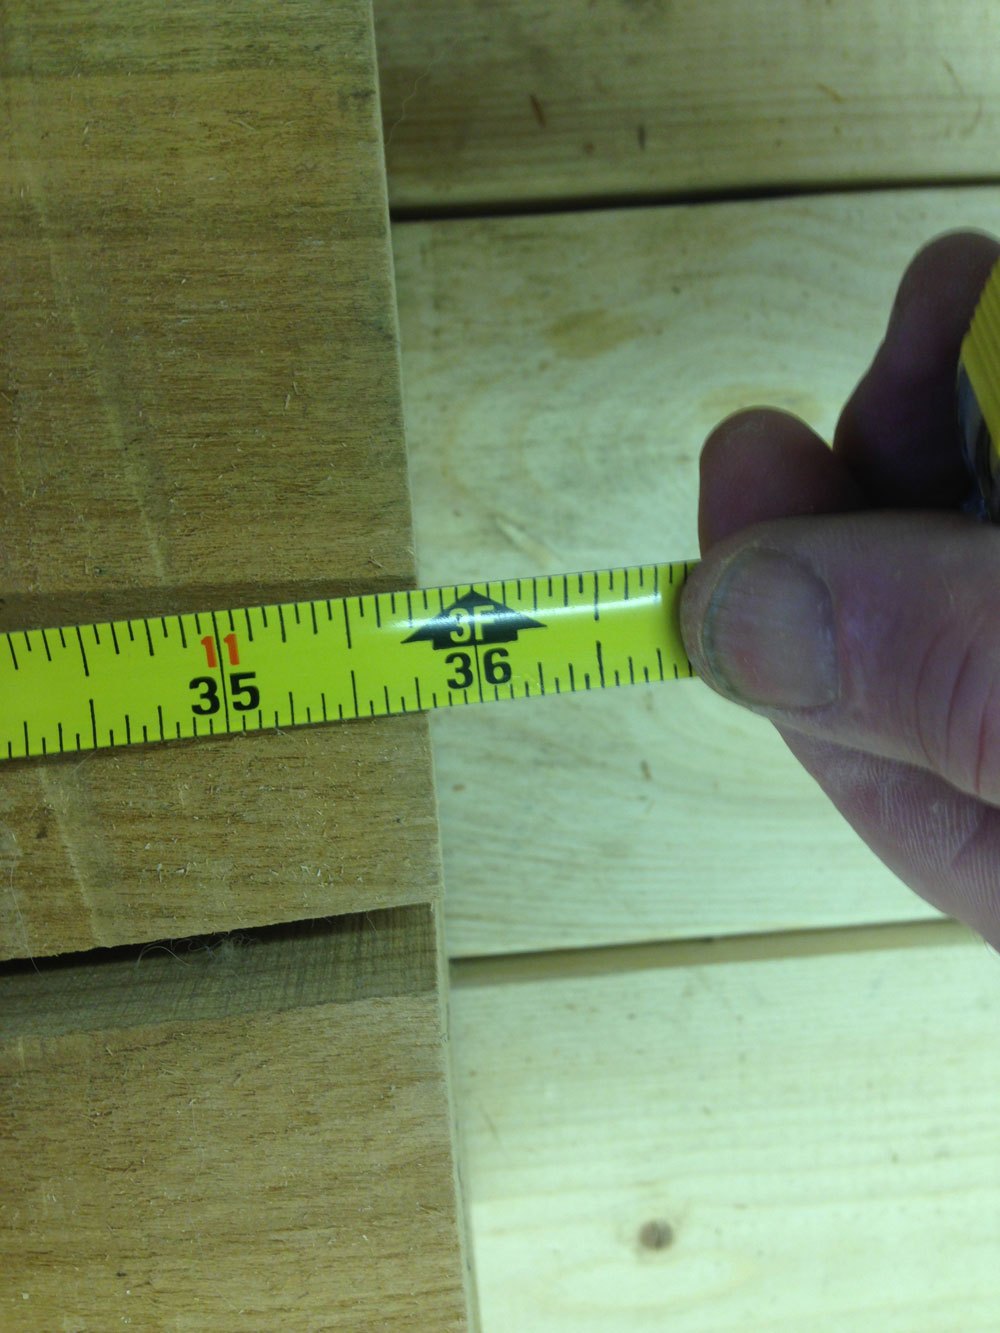
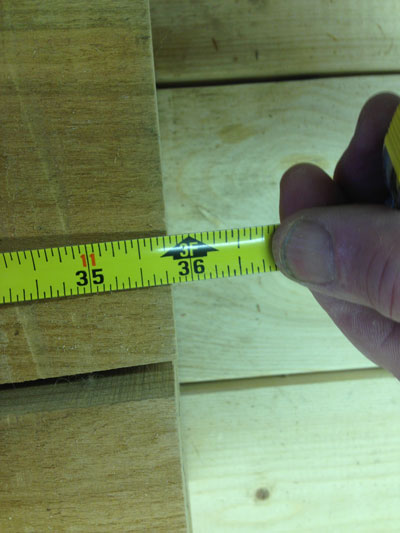
Moving upward from the bases and knowing that the cabinetmaker had intentionally left the square pommel of the bases overly long for each of the headboard and footboard, the reality that the blanks for the shorter center tapered sections would be slightly short of his planned 36" length presented a minor challenge. After a short discussion, it was clear that the tapers would each measure 35-3⁄4" and the overall planned height would be adjusted at the square bottom section to make the two sides of the headboard match. This is when a job like this benefits from clear communication, trust, and when the wood has been supplied and prepared by the customer (cabinetmaker). In this case, the short tape blanks had been cut to 36" but had slipped 1/8" when glued and clamped in his shop.
|
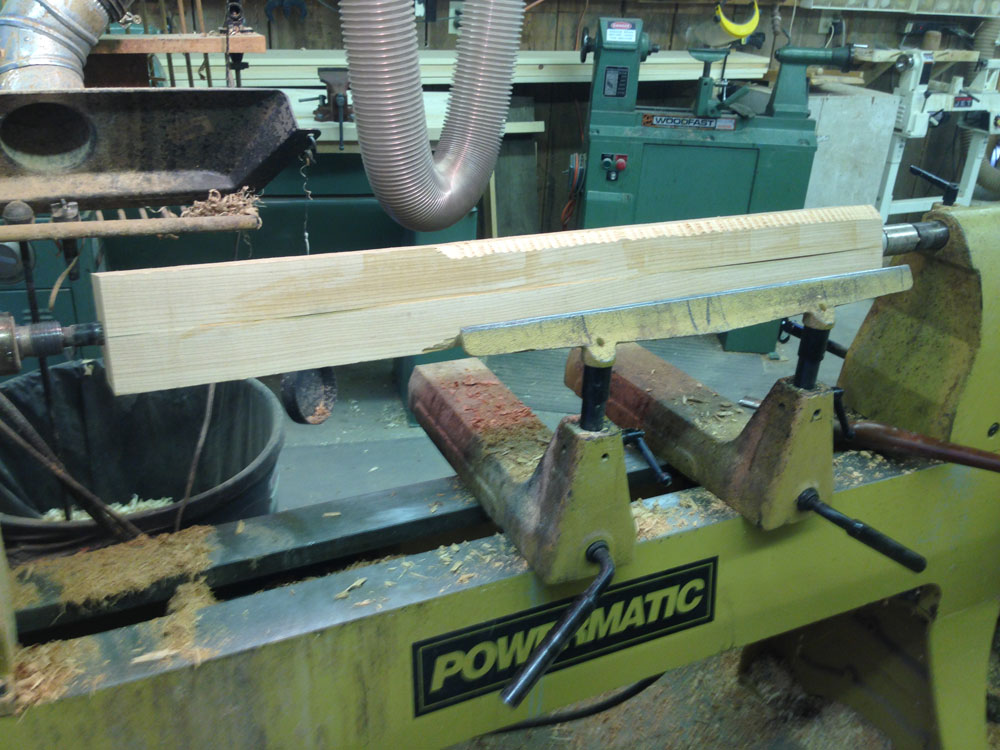
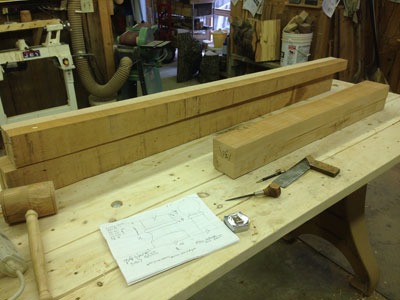
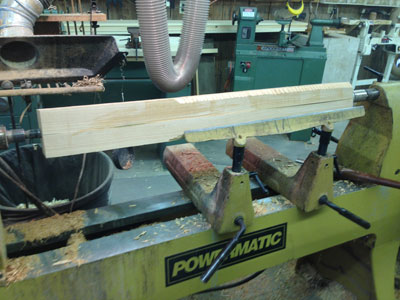
The layout for this job is pretty straight-forward. All of the four tapered sections of the posts need to be mounted absolutely centered on the lathe to be sure the blanks are measured and cut at or close to the final largest dimension as they were in this case.
|
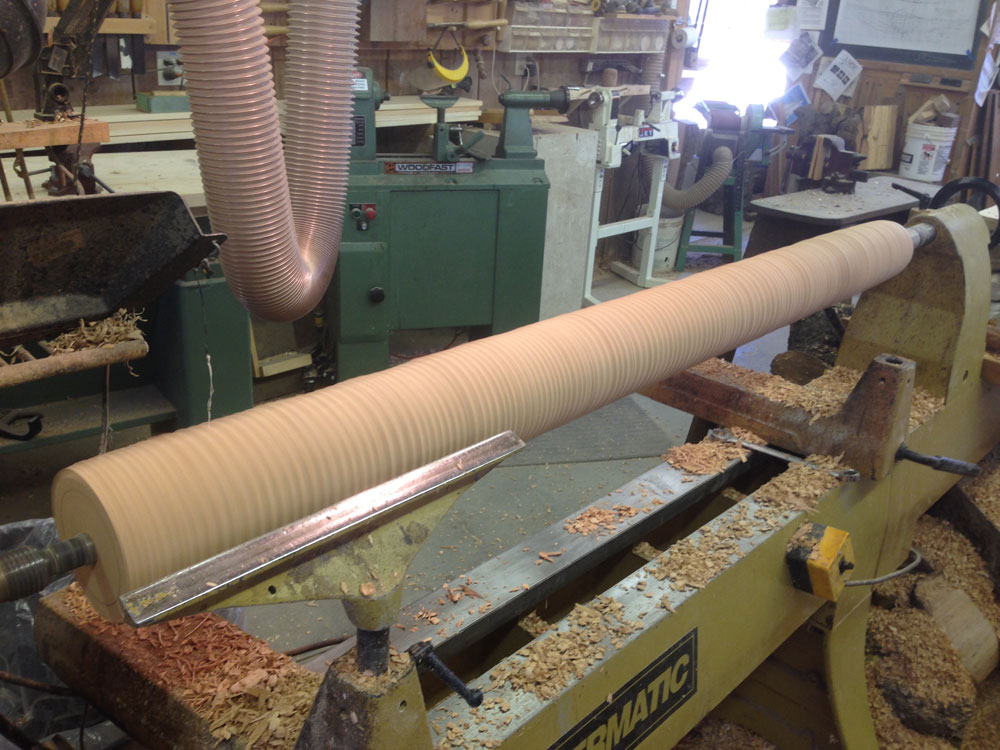
Once mounted between centers, a straight tapered turning like this is made easier by adding a
second banjo
and 24" or longer tool rest
|
|
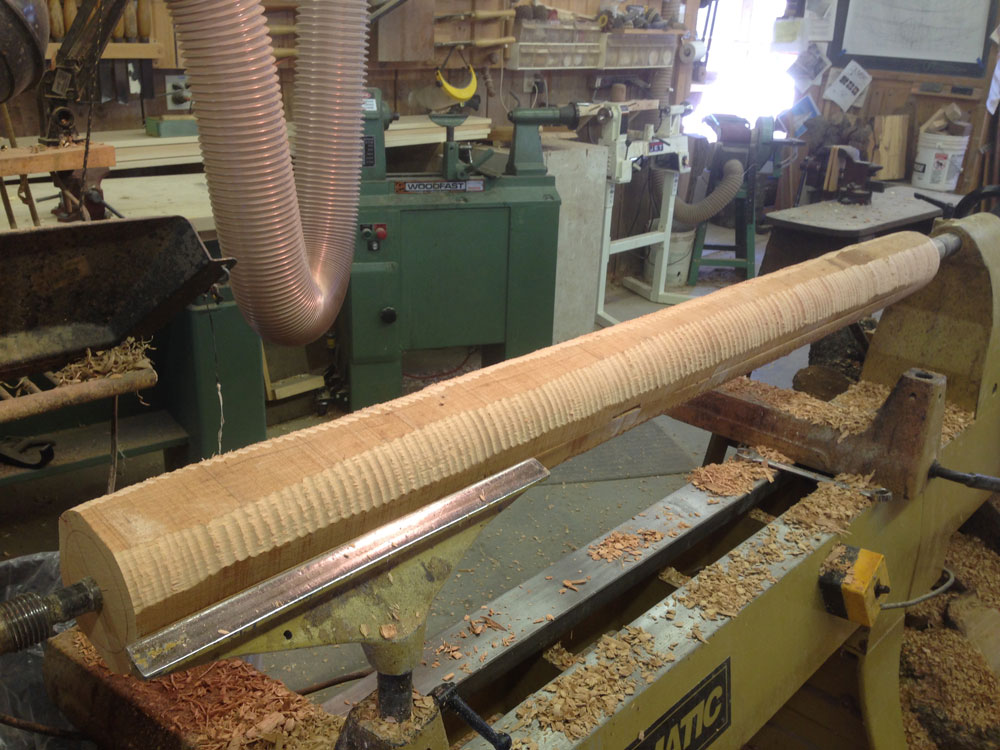
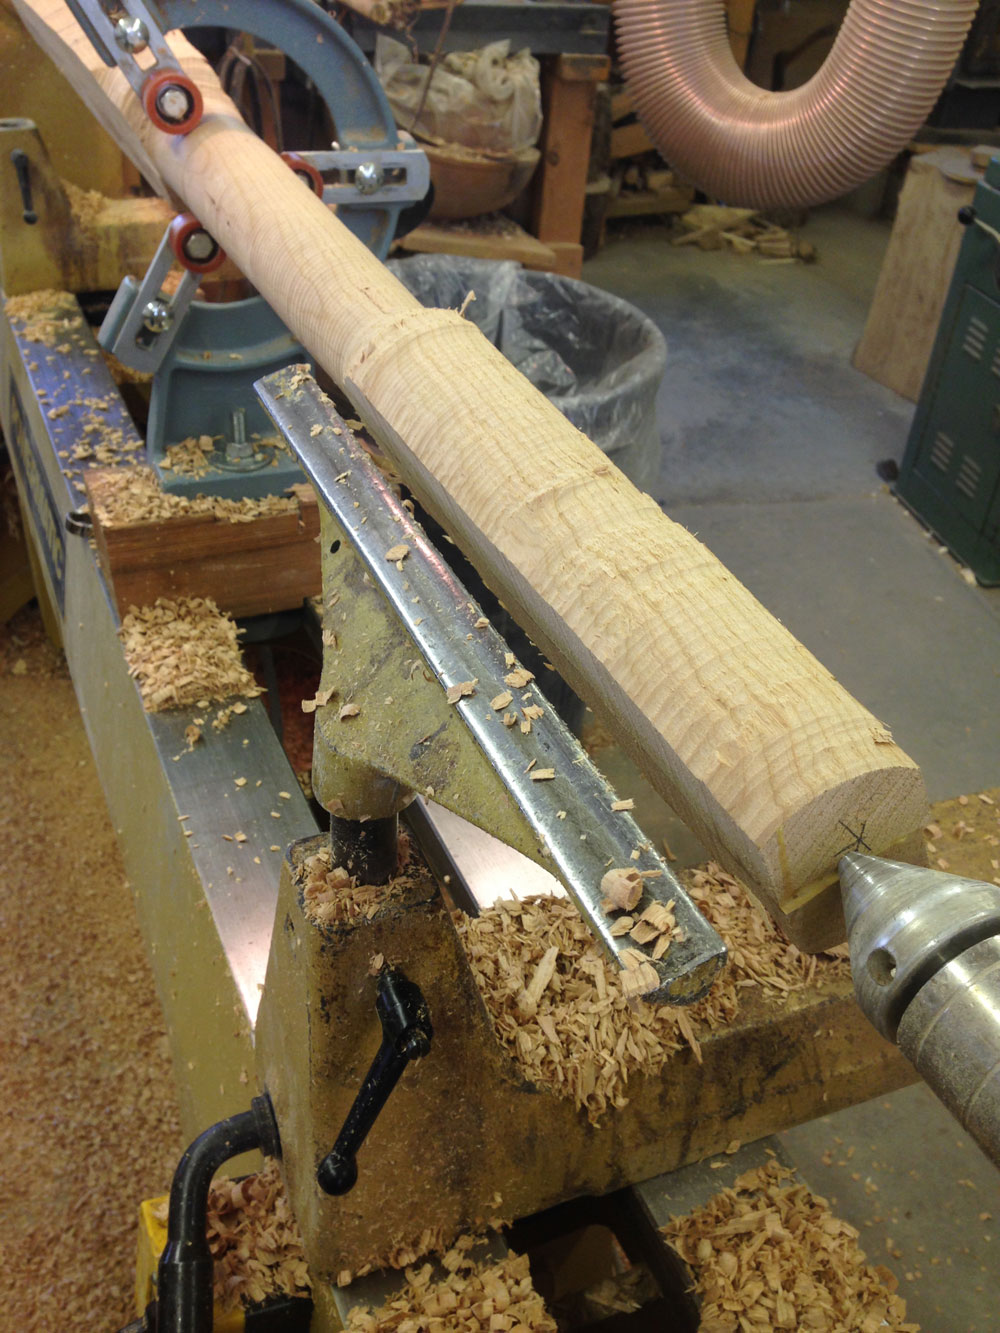
"Rough"
|
On one lathe I worked with, I enjoyed the flexibility of an 8" powered tool rest that made using both large gouges and skews on a long taper convenient and efficient. That ended up being both a luxury and an efficiency, especially on long straight cylinders and tapered columns.
Experimenting with different techniques can lead to valuable discoveries. The production turner’s goal is to sustain a high level of accuracy while developing efficiencies that increase the speed.

|
|
To "Round"
|
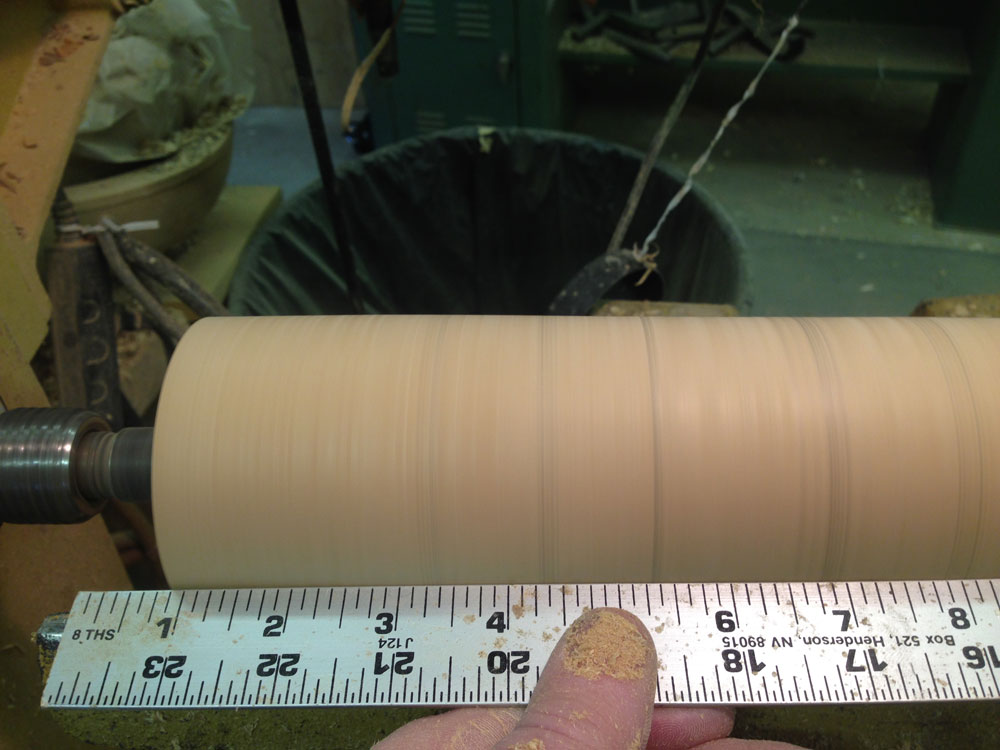
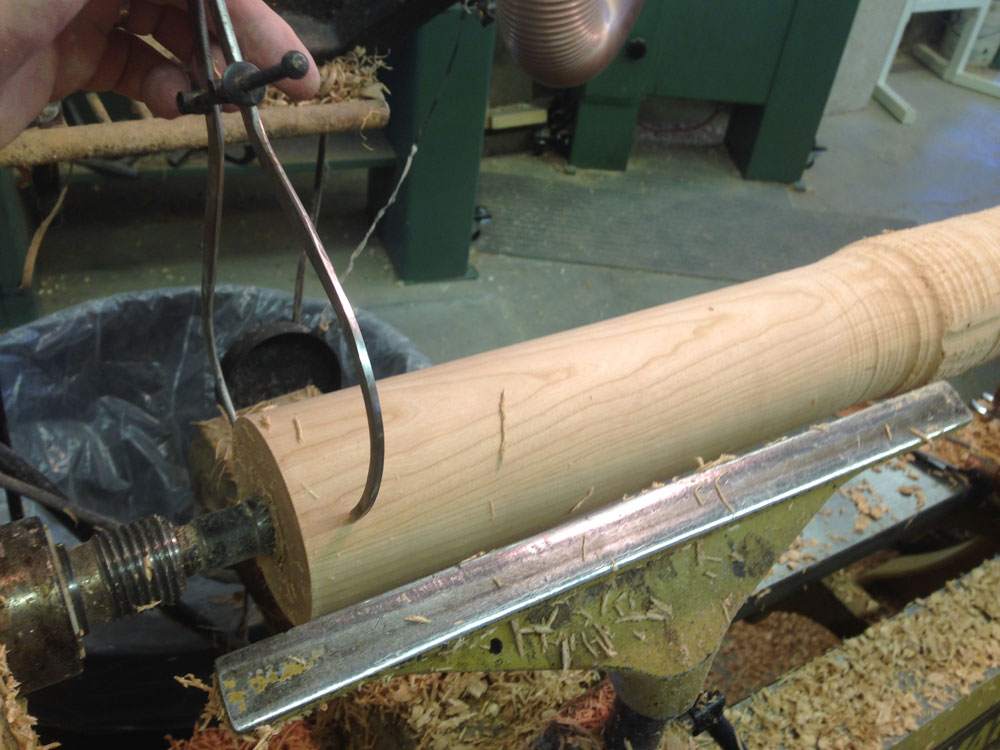
For these short tapered sections of bed post, the lack of decoration in this part means that the trueness of the taper and the sizing of the large and small ends become the critical features. By taking several measures along the post at both ends, and by using the
3/8" Parting Tool
with carefully set calipers, the roughing work goes fairly quickly.
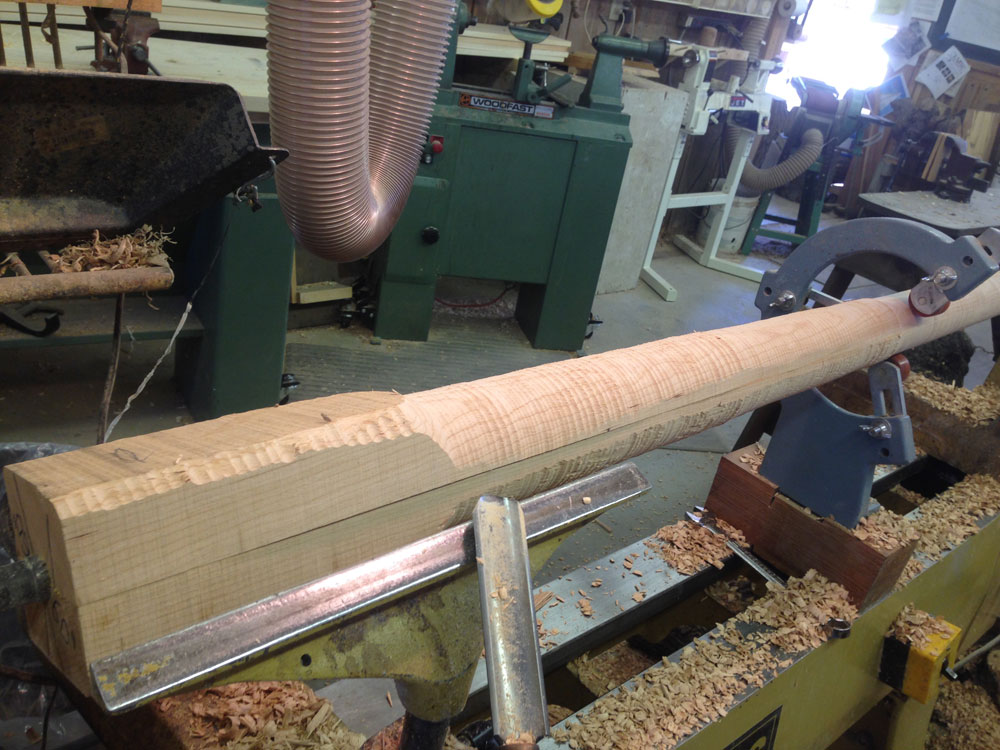
Once the large and small end diameters are nearly finished, the work can progress, first by eye, then by using a long straight-edge or a laser light (or both). Using either, the high points can be marked with a pencil and leveled smoothly with the skew.
Working at the finished diameter, take the time to establish the angle of the taper by carefully measuring several diameter points on each end. This offers an opportunity to concentrate (and practice) on the sizing of the large and small ends with a smooth straight line.
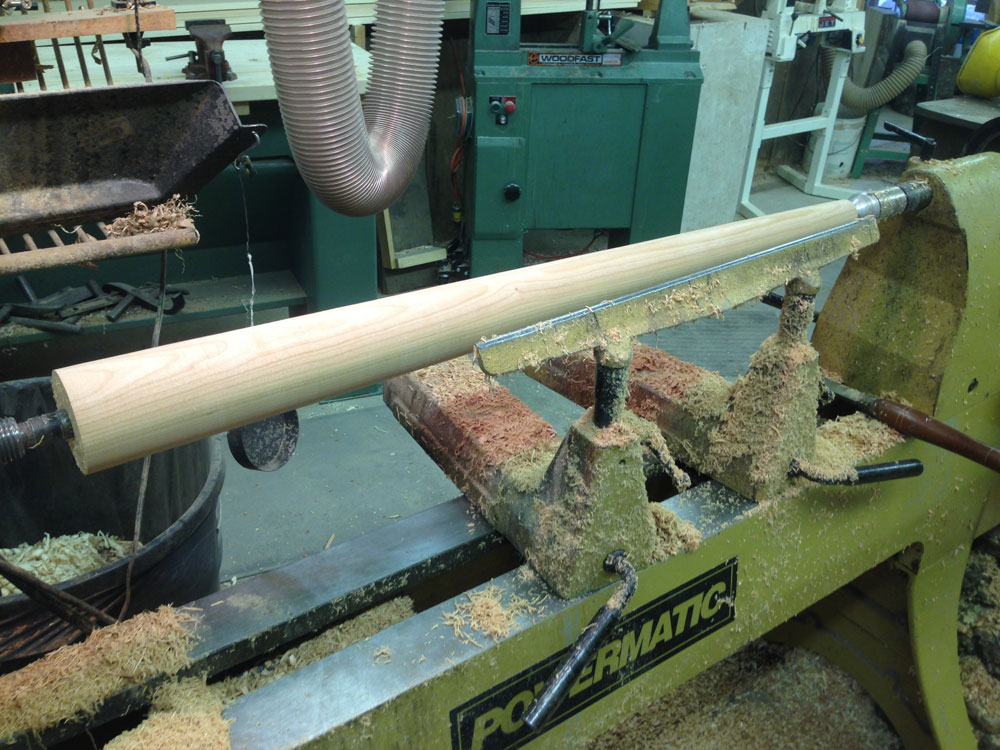
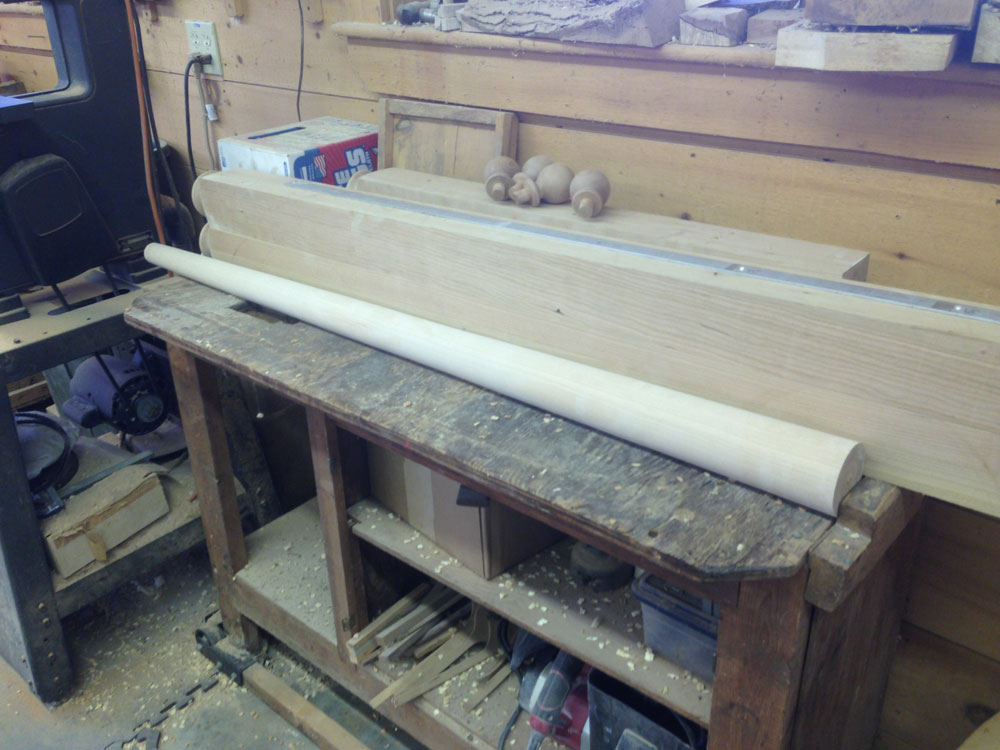
The shorter taper section is ready for a final smoothing with the large skew and sandpaper – 220 then 320 with the lathe turning. This is followed by hand sanding with the grain with 320 while the lathe is stopped.
Footboard: Turning the Long Section of the Tapered Post
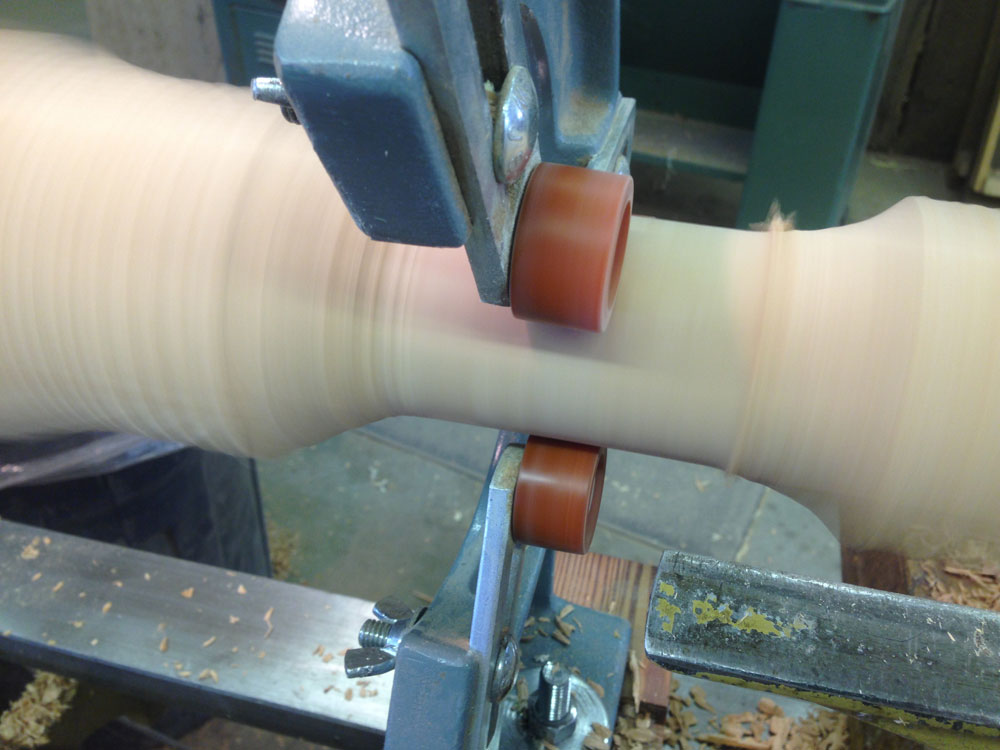
The longer tapered column that will become the middle part of the footboard requires a firm steady rest to properly support it to avoid the “whip" naturally produced by the long, spinning blank.
Installing the steady rest first, before trying to round the remainder of the long blank, will allow roughing near the middle and out to each end to progress more quickly and smoothly while establishing a rough near-finished diameter for that portion of the post.
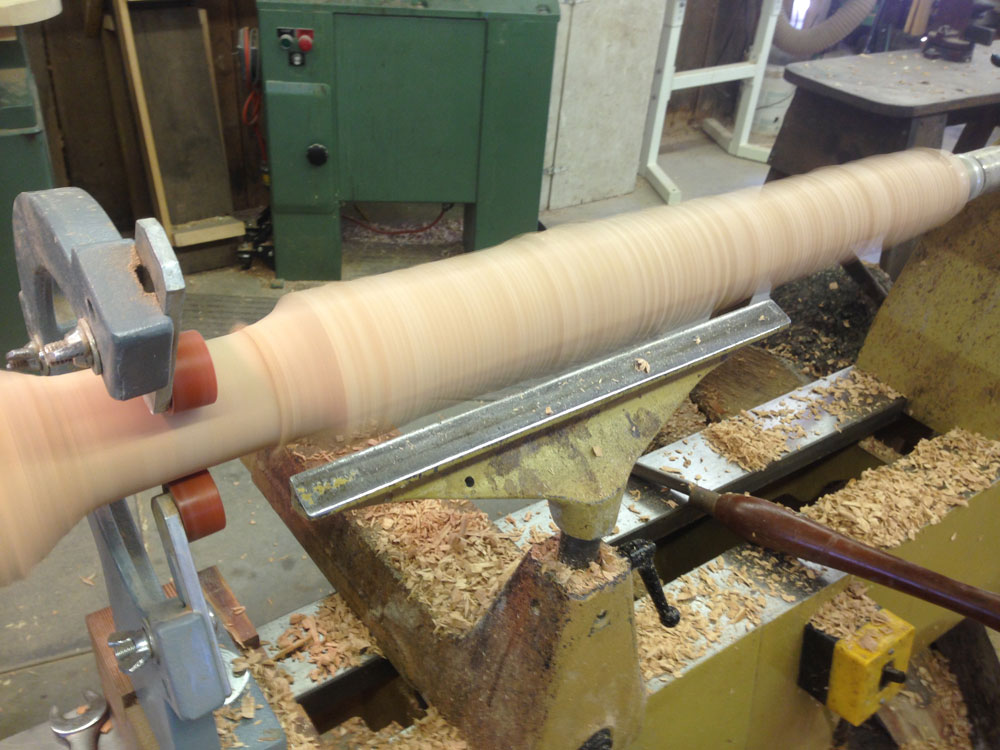
With the blank turning relatively slowly, about 200-300RPM, identify a convenient place near the middle of the column to round a section about 6" long and sized slightly larger than the finished diameter. This allows the turner to install the steady. The critical step is to be sure the steady is positioned firmly on a fully round, not rough, surface to be sure the blank will run true and without vibration.
Once installed, the steady rest ensures the stability of the blank and reduces the potential for having the spinning blank try to “climb" the roughing gouge, a sure path to a major or fatal error. The goal is for the “gouge" to refer to the tool rather than to a sizable chunk of missing wood. Since this clear cherry post will be finished naturally, any repairs would show dramatically and thus make this piece unusable.
Regardless of what type of steady rest is used, having a smooth, round base for it is critical to keeping the turning centered and stable for the rest of the turning. This particular steady uses wheels similar to firm plastic skateboard wheels, allowing minimal flexibility while avoiding scarring on the surface of the work.
As with all spindle turning, once the turning is turned from rough to round, these three rules apply:
1. Keep the bevel rubbing.
2. Cut from large diameter to small.
3. Work on the right (tailstock) at a given diameter before working on the left.
For this turning, it is critical that the turner finish the small diameter end of the taper on the right (away from
the driving power source) before working on the larger (left) bottom section.
Because the power source is on the left and wood is flexible, the heavier bulk (or mass) of a turning should be positioned there. This is also true of turnings like major league sized baseball bats where the heavy barrel is positioned at the headstock and the lighter knob and handle are at the tailstock. Turning these improperly mounted or applying an incorrect order of cuts makes it extremely difficult to get a smooth finish. By following the three guiding rules (sometimes rules 2 and 3 reverse), many turnings can be completed safely and in a timely manner with an impressive degree of smoothness before sanding.
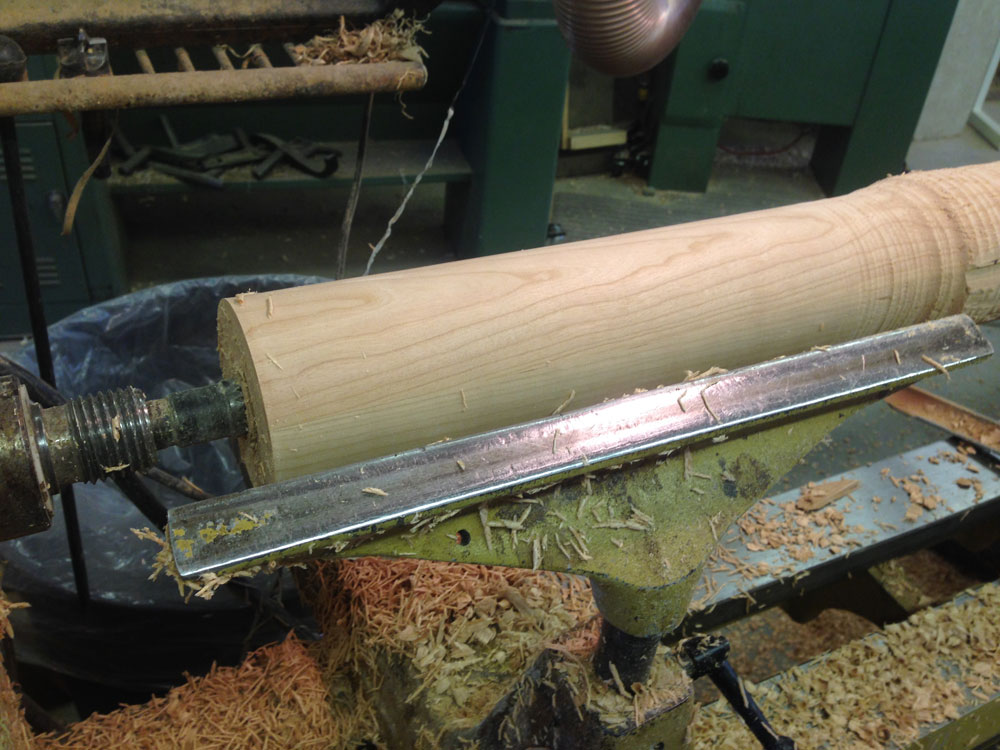
Finish turning the large diameter base of the taper creates a strong visual platform for evening out and smoothing the final long straight line of the taper.
The base is where taking a final critical measure is important because it must properly mate with the turned bead on the lower section of the post. For many turners, training and learning to trust the eye and fingers is an important product of practice.
As with the final step, when turning the round bead on the bottom section, positioning the steady rest on the end of the tapered column for drilling at a slow speed will ensure that the hole for the pin will be centered and the post details will line up correctly.
Once completed, create storage and packaging to protect the turned column from damage. A “ding" or cut in the tapered column at this point may be difficult to hide.
The final section for this job, turning four matching top finials, will be rewarding and will offer new hand/eye challenges for the turner. Stay tuned for that article in next month's issue of The Highland Woodturner.
Located in Castine, Highlands Woodturning gallery and shop offers woodturning classes and shop time, a gallery of woodturned art, custom woodturning for repairs, renovations, and architectural installations. You can email Temple at
temple@highlandswoodturning.com. Take a look at Temple's Website at
http://www.highlandswoodturning.com/.
Return to
The Highland Woodturner
front page
|