|
Our coffee table has seen better days; so to provide another project for me (my opinion), my wife asked if I would make a new one for her.
I used
SketchUp
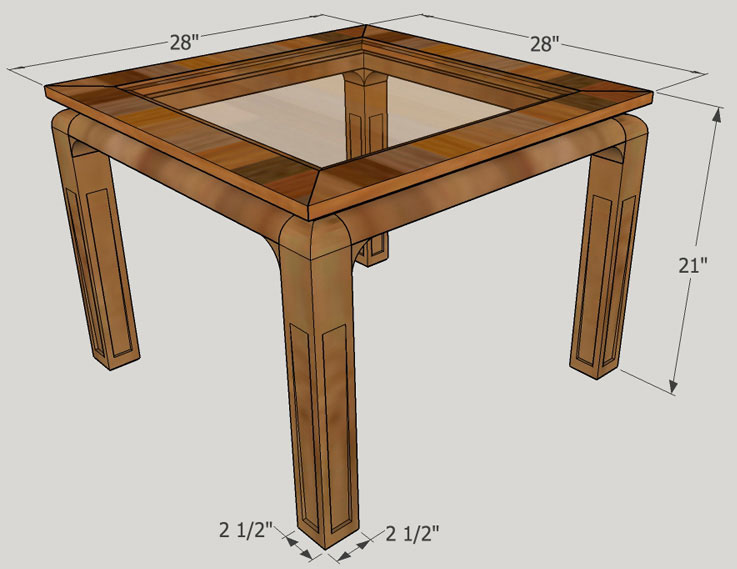
to try out several design ideas and together (okay, mostly her) we came up with the following design:
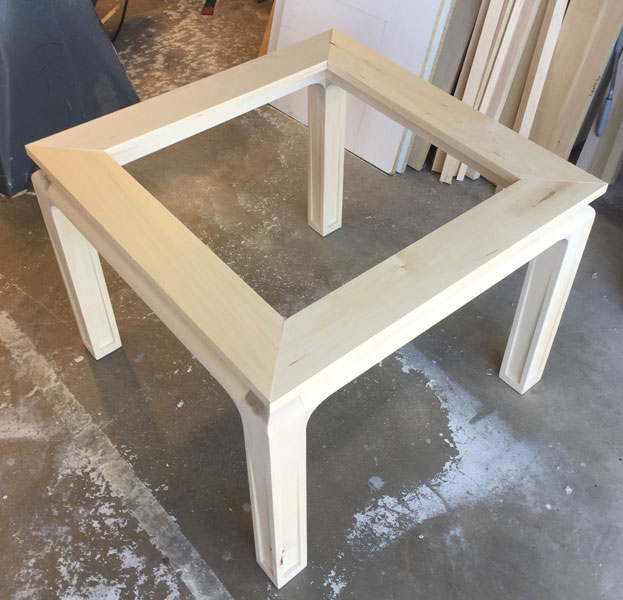
This is definitely not a coffee table, but is one of three tables for the living room that sort of grew out of mission creep. We call it our Occasional Table. Eventually I will also build a new coffee table and a side table all of the same design – just different heights and sizes.
I chose to start with this table since it is symmetrical which will be easier to build and put together. Along the way I will develop fixtures that will facilitate cutting the pieces for the other two tables.
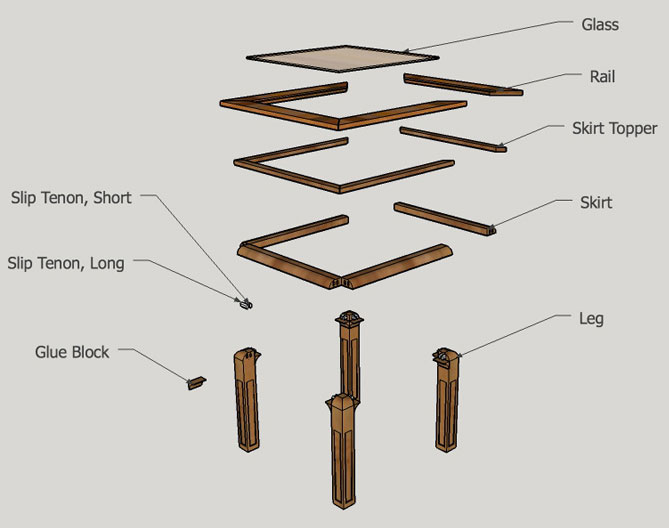
An exploded view:
The skirt topper being less wide than the skirt gives an impression that the top of the table floats.
I had surveyed my local hardwood provider and chose to make this table out of basswood since that was the only species available in the16/4 S2S that would be required for the 3 inch x 3 inch legs of the table.
When I went to get the wood for the project they no longer had any 16/4 basswood. Even my online retailer was out of stock of thick basswood. I wanted to have the glue line on the opposite corners, but thick enough wood was just not available at the time to do that.
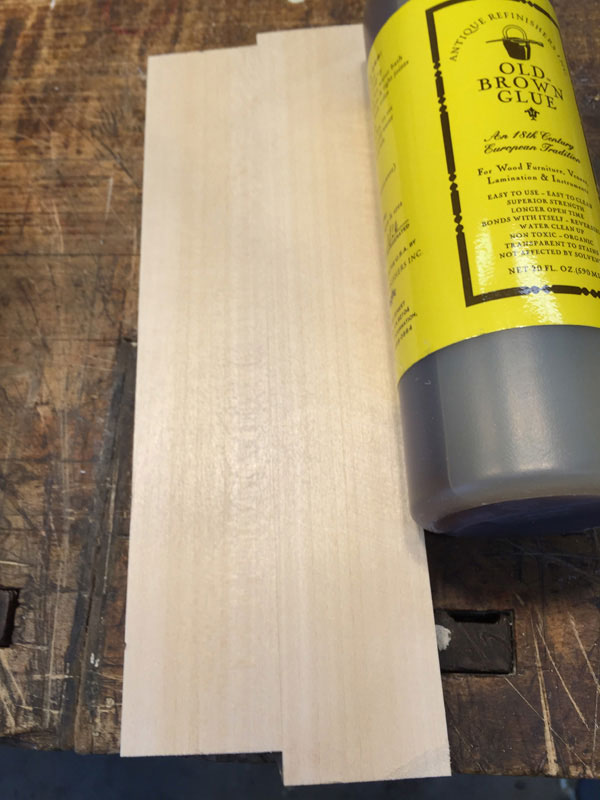
Fortunately, basswood is largely straight-grained so laminated legs might not show a highly visible glue line. I did a test on some of the lumber I had brought home, using
Titebond III
, Weldbond, Elmer's, and
Old Brown Glue (OBG)
. All mating surfaces were run through my planer at a slow feed rate.
While all test pieces looked good, I chose the
Old Brown Glue (OBG)
for this project since I might need a long open time to put it together.
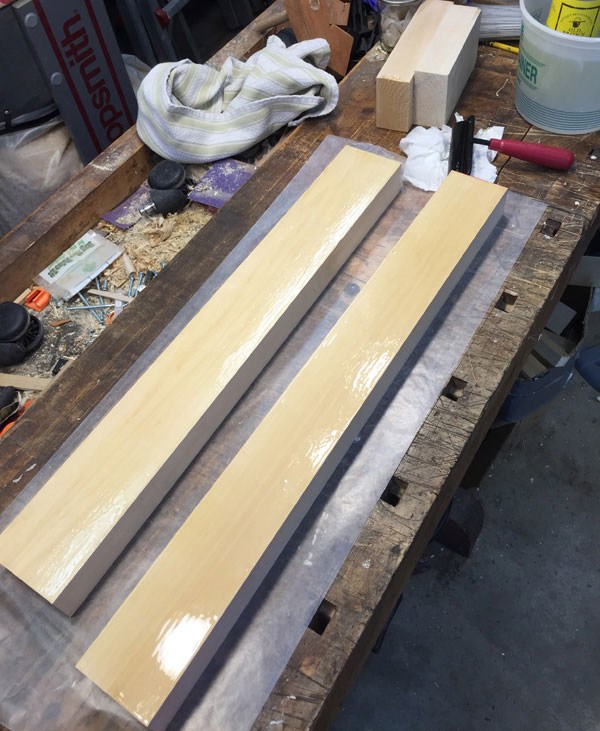
This table turned out to be a practice run for the thicker legs by laminating 8/4 sticks together.
My choice of the OBG was fortunate since I did not have enough clamps for all 4 legs and for one of the laminations I neglected to wash off my glue roller. My good luck held and it reconstituted with hot water, as advertised, which allowed me to clean the roller.
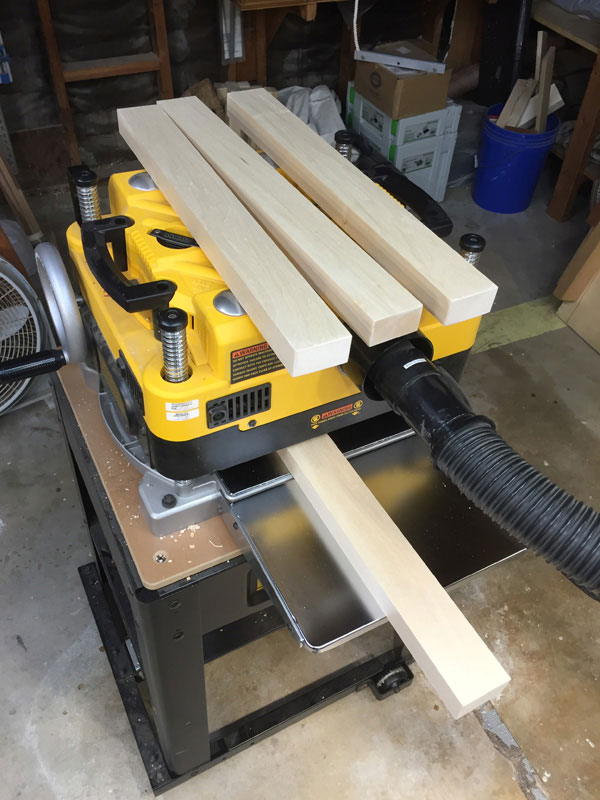
While waiting for the leg laminations to set, I jointed, flattened and sized the pieces for the skirts.
Then I cut the skirt piece to length. All four pieces are the same length between the legs since this table is symmetrical.
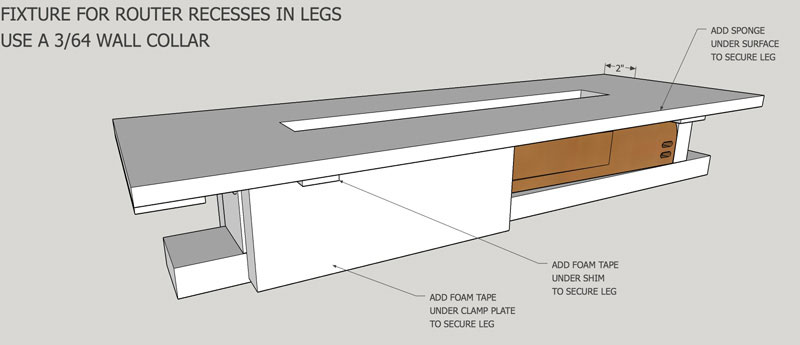
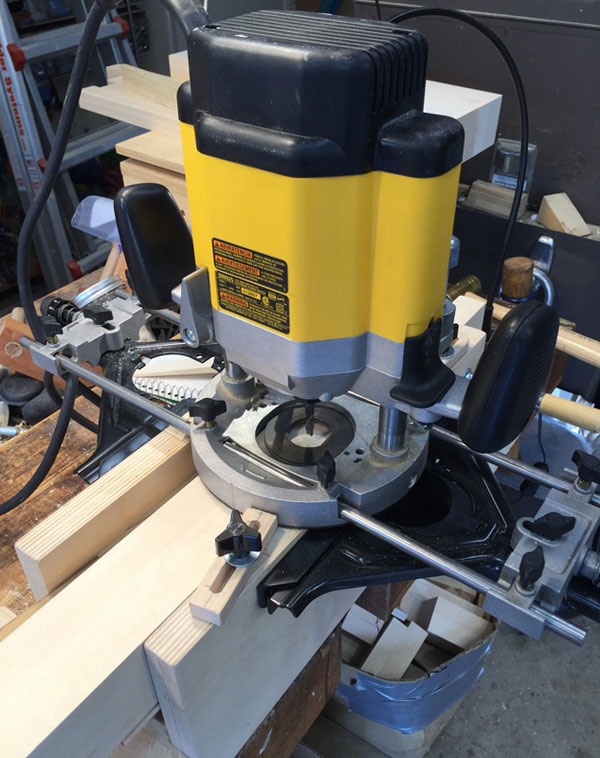
The legs needed a tapered recess on each side. A router was my best bet so I used SketchUp again to design a fixture that would angle the leg so that the recess at the bottom of the leg was 1/4 inch deep and tapering to nothing at the top.
First use was on a test leg.
The test leg came up short at the top: a step, not a smooth transition.
That was remedied by adding a shim to the rear post to increase the angle of the router surface.
Perfect!
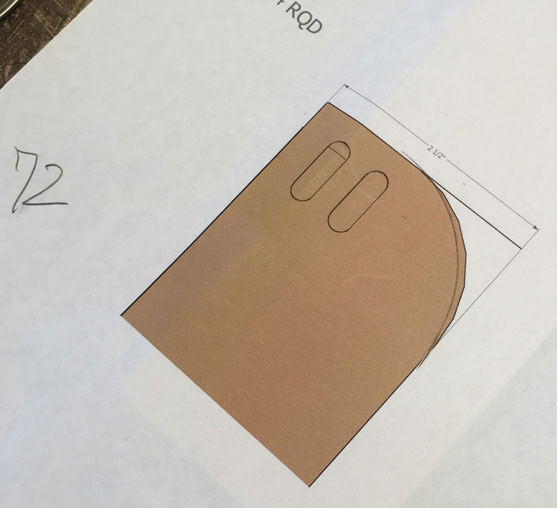
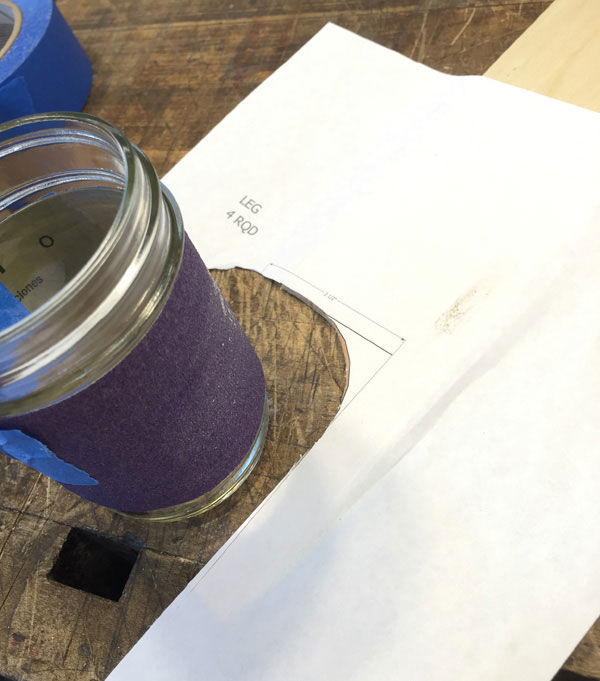
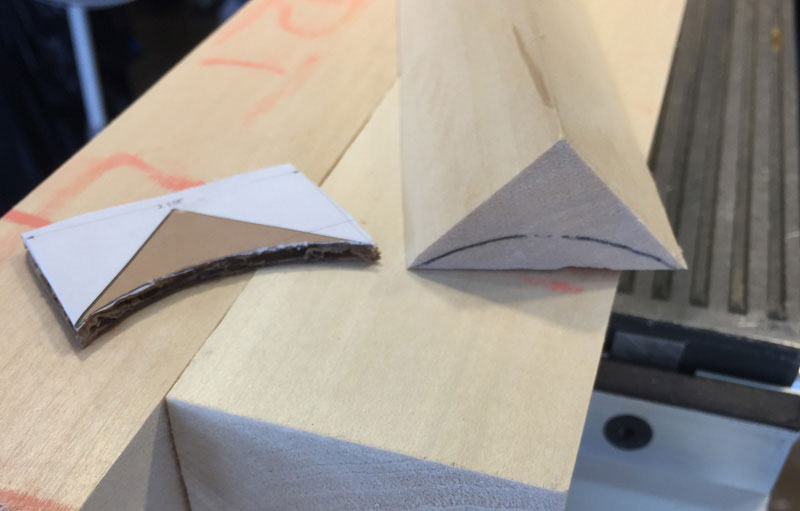
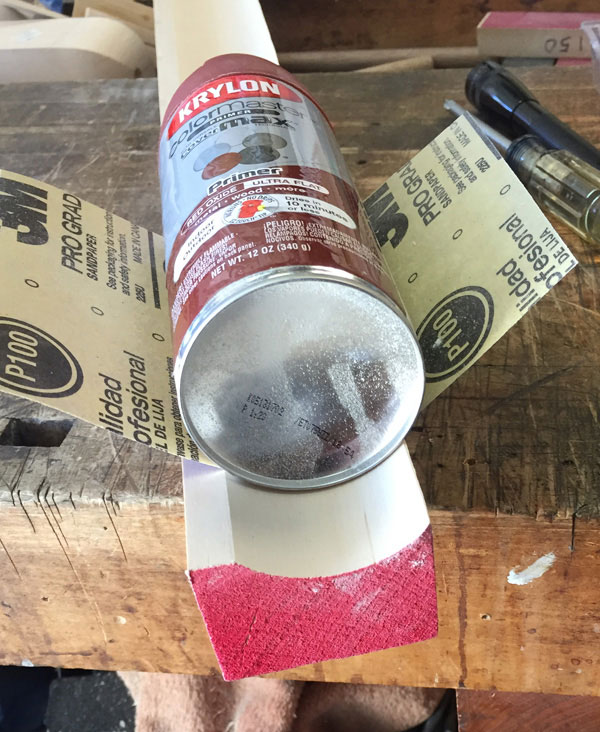
Two sides of the top of each leg are radiused approximately 1-1/4 inch, as are the skirts. To make a template for checking those radii I printed out a full-size curve from SketchUp.
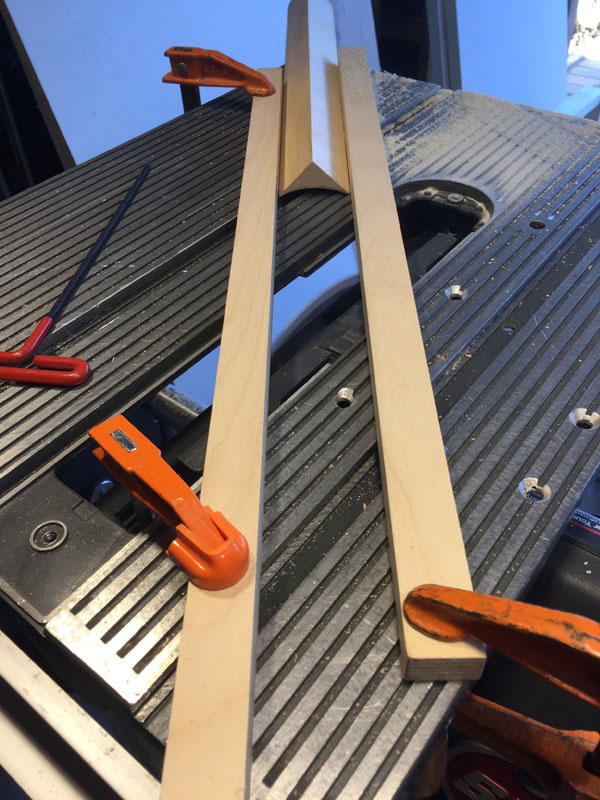
I pasted it to a wood strip, then used a jar lid of approximately the same radius as an aid to slice through the wood. Sandpaper on the jar allowed me to smooth out the rough cut.
Guides were glued to each side of the template to make it more accurate in locating the radius on each part.
To get the template location exactly where I wanted it, I added tape until my line ended on the top and the side edge of a leg.
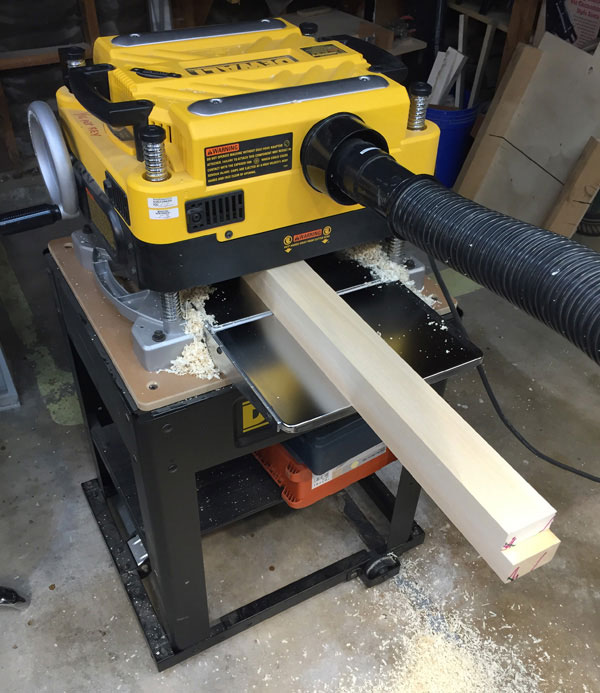
When all four leg laminations were dry, I jointed two faces to exactly 90 degrees, and then used the planer to square them to the correct dimension.
And then cut them to the proper length.
I like to use slip tenons because mortising is easier than making tenons. A single length of slip tenon can be made all at one time and then cut to pieces that fit in length, plus they can provide a small amount of wiggle room at assembly.
Rather than one large tenon, I decided to use 2 small tenons that would allow that wiggle room at assembly, plus almost double the amount of long-grain to long-grain glue surface.
I had watched
Tim Rousseau's Taunton Workshops class on Machine Joinery
and built his Miter Box for mortising, which included his two fence guides.
Because the same skirt face must be against the reference miter box surface, the skirt must be flipped end to end and so the skirt-to-top-of-the-leg surfaces will not always match up. The use of slip tenons with some wiggle-room will aid that alignment at glue-up.
The possible misalignment means that the mortises in the skirt must be dead-on centered up-and-down so that the skirt alignment in the mortise box will determine where the stop block is to be placed.
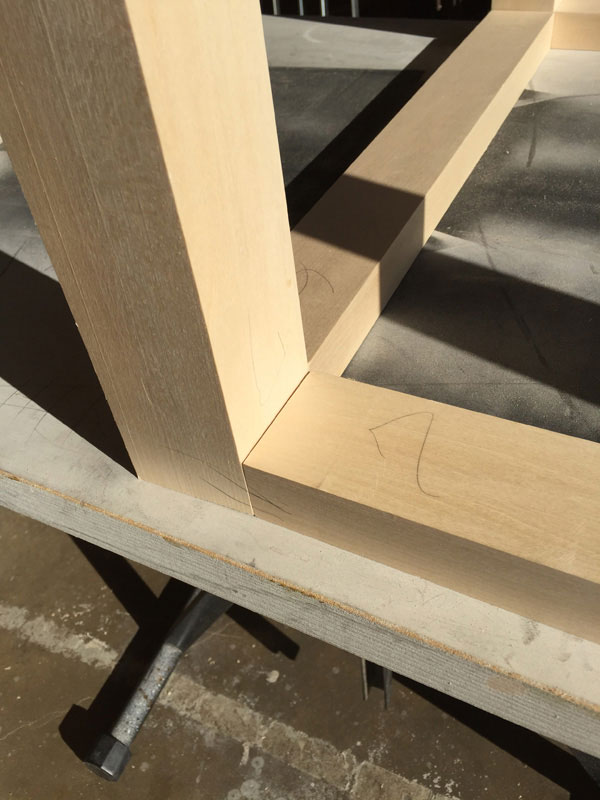
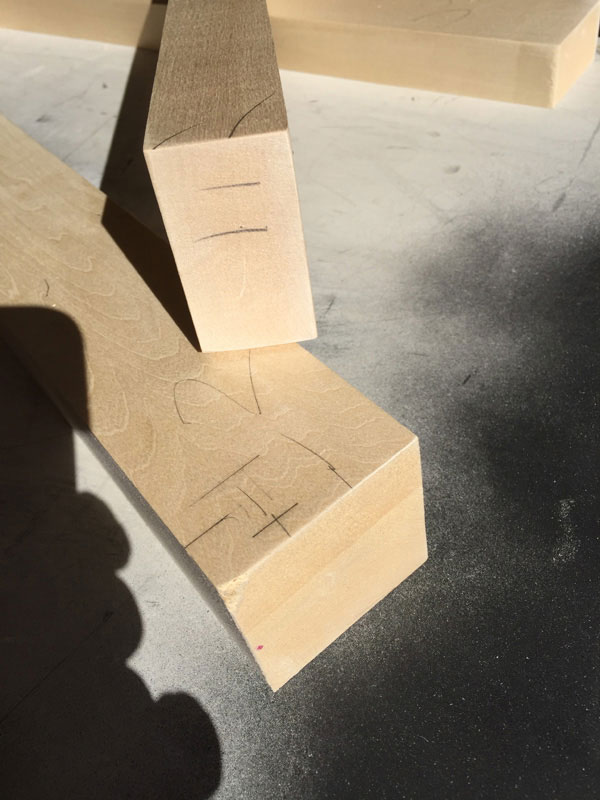
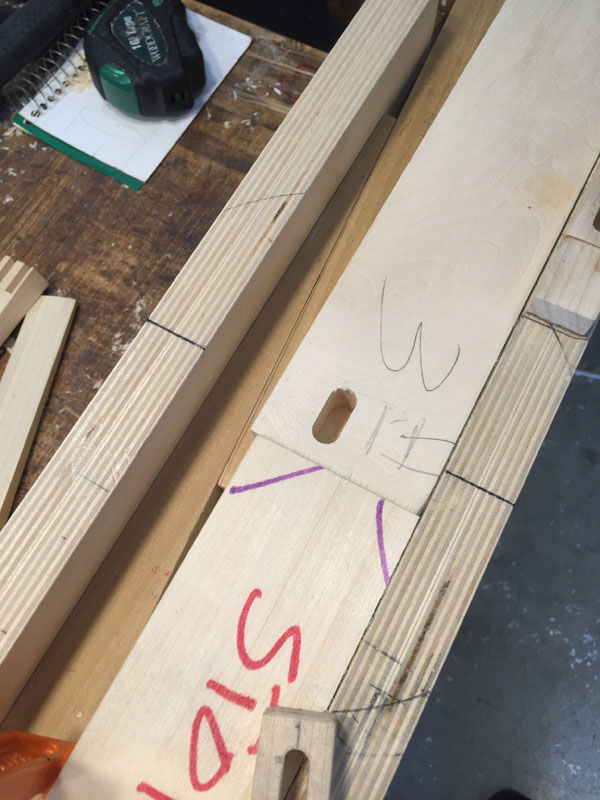
To be sure that I placed the parts correctly in the mortise box, I assembled the legs and skirts, marked each joint with a number, and marked the side reference faces.
I also marked the approximate mortise locations on each skirt and leg.
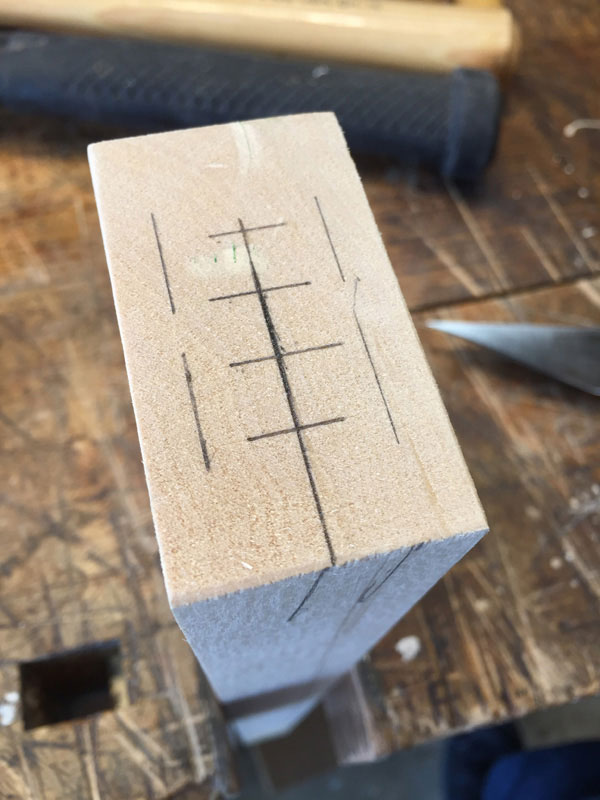
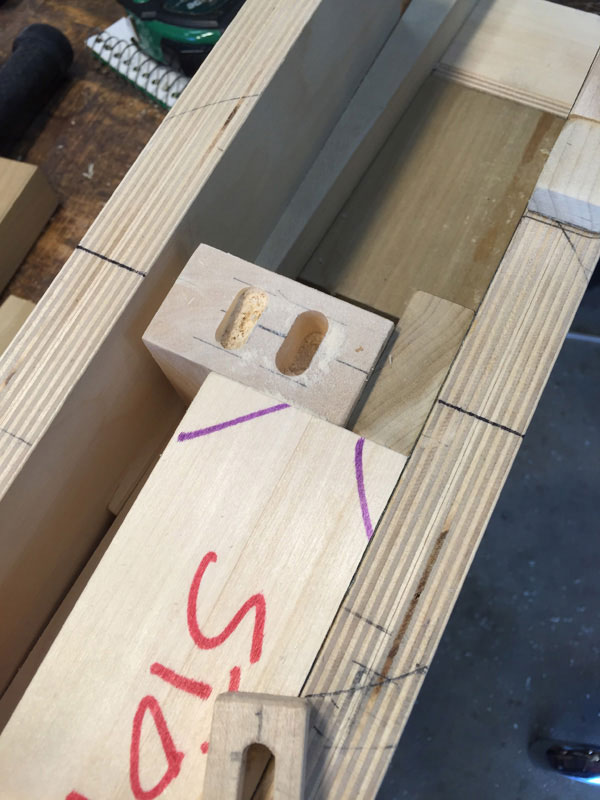
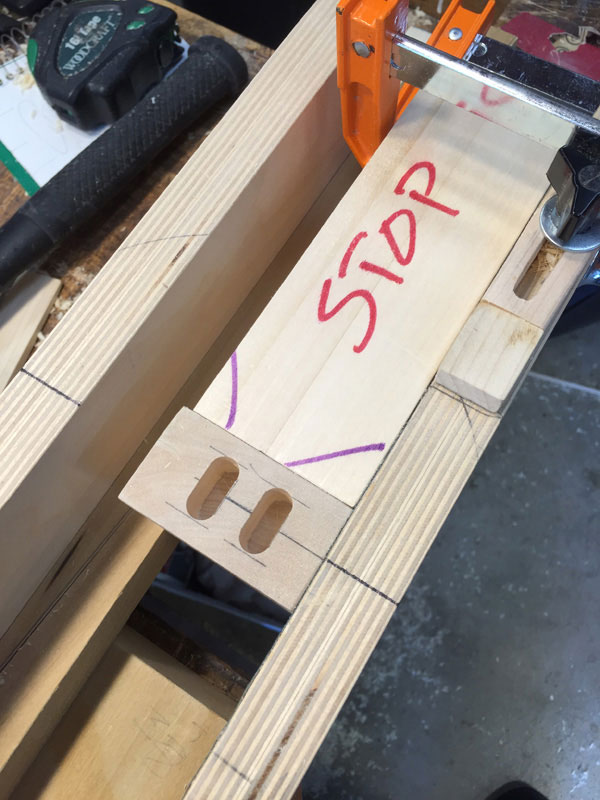
I defined the exact centerline of one skirt and located the sides of one mortise with a
Marking Knife
and the top and bottom of the mortise with a pencil. The marking knife lines are highlighted for clarity.
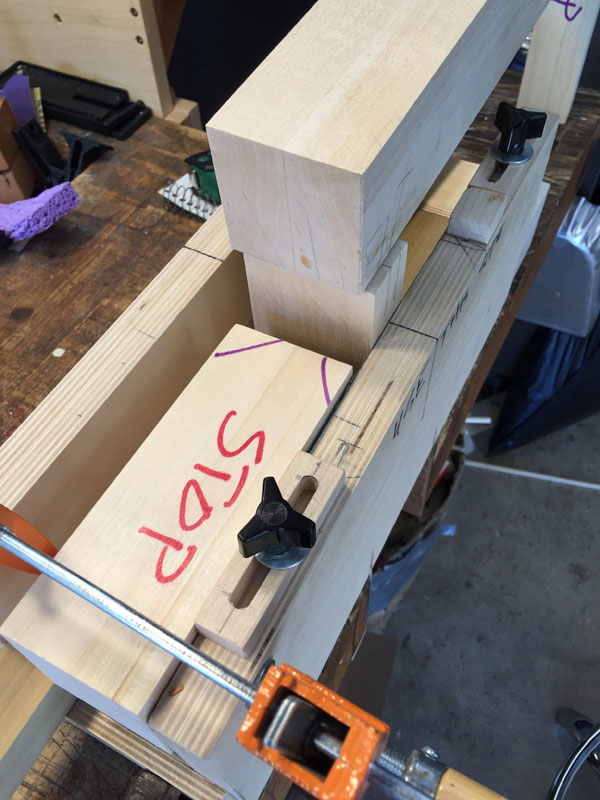
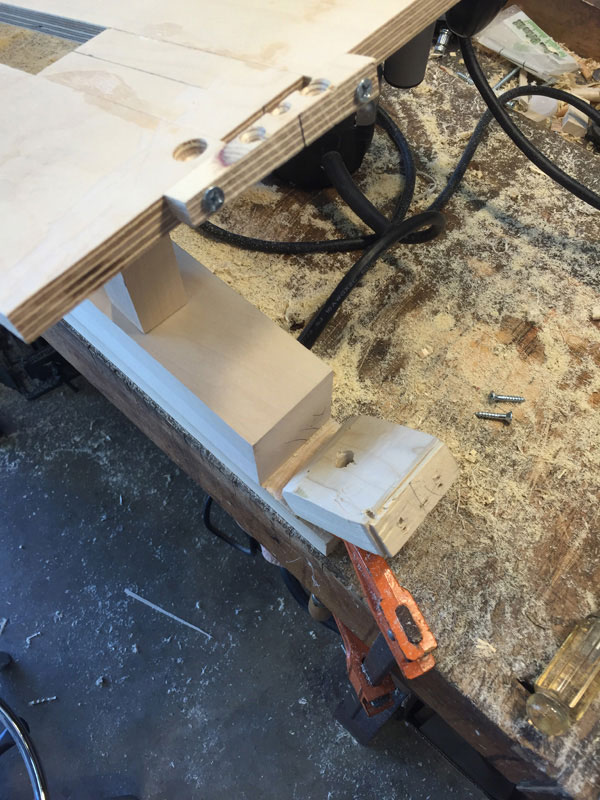
The position of the stop block for this configuration joint was set by placing the skirt and mating leg together in the mortise box.
The skirt is locked in for routing the mortises.
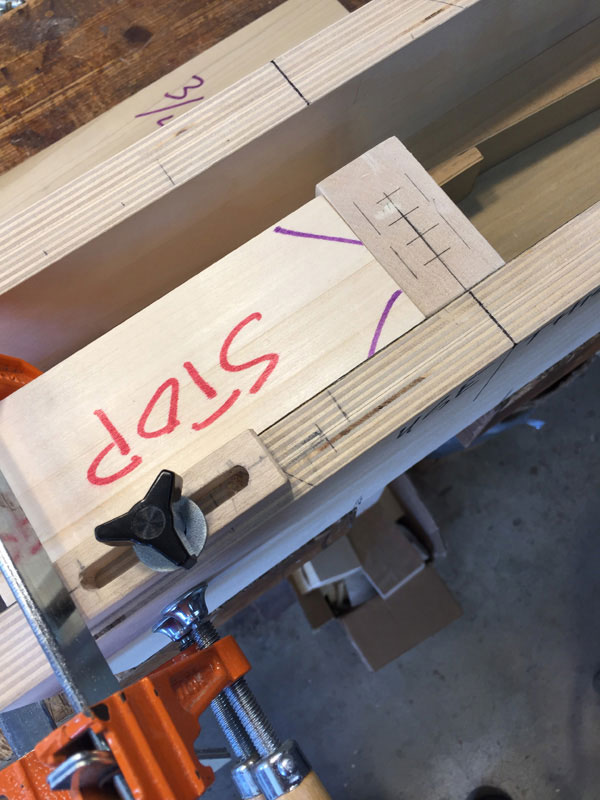
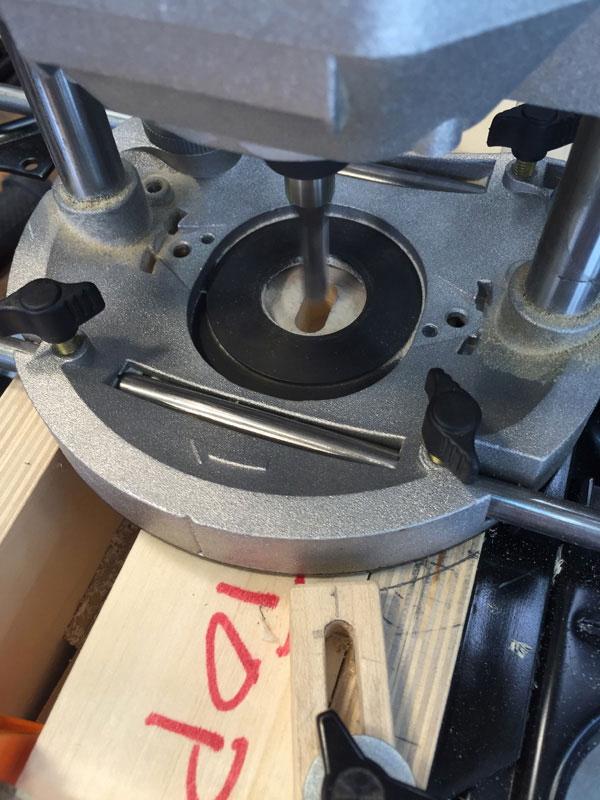
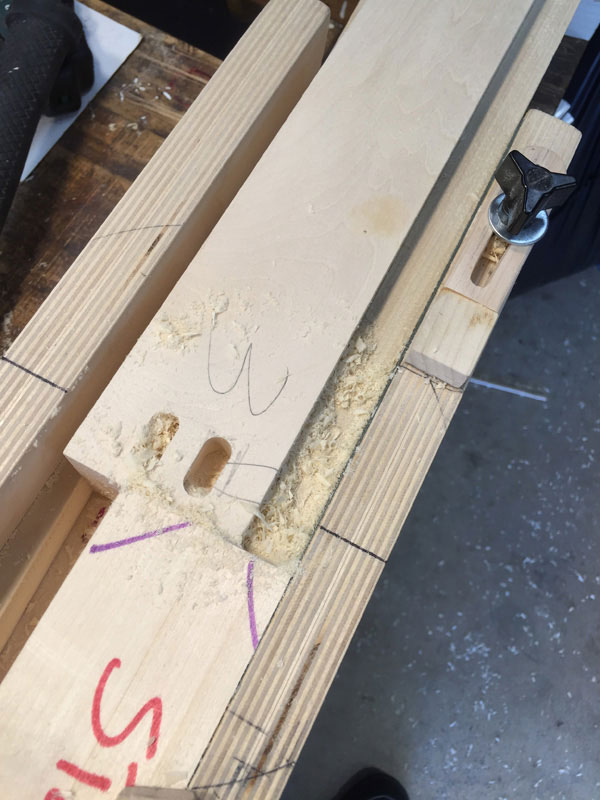
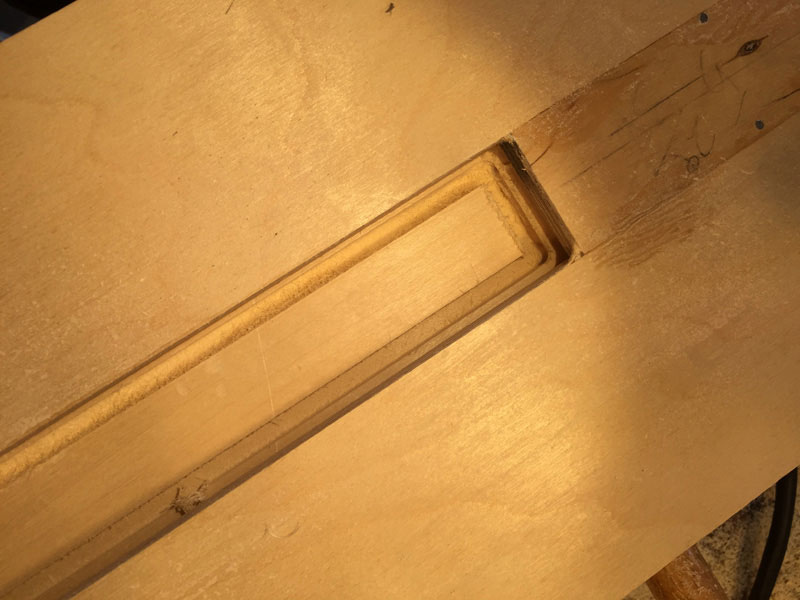
The outer-most mortise is done first.
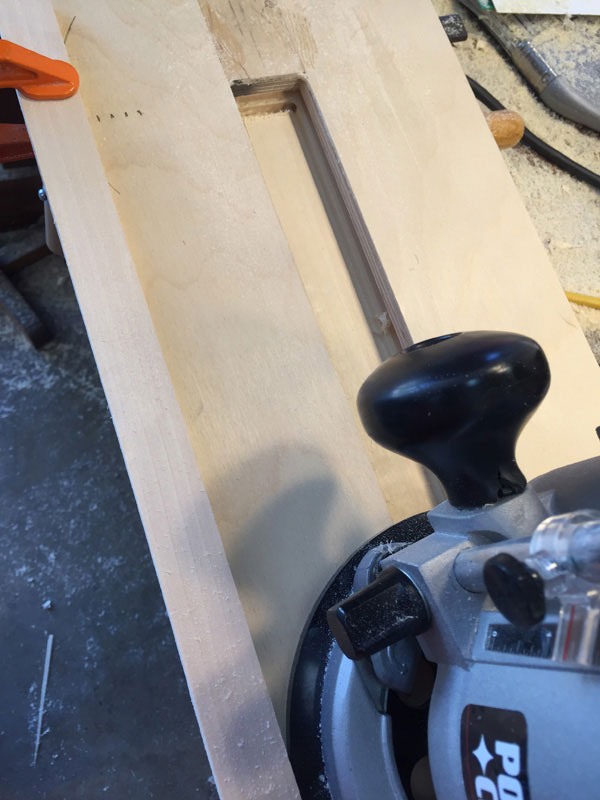
Then a 3/4 inch shim is installed and the inner mortise is routed using the same router position.
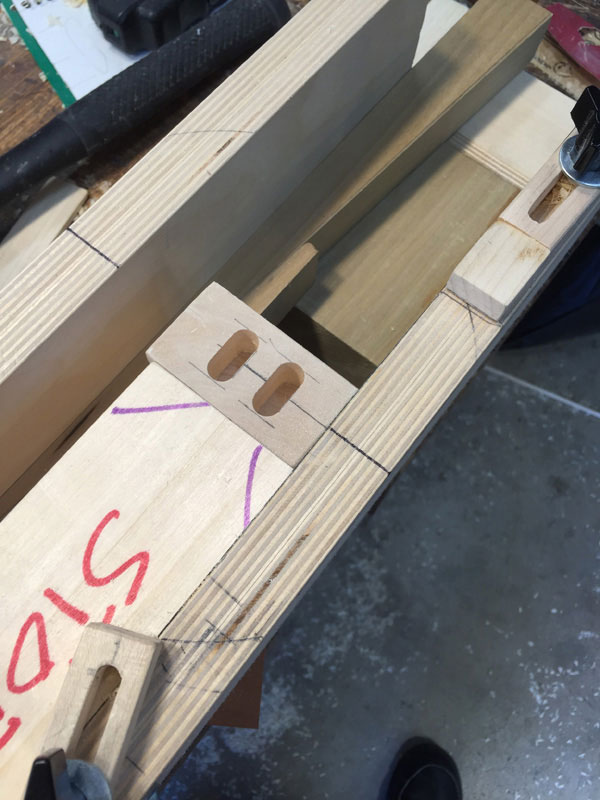
The mating leg is installed and the same process routs two matching mortises.
To mortise the other joint configuration, the original skirt was re-installed and the stop block was moved to the other face.
The other faces of the legs were then mortised as before.
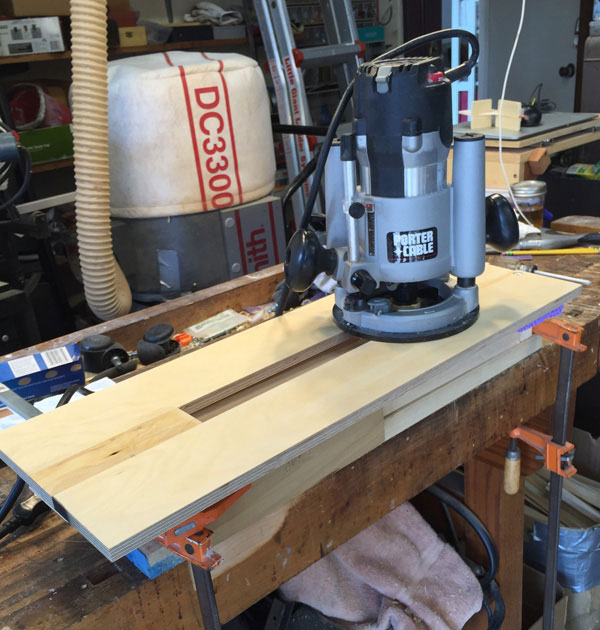
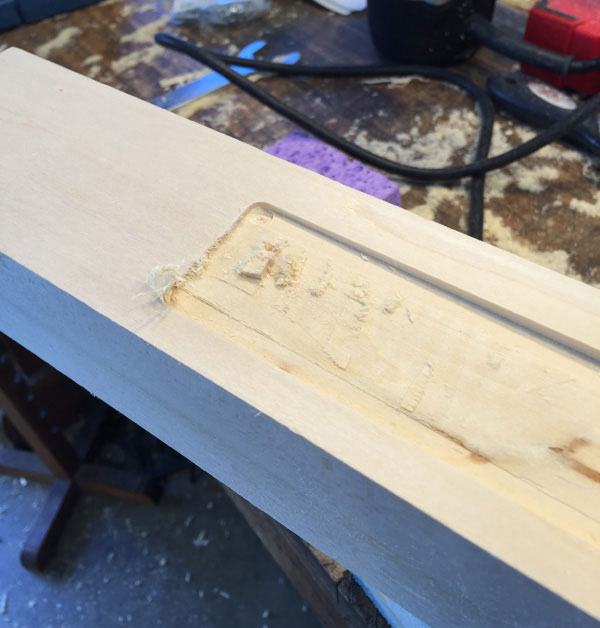
Before rounding-over the legs, I decided to rout the tapered recess first. From the routing on the test leg, I realized that the rear support needed to be hinged, making it much easier to install and remove a leg.
I also learned that it was better to route the complete perimeter first.
Next, I routed straight passes by marking increments and aligning a board to guide the router. Previous 'random' passes had left a surface too uneven, which would have required much sanding work. I realize these are climb cuts but the router is under good control and the depth is 1/4 inch at the most.
I learned to check for and remove any material winding around the router bit after each pass. During the test leg routing, enough material got wound up that the stop collar had partially unscrewed during a pass.
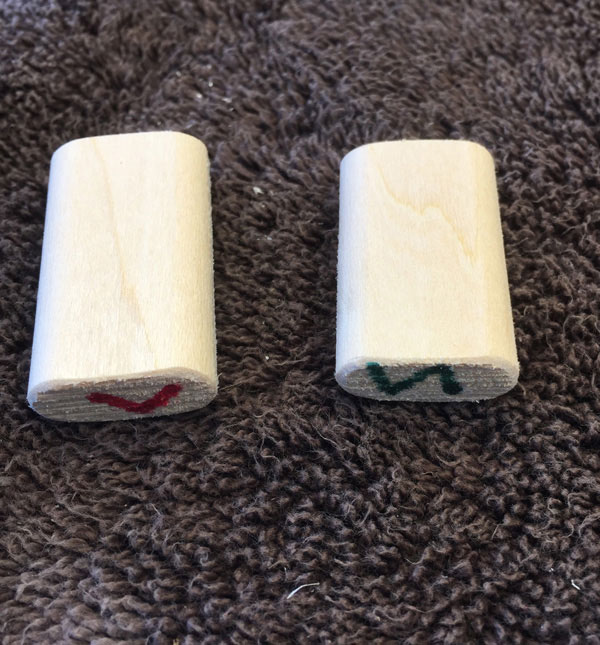
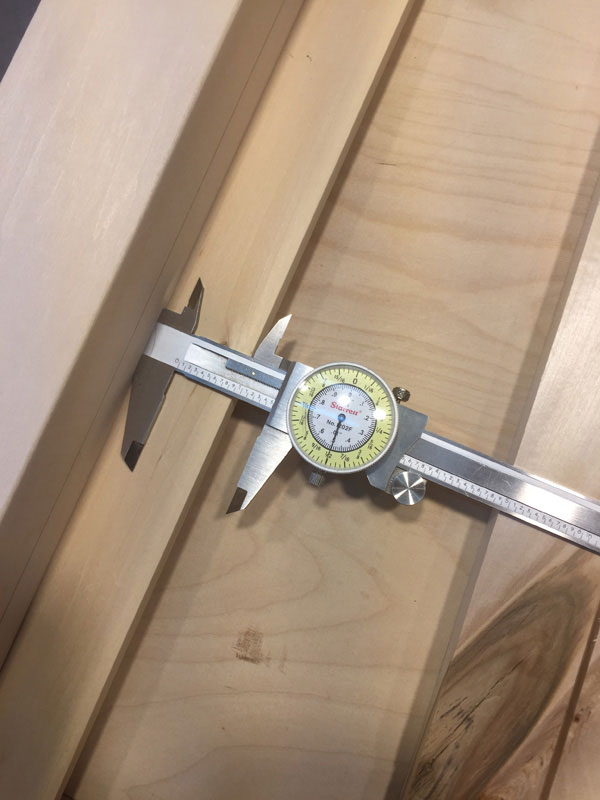
With all four legs routed, it was time to make the slip tenons. A couple of strips of material were sized in my planer to a good fit in mortises. The length of the mortises turned out to be 7/8 inch so a 13/16 inch tall slip tenon would give me about 1/16 inch play in the mortise. That was to be my wiggle room at assembly.
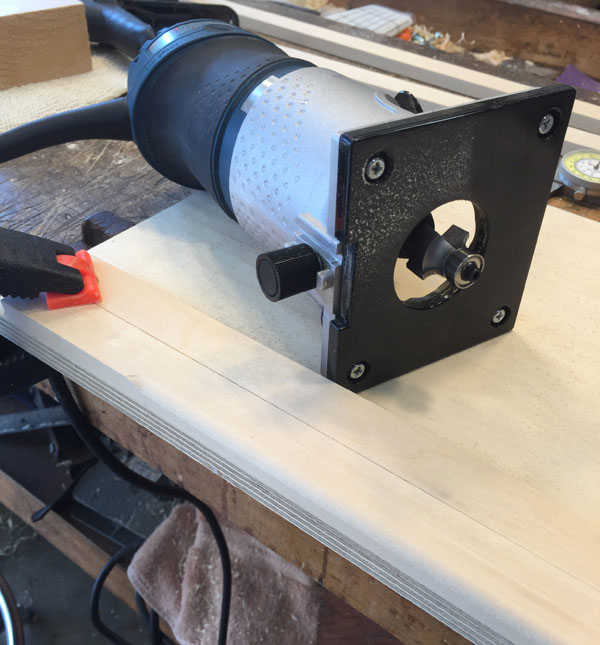
A 3/16 inch
Roundover Router Bit
was used to match the rounded ends of the mortises. Since the slip tenon thickness was less than the height of the bearing on the bit, I used plywood under the slip tenon material to guide the bearing when a rounded side was down. Another piece of tenon material provided extra support for the router base.
The long slip tenon is 1-1/2 inches and the short slip tenon is 1-3/8 inches.
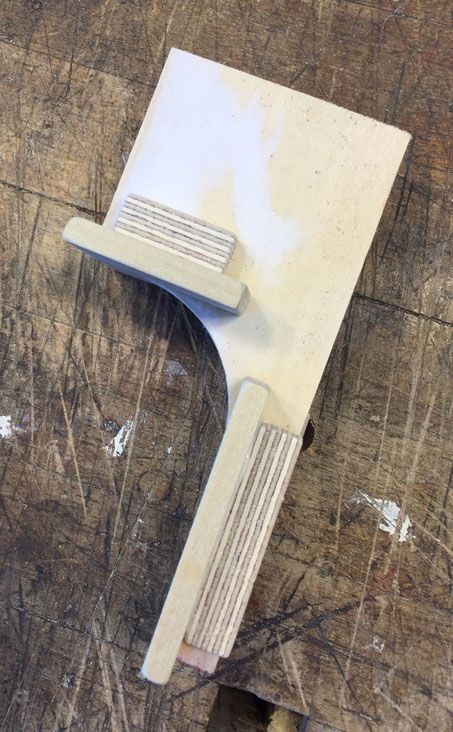
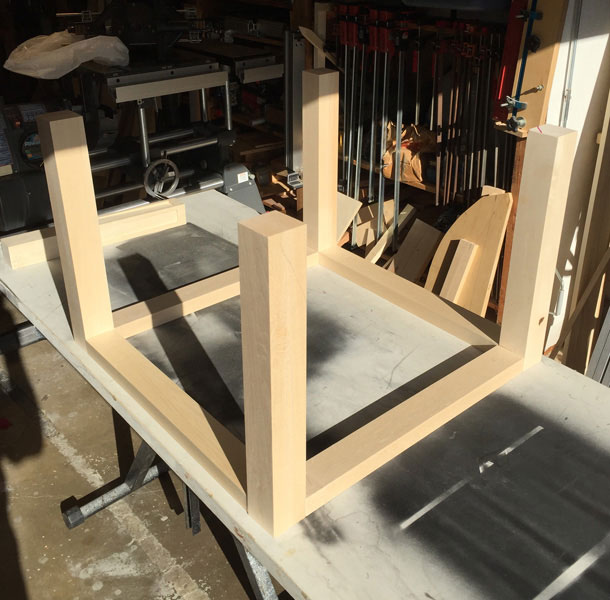
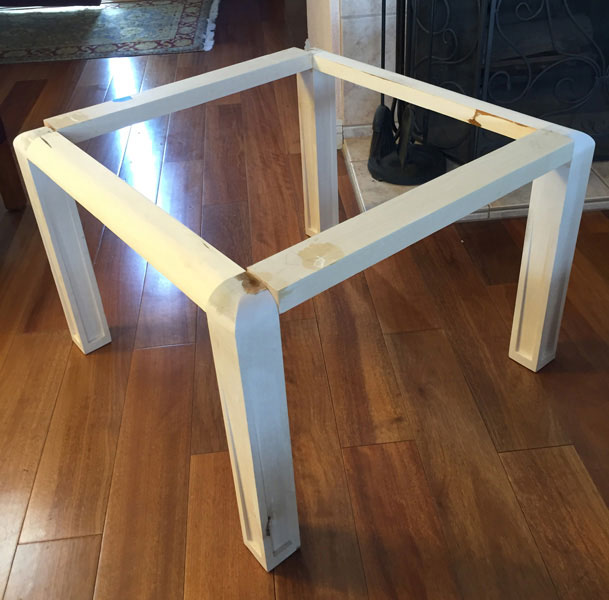
Having tenons means the table base can come together.
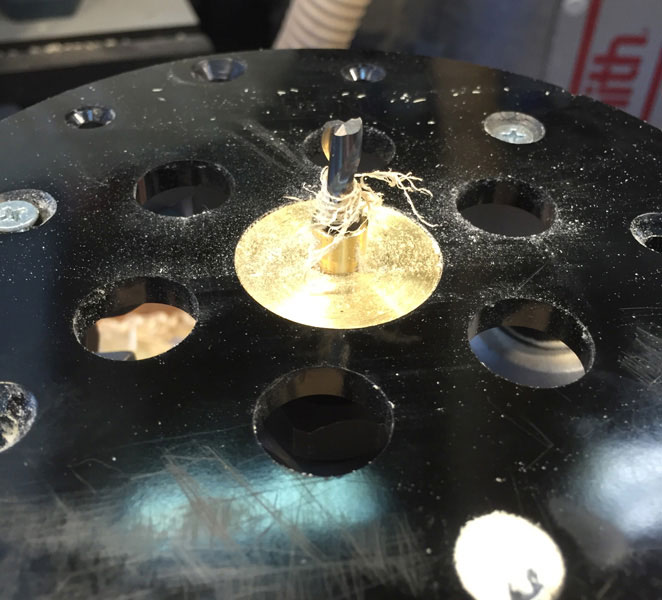
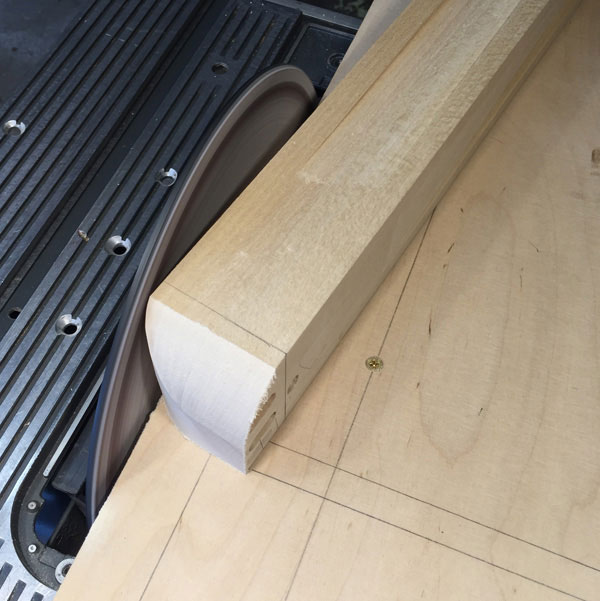
I had intended to remove the waste on the curved top of the legs on my bandsaw but it is currently out of commission waiting for a repair part.
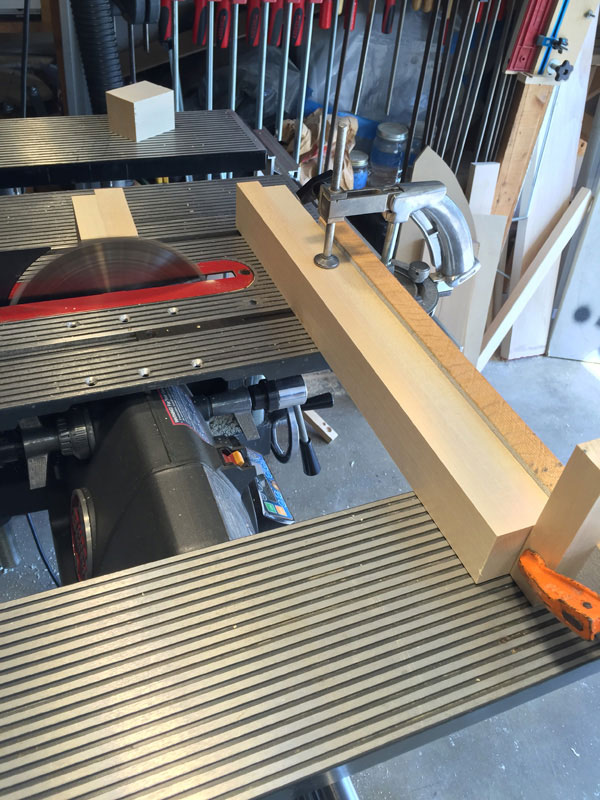
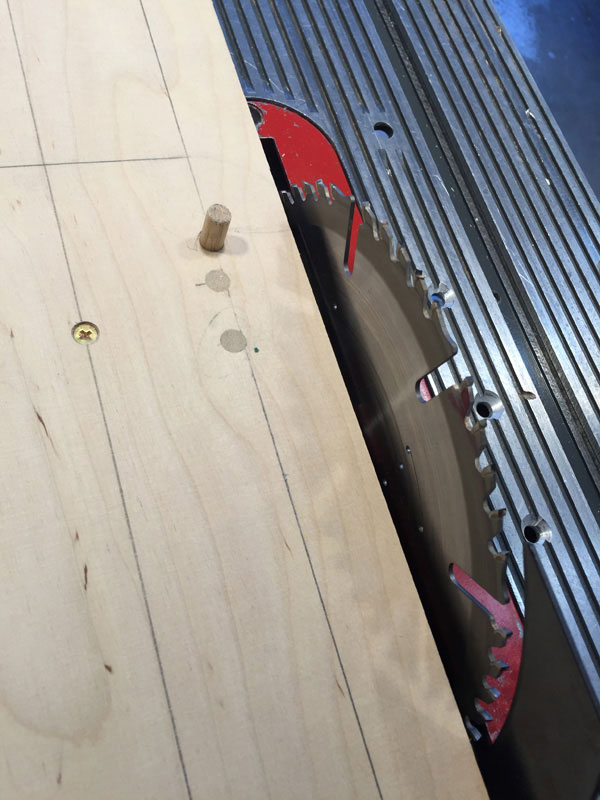
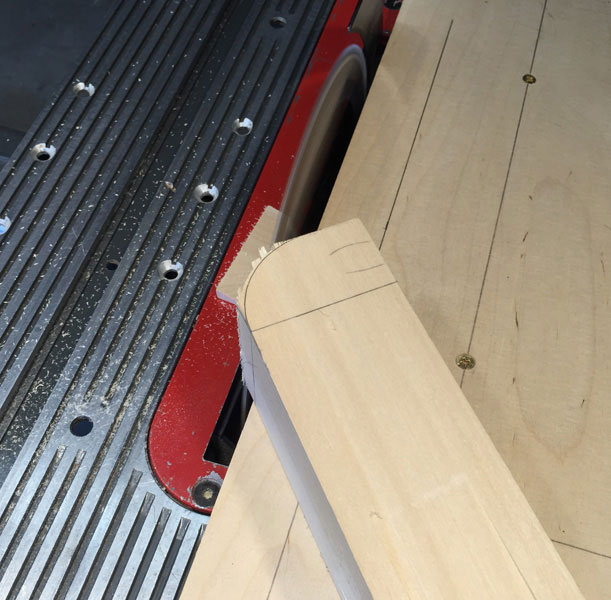
Since I had always intended to sand the curves smooth on my disc sander I used the jig for rotating the legs on my sander to make repetitive small cuts on the table saw to remove most of the waste.
Never having done this before, you can see that I snuck up on the dowel location. The proper location turned out to be my original calculation shown by the pencil line.
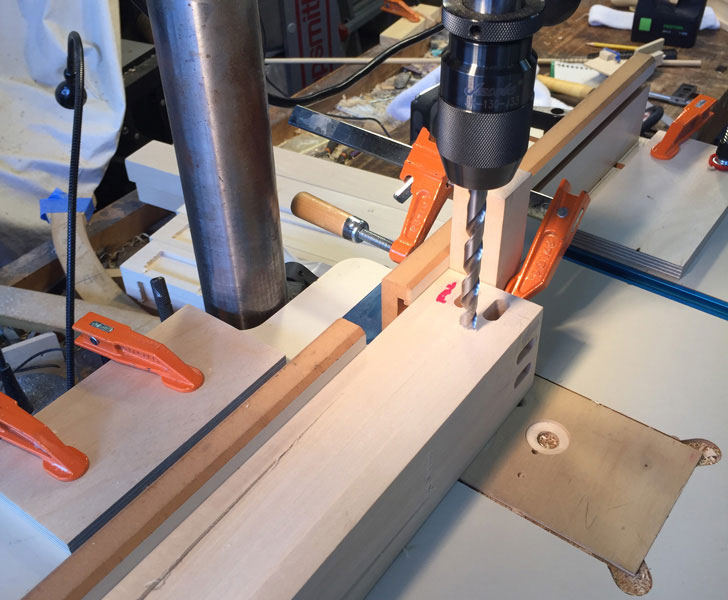
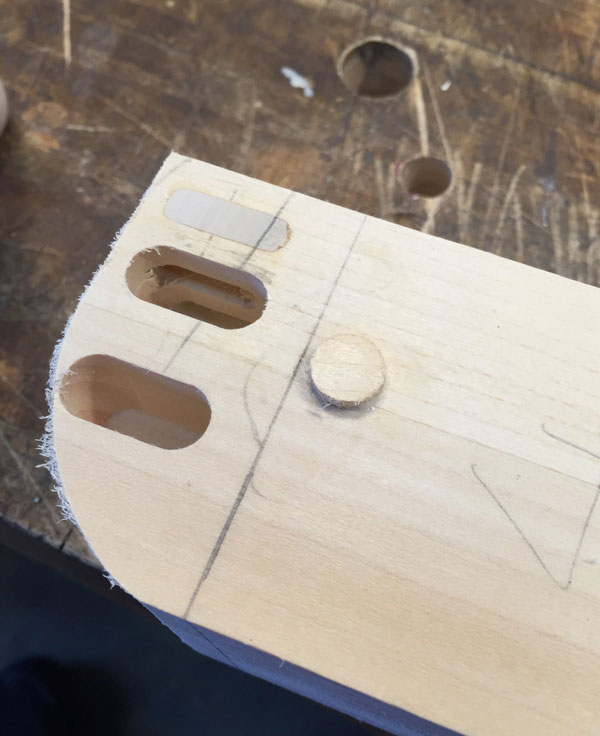
The locations of the turning holes in the legs required two setups on the drill press. These locations were verified on a test leg before drilling the real legs.
The holes being just below the skirts mean they will have to be filled. Since they are located under the glue blocks they will not be visible in the finished table.
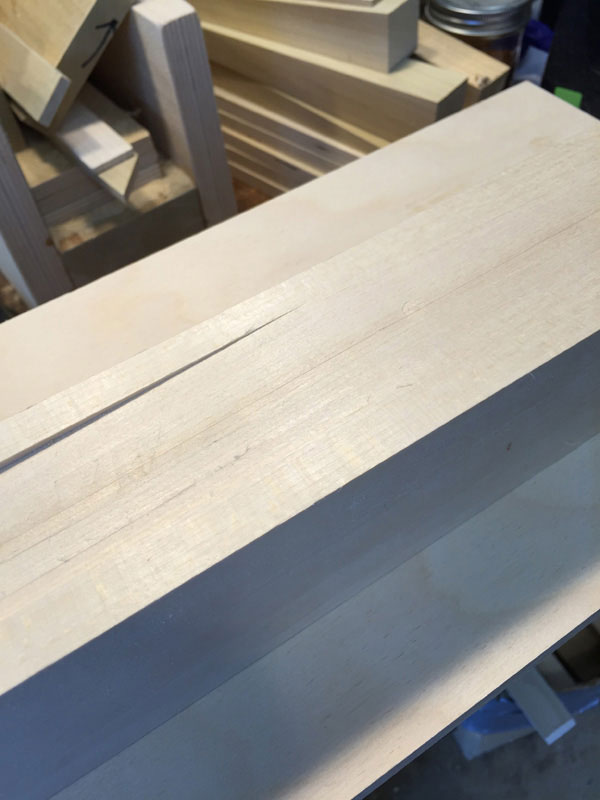
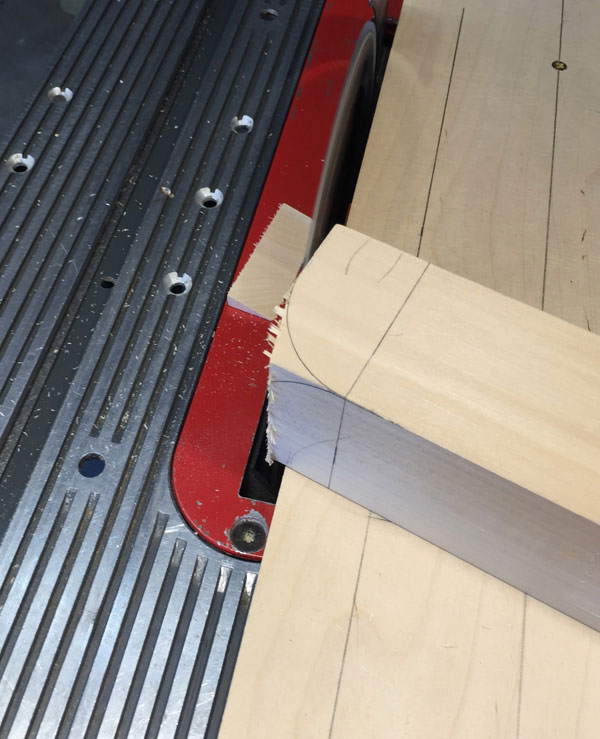
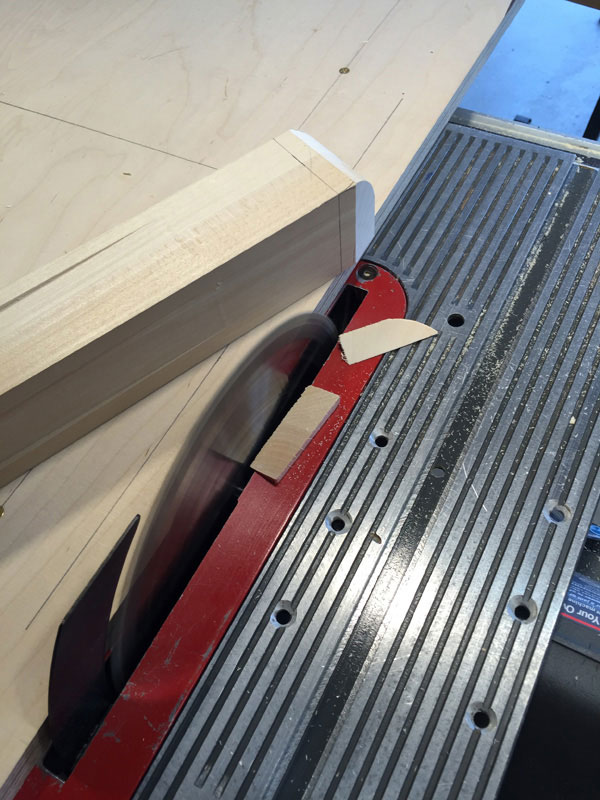
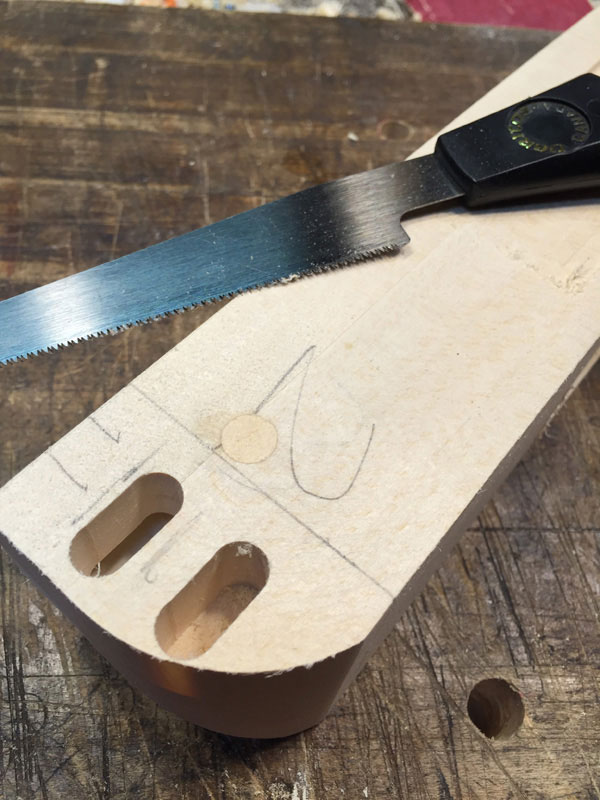
One of the curved faces was cut by repeatedly rotating the leg slightly above the dowel and then pushing it through the blade. Pull it back, rotate again, and repeat.
The 2nd face had to be pulled through the blade.
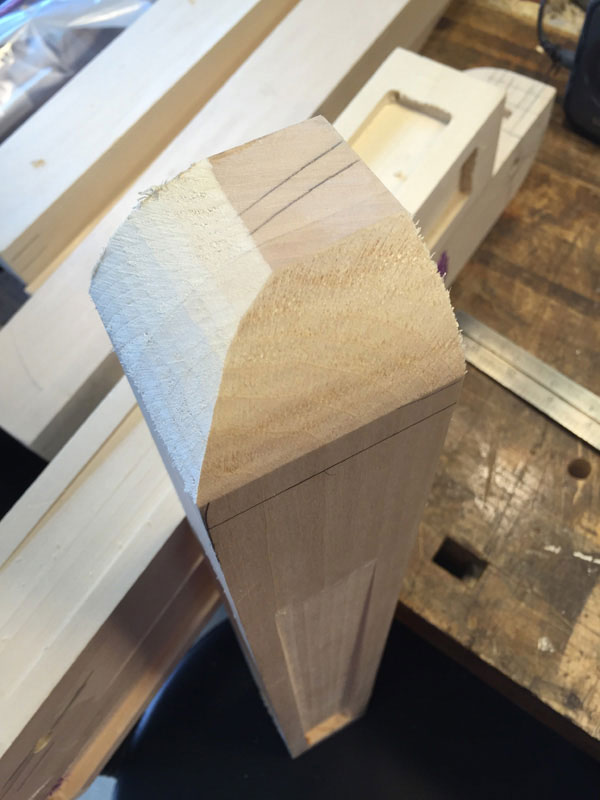
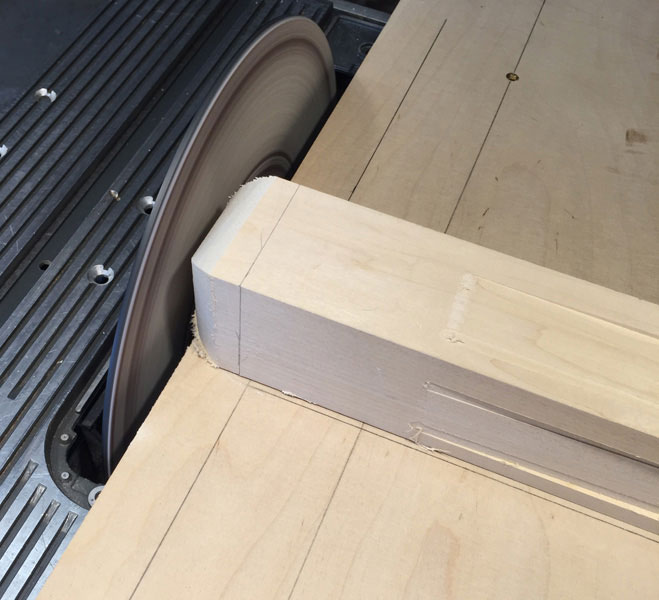
The bulk of the waste was removed rather neatly, leaving the desired form at the top of the leg.
The same jig was used in the same fashion to smooth the faces to their approximate final forms. I prefer to finish the curved surface by hand.
The holes were plugged with basswood plugs and cut flush.
The legs and skirts are now ready for finish sanding before attaching the skirts and then faring the skirt curve to the leg curve.
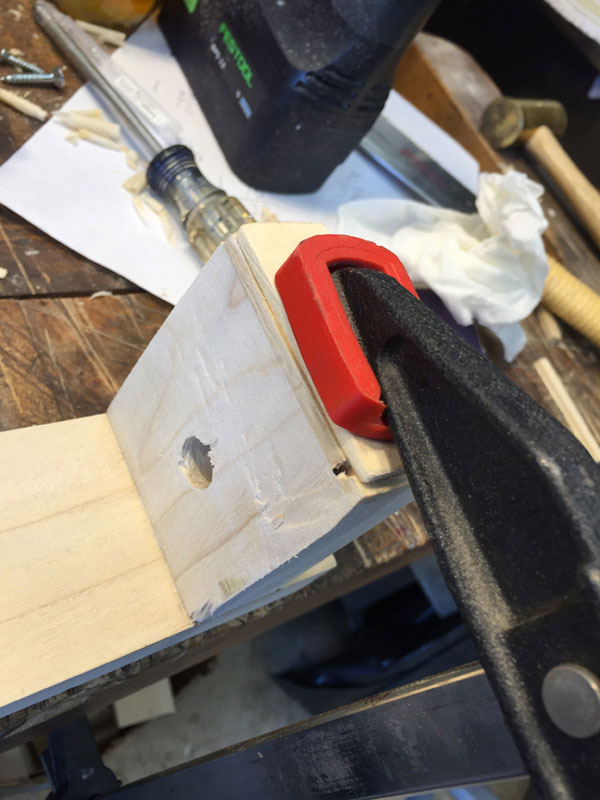
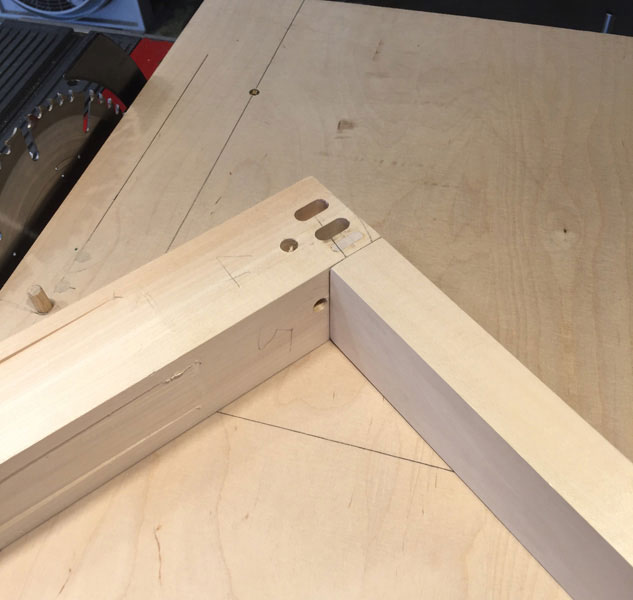
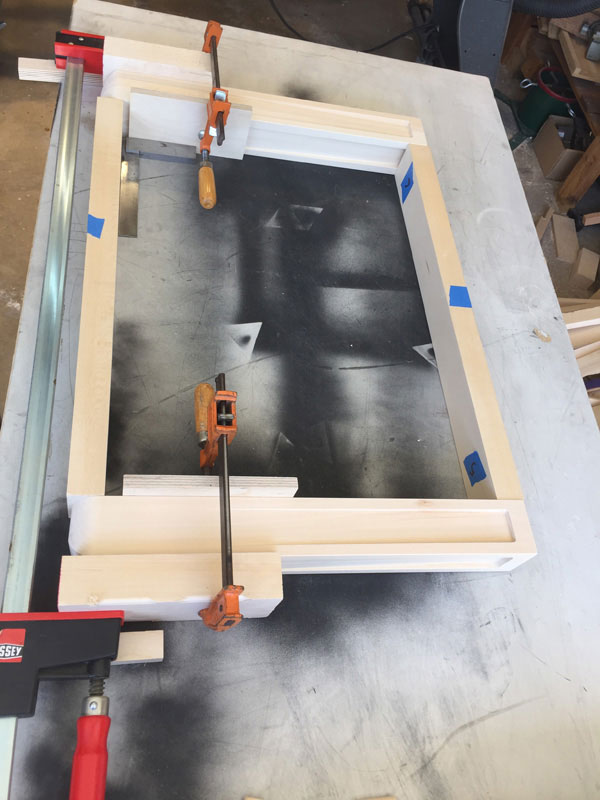
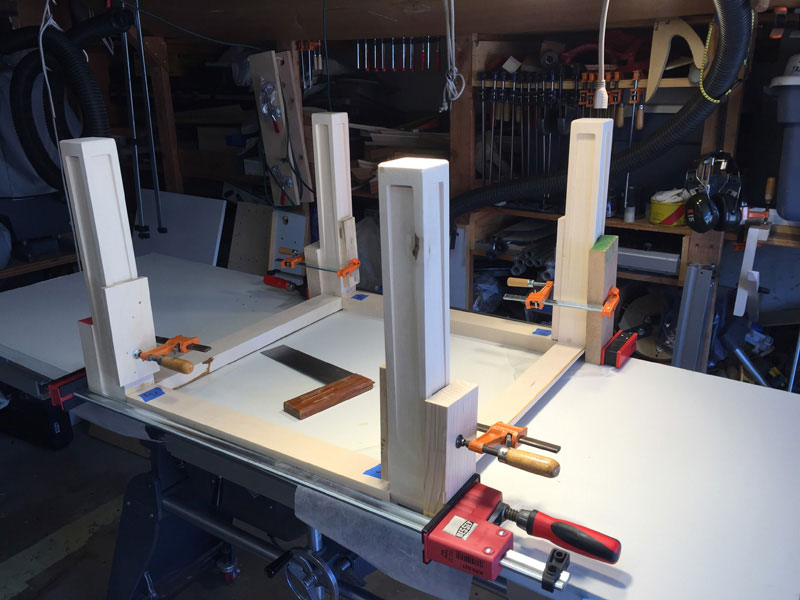
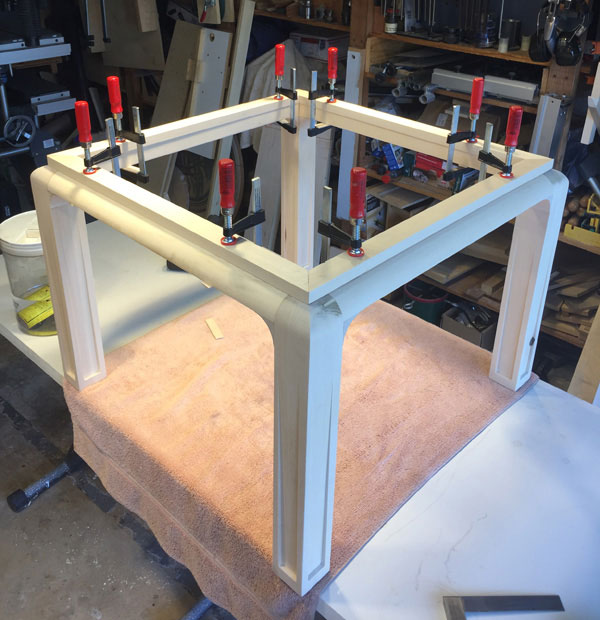
Through trial and error during dry fitting of legs to skirts, I found that laying the legs on their side and putting another skirt between the ends of the legs helped to keep the leg/skirt joint at 90 degrees. Lesson learned: on the next table project make 'extra' skirts. Because of the curved tops of the legs, I needed to flatten the clamping piece to the leg with a board on the inside of the leg.
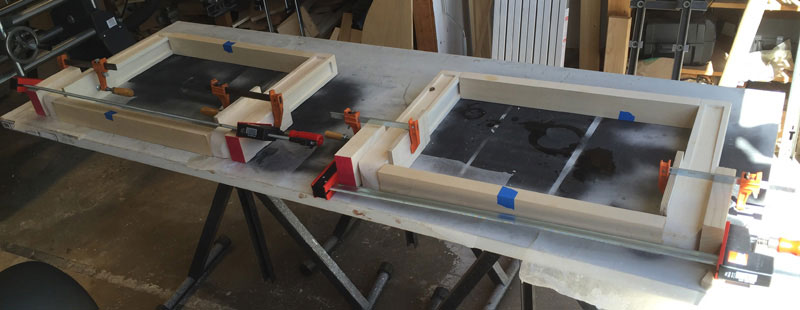
With the dry fit complete, I glued up the opposite sides of the legs and skirts.
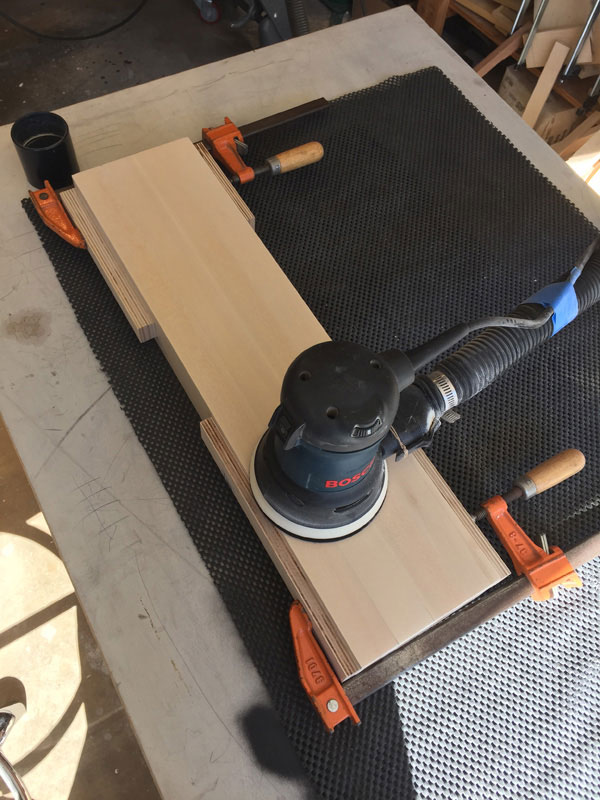
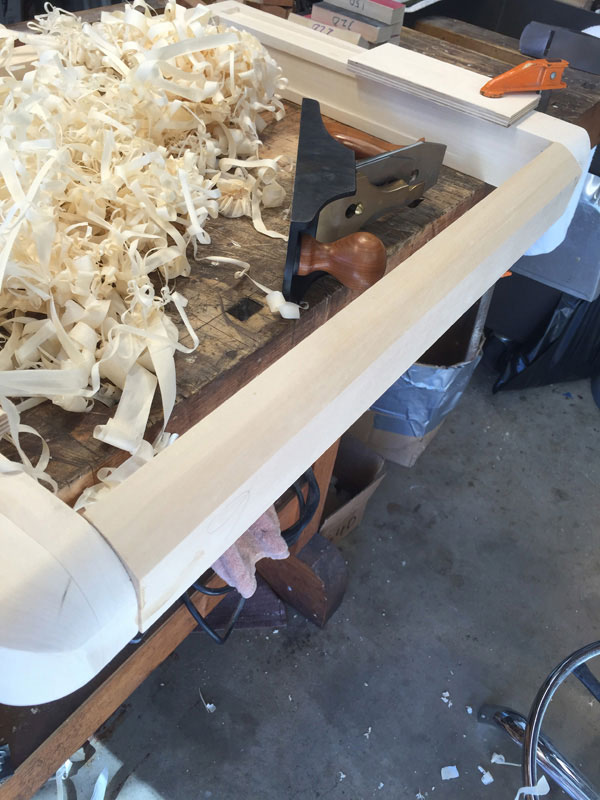
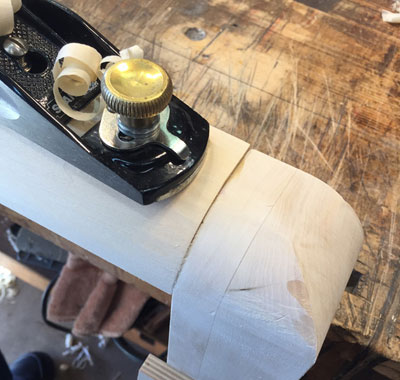
The skirts were faired into the legs using my
No. 4-1/2 Plane
first, switching to a block plane for finish shaping and then closing with P80 sandpaper.
I could really use a
light scrub plane
instead of that heavy 4-1/2!
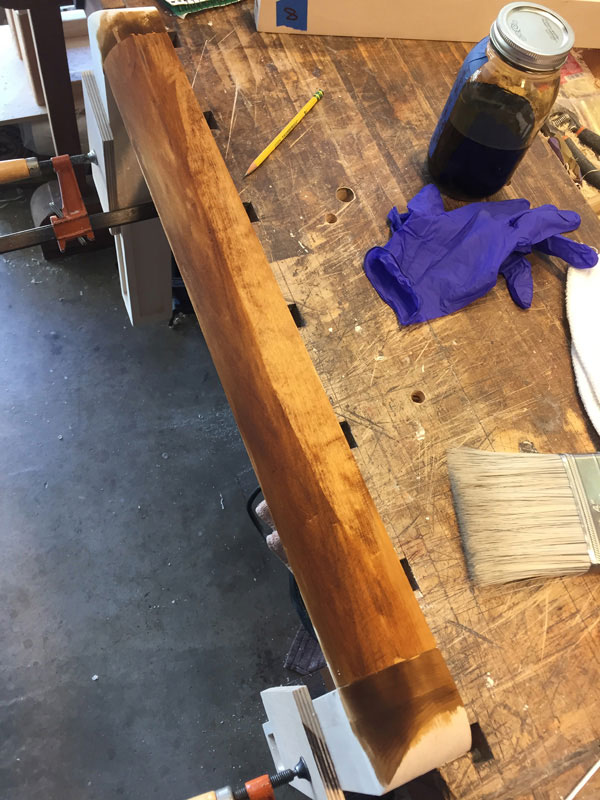
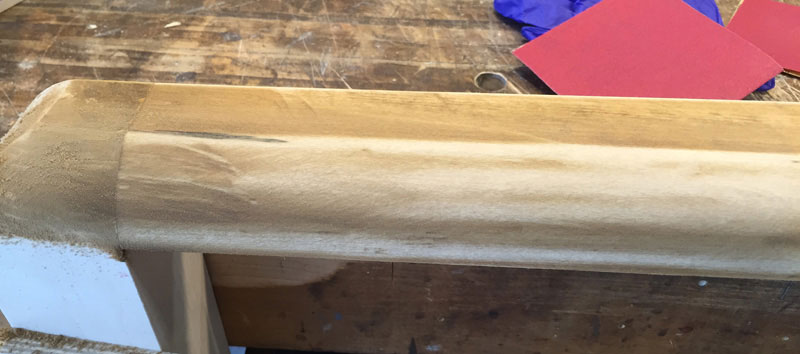
Since I have a rounded surface, it's difficult to assess if the surface is really smooth with no nicks or valleys. I decided to try Charles Neil's 'trace' sanding method. First, I put a light coat of a water-based dye of approximately the final color.
And it worked by showing the low areas on the rounded edge.
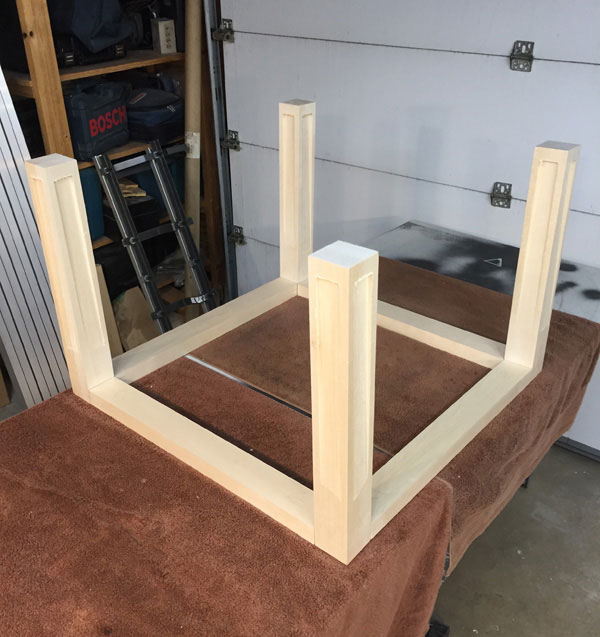
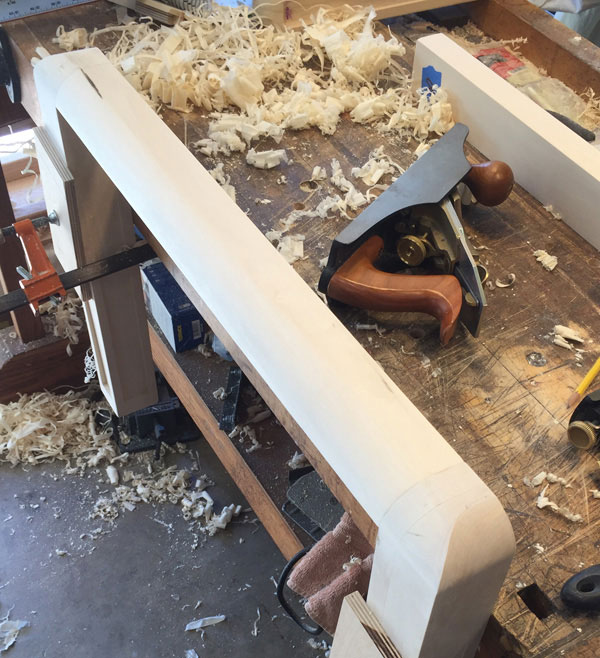
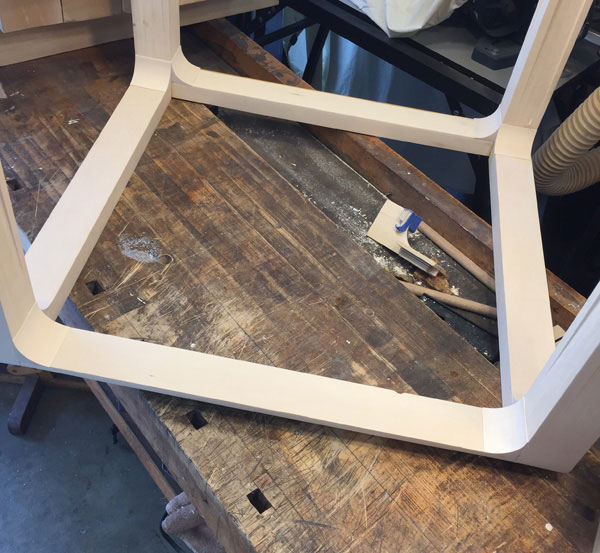
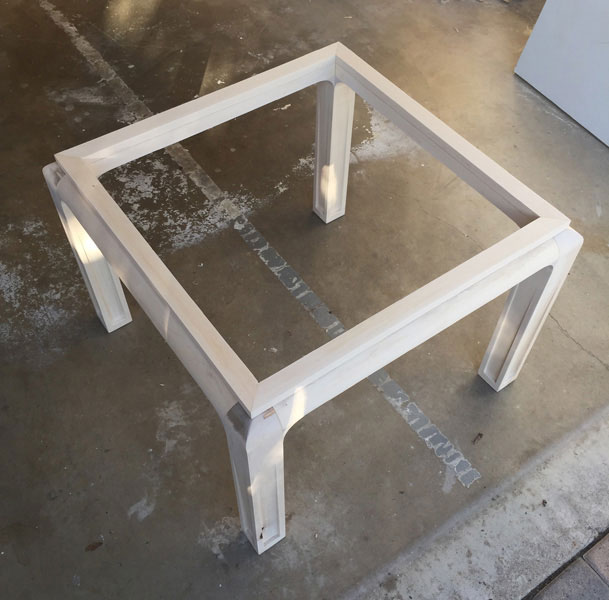
Once two of the sides were done, the same joinery technique was used, but in the vertical position. All legs were checked for plumb and square across diagonally opposite legs.
The dark spot on the facing leg is a knot that I stabilized with epoxy. My neighbor likes it because he says it ‘shows interest.'
Once dry, it rested on all four legs. Now it was time to remove the OBG squeeze-out and round over the last two skirts. Since I have a total of 10 more skirts to round over, I have acquired a scrub plane.
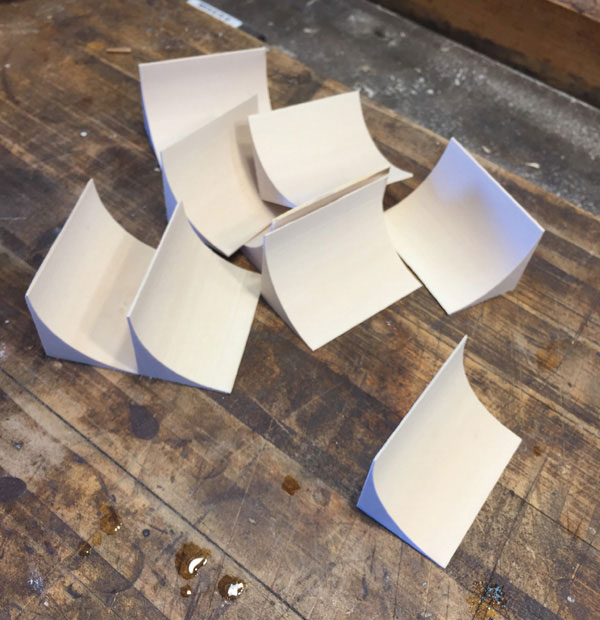
Before I tackled rounding-over the new skirts, I decided to add the glue blocks as extra support for planing. Using techniques found on
FineWoodworking.com
, I made several attempts at using my tablesaw to cut coves.
One set of trial fences was used.
Sanding the coves depended on what shapes were available in my shop.
And the eight coves required – plus a spare – turned out well.
Once installed by rubbing – no clamps were needed. They definitely added to the table.
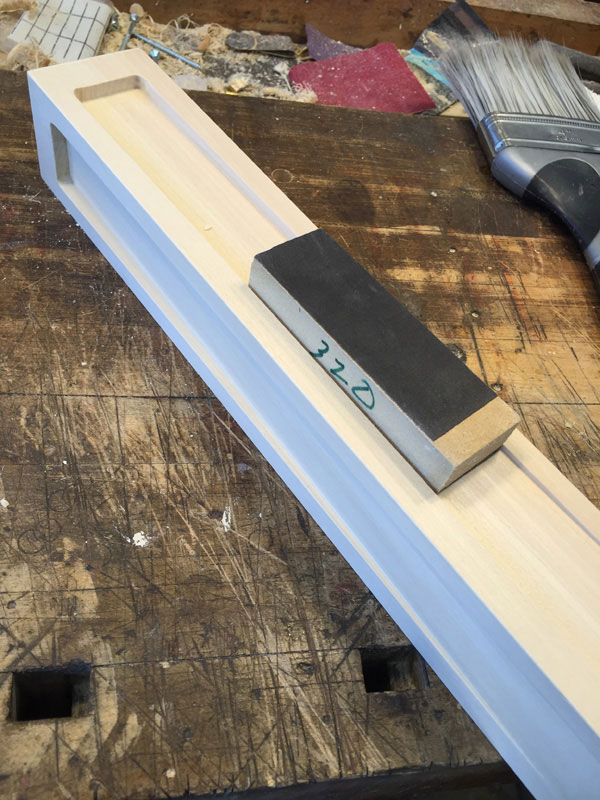
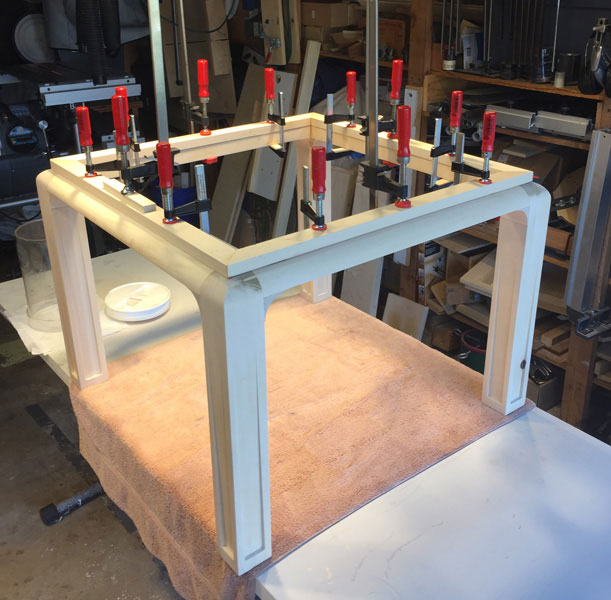
With the base complete, it was time to size the skirt toppers.
Then on to dry fit the skirt toppers.
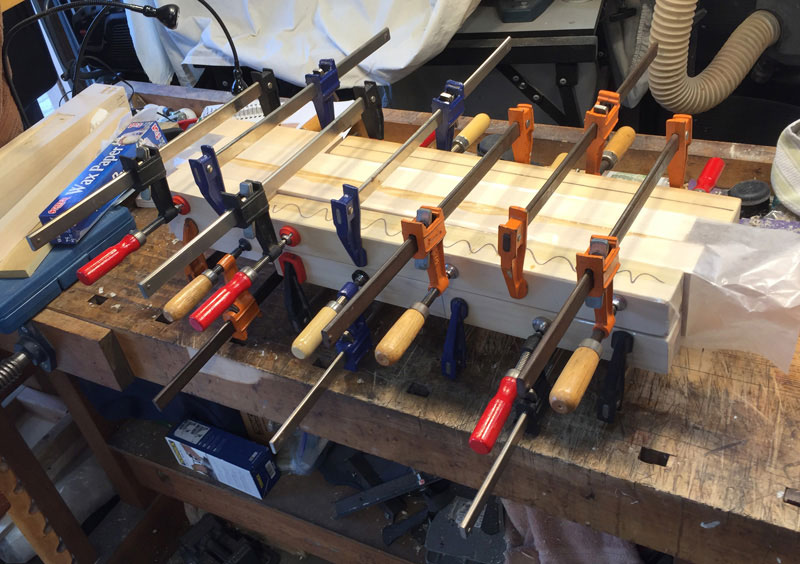
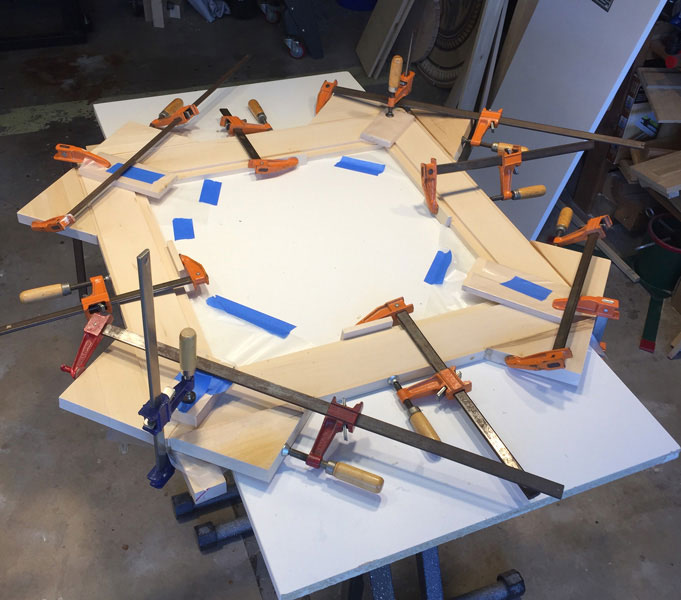
The glue-up left the dry fit clamps in place. I removed one skirt topper, added OBG, then replaced that skirt topper, re-clamped it, and moved on to the next skirt topper.
Once all four were glued, I added one additional clamp in the middle of each and left them overnight to dry. (My wife's car did not make it into the garage that night.)
Next steps are sanding, treating with Charles Neil's Pre-Color Conditioner and then it is ready for the rails to be installed.
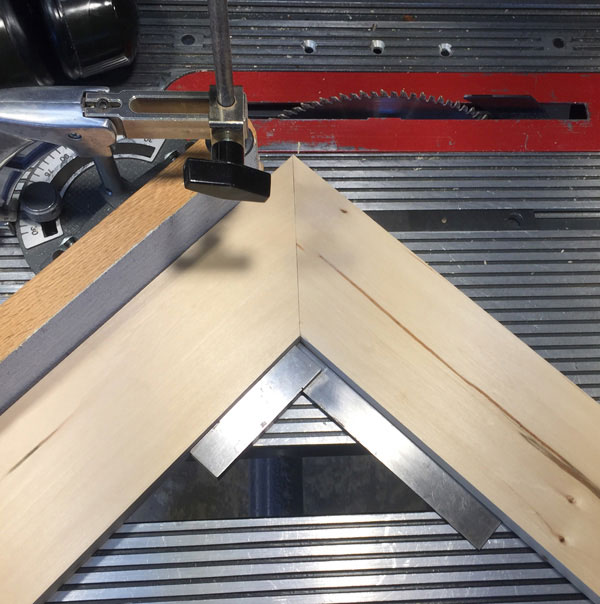
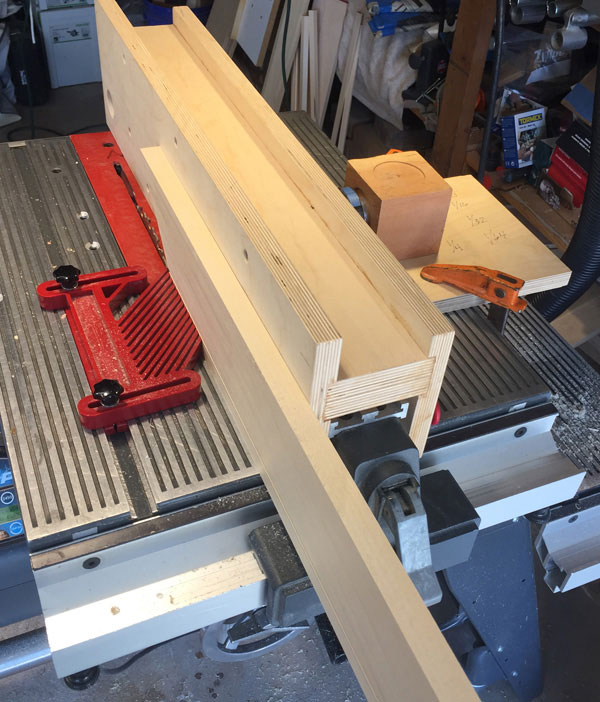
I have finally learned to verify that my 45 degree angles really are 45 degrees.
Rails are now cut. They fit nicely and are ready for cutting the rabbet to hold the glass top.
The glass is 3/4 wide by 1/4 deep by 1/4 inch and tempered.
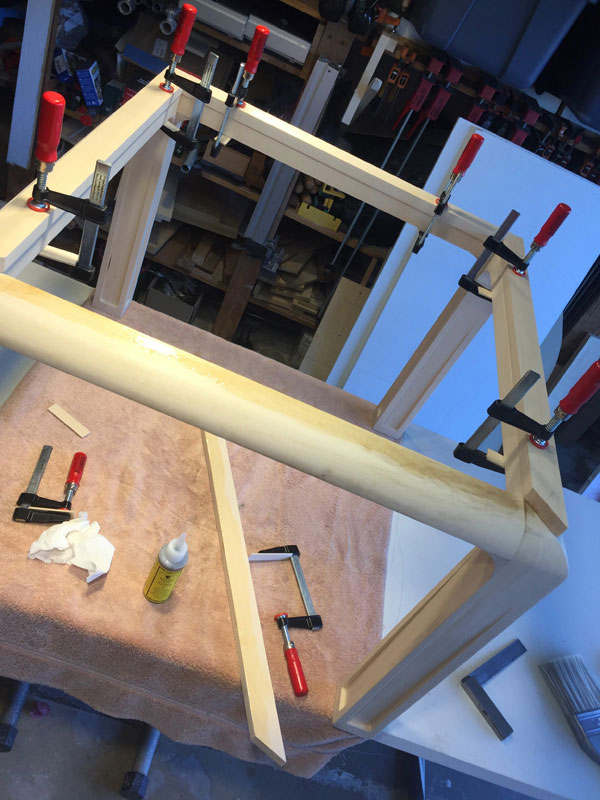
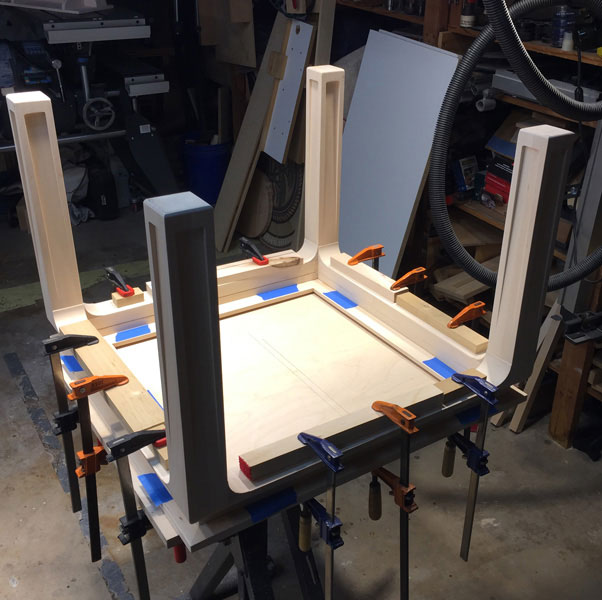
Time for some more glue-up.
As woodworkers say: you can never have too many
clamps
when gluing-up.
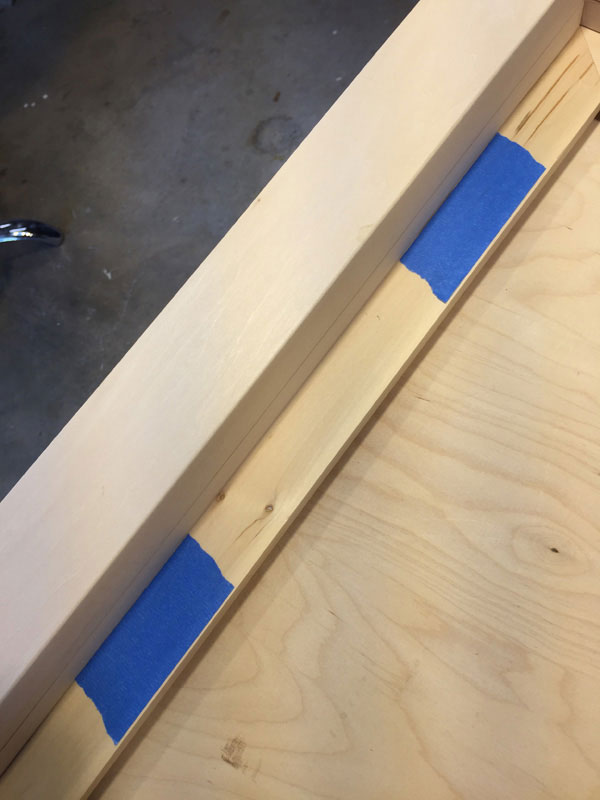
I sanded and applied Pre-Color Conditioner to the top, set the base on it, adjusted the margins, and placed tape on the top to make it easier to replace the top after applying glue.
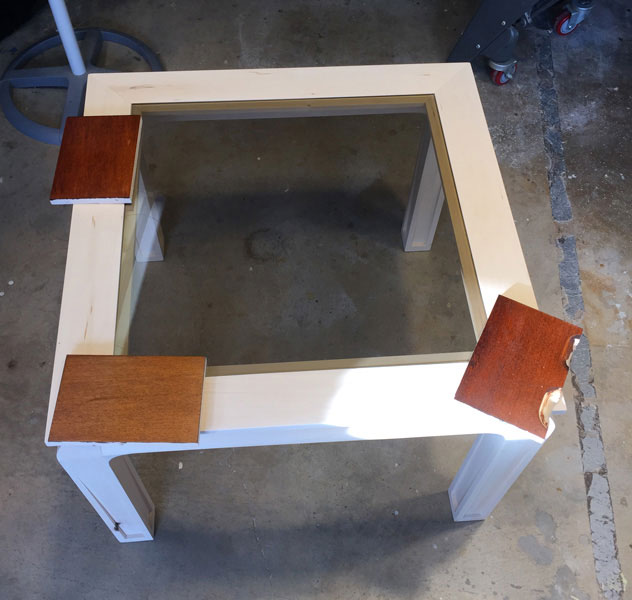
And the table finally comes together!
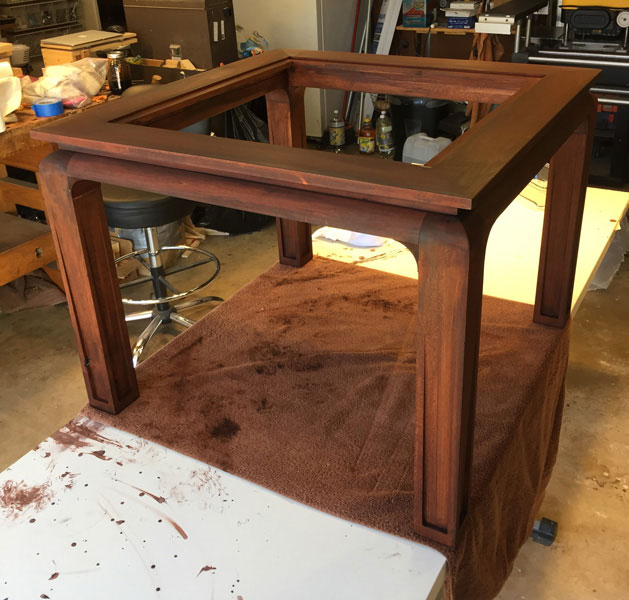
The bronze glass came at the right time. I installed it and made some samples of dyed basswood for my wife to choose a color. The dyes are Lockwood's water-based.
We settled on Lockwood's #23 Honduras Brown at 200 percent concentration. It took 1.5 hours to cover everything evenly.
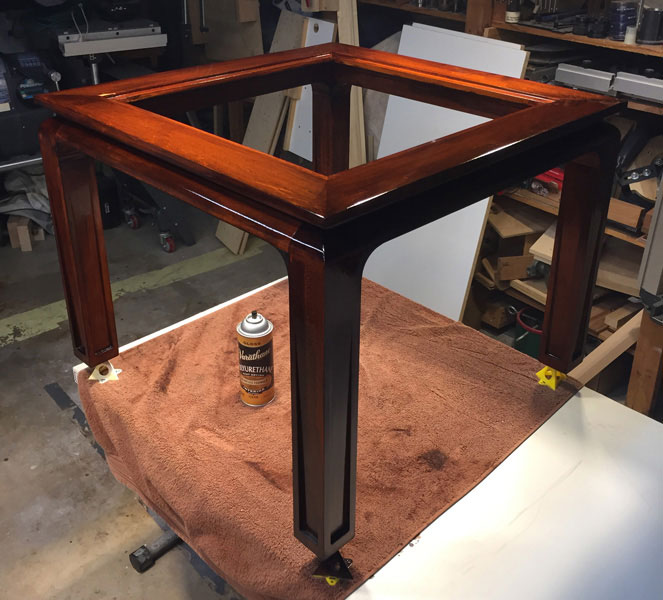
Spray gloss polyurethane was added over the course of three days and was lightly sanded to P400 grit before the last coat.
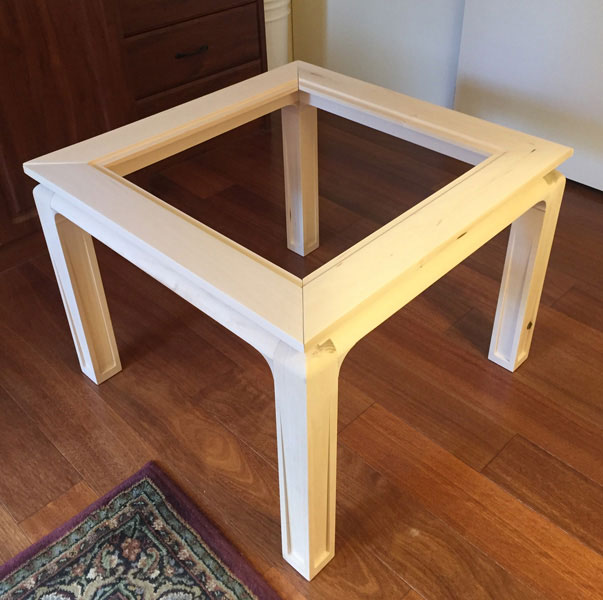
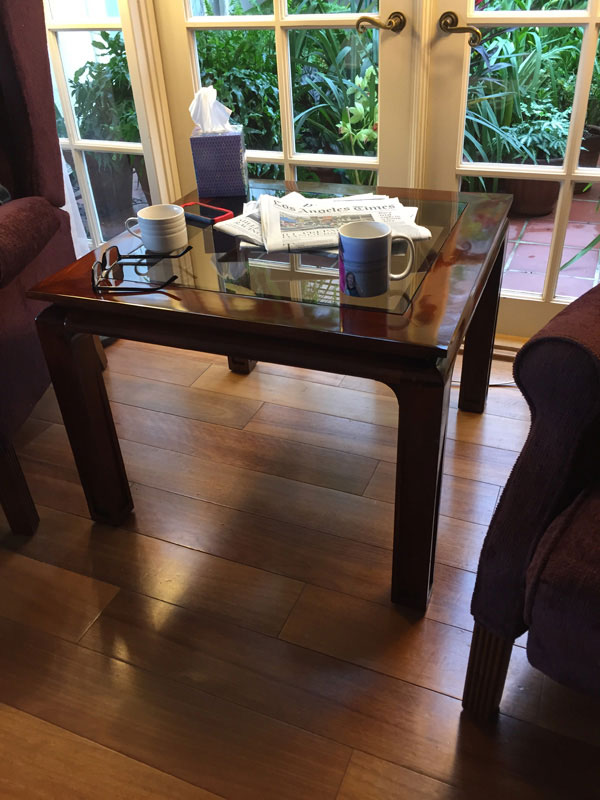
With the glass top installed, the Occasional Table makes a nice setting for our morning coffee and newspaper.
You can email Forrest at
forrest.bonner@verizon.net
.
Return to the
Wood News Online
front page
|