|
Click on any picture to see a larger version.
|
|
Play at the Park
|
Introduction
Years ago, when I was working at a Montessori school, I designed
a set of notched boards that kids can use to build their own playhouse, or even
better, as children taught me later, to build from their own imagination.
There was quite a bit of interest so I wrote up a set of plans and called them
Builder Boards
.
Here is a YouTube video explaining Builder Boards:
https://youtu.be/jKvfMxHUtS0.
I've built quite a few sets but always had in the back of my mind to build a set from recycled and leftover plywood and to build a big, really big, set so a whole classroom of kids could all build at the same time.
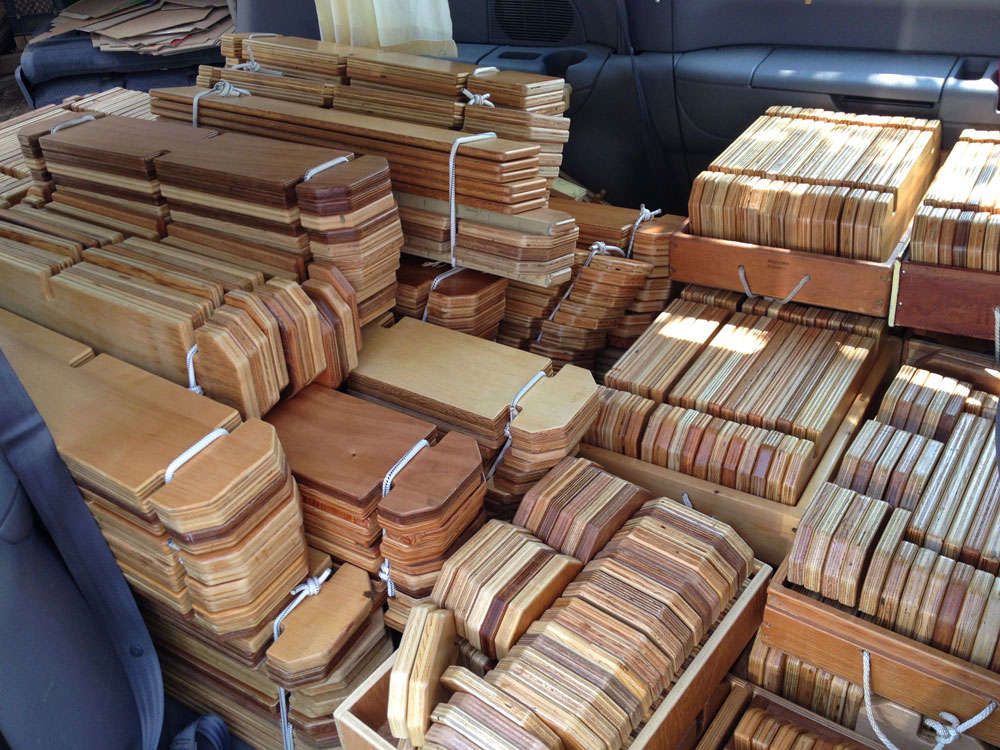
A couple of years ago I started collecting plywood. I looked around my shop and found a surprising amount of 3/4" plywood for the smaller 2 and 4 notch pieces. For the next few years, I combed garage sales, Craigslist, looked in the Reuse and Habitat Stores and pestered my woodworker friends. I was amazed at how much good, used wood was floating around. No one likes to see wood wasted, and often people would give me wood when they discovered how it was going to be used. Sometimes wood appeared outside my shop and I had no idea where it came from.
It's a big job to make a full 5 sheet set, but once you have the pattern it's not that complicated, just edge rounding, sanding and finishing. At the Montessori school, I start the kids out with just the 2,4 and 6 notch pieces and they were perfectly happy.
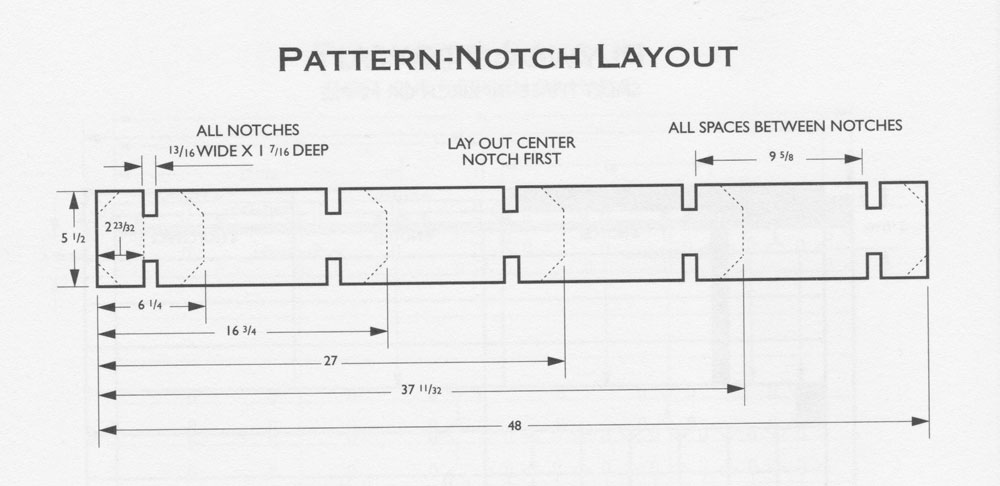
Below is the notch layout, the rest can be figured out, or if you want help with plywood layout, etc, you can
order a copy of
Builder Boards.
Remember:
-
The distance between notches is critical.
Length of the boards or distance between the notch and the end of the board can vary a bit; it doesn't matter and it won't be noticed.
-
Plywood thickness varies so notch width is critical.
If the notches are too tight, kids will get frustrated, if it's too loose the structure will wobble.
For the recycled set, I found a lot of terrific old plywood, but it couldn't be used because it was too thick to fit my notch patterns. Ideally, you want the notch width to be 1/16" to 3/32" wider than the plywood.
Tools
I use a tablesaw, chop saw, a 1 hp shaper (13,000 rpm), and a vacuum pump to hold the pattern to the plywood strips.
Cutting the Notches
The first few sets I made using a 3hp Makita Router and 1/2" flush trim bits. It didn't work great. The bits burned and didn't last long. I tried a 3hp Ryobi with a speed control and slowed it down a bit, but then the router didn't have the power to cut the notches in one pass. Next, I found a 3/8" flush trim bit and that worked pretty well. Someone suggested a shaper. I tried it out and went back to the 1/2" bits, and that worked great. I learned that a 1hp shaper is more powerful than a 3hp router.
Here is how I went about building:
-
Cut the plywood into 5-5/8" strips with the tablesaw.
-
Cut the strips into the proper length with a chop saw. There are seven different lengths of boards for the recycled set, plus the bigger gable ends. The wood for the gable ends and the 48" ten notch boards (the biggest pieces) were the hardest to find.
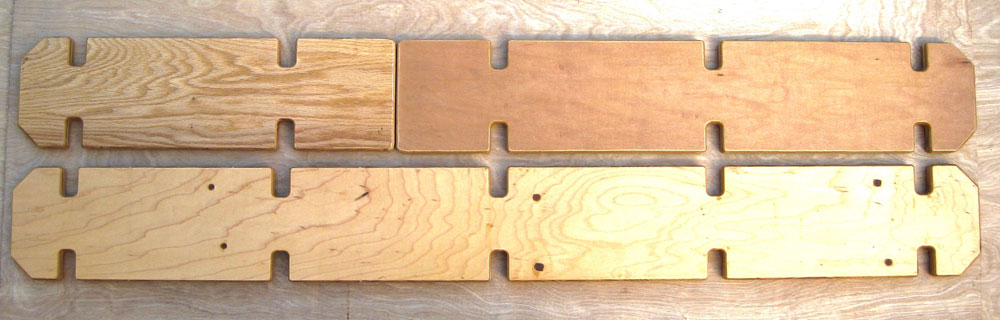
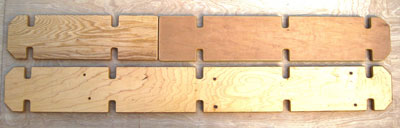
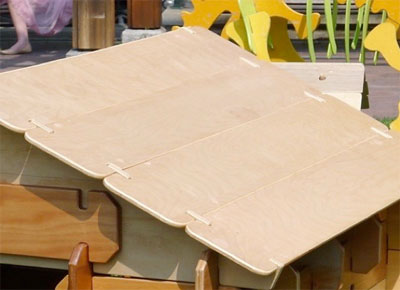
Because I couldn't find used (or leftover) wood long enough for the 10 notch boards I made two new pieces by cutting a 10-notch piece into two pieces exactly halfway between the second and third notches. When building, the splits can be offset to keep the wall stiff.
|
|
A regular 10 notch piece and a 10 notch piece made up of 4 and 6 notch boards.
|
-
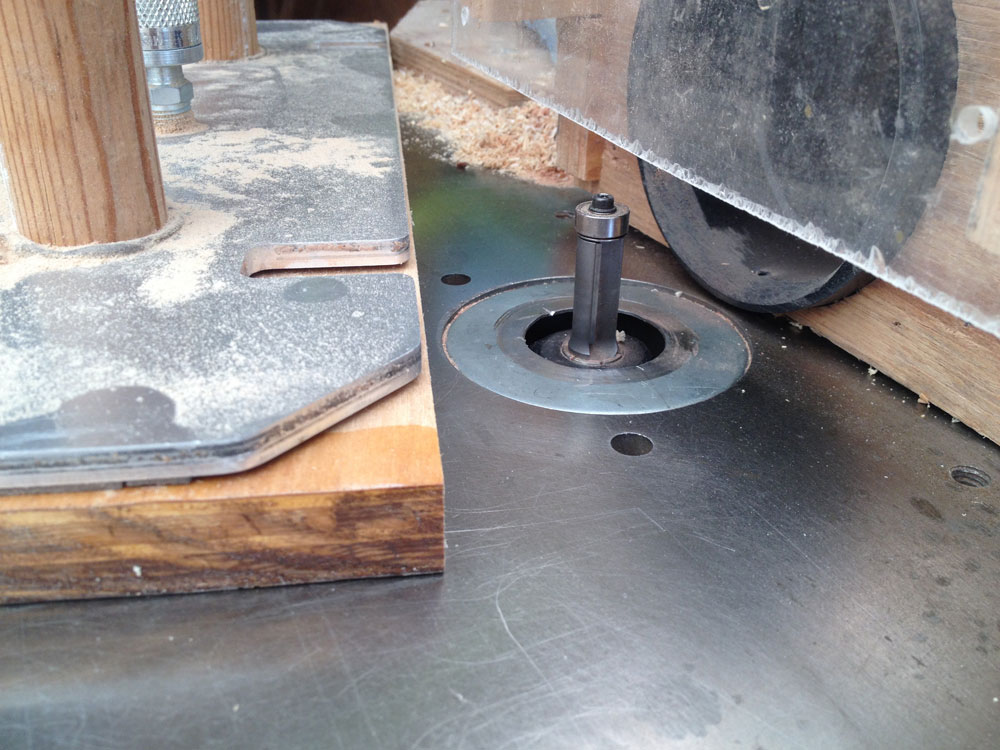
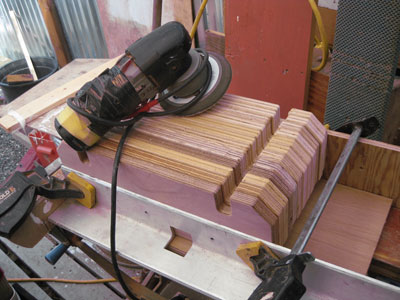
For each piece I have a pattern that connects to a vacuum pump. I place the pattern over the proper board (which sticks out a hair beyond the pattern), and turn on the vacuum pump which holds the pattern to the plywood. A few boards were too rough to hold a vacuum so I screwed through the pattern into the plywood strip and filled the holes later.
-
I pushed the pattern and the board attached to it through the shaper. The shaper has a 1/2" flush cut trim bit with a bearing on the bottom of the bit. The bearing follows the pattern and I end up with an exact duplicate of the pattern.

|
|
The pattern is on top of the board.
|
You can also use a tablesaw to cut the notches. Here is a
video example.
The process moves a lot quicker than with the shaper, but I like the fact that the shaper rounds all of the notch bottoms, corners and board ends so there is less sanding. Also, with a pattern, when you go back months later to make more pieces they will exactly match the earlier pieces. Since all of the boards are very close to the same size, you can gang the boards (with the same number of notches) up together and sand the edges.
|
|
It is easier to sand the edges when the boards are ganged up together.
|
I use a flap wheel sander to sand between coats of vanish. With a spacer between two boards I can quickly sand the edges of two notched boards at one time.
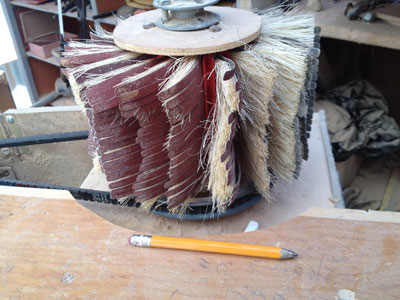
|
|
A flapwheel sander
|
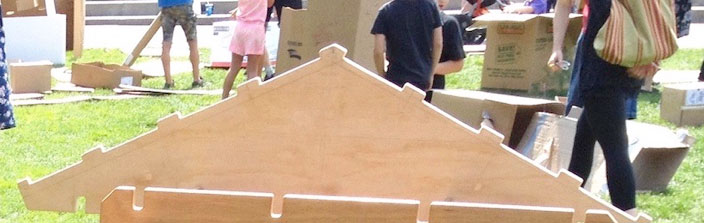
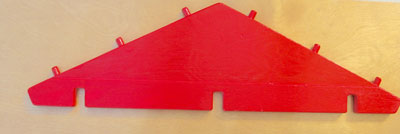
Gable Ends
Cut the two sizes of gable ends. The smaller gable end is a triangle (almost) 8-1/4" at the peak and 28-1/4" at the base as shown below. The large gable end is 14-1/2" at the peak and 51-3/8" at the base.
|
|
Small gable end
|
Roof Boards
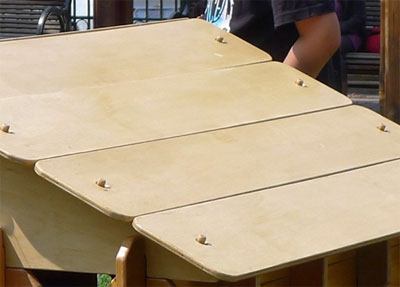
I've used four roof systems. First, I just left a little raised bump at the bottom of the gable end and stacked the roof boards against it. This held the boards on, but when the kids went to take the roof boards off, naturally, they took the bottom board off first and the rest came tumbling down. I tried a hook and loop fastener and it worked well, except grass was hard to remove from the hook and loops if the set was used outside. Then Dave Brown (thanks, Dave) emailed me a dowel system he had built using 1/2" dowels in the gable ends and 3/4" holes in the roof boards.
|
|
Dowels and holes keep the roof boards on.
|
A doweling jig keeps the the dowels straight and in the center of the gable. Lastly, I used bumps raised in the gable ends and notches in the roof boards.

|
|
Notches in the roof boards fit around these bumps on the gable end.
|
|
|
Bump/notch roof on the playhouse.
|
After the notches are cut there is still a lot of work to do, but it's more repetitive than complicated: rounding edges, lots of sanding, finishing, and making boxes for the two and four notch pieces.
I made enough pieces for a "set" (the equivalent of four sheets of plywood) but recycled plywood kept appearing and I kept making pieces. Eventually, I couldn't put any more pieces in my van so I thought I'd better start thinking about how to get some use out of this giant set.
Kid's Camp
An opportunity occurred rather unexpectedly when three kids saw me working in my open front shop and wanted to know what I was doing. I showed them my Builder Boards. Their mom happened to be involved in a summer camp for foster kids and asked if I would bring the Builder Boards to the camp. I spent three mornings at the camp and had a great time showing off the Builder Boards to the kids and talking with the staff.
Play in the Park
I thought about other woodworkers I knew who built things and shared them with their community:
-
My friend Felix, a retired professor, made an incredible collection of tops and takes them to schools and the local food coop. He sets up a table of tops and the kids come flocking over to play with them!
-
I went to a woodworker club meeting in Vancouver Canada and met Wayne Helfrich, who
makes puzzles, ("I always make 100 of each") sells them, and donates the proceeds to Habitat for Humanity.
-
At Woodfest, a local event for wood related crafts, Tom Stephenson came with the most incredible and elaborate collection of play trains. He made the complete set himself and takes it to events in the Seattle area. It was the busiest event at Woodfest.
-
During the year, Northwest Corner Woodworkers makes hundreds of toys during the year and donates them to the Toys for Tots program where they are given away at Christmas time.
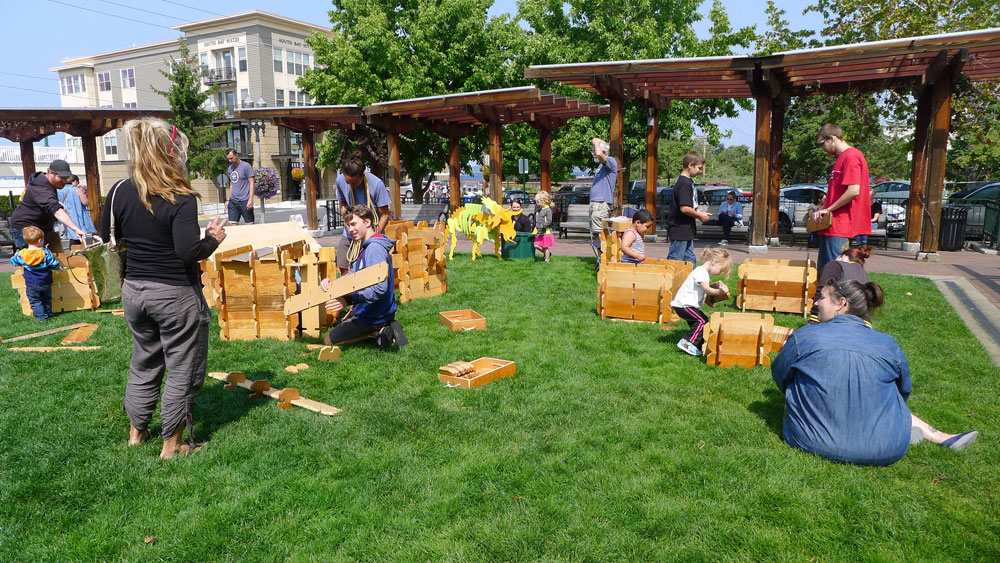
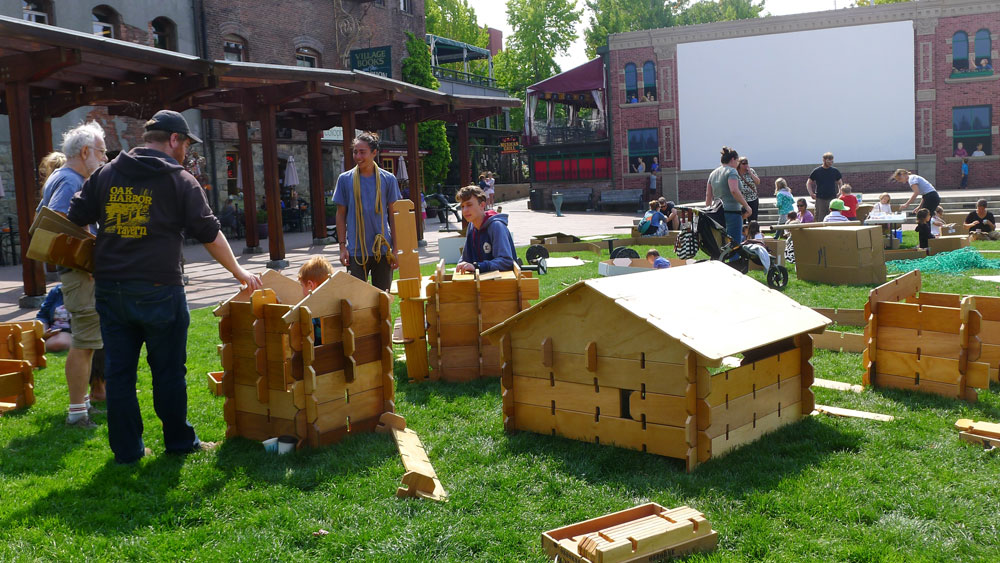
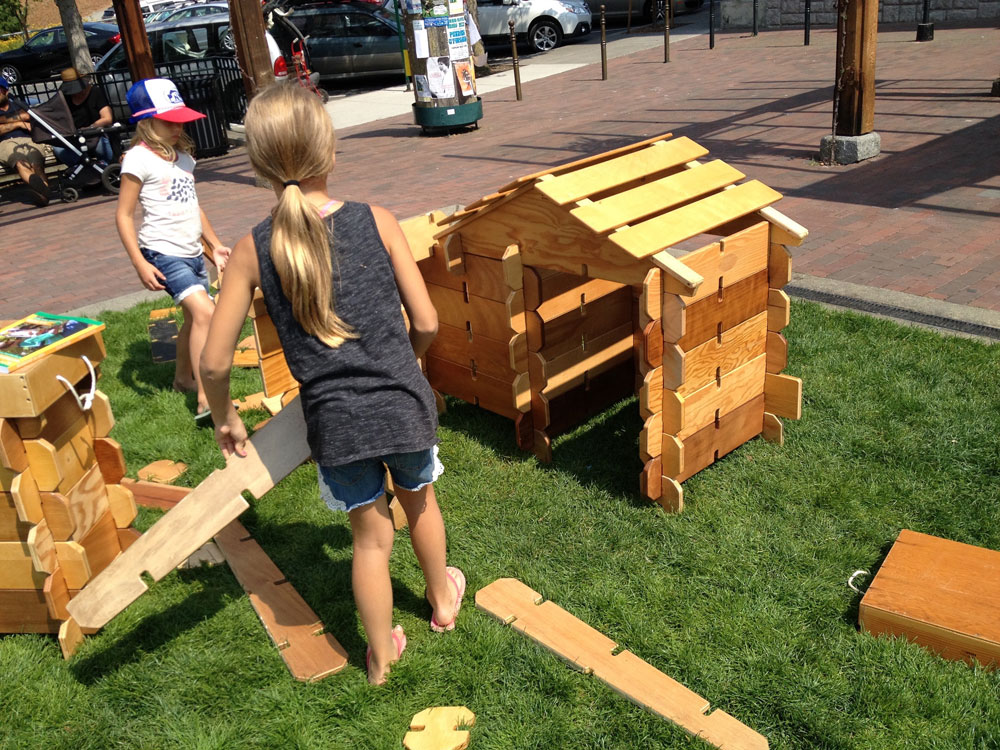
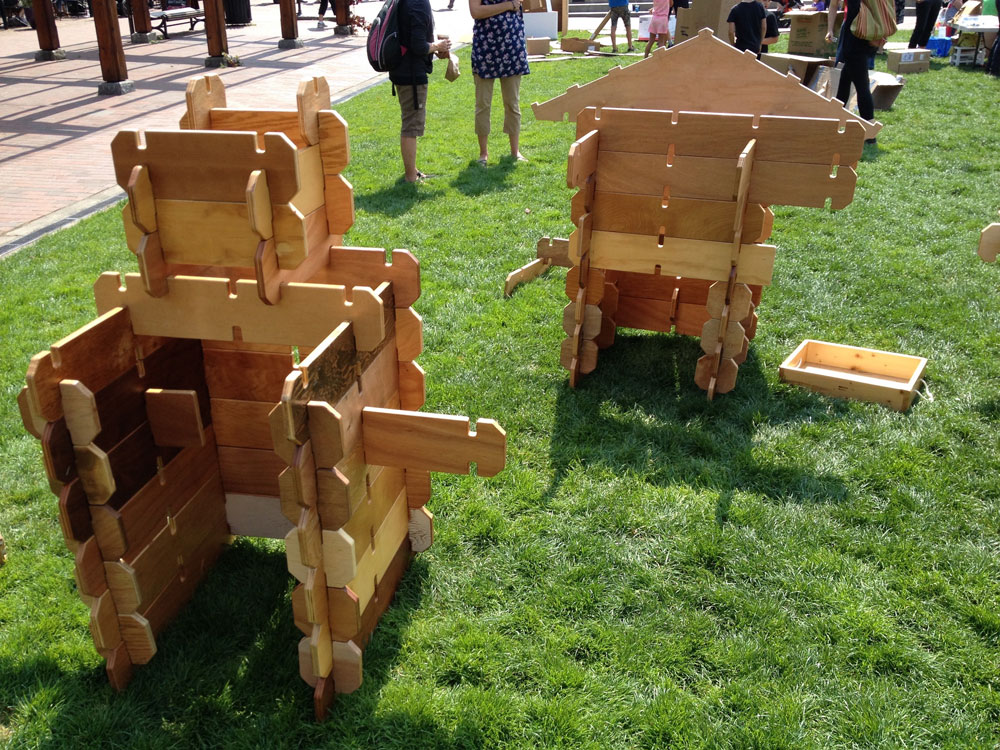
One day, I saw some kids playing with cardboard in the park. They were making shields, hats, kites, forts, walls and all sorts of stuff. I talked with the woman who set it up,
Allie Pasquier of Play Lab, and asked her if she would be interested in having Builder Boards at her next cardboard event. She was, and we have done 3 events together at city parks since then.

|
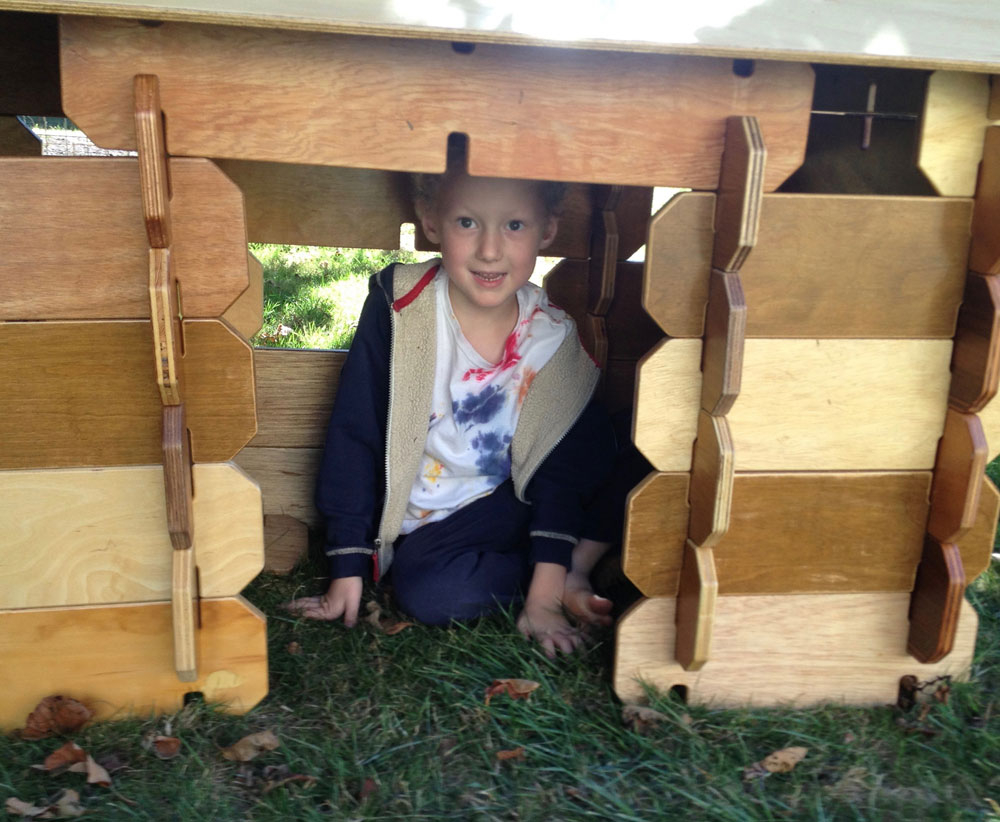
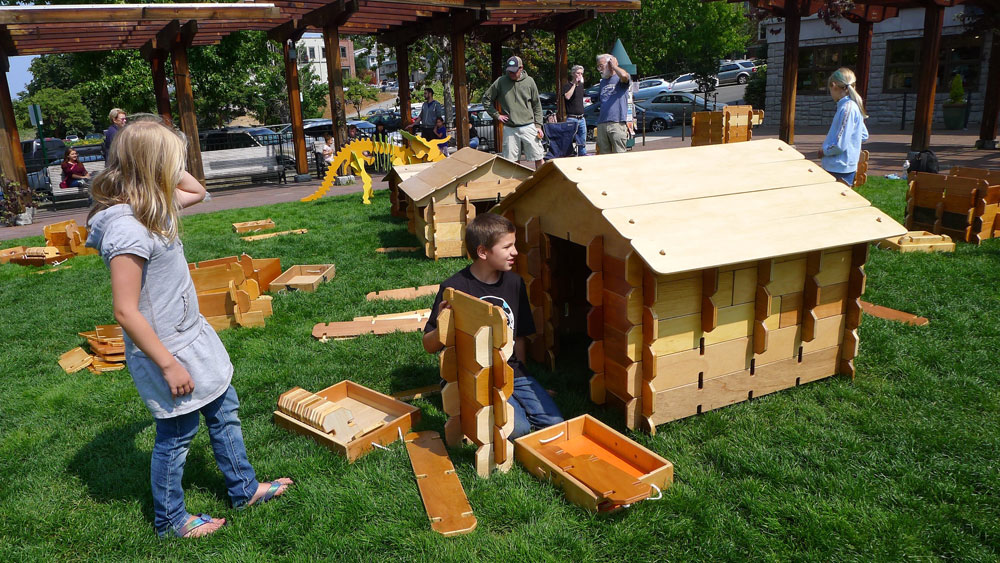
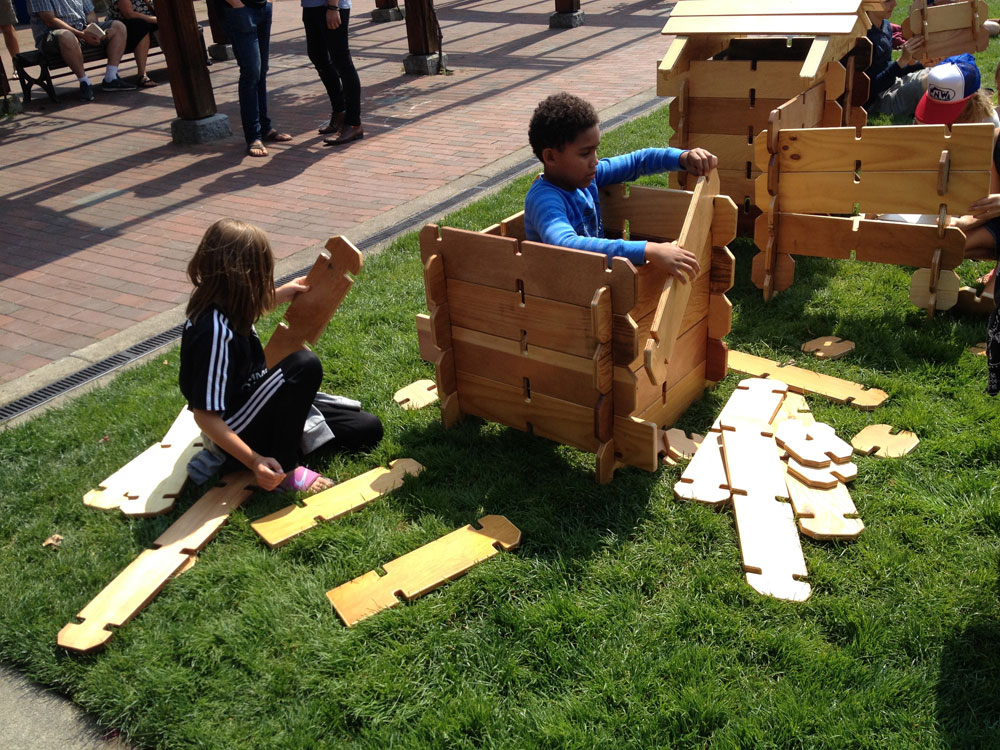
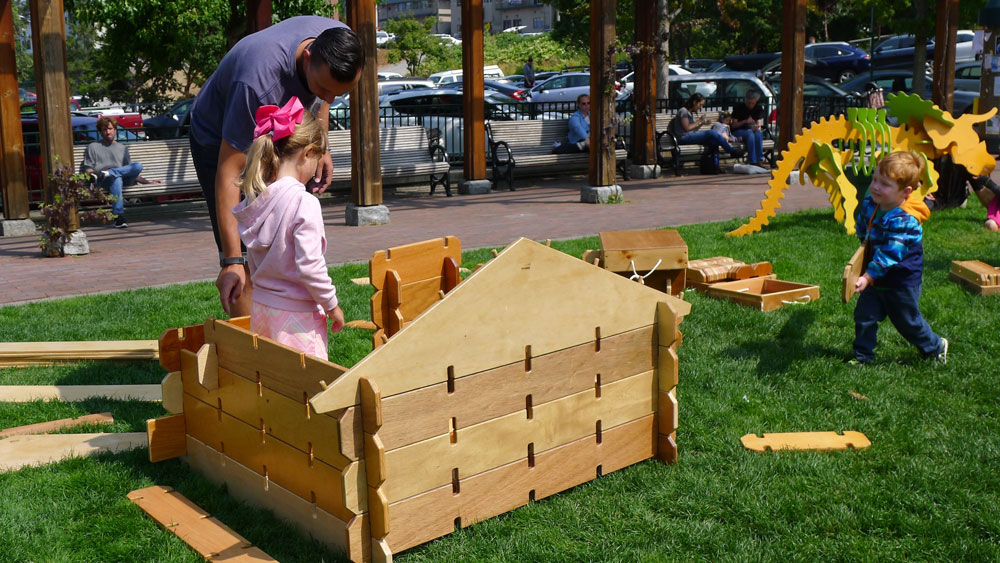
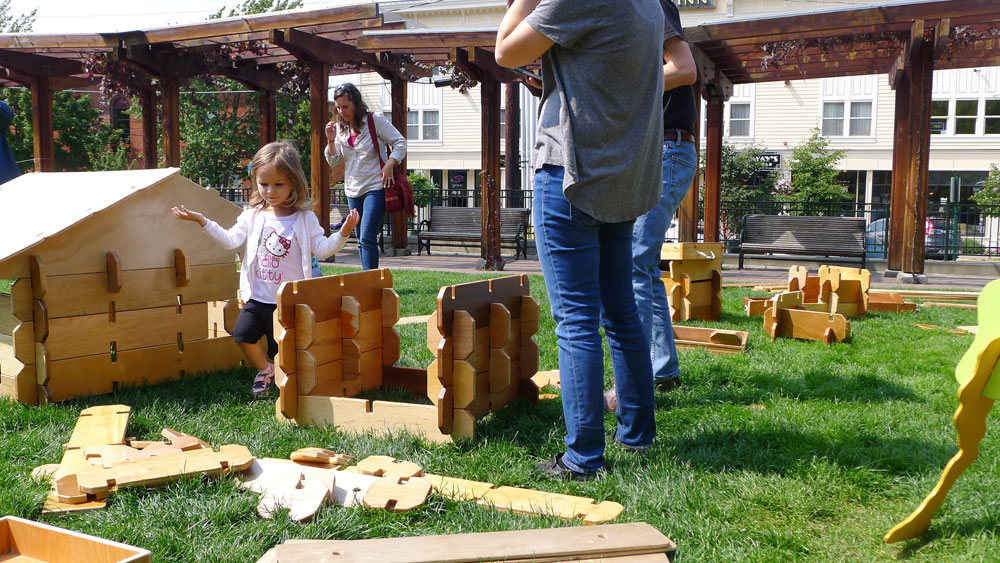
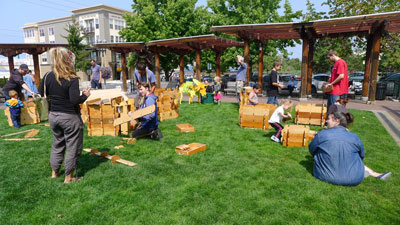
Here are some of my favorite instances of kids using my Builder Boards in the park:
-
A two-year-old built a tower (with a little help from dad) and when she couldn't reach high enough for the next layer she would pick up a board with one hand and reach out to her dad with the other. He picked her up and she installed the board. Over and over again, and again.
-
Two 4/5-year-old girls first just played putting boards together, then they built a frame and finally a small house with a roof.
-
A fifth-grade boy asked how much it cost to participate and was surprised when I said, "nothing". He stayed for a couple hours and kept showing up at my elbow asking if there were any more boards. And I kept going to the van to get them.
-
Two men employed at different companies thought they might be able to help me out with free plywood from discarded CNC cutoffs.
-
One little boy looked like he was having trouble getting started so I went over and started a base but when I tried to show him a little more, he wasn't going for it. Later he got 4 walls up but they weren't tied together so they wobbled. He was ready for help and as I showed him how to connect the walls at the corners I could almost see the wheels in his head turning as he said, "I got it! I got it!"
-
Three teenage friends hung around building and talking for over an hour.
-
One woman spent an hour following her crawling one year old who crawled from one house to the next while watching the bigger kids.
-
A lot of men were playing with the boards with their kids, and had a good time doing it.
I sold two books and gave away two of the old edition. I suspect at least one person was going to build a set.
As a retired person, it felt good to watch kids and parents playing and having fun with something I built. It was an awesome day. Now I have to figure out where to go when it starts raining.
Jack McKee has written two books,
Woodshop for Kids
and
Builder Boards
and has the world's largest set of Builder Boards made from recycled wood. His website is:
woodshop4kids.com
Return to the
Wood News Online
front page
|