How to make the Wood Slicer Blade even better!
by Andrew A. Sawyer
Chanhassen, MN
My name is Andrew Sawyer. Since I picked up the hobby of woodworking about 7 years ago, I have begun
(as many of us have) filling my house with furniture.
In case you are wondering, this article is more about cleaning, tuning up and maintaining the
band saw than it is improving the blade.
The wood slicer is the finest blade I have ever put on my bandsaw, but none of that matters if
the machine it is on is dirty and out of whack! Safety first, turn off the saw, and unplug it.
First, let's clean out the built up sawdust. If you don't have dust collection on the saw, it
builds up quickly. Saw dust can really bugger up everything in the saw, as well as act as an
insulator holding heat on the motor and the bearing, as well as clogging the pulleys.
The next step is to check to to see that the wheels are coplanar (in line with each other).
This requires a long straightedge. Open the doors, top and bottom, to the wheels and place the
straightedge up to the wheels. This will most likely need to be a little off center. Make sure the
wheels are touching the straightedge on all 4 edges of the wheels (top and bottom of each wheel).
If it doesn't touch at all points then you will need to refer to your owner's manual on how to make the
adjustments.
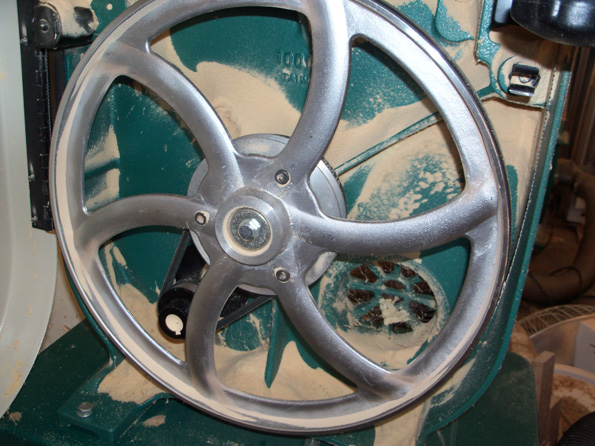
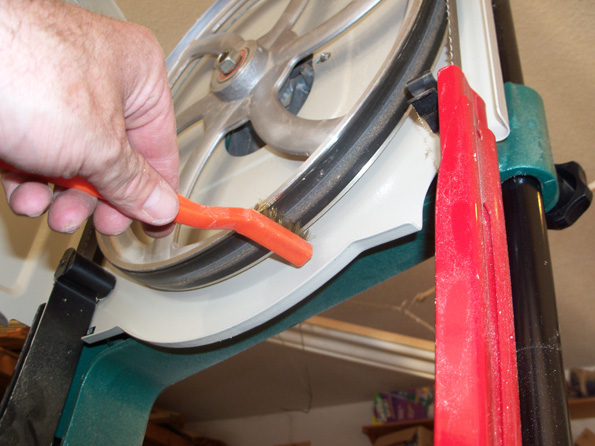
Next, since the doors are open, you should check the tires on the wheels for wear and sawdust
build-up. If they are worn, replace them, if they are dirty, clean them. I use a brass brush, and
lightly scrub the wheel.
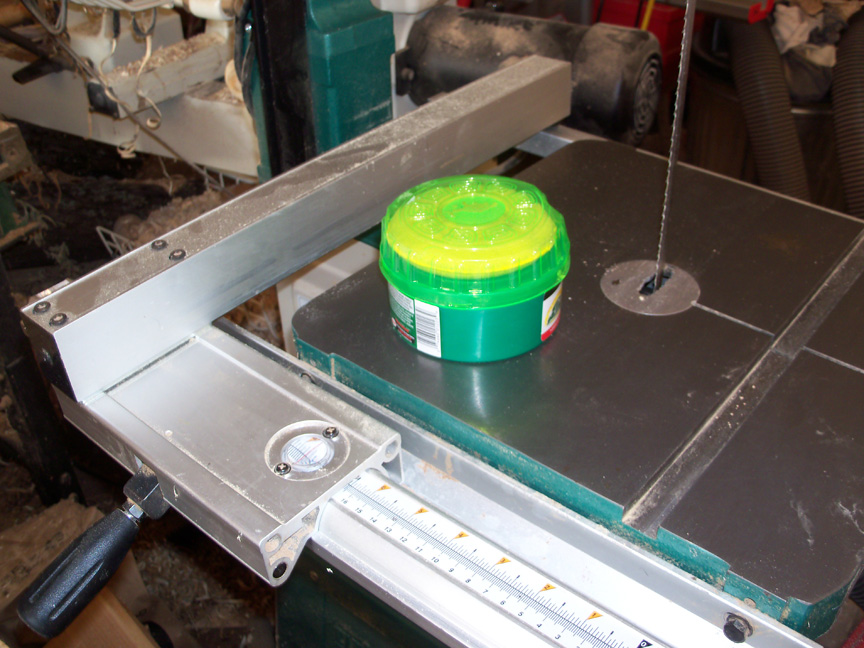
Since we are in a cleaning mood, lets look at the table and the fence. Check the table for rust,
and remove any that you find. Check the fence for nicks and scratches, file them down, and buff them out
if you can. The goal is to have a clean, smooth surface for the wood to slide on and against. If a
piece of wood gets hung up on a nick in the fence, this will cause an inaccurate cut. Once the table
and fence are clean and smooth, protect them. I usually use Boe shield T9, but I ran out and used
some car wax, and this alternative solution has worked really well for me. Renaissance wax is also a great choice.

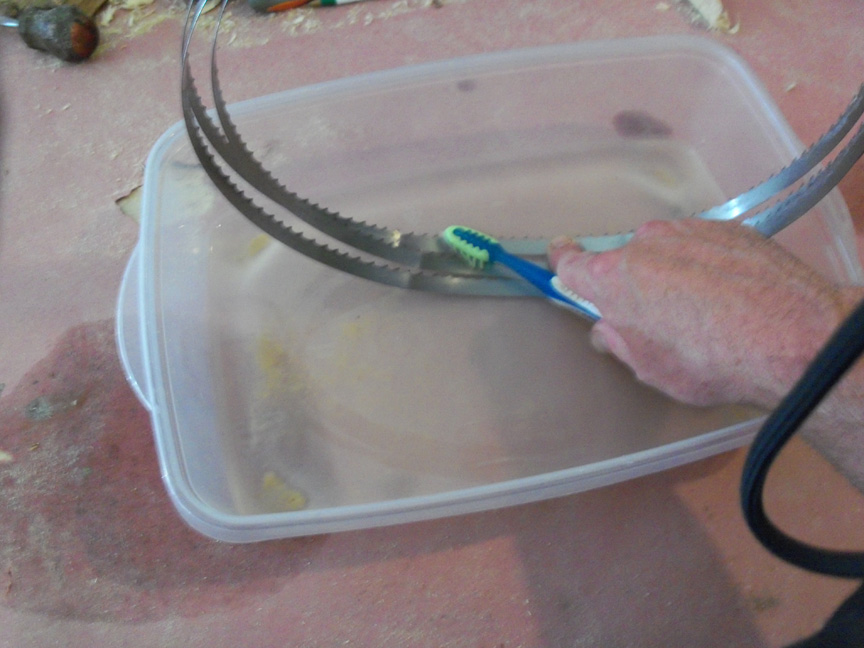
If the blade is new, go ahead and install it. If not look to see if there is any build up,
especially on the inside where the blade contacts the tire. I used my wood slicer to resaw pine, and
forgot to clean it when I was done. So I put the blade in a bath of mineral spirits to dissolve the
resin, and used an old toothbrush to scrub it. A brass brush would be quicker, but it probably
wouldn't be very good for the teeth on the blade. This process took me 15 or 20 minutes, probably
would have taken 5 minutes if I had cleaned the blade right after I originally used it. This resin is
really important to remove, as it will create friction which produces heat that shortens the life
of the blade, leading to slower and less accurate cuts.
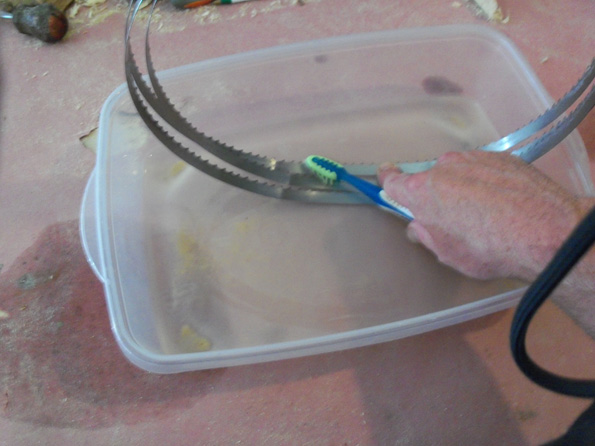
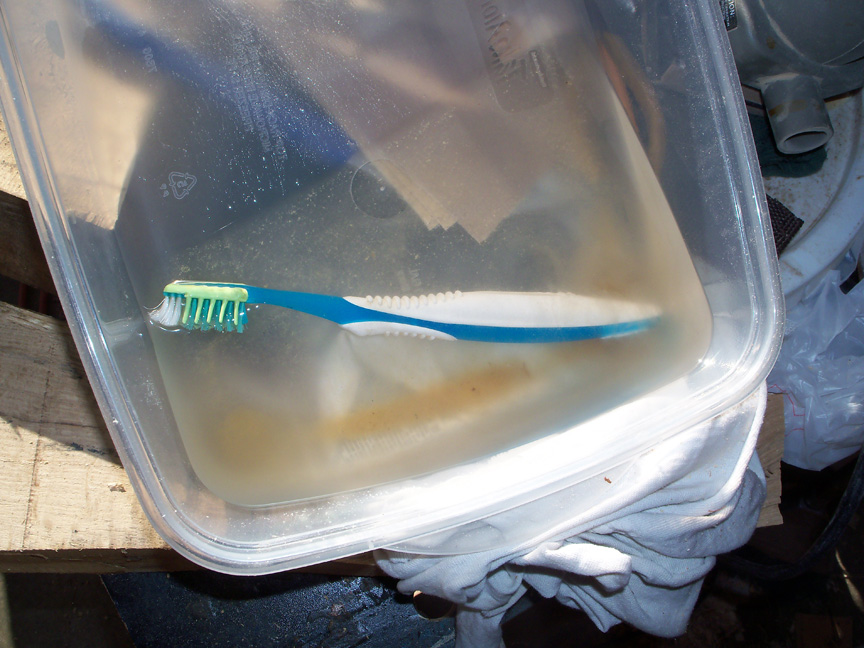
Here is a picture of what is left over in mineral spirit bath.

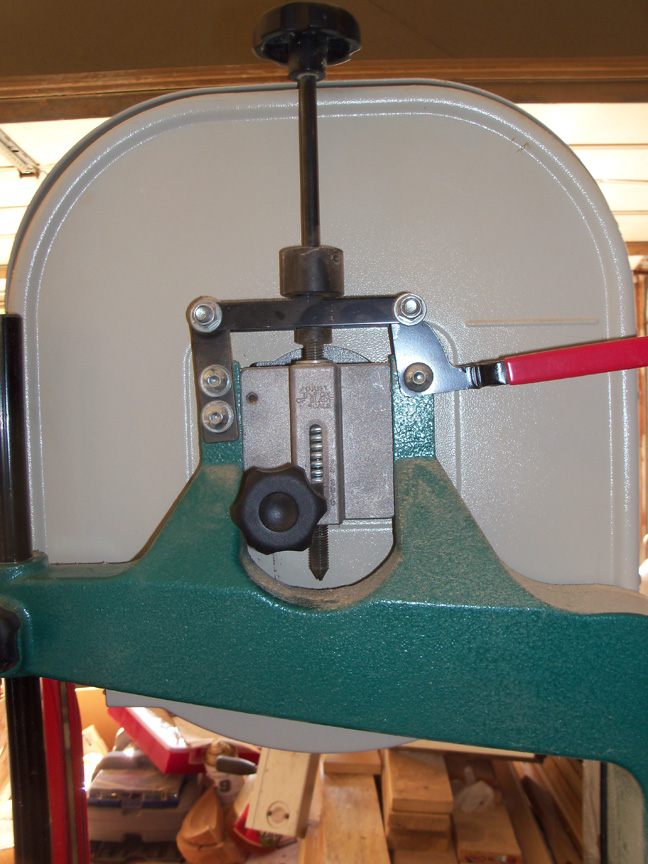
Next we'll adjust the blade tracking. This is usually done with a knob on the back of the
saw.
If you have bearings for the guides make sure they move freely, if not
replace them. If you have blocks, make sure they are not worn, and the contact sides are parallel
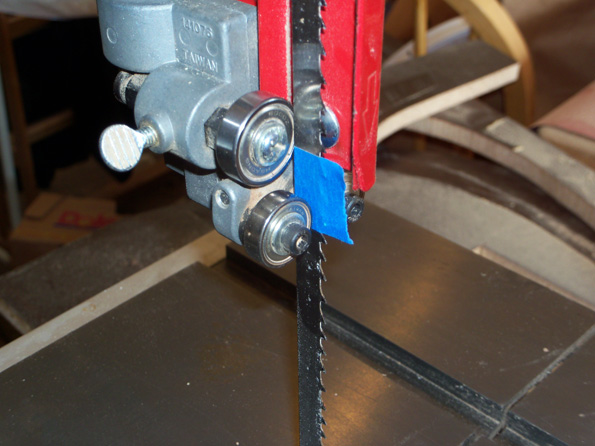
to the blade. I have heard of a lot of different methods involving spacers -- you can use a dollar bill,
playing card, etc... but my preference is a single layer of masking tape. Simply wrap a piece of
blue making tape (blue because it wont leave a residue on your clean blade) around the blade with both
edges coming to the front. Watch the side guides as you move the tape back and forth through the
guides and adjust them until the guides are only touching when the tape passes through them. Now
adjust the rear support guide - again it should only make contact with the tape. The last adjustment
will be moving the side guides to the middle of the blade. You want them set so that they are not going to
make contact with the gullets of the blade when the blade is pushed back against the rear guide.
On to adjusting the tension. This is a fantastic blade, and in my experience, it doesn't need as
much tension as my tension guide tells me. The method I like to use is to tighten the blade to
what the tension guide tells me to, then turn on the bandsaw, slowly ease back the tension until the
blade begins to flutter, then tighten it until the flutter disappears. This is the perfect tension
for this blade.

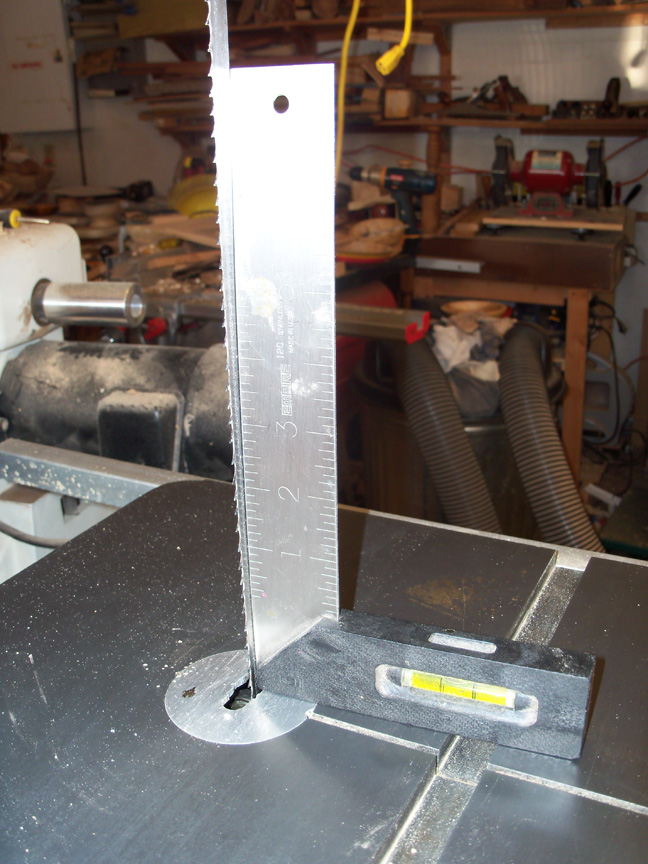
Alright, we have done a lot of work up to this point and we are almost ready to cut, but we need
to check that the table is 90 degrees to the blade.
Now before we cut, check the wood and make sure there are no nails. Or more likely sometimes there
is a staple that is used to attach a tag, often found in the endgrain. It would be a shame
to ruin the blade after all of this work.

I also love turning green wood, however I refuse to use the wood slicer for that. The dirt found
in the bark will dull it, and the moisture in the wood will cause the wood to pinch the blade, leading to
friction and heat which will ruin the blade. Highland offers a great
woodturning-specific blade
for this task anyway, and it is
almost half the price.
Happy resawing!
Andrew can be reached directly via email at
andrewasawyer@msn.com
.
Return to
Wood News
front page