Sanding Technique: Using a Trace Coat
by Jeffrey Fleisher
New Market, Virginia
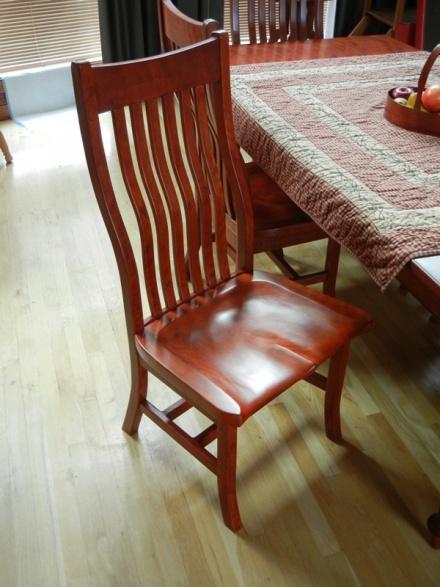
Knowing where to sand and for how long is a perplexing issue for many woodworkers. A technique called Trace Coating shows you where you need to sand and when you can stop using a particular grit of sandpaper. I recently used this technique while sanding six scooped seats for a cherry dining room table and chair set.
The hard part about sanding is to see the scratches, gouges, blemishes, dried glue and other defects on the surface of a piece of wood. Many woodworkers will try to use their hands to feel a blemish or a low angle light to highlight a scratch or defect. This approach may work for large defects but scratches can fill in with sanding dust as you sand and a light typically will not cover a large area. In addition, sanding scratches as you go from one grit to the next are very hard to see. The trace coat technique will highlight all of these defects and make them very easy to see.
A trace coat is a ‘dry’ (light) coat of a water based dye. By covering a piece of wood with the dye and then sanding, all of the issues with the surface of the board are revealed. A light coat of water based dye is used because it will not soak into the wood as much as an oil based stain or seal the wood. You are trying to color the wood and have the dye penetrate the defects but not flood the surface. Too much dye may penetrate too deeply into figured wood, like tiger maple or into an open pore wood like oak. See the
sidebar
to see how this technique can actually be used to enhance the figure of a wood like tiger maple.
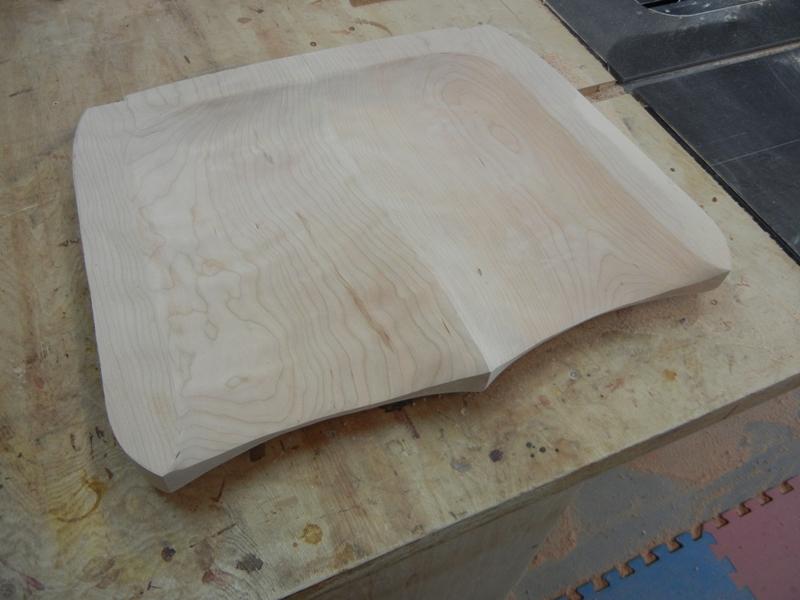
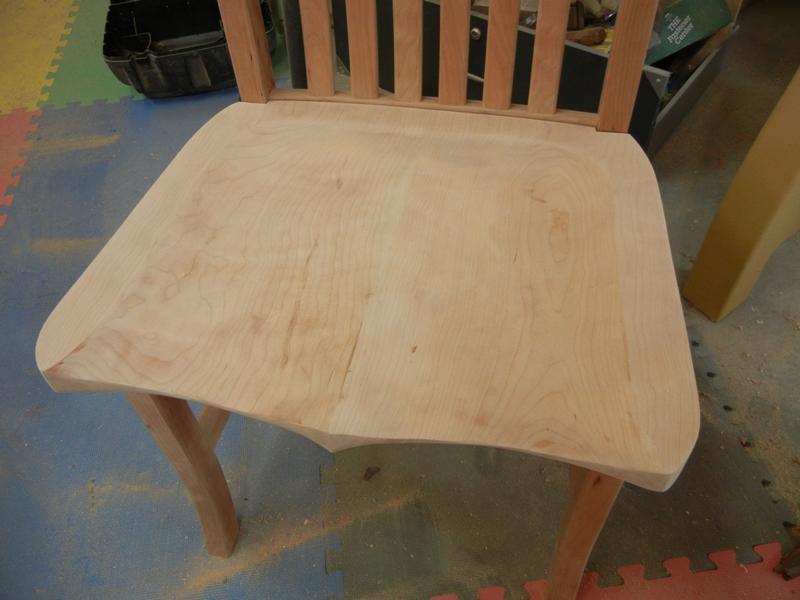
Here is a chair seat that has been shaped using a grinder with grinding disks and sanding disks, hand planes and scrapers:
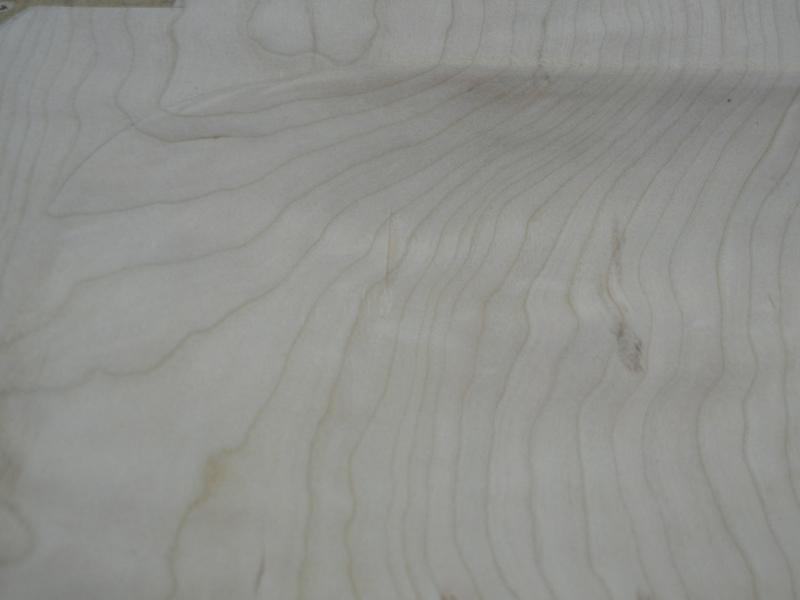
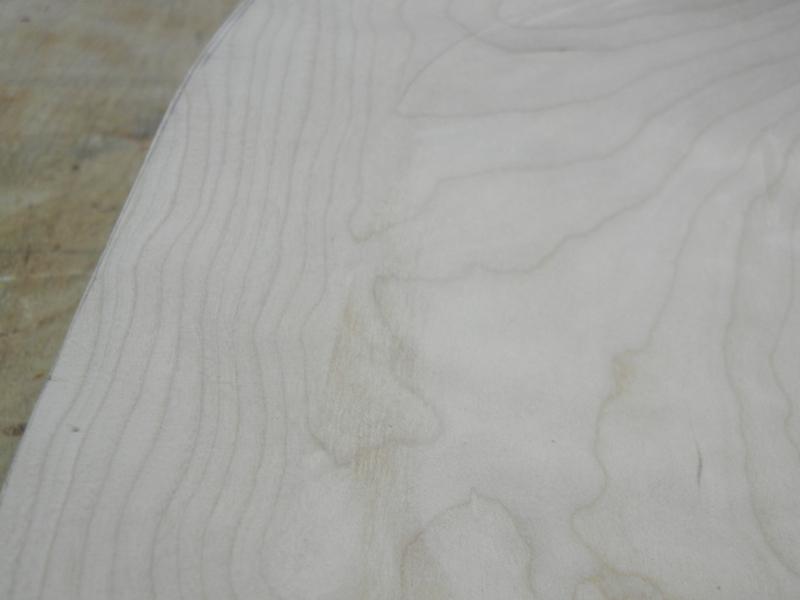
Looking close you can see a few defects in the surface but overall, it doesn’t look too bad. There are some obvious deep scratches from the grinder and some long scratches from the edge of a scraper but the surface looks pretty smooth. Here are a few examples:
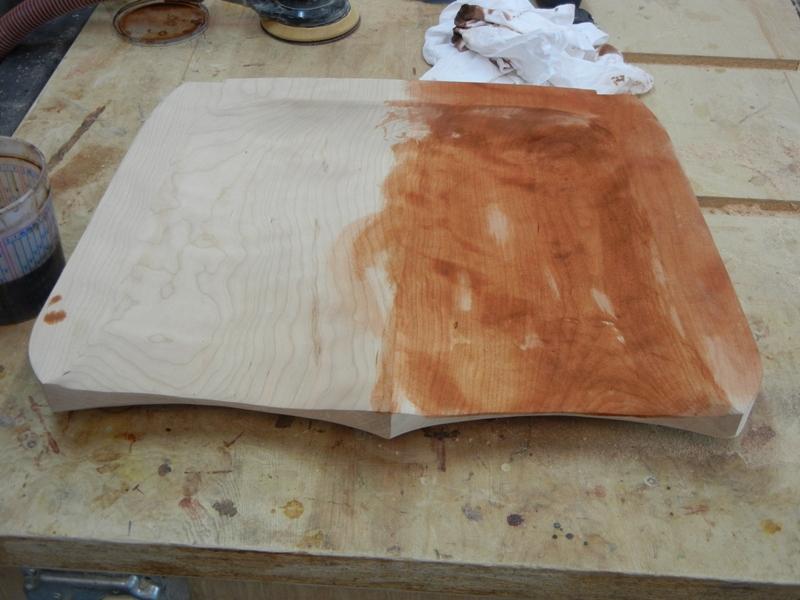
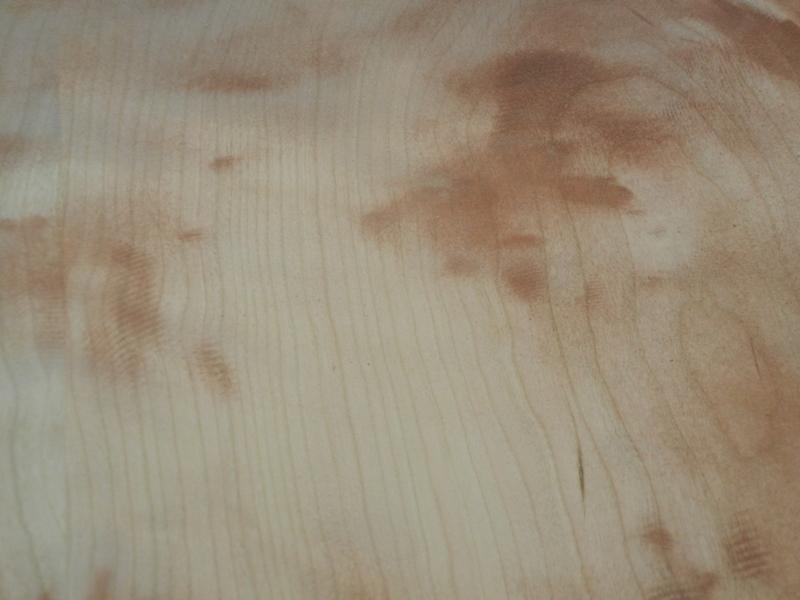
Now, I am starting to apply a trace coat. Since I’m going to eventually dye the chairs a cherry color I’m using a very diluted version of the dye as a trace coat. I could use a light color like yellow but since the cherry is a close grain wood I do not have to worry too much about it penetrating into an open grain. If this was a wood like ash or oak, I would want to stay away from a dark color that may go too deep into the open grain and be hard to sand away. I want to color the surface but not penetrate too deeply into the wood surface.
The defects I saw originally are starting to appear but also a large number that I didn’t see. There is a long linear scratch probably where the edge of a scraper caught on the curved surface.
I also see some dents from the edge of the grinder disk. You can see the end grain in the corner of the seat where the grain changes as it comes around the curve and this indicates that this area will need to be sanded with a finer grit to reduce the color absorption. I can even see that the sharp raised edge in the center of the seat trails off to the left and will need to be straightened out as I sand.
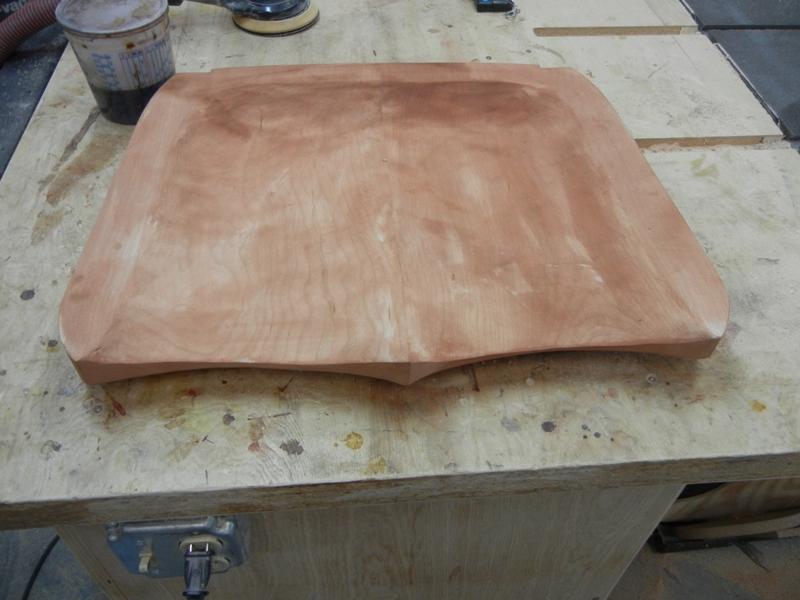
With the chair seat fully dyed, I am now ready to start to sand the surface. For the seats, I’m going to start with 80 grit and work my way up through the various grits to 180 grit. Although I won’t show it here, I would use a trace coat between each of these grits. The trace coat will show the scratch marks from the previous grit and when the dye is gone then you can stop sanding and move on to the next grit.
Here is the seat with my initial trace coat:
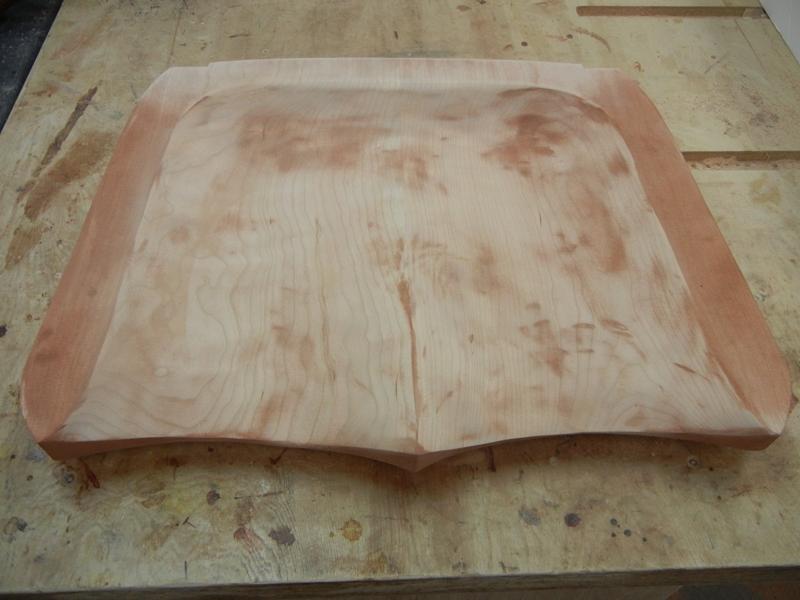
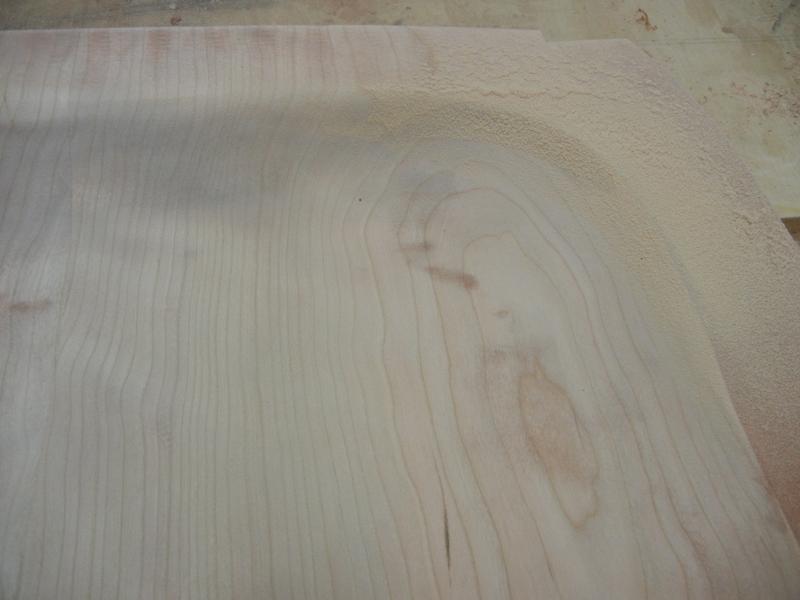
As I start to sand, the surface imperfections become very obvious. Not only do I see the typical scratches but I also see all the dips and valleys that are very hard to see in raw wood. This turned out to be extremely useful when sanding the seats because you would eventually feel all of those subtle dips when sitting on the chair. This is what the seat looked like after an initial sanding:
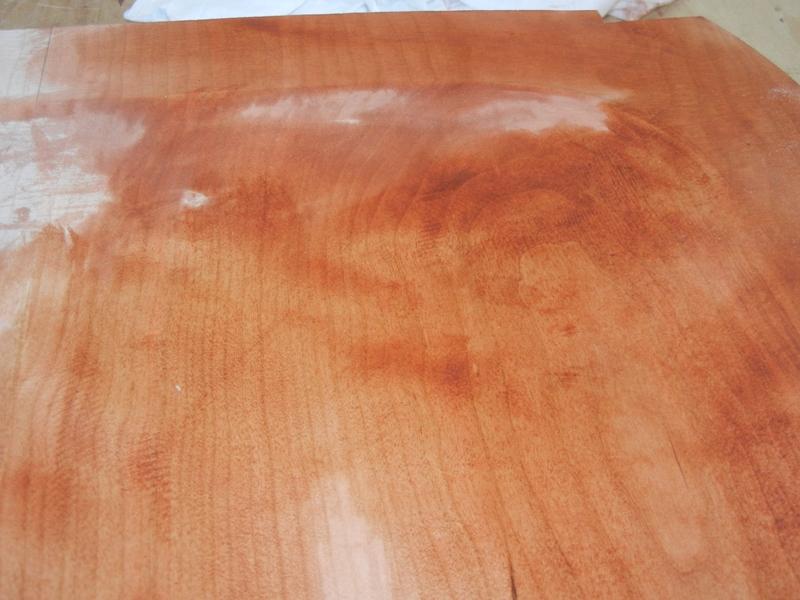
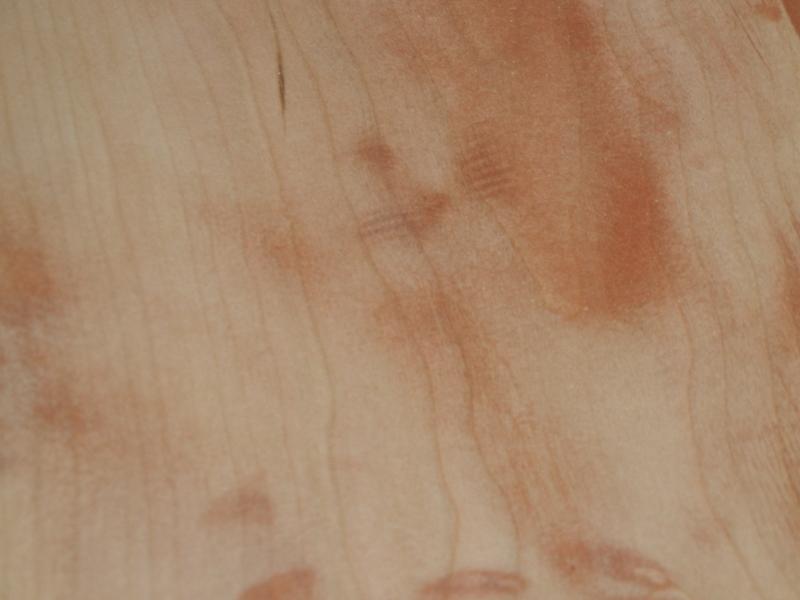
The dyed areas are the problem spots. Using a trace coat like this, you just keep sanding until all the dyed areas are gone. Here is what they look like up close:
The scratches in the above pictures are obvious but the broad area of dye indicates a depression in the wood that would be very hard to feel or see in a low level light. After continued sanding, there are only a few defects left...but they are still obvious.
Finally, once all the dye is gone it is time to stop sanding! The final seat has a nice very smooth surface that is free of any defects and is ready for final finishing. As a side benefit, since the trace coat is water based it has raised the grain so there is no need to wet the wood with plain water and re-sand before using a final water based finish.
You can use this trace coat technique throughout the process of building a project. Anytime you need to sand a piece before going to the next step put on a trace coat and you will be confident that there will be no issues when it comes time to do the final coloring and topcoat.
The trace coating technique can be used to enhance the figure in a wood like tiger maple. By flooding the surface of a piece of tiger maple, the softer wood that forms the figure will absorb more dye than the surrounding area. You then sand like normal to remove any defects and get down to the bare wood but leave some of the dye in the figured areas. This can be repeated more than once and you can also use a darker stain to darken the figure. When a final dye is applied to color the wood in the final finishing stage, the figure will be greatly enhanced by the previous trace coats.
Jeffrey Fleisher has been a woodworker for approximately 20 years and a professional woodworker for the past 6 years. He is the president of his local woodturning club, the Woodturners of the Virginias and past president of the Northern Virginia Carvers. You can see some of the furniture he has made at
www.jeffswooddesigns.com
.
He can be reached by email at
chpcrvr@shentel.net
.
Return to
Wood News
front page